When you click on links to various merchants on this site and make a purchase, this can result in this site earning a commission. Affiliate programs and affiliations include, but are not limited to, the eBay Partner Network.
You are doing a fantastic job on the flathead rebuild. I wish I had your skills and knowledge. I bought those front seals and installed one but never knew about having to change the sleeve. Will the seal eventually wear out from the grooves? Where do you get the smooth sleeve? Doug.
The one piece lip seal is some common Buick piece. The smooth sleeve is available from several flatmotor vendors including VanPelt (below) Ford Engine Parts Prices Page 2
Got lots done the past week. Installed the oil pump and pan to close up the bottom end. This is the last opportunity to recheck the torque on the rods and on the mains. My apologies, I meant to take a photo of the cutouts and sealing of the pan gaskets to front and rear seals but I completely forgot. Oh well, it is in books.
The engine stand bracket for flatheads that supports the block in the exhaust port studs is well worth the cost. It is much easier to install the flywheel and clutch with the engine rotated vertically.
I know the Ford Manual for 49-53 8BA engines calls for the flywheel bolts to be installed and torqued. With that said, I have taken apart 5 of these engines and every single one that I have taken apart had drilled bolts and lock wire used. I guess POs did it since the older 59A engines had lock wire. Since the holes were there, I used them. If you're gonna lock wire, don't just loop the wire through the holes. The wire should pull in the direction against loosening. I also used a roller bearing instead of a bushing for the input shaft.
Clutch installation and alignment is much easier if you use an actual spare input shaft. I had two flywheels. One drilled for a Ford 10" clutch and one drilled for a Mercury with an 11" clutch. The 11" flywheel had a very good quality ring gear. The 10" needed the ring gear replaced. I used the 11" even though the clutch weight and angular moment of inertia are more. But it does have more surface area.
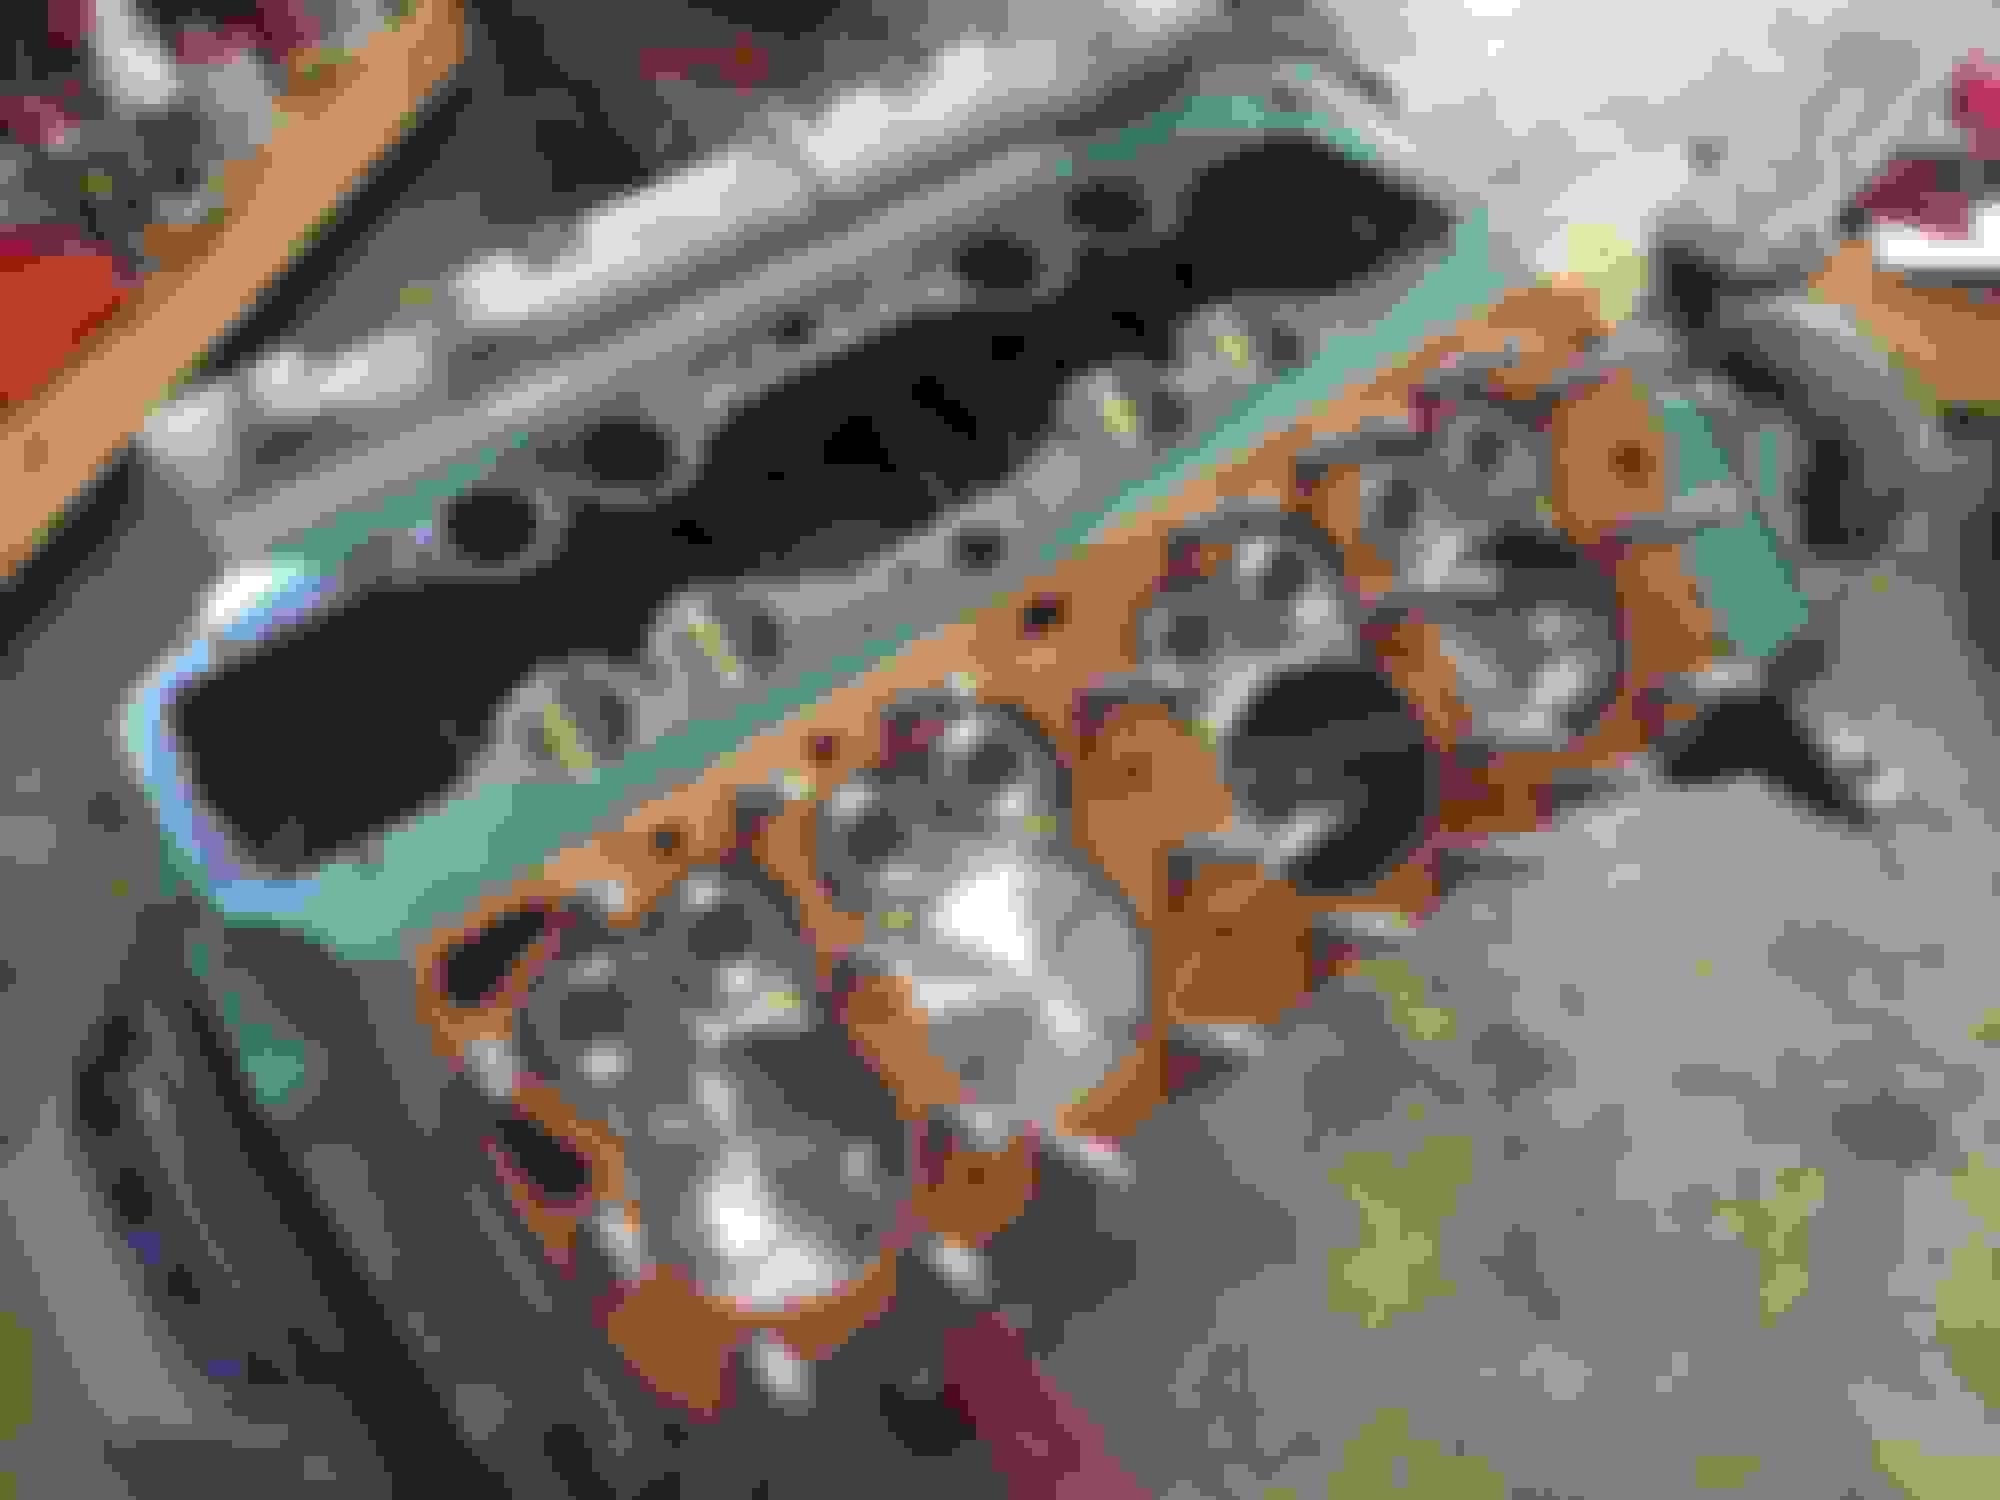
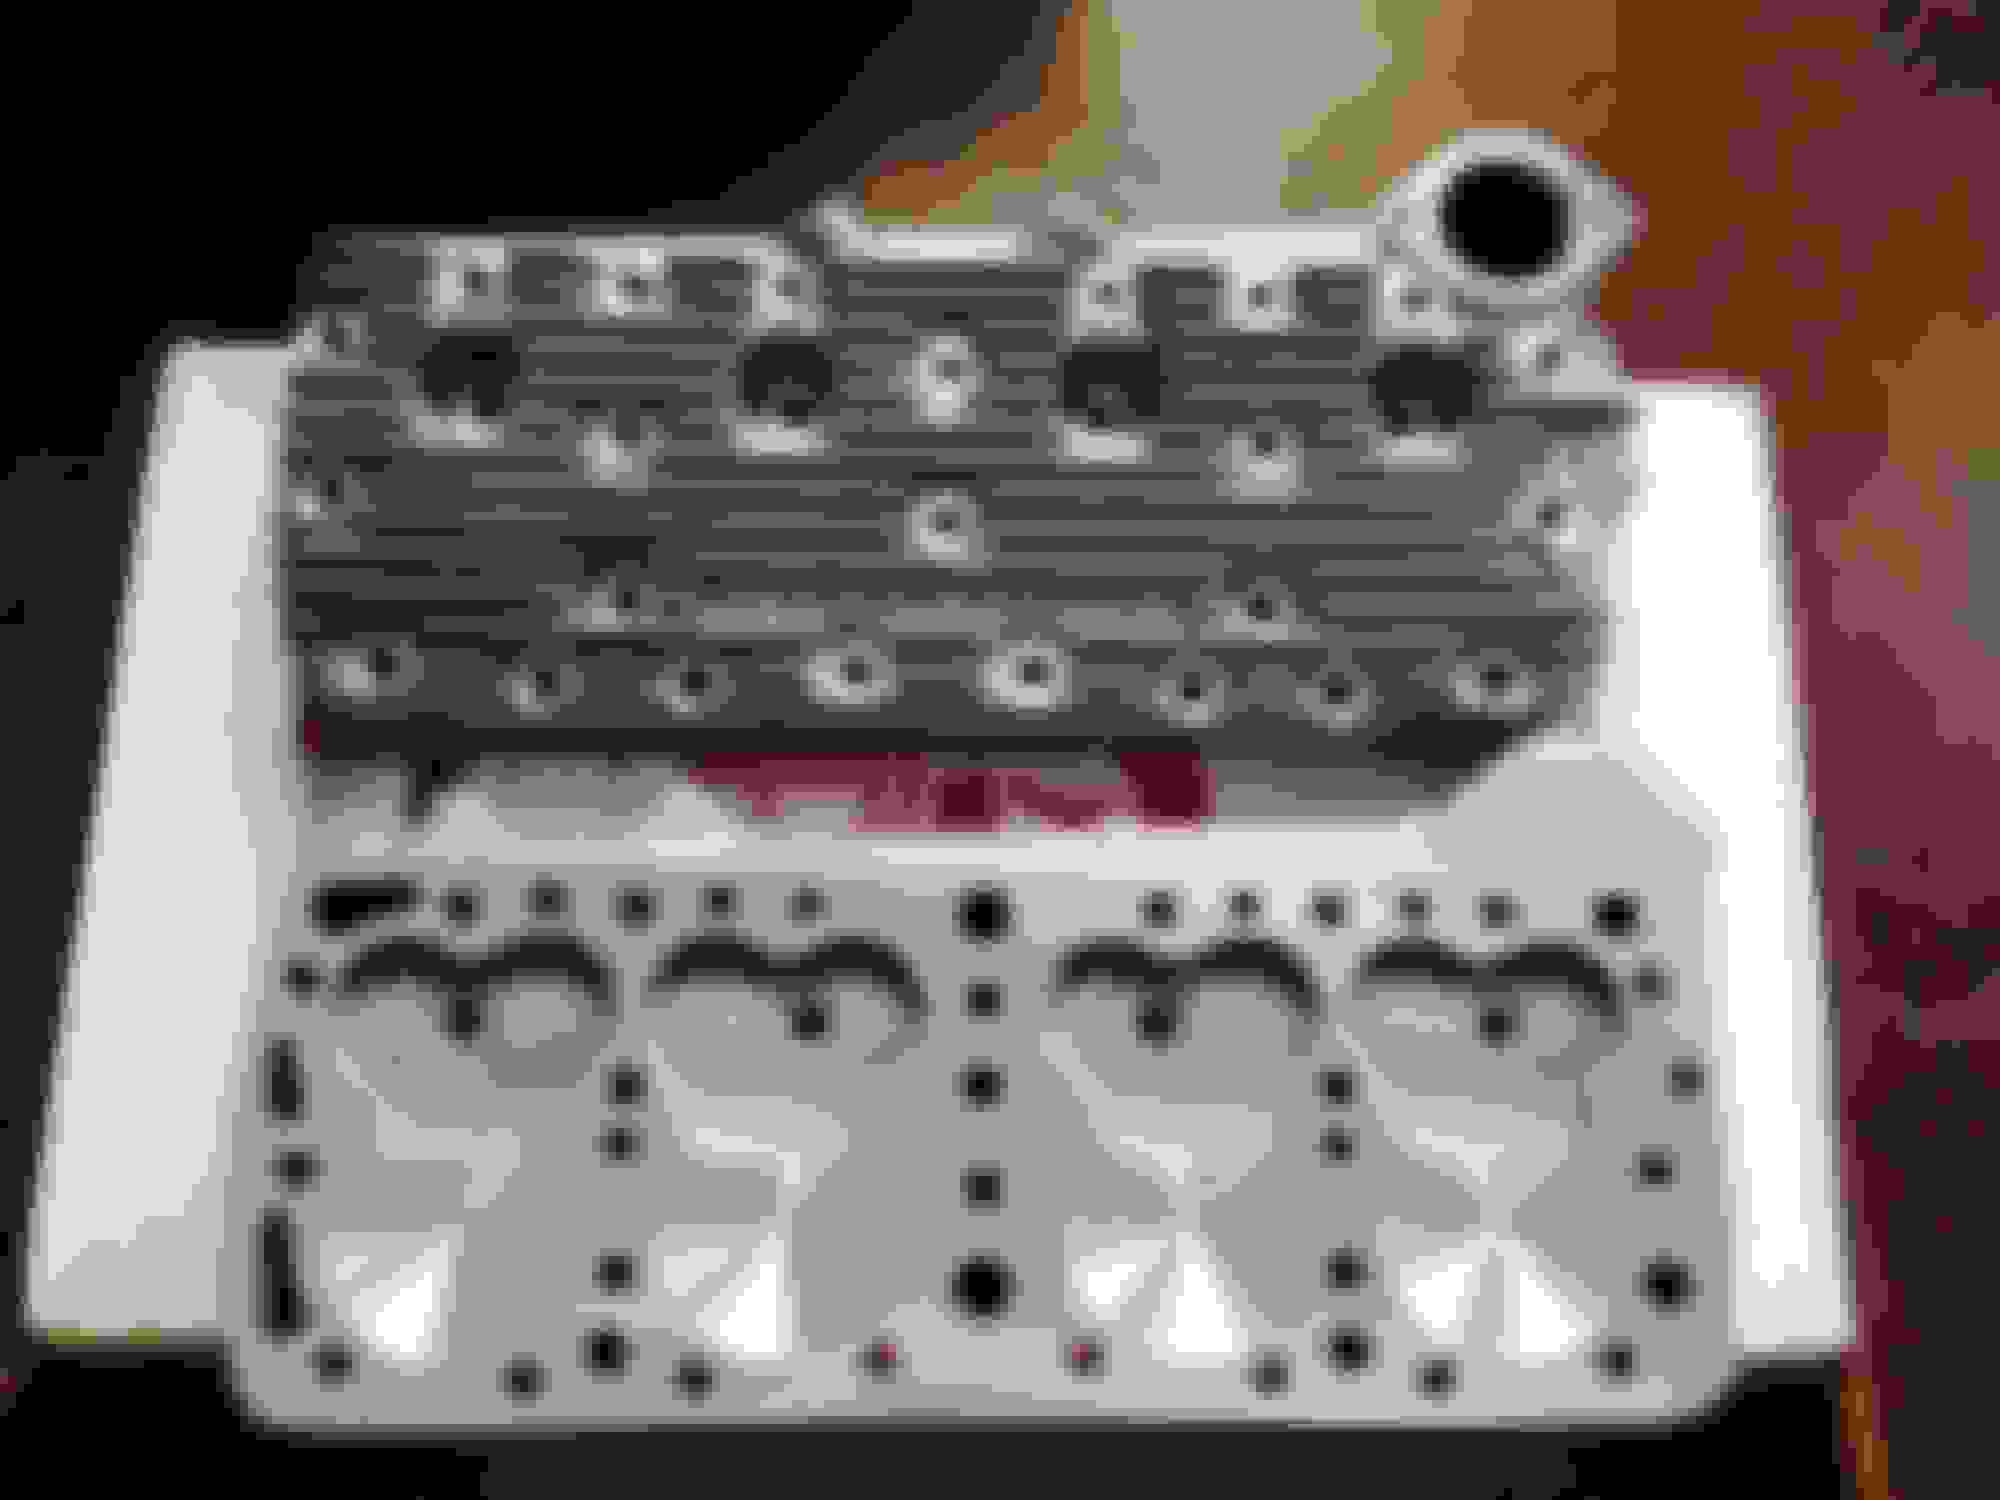
Finally, the heads went on. These are Offenhauser 400 aluminum heads. I used Aluminum anti-sieze on all of the studs and Copper Coat on the head gaskets. Aluminum heads are torqued to 45 ft-lbs. They also say to not use the standard torque pattern for cast iron heads. Working from left to right or right to left is the recommended pattern. That was weird to me, but I did it.
One last flip and the bellhousing and transmission were installed. Once again, I love that stand bracket. I mostly work alone in my shop and this would be much more difficult and not as safe the other way.
Finally I got to rig it and set it in place
It will probably be about two weeks before I get it temporarily wired and plumbed to be able to fire her up.
How did the exhaust ports work out? Did you make them as big as the gasket you used to mark the block. I didn't do mine nearly as large as you were showing in the early picture. I mainly went inside and tried to straighten out the passage rather than enlarging it. It did turn out bigger but nothing like yours. My experience was from back in the early 1950's so I've forgotten more than I ever knew, if that's possible? Was just curious if you ran into the water jacket. Nice job on the site. I'm having a little trouble getting the pictures to download but it must take a long time for that many to download. Great pictures, my computer finally caught up!
Jim
Last edited by jmerson; 04-02-2016 at 06:36 PM.
Reason: forgot something to post.
They worked good. In the picture I showed, there is no water jacket on the port from about 7 o'clock to 1 o'clock around the hole going CW. It is just the thickness of iron. I just cut it back. From 1 to 7, there is water jacket. I really just flared the hole to minimize the amount of turning the gas has to do and polished in that area. I too, was concerned about getting into the jacket. I didn't grind back nearly as much as several of the books i had, but I still figure the ports are much straighter and at least 25% bigger. I did a lot of polishing with stones and cartridge rolls, but didn't remove a whole lot of material near the jackets once I got past the port opening and on up into the runner. There were still 2 or 3 casting wires in each runner on the ends that I removed.
Your Flathead looks beautiful. I have a 51 F-1 with 48 front end, and a stroked Flathead, so I'd just like to toss in my 2 cents. Cam lube should be on the part of the lifter that is touching the cam and never on the lifter bore or on the cam journals, and main bearings should not be lubed with White Grease. Good luck on your build, and thanks for keepin' the Flathead. SBC motors belong in a Chevy.
Life is a lot easier if you get the first one set, then remove it and preadjust the lifters to be close. The lifter screws are very tight and this is much simpler.
After all the lashes were set, I checked the valve lifts with a dial indicator. The lash is the critical dimension. If it is set right, the lift is what it is.
With the valves all in, I moved to the pistons. I bought 3 ring pistons 0.060" over standard bore for a 4.000" Mercury stroke. I went with 3 ring vs 4 ring since they have one less ring's worth of friction heating the block.
Setting the ring gaps is so much easier with one of these.
I love this stand bracket for a flathead that bolts to the exhaust ports. It is so much easier to put the piston/rod assemblies in with the engine rotated vertically.
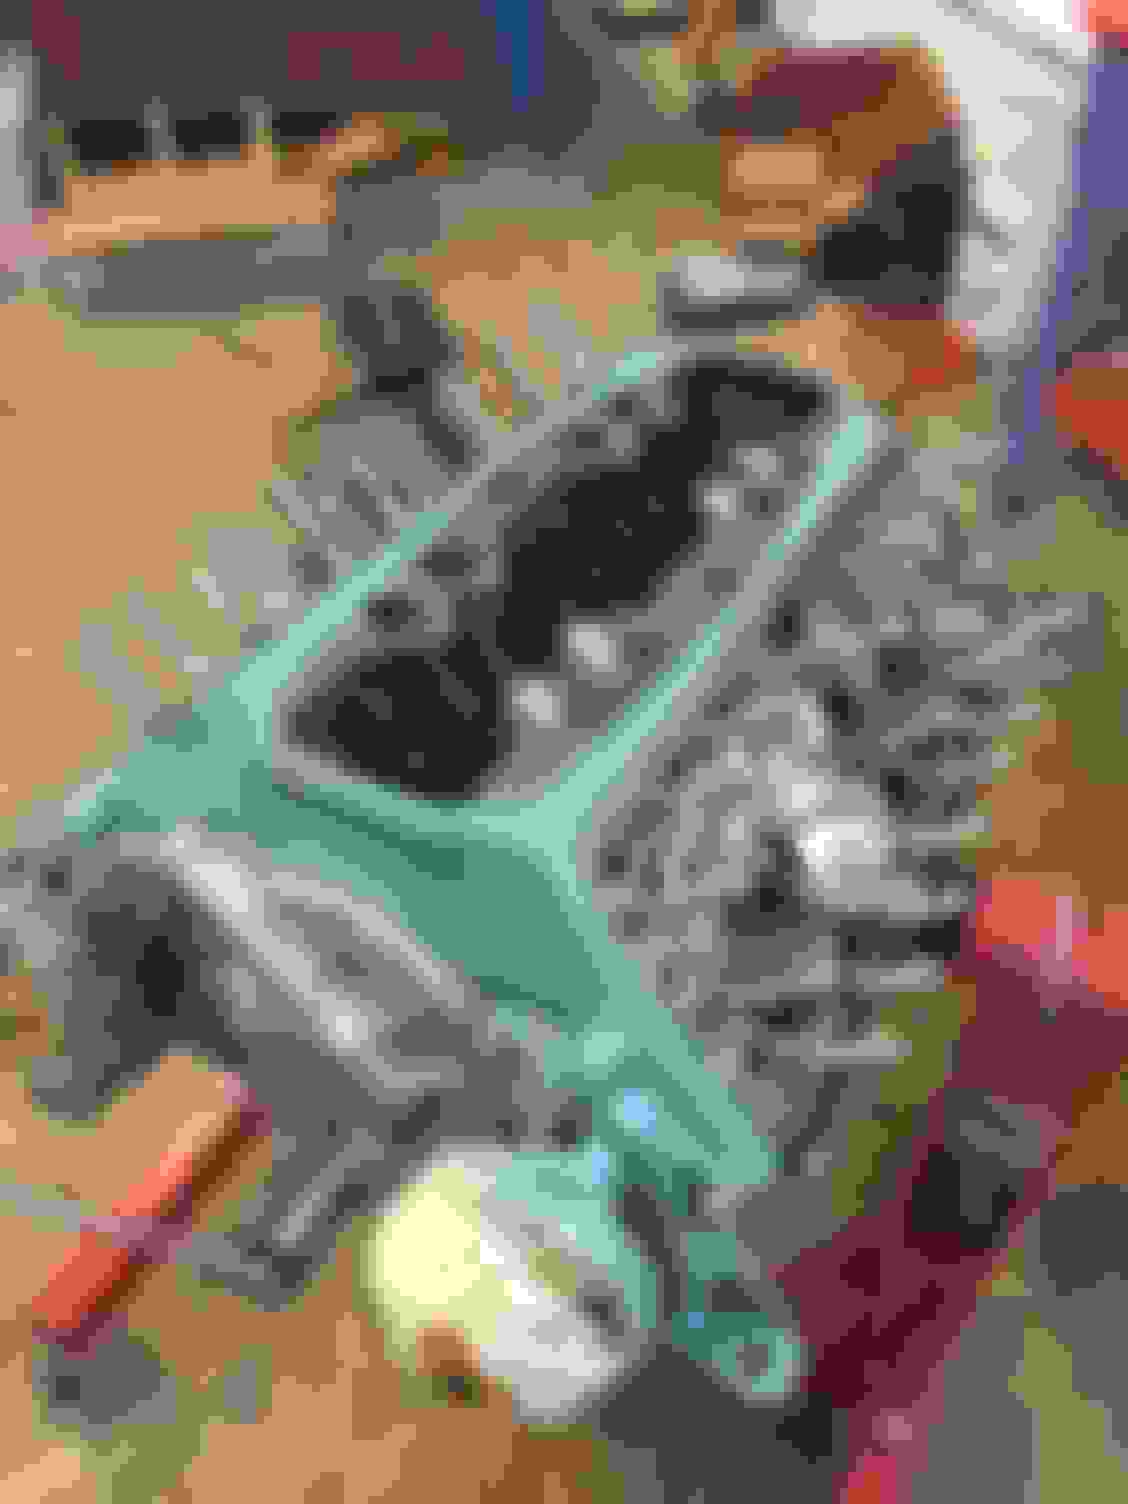
All in.
I went ahead and installed the timing cover and water pumps. I used the one piece lip seal for the front rather than the conventional rope seal. However, you need to keep something in mind. The rope seal uses a grooved extension sleeve to direct oil back into the oil pan. The one piece lip seal must have a smooth extension. Many places sell the lip seal, but don't bother to tell you that you need to buy the smooth extension.
Cover installed. I used clear RTV were the seal fits in the cover groove.
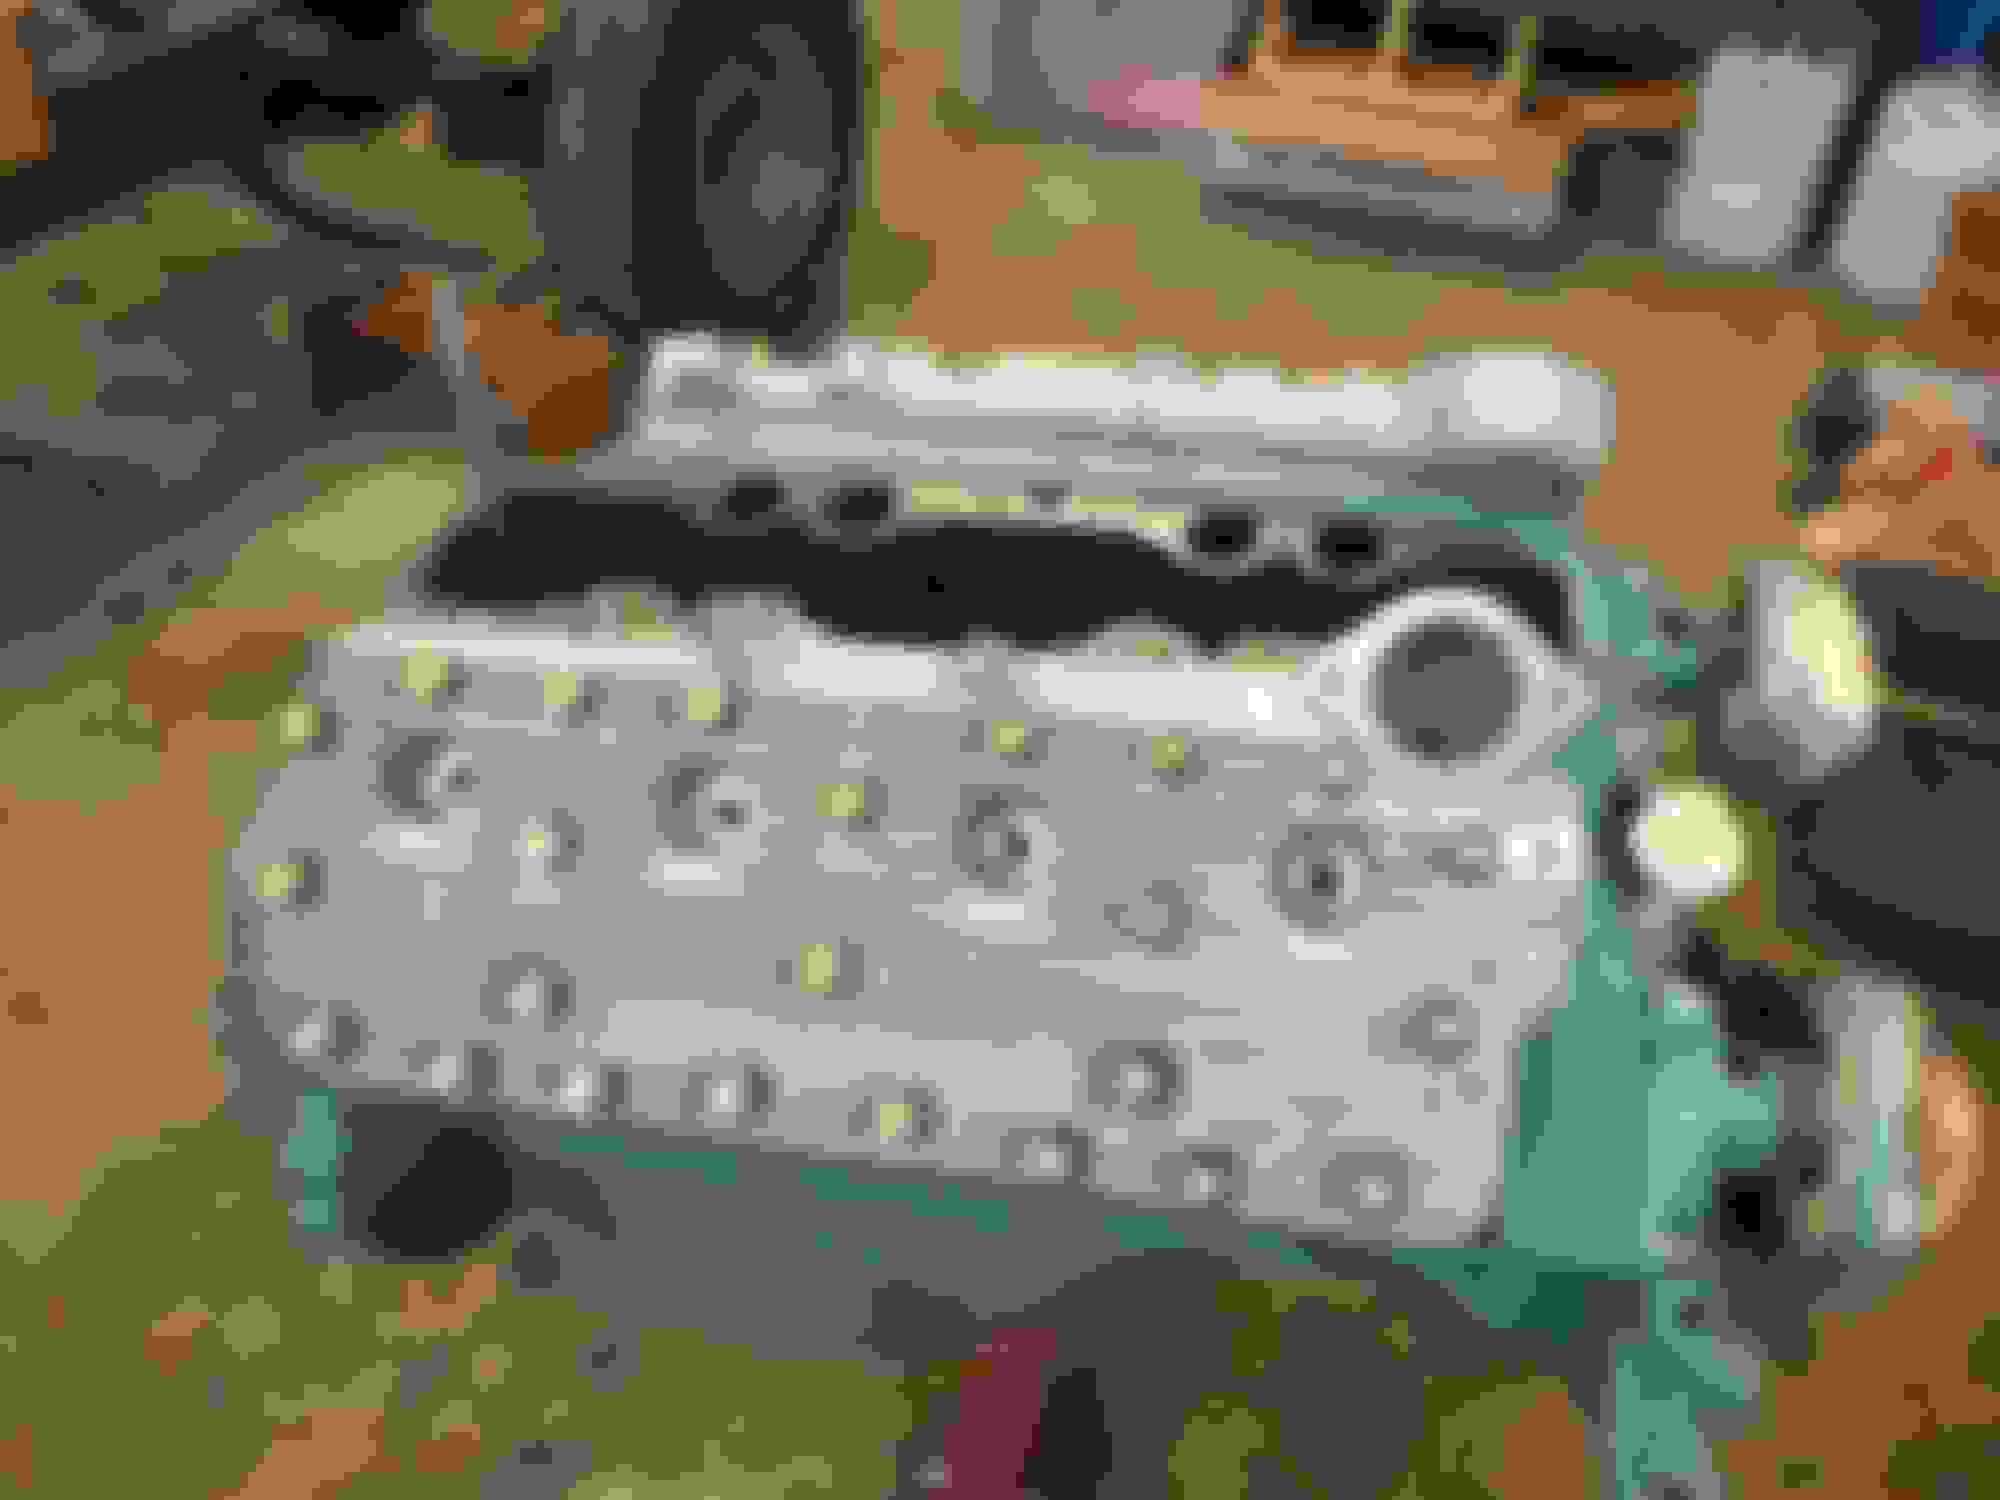
I'm using Offenhauser 400 aluminum heads. I decided to go with head studs rather than bolts. I applied Permatex on all the threads onto the block to prevent water leaks.
Studs in. I also went ahead and installed the water pumps. I painted the pumps the engine color and the pulleys black.
In a movement of stupidity, I flipped the engine to install the oil pump and pan so that I could close the bottom end. Well, it was late, and I was tired, and as I was installing the pump sump bolts, I wasn't paying attention and cross threaded one of the bolts! Stupid, stupid, stupid... $130 and five days later, I'll have a new oil pump on Monday. Uhgggg!
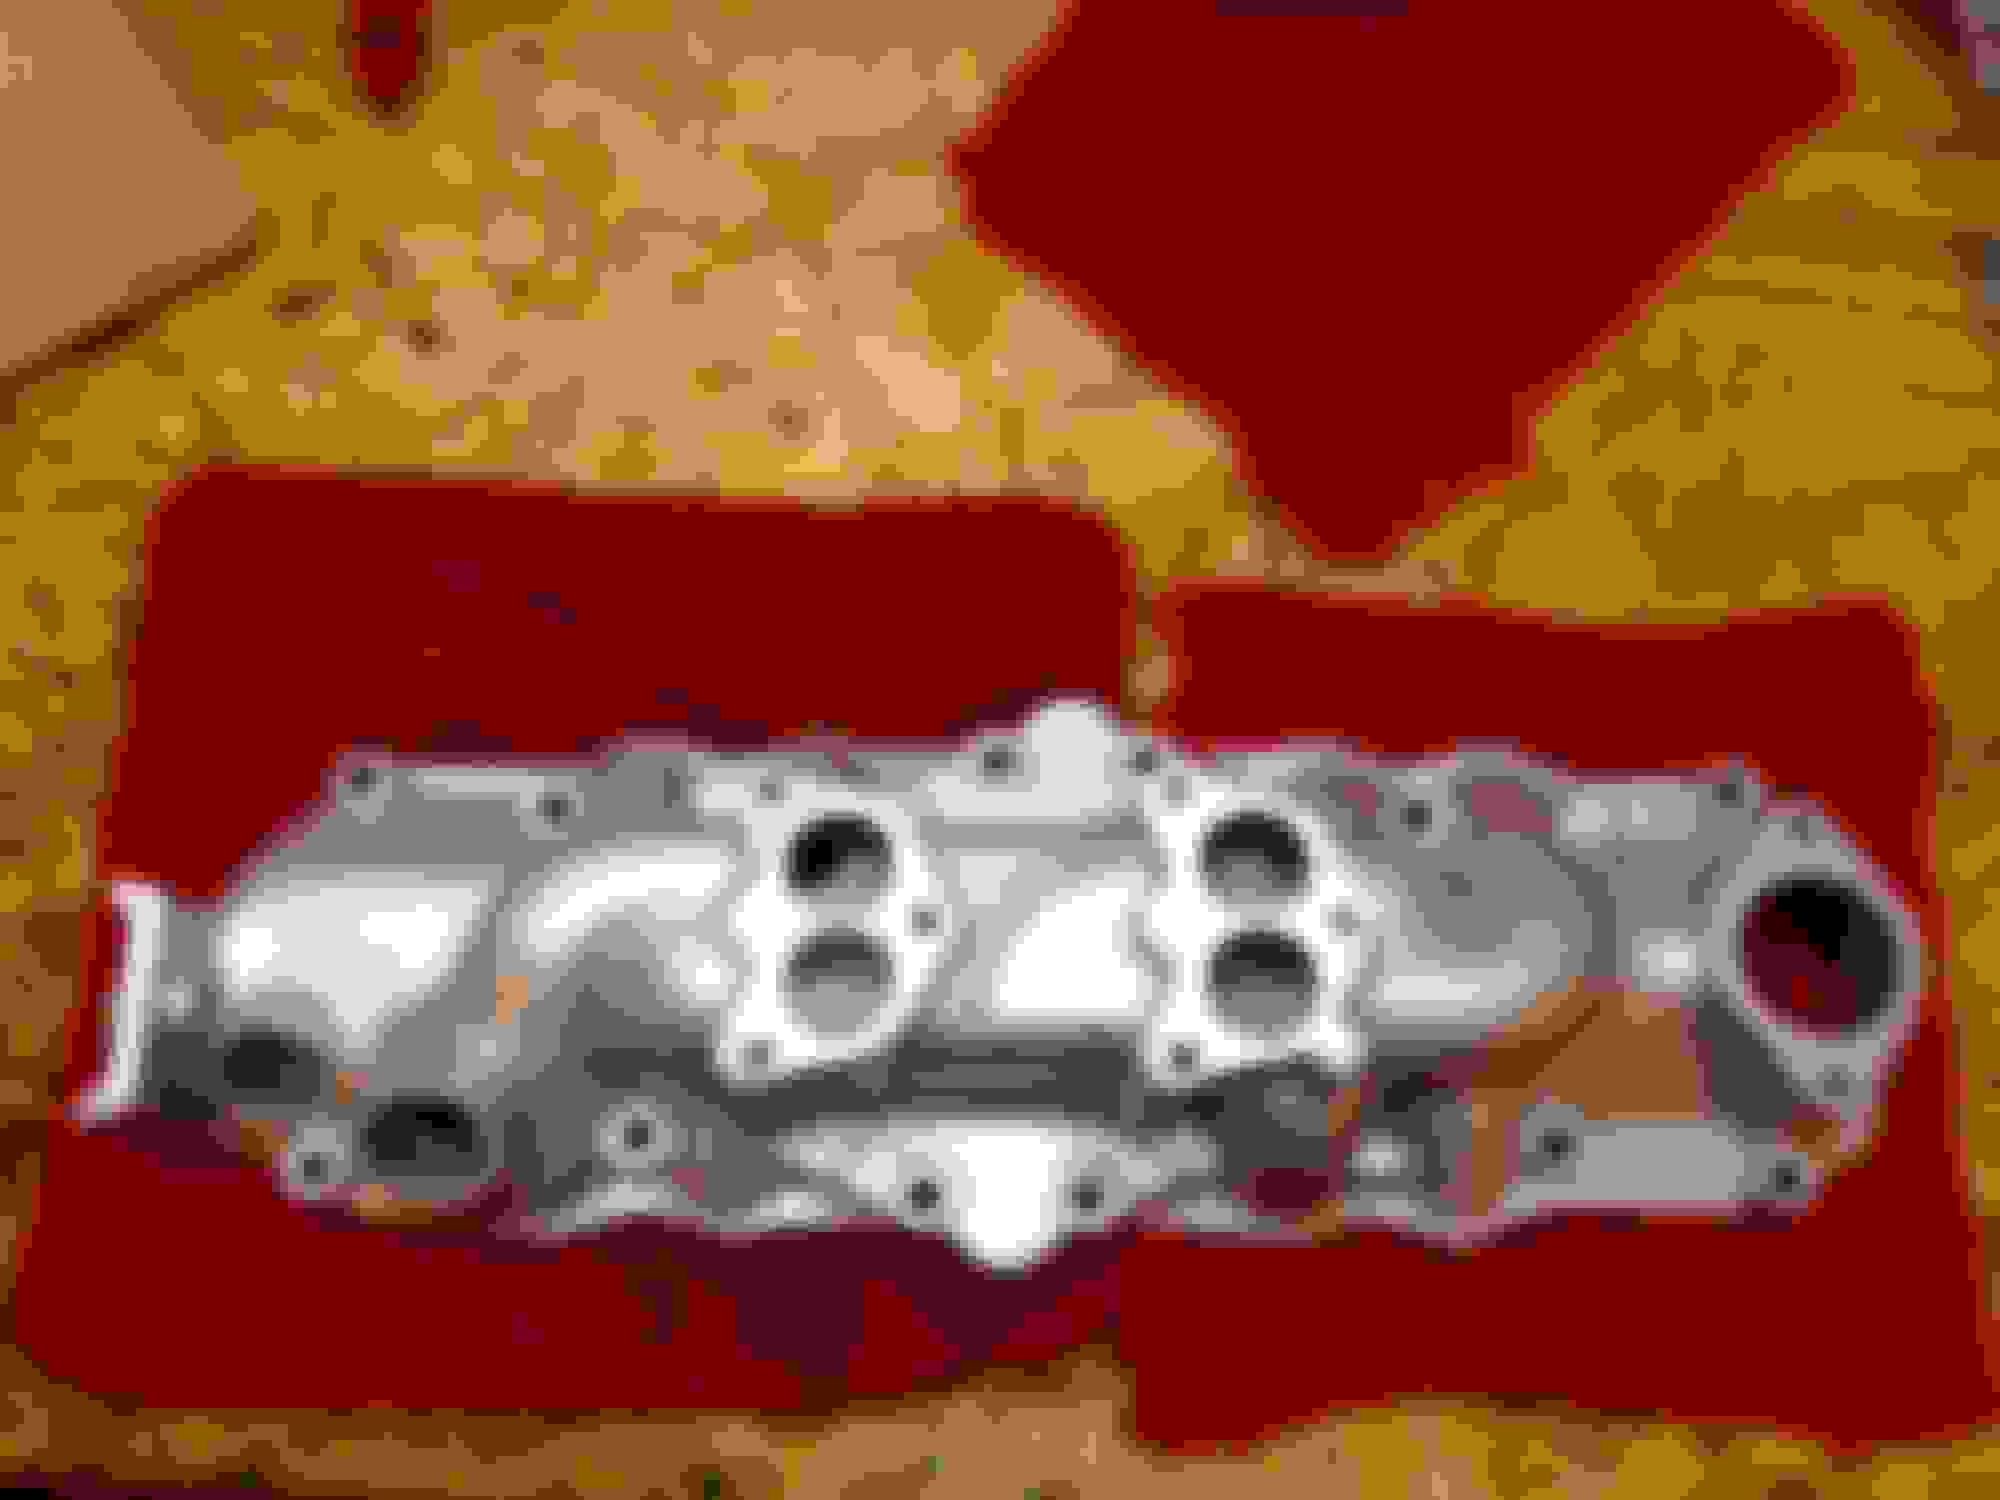
This week I started stacking accessories. I started by blanking the heat riser holes on the intake manifold. 1952 Copper Wheat pennies. Heads up for good luck! I know the engine will run rough in cold weather on startup, but that is what chokes are for. It is a flathead hot rod tradition! Heads are up for good luck!
I oiled all the lifters one last time and closed her up. Set the radiator and shroud, and the two carbs. I have stainless braided lines from the fuel pump to the carbs. However, the orings on the AN fittings to the carbs were shot. I had to order new ones. Hey should be here early next week. I installed Red's headers and extension pipes. They are a tight fit, but they do fit perfectly.
I went with Autolite 414 plugs in the Offenhauser heads. The 414s have a 1/2" reach and a non projected tip. The 437s have a 7/16" reach and a projected tip. Use aluminum antiseeze on the threads. I gapped them 0.030".
I still have to order an ignition system. I'm leaning towards either a Pertronix system in my OEM Loadamatic distributor or a Bubba's distributor. I'm still debating that. I may fire the engine with the stock distributor with a 12v coil just to hear her run and then decide later.
In the meantime I still have a few things to finish up. Temporary wiring, a battery, oil pressure gauge, just to name a few.
Even the 414 plug seems down the hole quite a bit? or is that an optical illusion?
Stock dizzy will not work with dual carbs. Advance will be missing and that make it run hot. Although with your higher compression, it might work acceptably.
It isn't a great picture. They protrude into the combustion chamber several mils. They are 400 heads and the Max 1 cam has 0.350" lift so there isn't much room to play with. Only 0.050". Plus the gasket thickness.
I drove my truck all over Memphis with the stock distributor and this same intake/carb setup for about 2 years. My younger brother gave me that intake/carb setup as present on my 21st birthday. So I have sentimental reasons for keeping it. I plumbed the vacuum advance into the first carb and put a plug in the back one. I never had an issue in town or on the interstate.
I'm still thinking about it. I've got plenty of time to figure it out. I still have to start on the body. I'm at least a year from having her on the road.
Last night I finally got her cranked! There are just a few things that beat the first fire of a new engine you recovered from the graveyard and build from the ground up. I cranked her with no water in the jackets and let her run for about a minute to heat up the heads. Then I retorqued them. Filled the radiator with coolant, installed the generator/waterpump belt, and this was the first real run after that. I let it run til the thermostats opened and the radiator was hot.
Since I just wanted to hear it run and make sure all was well, I bought a 12v coil for a 1970 F100 with a 302 and hooked that up to the orginal loadamatic distributor. The vacuum advance is disconnected and the carb connections are plugged.
In these vidoes, nothing is tuned, the carbs have not been synch'd or balanced, and the rear carb has a bad accelerator pump or power valve that I've got to address.
But even with all that, I love how she sounds and can only imagine how she'll be when I get all that done and corrected.
I have never loaded video on here before, so I hope it uploads.
 03-26-2016, 11:29 AM

 I wish I had your skills and knowledge. I bought those front seals and installed one but never knew about having to change the sleeve. Will the seal eventually wear out from the grooves? Where do you get the smooth sleeve?
  Doug.
Doug.