When you click on links to various merchants on this site and make a purchase, this can result in this site earning a commission. Affiliate programs and affiliations include, but are not limited to, the eBay Partner Network.
Did a little more today even though it was 106 degrees here. Finished up the cleanup and paint on the front axles and leaf springs. Pressed in new rear bushings and hung it in place. A new shackle kit comes in Tuesday.
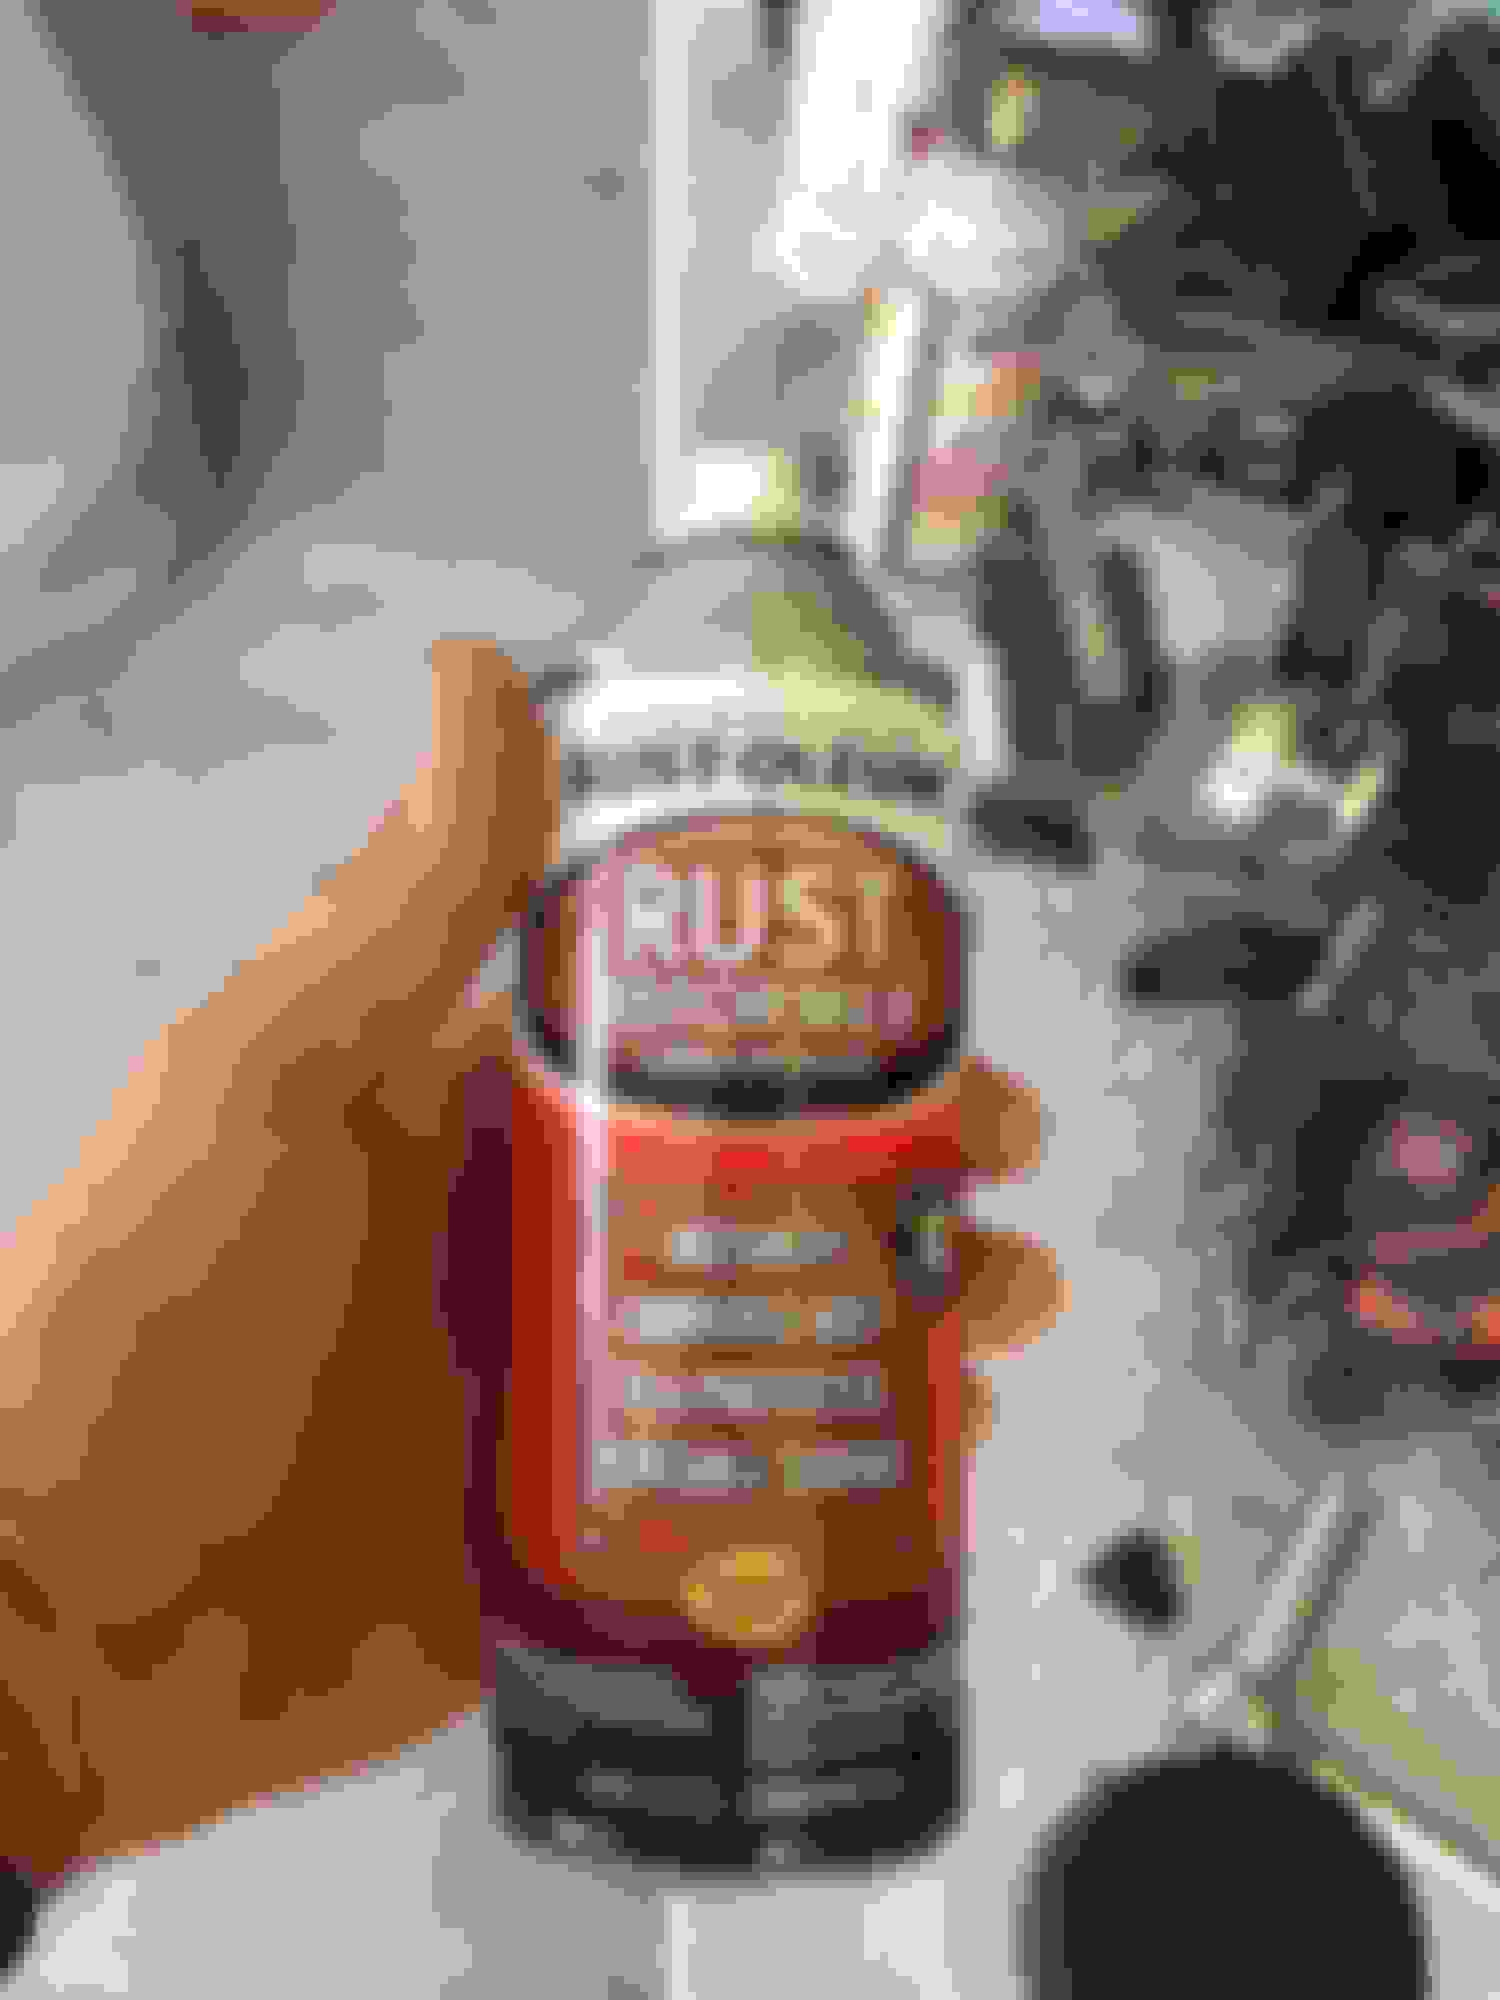
I'm trying something new after a friend suggested Rust-Oleum rust reformer. Good reviews online too. You just clean up the loose rust and use this paint. It chemically reacts with the rust and neutralizes it, and creates a paintable surface. After it dried I used flat black. So far has the look I wanted.
Here are some new pictures.
Trying this. Has good reviews.
I will cut the ubolts down once I have figured out a lower shock mount and whether or not I need to put shims in to adjust the caster.
Much cleaner look with ubolts.
Old bushing were a real pain to get out. A thin coating of anti seize and they pressed right in using a piece of all thread, washers, 2 nuts and 1/2 drive sockets.
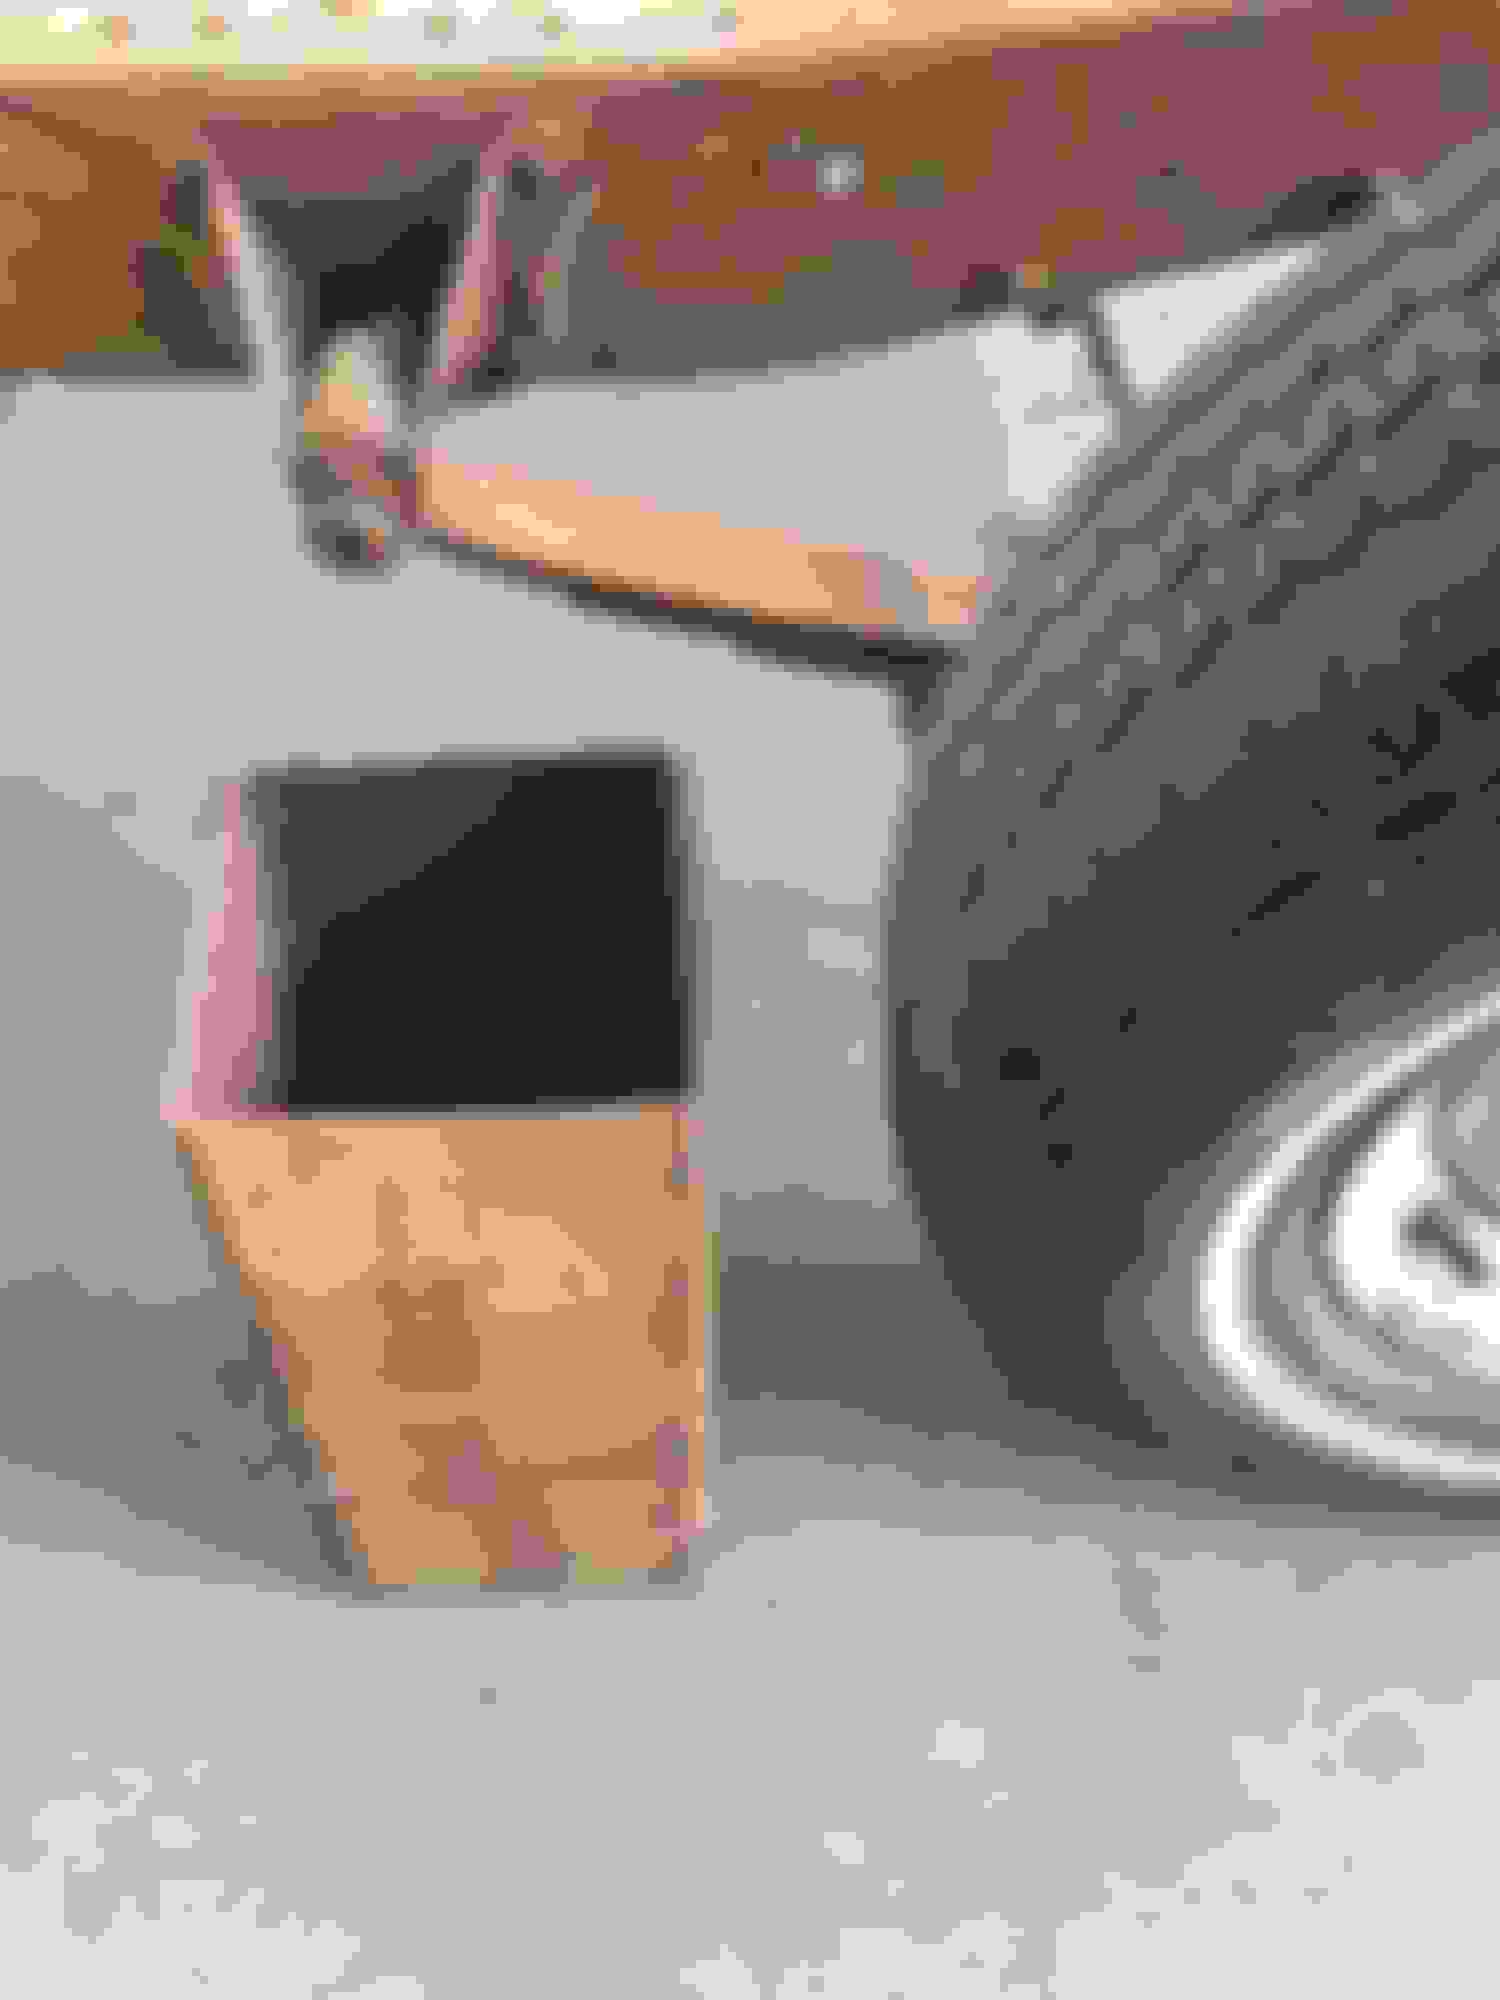
Passenger side. Plenty of room between the axle and frame.
Driver's side. Need to heat and bend the steering arm down to help eliminate bump steer.
You can see how high the oil pan is.
Here is a shot across showing the clearance between the axle and oil pan.You can see I had to trim the lip off of the crossmember.
Here is the ride without the weight of the front clip and hood. I still have to do the c-notch in the rear. At that time, I will match the front and back height with blocks if necessary.
1: I am going to rebuild the 292 and use the T98A with different gears in the rear end to give me more top end with less rpm. Better 1st gear for normal driving also. The goal will be to have the engine and engine compartment to look like it rolled out of the factory but in the meantime, I may want to drop another motor in so I can meet my august show deadline and drive it. I don�t want to cut anything and a chevy motor is out of the question. My question is, what Ford motors, if any, can I mate to the stock frame engine mounts? I heard a 352 would fit with front mounts. Is the bellhousing compatible with any other engines?
Seems to me that rebuilding the 292 may still be the easiest way if you don't want to cut. Although some engine mounts are available that bolt on.
2: Before I pull the engine/tranny, I want to get an idea of how I am going to get the proper stance on the suspension while the weight of the motor is there. I know I am going to move the front and rear axles to the top of the springs. I can make my own hardware to do this and it looks like I might get around 5� or a little more of drop. I am going to have to notch the rear frame but that is not a problem. I can cut and bend all the metal myself. Question is, what are your opinion on how I can get me about 2 or 3 inches more up front and rear? I think that will get me the stance I am looking for. I want to use as many of the original pieces of hardware as possible as I plan to attend and maybe show it at the local rat rod gatherings and want to have the hood open. (1965 or older parts viewable from the engine compartment means keep the hood closed. Using old parts and mating them is ok though.). I have seen the posts about removing leafs, flipping leafs, and flipping the main leaf ends. I haven�t dug into the last one much yet and was wondering if that meant flipping the main leaf only or taking the spring in and having them re-arch it the opposite. What would happen if I only flipped the main leaf? For the rear, I figure I can just block it or try removing leafs.
I am not an expert on this, however I can't see a way to put the front axle on top the springs. The axle will be interfering with the engine big time. I think you will either need a drop axle or an IFS of some kind.
3: The farmer I acquired the truck from said it is all original. My question is about the shock mounts. This truck has the mounts on the frame but not the axles. Did they roll out trucks without shocks? This was a farm truck so my thinking is maybe they didn�t have any to begin with. Are a set of original mounts (not repro) something you think I can find?
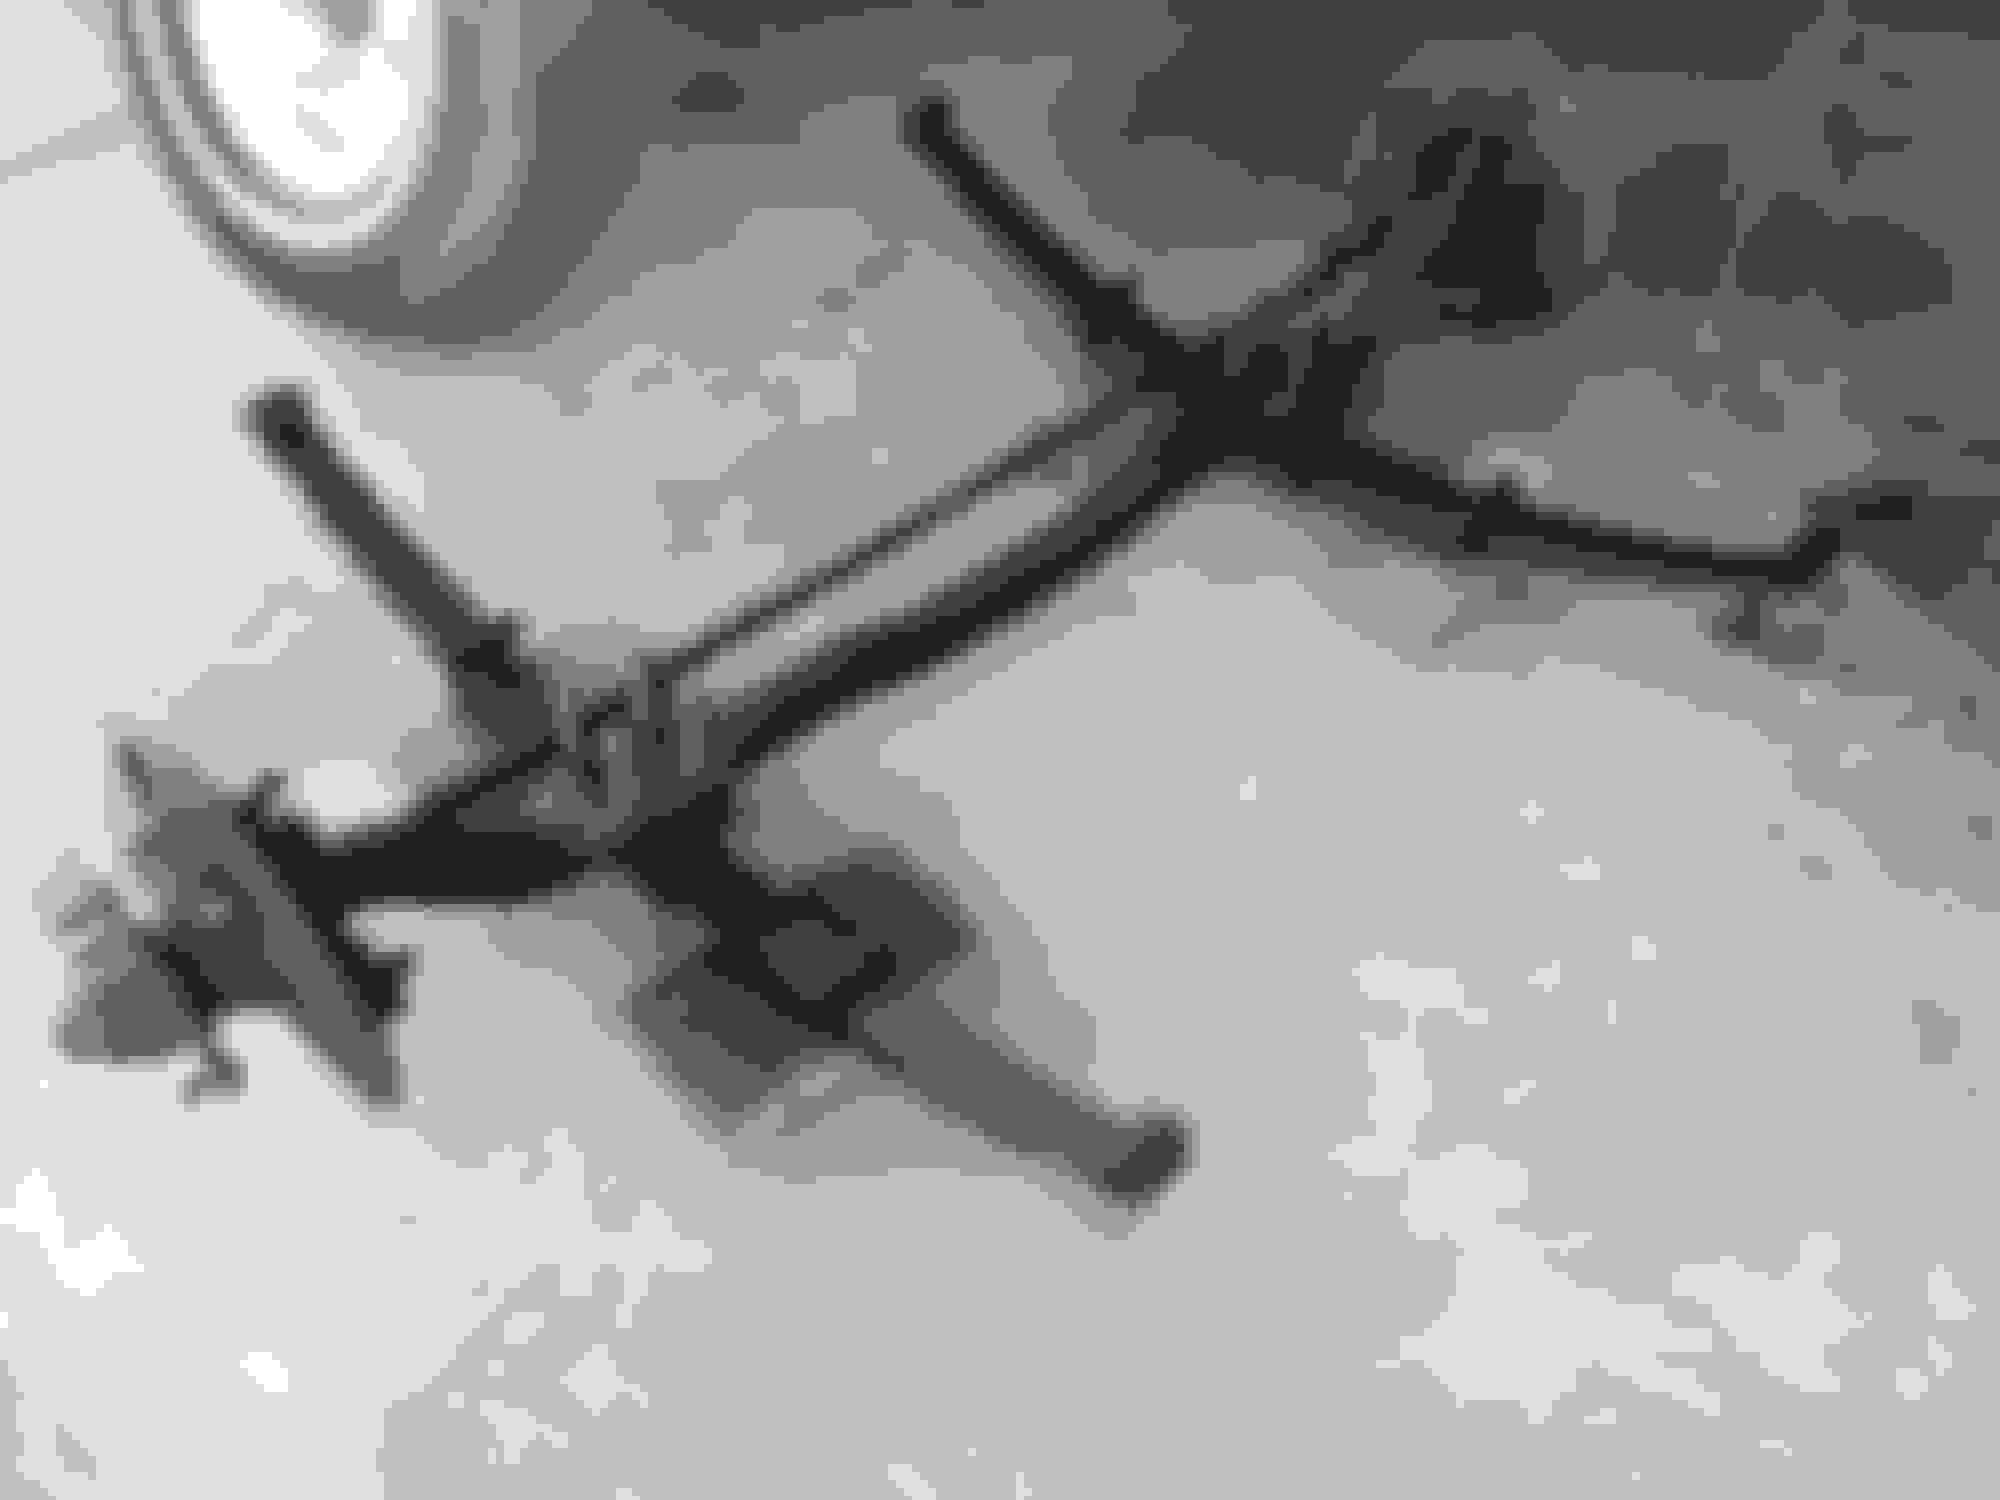
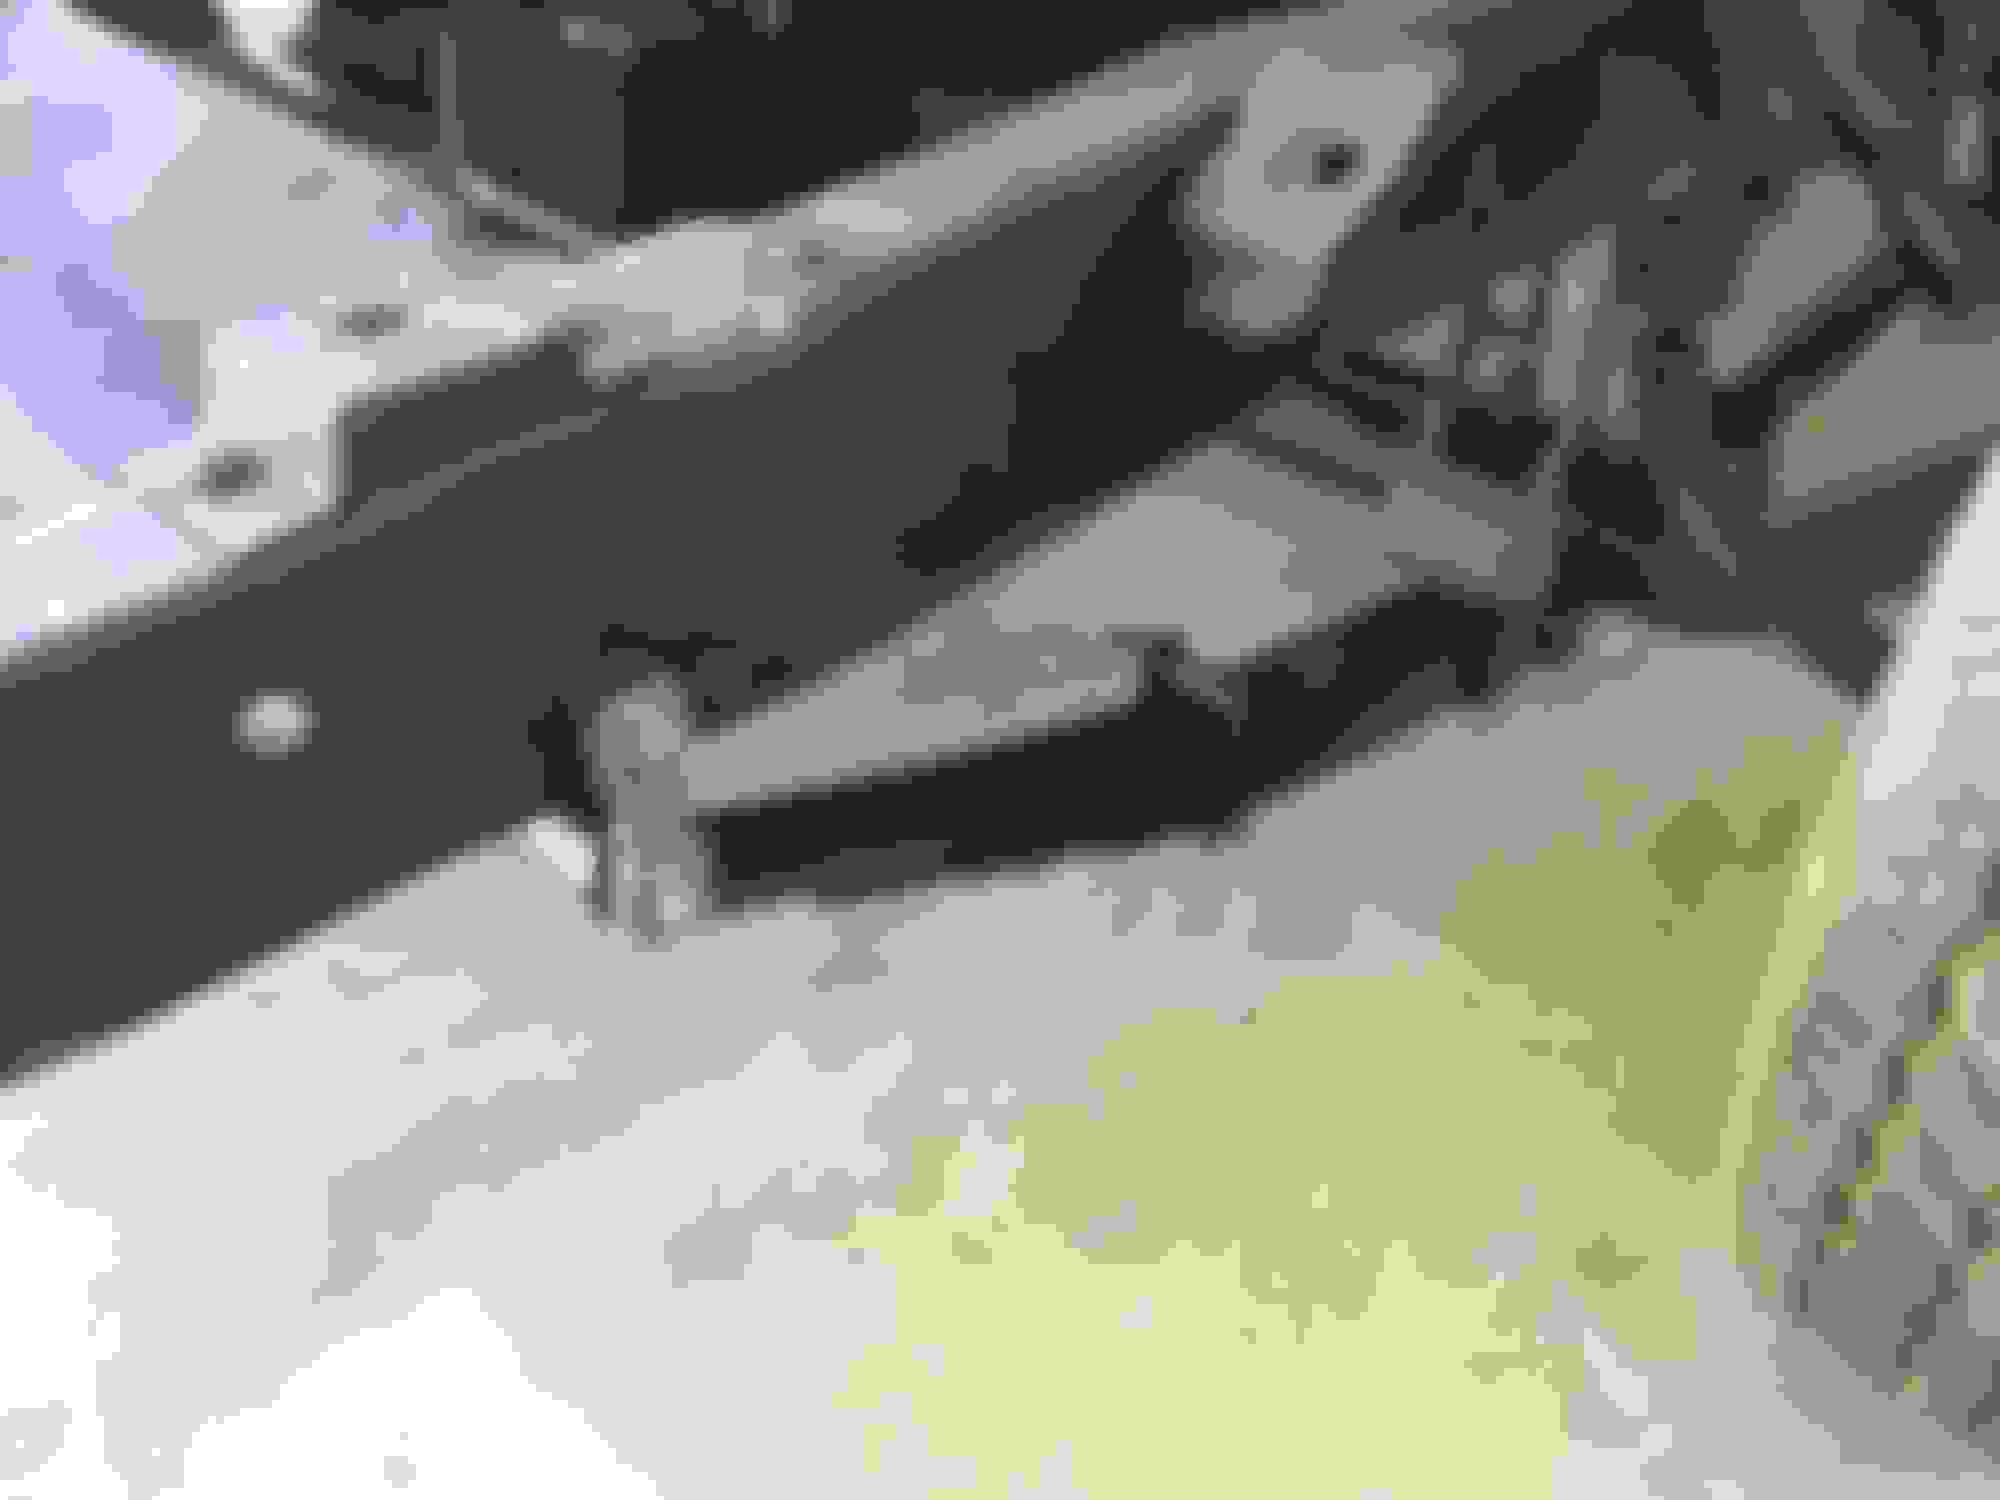
Should be easy to find the mounts. They bolt to the front u-bolts that hold the springs to the axle. Anyone on here that put an IFS on there truck likely still has them laying around. See the picture below, not a great picture, but you can see the mount on the left.
4: The 292 has a Holley 2 barrel sitting on it but there is an old (bottom is rusted out so I can�t use it) oil bath air cleaner sitting on the battery box. It obviously didn�t mount to this carb unless I am missing a piece between the carb and air cleaner. Does anyone have a photo of the stock air cleaner?
See carb comments below.
5: I want to move the gas tank to free up room behind the seat and get a bigger tank. Did Ford make a secondary tank for the 57-60 F100s? A tank I can rob from another Ford? I can use I want to keep it factory looking, especially if I have to cut in a fill pipe on the bed. I am going to try and find a way around that. I may even keep the original filler neck and cap for looks. Maybe a fill pipe straight up in the front left corner of the bed behind the spare time mount. Has anyone toyed with this?
I put the gas tank below the bed where the spare tire goes. I used a 1969 Mustang tank. Lots of pictures of this and other information in my gallery. Ford Truck Enthusiasts User Gallery I suspect that you will have to mount a tank ontop the bed if you want to lower the truck that much. I also think you will have to raise the bed floor or notch the bed as well as the frame for the rear axle.
6: What internal mods have you done to a 292 to get more grunt? It will be a daily driver but I want some go when I need it. Is it worth my while to find a stock 4 bbl intake and carb vs the 2 barrel I have? I�m not gonna race it and it has to be original looking. With some other cars I have built and worked on, I found swapping them out didn�t really give me what I was looking for unless I bought an aftermarket 4 bbl. If that�s the case, I�ll just open up the 2 bbl as much as I can and keep it.
These truck engines are limited by their ability to "breath". The truck heads have very small valves and the cam is designed to pull stumps. I suggest you conside finding the top half of the Thunderbird version of the 292/312. 4BBl intake, heads with bigger valves. etc. This is what I did and it raised the HP quite a bit: ECZ-C heads, 4 bbl intake, 4 bbl street carb from summit racing, street cam from John Mummert, dual exhaust (I have original ram horns), petronox ignition with a hot coil. I estimate that the HP went from ~ 185 to maybe 215.
7: The exhaust manifolds are gone. I would like to run some sort of header. I either need to make my own (pain in the butt) or find an older setup. Ideas?
Ram horns or aftermarket headers are available.
8: I am going to pull the cab and do some sheetmetal work on the floor and corners. I see there are a lot of vendors out there with what I need. Any vendors to stay away from?
I had good luck with Dennis-Carpenter
9: I would love to see what you guys have done via pictures. See my gallery.
Hope this helps and good luck.
Just a FYI, the 60 and newer heads do have small valves but if the 58 engine is original, it should have the best heads, the 113s, same big valves and runners as the T-bird and a little lower compression. Plus they are posted and not all the 312 heads were (means stronger)
Cooled off today (only 101) so I decided to play with the truck. Front shackles came in so I threw them on. Still need some flat black on them though.
I�ve got some rear lower shock mounts coming thanks to �oldbleu.� They will bolt right in. For the fronts, since I did the axle over spring swap, even if I bought the oem brackets, I would have to alter them or build a bracket for them to bolt to so I decided to make my own.
Started with some all thread, flat washers and bolts. Bolted it in to the top mount to get the trajectory of the shock. Used �� x 2�x 6� plate held down by the u-bolt nuts. Bent it down so it was at the same angle as the top shock mount. Bolted a �� x 4� x 4� plate to the bottom of the all thread so it was flush against the top piece. Tack welded it and then took it off and welded the two pieces together. Trimmed off the excess and like magic, I have a shock mount. I then took it to the duplicator, selected mirror image and out popped the other side.
I still need to put a gusset on it or maybe fabricate a support piece that is welded to the bracket and bolts to the axle. I think that will look the cleanest. I�m gonna take it with me to work tomorrow and stare at it until an idea comes��
New made in USA shackles with bushings. Napa Auto Parts. Only $24.99.
Shackles installed. Needs paint.
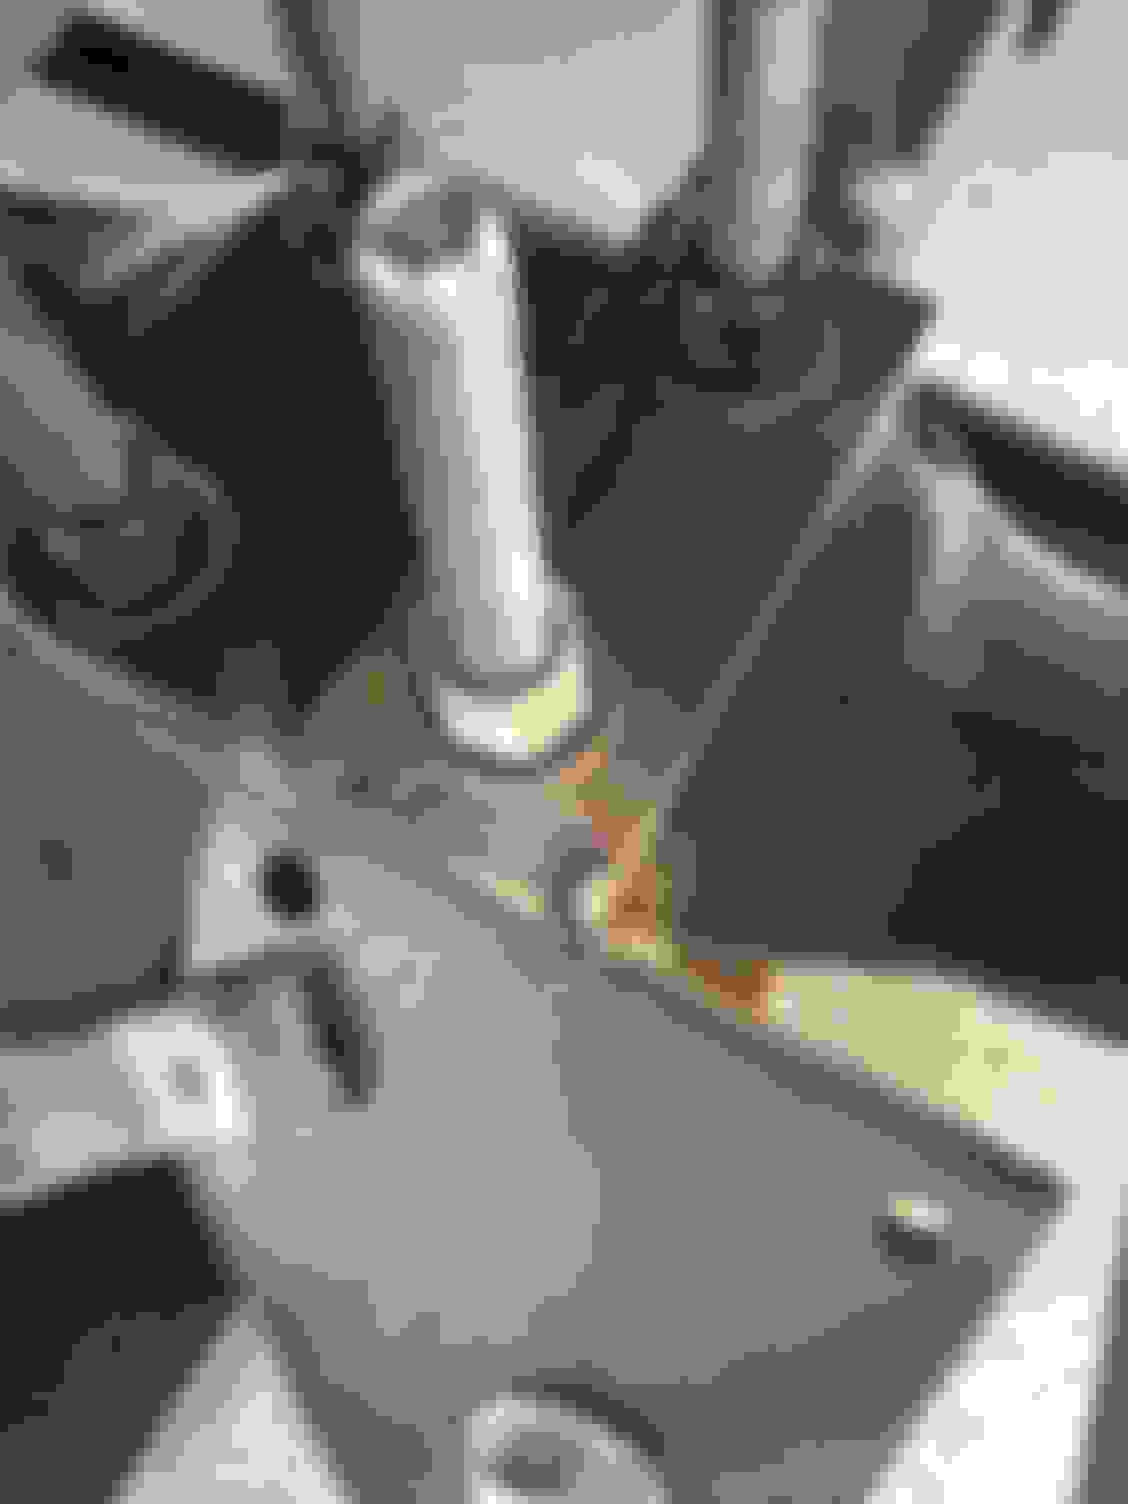
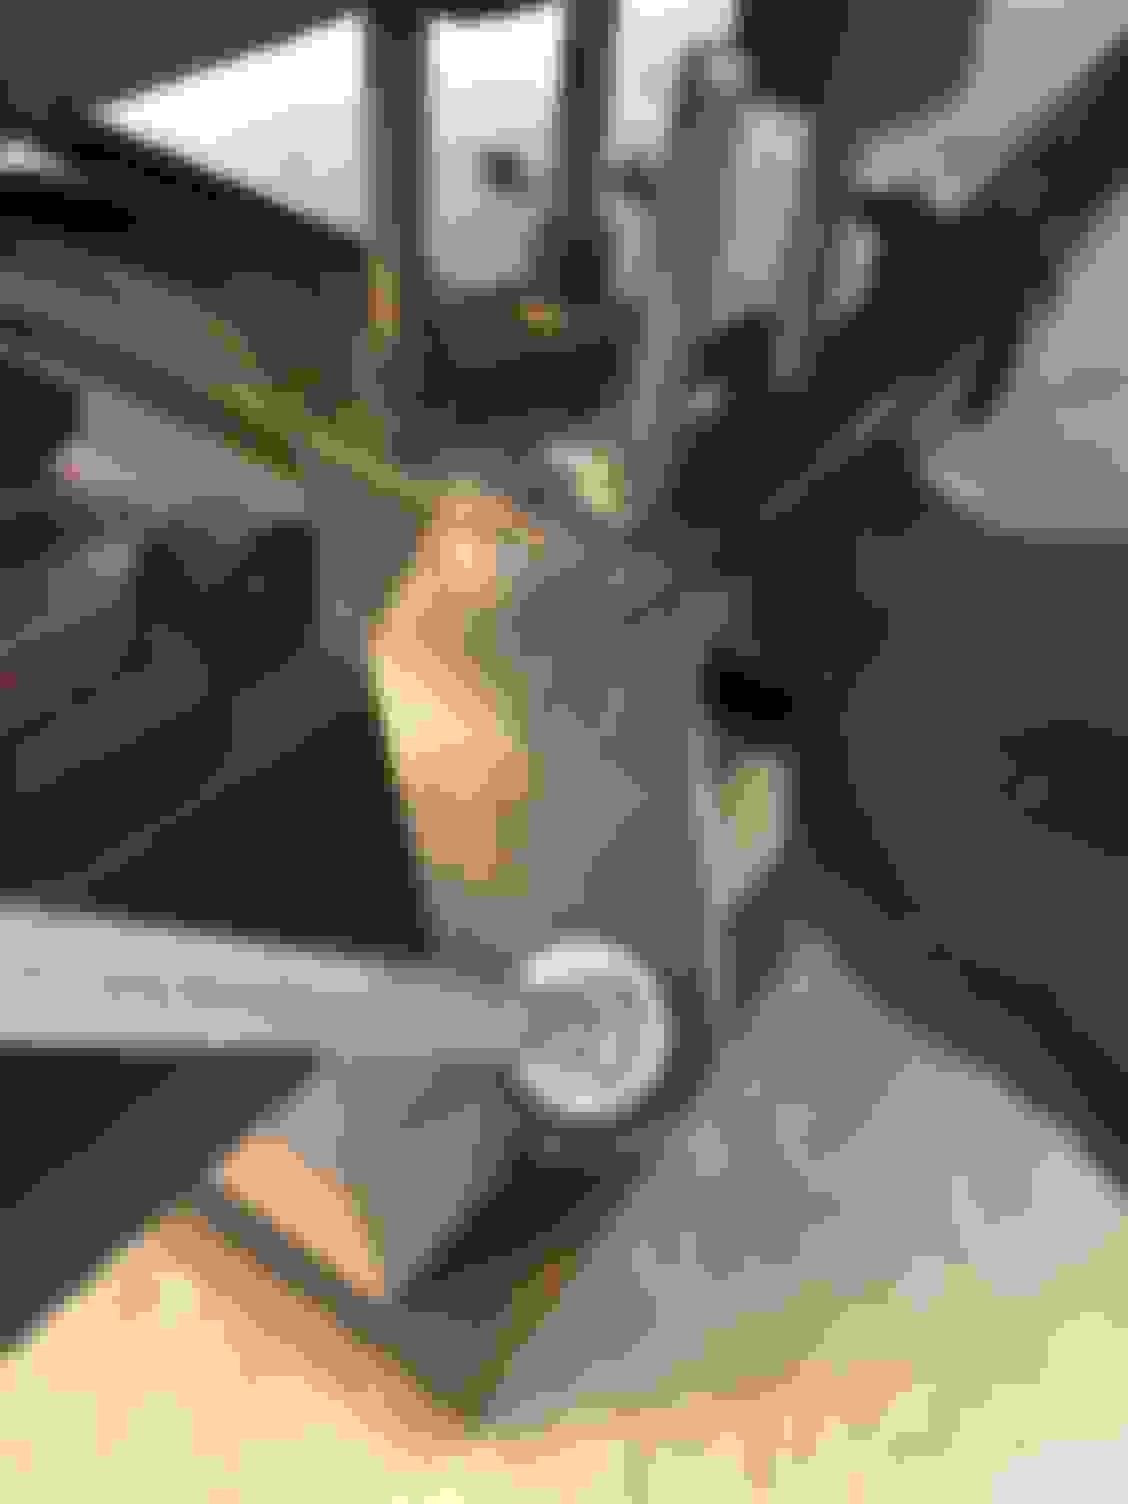
Setting the trajectory of the shocks.
Setting the trajectory of the shocks.
Setting the trajectory of the shocks.
Mounted a piece of plate on top of the axle and another on the all thread to get the same angle as the top mount.
Bent the top piece to match the angle of the piece on the all thread.
Ready to be tack welded.
Ready to be tack welded.
Tack welded the top.
Tack welded the bottom.
Welded and the excess cut off. Dry fit is perfect!!
Side view.
Still need to give it more support with a gusset or maybe another piece of plate running back to the axle.
Great work! The craftmanship is very cool. Fun to watch the picture sequence of going from concept to final product. Wish I had that ability!
It's not so much that I have the ability but more that I grew up poor on a ranch where everything always needed to be fixed. I do enjoy figuring out a solution to problems though.......
Went by the welding/fabrication shop all the farmers in town use and showed them my shock bracket. Asked what they suggested for a gusset and they said unless I bottom out the shock, it is plenty strong enough as is.
Great work!! I like the way you are keeping it simple and improvising. I do wish you'd hurry up and cut those U-bolts off, that's just tweaking me everytime I see them,lol.
Great work!! I like the way you are keeping it simple and improvising. I do wish you'd hurry up and cut those U-bolts off, that's just tweaking me everytime I see them,lol.
I'm toying with adding another 1/4" on the bottom for better clearance over the springs and I may have to shim it for the right king pin angle. Have to wait until I put the front clip back on for that.......
Great work!! I like the way you are keeping it simple and improvising. I do wish you'd hurry up and cut those U-bolts off, that's just tweaking me everytime I see them,lol.
Started to tackle the rear suspension today. Was only 101 degrees. Better than the 112 degrees yesterday. Pulled the bed off. Had to cut the four middle bolts but the rest came out. When I lifted it up, a petrified rat fell out. I figure it's been there a while since this has been sitting since 1969.
When I got the bed off, I saw that the leaf springs were actually riding on the bumps without the bed on. Even with a c-notch, I don't think it will have enough travel so I took apart the original springs and added leafs from the Jeep pickup/Waggoneer I had. Put it back on and now I have about 2 inches between the axle and the bumps. I'm leaving the u-bolts long so I can add blocks to adjust the height once the bed is back on. Sorry willowbilly3....
Now that I did an axle flip, the rear lower shock brackets I bought from oldbleu won’t bolt to the u-bolt plate because of the bend that protects the nuts. If I trim the bend off, the hole is against the cut. Also, for some reason that would put them too far forward. I used a piece of all thread to check the trajectory of the shock and made sure the crossmember wasn’t bent. I could bend the top mounts but I would have to match the bottom studs to the bend and that seems like a lot of extra work. Anyway, If I use a piece of flat across the spring and 2 grade 8 bolts to secure the shock mount under the spring against the u-bolt plate, it lines up perfectly with the trajectory of the upper shock mounts. I’ll have to make sure it’s not below the scrub line though. If so, I’ll have to fabricate something….
Now that I've got the height I want, I'm going to take the springs into Sacramento Spring in West Sacramento to have clamps installed to tighten up the ends and new bushings pressed in. While the bed is off, I'm going to try and find a gas tank that will fit in the frame. I’m also going to knock out the c-notch. The plan is to use the piece of square iron I pulled from a farmers scrap pile though buying a pre-bent c-notch kit might be easier.
I need to order a different spring perch as the ones I cut off the donor rear end from the ’63 Galaxie have holes that are too big. Once I get that, I’ll set the pinion angle and then tack weld it. After that, I’ll pull the axle out, weld the perches, pull out the 370 pumpkin, install the 300 pumpkin, clean it up, and paint it with the rust reformer/flat paint. Since I have to go new on everything for the brakes, I may do a rear disc conversion as well as the front discs but I can decide that later after it’s on the truck.
Getting excited…….
Today the bed comes off.
PB Blaster, a little muscle and a wrench, a grinder with a cutting wheel fro the frozen bolts, a strap on each corner, and a hoist and it came right off.
That is real steel on that bed. Lifting a new bed like that and it might fold up.
Rolled the truck out of the way and put the rolling bed stand I made under the bed.
Kinda looks like my back and the back of my neck. Been triple digits all week.112 degrees yesterday.
Even with the bed off, the axle hits the bump stops (with axle over springs swap).
The spacers between the bed and frame were wood at some point. Kinda crumbled and disappeared when I touched it.I'm thinking this is the best place for a rear gas tanks.
This petrified guy fell out when I lifted the bed. Maybe I will lacquer it and use it as a hood ornament.
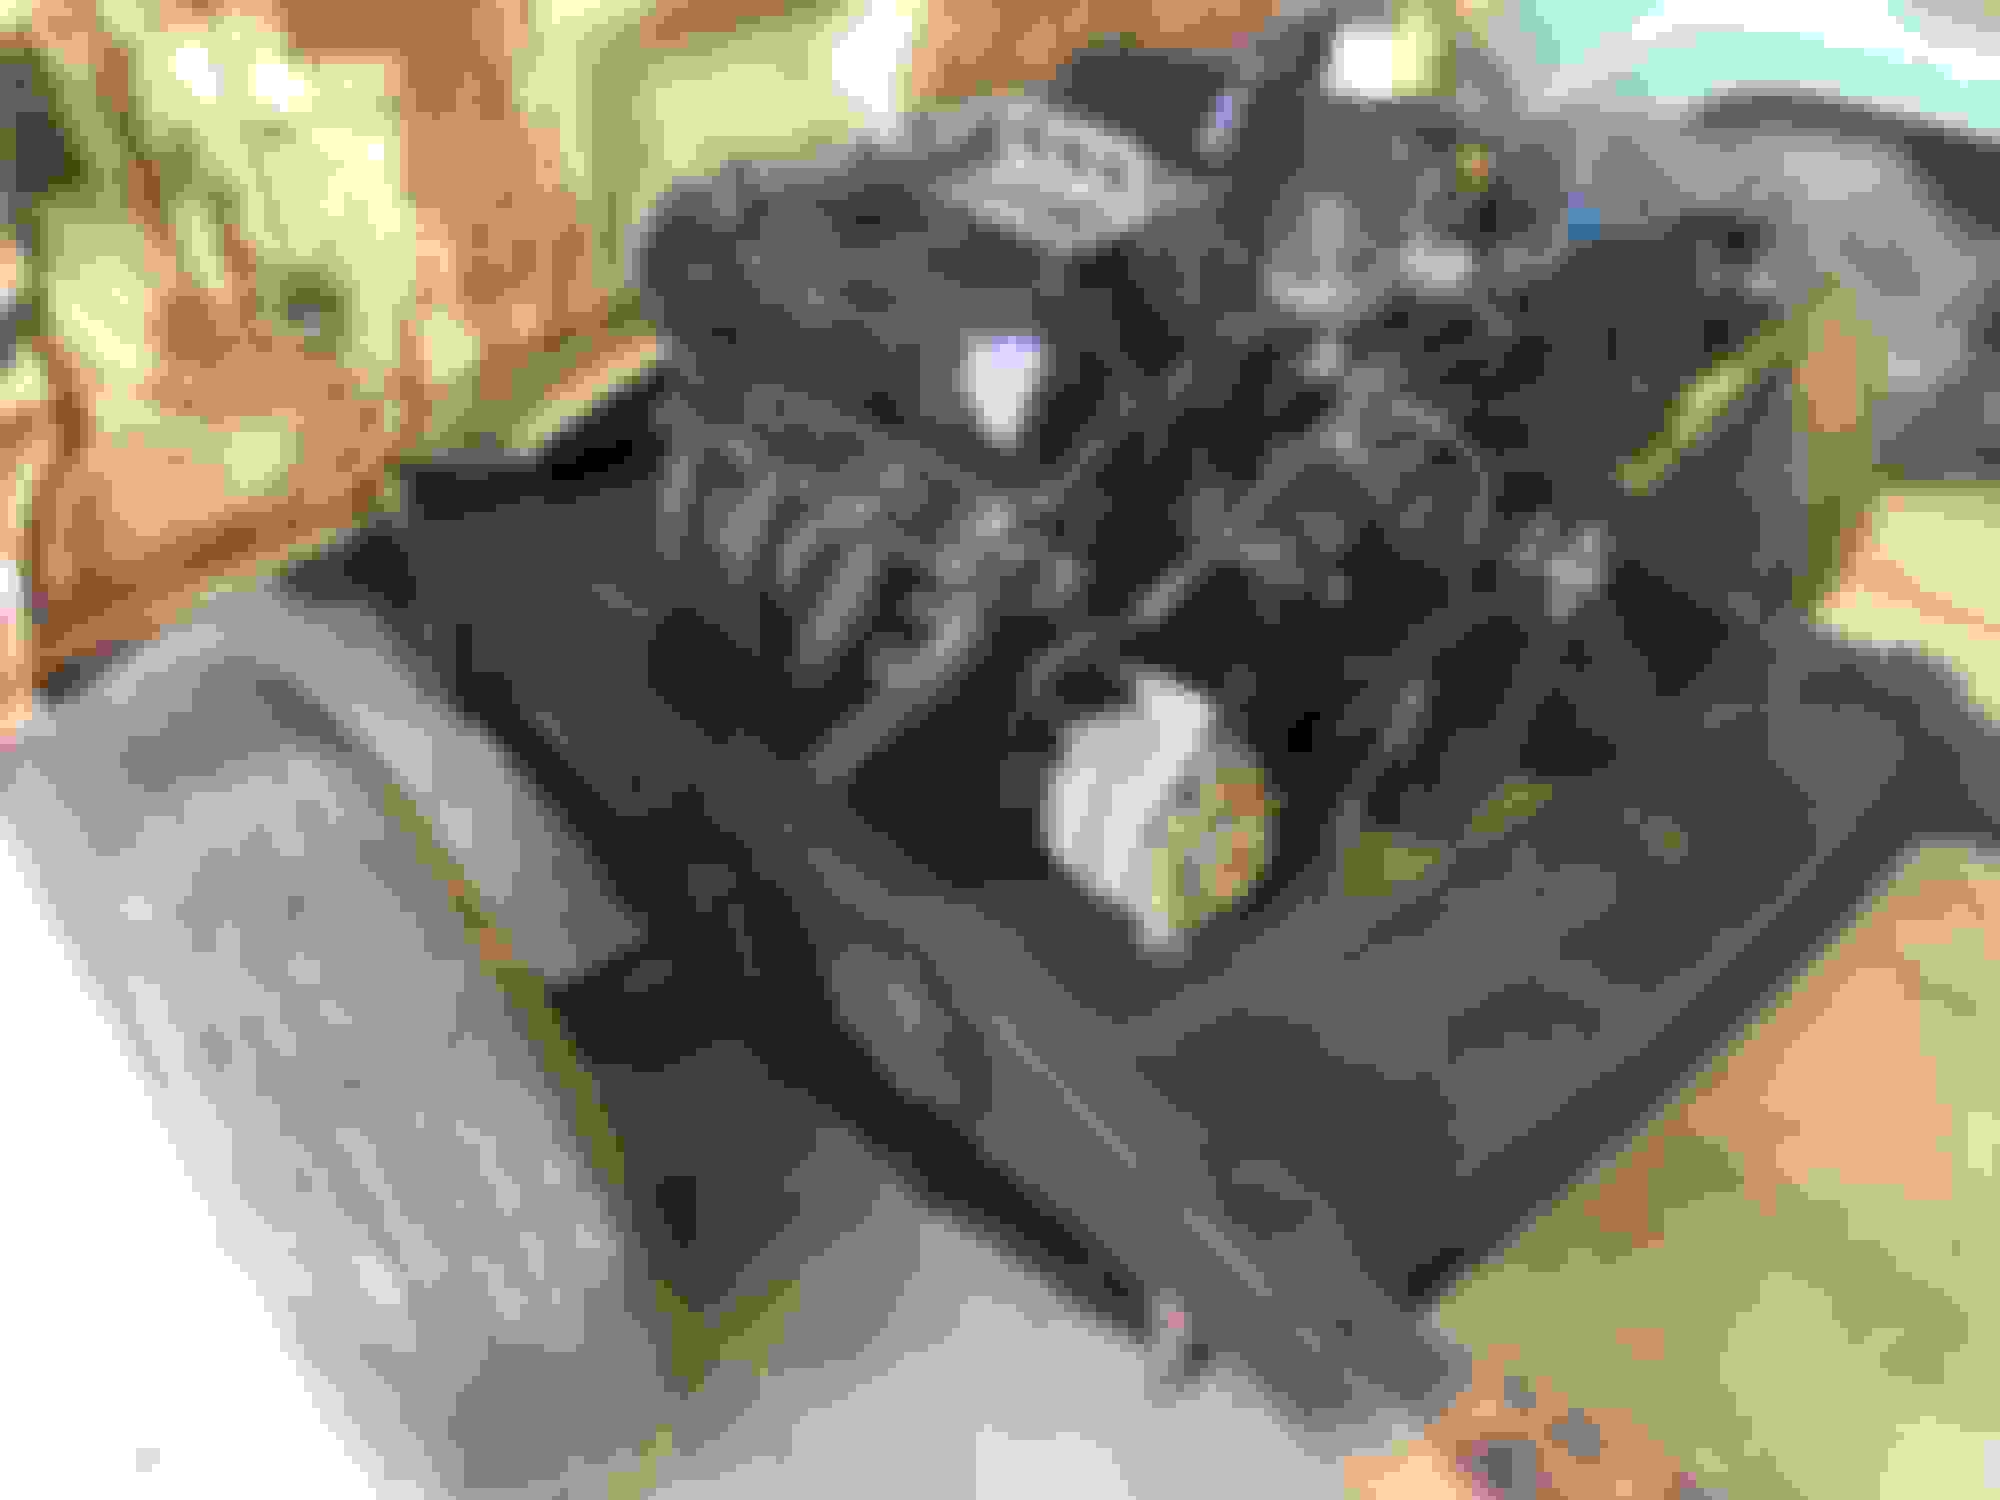
Has 370 gears in the rear. This is coming out.
Gonna put this 300 gear pumpkin in.
At first there were two. Took them apart and kinda shuffled them together like a deck of cards until I had what I wanted.
Here is the final. Still need clamps, new bushings and some cleaning and paint.
Now have about 2" of clearance. Once I get the bed back on, I can use blocks to set the right height.
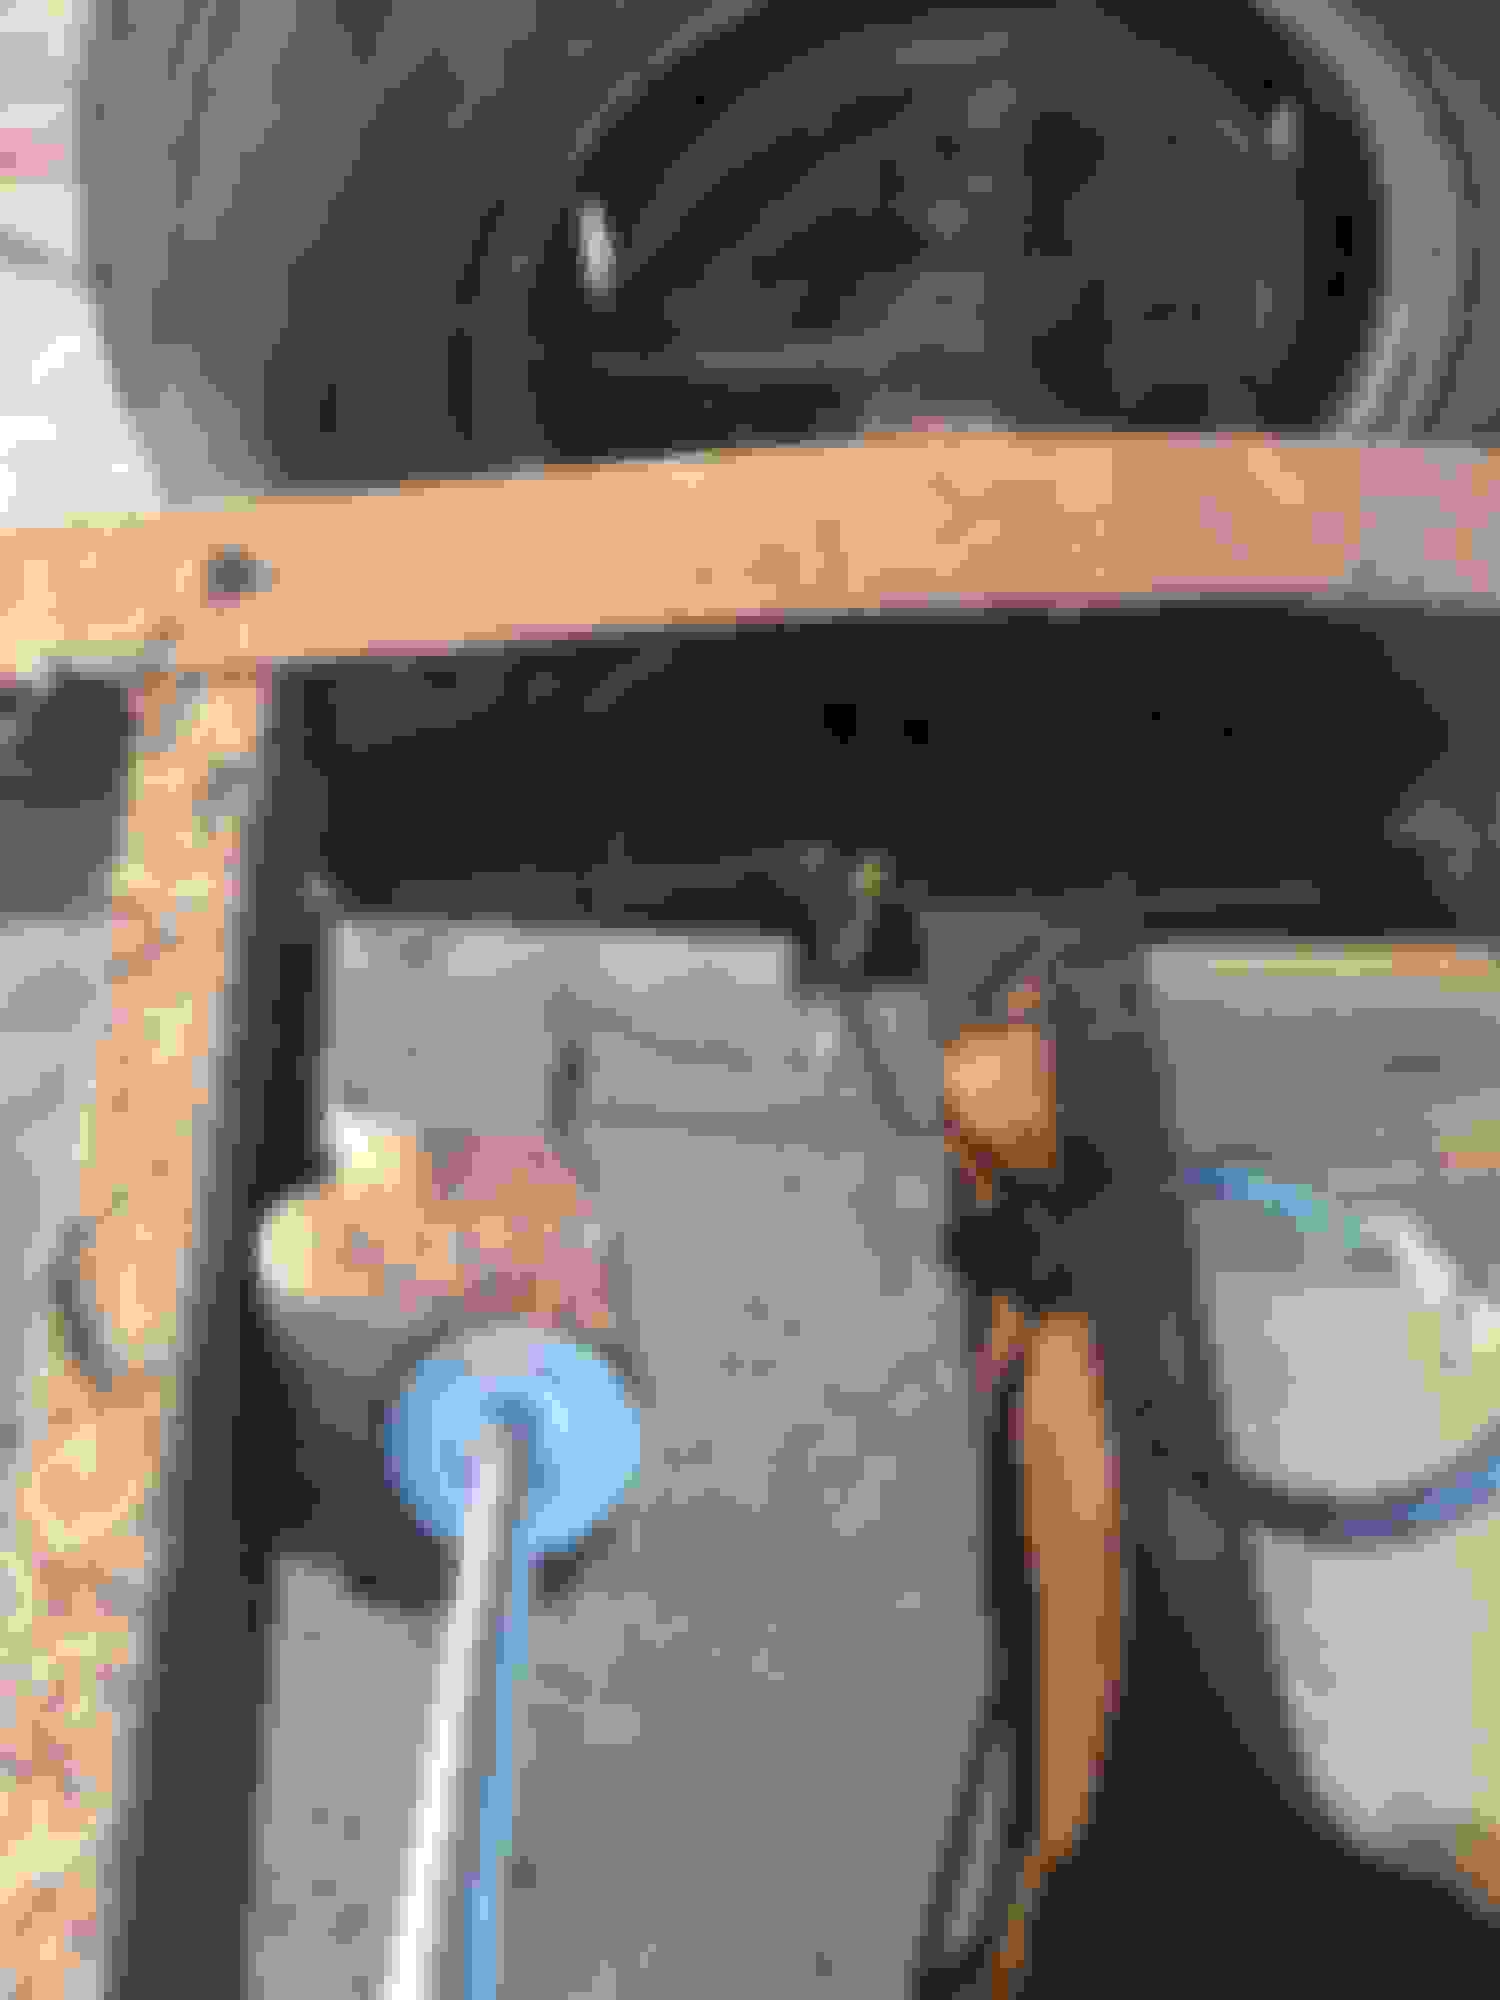
Trajectory of the shocks based on the top mount isn't even close to where the bottom mounts would be bolted to the u-bolt plate.
I could bend the upper mounts but then I would have to do the same for the lower brackets. Too much work.
Solution is to mount the bracket under the spring against the u-bolt plate. lines up perfect there. Gonna use a piece of flat plate on top and 2 grade 8 bolts to mount it. U-bolt was only used for mock up.
Here is the square piece of steel I planned on using for the c-notch. I may buy a kit that is pre bent and pre cut.
I will post this on a seperate thread also. The more poles you have in the water, the more likely you will catch a fish......
Brakes:
Getting ready to put the rear end back together tonight. The only usable part of the rear brakes is the backing plate and that is covered in rust.
My donor rear end is from a '63 Galaxie. Brake assembly is complete and rust free. Shoes even look new. So now for the questions.
Is the diameter and shoe width the same size? I trashed all the old stuff so I can't compare.
If not, can I get drums to fit this assembly with the 5x5.5 pattern?
What application should I refer to at the parts store?
Can I swap the shoes for the correct size?
What is the most common isotope of hydrogen?
Will I have any issues with the wheel cylinder size?
Ride Height:
When the truck is sitting on a level pad and is level front to back, is the measurement of the front frame ears to the ground the same distance as the rear frame ears?
If not, which is higher and by how much?
I've reworked my rear springs and now have 4" clearance between the axle and frame (not the bumpstop) without the bed. I weigh 220 and when I stand on the rear of the frame, it drops about 3/4 of an inch. I am guessing that after the bed is on, I would have about 2" to 2.5" clearance. With a C-notch I would have about 5 " clearance. Anyone running with this little clearance?
With the rear bottom shock mount in place, I now have 16.5" between the mounts. That will probably drop to 15" or so. What are the specs for a stock rear shock?
Rezvani's Latest Post-Apocalyptic Monster Is a Ford F-150 Raptor Underneath
Slideshow: Called the Fortress, the 850-horsepower pickup combines Raptor underpinnings with military-inspired features, survival equipment, and a starting price of $285,000.