


Heater hose assembly replacement


Thread Starter
|
Tuned


Joined: Jul 2013
Posts: 268
Likes: 2
Heater hose assembly replacement
Good Afternoon,
Today I noticed a leak at the heater hose assembly at the right rear of the engine comparent. It appears to have special connectors and that appears to be where the leak is coming from. Other than purchasing the entire assembly has anybody fixed this issue another way?
Thank you,
Jeff
Today I noticed a leak at the heater hose assembly at the right rear of the engine comparent. It appears to have special connectors and that appears to be where the leak is coming from. Other than purchasing the entire assembly has anybody fixed this issue another way?
Thank you,
Jeff
Thread Starter
|
Tuned
Joined: Jul 2013
Posts: 268
Likes: 2
Well I finally went ahead and took care of the leaking heater hose assembly which was leaking.It turns out the problem was actually the Y fitting, it was starting to crack under the hoses and the clamps were no longer holding enough of the plastic to become effective.Below is a description of what I did to fix this issue.This is on a 04 Excursion, 4x4, Limited, 6.0 PSD, 138K mileage.
Tools needed for this job were:
¼” ratchet
2ea 8” ¼ drive extensions
5/16” ¼ drive socket
Flat head screw driver
Something to cut the old plastic clamps, I used the saw on my Leatherman
10mm socket or wrench
Something to cut heater hose
Pliers
Something to remove the spring clamp on the heater hose assembly, I used a tool specifically designed for this issue.Autozone sells them for about $25, well worth the investment.
First remove the bracket just above the AC dryer using the 10mm tool and then remove the 3 posts using the pliers on the very top portion.The only reason for removing this piece is to help gain access to the Y fitting.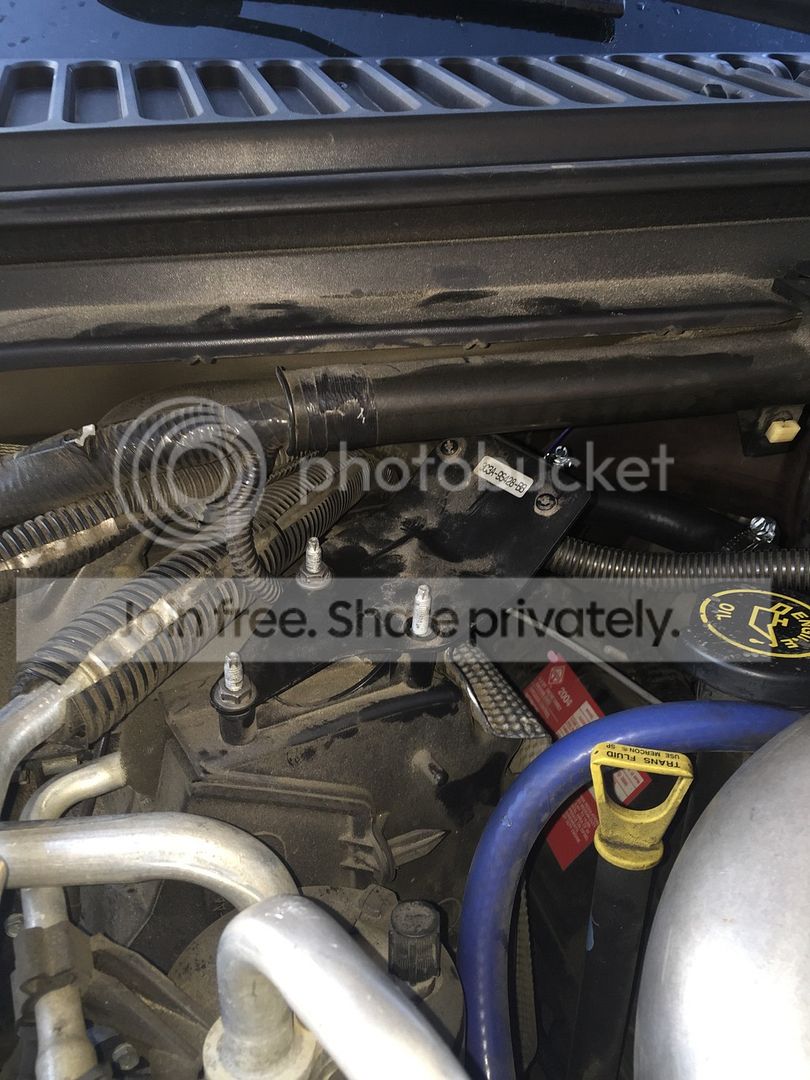
Next remove the spring clamp on the engine side of the Y fitting.Coolant will leak from this so be ready.Remove the vacuum line from the bottom of the relay and pull the relay up and wedge it up in front of the upper wiring harness.
Remove the plastic compression clamps using whatever you have available and can get into the small area.I used the saw on my Leatherman and took it very slow to ensure I did not cut into the heater hose.
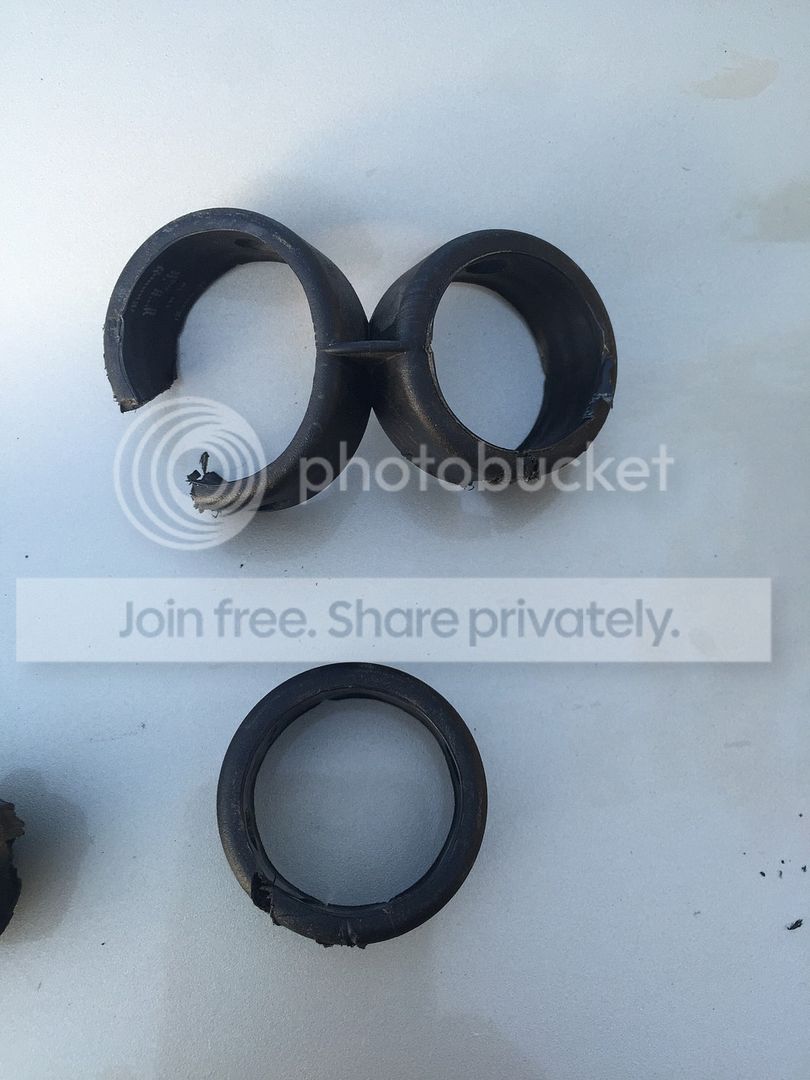
Once you have removed the single clamp on the engine side, it will come off somewhat easy you can start on the back clamps.These two clamps are actually a single piece and you will need to break each loose before you can remove them completely.Picture shows what they look like when off.
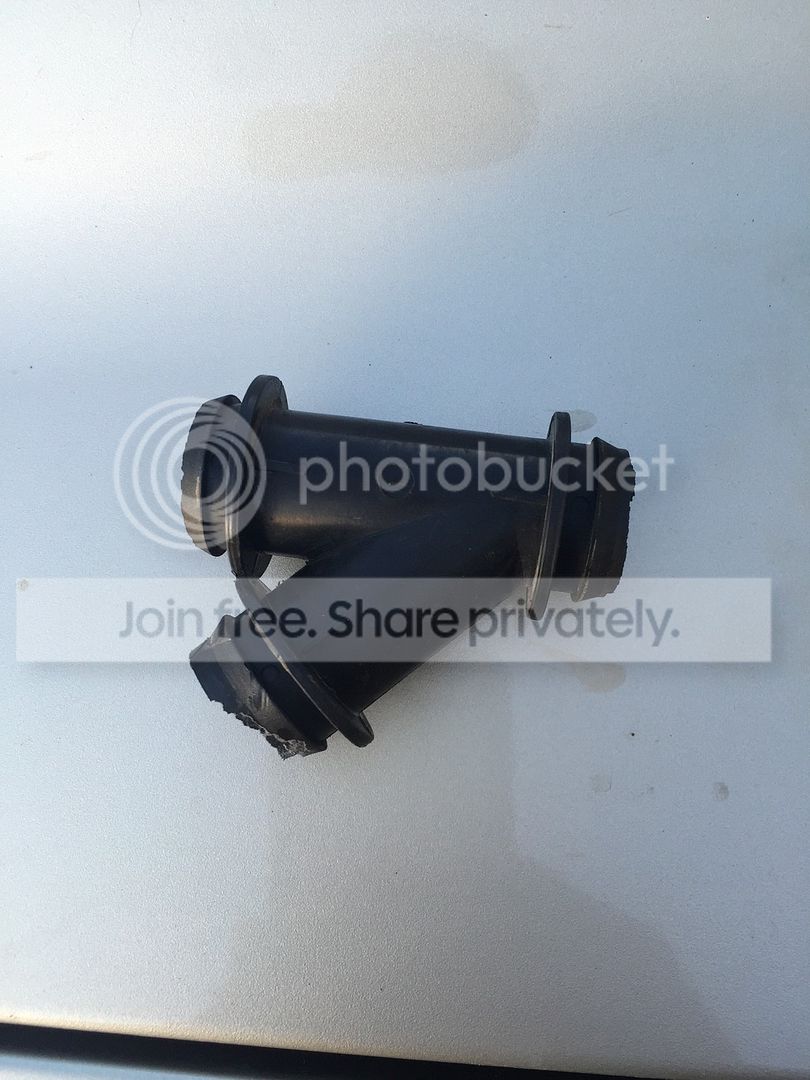
Once you have the clamps removed you can start getting the hoses off the Y fitting.It will most likely be broke, like the one if the picture below, so make sure you hold the hoses in the down position and clean them out.You don’t want any of the pieces falling down into the hoses, this will cause cooling issues when they become lodged in your oil cooler.I used a small flat head screw driver and worked it around the end of the hose to break the hose free from the Y fitting.
Once you get all 3 hoses cleaned out it is time to start putting things back together.You will need the following parts
¾” T fitting,I found mine at Autozone
3-4 hose clamps for ¾” heater hose
2 feet of ¾” heater hose if you wish to replace any while you are working in this area.I replaced the 6” from the Y fitting to the vacuum relay on the engine side.
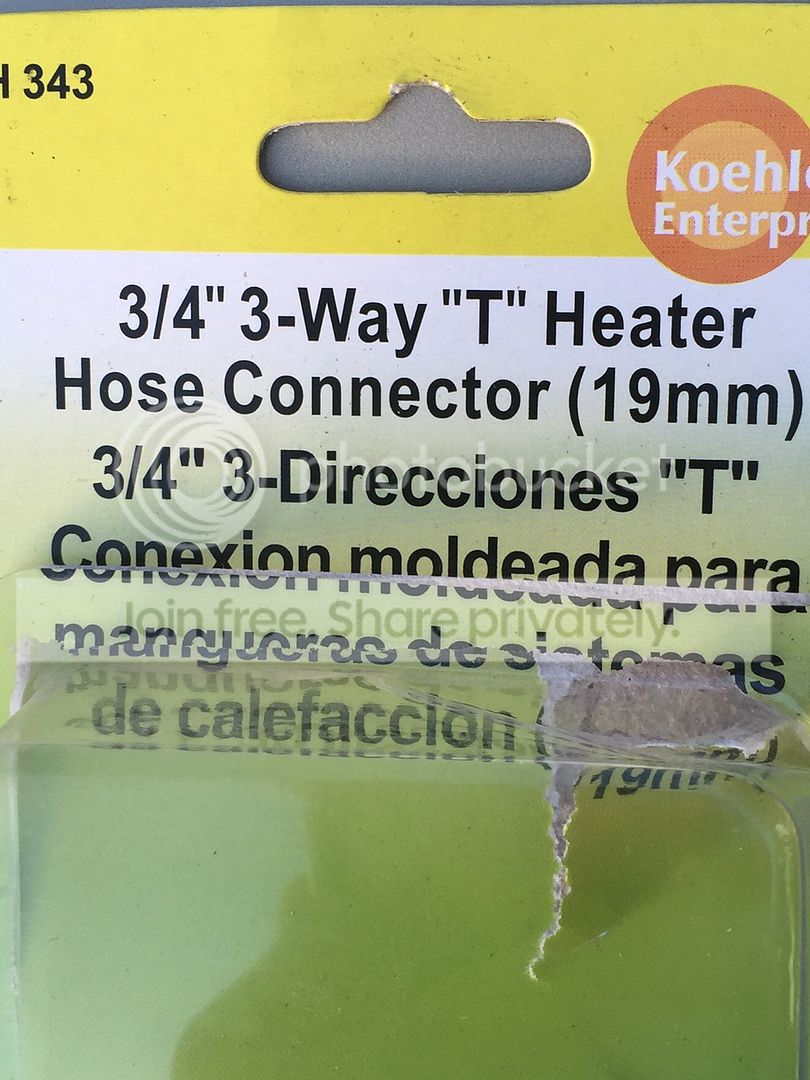
I would recommend putting a zip tie on the downward running heater hose to prevent your hose clamp from sliding down and becoming very difficult to retrieve.Make sure it isn’t too tight, you do not want to cause any restriction in the hoses.
Put all the pieces back together, making sure the heater hoses are fully against the stops on the T fitting.Use new hose clamps to make a tight seal.Us the 5/16 socket and 2 long extensions to allow yourself some room to get one hand on the hose clamp to hold it in place and the other to tighten the clamp with the ratchet.Once all the hoses are in place make sure you reconnect the vacuum line to the bottom of the relay on the engine side of the assembly.
Below is a picture of the completed project.It is difficult to see the down hose but you can see the zip tie is still in place.
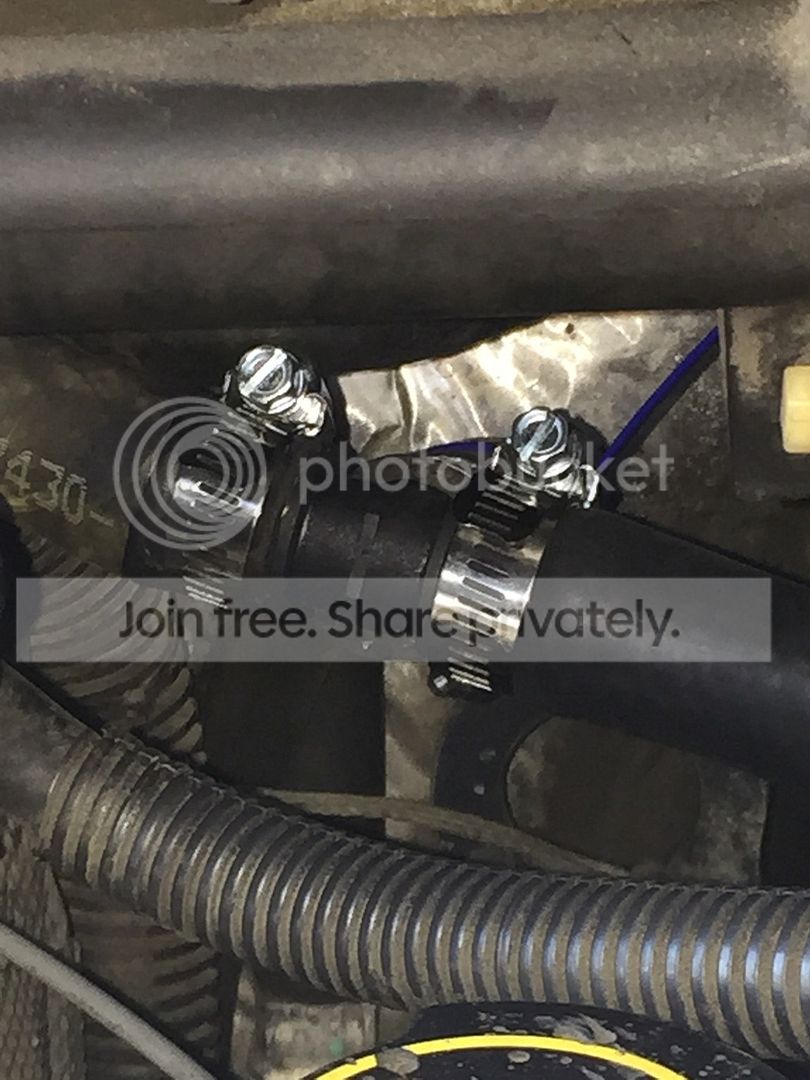
Once you have completed this project start your vehicle, let it get to operating temperature, refill the reservoir, then shut it off and come back to look for leaks about 5-10 min later.This will allow pressure to build in the system and leaks will be more visible.
Good Luck.
Tools needed for this job were:
¼” ratchet
2ea 8” ¼ drive extensions
5/16” ¼ drive socket
Flat head screw driver
Something to cut the old plastic clamps, I used the saw on my Leatherman
10mm socket or wrench
Something to cut heater hose
Pliers
Something to remove the spring clamp on the heater hose assembly, I used a tool specifically designed for this issue.Autozone sells them for about $25, well worth the investment.
First remove the bracket just above the AC dryer using the 10mm tool and then remove the 3 posts using the pliers on the very top portion.The only reason for removing this piece is to help gain access to the Y fitting.

Next remove the spring clamp on the engine side of the Y fitting.Coolant will leak from this so be ready.Remove the vacuum line from the bottom of the relay and pull the relay up and wedge it up in front of the upper wiring harness.
Remove the plastic compression clamps using whatever you have available and can get into the small area.I used the saw on my Leatherman and took it very slow to ensure I did not cut into the heater hose.
Once you have removed the single clamp on the engine side, it will come off somewhat easy you can start on the back clamps.These two clamps are actually a single piece and you will need to break each loose before you can remove them completely.Picture shows what they look like when off.

Once you have the clamps removed you can start getting the hoses off the Y fitting.It will most likely be broke, like the one if the picture below, so make sure you hold the hoses in the down position and clean them out.You don’t want any of the pieces falling down into the hoses, this will cause cooling issues when they become lodged in your oil cooler.I used a small flat head screw driver and worked it around the end of the hose to break the hose free from the Y fitting.

Once you get all 3 hoses cleaned out it is time to start putting things back together.You will need the following parts
¾” T fitting,I found mine at Autozone
3-4 hose clamps for ¾” heater hose
2 feet of ¾” heater hose if you wish to replace any while you are working in this area.I replaced the 6” from the Y fitting to the vacuum relay on the engine side.

I would recommend putting a zip tie on the downward running heater hose to prevent your hose clamp from sliding down and becoming very difficult to retrieve.Make sure it isn’t too tight, you do not want to cause any restriction in the hoses.
Put all the pieces back together, making sure the heater hoses are fully against the stops on the T fitting.Use new hose clamps to make a tight seal.Us the 5/16 socket and 2 long extensions to allow yourself some room to get one hand on the hose clamp to hold it in place and the other to tighten the clamp with the ratchet.Once all the hoses are in place make sure you reconnect the vacuum line to the bottom of the relay on the engine side of the assembly.
Below is a picture of the completed project.It is difficult to see the down hose but you can see the zip tie is still in place.

Once you have completed this project start your vehicle, let it get to operating temperature, refill the reservoir, then shut it off and come back to look for leaks about 5-10 min later.This will allow pressure to build in the system and leaks will be more visible.
Good Luck.

Thread
Thread Starter
Forum
Replies
Last Post
Spaceman Spiff
1997 - 2003 F150
13
Dec 9, 2014 08:05 PM
jcstepmom28
1987 - 1996 F150 & Larger F-Series Trucks
6
Nov 21, 2014 04:16 PM







