When you click on links to various merchants on this site and make a purchase, this can result in this site earning a commission. Affiliate programs and affiliations include, but are not limited to, the eBay Partner Network.
Glad to see folks are getting some use out of all those pictures! This forum is great and I've learned so much that it's nice to be able to give back in some small way. Old George is still packed away from the long winter here, but I should have him on the road soon. I haven't done much but drive him in the last couple of years. Lately we've been working on my son's 61 Unibody. A couple more tweaks and "Big Red" will be on the road as well. Enjoy those old Fords!
I got mine back in without too much trouble but I can't figure out how to get it to close tightly on the drivers side. Is there any way to adjust the pressure that the lever applies when closed?
That's a good question Dan. I haven't look at mine in a long time, but I'll take a look and let you know if I see a way. However, my guess is that it's a bit torqued and may need taken out in order to get it square/straight before it's put back in.
That's a good question Dan. I haven't look at mine in a long time, but I'll take a look and let you know if I see a way. However, my guess is that it's a bit torqued and may need taken out in order to get it square/straight before it's put back in.
Mine was the same way and I decided that it was bent from being torqued down harder on that side since the handle is on that side. I ended up bending down on that side to even it back out. I believe I put a piece of wood on the side that was low between the lid and the seal area and pushed down on the high side. Eventually, I was able to even it out.
Mine was the same way and I decided that it was bent from being torqued down harder on that side since the handle is on that side. I ended up bending down on that side to even it back out. I believe I put a piece of wood on the side that was low between the lid and the seal area and pushed down on the high side. Eventually, I was able to even it out.
Doug, thanks for the suggestion. I'll give it a try. Dan
Not so gentle persuasion of the linkage didn't work for me to bring down the driver side of the vent lid so I shortened the lift arm on that side.
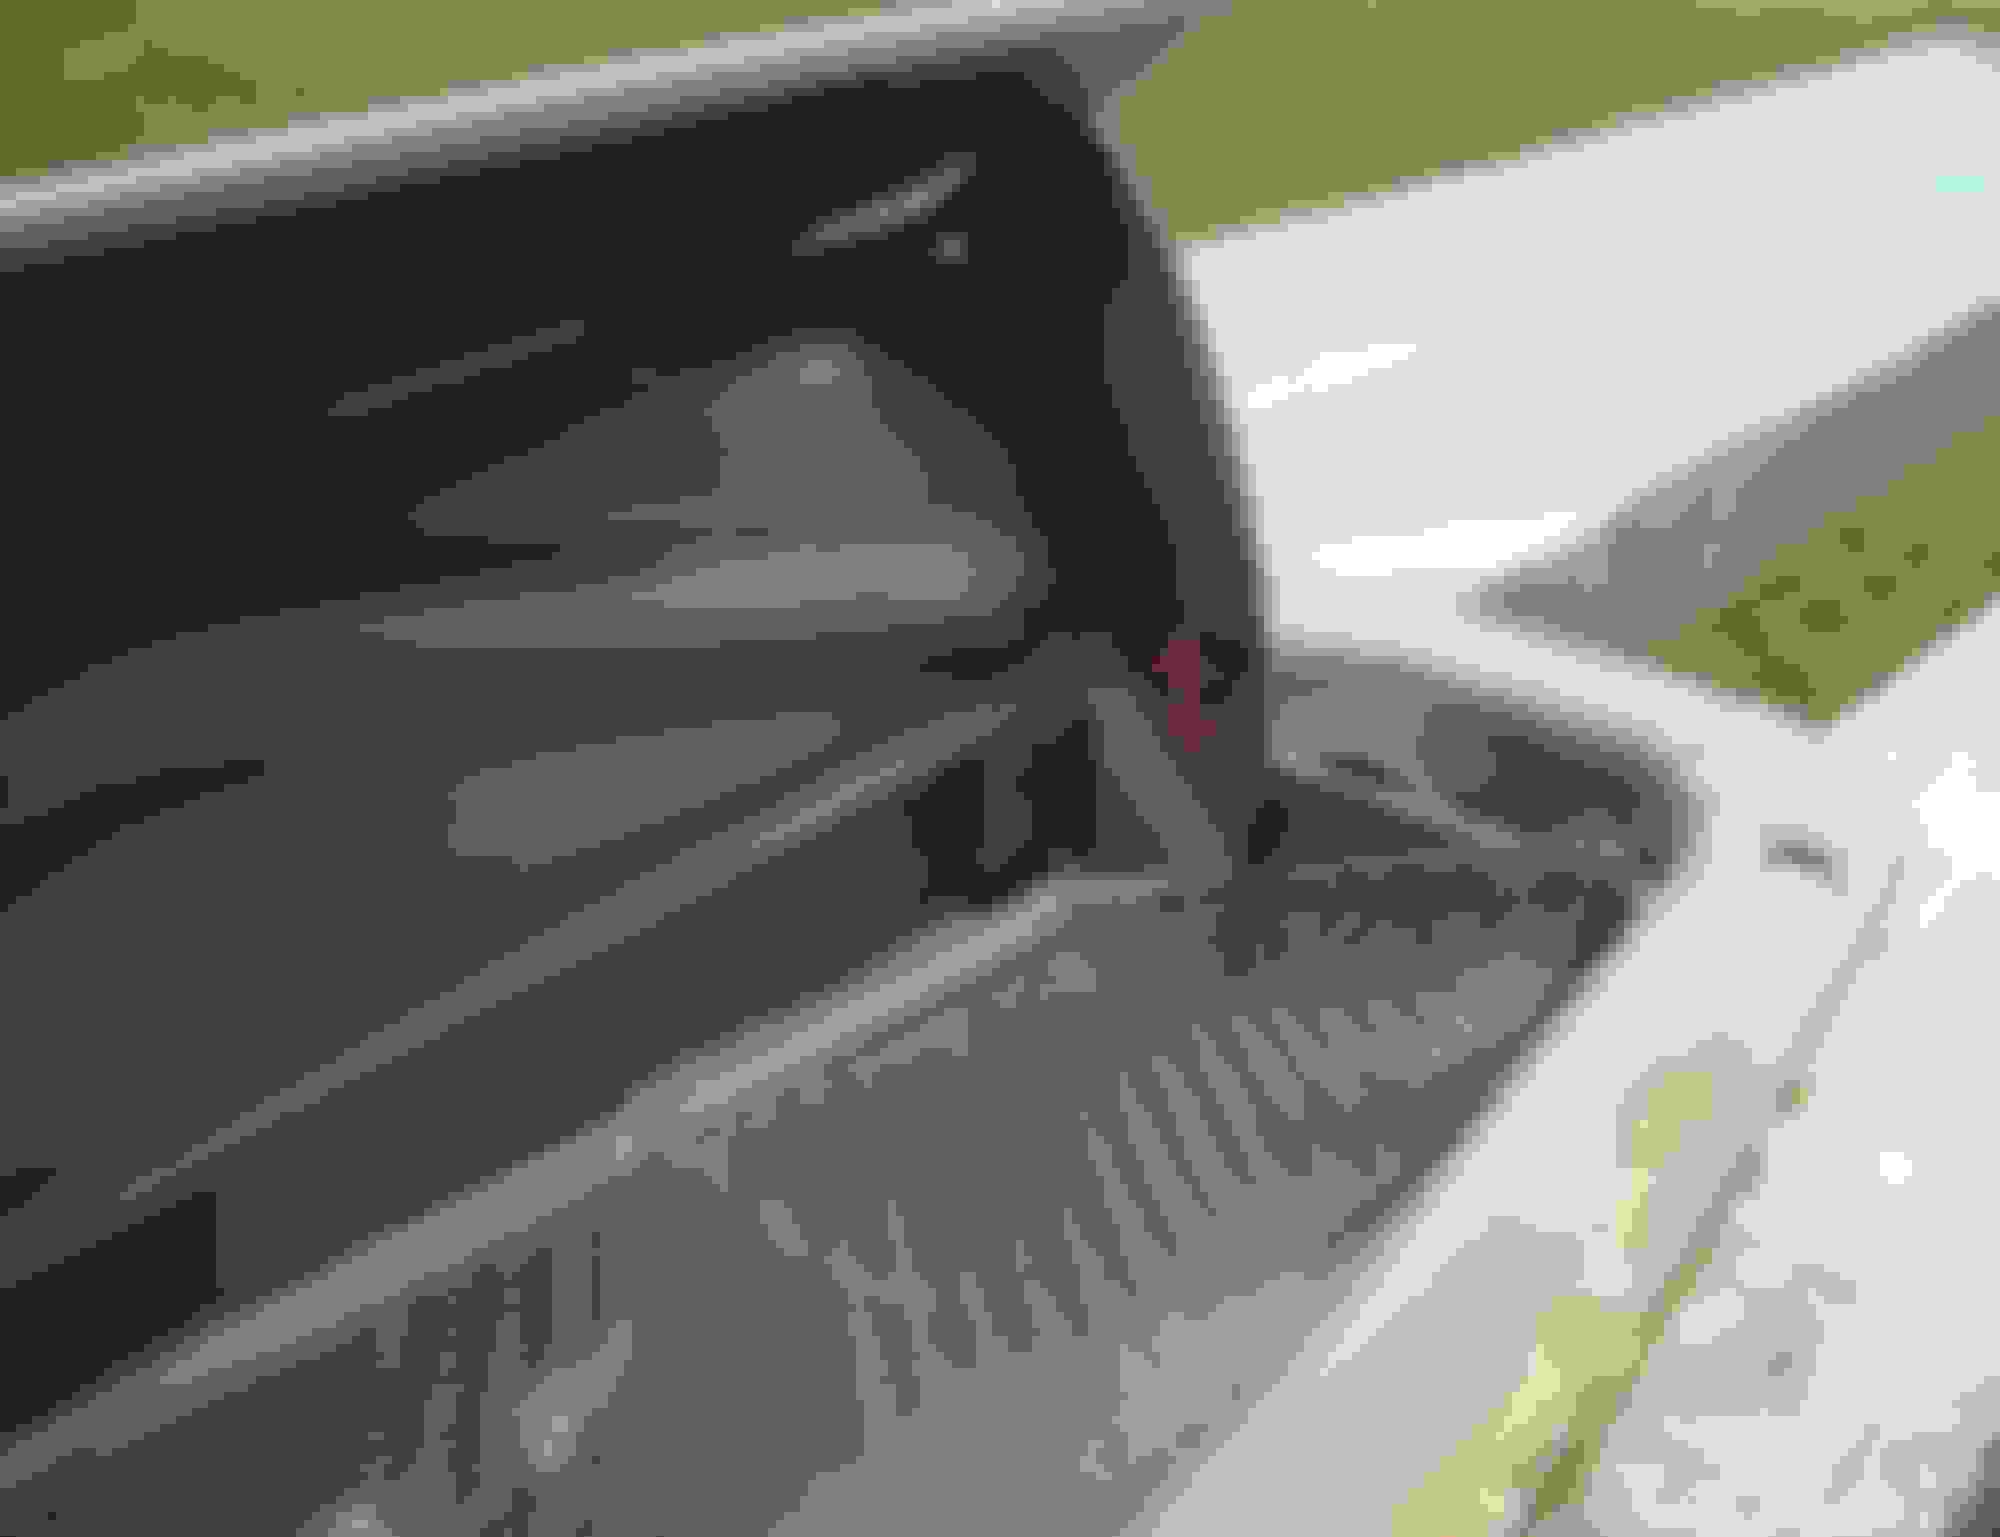
I noticed that the driver side was clearly higher than the passenger by comparing a similar 'feature' from side to side. Both pics were taken with the lid fully open.
I then marked off a small wedgie to be removed from the driver's side arm:
Make the cut and check that the lift 'bracket' sits evenly from side to side. For me, I could most easily judge this with the mechanism in the closed position.
Make sure that the driver bracket is centered and then carefully reweld - turn down the welder so that you don't fuse the whole shebang!
I don't think so. It was pretty clear (maybe not so much in the 1st two pictures I posted) that the driver's side was higher than the passenger. My options for fixing were kind of limited on a just-painted truck. Should have trial fit this before paint....I know. My hack job has solved the problem.....trial fit it this time!
Now back to repainting the vent assembly and re-gluing the seal.
The OP has it shown quite well. 4 screws to remove the lid/cover from the lift mechanism. One bolt-spring assembly to make the opening arm limp and free. 8 screws that attach the lift mechanism to the cowl. Lots of wiggling of the assembly to get it out.
Rezvani's Latest Post-Apocalyptic Monster Is a Ford F-150 Raptor Underneath
Slideshow: Called the Fortress, the 850-horsepower pickup combines Raptor underpinnings with military-inspired features, survival equipment, and a starting price of $285,000.