When you click on links to various merchants on this site and make a purchase, this can result in this site earning a commission. Affiliate programs and affiliations include, but are not limited to, the eBay Partner Network.
Never really posted here before but figured I should share my project since I've learned so much lurking around here reading everyone else's posts.
I'm working on swapping my 1960 F100 body onto a 2003 Crown Vic Police Interceptor frame, building my own "F100 Interceptor". I bought the Vic with the intention of taking the front suspension and motor/trans for my truck, and possibly the rear end. But then I decided if I'm taking the front, rear, and drive train I might as well just take the whole frame... I've seen it done on some 61 & newer trucks, but never on a fridge.
I'm already a couple weeks into the project so I'll summarize mostly with pictures.
Started by stripping the Vic down as far as I could while still leaving it driveable:
I also trimmed the wiring harness down while it was in the car, just pretty much worked my way from the out ends of the harness up to the main plug cutting out unnecessary circuits and re-wrapping it as I went.
Then I drove it over to my friend Troy's work, they have a lot of space and tools I don't have. Troy is the one doing all the fabrication for me, and is helping me out big time with this project. He was able to talk his boss into letting us work on my project there for a week- a full weekend day, a few nights after work, and a Saturday morning. It really fast-tracked the project.
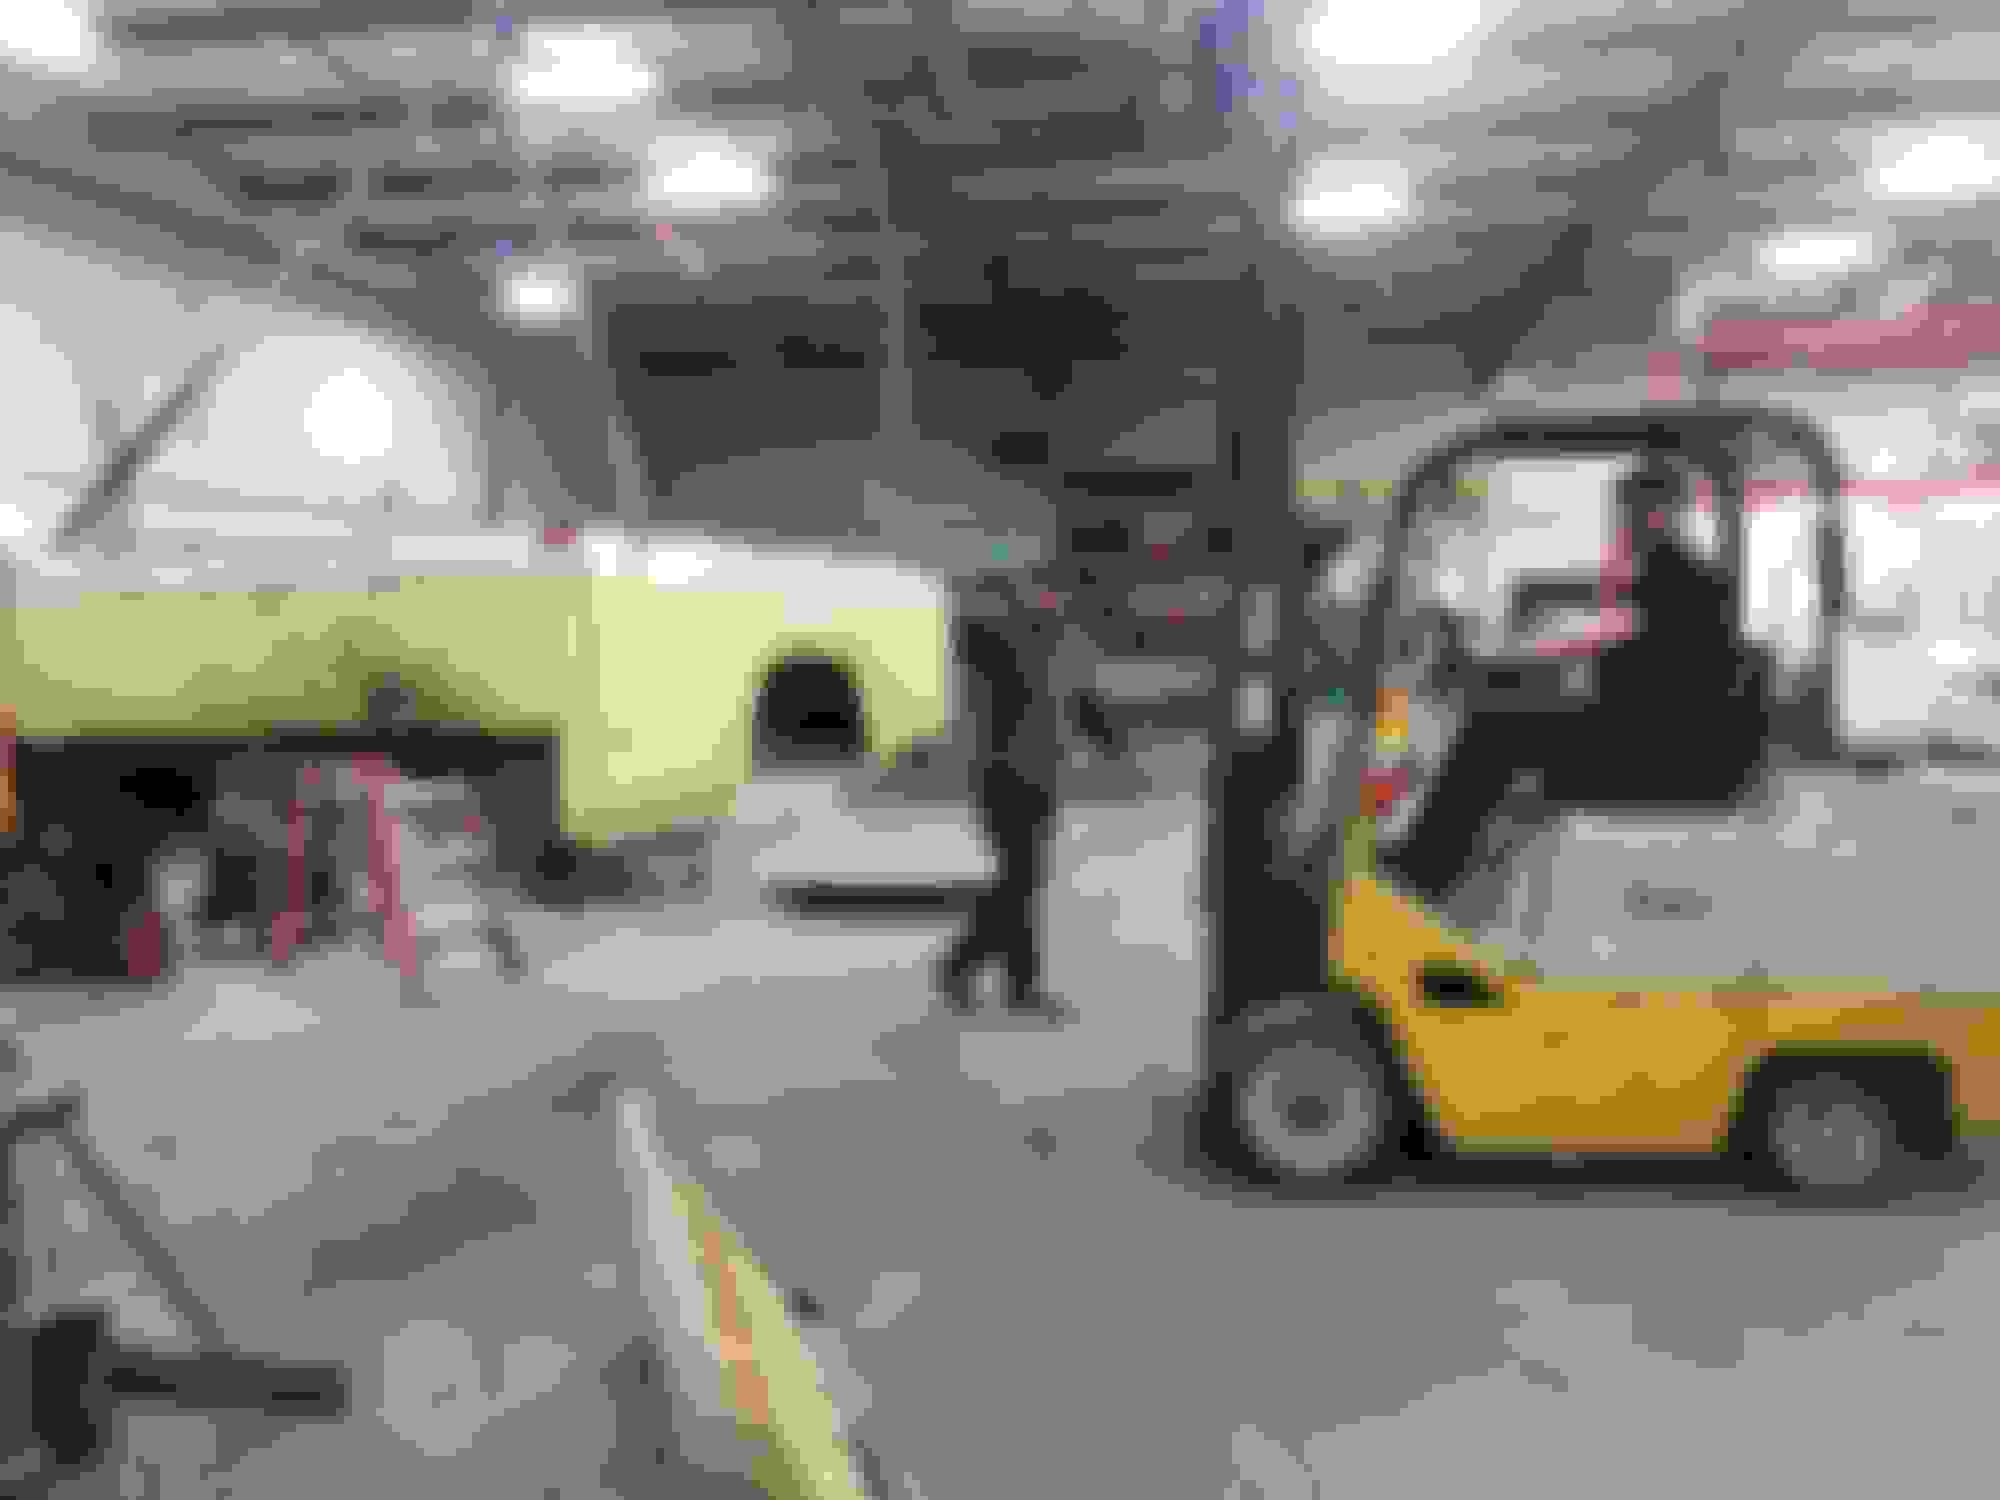
First we stripped the Vic body down completely, then welded the frame to a table so we could work on it safely for the week.
Next we pulled the body off.
Then we broke for lunch, brought the truck in, and started tearing it down:
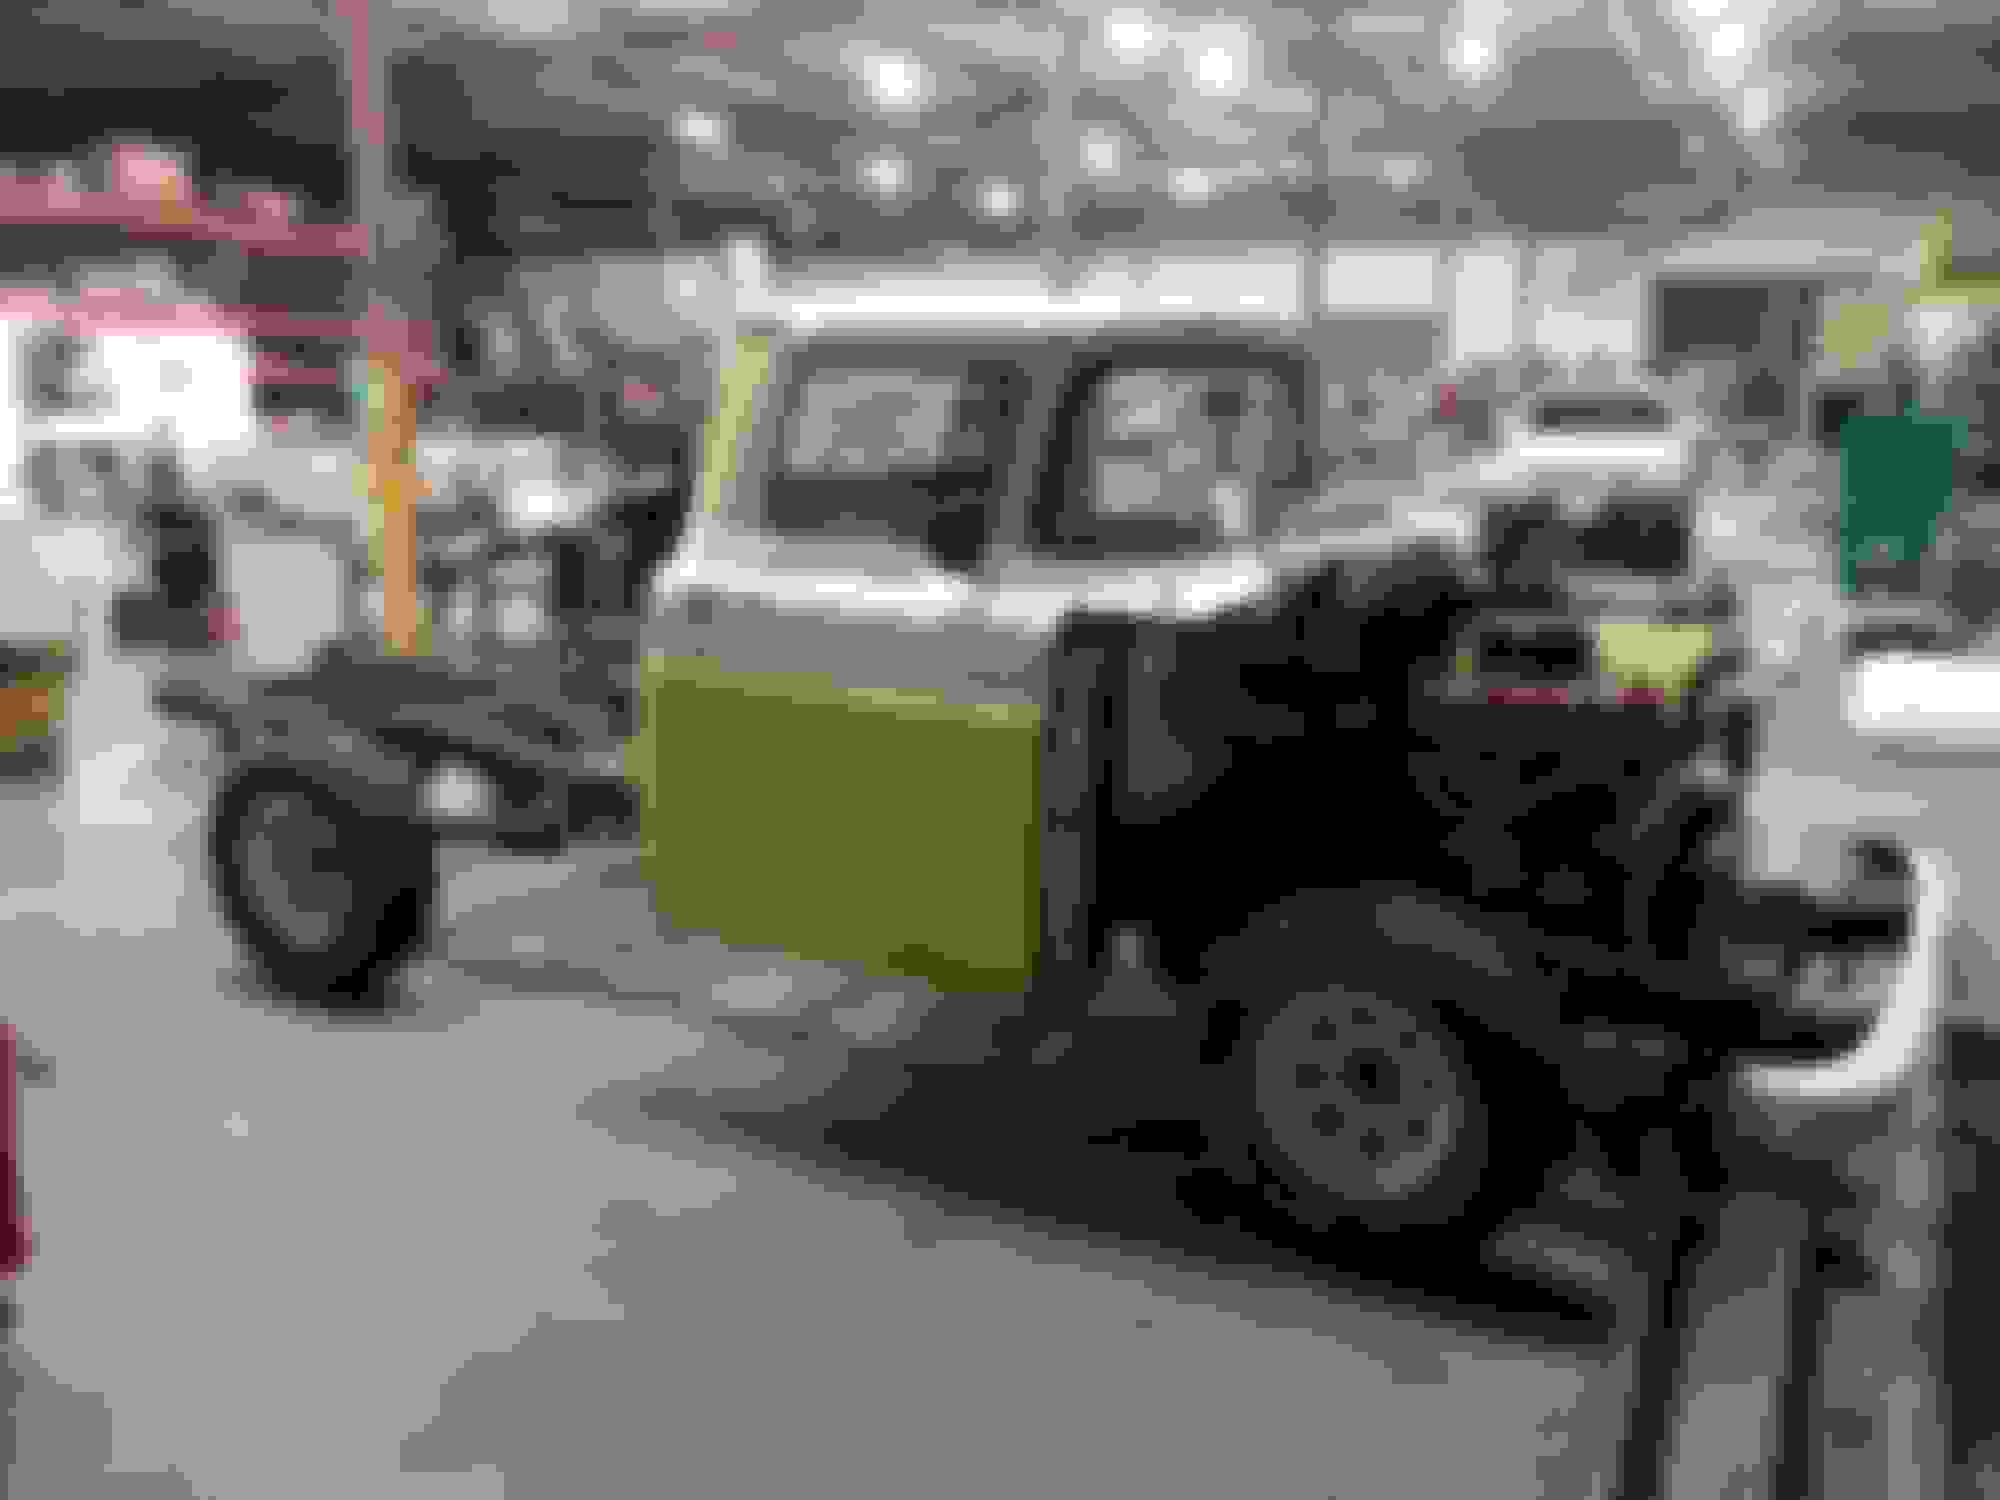
The Vic frame is quite a bit wider under the passenger compartment, so we had to cut out the side steps a bit:
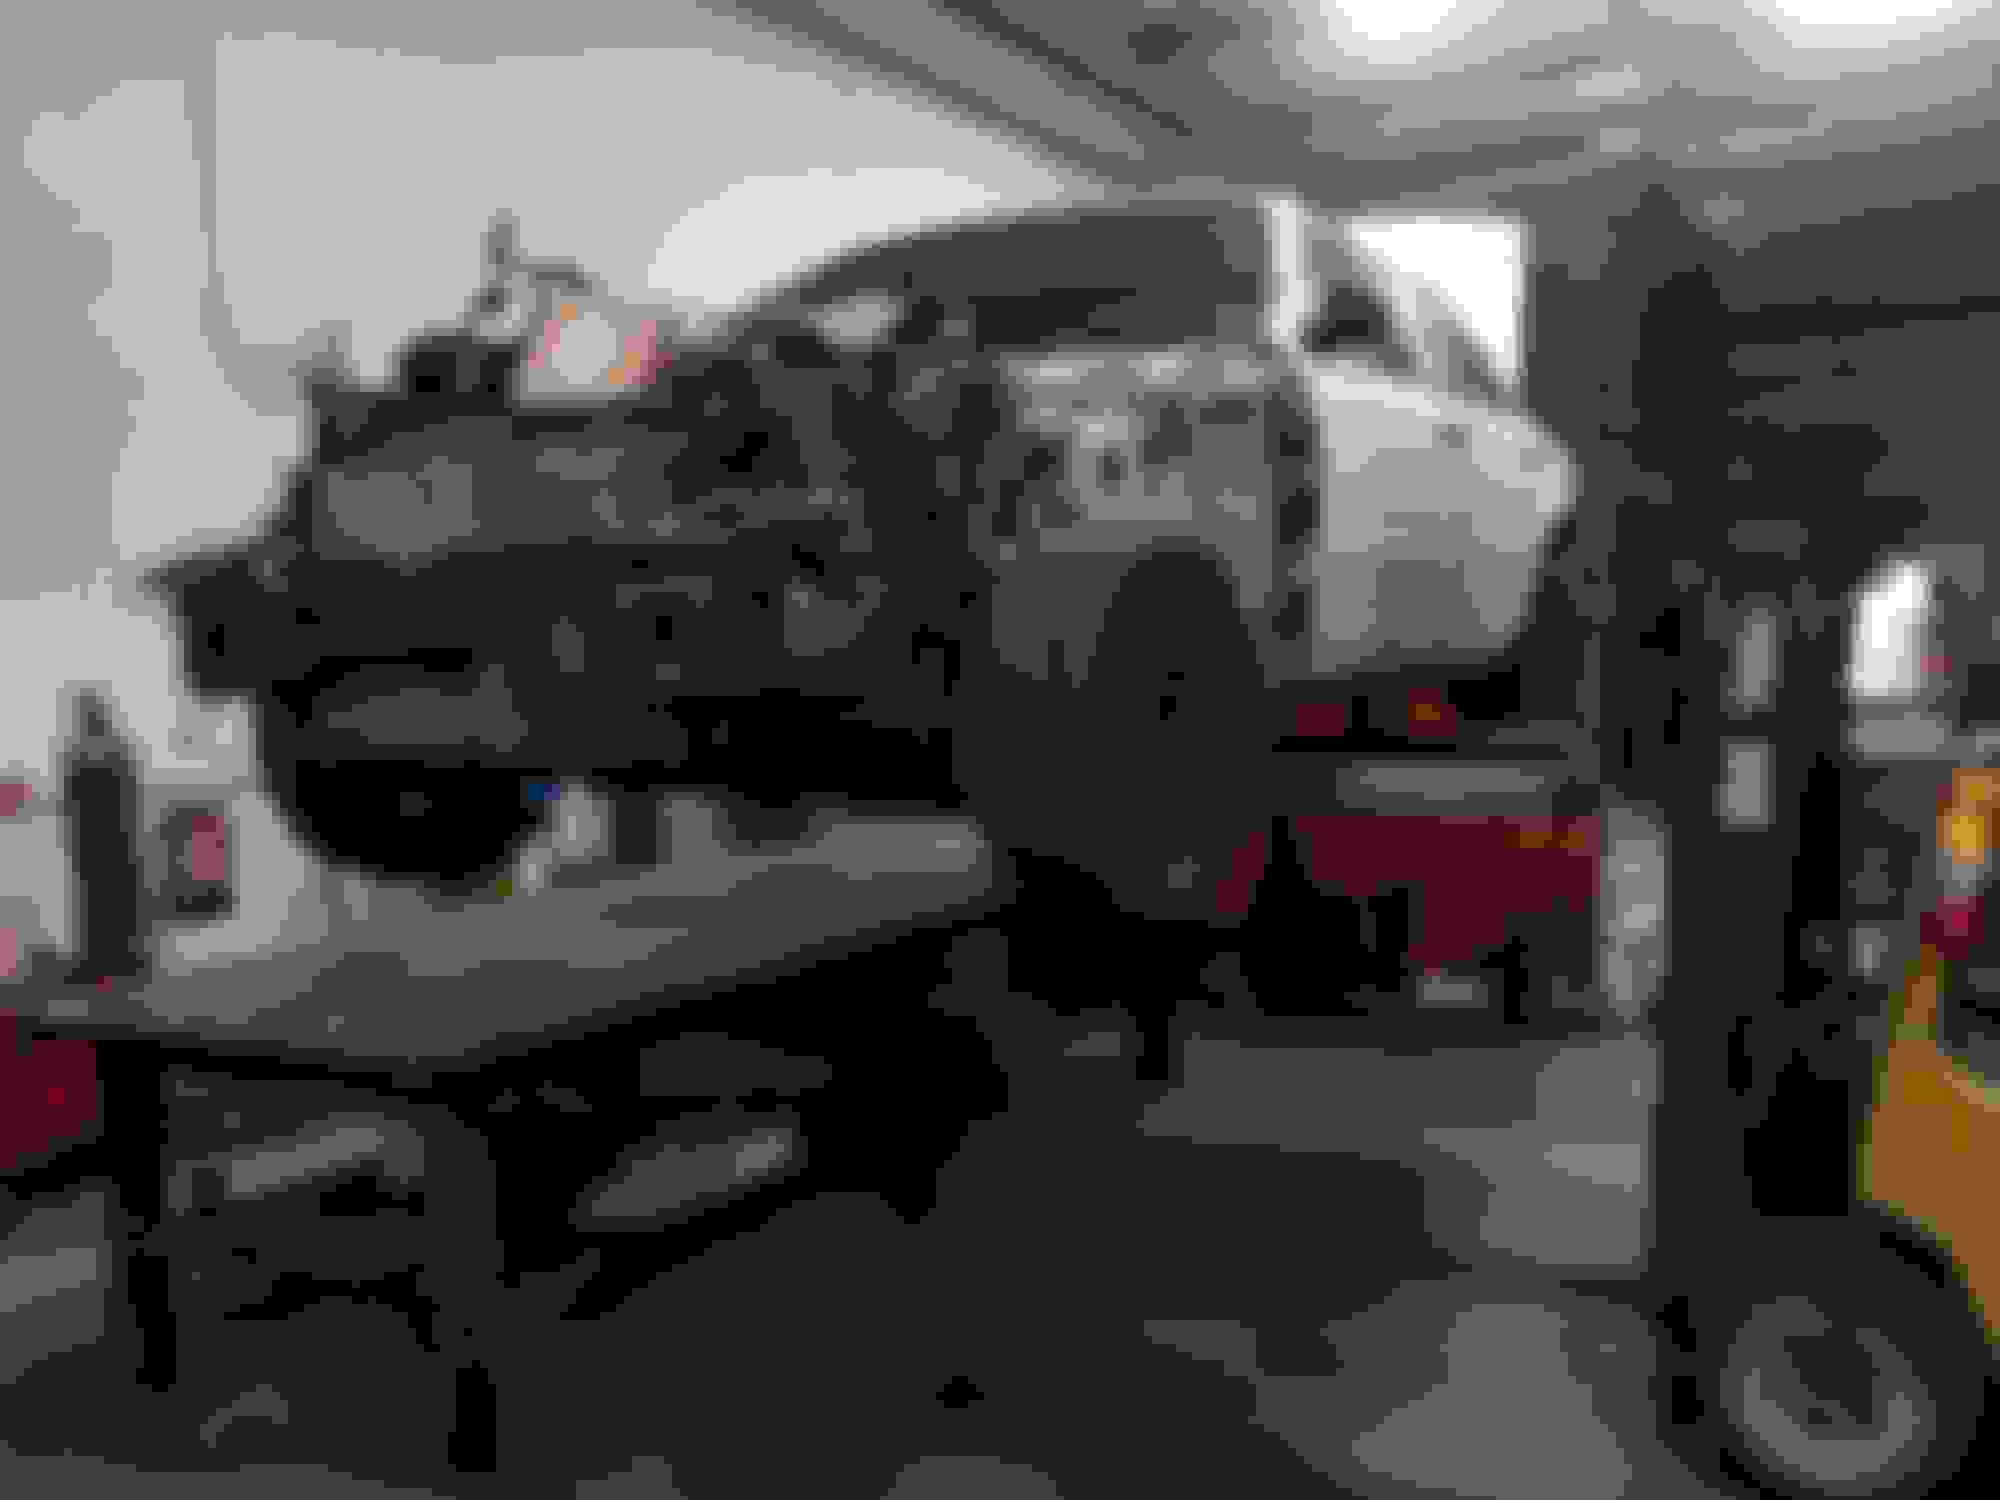
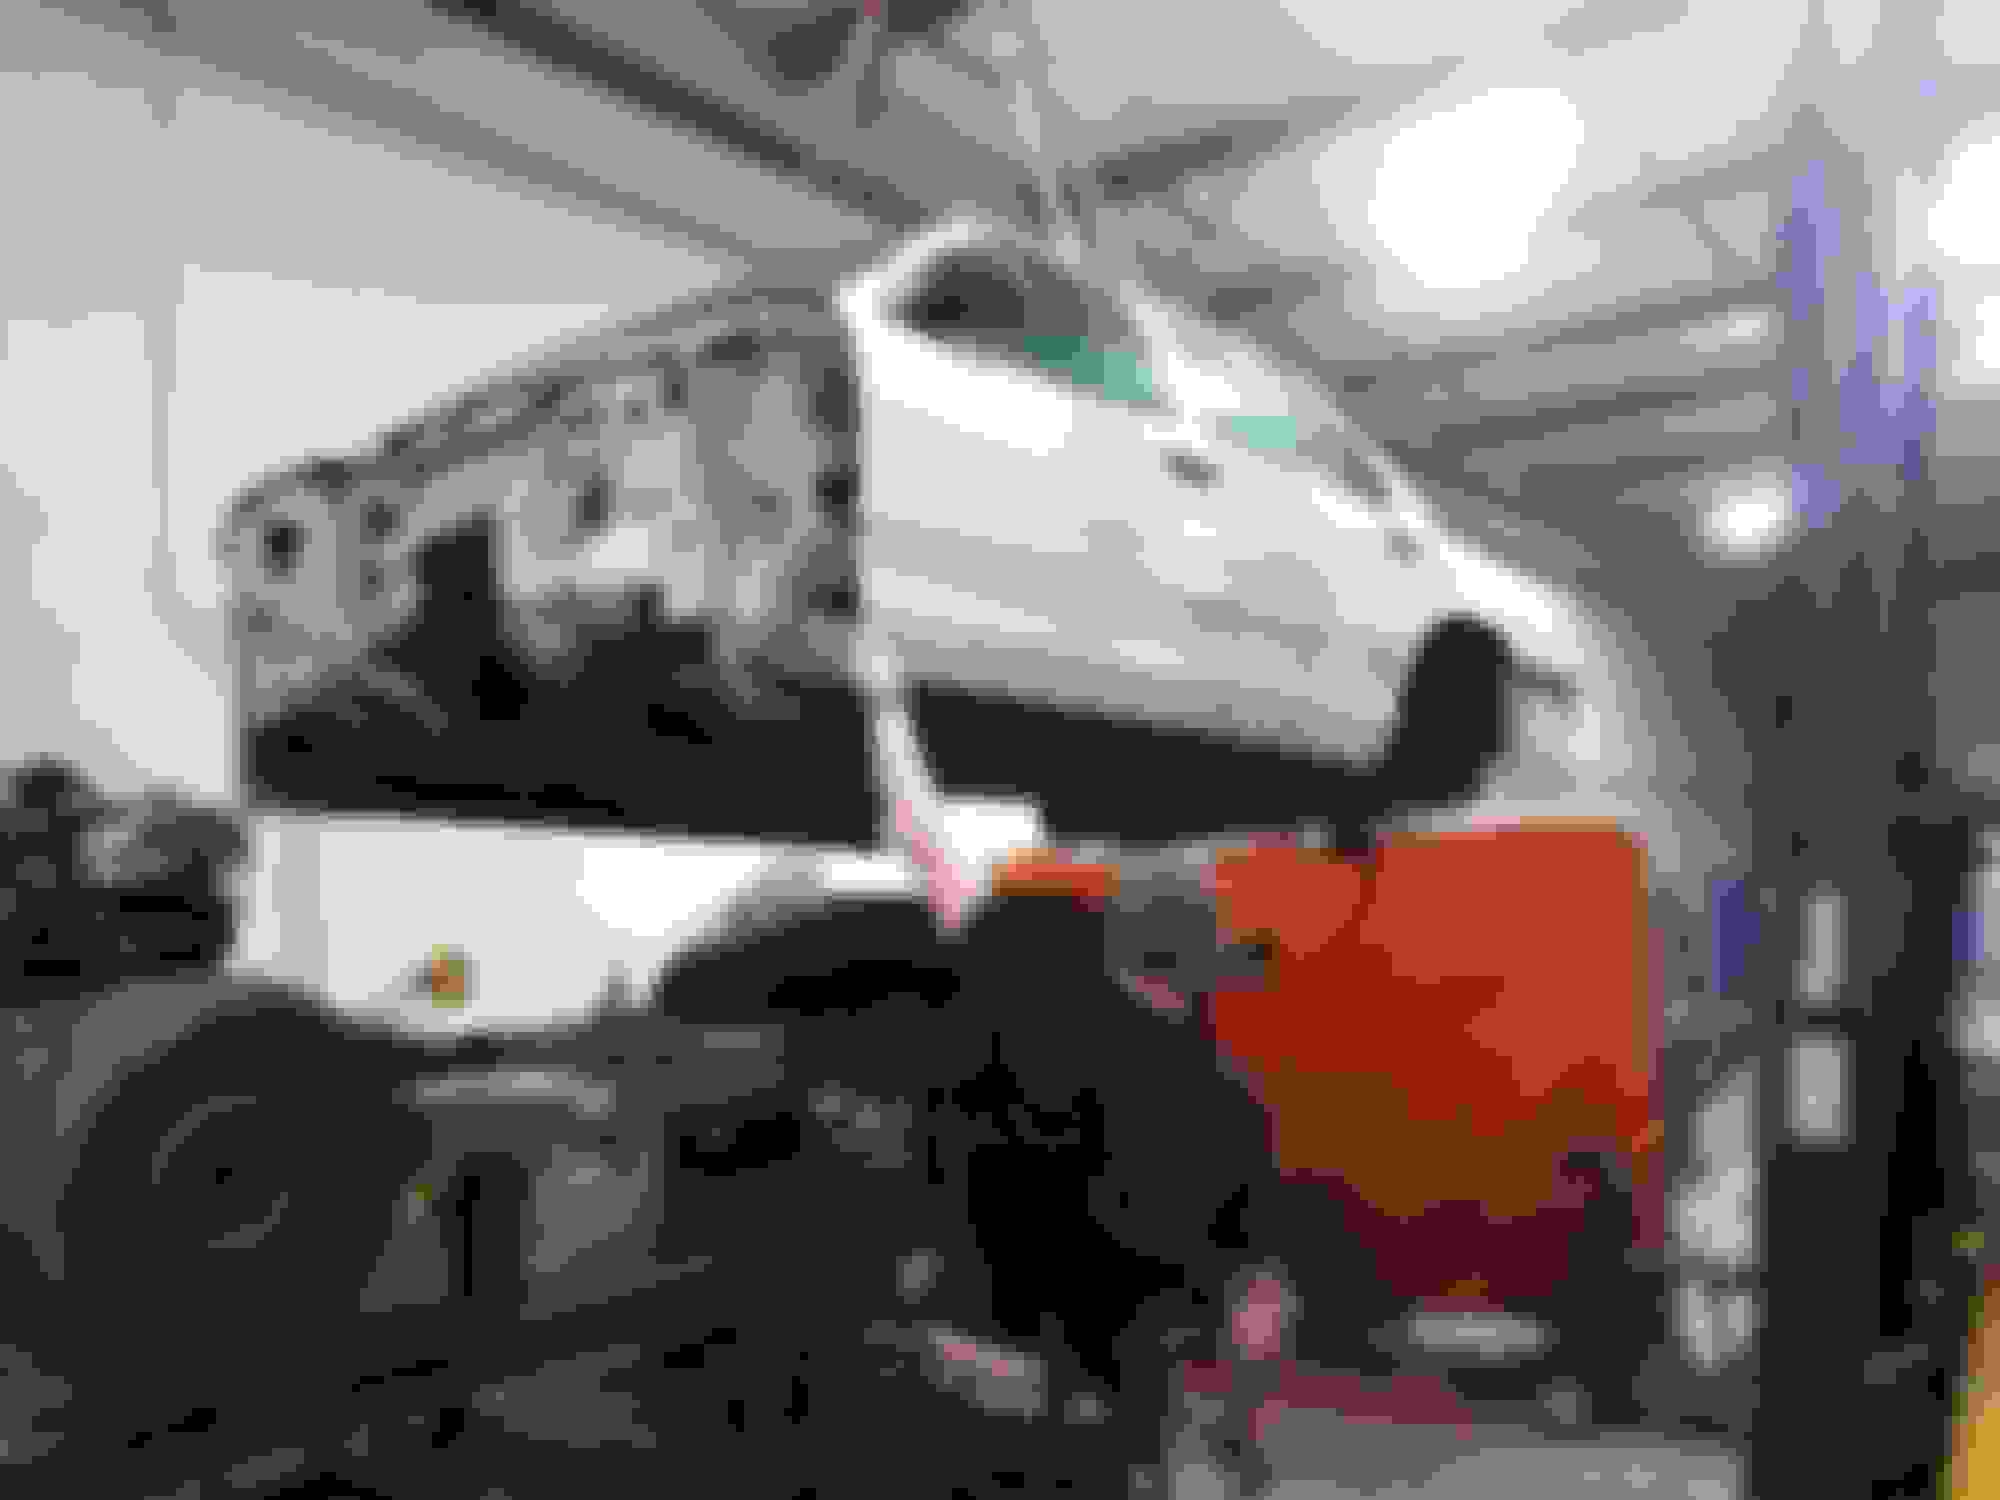
Then we lifted the body into place:
That's pretty much all we could get done on day one, our only full day of shop time.
During the week we were able to put in three nights after work on the project.
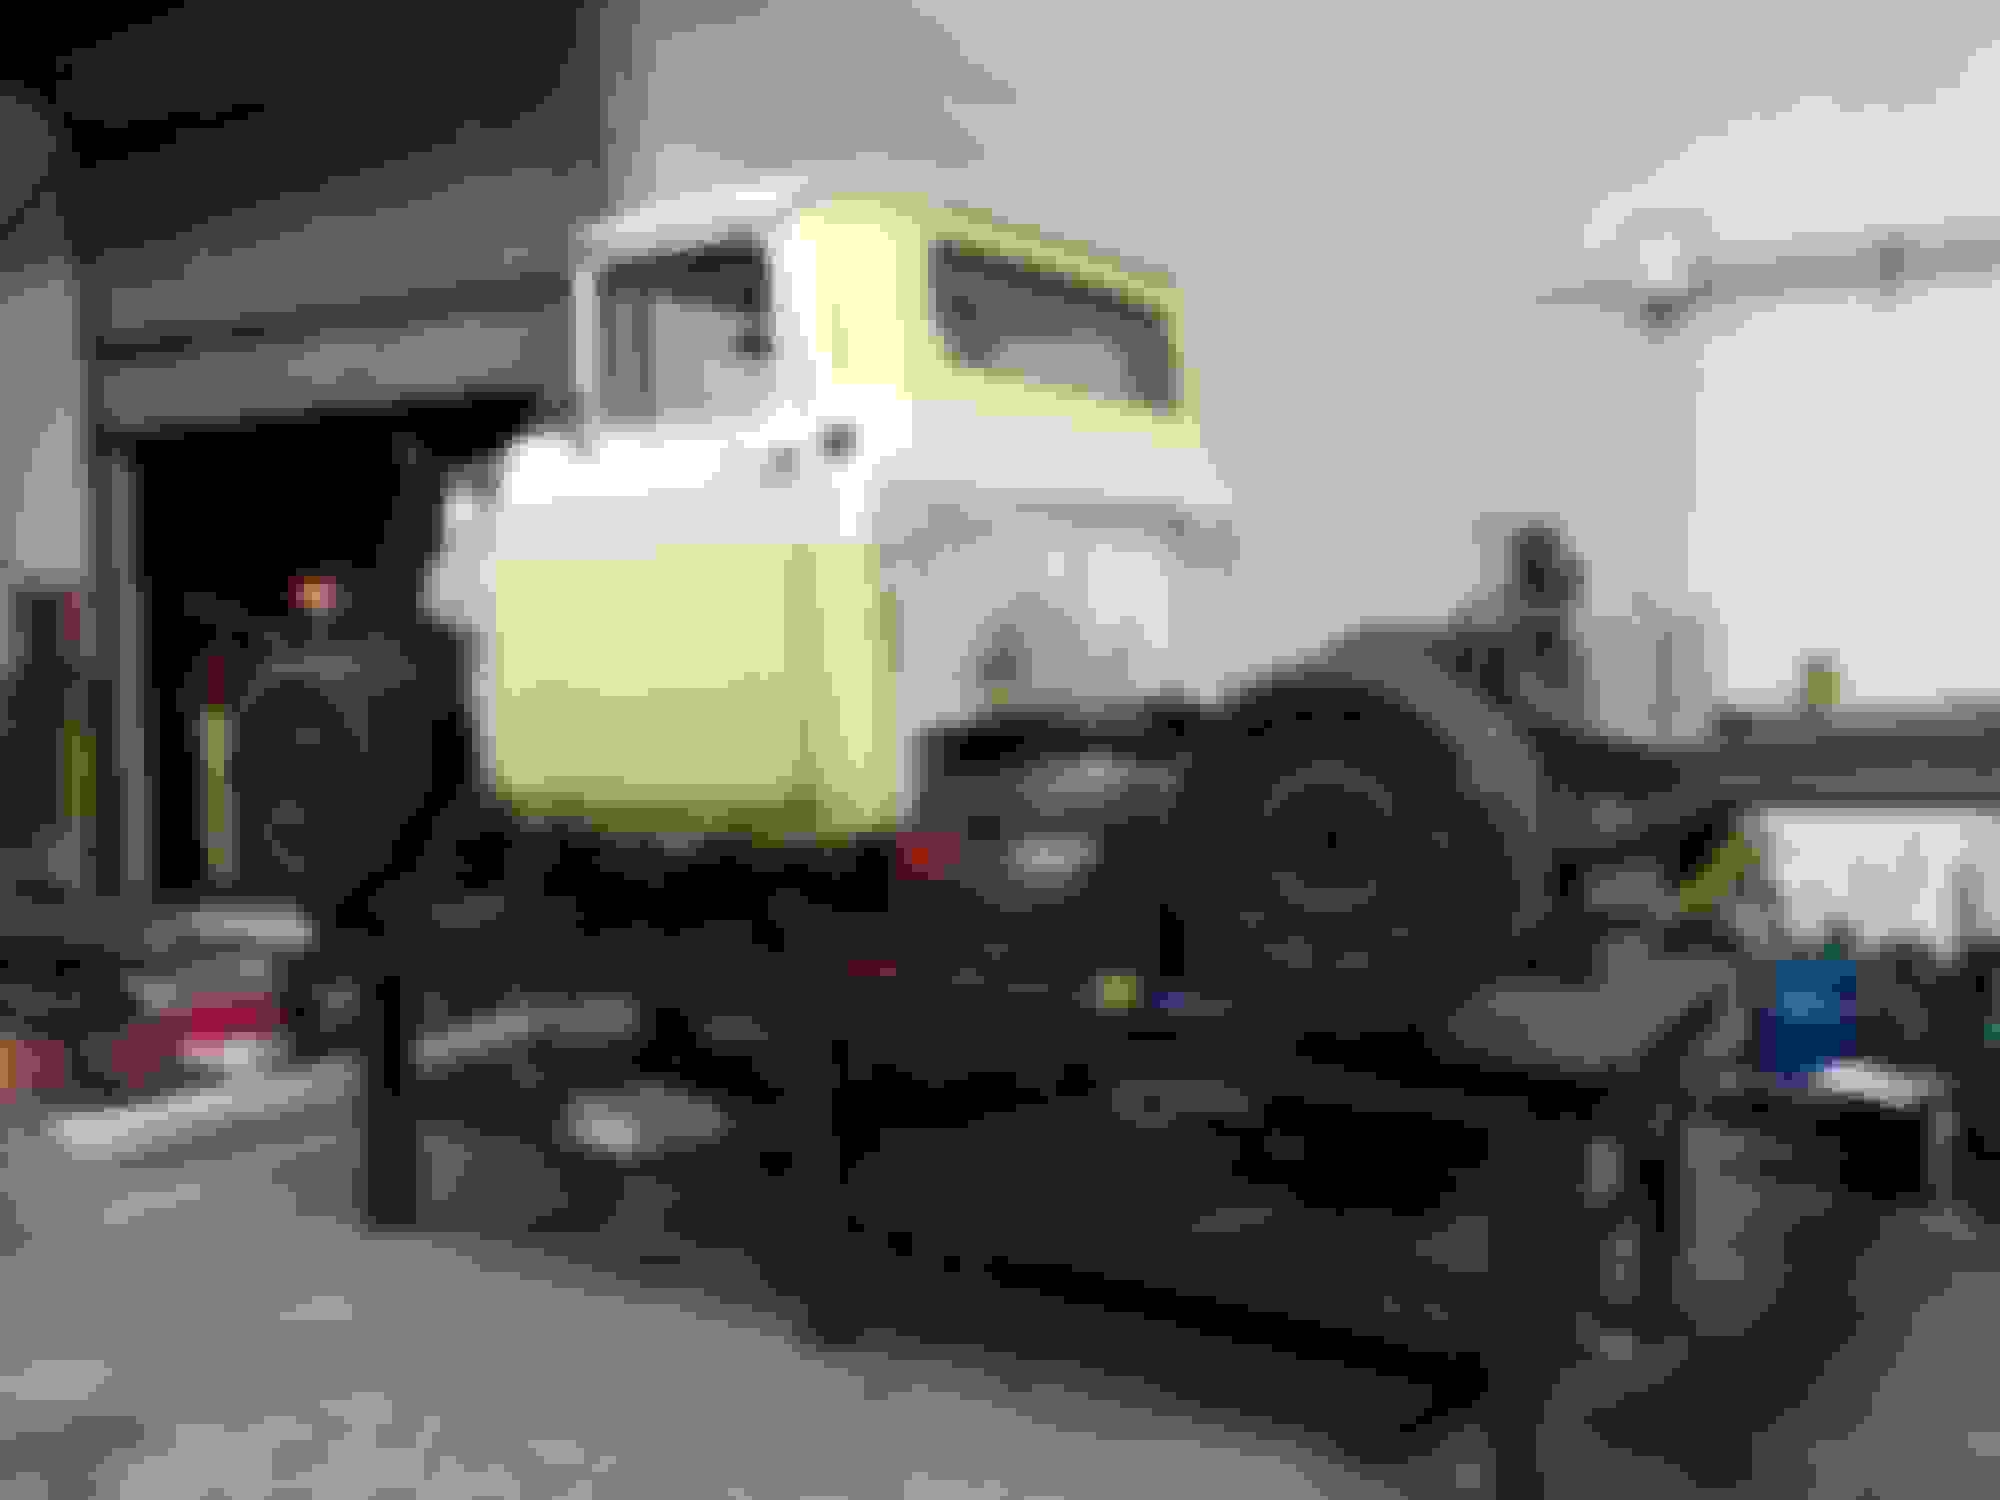
First up was cab mounts. The cab was placed as far forward as we could go without modifying the firewall. We used a few of the Vic mounts with some fabricated brackets, making sure the cab was centered left to right and parallel to the frame rails:
Next we worked on the front clip. The front of the Vic fame was cut off close to the radiator, then the truck core support was trimmed heavily to fit.
Next up was front clip mount and gas tank mount.
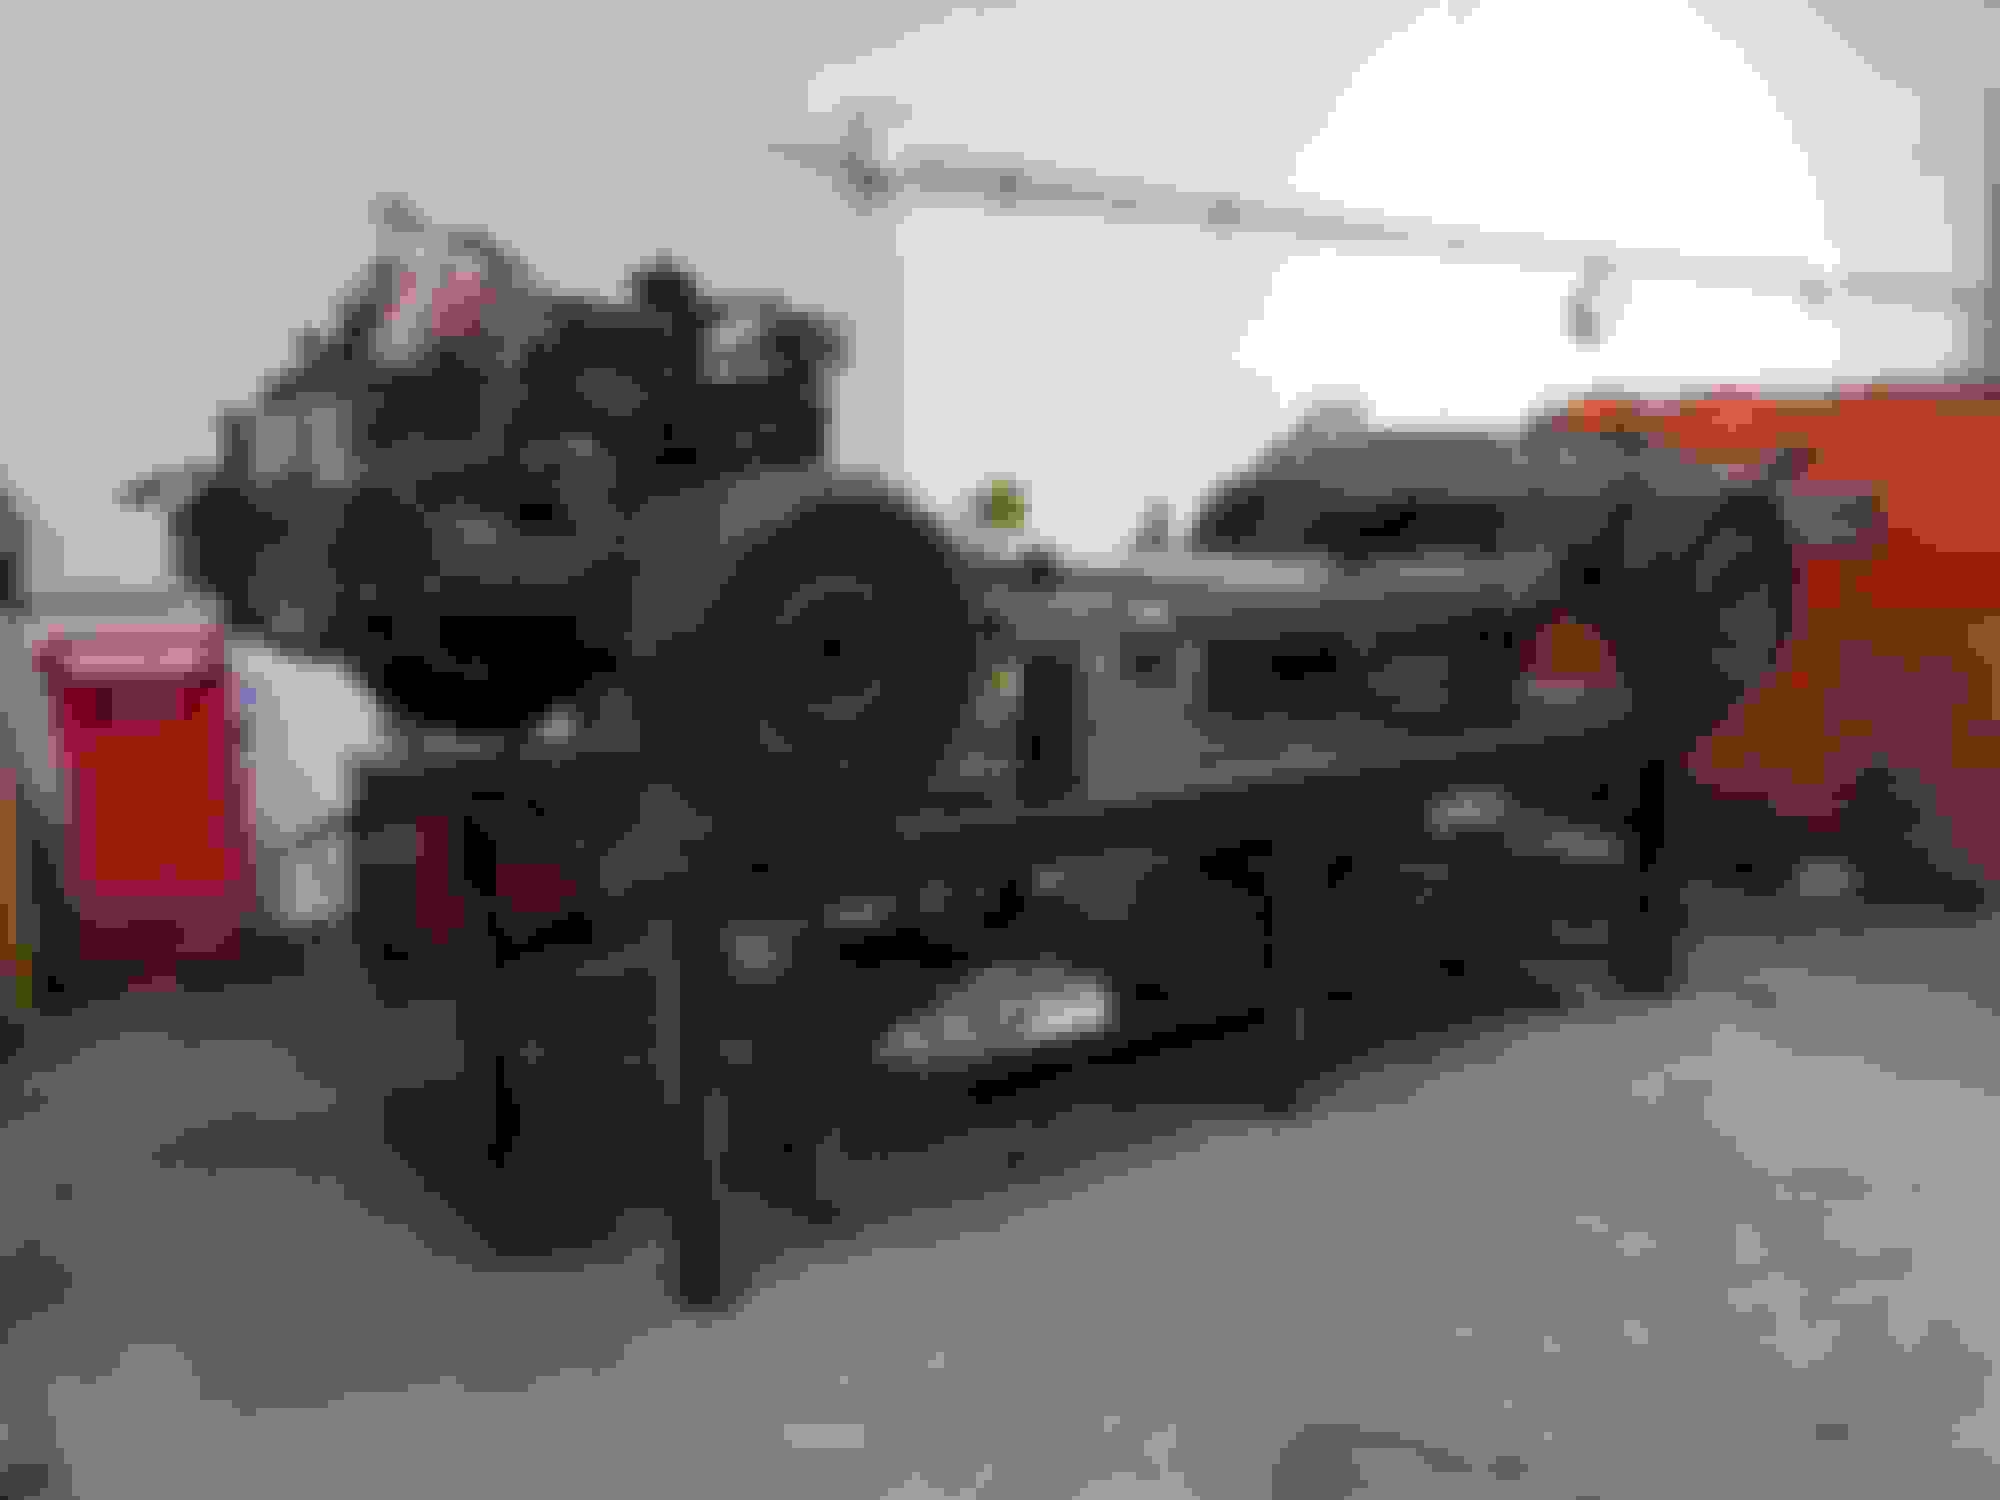
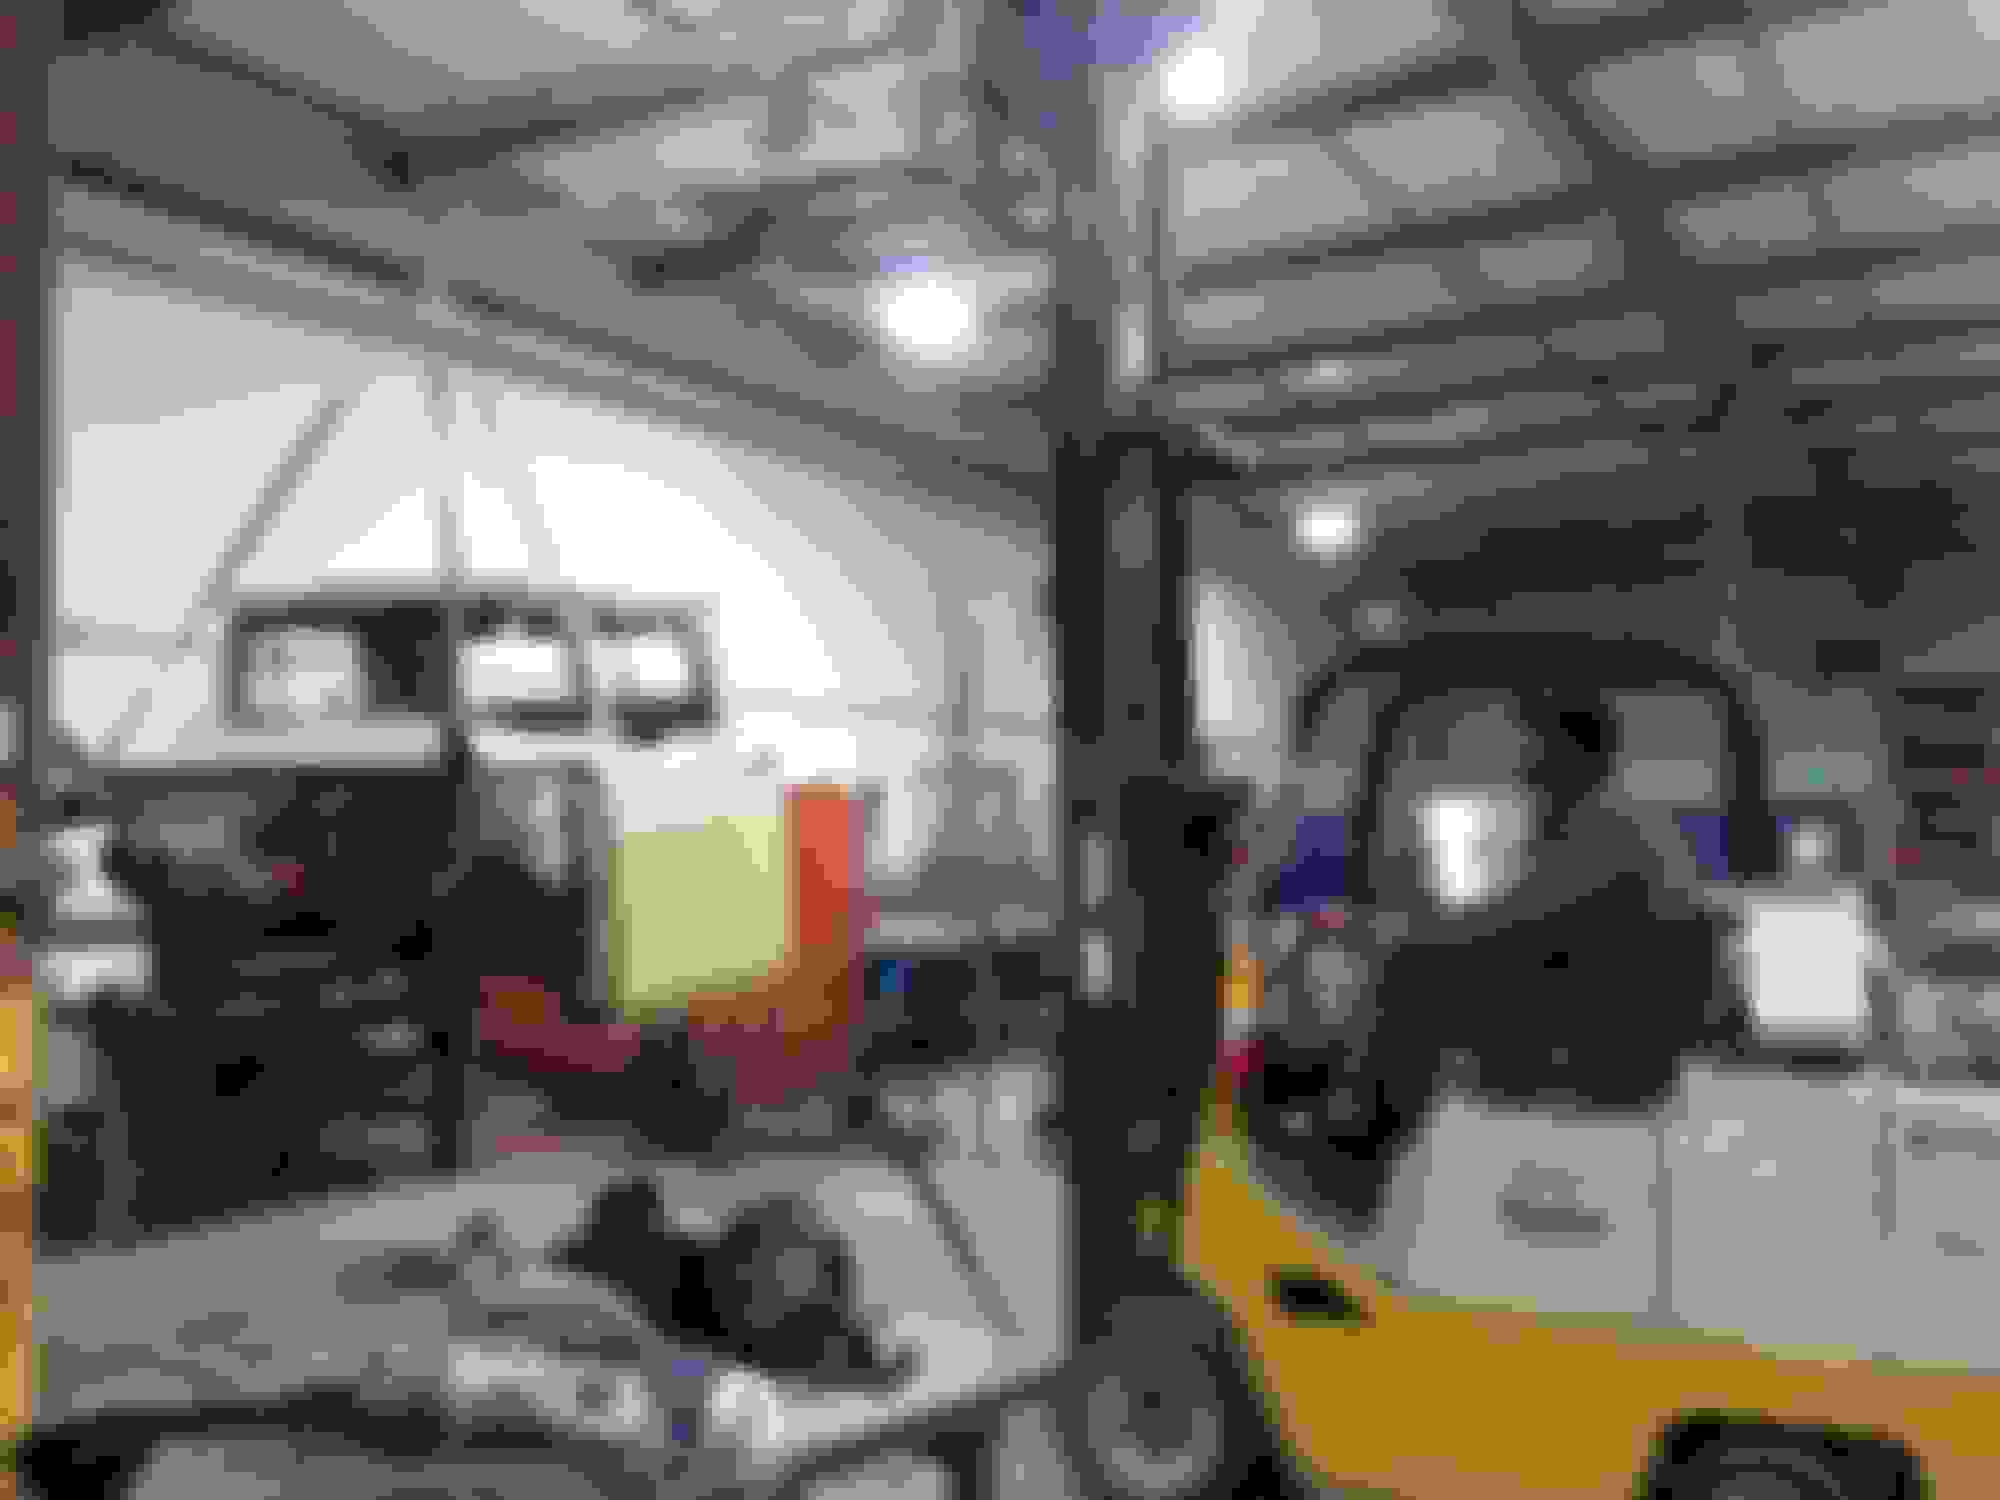
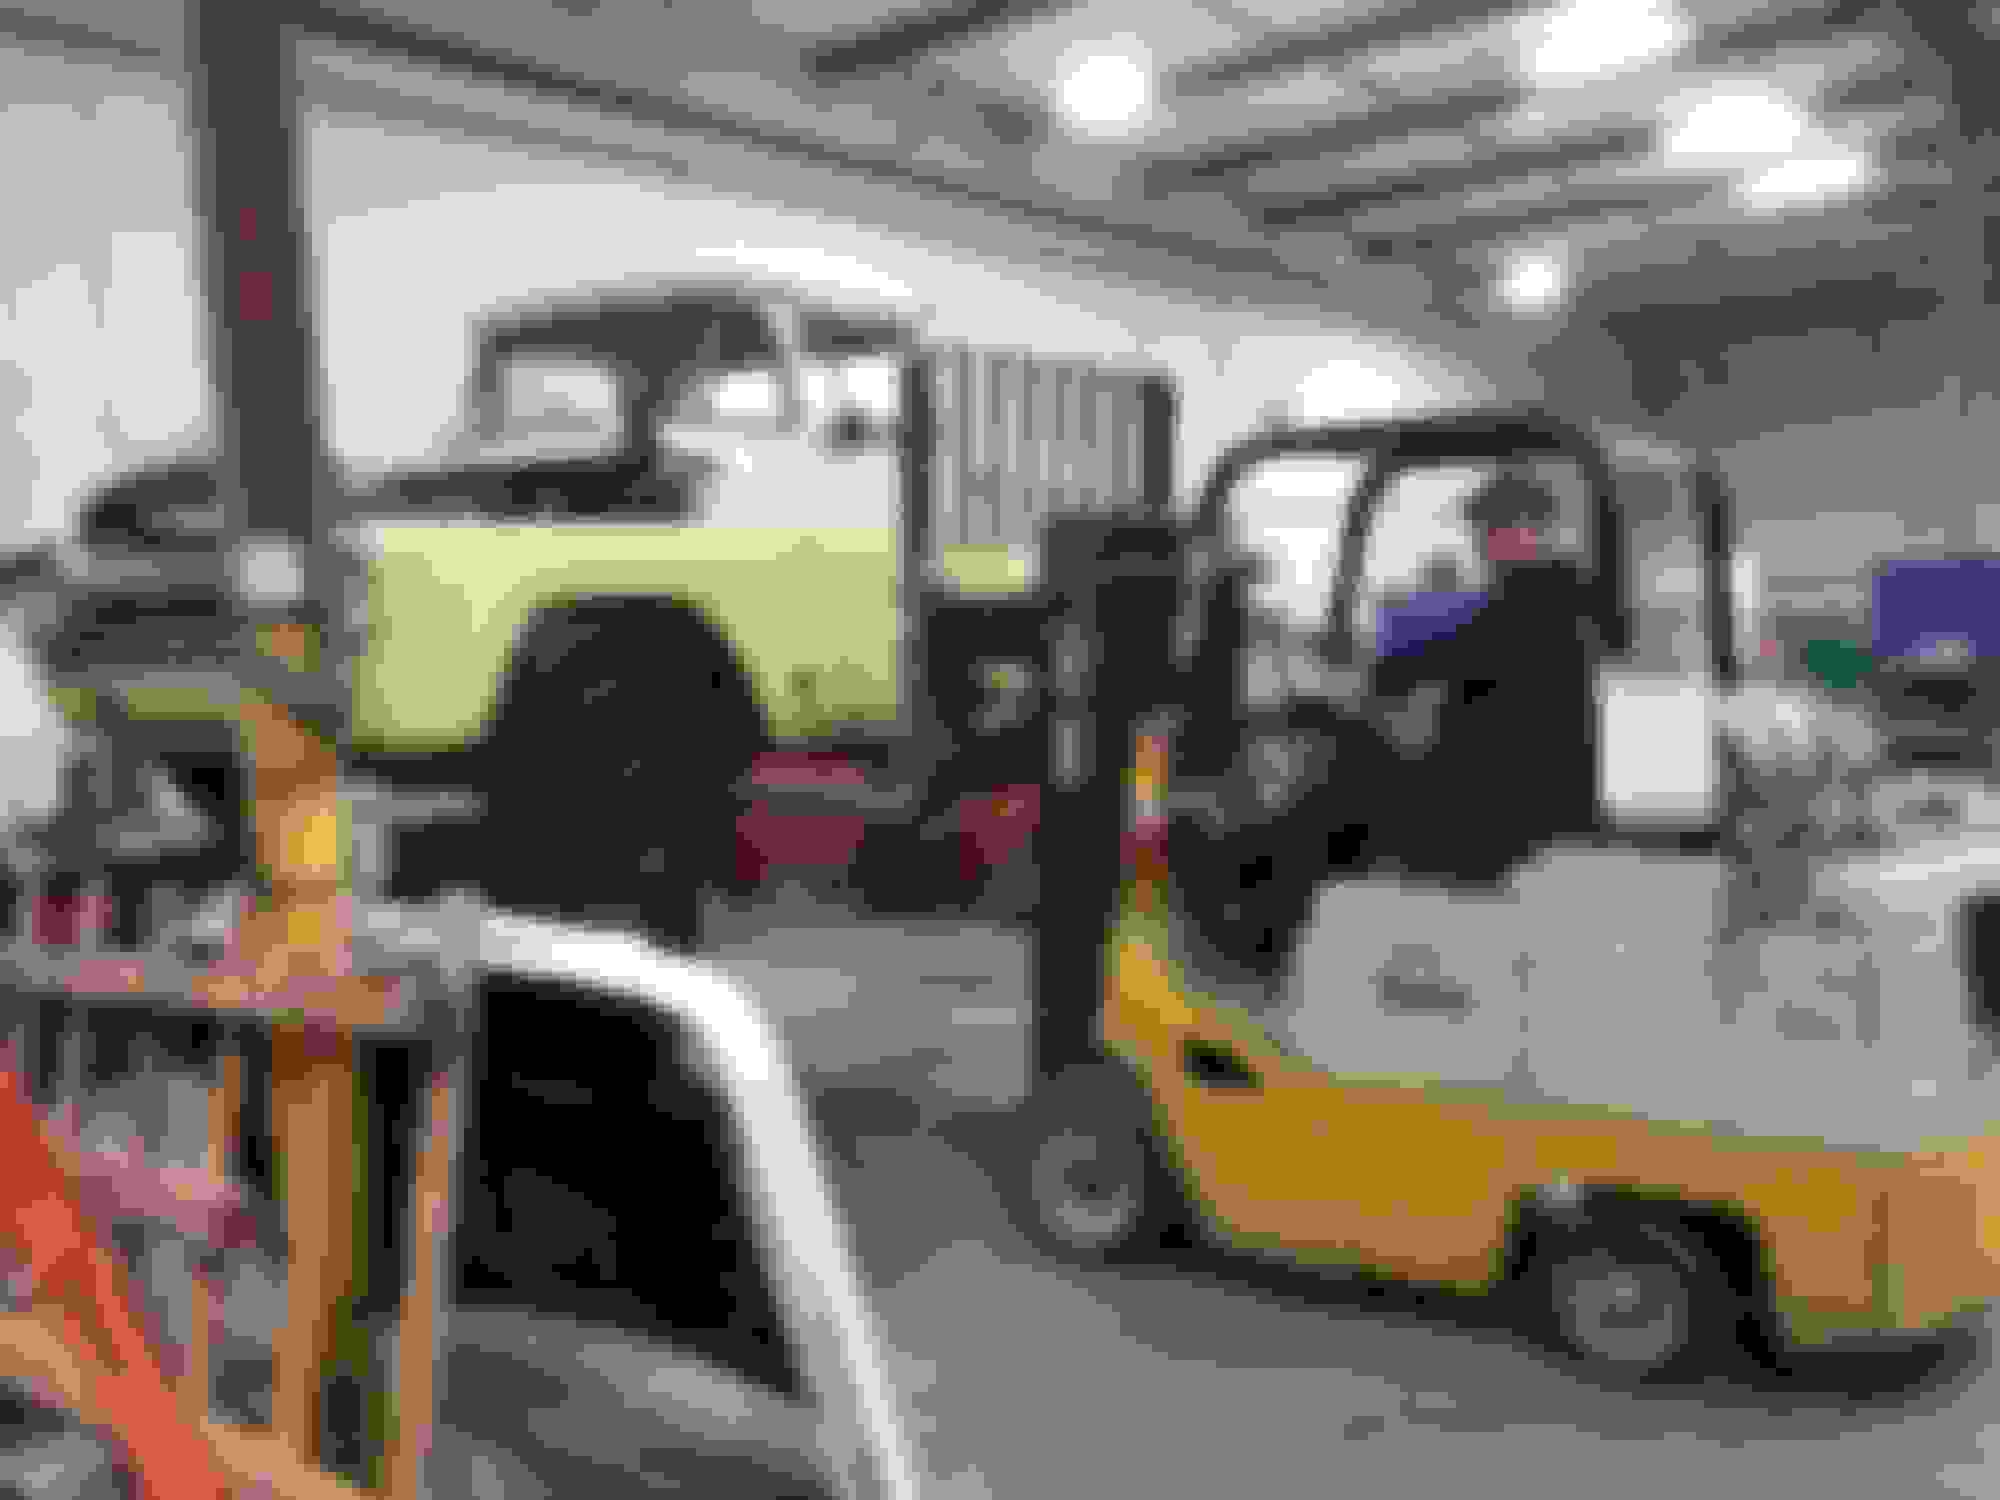
At this point we were ready get it on the ground and see how it sits:
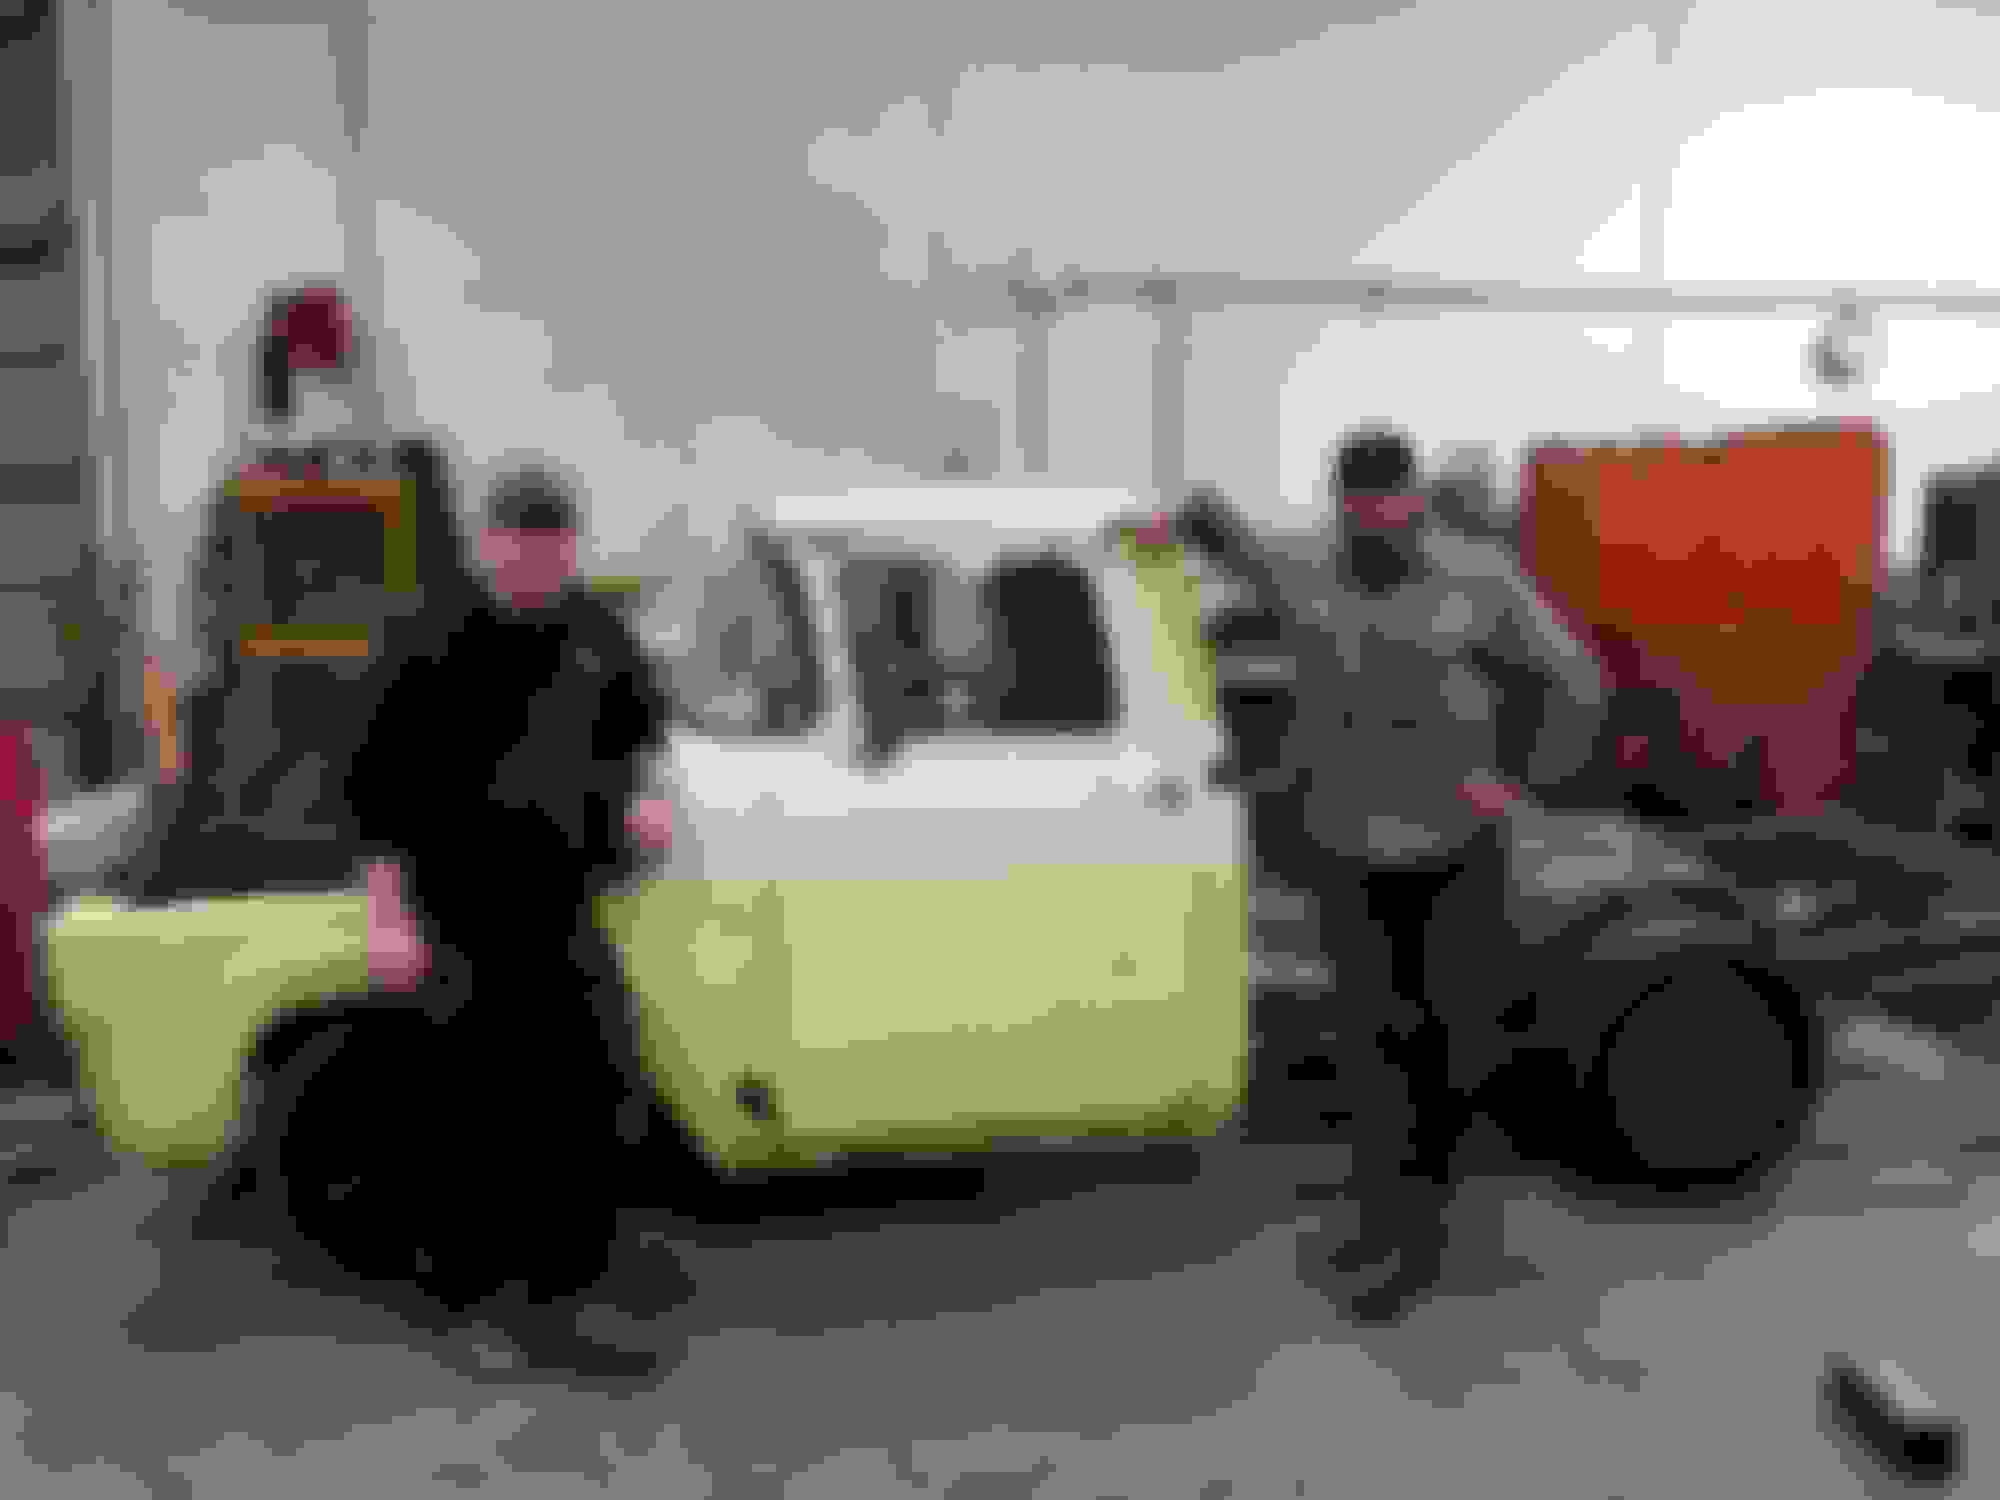
That's my stepson James on the left and my friend Troy on the right. I couldn't even have started this without all their help!
This left us with just a morning in the shop before it was time to get it out of there. Spent the whole morning getting the old pedal assy out and making a steering column mount so we steer it onto the trailer. Getting broken rusty bolts removed ate up most of the day unfortunately, but we got the column temporarily into place and hauled it to my garage for phase two.
To finish bringing you up to speed, I've had it home for about a week now. I spent the first few days getting my garage re-organized so I could use it as a shop, then chipping away at the remaining tasks.
I trimmed the inner fenders down and installed them:
The column has been in and out several times getting it where it needed to be, it's more or less like this:
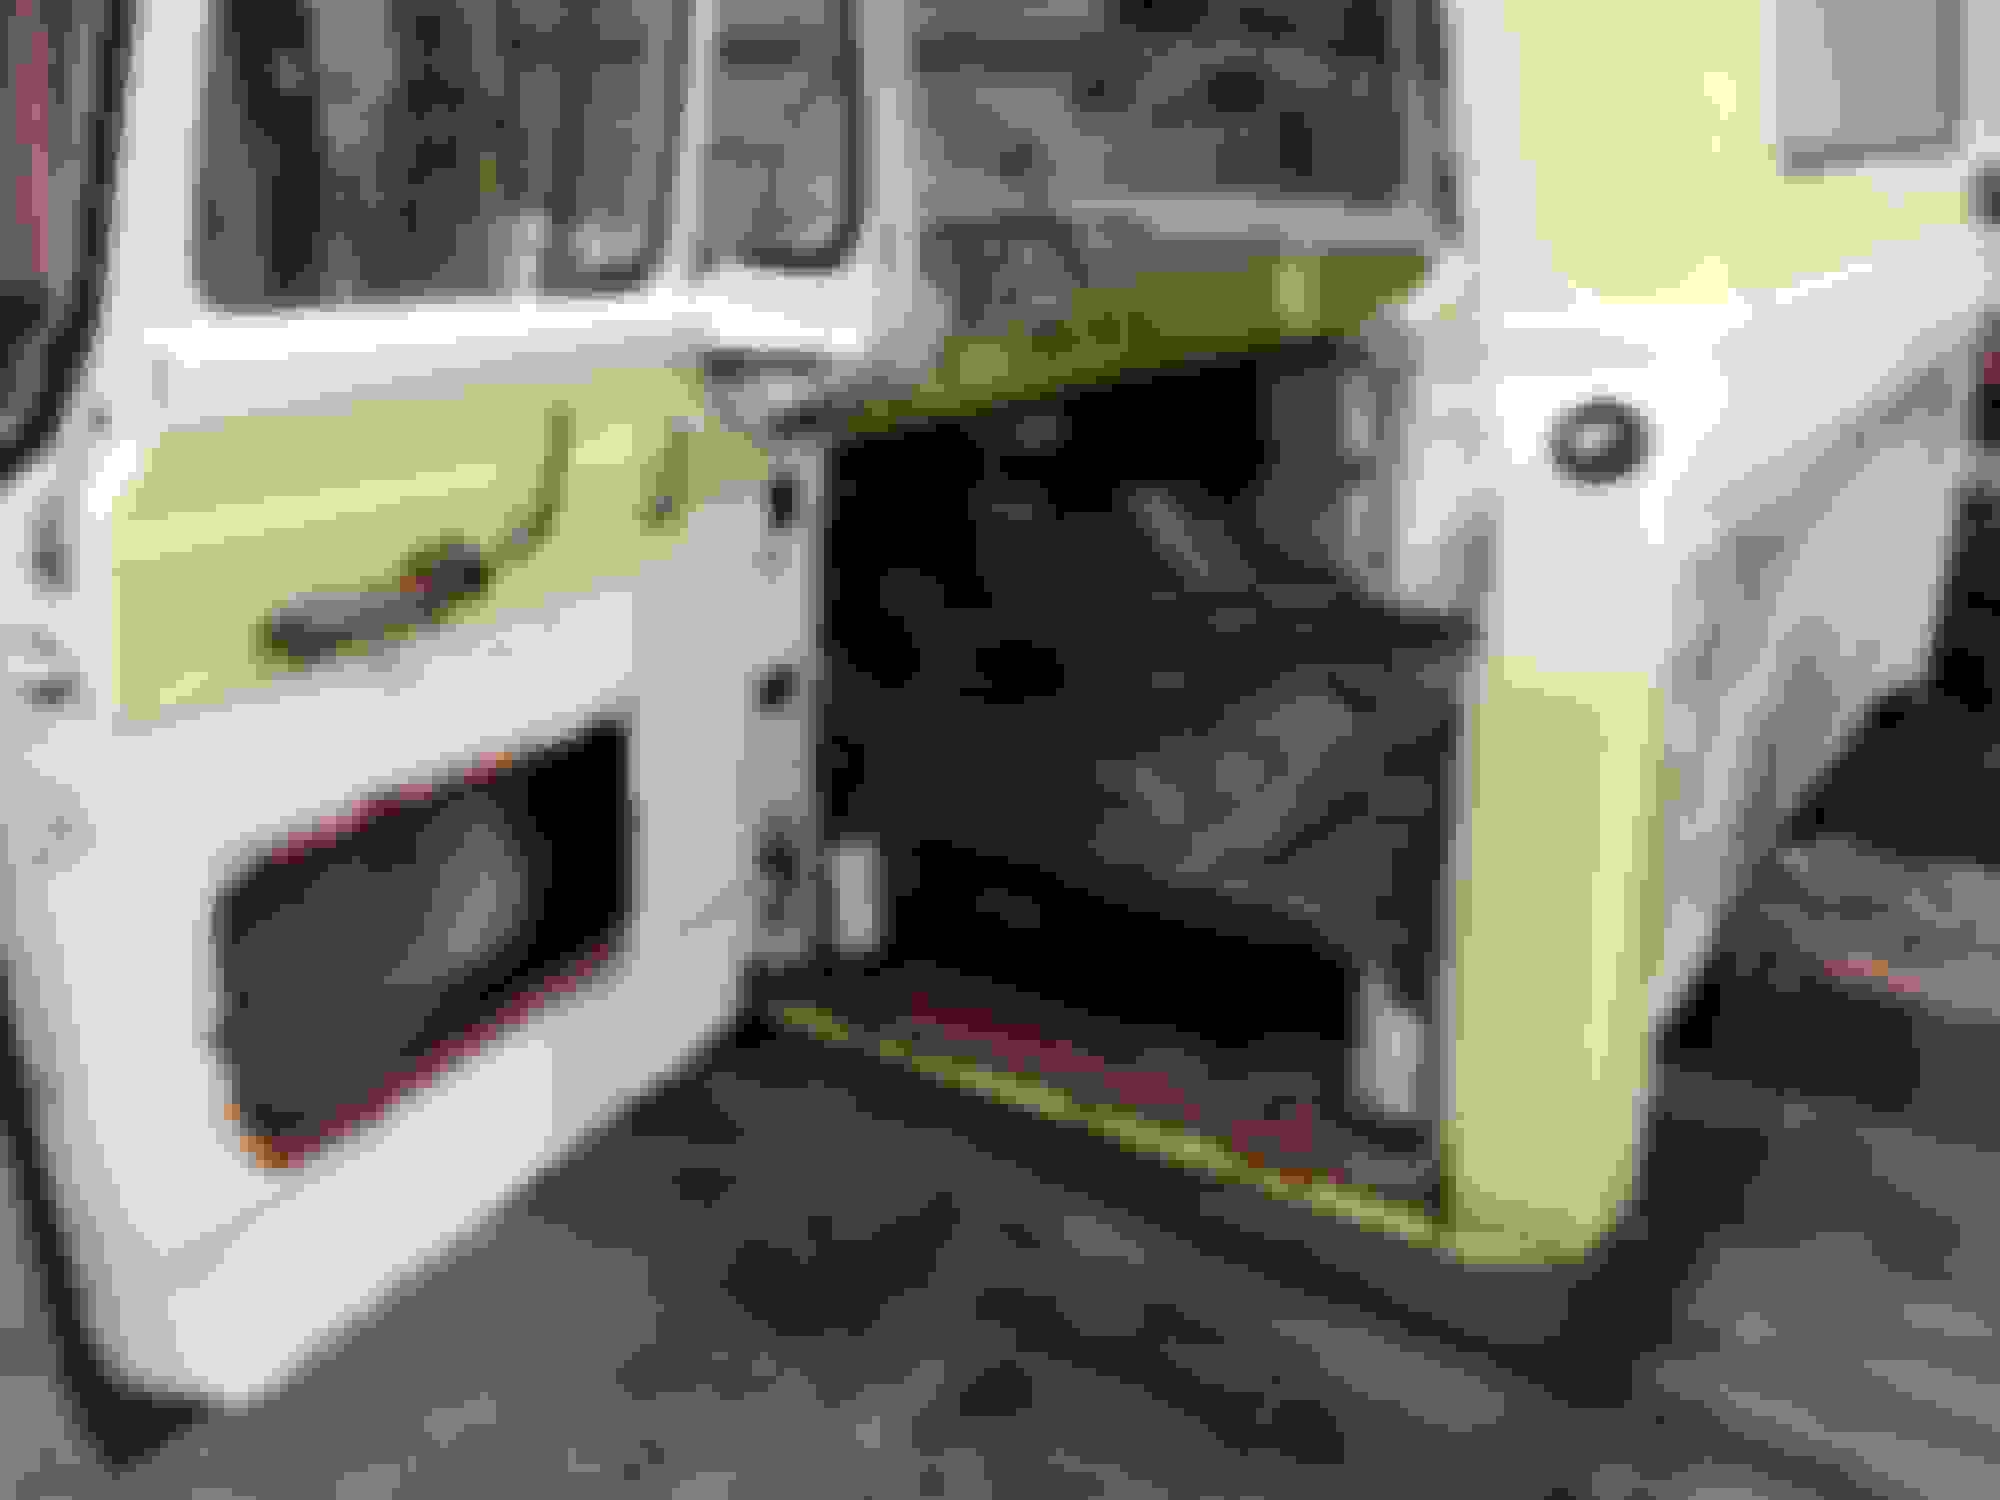
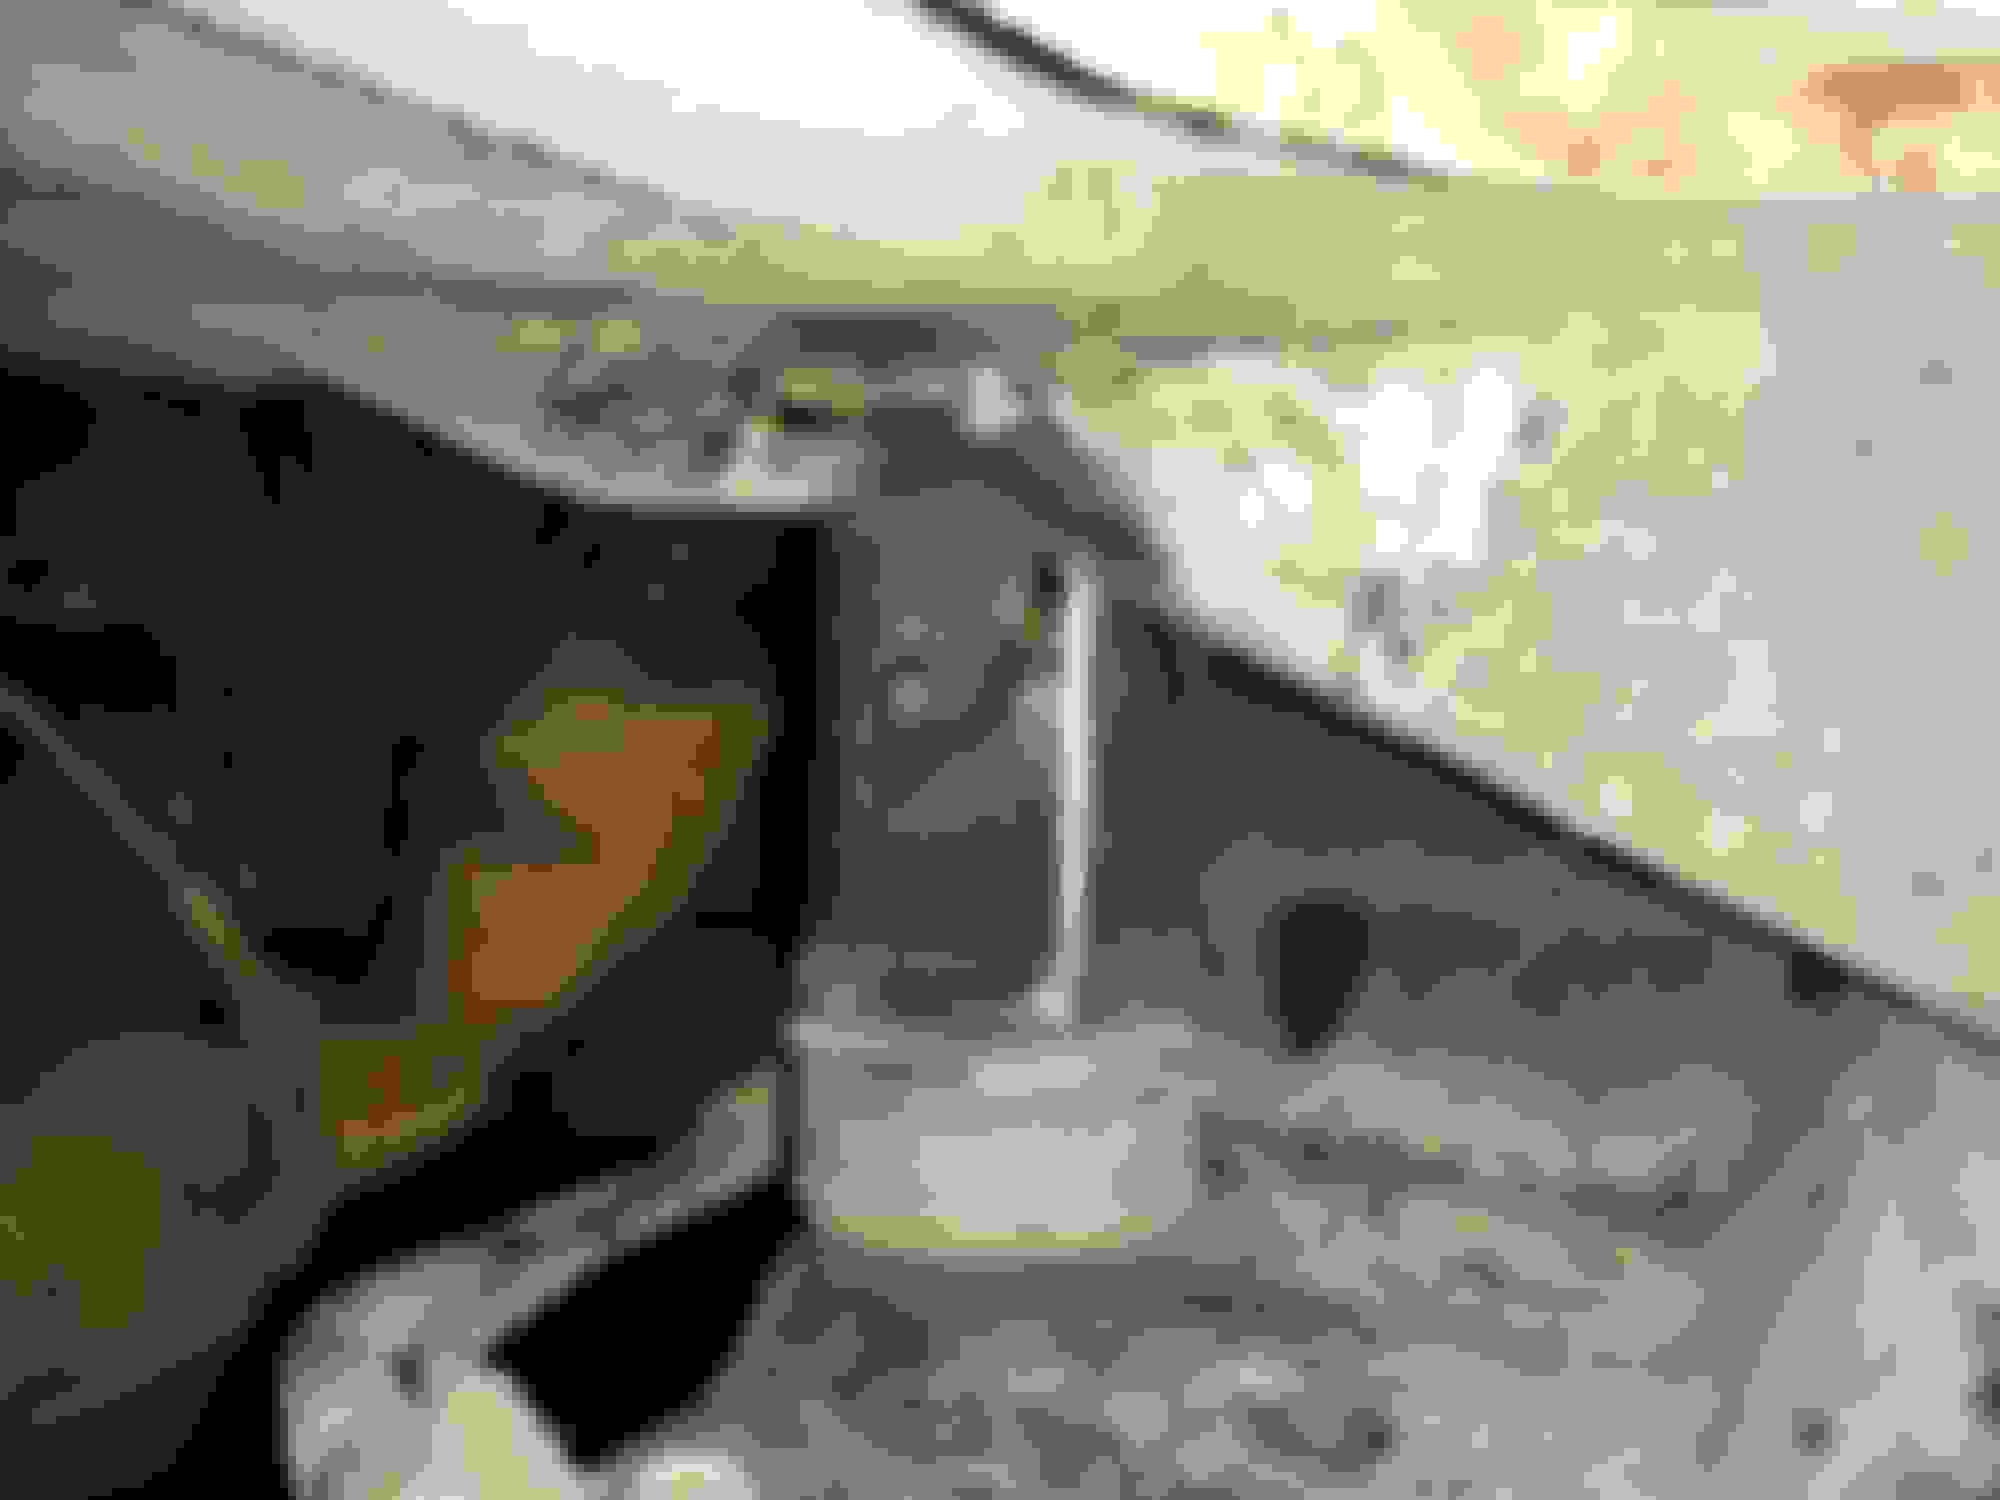
Lower steering column mount is just held in with a couple screws for now, until my friend Troy can bring his welder over or I can find a good deal on one. Booster location is also figured out:
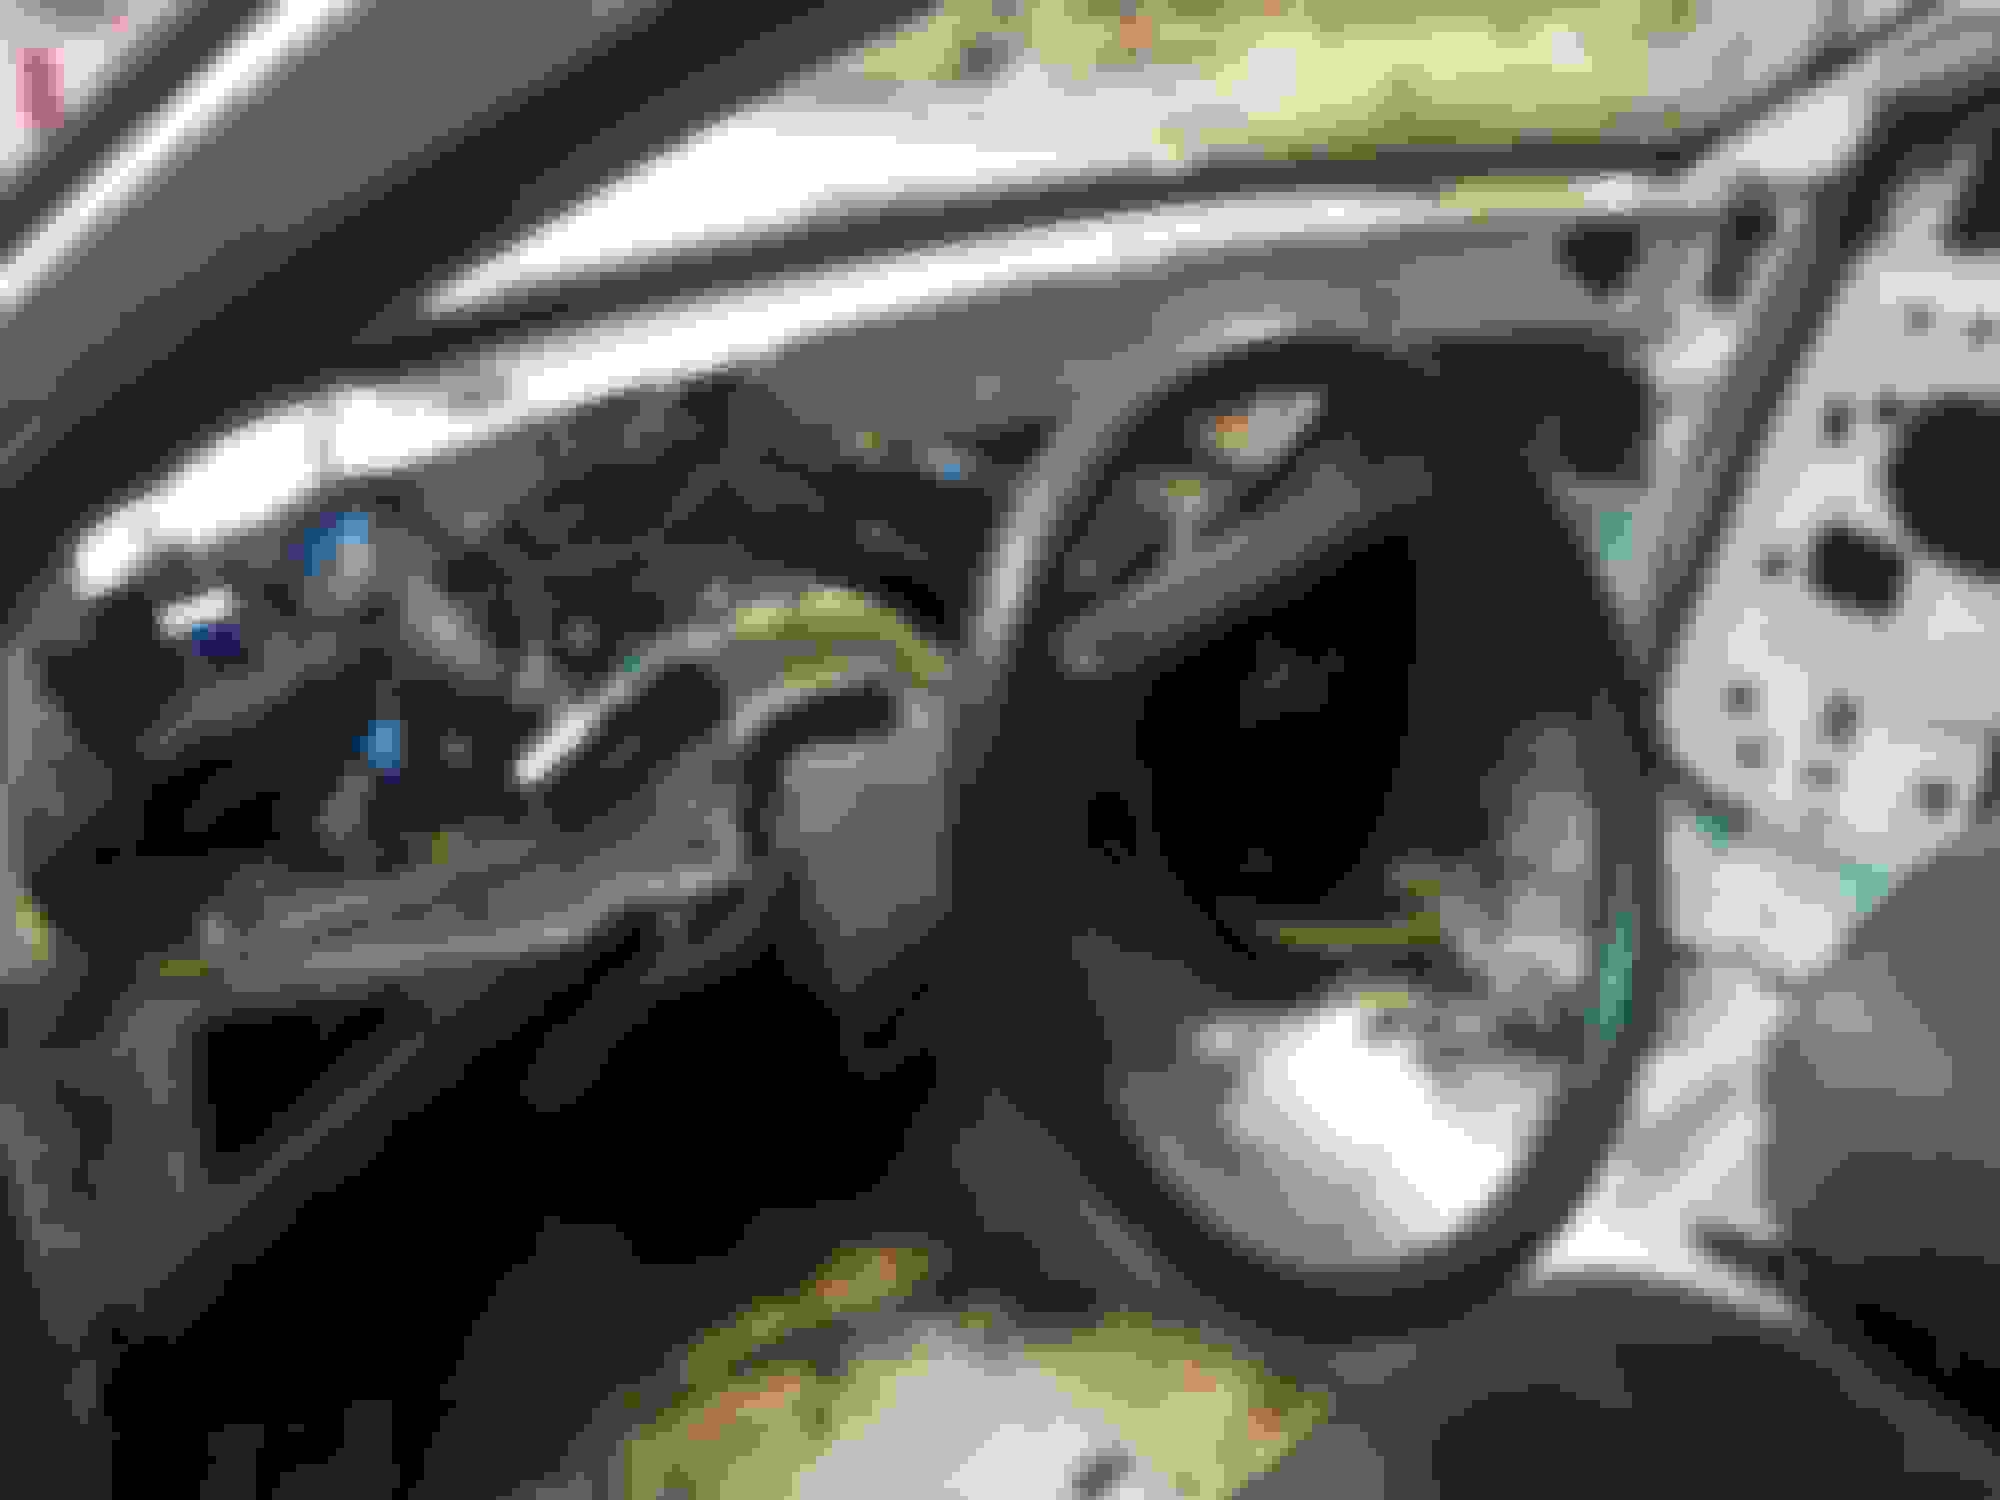
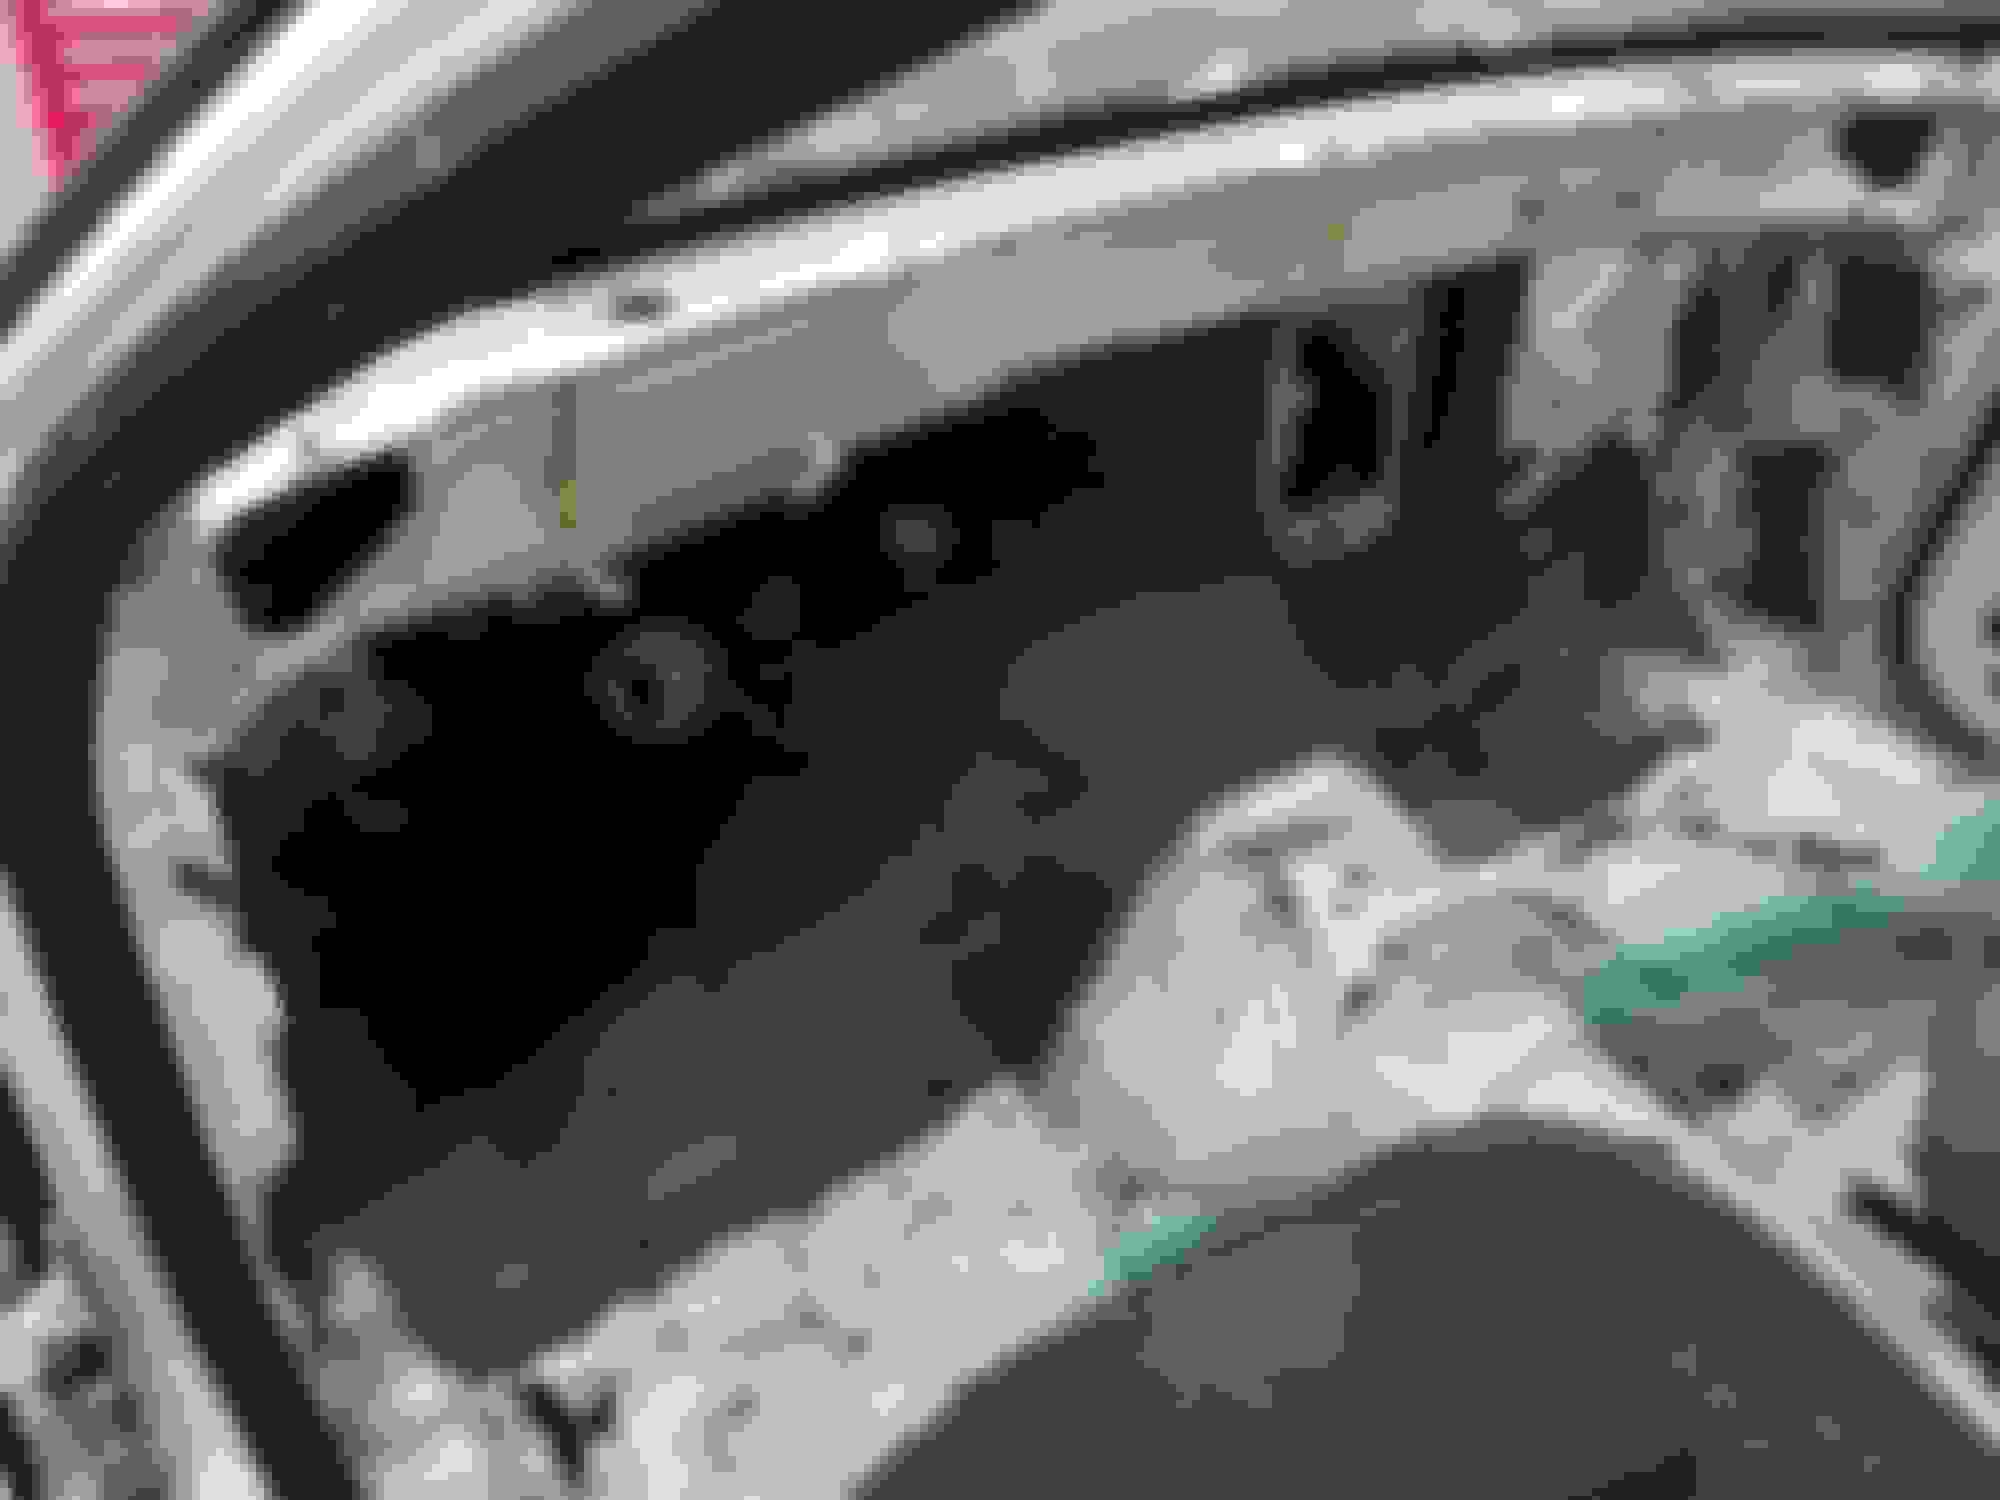
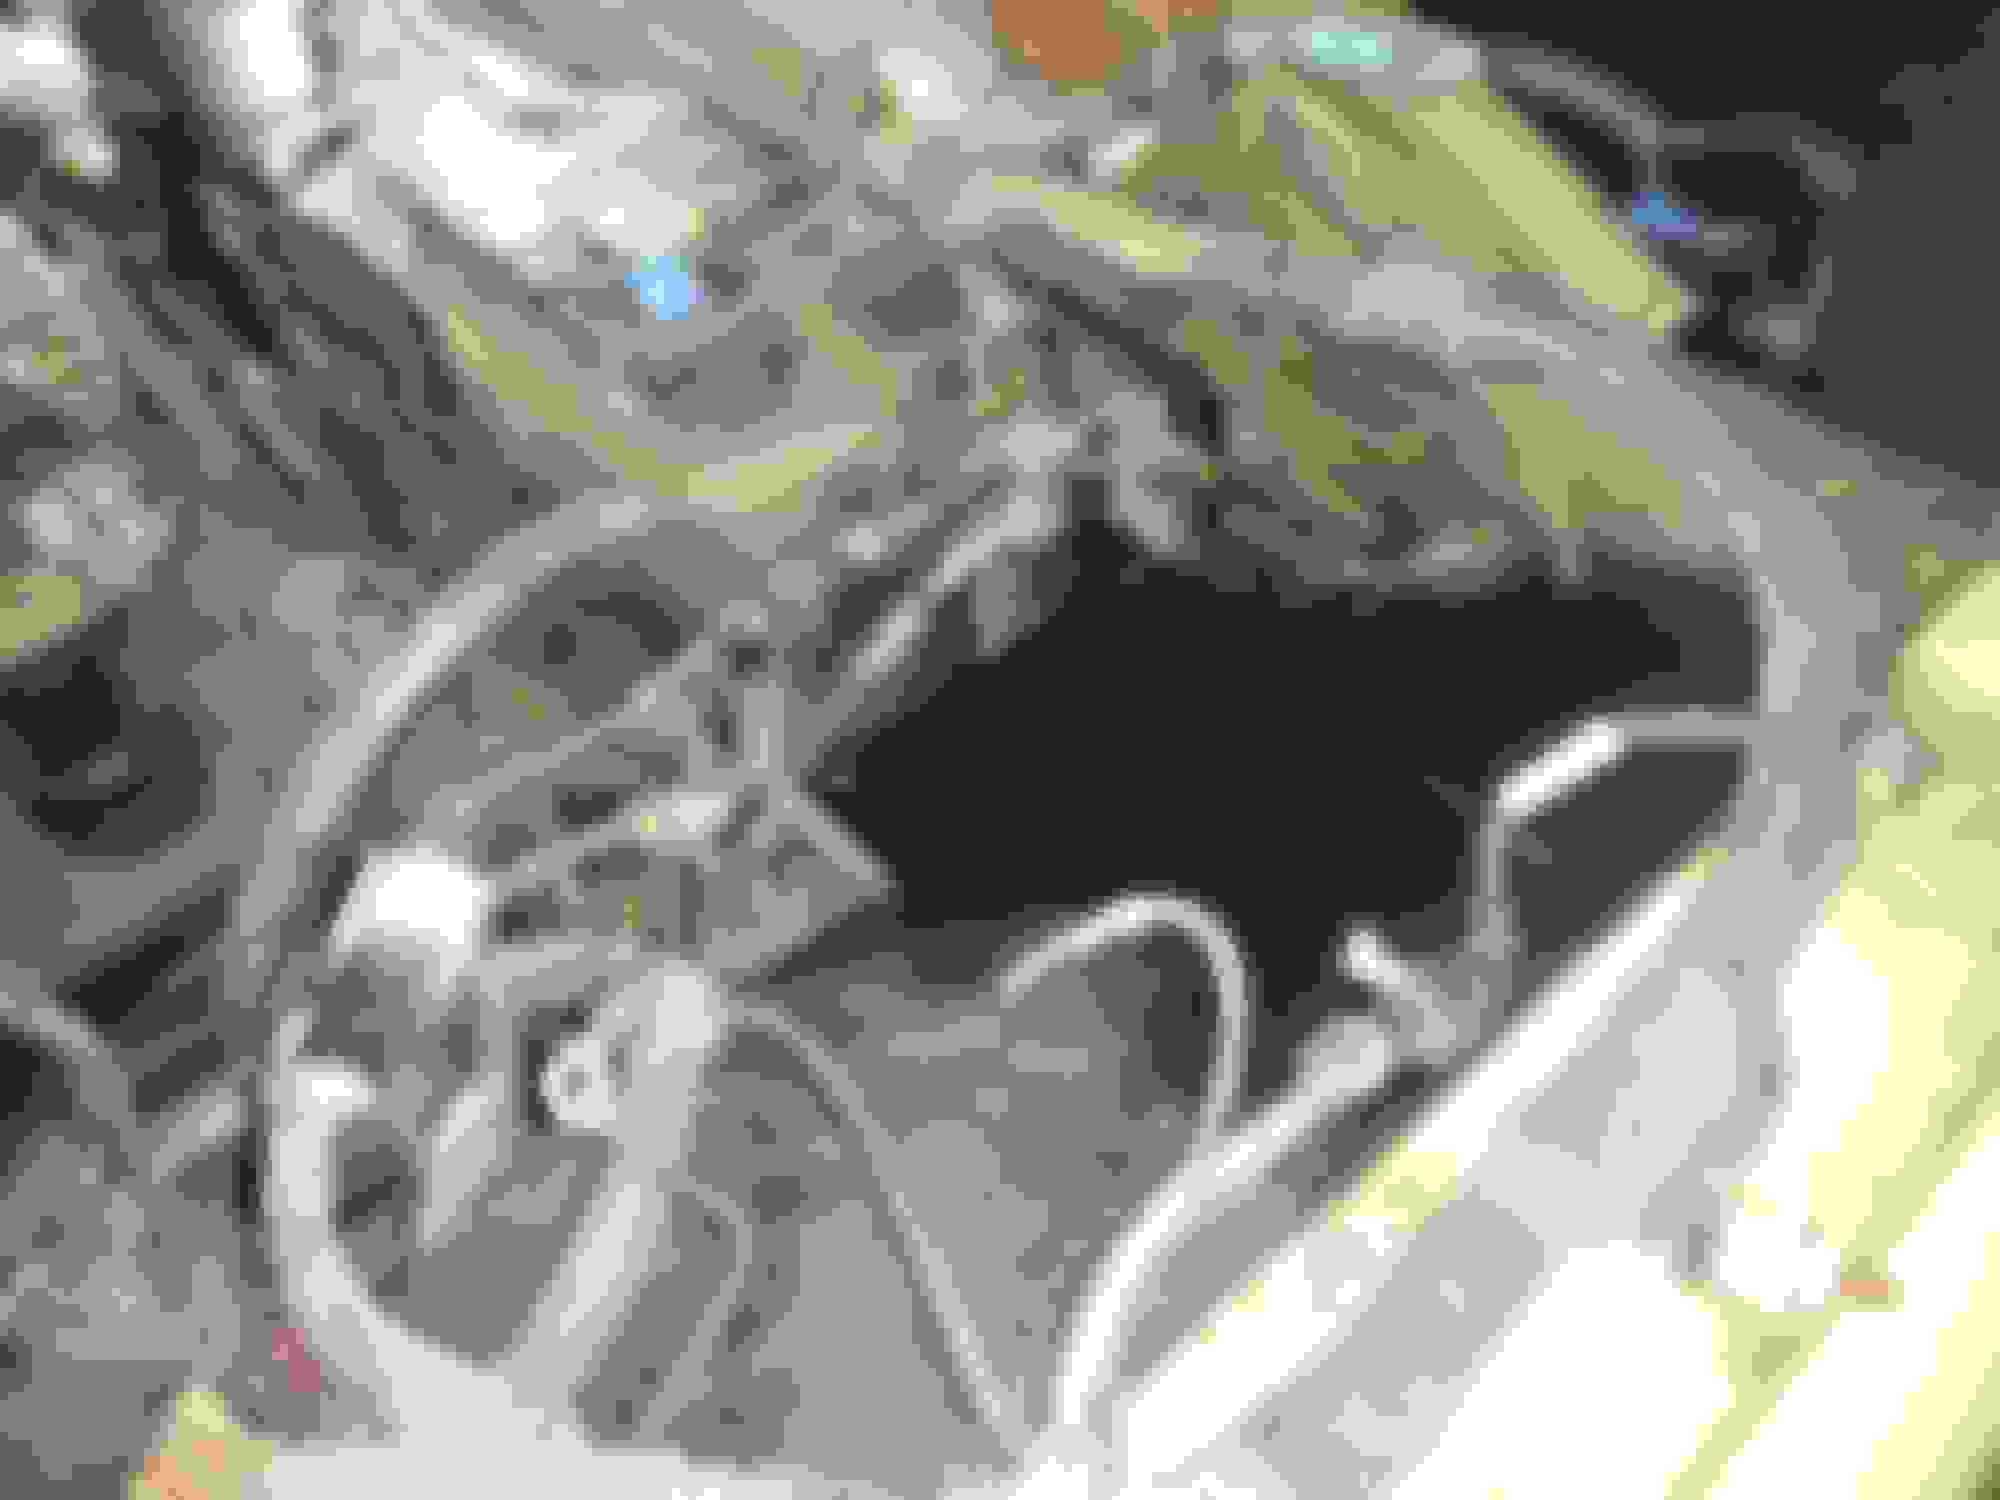
The firewall pretty much looks like swiss cheese now, with all the old holes for the original equipment plus what we've had to drill. Once we have all the new hole locations figured out we can put in new sheet metal.
That's pretty much all the progress so far, I will update as I go. Feel free to ask questions. I've also been documenting this on a project blog here: F100 Interceptor
Nice work you guys are doing.... just bought a 57 Long WB and BBW about a month ago. Im enjoying watching your work. Also learning as I go. Its my first Fridge.
I considered going that route, putting the truck body onto the car frame.
I decided to keep the original frame and add the CV parts, I really like what you have done so far. It looks like our builds are going to be pretty similar I will keep watching yours so can keep me from making any mistakes.
What are you going to do about the rear-end?
Well, I've been at this project a month now so thought I'd throw up another little update. DeadPhish, I plan to modify the rear fenders to accommodate the wider CV rear.
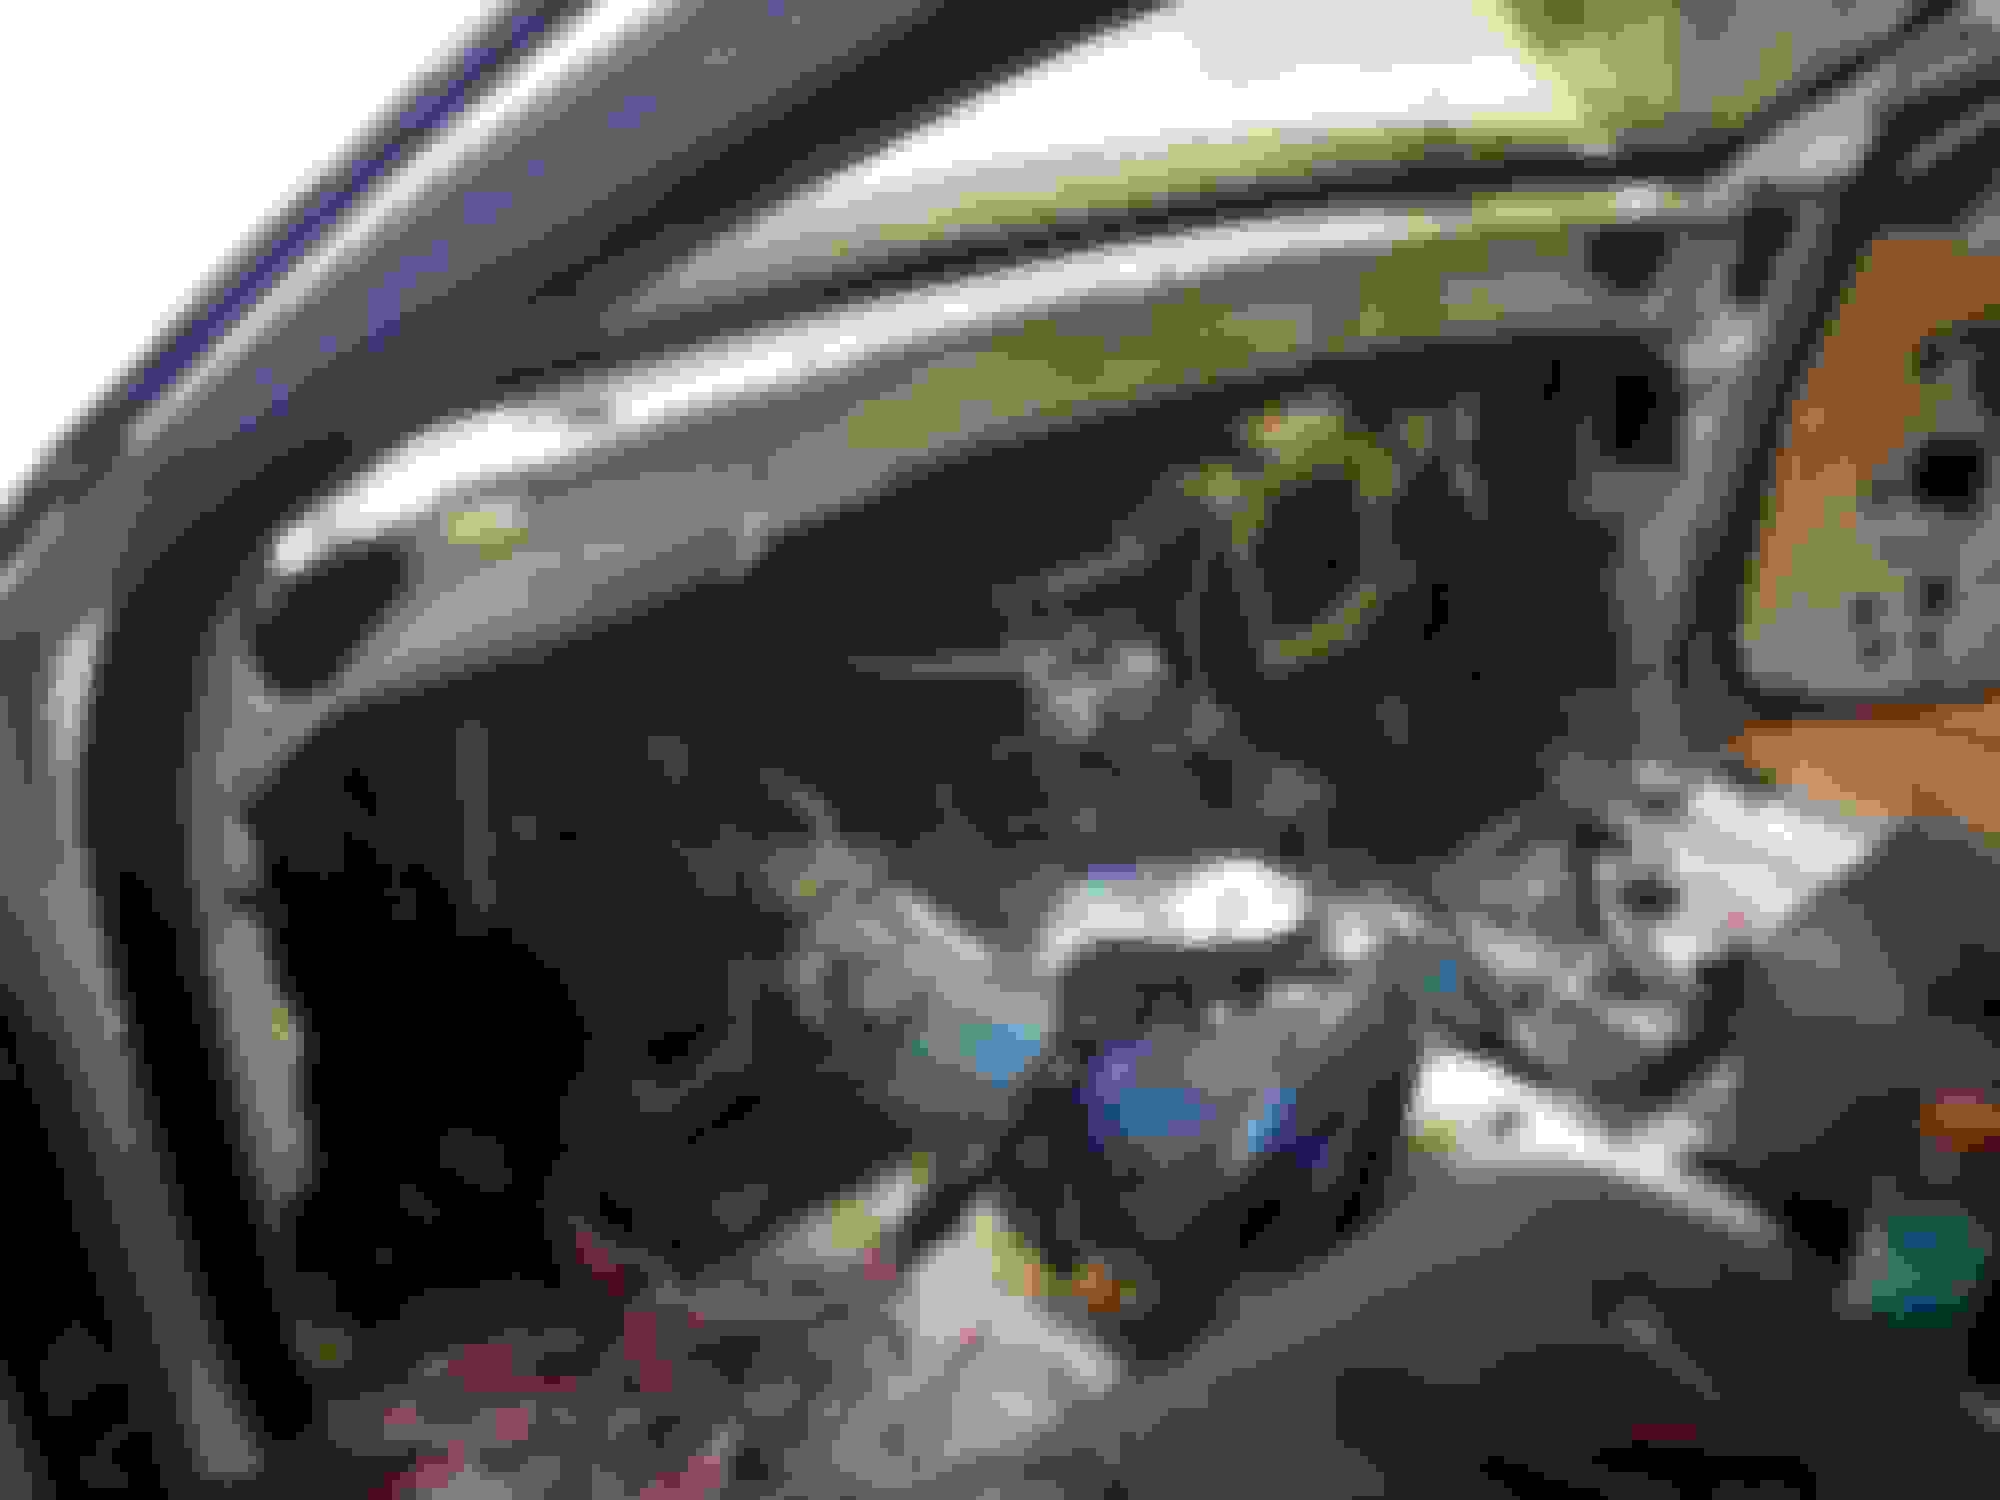
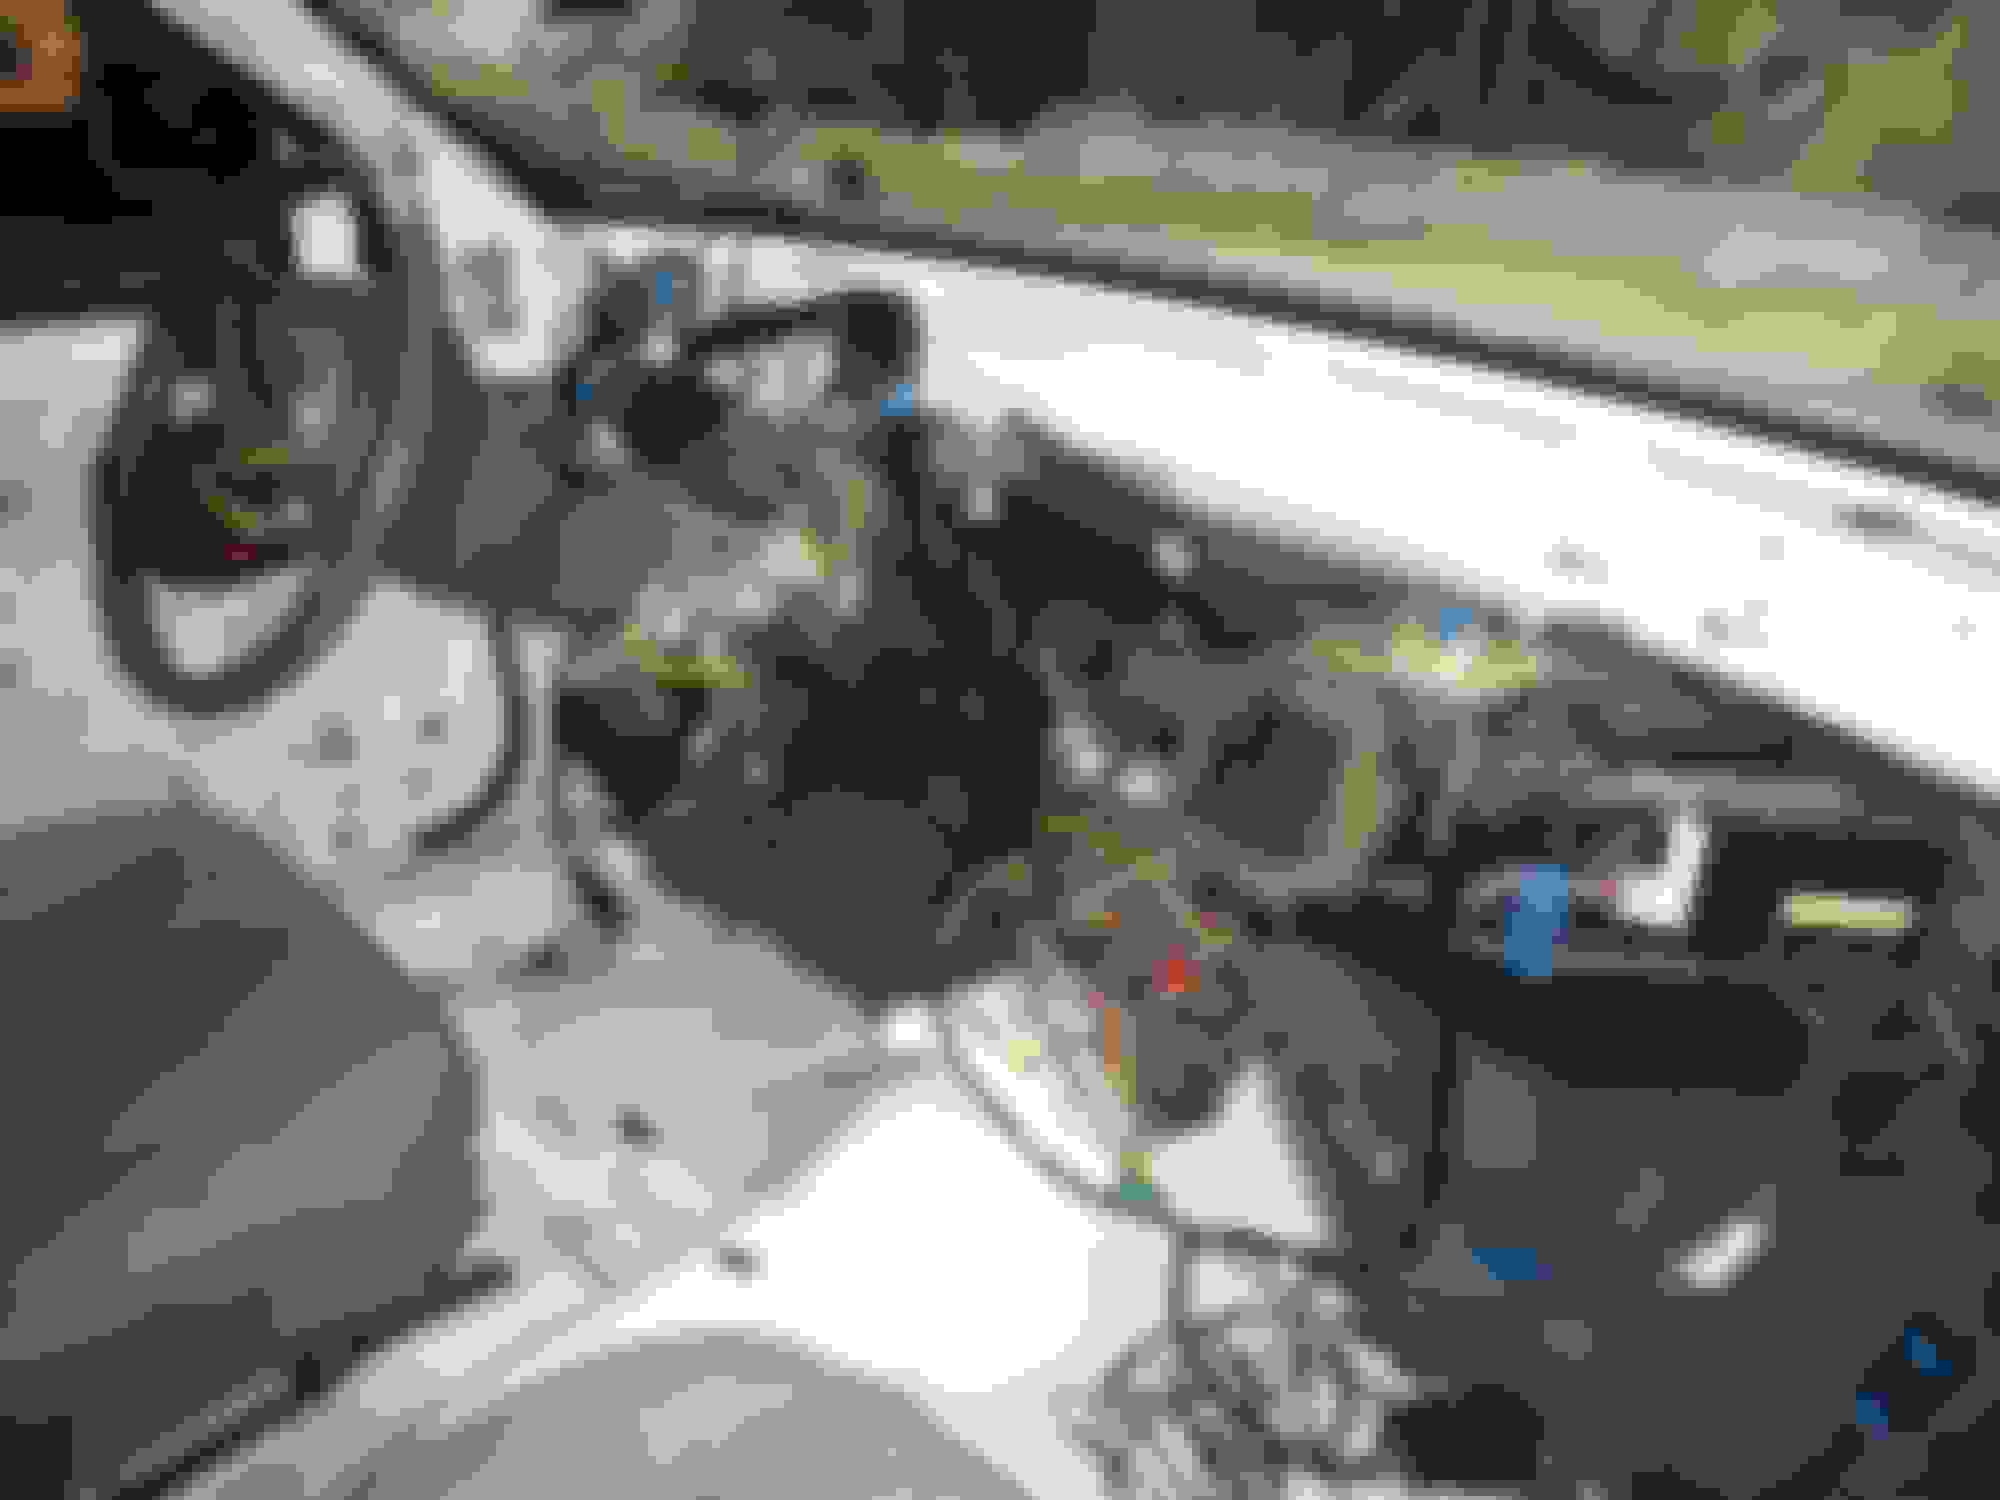
Since I last posted I have pulled out the rest of the under dash parts (insulation, heater core, wiper). The plan is to POR15 the cab and re-install the stock truck heater core for now, but eventually I will try to modify the CV parts to fit.
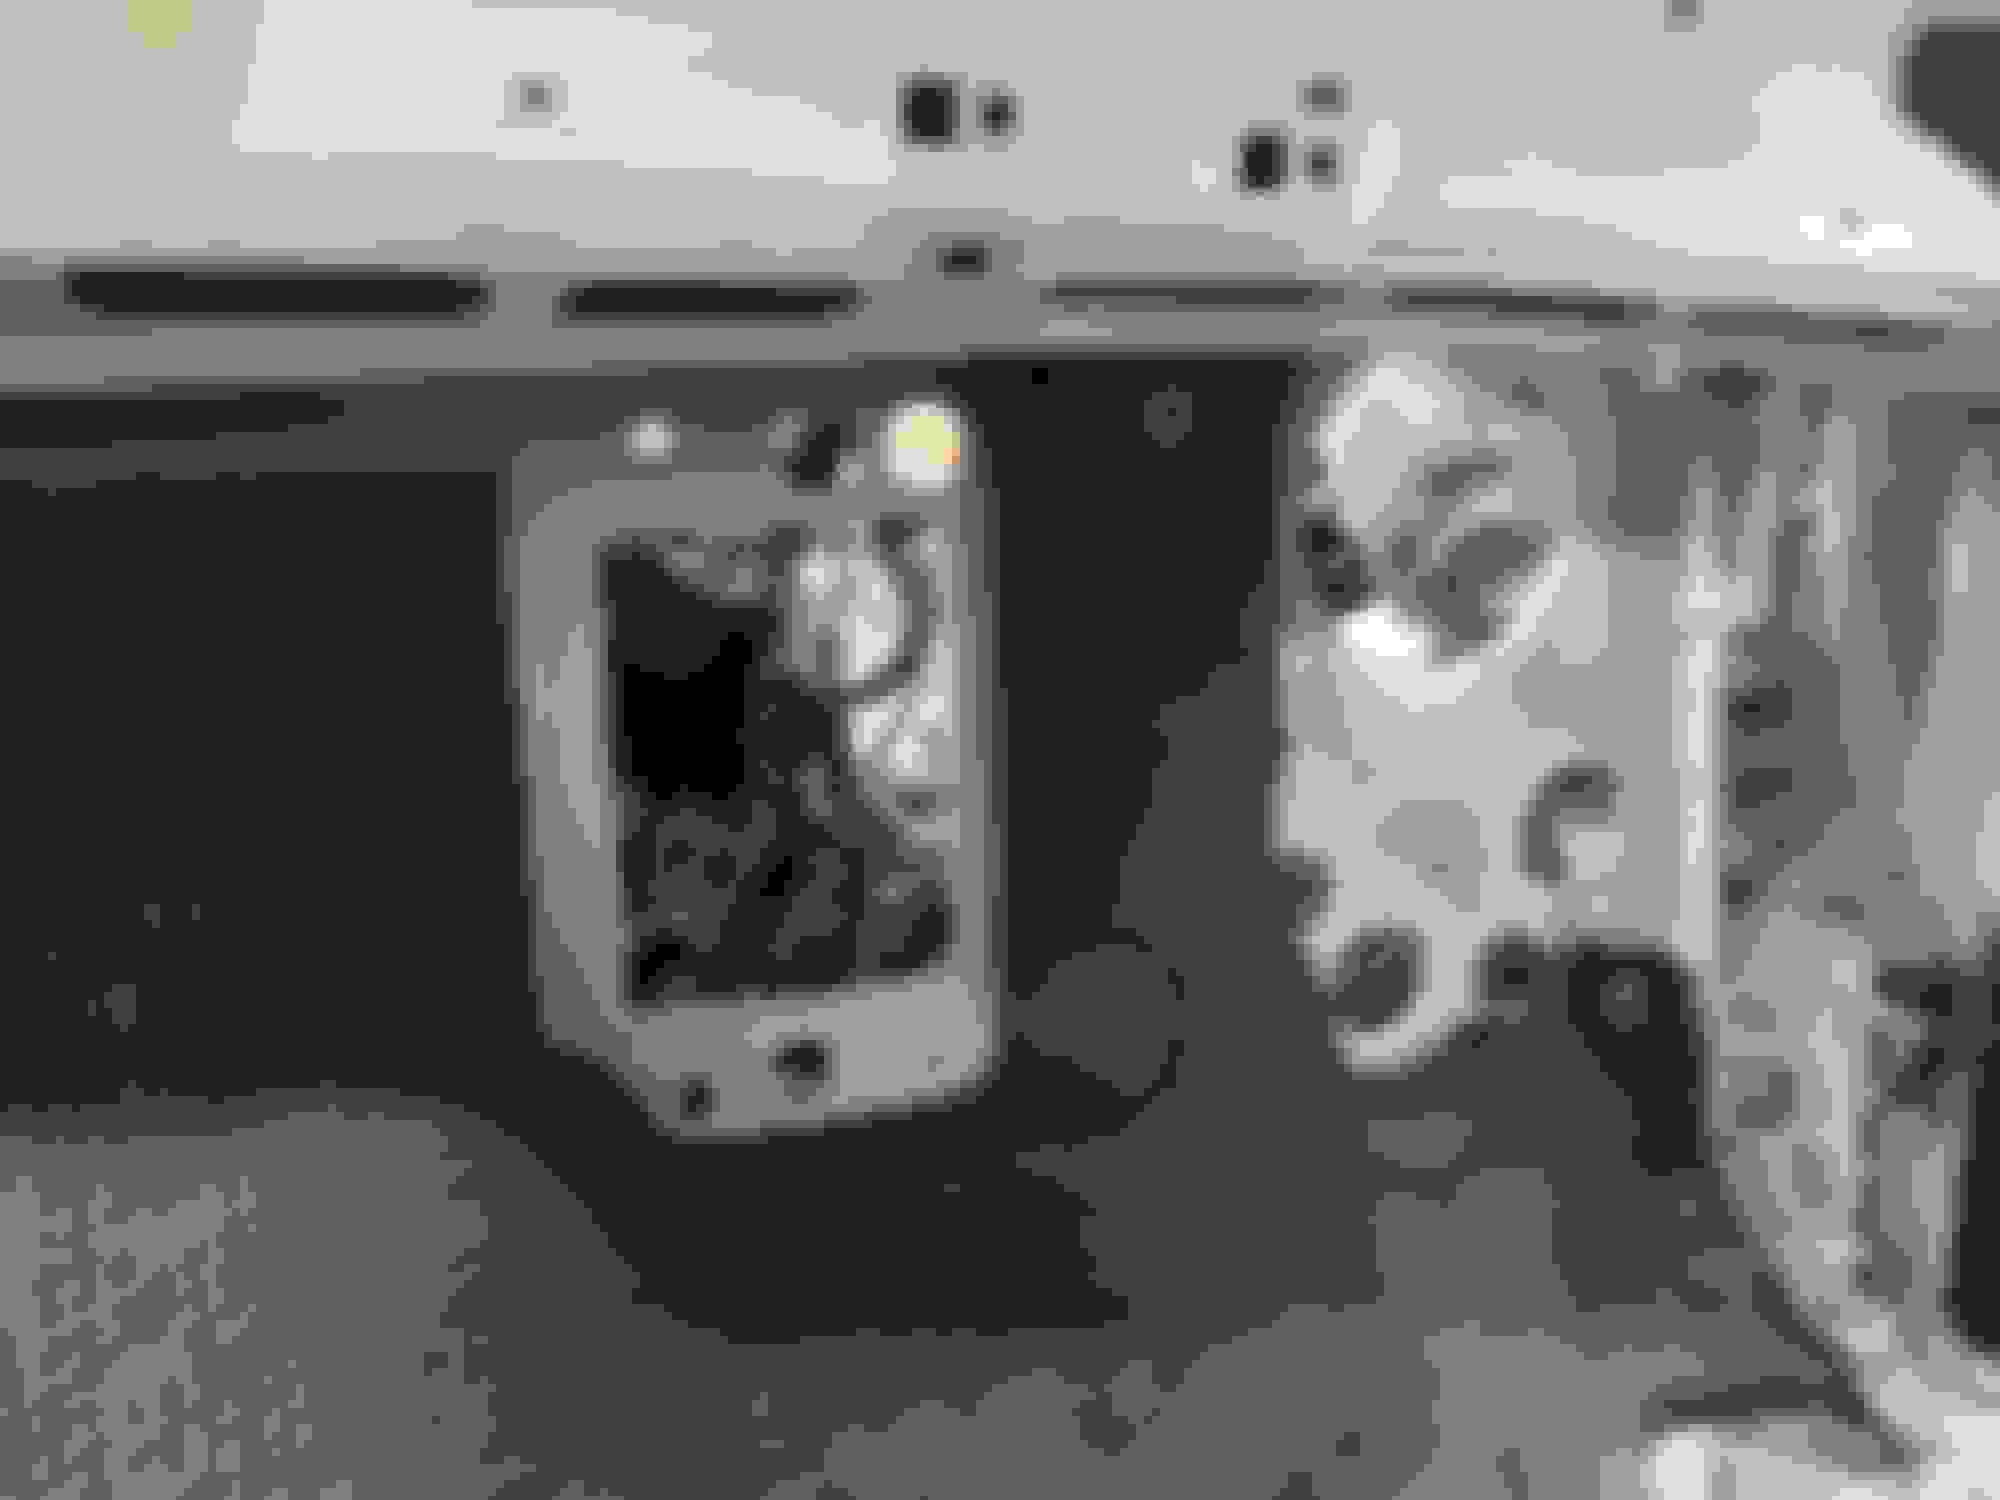
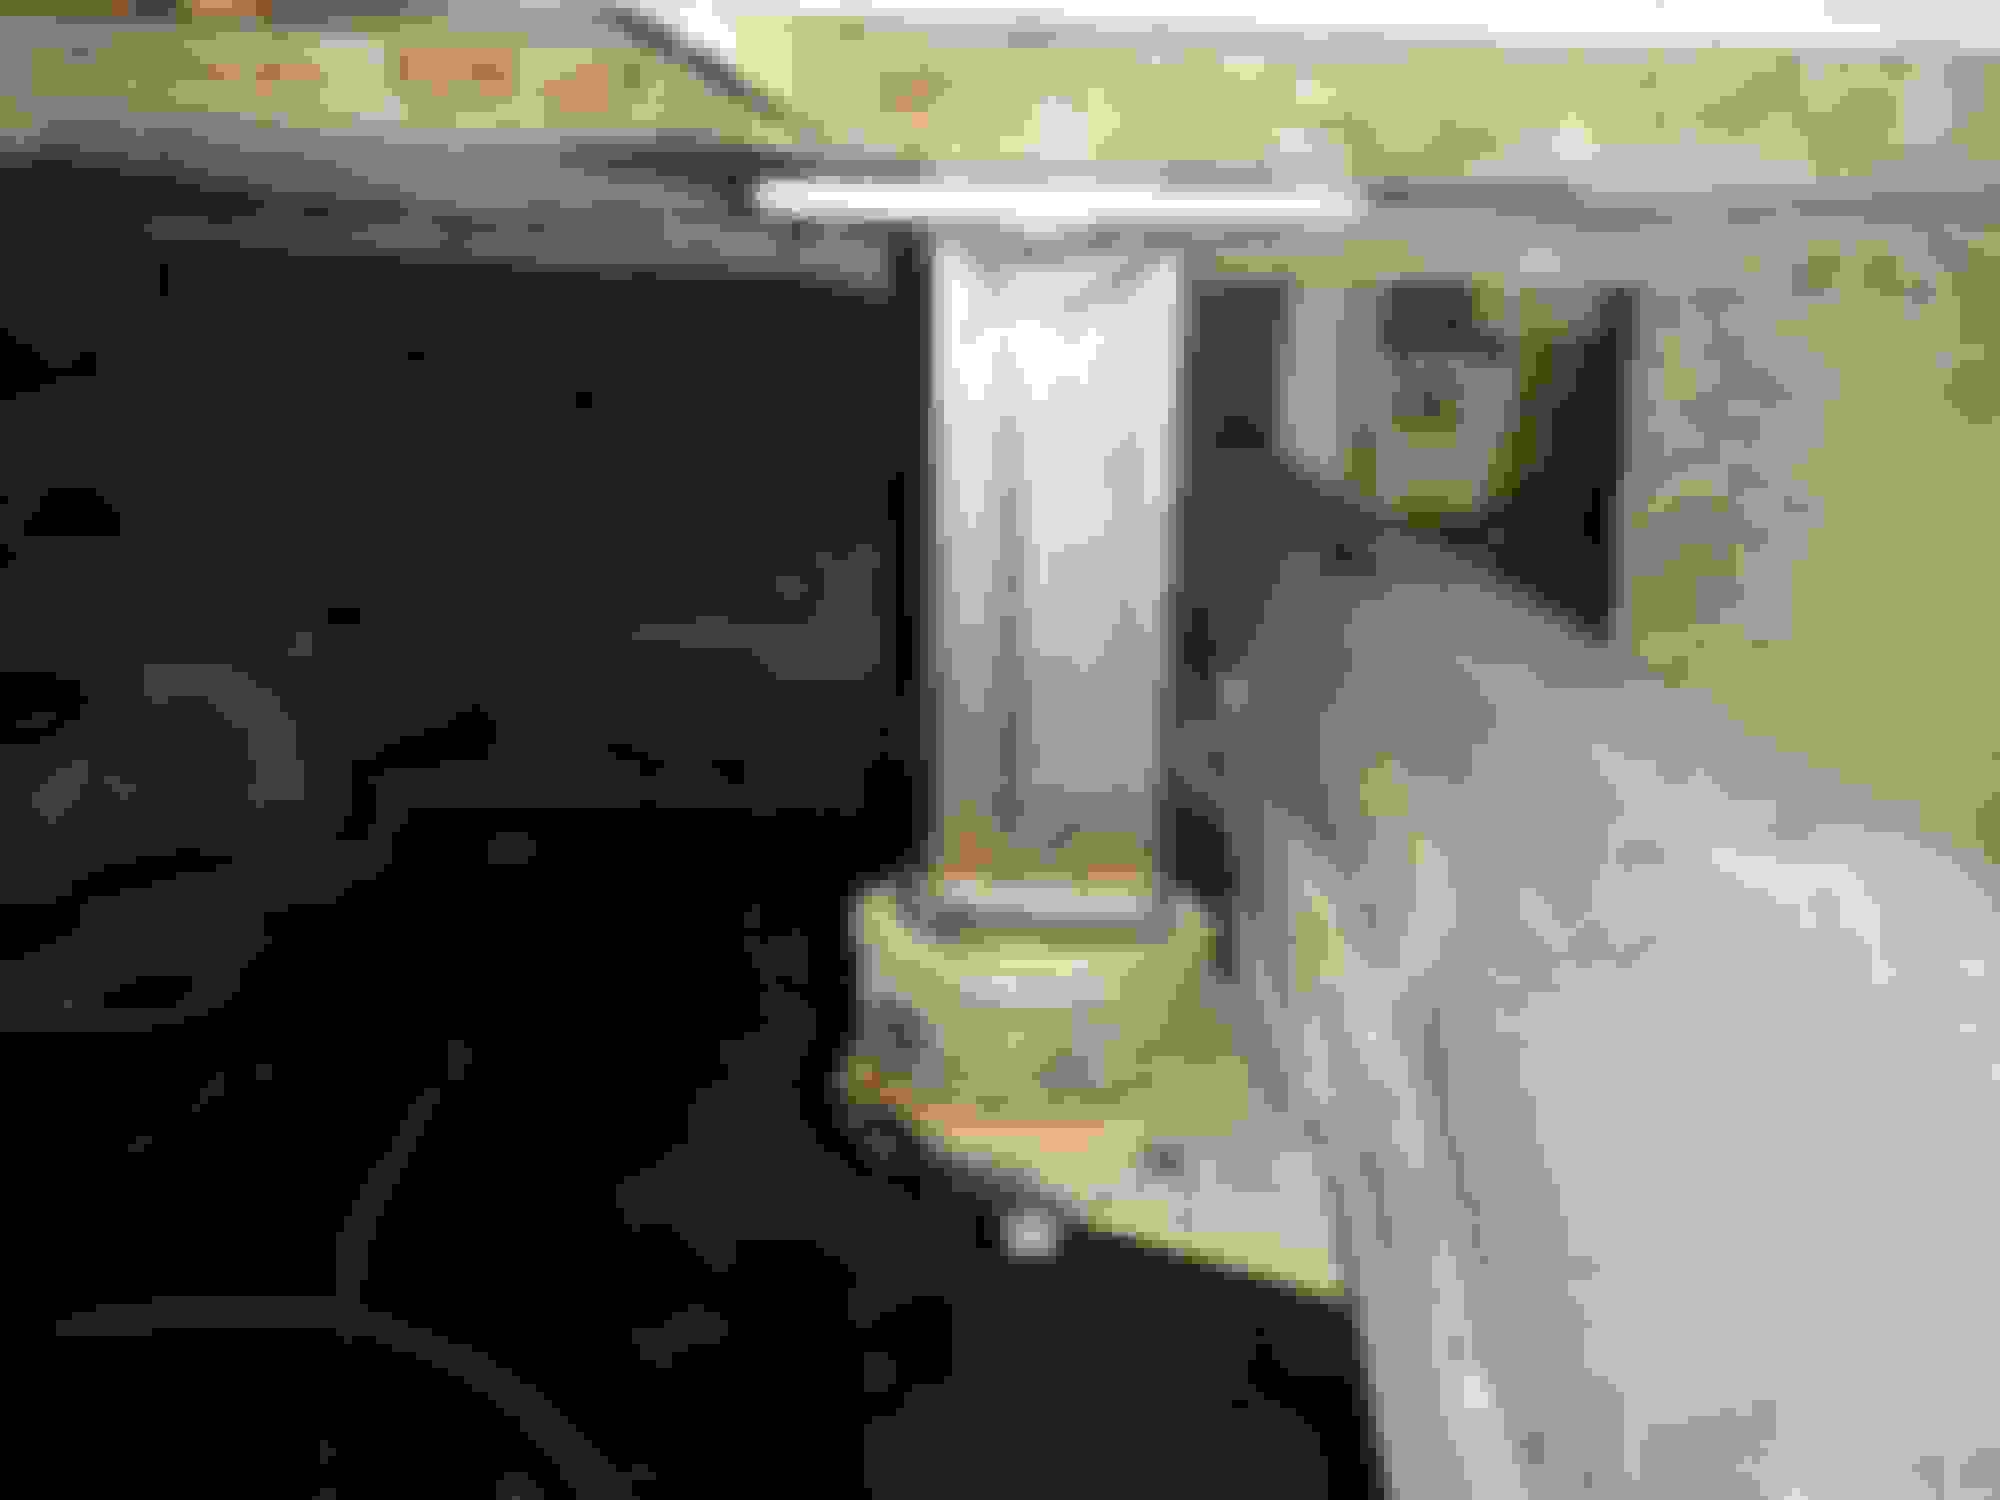
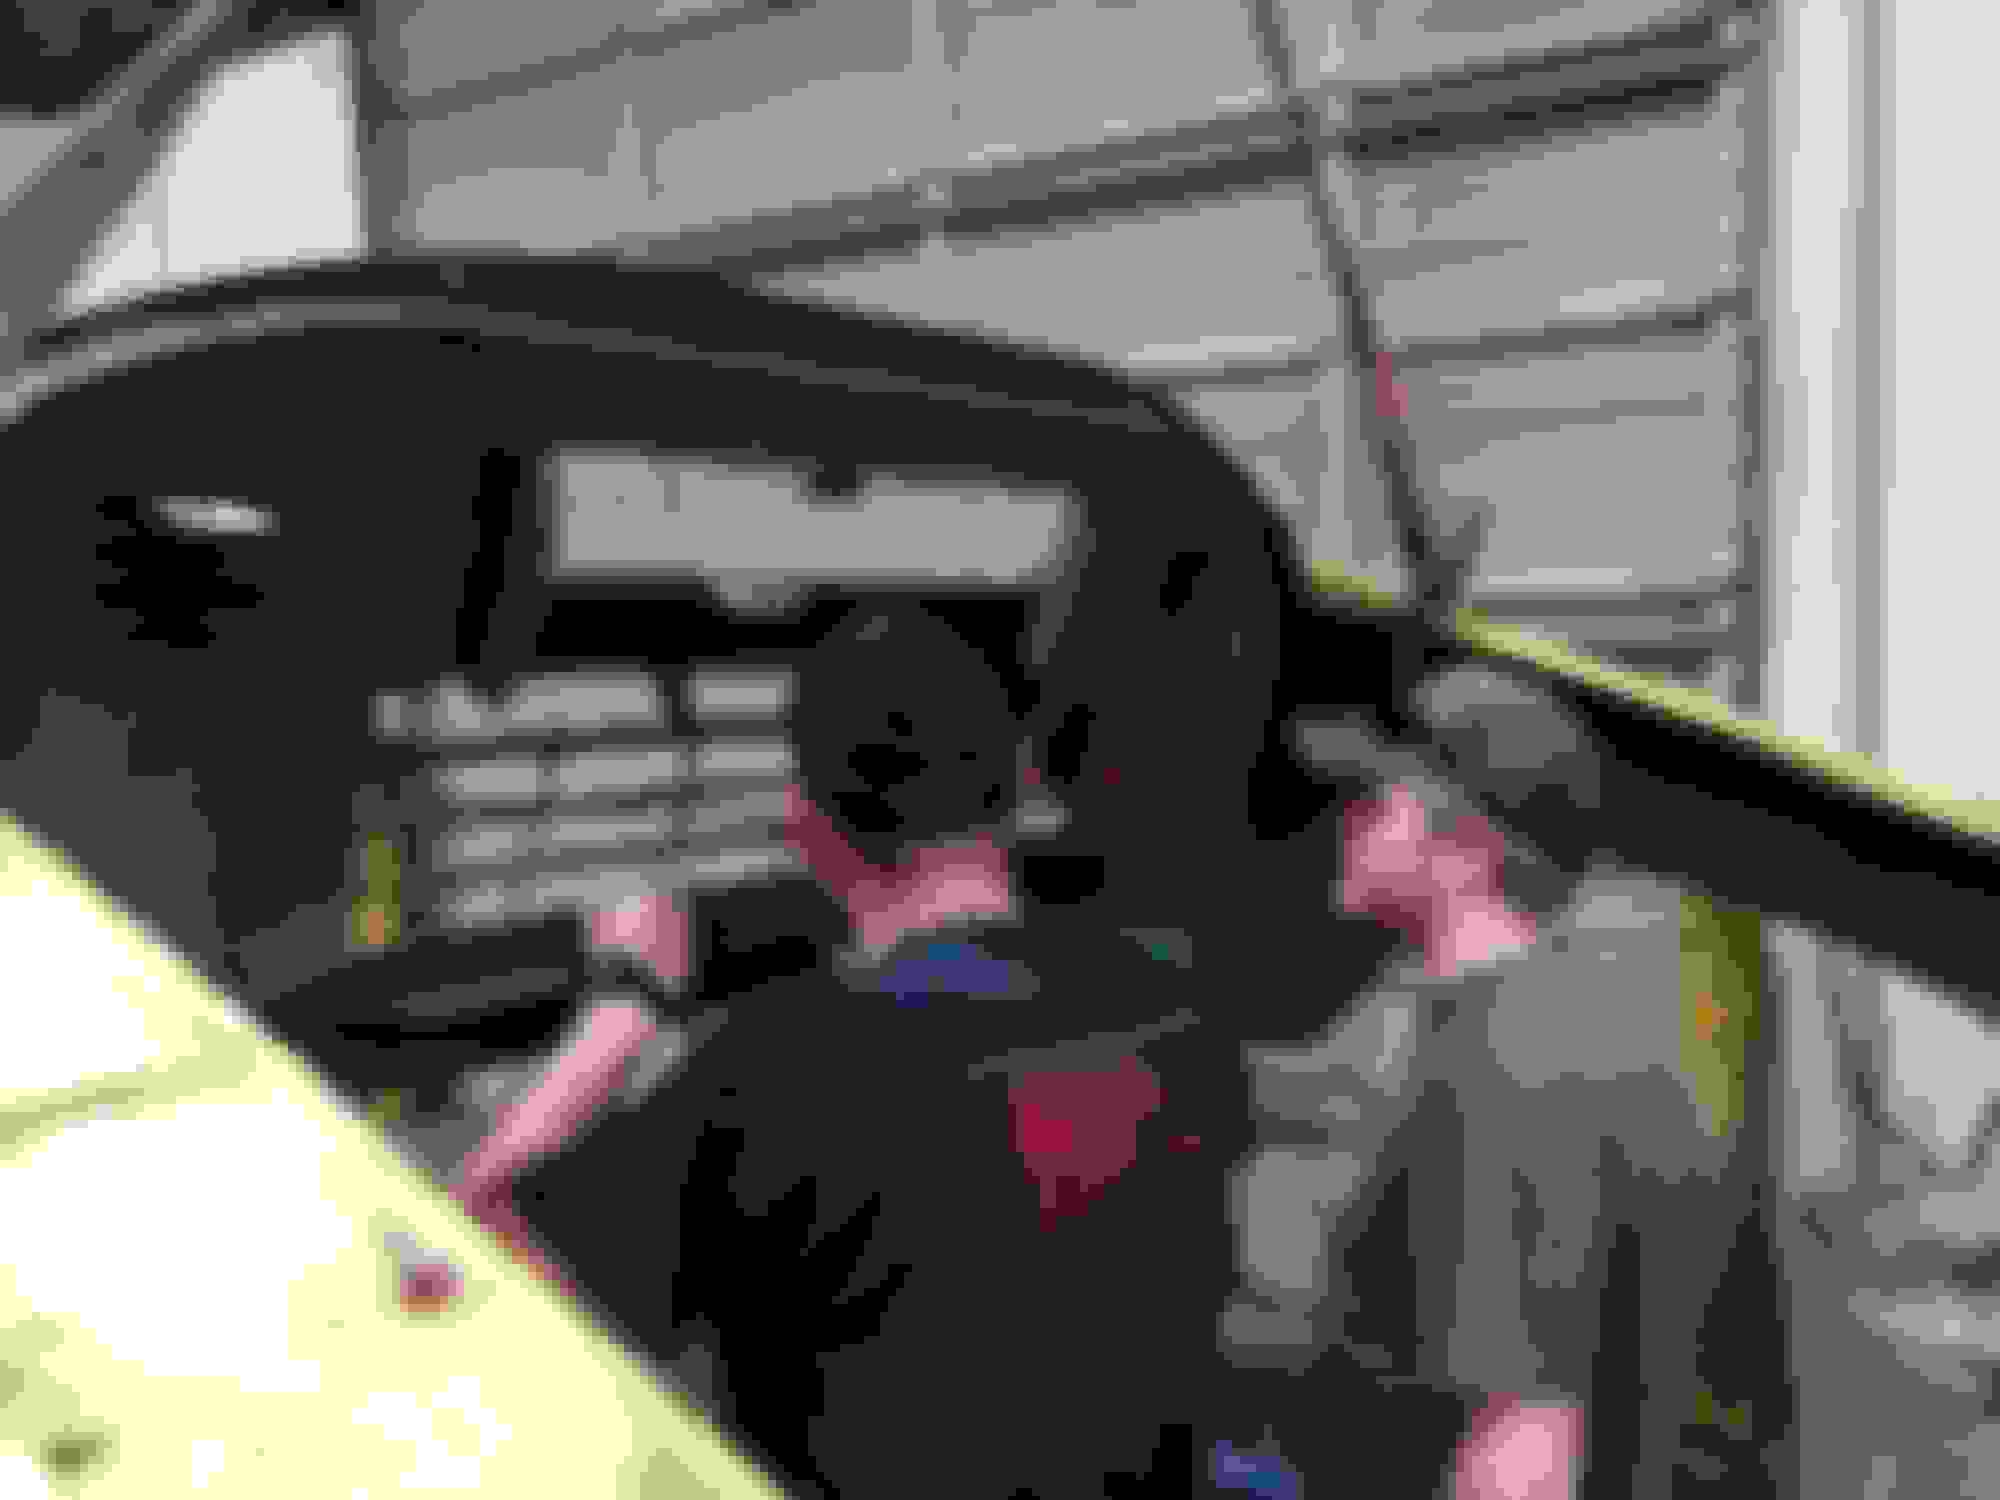
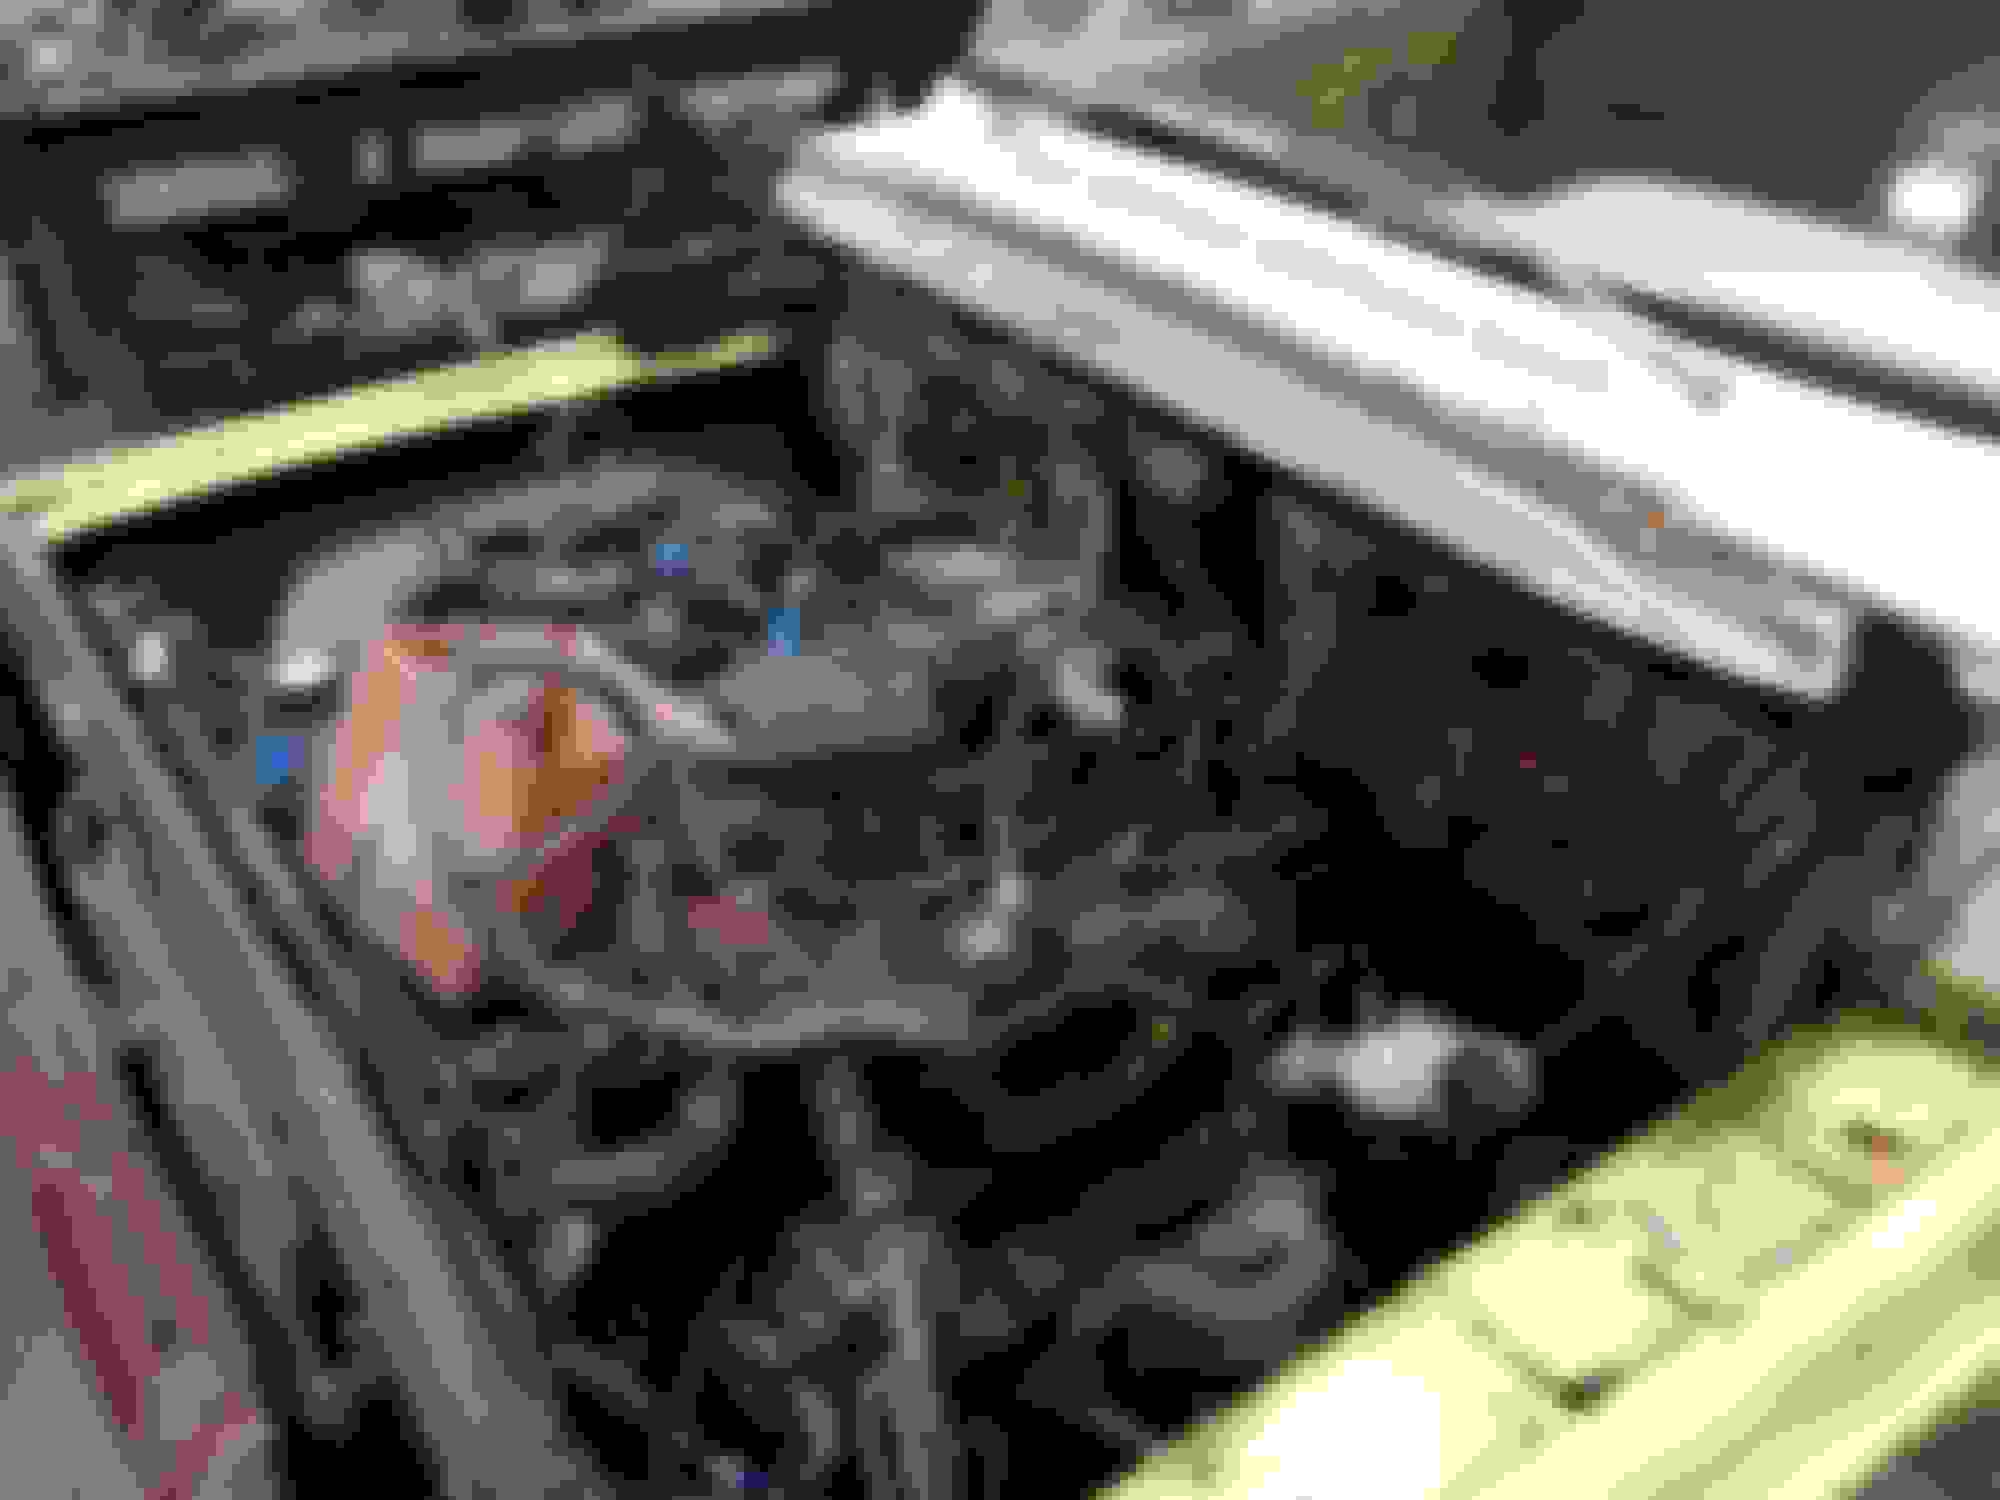
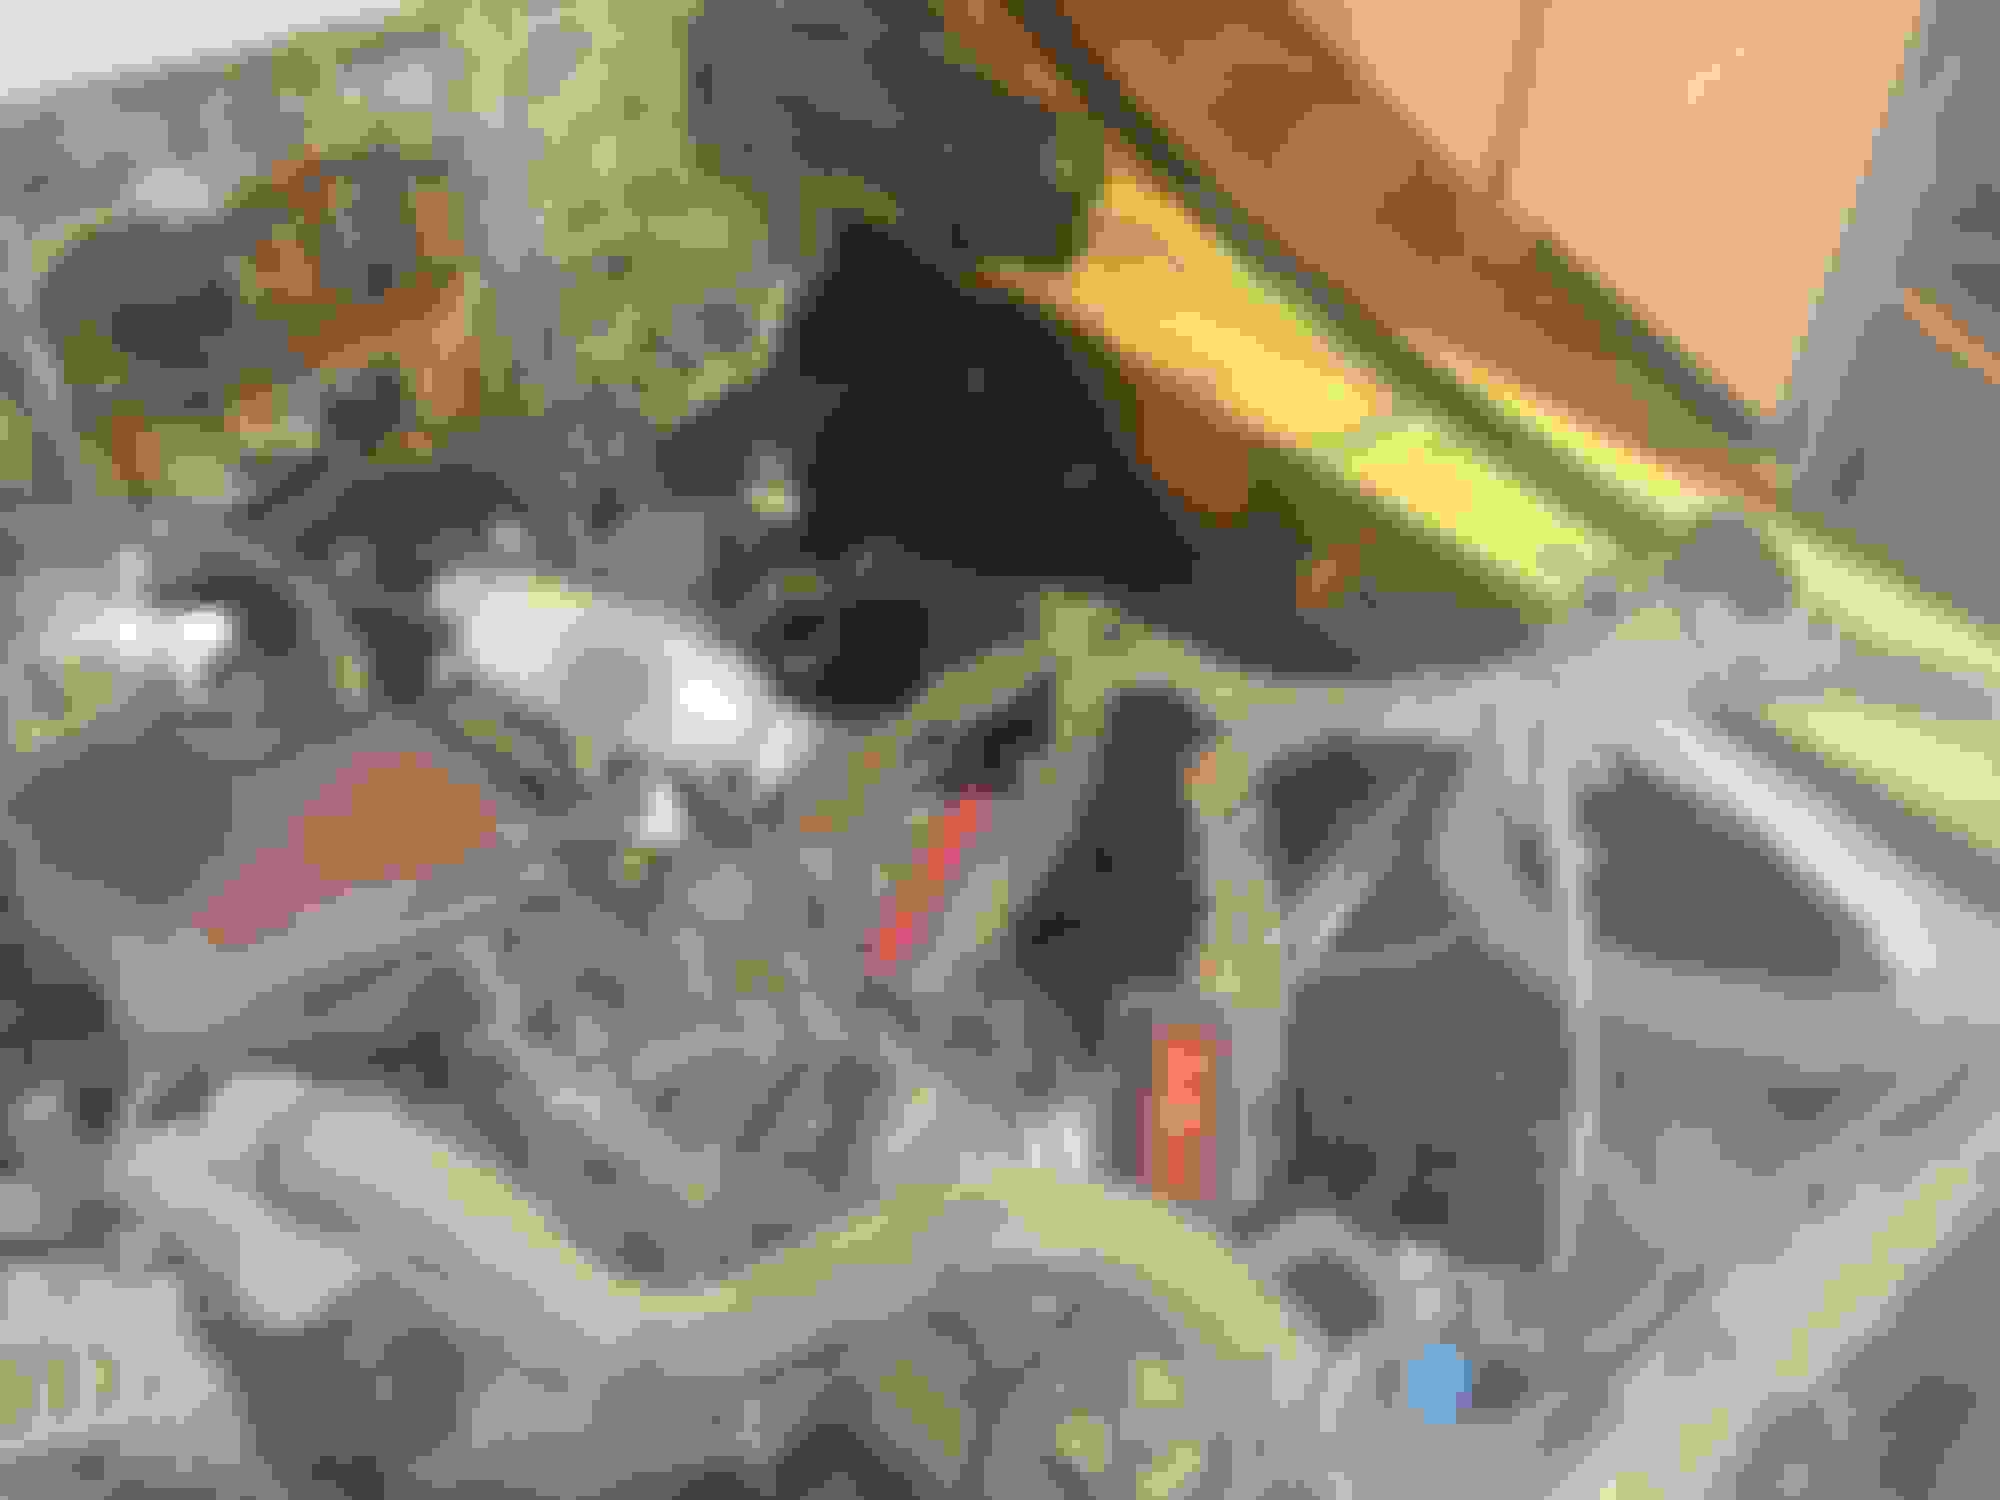
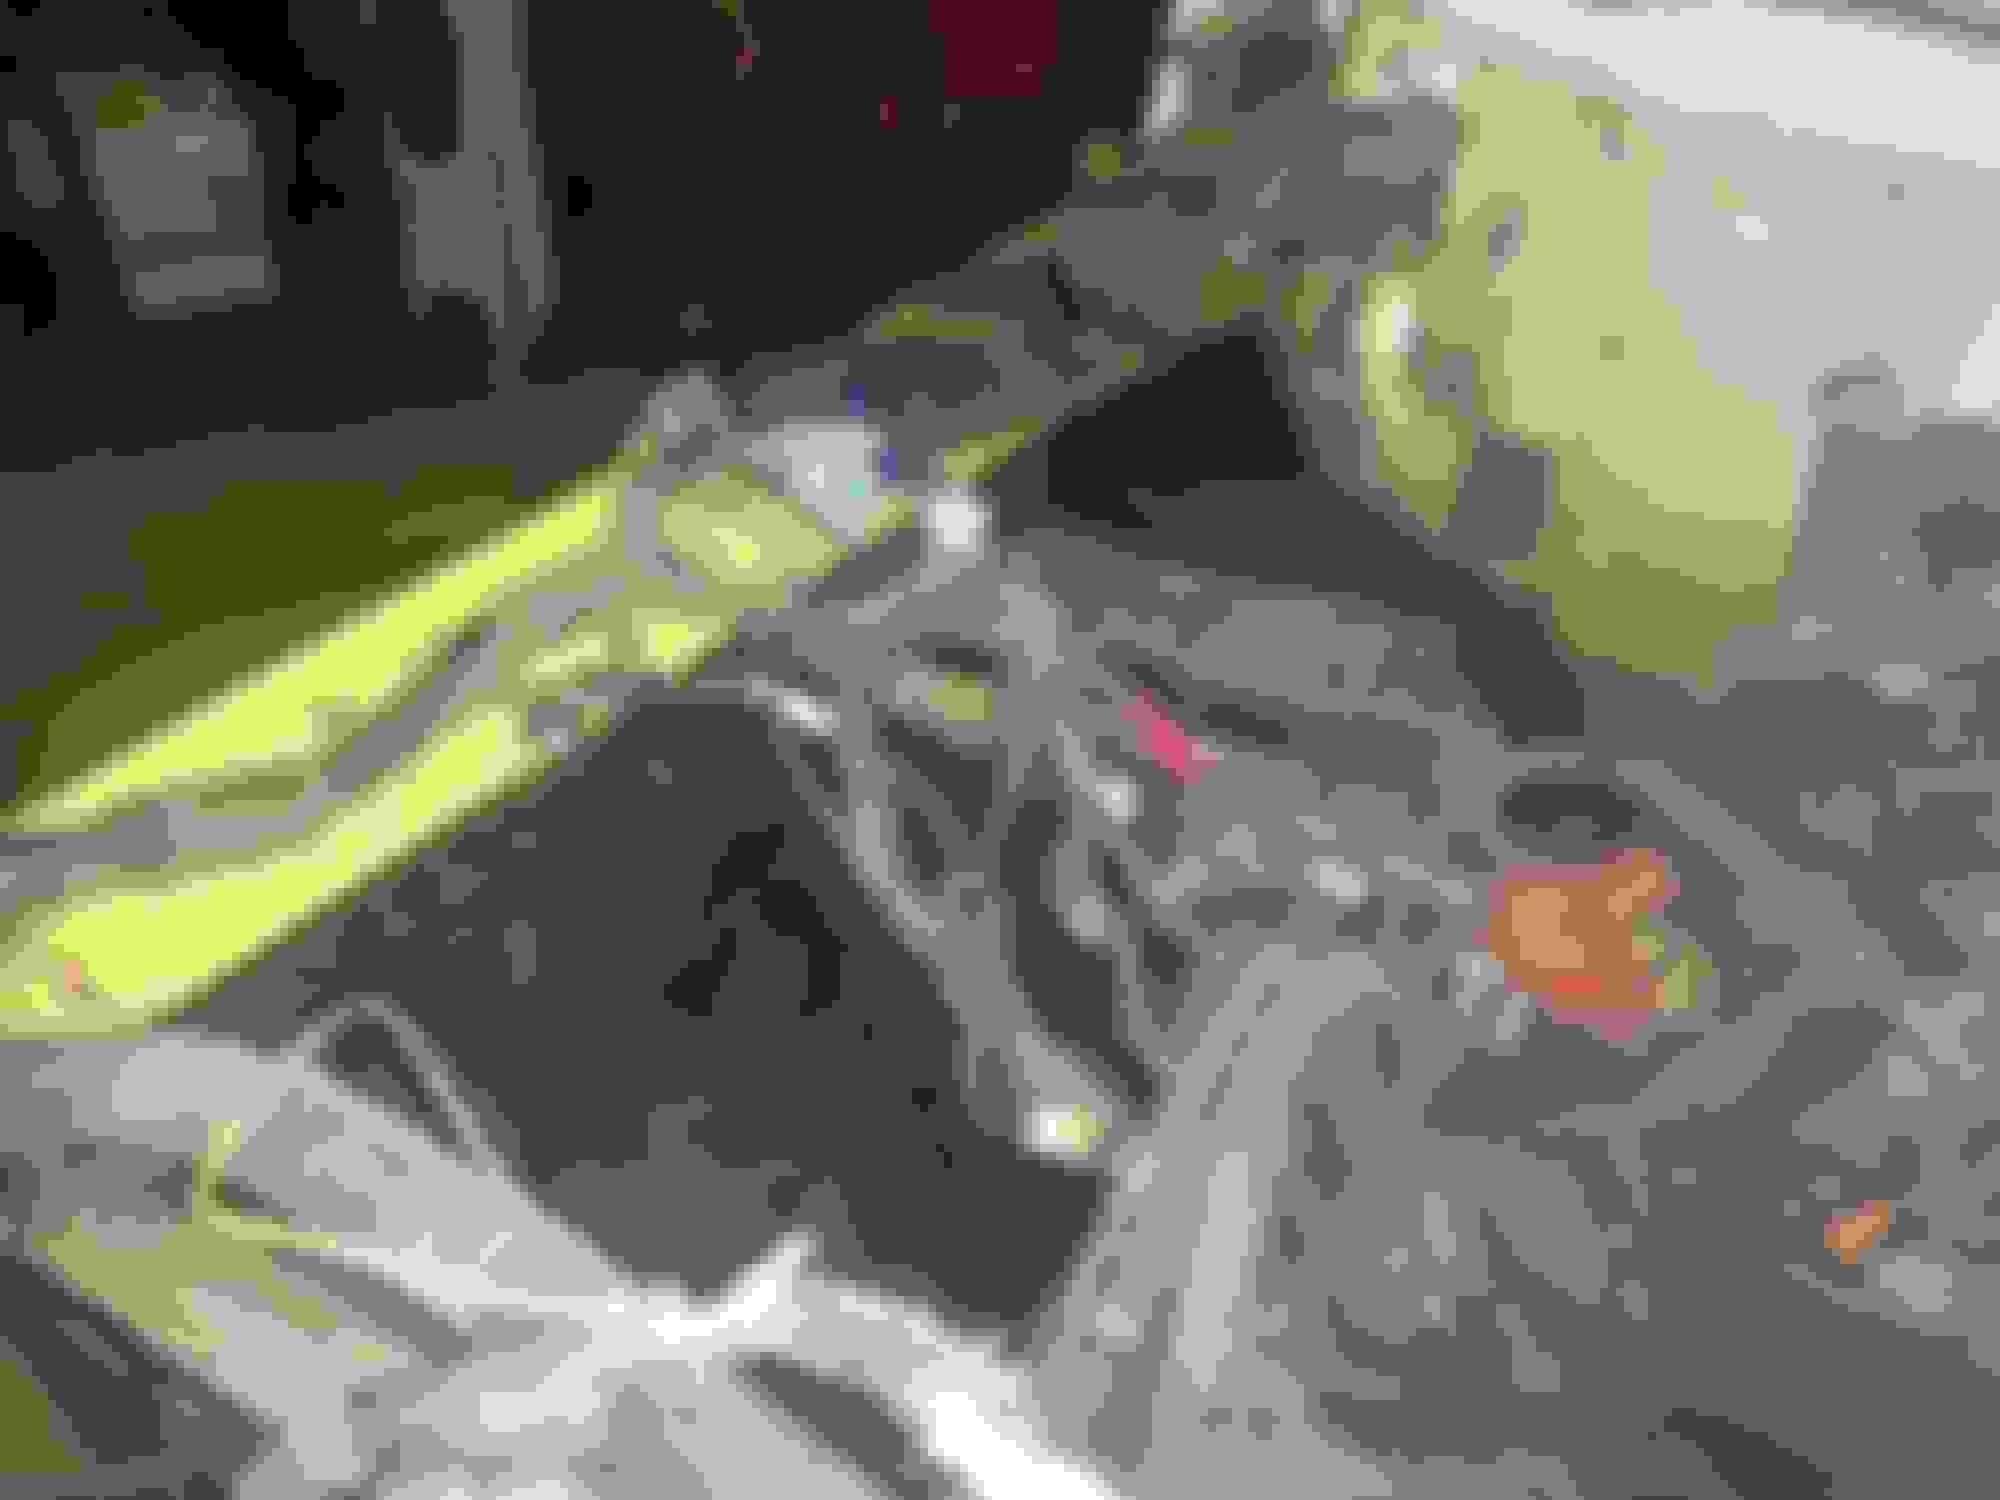
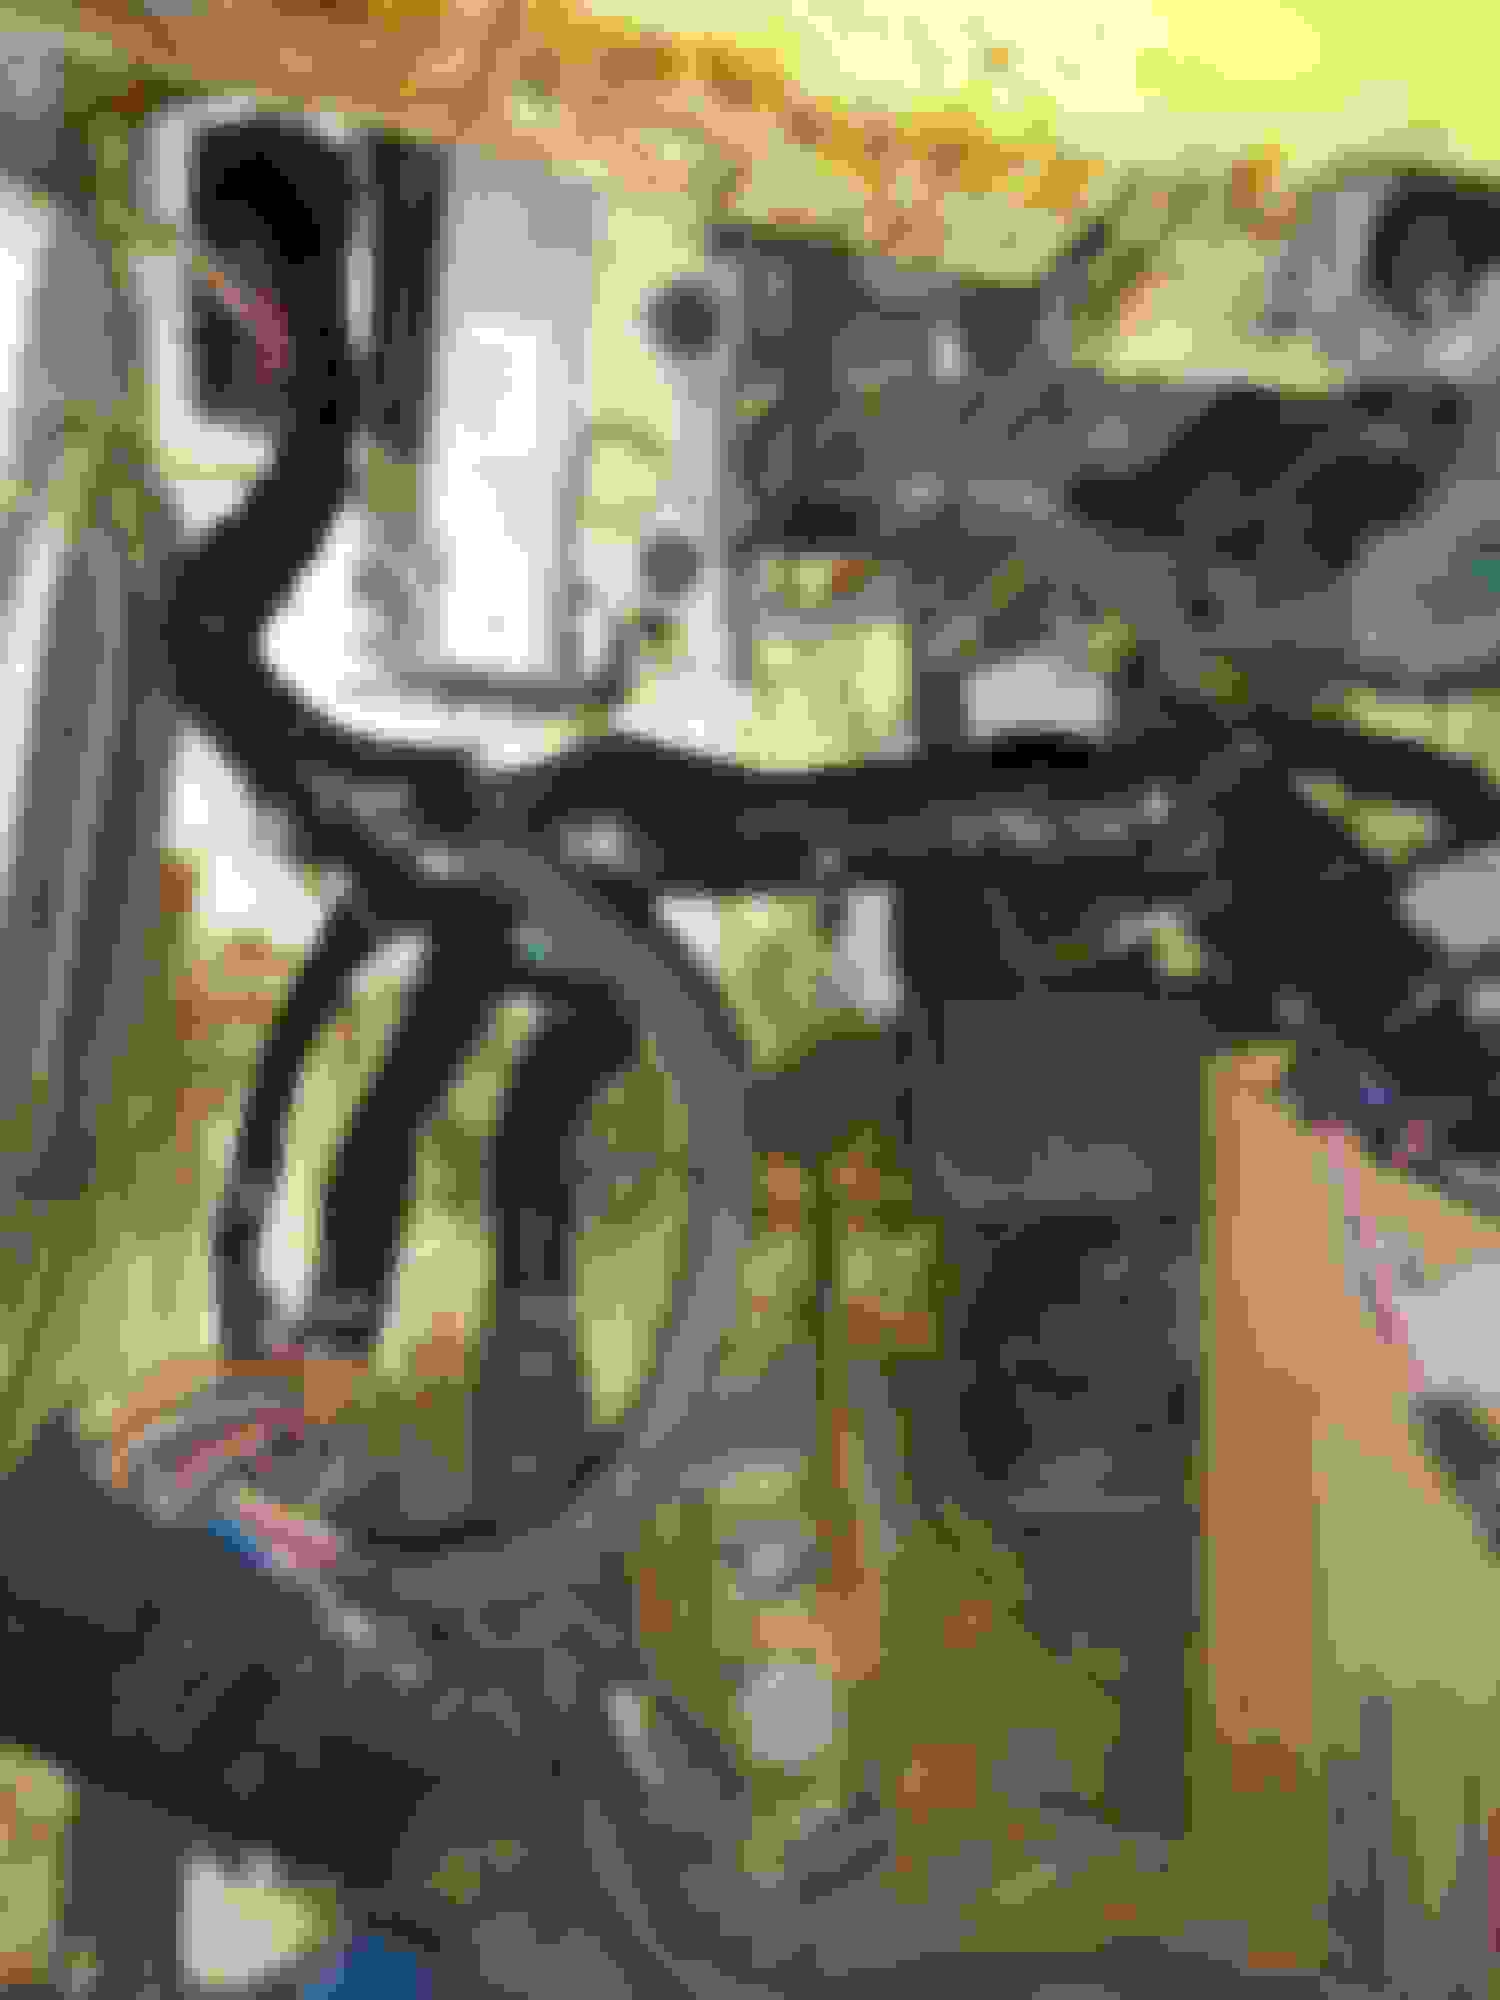
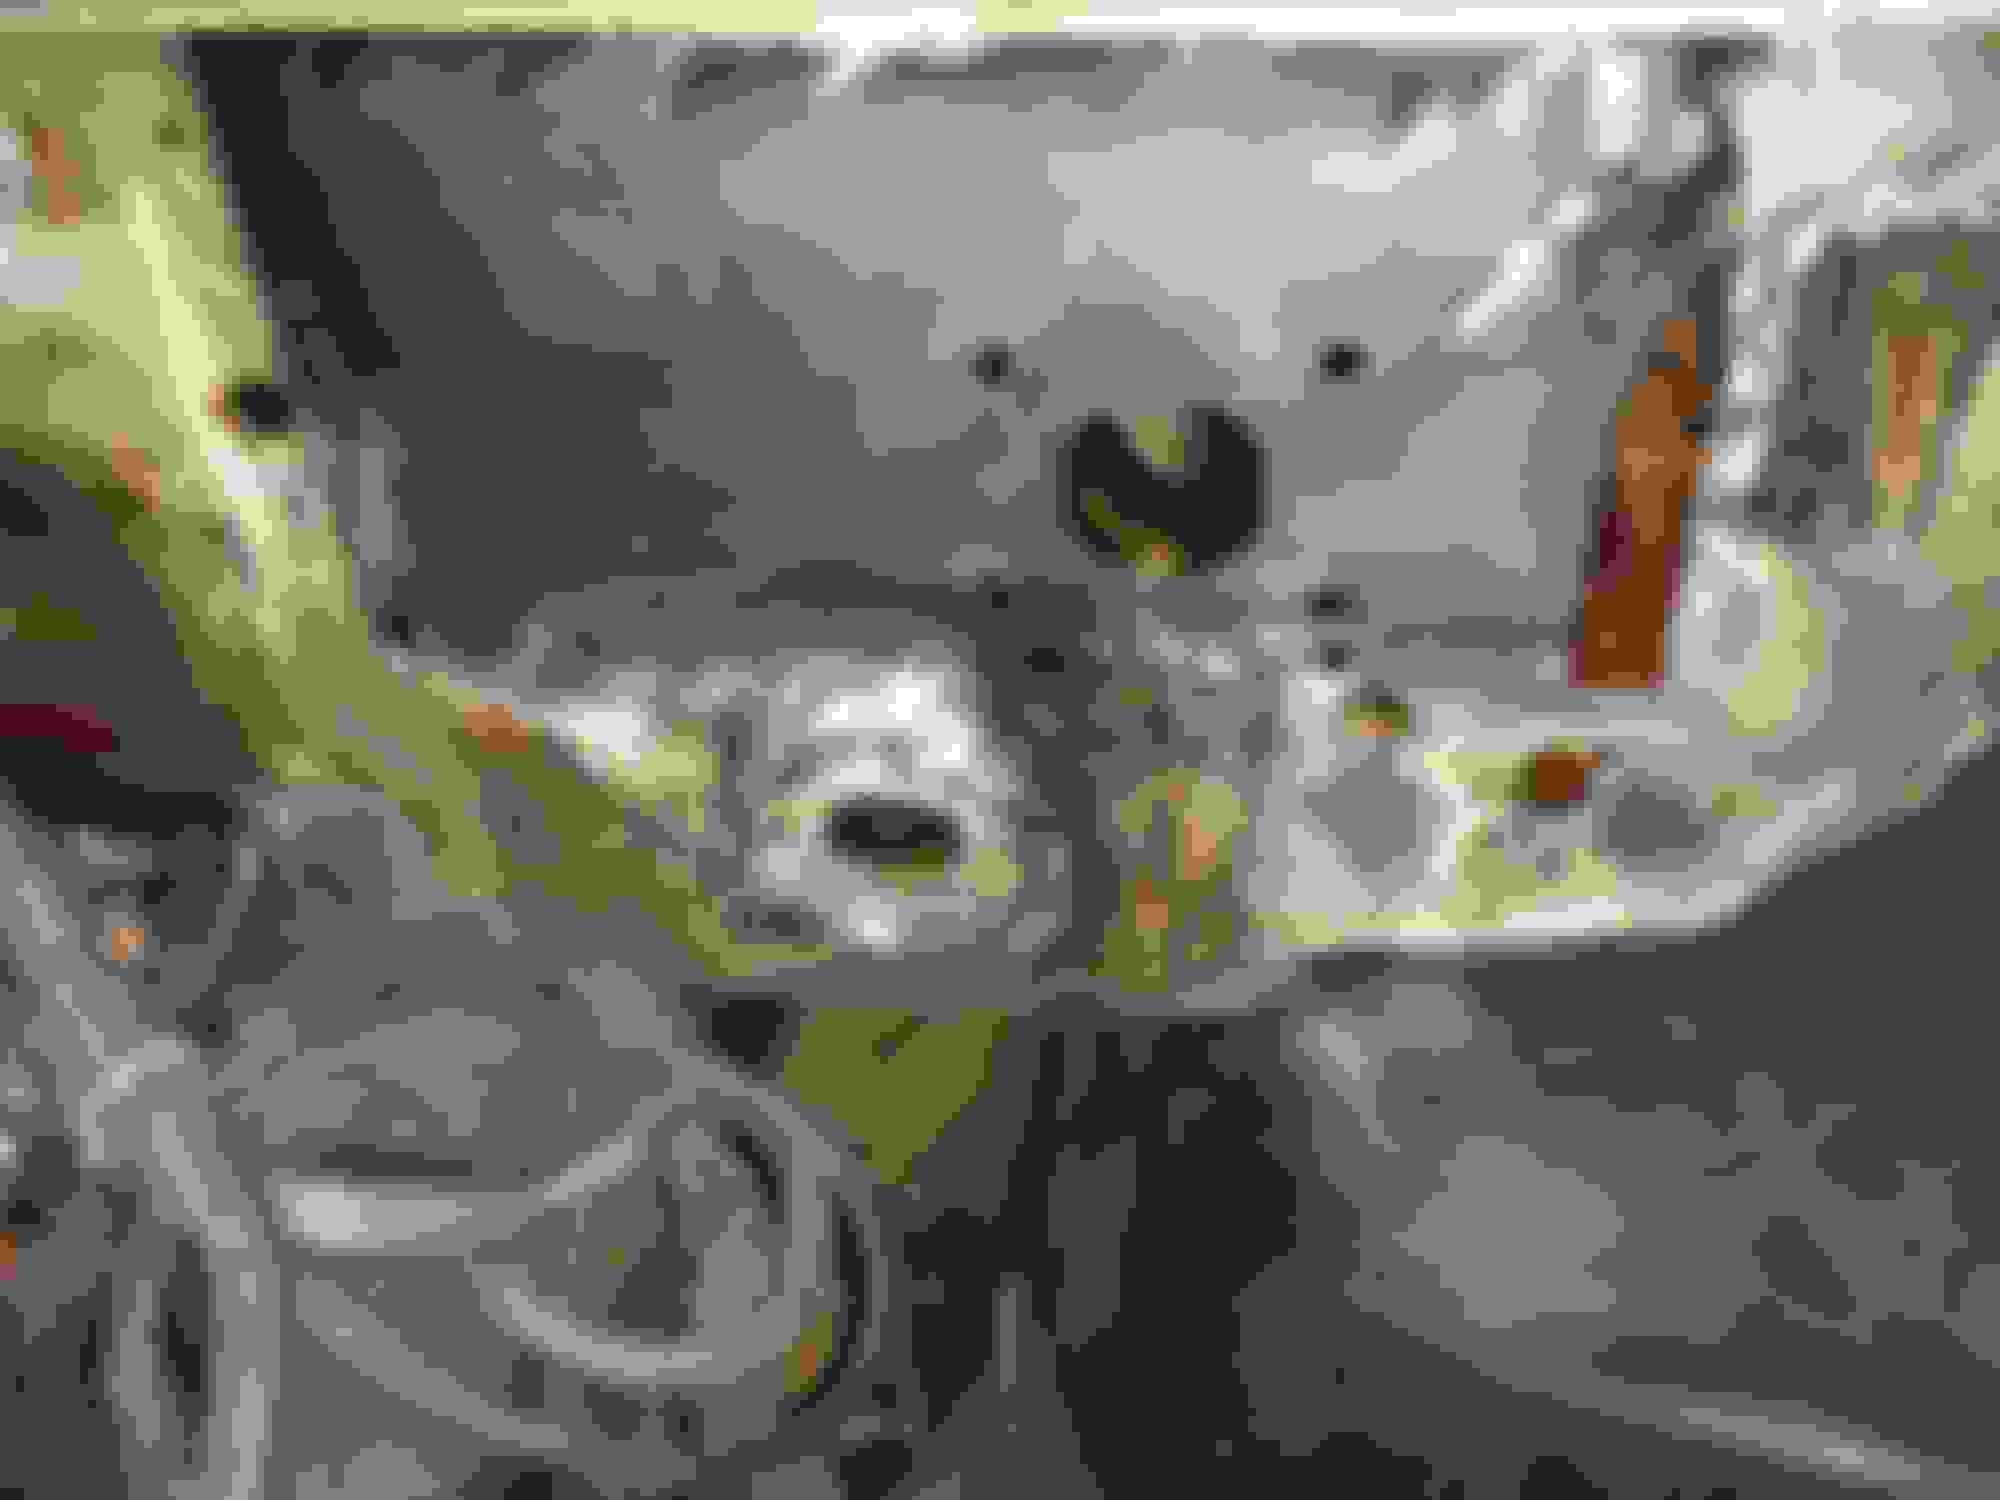
I figured out the location for the PCM and main wiring harness plug:
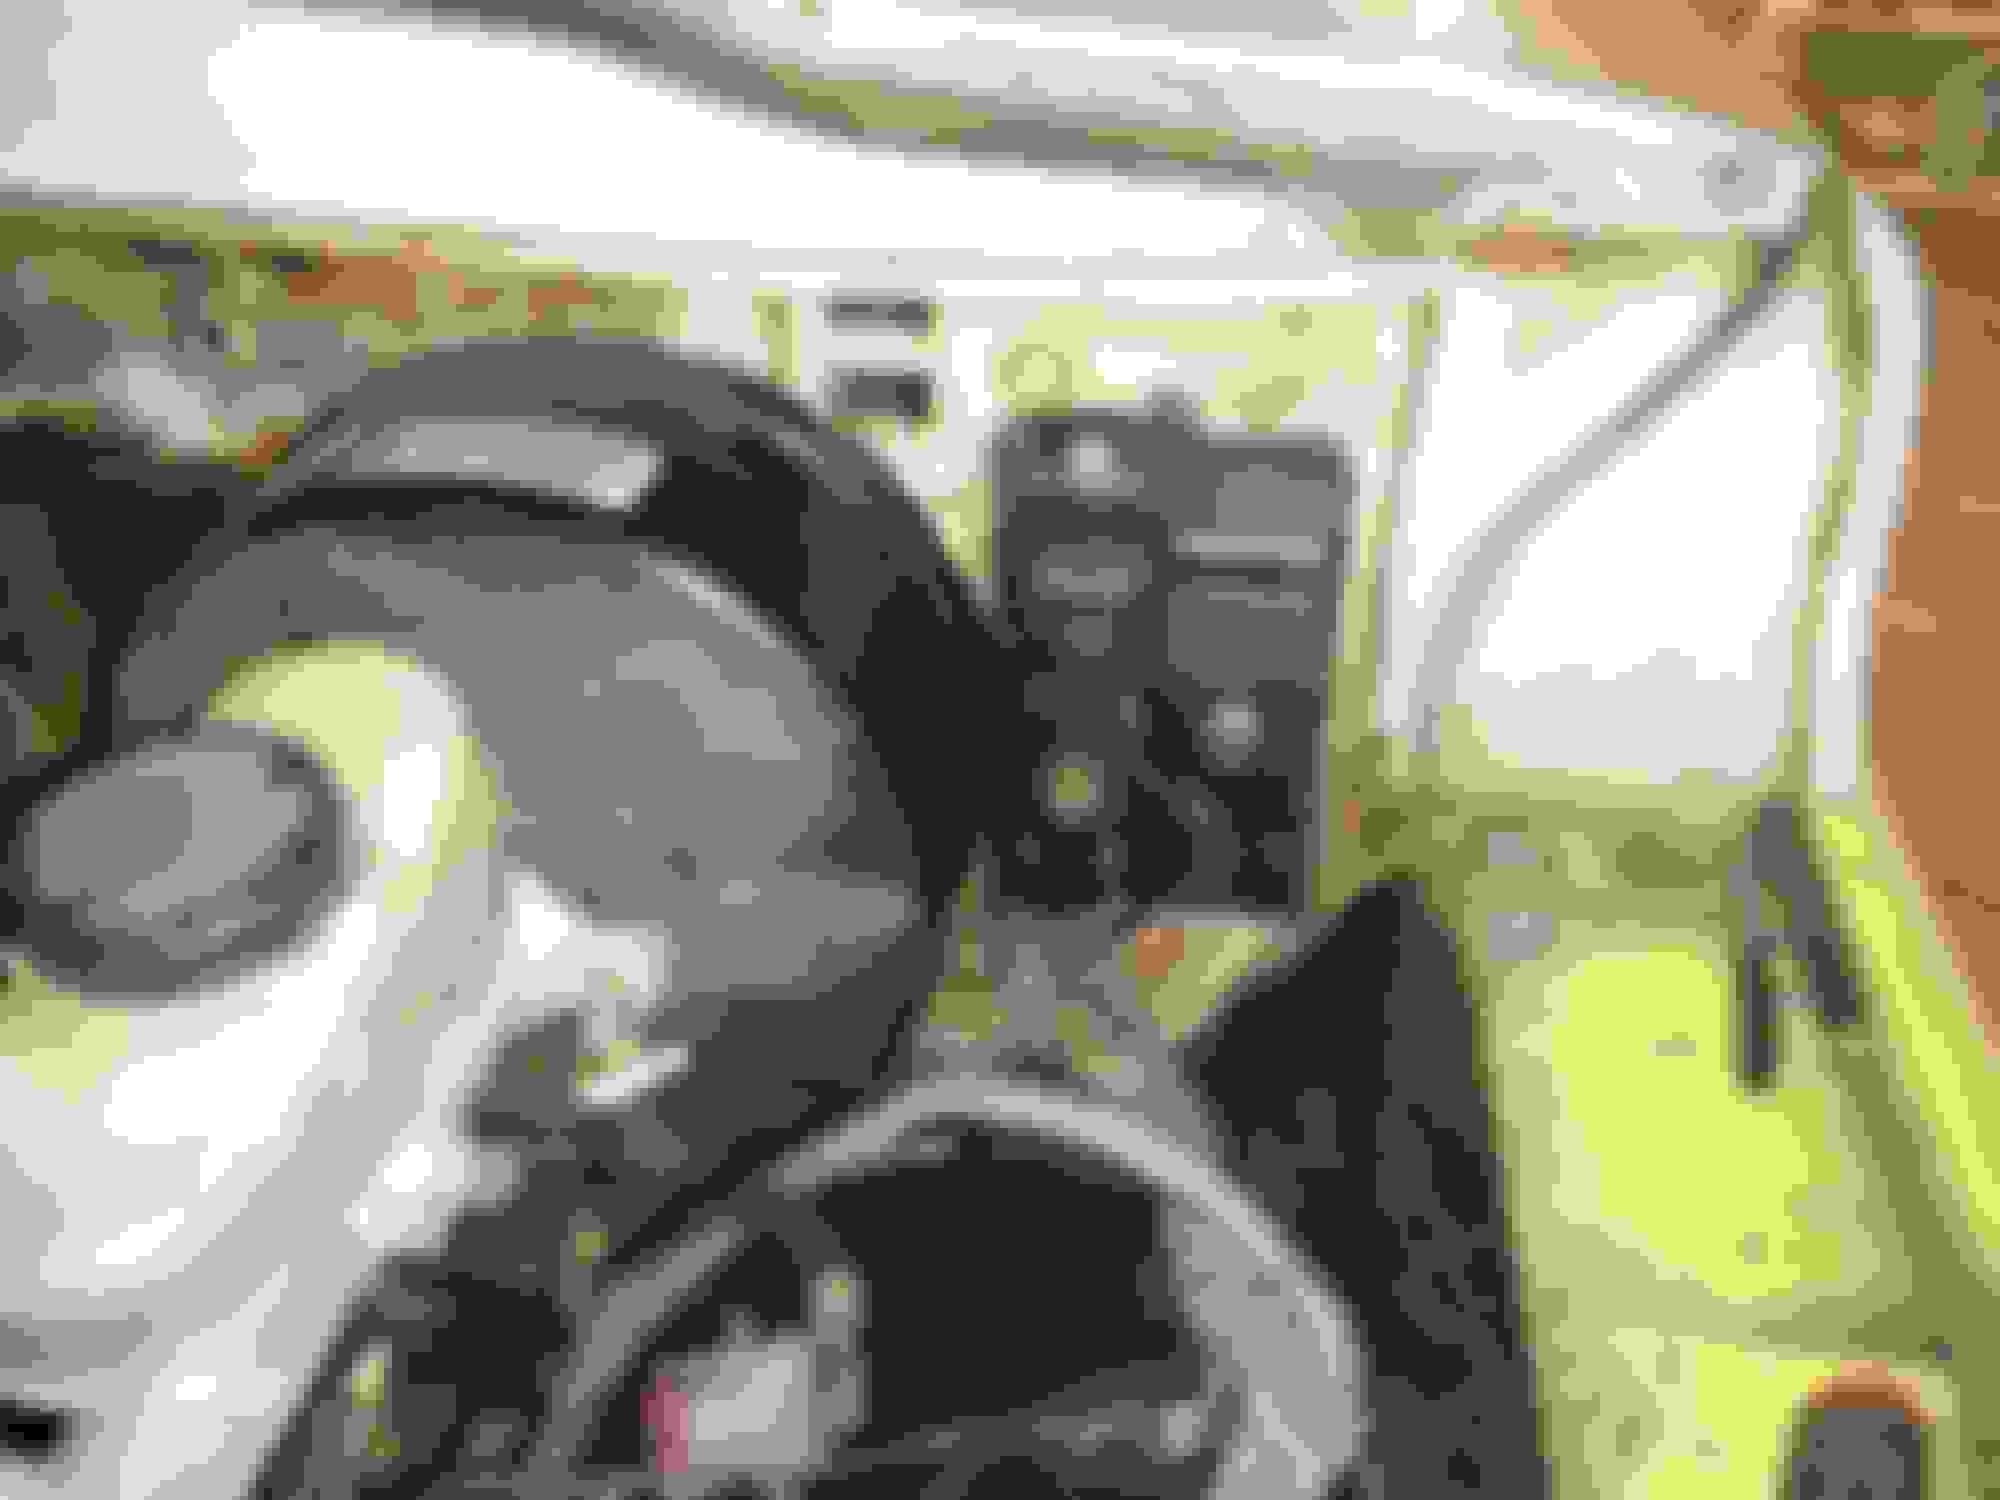
With locations figured out it was time replace some of the swiss-cheese firewall
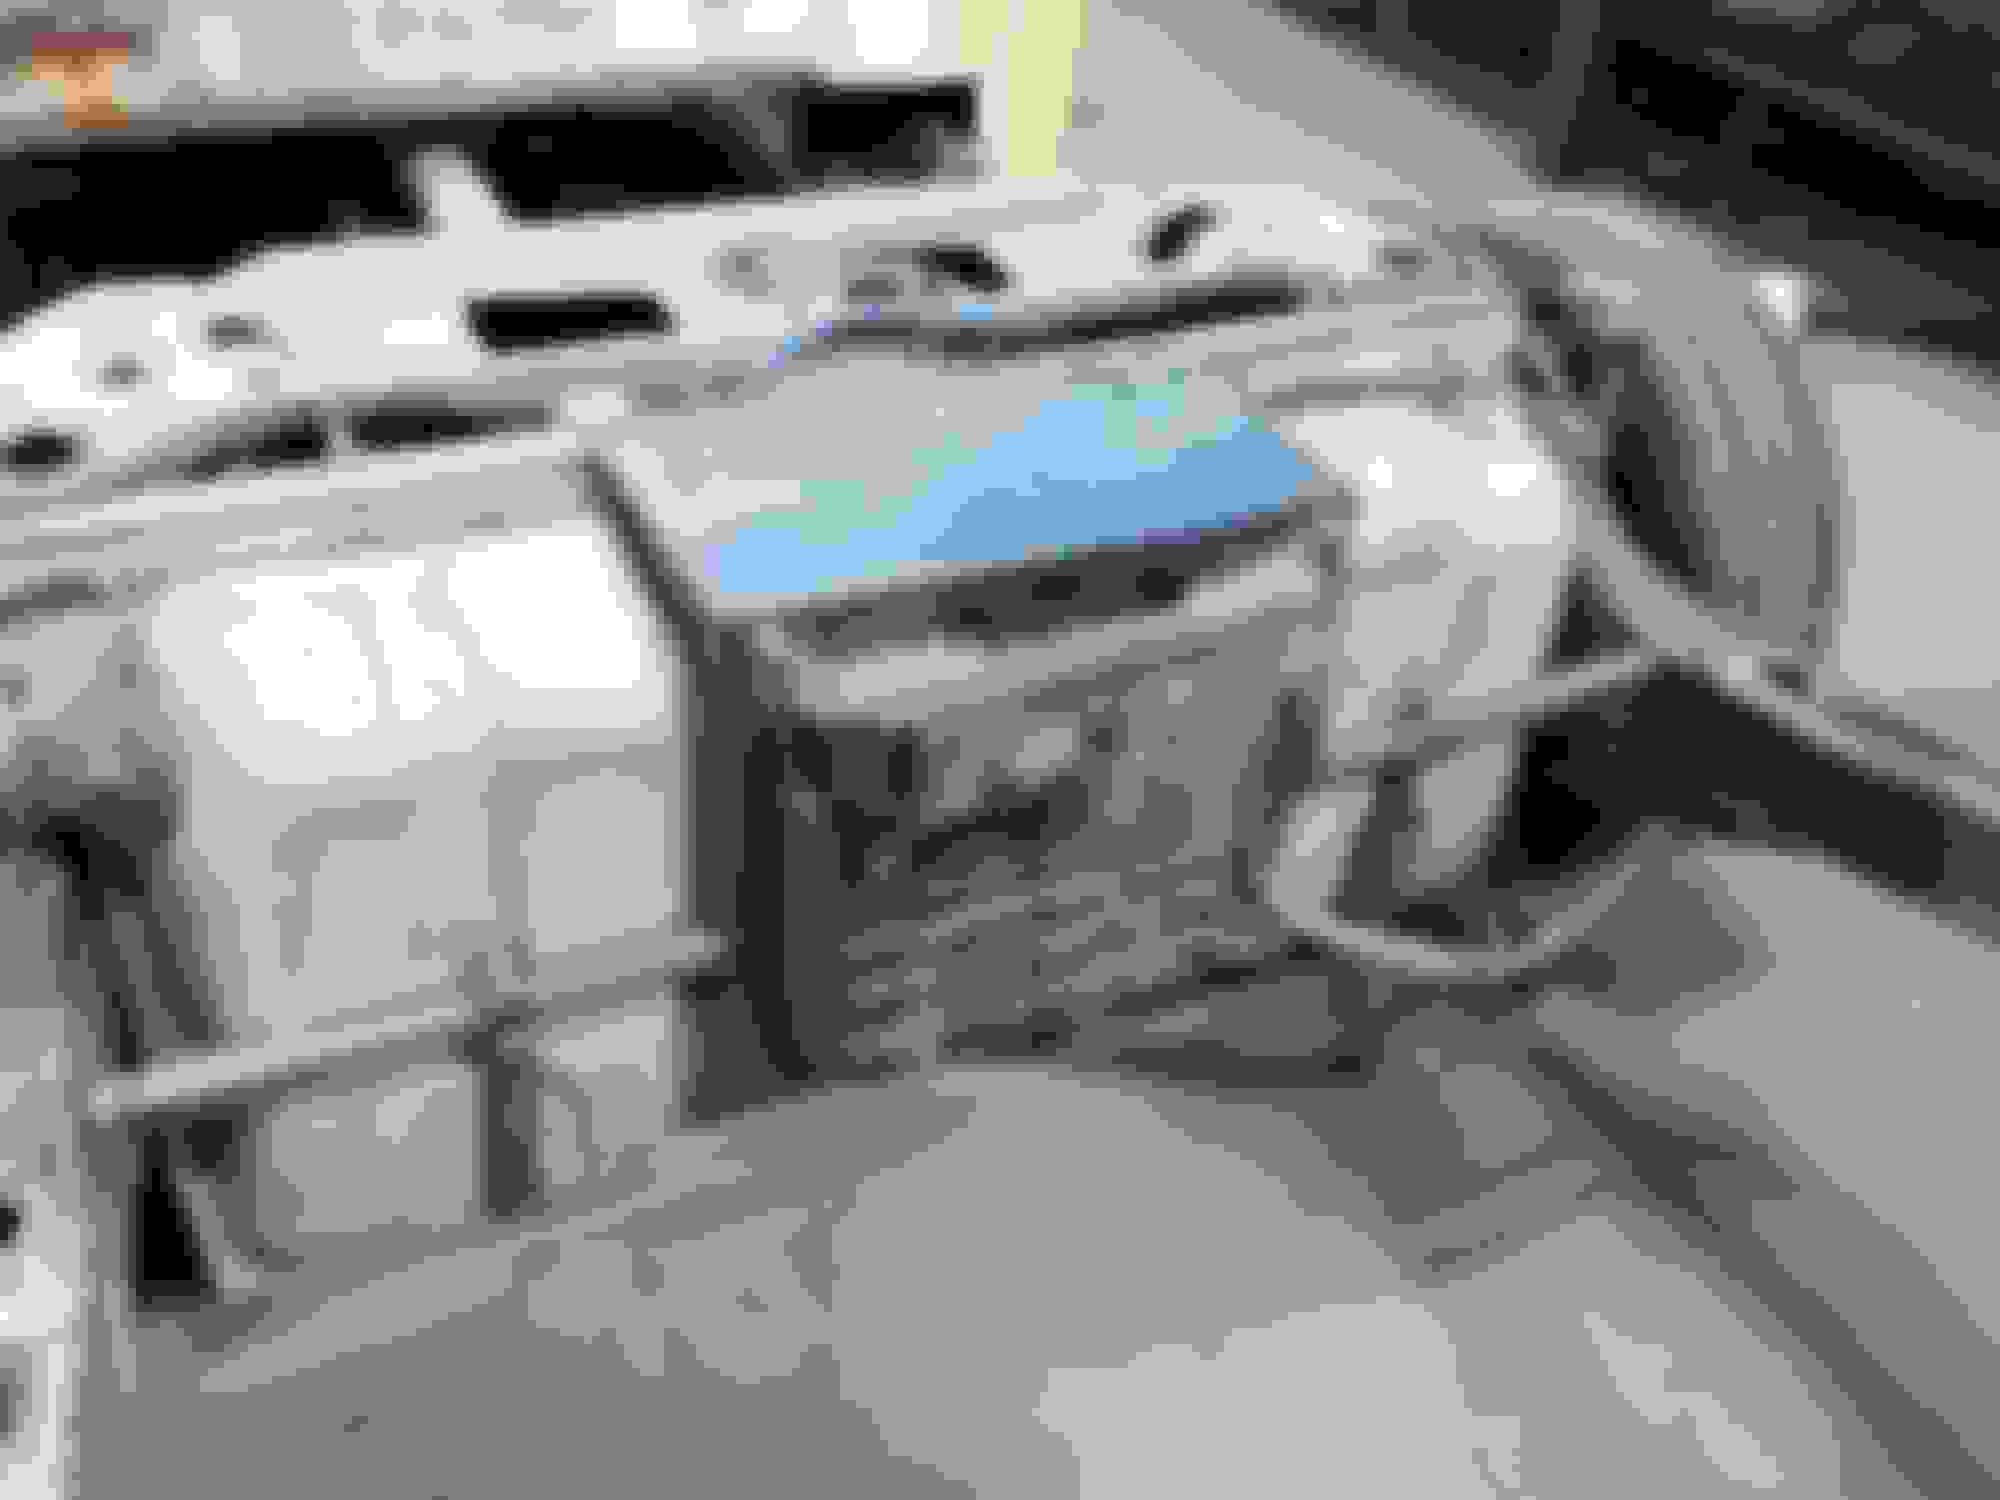
And a new battery box...
Next up is protecting all the new metal, then I will wire this thing up and see if it still runs.
Just a quick update-
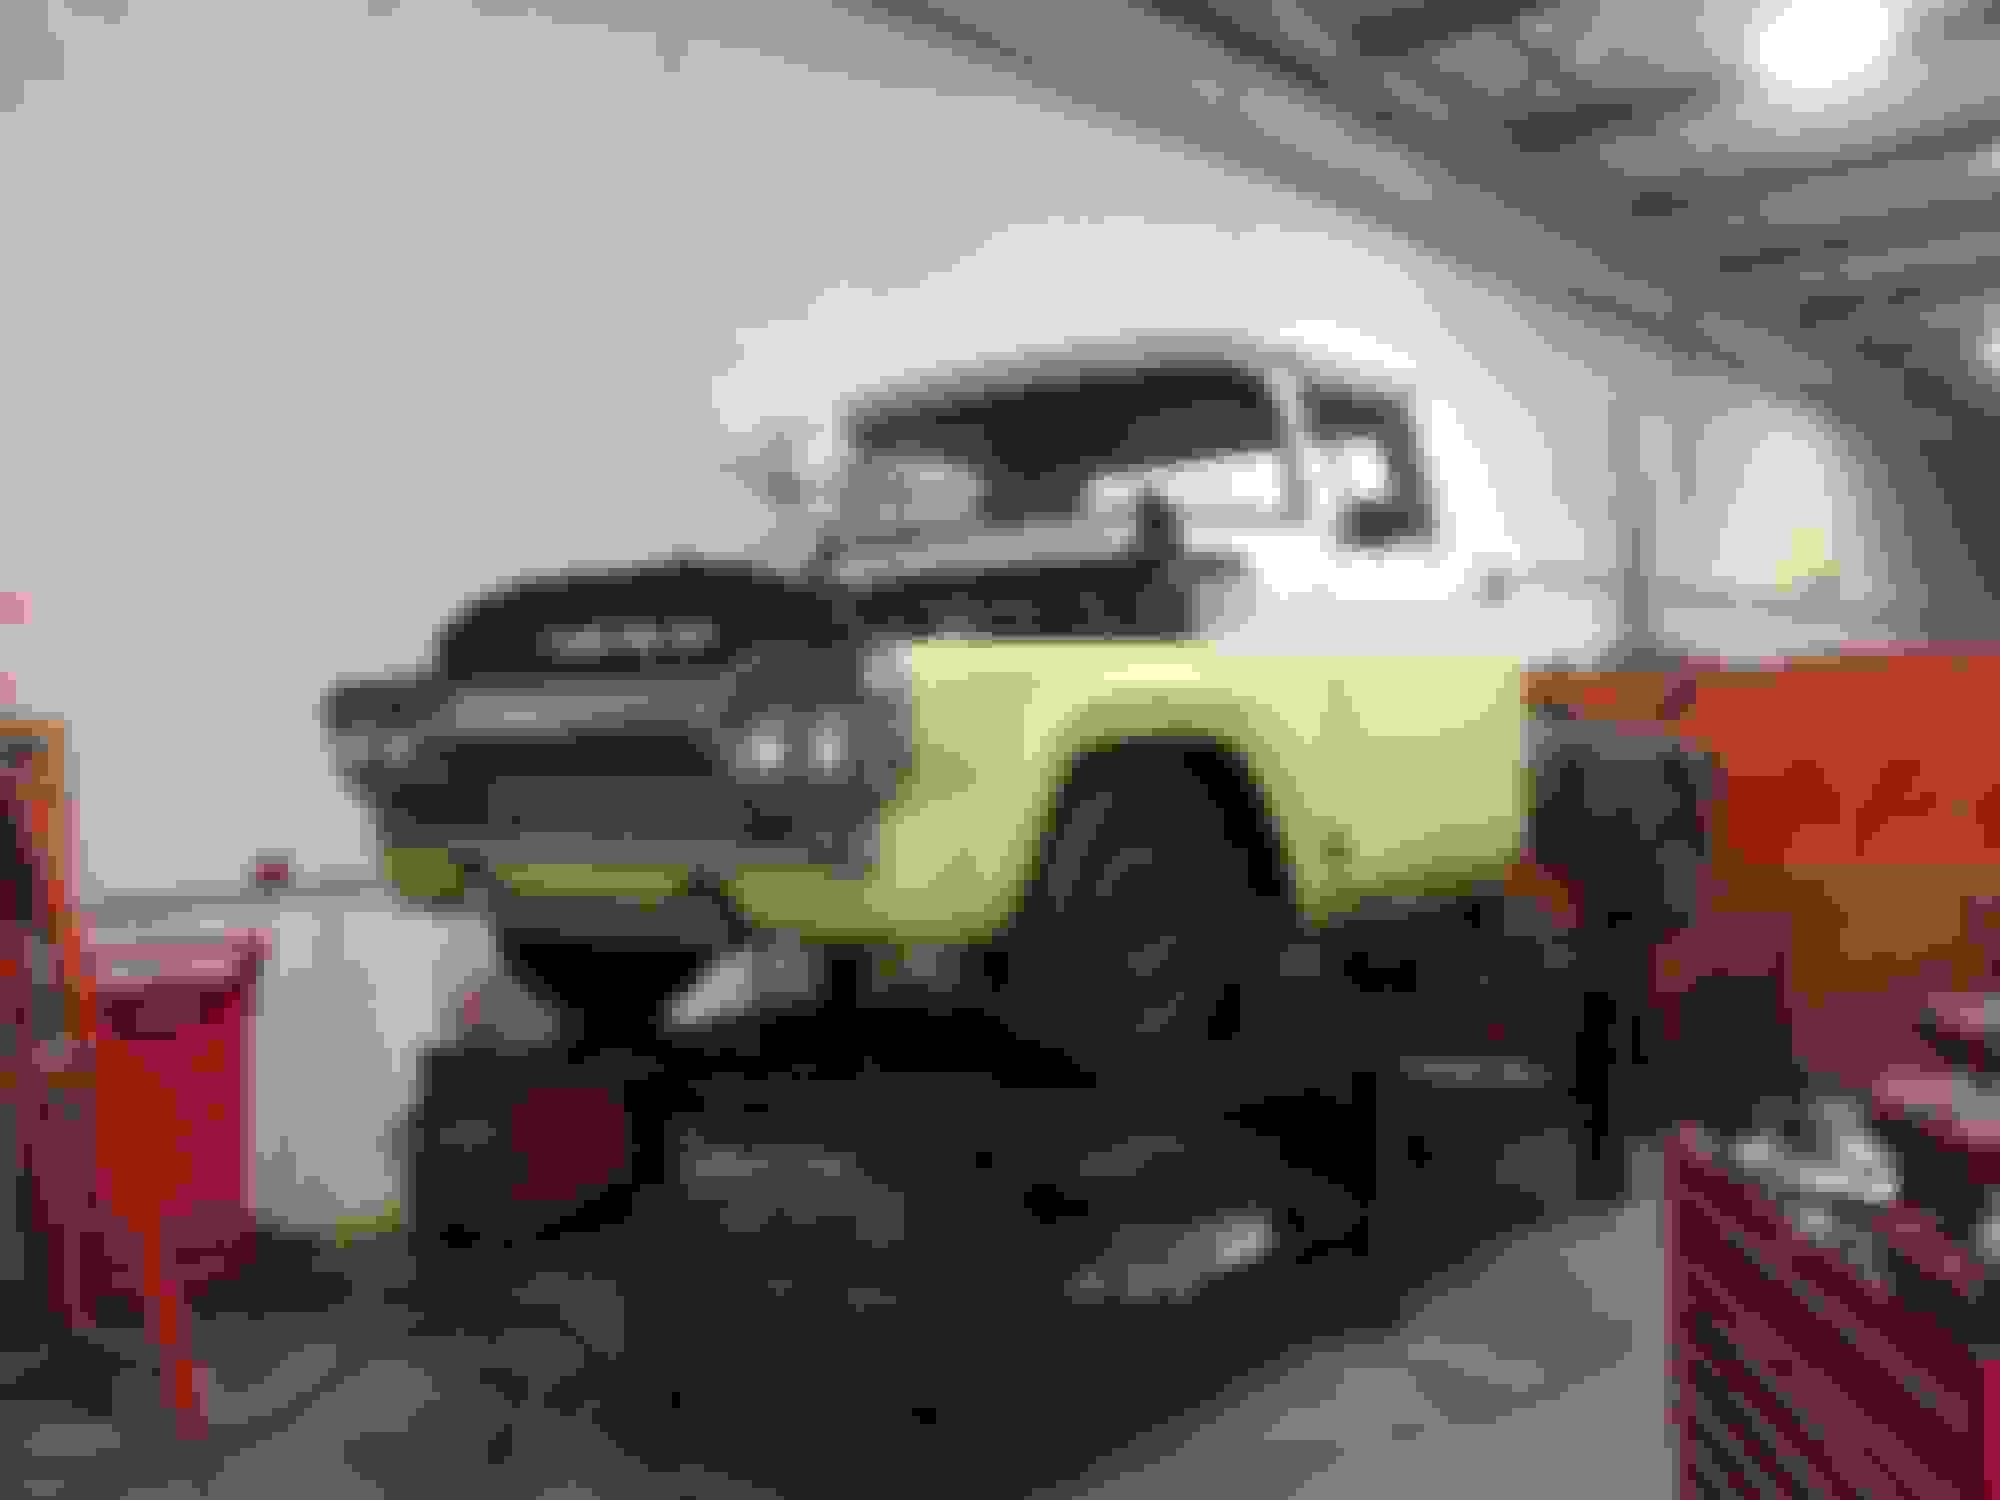
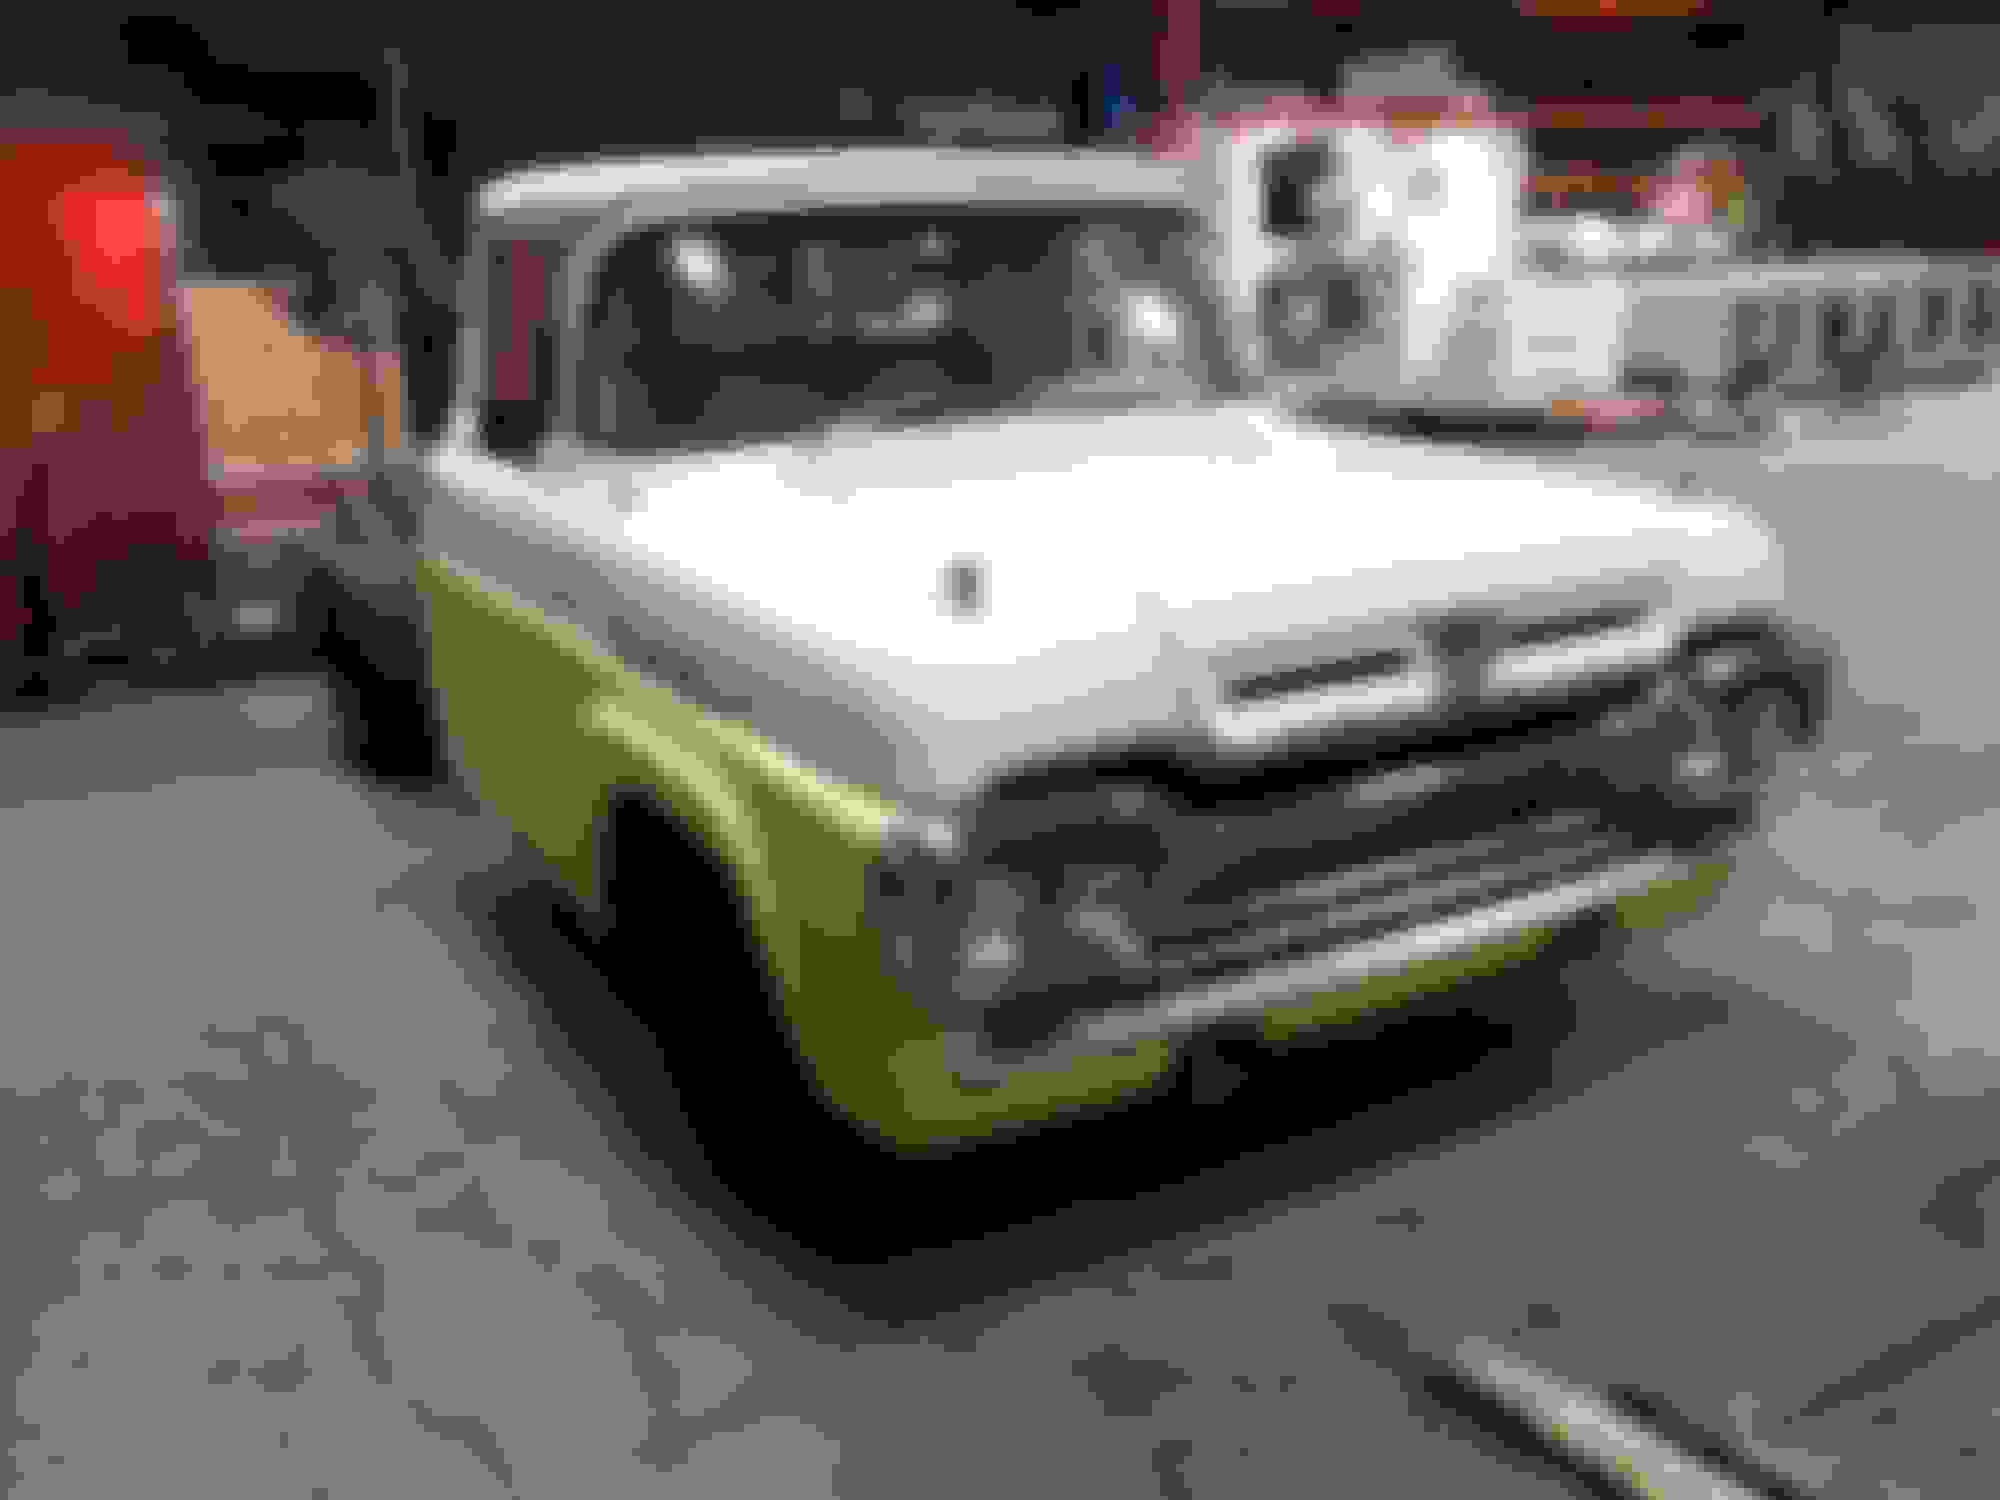
Painted firewall, battery box, and coated the cab floor with POR 15. Installed the brake booster/pedal, gas pedal, PCM, and lower steering column. Going to wire everything up and get it driving again hopefully this weekend, want to be able to drive it elsewhere to get some work done. If I can get it going I'll post up a video. In the meantime, here's a few more pictures.
Thought I'd share a quick video... Wiring is still laying all over the place but I have enough there to get it running so I took it around the block. Still much work to do but this gives me a little extra motivation.
After this I got all the lights working except brake lights, still sorting out a brake light switch as I don't have room for the stock Vic switch. Using the old Vic trunk release as a temporary switch. At least I know the wiring is going to work, now time to start routing it. More pictures coming soon.
 12-22-2014, 12:44 PM


 all the way around the block.