When you click on links to various merchants on this site and make a purchase, this can result in this site earning a commission. Affiliate programs and affiliations include, but are not limited to, the eBay Partner Network.
I installed a CPP kit in my 55 F250 about a year ago now. I believe the kit came with this little fitting and the new switch. The fitting takes brake lines on the ends and has a pipe thread on the side for the pressure switch. I mounted it directly behind the proportioning valve on which is mounted under the master cylinder. Your kit looks a little different than the one I purchased.
There is nothing wrong with a pressure switch in fact it is really a more accurate(not that it matters for tail lights) because it only come on if there is pressure, not just when you push the pedal like a position switch which are cheaper for manufactures to install.
I also do not think you will need residual pressure valves unless you plan to lower it quite a bit later on. I did not install any but they can't hurt anything I guess.
Residual valves are needed if the MC is below the wheel cylinders unless built into the MC or proportioning valve. Read instructions for manufacturer's recommendations. Nothing wrong with a pressure switch if installed properly. Your fitting is done properly. using a long pigtail is not proper since it cannot be bled without much difficulty and any air in the pigtail will make for a spongy pedal, and that adapter fitting on the end of the pigtail does not look like it is NPT. Granted i have not seen everything, but I have never seen a female NPT fitting like that. NPT (National Pipe Thread) is a coupling system that uses tapered threads on both sides that seal by wedge interference. I'd expect the tapered threads on the switch could rupture or at least distort the thin wall of that brass fitting when tightened. The fitting you used looks to be made of steel and the NPT thread is in the strong thick side of the hex stock.
Sorry I guess it is not clear from the picture but that fitting is a thru fitting that is on the main rear line it leaves the master goes thru that fitting then on to the rear axle. It is actually beefier than it looks as well.
I also plumbed my pressure switch into the rear line but used a brass 'T' fitting. I've done several vehicles this way without any problems or leaks. My truck has a frame mounted master cyl/booster that does not run residual pressure valves, the calipers and drums are not above the m/c and I have never had a problem. Before I did a frame off, the old system was plumbed the same and ran that way for 15 years.
Thanks for the replies fellas! I've been so busy with my folks being here and running all over creation (not to mention my disc brake conversion) that I didn't see the last couple of replies. I'm about 99% complete now and here's some shots for folks in the future to have a look at.
Getting ready to mount the booster while dad bench bleeds the MC.
Leveled it and clamped it in place using the proportioning valve bracket to get all the air out.
Cut a hole in the floor so we could fill/see the fluid.
I'll probably weld it back in and get the remote reservoir kit from CPP (wish I would have done that from the start).
No one this close to the arctic circle had this piece so I had a hydraulic shop make up the hose and I used the old breather and Y fitting (after cleaning it out of course).
As recommended I made my own grommets when needed.
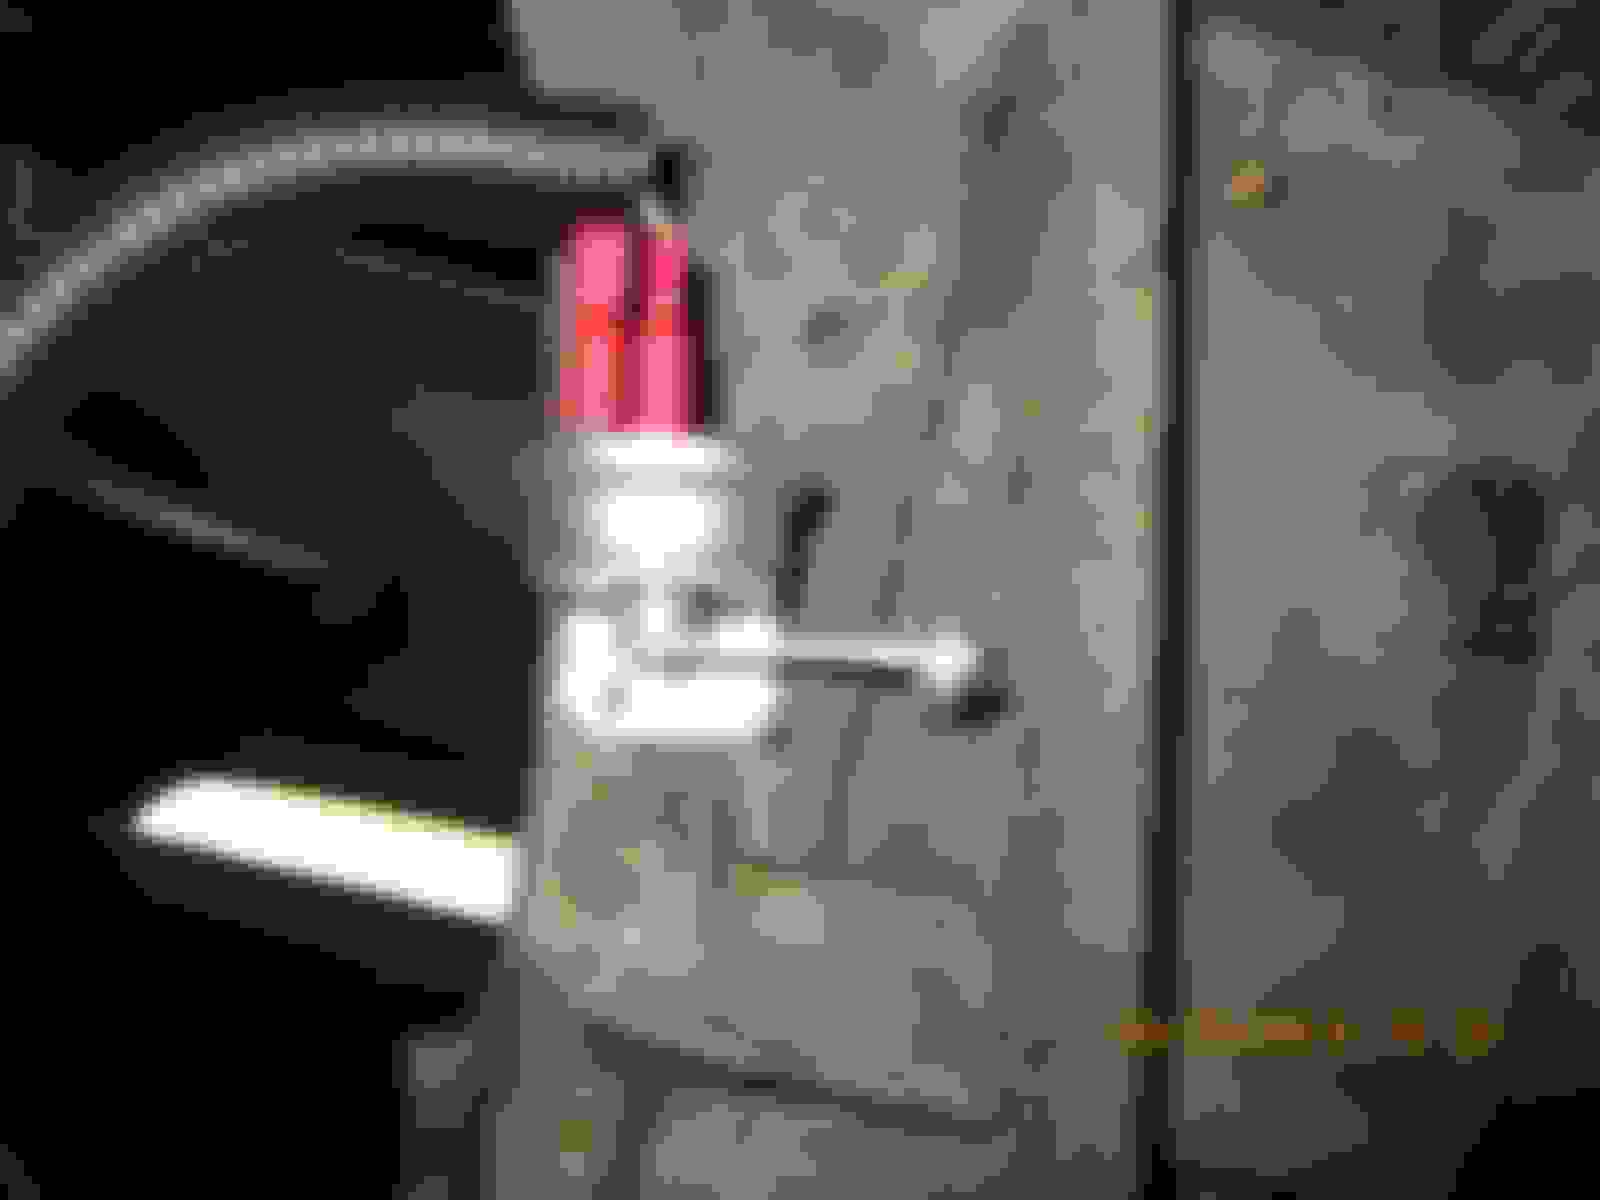
Still haven't figured out what to do with the brake lights. This did not work (and looks horrible as well).
I like the looks of that one from Mid Fifty, so thanks for sharing! Mine is not leaking but it just doesn't work. It may need one that works off of a lower amount of pressure. CPP makes one that only needs 45 lbs, but I saw another that requires even less. I might get that kit from CPP that Jules the Great has and add that pressure valve that runs off of a lower amount of pressure. Or just mount one to the floor and call it good.
For those that have installed the switch on the floor: how much travel will they accept? My brakes work great, but they do travel a couple of inches at full stop and most of those switches (except the Mid Fifties one) don't seem to allow more than about 1/2" or so. What am I missing? I'll update this when I get it all figured out.
I didn't have any leaks once everything was hooked up, but I didn't flare anything either. I just bought lines that were close to the right length (longer) and made an extra bend here and there. It's not as sexy as it could be, but as you can tell I'm building a driver not a show truck. It caused me to have a couple of unions, but since they were all factory cut they seem to be holding great.
To bend my lines I actually used a couple of pulleys that I had sitting around. Those green/grey lines from NAPA are very forgiving and do not kink very easily. I highly recommend them.
Thanks again everyone, and I hope you get to drive yours soon if you aren't right now.
Congrats on getting things buttoned up. Always a good feeling to get them driving again.
On the mechanical brake switch, they work on release, not compression. So you just mount it so that the pedal pushes it slightly when it isn't in use, then releases (activates the lights) when you push on the pedal.
I installed a CPP kit in my 55 F250 about a year ago now. I believe the kit came with this little fitting and the new switch. The fitting takes brake lines on the ends and has a pipe thread on the side for the pressure switch. I mounted it directly behind the proportioning valve on which is mounted under the master cylinder. Your kit looks a little different than the one I purchased.
There is nothing wrong with a pressure switch in fact it is really a more accurate(not that it matters for tail lights) because it only come on if there is pressure, not just when you push the pedal like a position switch which are cheaper for manufactures to install.
I also do not think you will need residual pressure valves unless you plan to lower it quite a bit later on. I did not install any but they can't hurt anything I guess.
Good luck with the kit.
CPP now sells this fitting separately. not very expensive. Seems to be CPP's MO these days, sell every part separately so you don't notice how expensive the entire setup is until after you buy the basic part and have to then buy all the rest of the needed parts to actually use it.
If any of you guys are thinking of buying the Eastwood flaring tool, It is the best one I have ever used. And yes it is spendy. I have a few projects so I figured it will pay for itself. It has dies and comes out perfect every time. The only draw back is you have to put it in a vise to hold it in place. I just finished the rear part of the brake lines on my 56.
Yeah dmack, it's great to have Old George on the road again! And now I get how those kind of switches work, so thanks.
I ended up ordering the one from Mid Fifty that Axracer found.
I did see the one that CPP sells separately now,and Speedway sells a setup too that comes with an adapter that looks a lot like the one I put on my stock switch. I think the one I ordered from Mid Fifty will work out fine. I'll post some shots when I get it put in.
That flaring kit from Eastwood looks and sounds like the one to get, but I just couldn't justify droping the cash. It took a bit to get pre-cut lengths that would work for every side, but it was well worth it.
Thanks again everyone for all your advice and tips. I learned a lot from this thread and used much of your advice for my install. Enjoy your rides!
As promised; I wanted to finish this out by adding some pictures of the brake light indicator from Mid Fifties.
It took a bit to get everything all adjusted perfectly and in the right place. I ended up putting it under the floorboard.
I don't really trust the tiny nut and bolt to hold the elbow in place for long, so I will have to seal it up so it won't come loose while I'm on the road.
Hey Sere,
Your brakes look great & a nice tutorial as well!
Nice.... It looks like your first post on brakes around July 10th &
your latest was today - (4) months - now that sounds like one of my projects! How does it drive? Everything feel good? What are you tackling across the winter?
Hey Ben! It's been a crazy summer...... I actually finished it in Aug, but am just now getting around to finishing out the post. There's nothing worse than reading all the way through a thread and not seeing the end!
It drives absolutely amazing! It'll be much safer now for me and the boys. I'm currently sanding off that old gray primer and exposing the original paint/patina/primer underneath. Then I'll take it to the shop and get it cleared. When it's back I'm putting in seatbelts and upgrading headlight wiring and some other misc things. I'll do up a little post in a couple of months to show off his new/old paint job. Oh, and I'm about to pick up a T5.........
Does anyone have experience with remote brake boosters? I have a 1970 Econoline 200 that started life as a display van. New, Chinook converted it into one of nine produced motor vans in 1970 using a Ford platform. Power brakes were not available until 1971.
This forum is for 48-56 trucks. You might have better luck in the forum for 1970 Ford Econolines.
Rezvani's Latest Post-Apocalyptic Monster Is a Ford F-150 Raptor Underneath
Slideshow: Called the Fortress, the 850-horsepower pickup combines Raptor underpinnings with military-inspired features, survival equipment, and a starting price of $285,000.