64 F100 Shop Truck Build Thread


#32
 04-16-2014, 12:09 PM

Thanks! The name of my shop is Andrew's Tuning and Performance. I'm still pretty small, mainly just me. I also do quite a bit of general repair work because that's what most people need. But I definitely stay busy.
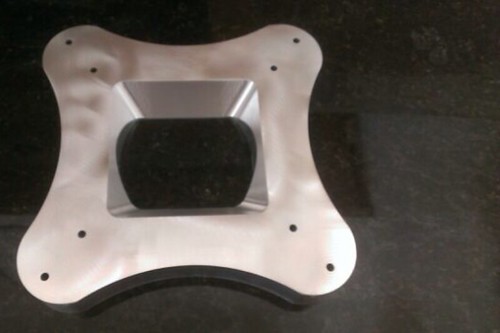
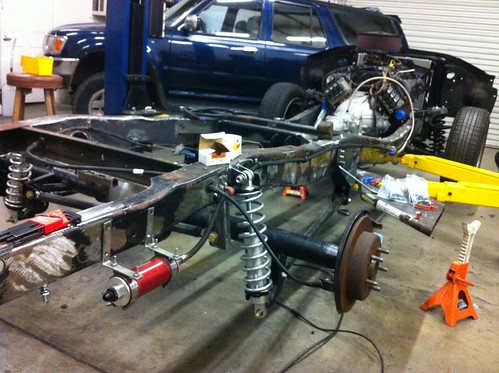
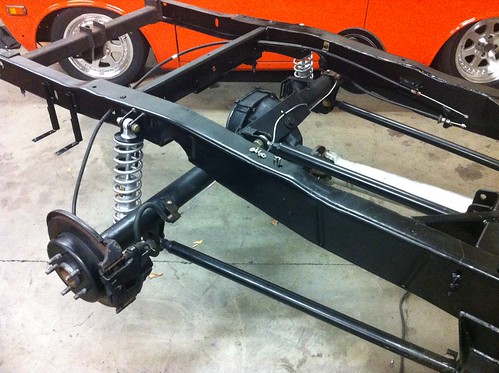
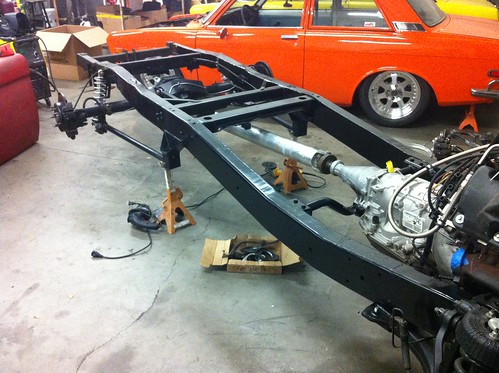
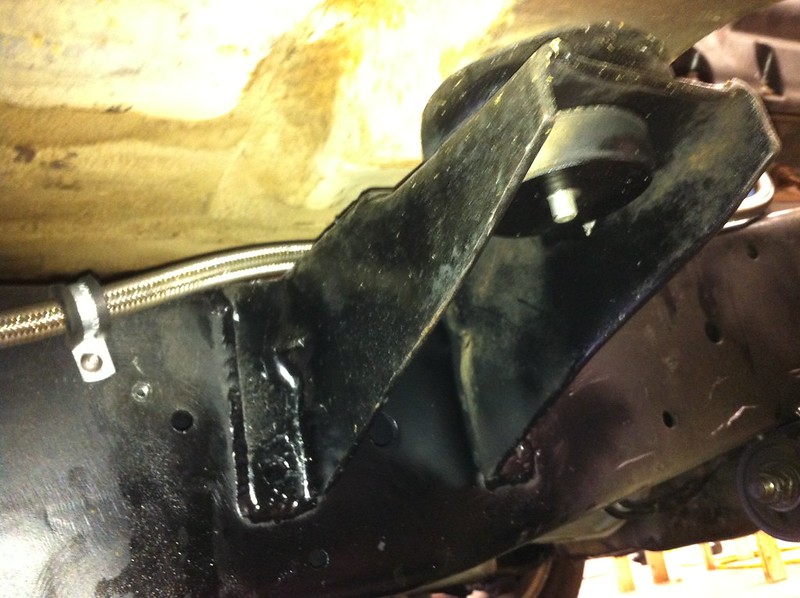
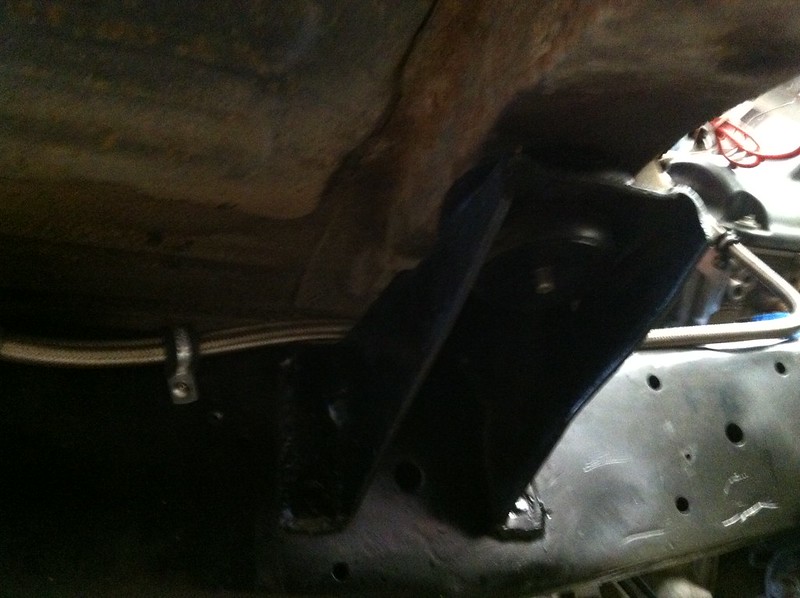
So after mostly getting the rear suspension wrapped up I just hated that the rest of the frame wasn't boxed. I also did not like the original trans mount I had built, so I made some changes.
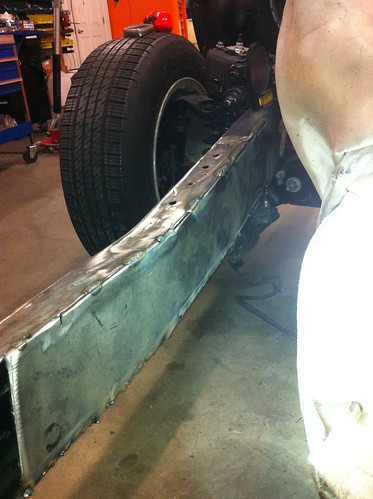
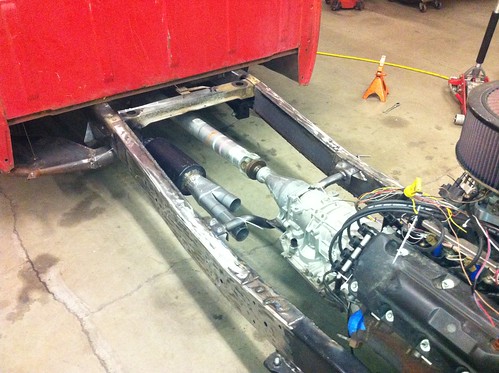
So after mostly getting the rear suspension wrapped up I just hated that the rest of the frame wasn't boxed. I also did not like the original trans mount I had built, so I made some changes.
#33
04-19-2014, 05:32 PM
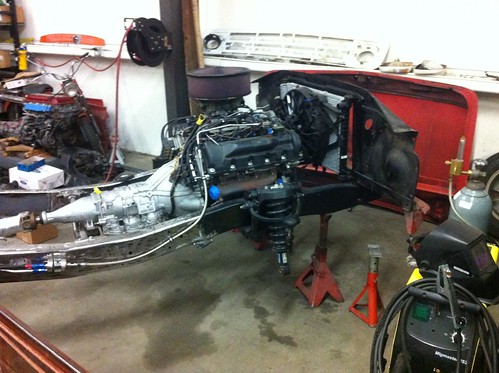
So if you have read the thread and some of the info I have put in, you will realize that most of the things I like doing are about making the vehicle driveable, reliable and also doing something that is a little odd and might make people scratch their heads a little. Well the 4.6 was not exactly a ground breaking addition to the truck, I definitely went backwards in terms of doing something a little different when I changed from putting in the BMW. That is when I started to make a couple small and odd changes to the 4.6. So here we go...

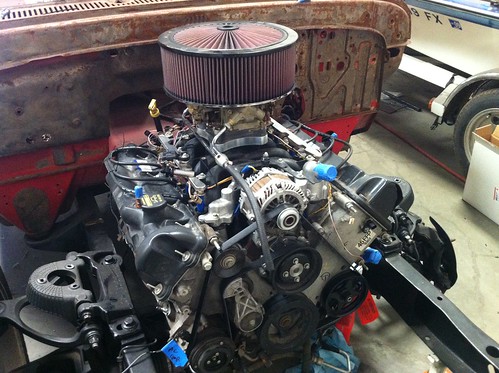
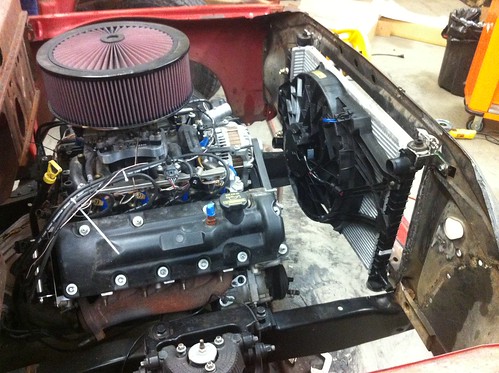
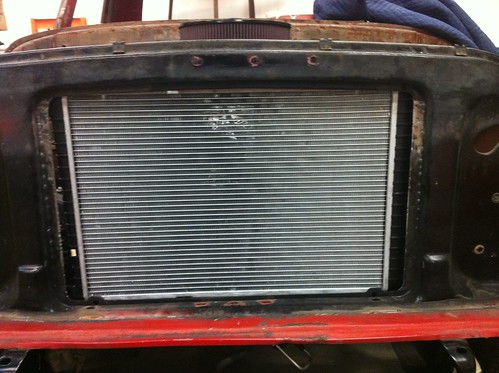
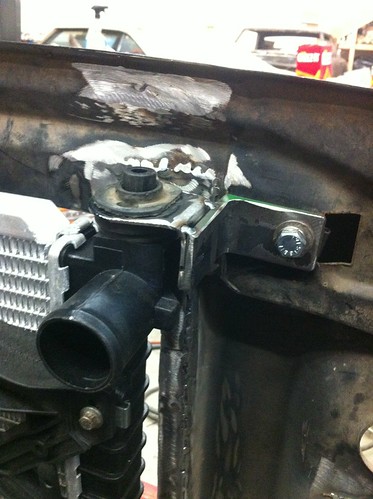
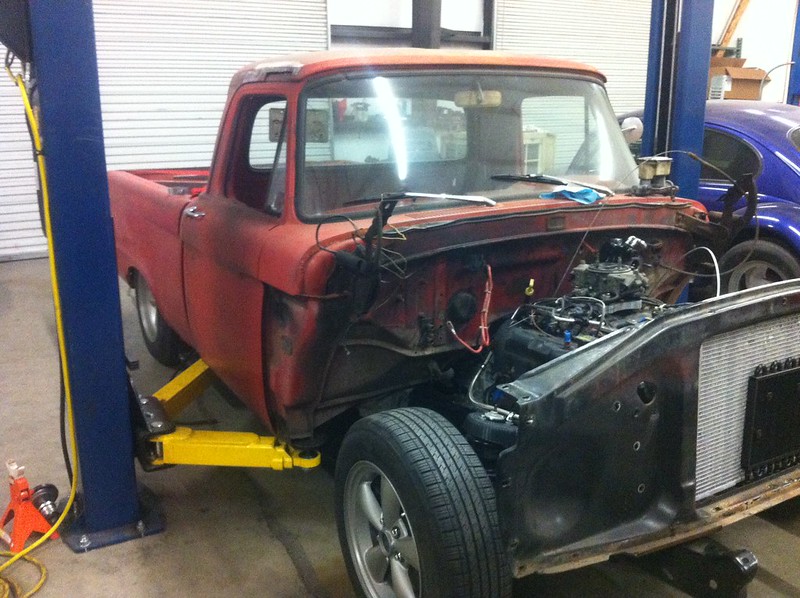
Then I started working on the radiator and fan setup. For this I decided it would be best to make more factory parts work, rather than aftermarket. I plan to drive this truck anywhere and everywhere, so if I'm on some road trip or something and the radiator springs a leak, or the fan fails, I want to be able to pull into an O-Reilly and get a warranty replacement that is in stock. So I picked up an 04 GT mustang radiator and fan assembly and then modified some radiator mounts I got at the junkyard and bolted it in. Sucker fits great!

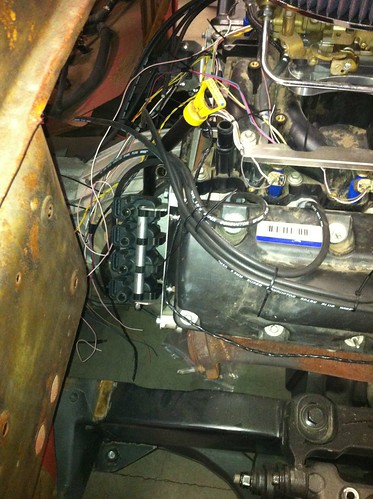
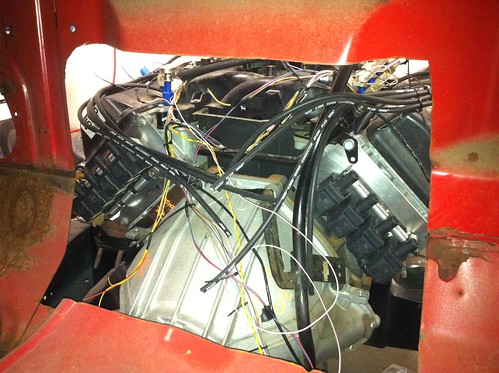
starting to get the wiring organized
Then I started working on the radiator and fan setup. For this I decided it would be best to make more factory parts work, rather than aftermarket. I plan to drive this truck anywhere and everywhere, so if I'm on some road trip or something and the radiator springs a leak, or the fan fails, I want to be able to pull into an O-Reilly and get a warranty replacement that is in stock. So I picked up an 04 GT mustang radiator and fan assembly and then modified some radiator mounts I got at the junkyard and bolted it in. Sucker fits great!
starting to get the wiring organized
#34
04-19-2014, 06:33 PM
Tuned
Join Date: Apr 2011
Location: Salinas
Posts: 346
Likes: 0
Received 0 Likes
on
0 Posts
#35
04-19-2014, 07:07 PM
you had me up until the carburetor, is it purely a dare to be different move? its not much more wiring to finish it up with stock parts.
still awesome, just curious because it looks like its going to handle fairly well and fuel starvation in the corners is not awesome!
still awesome, just curious because it looks like its going to handle fairly well and fuel starvation in the corners is not awesome!
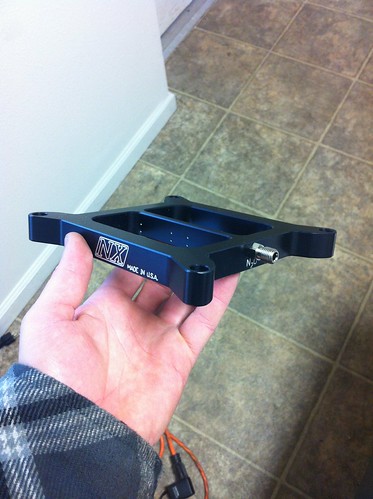
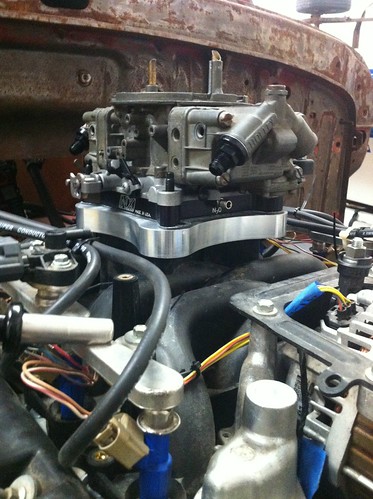
I hate carburetors! Not a chance I would put a functioning carburetor on any of my personal cars and whenever I can I trying to convince my customers to swap over to EFI.
This is exactly the kind of confusion that I love to cause though

That carburetor has no guts in it. It has no venturi's, it has no jets, or power valve, it has no floats or accelerator pump diaphragm and it most definitely won't ever have any fuel in it!

#36
04-19-2014, 09:04 PM
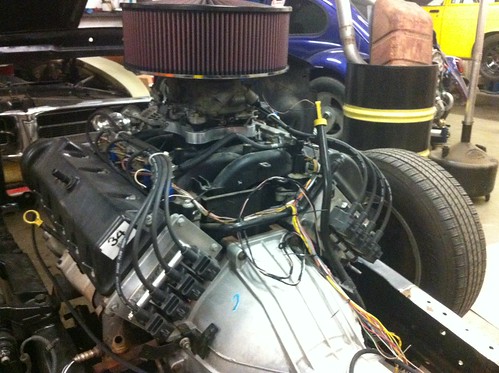
Since the stock PI 4.6 is really not riddled with power I needed to figure out a way to remedy this. I have worked on quite a few mod motors, but I've never done any performance work on them. However I do know the mod motor is extremely capable, I was just looking to find out how capable in stock form. Everything I found indicates that the weak link to the stock 4.6 is the pistons and rods. If you upgrade to a nice forged piston and aftermarket rod the bottom end is good to 800+hp no problem. I did not want to do anything to this 4.6 though, so in stock form everything I found was that 450hp was really the time bomb level, but around 400hp was about perfect. I read thread after thread about people running supercharged setups, turbo setups and nitrous setups up to 400hp on the stock bottom end with great success. I decided I would take the quickest, cheapest route!
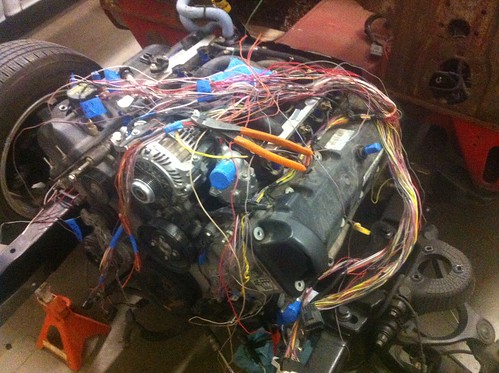
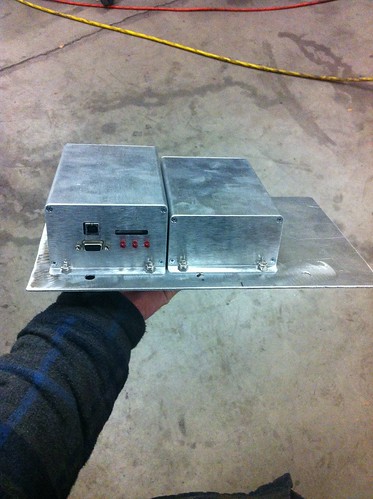
Since its clear the factory PCM and wiring is not being used here is a picture of what I am using. This a Megasquirt ECU that I built, it is MS3X and a GPIO I built to control the 4R75W automatic transmission. This setup is pretty decked out running quite a few other features such as nitrous control, fan control, alternator control, adjustable traction control and real time baro. It also has a bluetooth module in it so any info that my gauges don't show I can always look up on my phone in real time if I would like to see it. This whole setup fits into the glove box and still has room for other misc crap like reg and insurance.
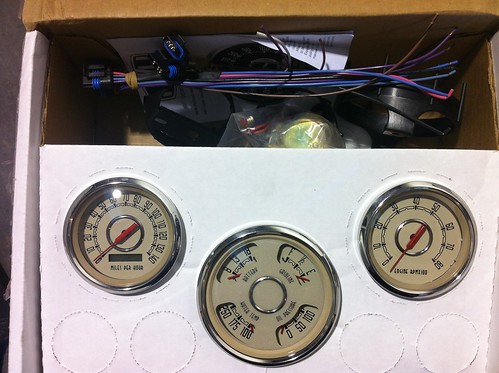
got some sweet vintage looking gauges. I need to modify the stock dash bezel, but everything should look very stock-ish when I'm done with that.
Since its clear the factory PCM and wiring is not being used here is a picture of what I am using. This a Megasquirt ECU that I built, it is MS3X and a GPIO I built to control the 4R75W automatic transmission. This setup is pretty decked out running quite a few other features such as nitrous control, fan control, alternator control, adjustable traction control and real time baro. It also has a bluetooth module in it so any info that my gauges don't show I can always look up on my phone in real time if I would like to see it. This whole setup fits into the glove box and still has room for other misc crap like reg and insurance.
got some sweet vintage looking gauges. I need to modify the stock dash bezel, but everything should look very stock-ish when I'm done with that.
#37
04-19-2014, 09:25 PM

SPONSOR
Join Date: Jul 2011
Location: Michigan
Posts: 543
Likes: 0
Received 0 Likes
on
0 Posts
#39
04-22-2014, 03:59 PM
figured I'd toss up some more pictures while I have a min.
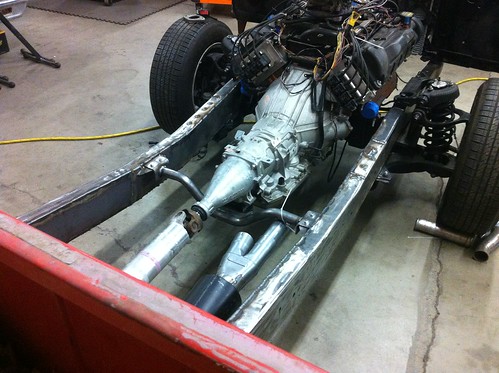
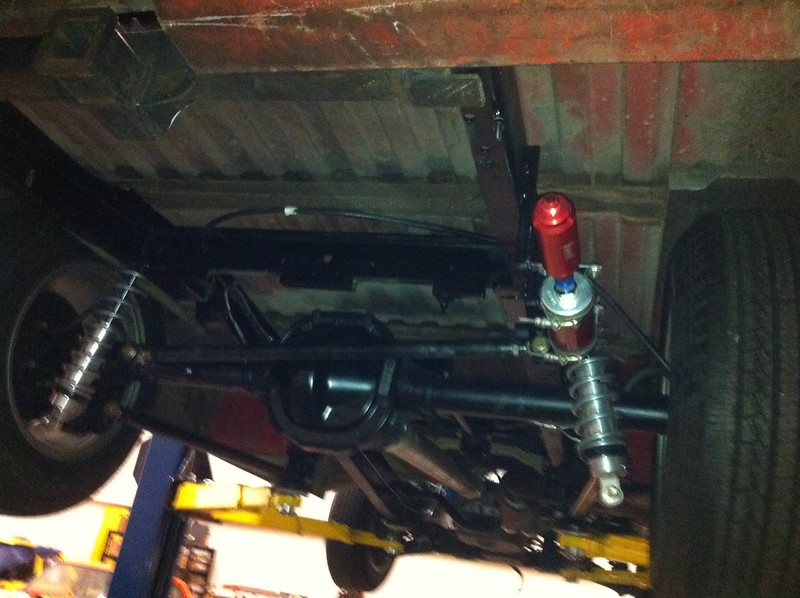
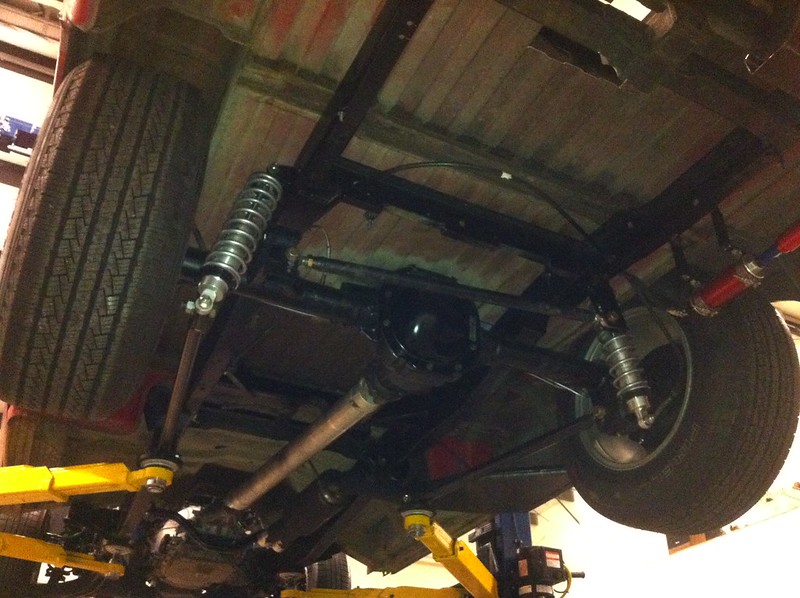
This is as I was finishing up the last of the fab, rebuilt the diff with 3.73 gears, and started getting brake and fuel lines run. Also tossed some paint on it so it won't rust. This will go together and become a running truck. I plan to thrash on it and if need be make changes to the setup. I know I will likely be adding a sway bar to the rear, and I plan to add helper bags for towing and hauling and since I want this thing riding like a nice car when empty it has really light springs in it now. Once I know everything is how I want it, I'll pull it all apart and have the frame and suspension powder coated. That's a ways down the road though, I was just justifying my rattle can paint job.
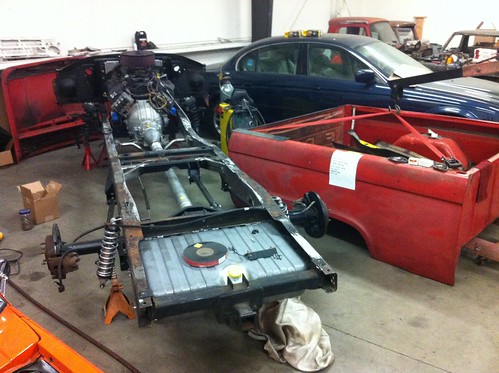
This is as I was finishing up the last of the fab, rebuilt the diff with 3.73 gears, and started getting brake and fuel lines run. Also tossed some paint on it so it won't rust. This will go together and become a running truck. I plan to thrash on it and if need be make changes to the setup. I know I will likely be adding a sway bar to the rear, and I plan to add helper bags for towing and hauling and since I want this thing riding like a nice car when empty it has really light springs in it now. Once I know everything is how I want it, I'll pull it all apart and have the frame and suspension powder coated. That's a ways down the road though, I was just justifying my rattle can paint job.
#42
04-25-2014, 11:20 AM
I wish those datsun wheels were jongbloed wheels! The wheels are cheaper copy wheels, but only because there is so much money being spent doing some very cool custom things to the rest of the car. Plus, the owner of the car wants a car that will be a great driver that he isn't scared to use, but also have a good weekend screw around at the track car too. So expensive, custom wheels were not in the budget or really what he wanted. If he damages one of the wheels we got for the car, its an off the shelf wheel that can be replaced quickly and afford-ably. If he only planned to race the car we would have gone a different route.
#43
04-25-2014, 11:36 AM
I did similar to how most people mount it. I made a square support out of (I believe 1") square tubing.
You have to cut back some of the lower part of the frame edge to get the tank in. I think on mine I cut about a 1/2" of so on each rail. Then I welded some 1" square tube on the bottom of the cross brace to give more area for the tank to clamp against. You can see the 3 pieces of tubing hanging down.
I welded (6) seat bracket tabs onto the square tube tank support, then I welded (6) 5/16 bolts to the frame and used flange nuts as stand offs from the frame. That way I can push the tank straight up from the bottom onto the studs coming down, then use flanged locking nuts to hold the tank up into place. I also put some expanding foam tape around the top of the tank where it pulls close to the frame. Without the foam tape the tank is about .250" from the frame, so it actually doesn't touch anything when mounted.
I'll take a better picture showing it installed so you can see what I mean.
#44
04-25-2014, 03:05 PM
few more updates:
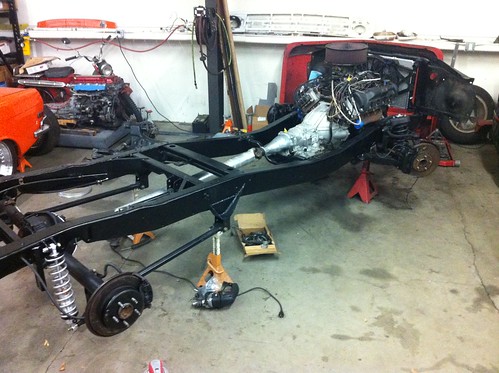
after I got all the suspension back on the frame and finished running the brake lines from the rear to the front. It was time to mate the 64 cab to the new 65 frame. 65 the frame was changed some, but not a lot. It did however make mounting the 64 cab a little bit of a pain. I was prepared for this though as before I sold the original 64 frame and drivetrain, part of the deal was that I got to cut off and keep the original body mounts. I lowered the cab down with the bed in place and got it where I wanted it and then tacked the front mounts. Then I made small tweaks and tacked the rear mounts. I did this by first installing the mounts to the cab then dropping it down to the frame. The front mounts stuck up about 1.5" from the top of the frame, and the rear mounts were contacting the rear suspension chassis mounts, so I made some modifications and this is how it ended up.
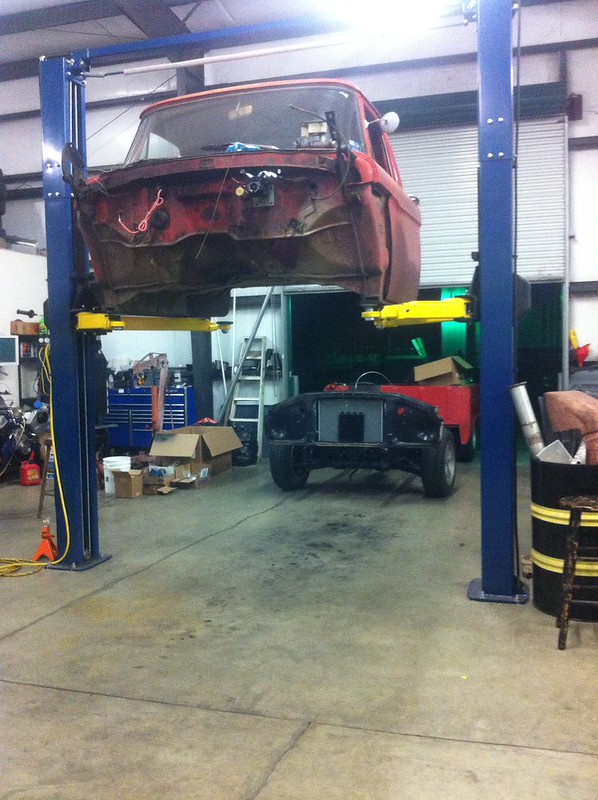
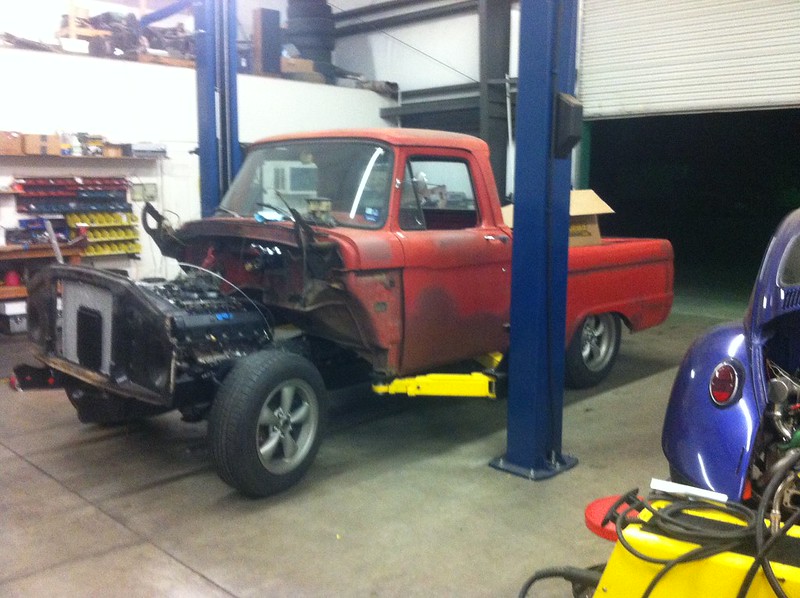
after I got all the suspension back on the frame and finished running the brake lines from the rear to the front. It was time to mate the 64 cab to the new 65 frame. 65 the frame was changed some, but not a lot. It did however make mounting the 64 cab a little bit of a pain. I was prepared for this though as before I sold the original 64 frame and drivetrain, part of the deal was that I got to cut off and keep the original body mounts. I lowered the cab down with the bed in place and got it where I wanted it and then tacked the front mounts. Then I made small tweaks and tacked the rear mounts. I did this by first installing the mounts to the cab then dropping it down to the frame. The front mounts stuck up about 1.5" from the top of the frame, and the rear mounts were contacting the rear suspension chassis mounts, so I made some modifications and this is how it ended up.