When you click on links to various merchants on this site and make a purchase, this can result in this site earning a commission. Affiliate programs and affiliations include, but are not limited to, the eBay Partner Network.
Well removed the front leaf springs, messed up the pins but I would guess that's normal. Now for the rear I was only able to get the forward pin on the passenger side off. BUT it looks like it's a straight shot with a punch to get the other side out, just seems stuck pretty good. Question is on the rear pins the hole in the frame to remove does not seem like it's a straight shot through to the pin. Can you punch it out at an angle like that?
The experts can correct me if wrong, but those holes in the frame were added, just to get those pins out. the holes were not a factory hole. If the are not centered, it's because somebody had a crooked eye!
The frame holes in my truck were offset too which did make it an adventure to punch out the pins which had not seen any form of grease since it had left the factory....my knuckles hurt just thinking about that job.
Hopefully your pins have at least a little grease left.
Jrock you can PM me about the motor mounts. I would be interested in them. Love the photos on your progress. Great to have friends who know how to weld. I wouldn't trust my welding yet. My welding skills are really non-existant. I did pick up cheap wire welder and am looking at a tig/stick welder also. I took the adult welding for beginners class at the local tech school last fall. We used mainly did the stick welding, but haven't picked up my welder since. There is also an advanced class where you do the wire welding more.
I assume by a cheap wire welder you mean one that does not have shielding gas provisions. I'd highly recommend putting it on Craigs List for what ever you can get for it, and use the money towards a unit that will actually let you learn how to weld. Once you learn how to mig weld you'll likely never pick up a stick welder again. Use my tutorial https://www.ford-trucks.com/forums/1...-practice.html including following the equipment recommendations and you can be running satisfactory beads in a weekend!
If you are going to buy a Tig welder, buy one that is a real tig welder, not a combo unit. The combo units are AC only will not allow you to Tig weld aluminum. Eastwood has a nice AC/DC Tig welder for 799.00. If you want to build trailers or bridges you can pick up a used Tombstone AC stick welder at a give away price.
Thanks all. Well a little bit of heat and a bigger hammer and all the pins are out and the frame is ready to go to get media blasted. They actually came out without much trouble. I actually hit them inward that little bit they were sticking out to break them loose and then hit away from the frame side.
AXracer,
The one I have does have the gas option. We used the gas wire welder one day during the class and that makes it so much easier and cleaner then without. As soon as it starts to warm up here, I'll have to pull it out and do some practicing. I'll have to check out your tutorial for sure. I was looking at the Eastwood TIG 200 DC welder if I was to purchase one.
Last edited by 89gtstang; 04-02-2013 at 11:47 AM.
Reason: Grammer of course
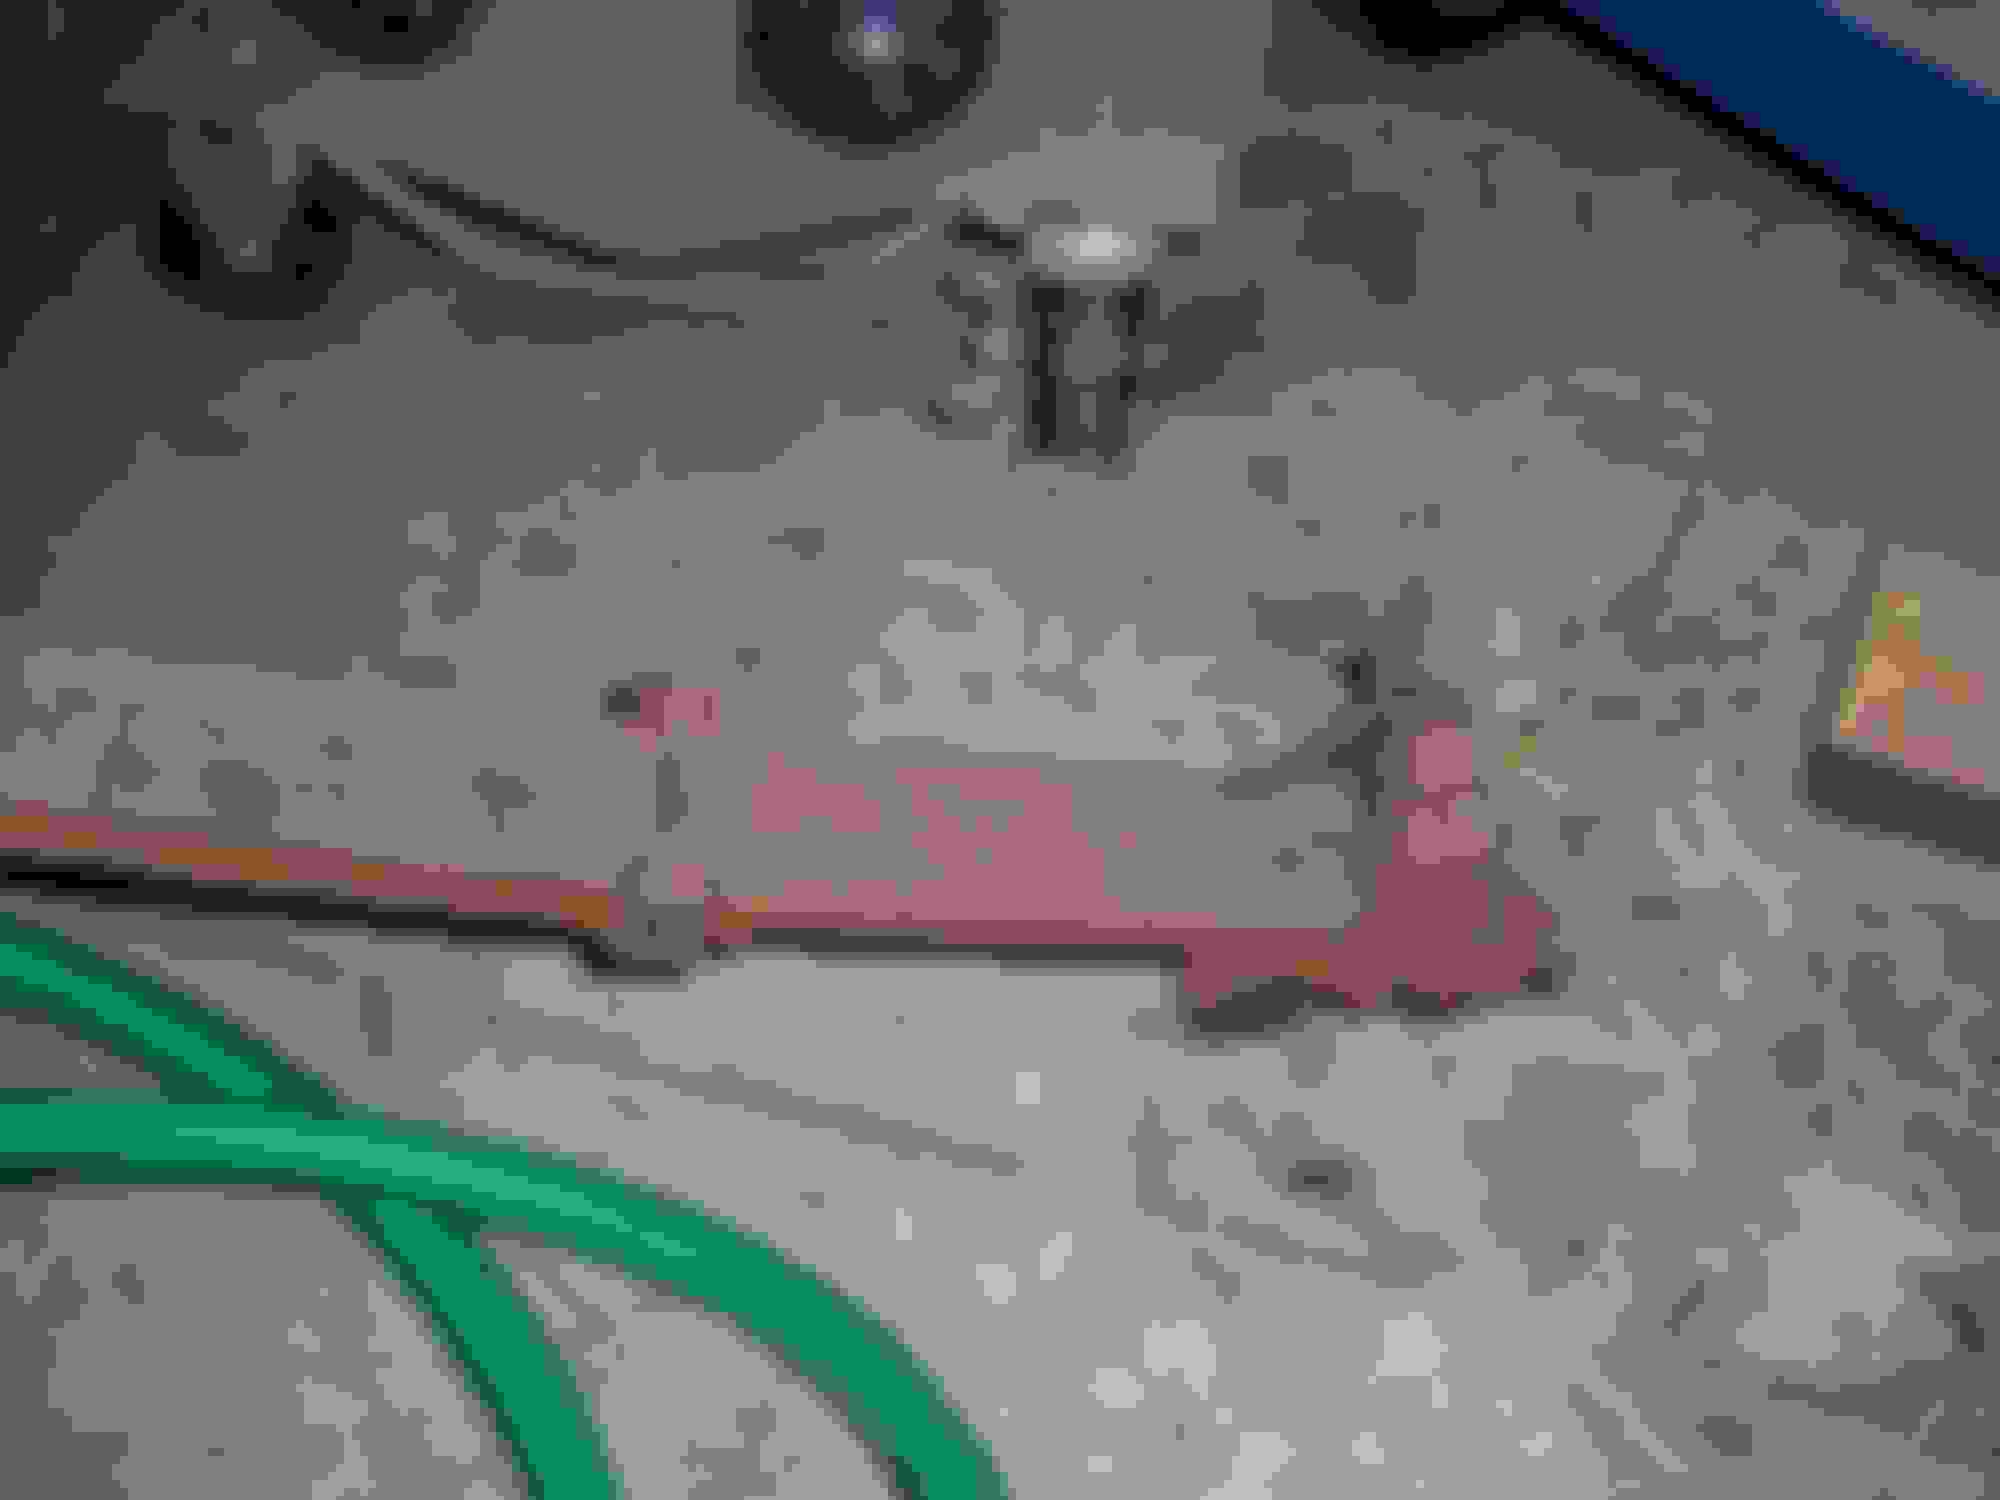
Just got the frame back from media blasting... Few spots I'm not happy with but I can touch those up... There was a lot of dried up grease by the trans cross member.
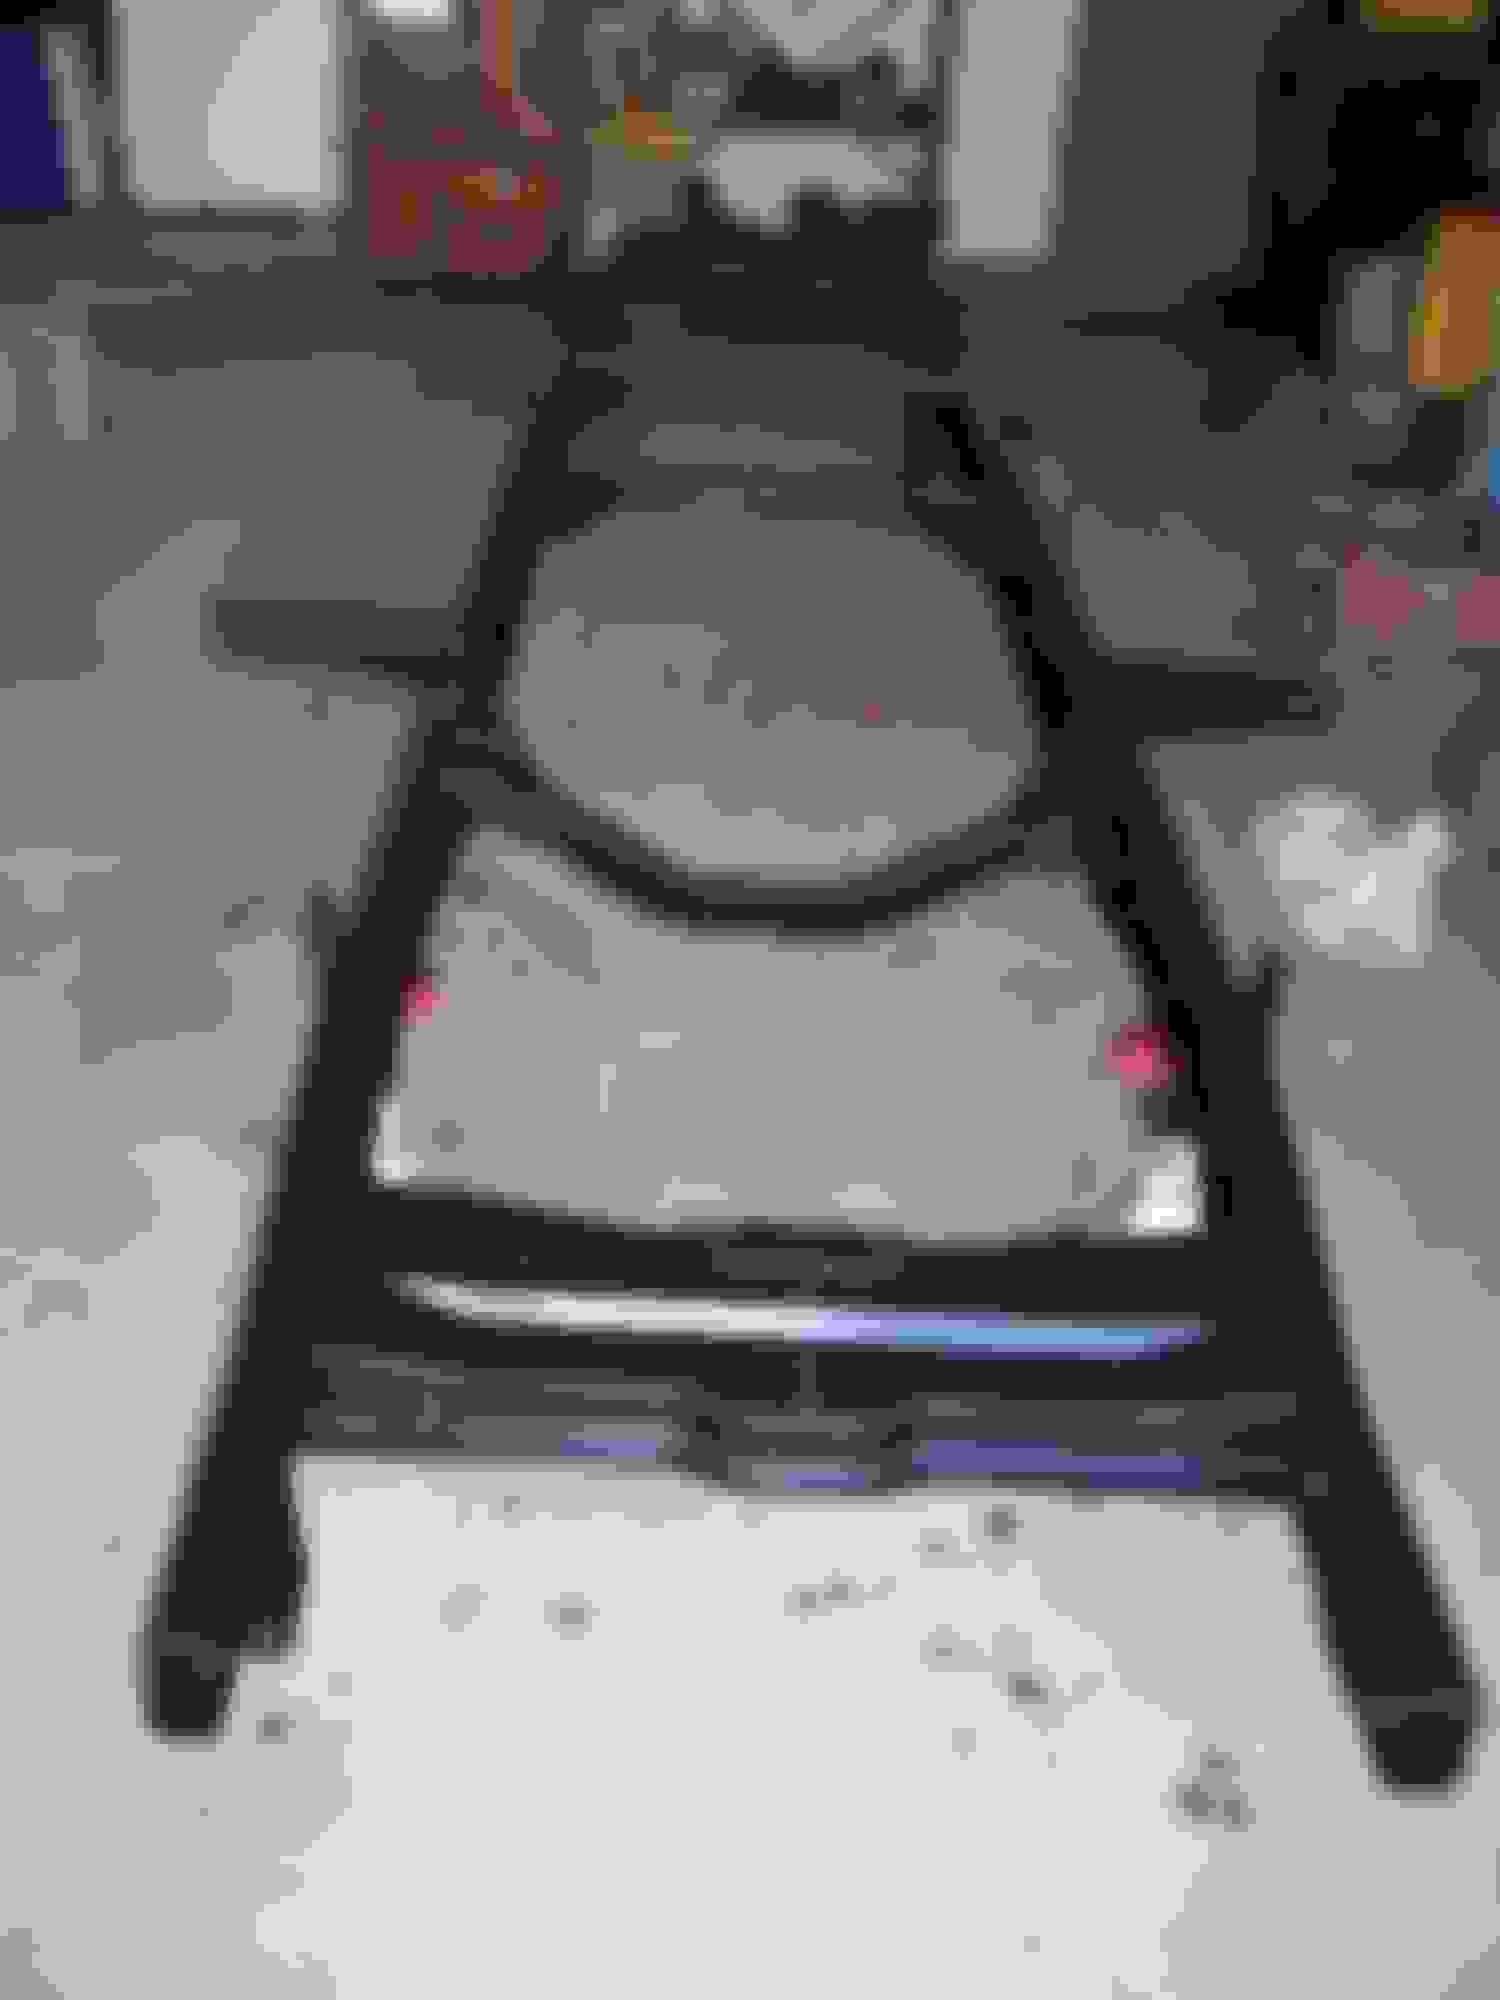
I bought the front reverse eye main leaf only from Midfifty. I had to cut the ends off of the 2nd spring what has the loop to allow this to fit. MY QUESTION is can I reuse the original clamps and bolts, which cleaned up real well or do I install the ones that came with the kit. The kit has new bushings, the spring clamps and pins. If I don't use the original clamps do I have to cut them off? Seems to me I would have to. The bushings look to be a pain to remove from the frame. Should I get the removal tool from Midfifty or just bang away Here is the frame now painted. I have everything needed to finish the front and install it back on. I just picked up a very clean 1971 9" rear. Looks like I cannot reuse the lower spring plates. I've read if I can find 57-60 plates they do the part. The other option is relocating the stock shock mounts on this rear end and just using the 9" kit from Midfifty, the one that keeps the springs on top like the stock setup, which I want (for now). Any words of advice on tackling that?
Last edited by 89gtstang; 05-14-2013 at 11:59 AM.
Reason: changed pics to show instead of being links.
89, I'm confused by your spring question.
What do you mean by "I had to cut the ends off of the 2nd spring what has the loop to allow this to fit." ? To use the new reverse eye main leaf, you need to disassemble the original spring, taking off the clamps and center bolt (BE CAREFUL! THE SPRING MY LOOK HARMLESS BUT IS PACKING ENOUGH TENSION TO BREAK AN ANKLE OR FINGER. See below) remove the original main leaf and replace it with the new one.
Be very careful disassembling the springs, they pack a lot of stored energy and can easily break an ankle or worse if they suddenly pop apart. Wear heavy work gloves and work shoes. Lay the spring on it's side on the floor, clamp the leafs together with two large heavy C-clamps, one on each side of the centerbolt. Stand on top the spring to keep you feet in a safe place in case the spring suddenly blows apart, and unscrew the nut on the centerbolt until there is only a couple threads left (don't remove it completely yet) then slowly loosen the clamps 1/4 turn at a time alternating between them as you go. When the clamps have released the spring enough that the centerbolt nut tightens again stop loosening the clamps and remove the centerbolt nut. Now finish slowly releasing the clamps.
Clean the spring leafs with a wire brush or straight line sander like a belt sander, and sand lengthwise only, never crossways. smooth and round the ends of the leafs where they rub.
Don't paint them (except maybe the edges). If you must have color on them, use a product called Rust Reformer by Rustoleum available in the spray paint dept at your local big box DIY store. It's more expensive than paint, but it goes a long ways since it is not a paint but chemically reacts with any remaining rust to form a similar coating to the original black oxide. Be sure to read and heed the directions carefully.
When reassembling the springs add HMW plastic slide strips between the leafs to make them work smoother. The strip is available by the roll from Mid Fifty. Use the new bushings, clamps and some new centerbolts. While you are ordering from MF, also get a pair of caster wedge shims and install them between the spring and axle. Orient the wedges so the top of the axle tips back more. This will add back in the caster than the lowering reduces, aiding handling. If you also are additionally lowering the front by removing every other spring leaf, then use the extended length head center bolts, order and add 2 wedges to each side to increase the caster even more.
The kit only had the main reversed eyed spring. The original set, the next spring down has a loop on the end that goes around the eye of the last spring (rear of front springs). Midfifty's catalog even warns that it has to be cut off 1 1/2 from the eyelet.
I already took the front springs apart. Is it bad that mine had no tension on them? OR very little I should say There is more now that I replaced the main spring, adding the HMW plastic slide strips between the leafs, which came in the kit.
The remaining question is do I need to cut off the old BOLD clamps to install the ones? These look to be riveted into the ends of the springs with the old style rivet/plug.
You can reuse the old clamps if they are in good condition. Their main function is to keep the leafs from twisting and spreading like a hand of playing cards, not to clamp the leafs to each other, don't overtighten.
This isn't my project but I can't help but appreciate the great detailed advice. System still won't let me rep you so this will have to do. Well Done Ax!
Be very careful disassembling the springs, they pack a lot of stored energy and
can easily break an ankle or worse if they suddenly pop apart. Wear heavy work
gloves and work shoes. Lay the spring on it's side on the floor, clamp the leafs
together with two large heavy C-clamps, one on each side of the centerbolt.
Stand on top the spring to keep you feet in a safe place in case the spring
suddenly blows apart, and unscrew the nut on the centerbolt until there is only
a couple threads left (don't remove it completely yet) then slowly loosen the
clamps 1/4 turn at a time alternating between them as you go. When the clamps
have released the spring enough that the centerbolt nut tightens again stop
loosening the clamps and remove the centerbolt nut. Now finish slowly releasing
the clamps.
Clean the spring leafs with a wire brush or straight line sander
like a belt sander, and sand lengthwise only, never crossways. smooth and round
the ends of the leafs where they rub.
Don't paint them (except maybe the
edges). If you must have color on them, use a product called Rust Reformer by
Rustoleum available in the spray paint dept at your local big box DIY store.
It's more expensive than paint, but it goes a long ways since it is not a paint
but chemically reacts with any remaining rust to form a similar coating to the
original black oxide. Be sure to read and heed the directions
carefully.
When reassembling the springs add HMW plastic slide strips
between the leafs to make them work smoother. The strip is available by the roll
from Mid Fifty. Use the new bushings, clamps and some new centerbolts. While you
are ordering from MF, also get a pair of caster wedge shims and install them
between the spring and axle. Orient the wedges so the top of the axle tips back
more. This will add back in the caster than the lowering reduces, aiding
handling. If you also are additionally lowering the front by removing every
other spring leaf, then use the extended length head center bolts, order and add
2 wedges to each side to increase the caster even more.
Mike, I certainly am not fishing for rep points, 1M rep points and my 5.00 will get me a latte at Starbucks, but just out of curiosity, there should be a dark blue bar at the top of each post with the post date and time at the left end, and the post # and two red icons in squiggily circles at the right end. If you click on the first one, a red heart with a green dot (looks more like a moldy strawberry on my screen), a pop up should appear allowing you to give that poster rep points.
Ax, I know you aren't the type to go fishing for rep points or anything else for that matter. You provide a lot of sound advice to guys on the forum including me and I consider reps as a way to say thanks. I know about the icon but I think I used up my allocation for you on the welding tutorial and some other postings. Maybe by 2018 it will let me hit you again. Until then hopefully a genuine thank you in the thread will be welcomed.
They say there's a difference between being smart and being wise. Being smart consists of learning from your mistakes and not repeating them. Being wise entails learning from the mistakes of others and not making them in the first place.
It strikes me that you (and a few others on the forum), while having experience with the former, are really good at the latter, and are able to share that wisdom on the forum to the benefit of us all. So if the reps aren't working allow me to toss you a bone every now and then.
AXracer,
I found another link on the 9" rear where you posted photos of your install, That's perfect and what I was trying to look for. It looks like you cut the stock lower spring plate to mount your shocks and used just a rounded plate for the bottom instead. Do you remember what that was off of? Looks like some of the newer Dodge ones I see on eBay but those seem to be too wide. Looking for the 57-60 stock ones seems to be difficult at best.
I also see where you installed the Drawtite #40050 "mounted as far to the rear as possible" How much do you tow? I'd like to use the truck to haul the mustang to the track and back.
 03-28-2013, 09:49 PM