
Hood mods

Thread Starter
|
Mountain Pass
Joined: Jul 2009
Posts: 197
Likes: 2
From: Brisbane, Australia.
Hood mods
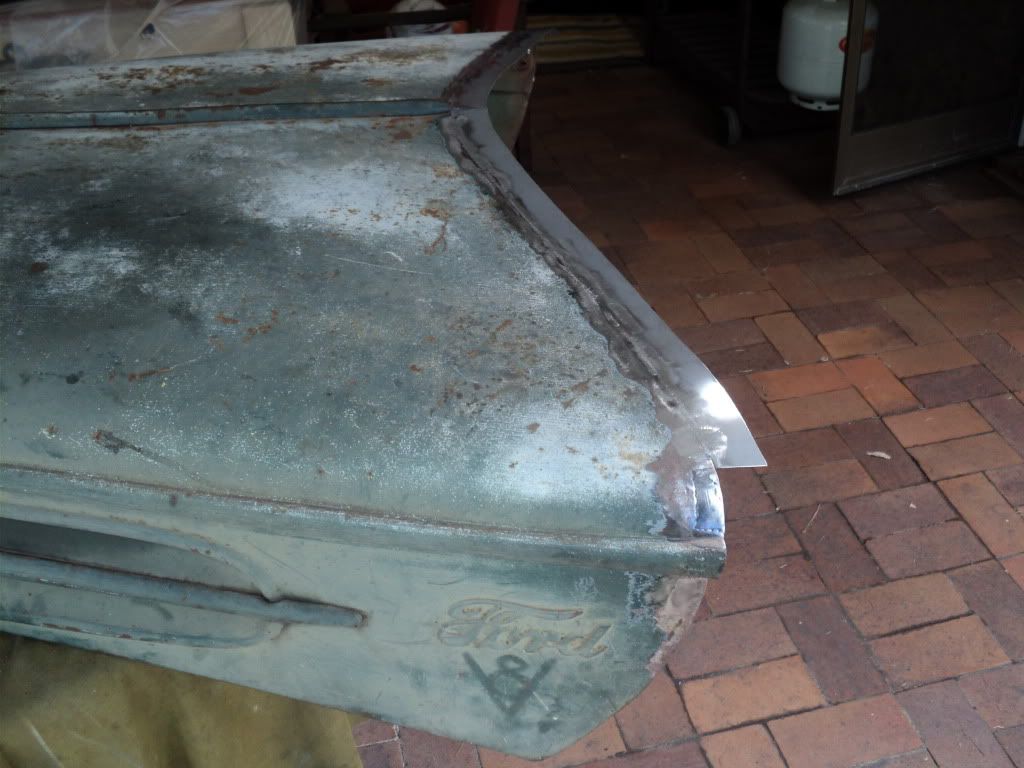
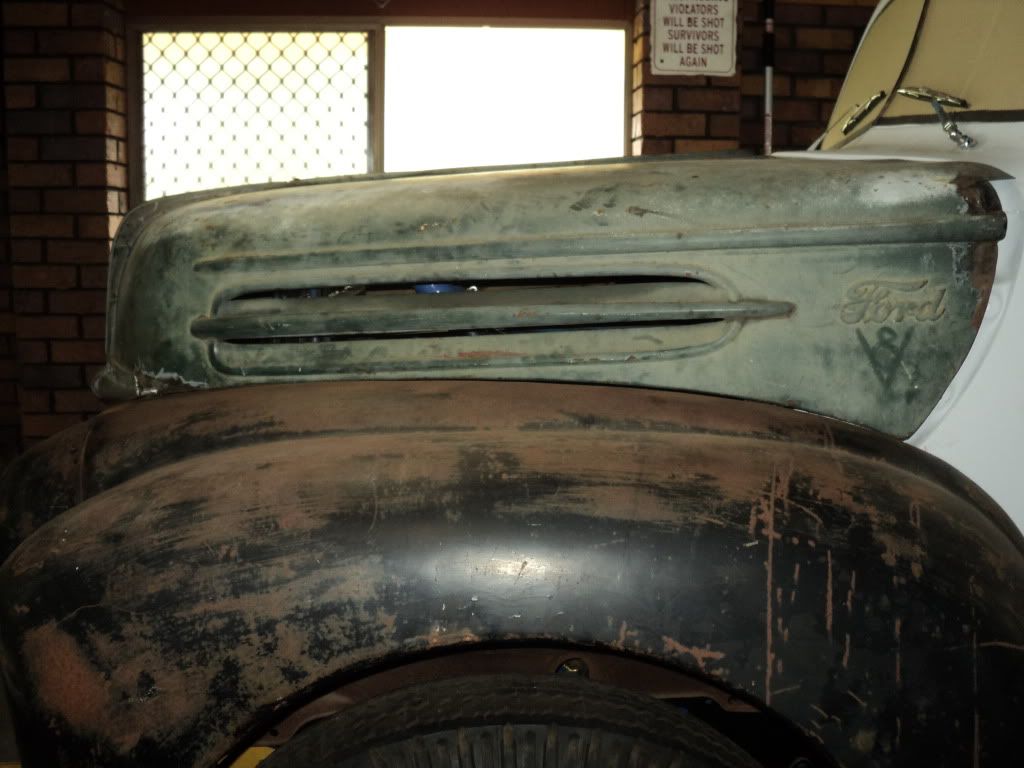
Gidday guys, it's Australia Day here today 26th, public holiday.Last weekend I came to the conclusion I'll have to add 1 1/2'' to the rear of the hood to get it to fit nicely, something I was trying to avoid but because the cab isn't quite where it should be I'll have to.
As you can see I've started welding in a strip of panel steel.
The hood will be bolted to the fenders sitting on spacers of a similar size to the original welt.
Hope you guys are doing OK,
Regards, Steve.

As you can see I've started welding in a strip of panel steel.
The hood will be bolted to the fenders sitting on spacers of a similar size to the original welt.
Hope you guys are doing OK,
Regards, Steve.
Freshman User
Joined: Nov 2011
Posts: 30
Likes: 0
I have a problem with my hood at the other end. There's about a 3/4" gap between the hood and the surface below but only at the front one foot or so. It also closes a little off center. I've tried everything but can't correct it so I'm just going to live with it.
Maybe the truck took at hit at some point and threw things out of wack.
Maybe the truck took at hit at some point and threw things out of wack.
Elder User
Joined: Jan 2008
Posts: 803
Likes: 0
From: Gibsonia, PA
2ton....
Close your hood, so that it appears "in-place". Loosen the nuts (bolts) on the inside of the cowl (behind kickplates), then push the hood, and wiggle the hood (without opening it) to get it into what you think is good. Snug up the nuts (bolts) and open and close hood to see if it is better. Repeat process until you are happy or frustrated !

 Most of the pressure should be applied at the cowl side of the hood.

Close your hood, so that it appears "in-place". Loosen the nuts (bolts) on the inside of the cowl (behind kickplates), then push the hood, and wiggle the hood (without opening it) to get it into what you think is good. Snug up the nuts (bolts) and open and close hood to see if it is better. Repeat process until you are happy
or frustrated ! Most of the pressure should be applied at the cowl side of the hood.
Freshman User
Joined: Nov 2011
Posts: 30
Likes: 0
2ton....
Close your hood, so that it appears "in-place". Loosen the nuts (bolts) on the inside of the cowl (behind kickplates), then push the hood, and wiggle the hood (without opening it) to get it into what you think is good. Snug up the nuts (bolts) and open and close hood to see if it is better. Repeat process until you are happy or frustrated ! Most of the pressure should be applied at the cowl side of the hood.
Close your hood, so that it appears "in-place". Loosen the nuts (bolts) on the inside of the cowl (behind kickplates), then push the hood, and wiggle the hood (without opening it) to get it into what you think is good. Snug up the nuts (bolts) and open and close hood to see if it is better. Repeat process until you are happy
or frustrated ! Most of the pressure should be applied at the cowl side of the hood.I did try that but there doesn't seem to be much adjustment there. I was thinking of making those holes bigger. I will probably try again.
Thanks

Thread
Thread Starter
Forum
Replies
Last Post
sdrob15
1948 - 1956 F1, F100 & Larger F-Series Trucks
6
Nov 11, 2018 09:20 AM
thepitshop
1948 - 1956 F1, F100 & Larger F-Series Trucks
24
Sep 22, 2016 07:56 PM
FunknFord
1961 - 1966 F-100 & Larger F-Series Trucks
2
Nov 24, 2011 10:05 AM
dale gribble
1987 - 1996 F150 & Larger F-Series Trucks
9
Oct 31, 2005 04:03 PM


