When you click on links to various merchants on this site and make a purchase, this can result in this site earning a commission. Affiliate programs and affiliations include, but are not limited to, the eBay Partner Network.
Bigzrib
Do you have any pictures of the rack all togehter with lights on it. I just finished mine basically like yours. I need to make mounts for bolting to roof fhen it will be finished. I hope you don't mind I went with your design, since I really like how you made it.
Randy
That is why I posted it on here, mistakes and all. I hope to inspire others to try and build what they want and learn from my mistakes.
Originally Posted by ycis
love the fact that I just found this thread looking up roof racks, and realize the OP lives in the same city I do with another white excursion.
small world.
LOL, I am actually about 10 miles south of Jax but it give more people the location if you claim Jax.
Originally Posted by kornfanjoe
BuiltFordTough I LOVE that roof rack and I am definitely stealing that idea and making my own like that
Please steal away, improve it, have fun. Thats why we are all here.
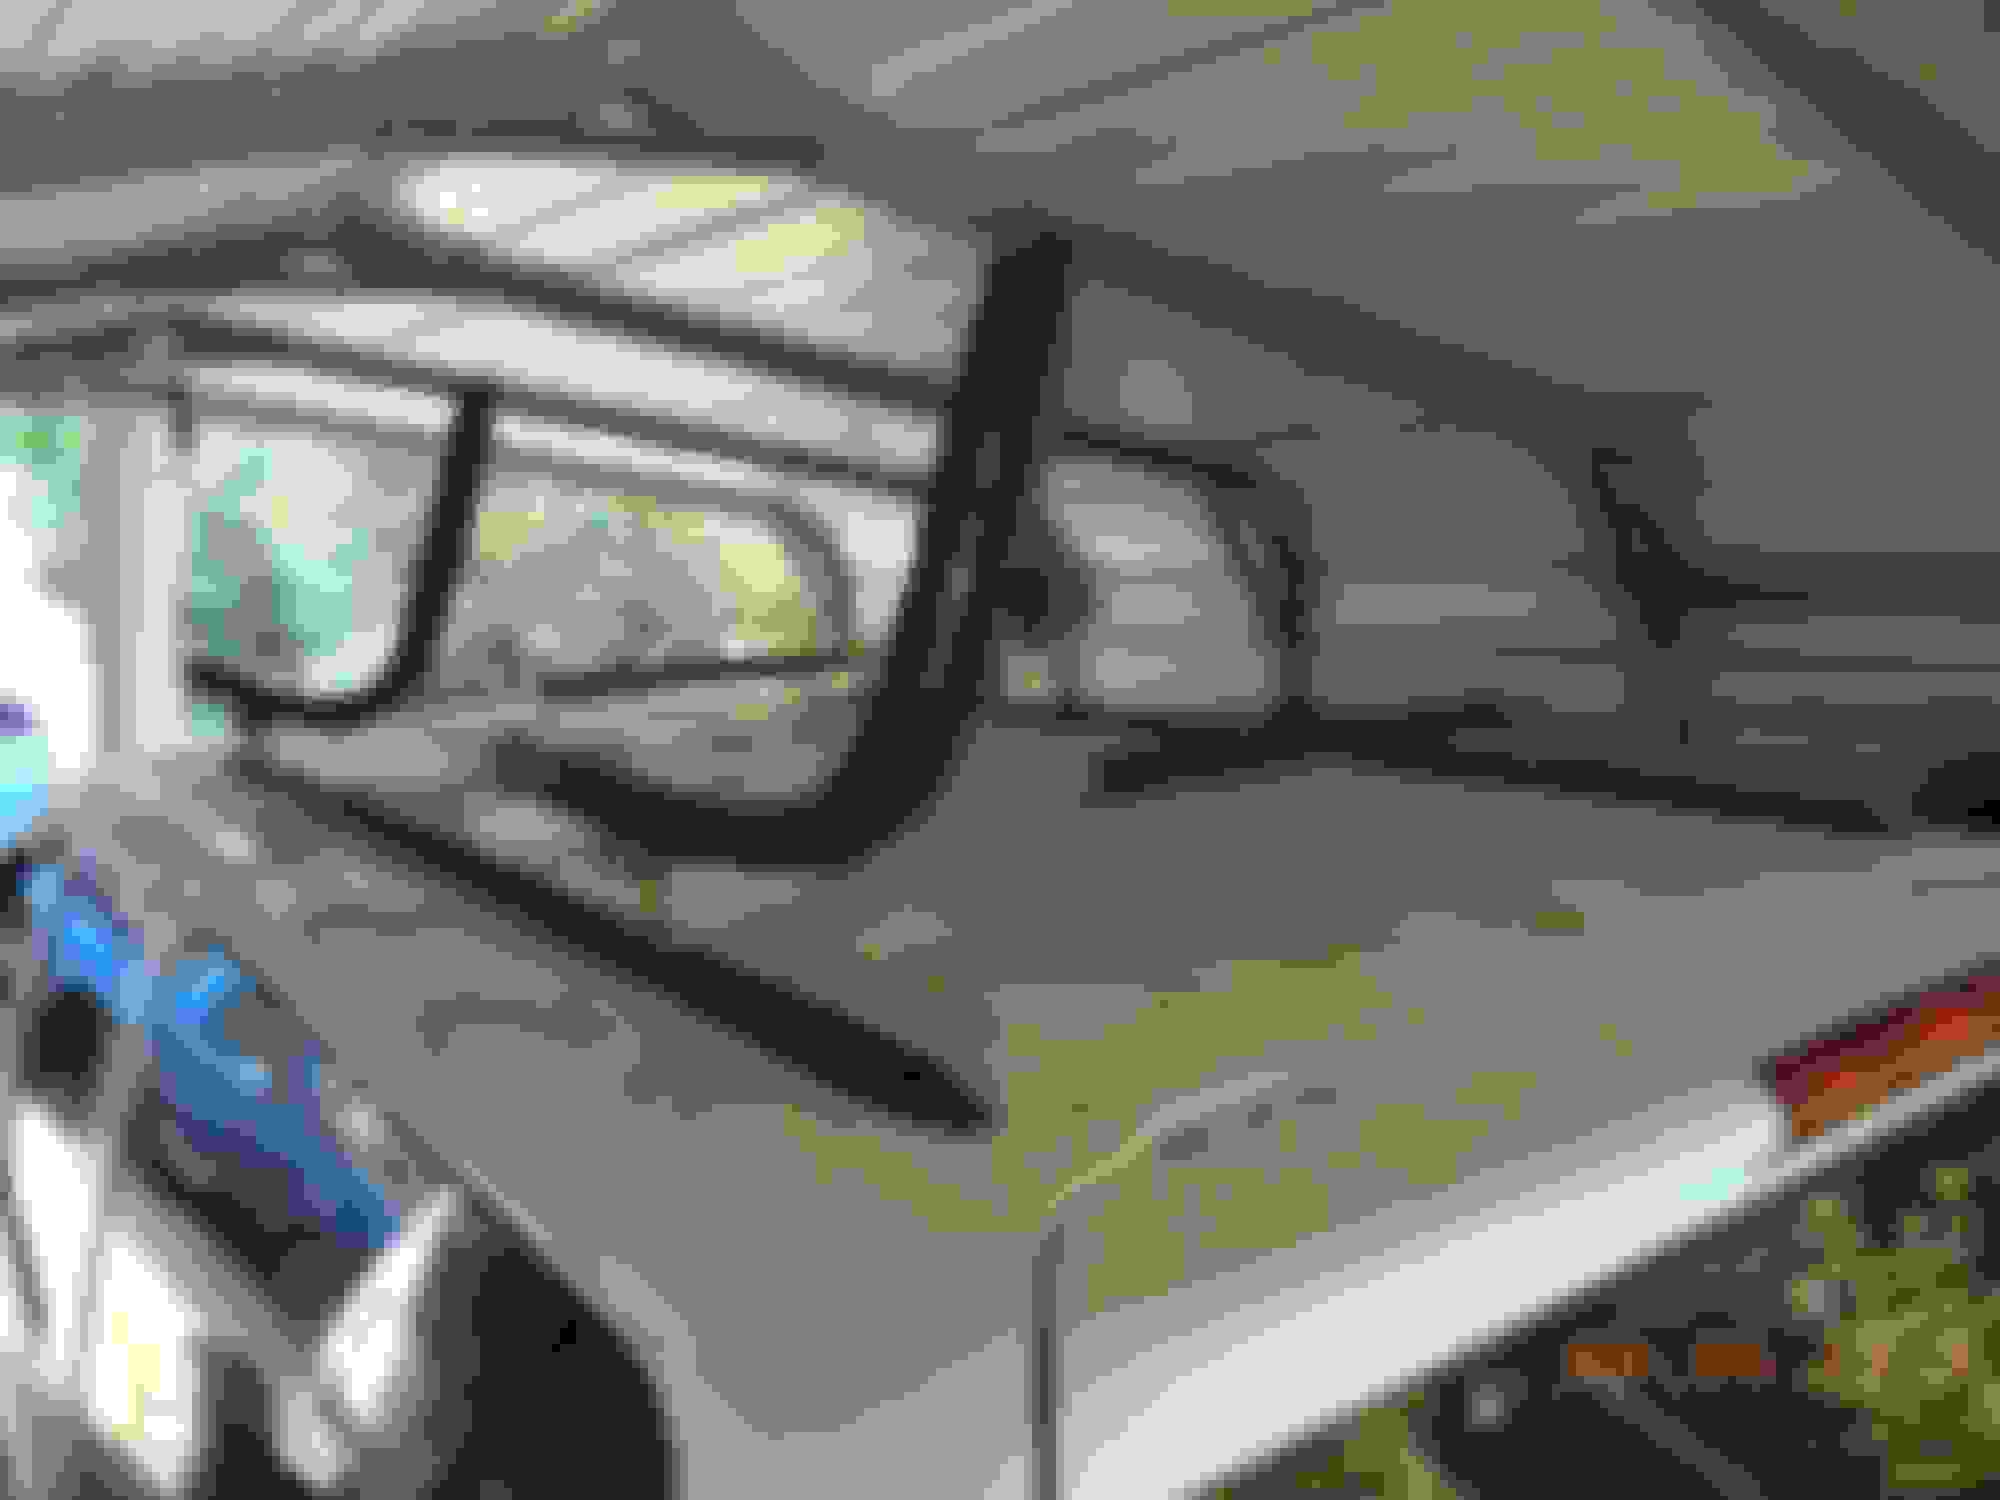
So I realized I never posted any final updated pics in this thread, oops.
Front shot with the lights wired and the stainless brushguard back on. I also put the front hitch on when I swapped the front springs. I still need to wire in the brush guard lights. I also painted the grill shell white, and the egg grating inserts the tan trim color.
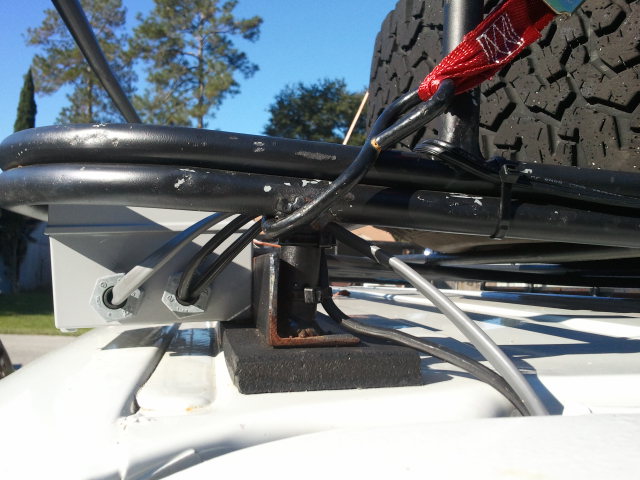
Second fuse block that I wired in to power all of my Auxiliary lights. It has a #4 stranded wire supplying power from the battery to the block through a 40 amp breaker.
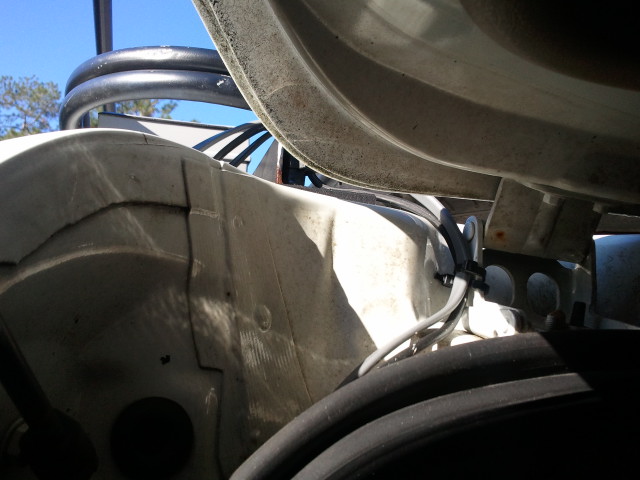
I ran the power and control wiring for all of the rack lights under the Ex and to a weatherproof junction box attached to the angle iron on the rack mount.
The box sits below the level of the rack floor so nothing will ever sit on it.
I added an old driving light to the rack to augument my reverse lights and provide more light when hooking up trailers in the dark.
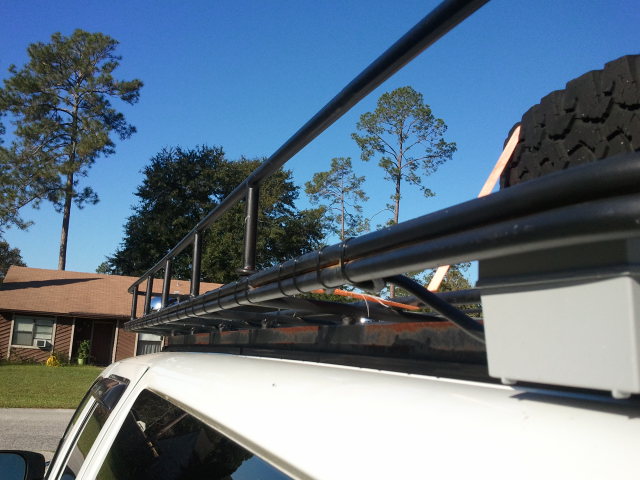
The rack all done. This is right after my spring swap. It is now sitting level after everything settled into place.
I will take a few more close up pics on Friday when I actually get home before it gets dark outside. My next project for the rack is to replace one of the KC light bulbs that burned out. Next is to find an LED brake light bar that I like so I can buy it and get it put on the back of the rack. That should complete the rack, for a while.
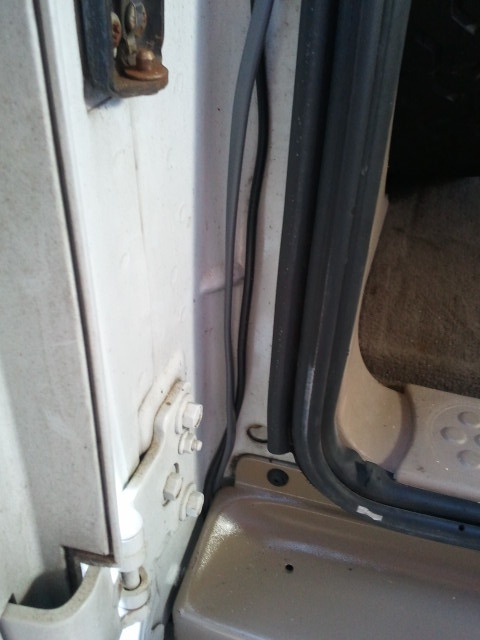
I ran the wires into the dash through one of the mass junction grommets in the fire wall. I then ran down the firewall and all the way to the rear along the inside of the driver side frame rail. I came up beside the trim over the rear bumper and on the outside of the rear hatch seal all the way up to the hinge for the hatch. I zip tied them to the hinge to take the stress off of the junction box and attached them to the rack on their way to the junction box. I then zip tied the wires about every 8 inches along the inside of the lower rail all the way to the front lights.
I painted the trim piece to closer match the other trim when it was off because the black was fading to ugly grey.
I still need to clean the area outside the seal.
I love it when Harbor Freight has zip ties on sale 100ct bags for $2.
I did notice today how much the angle iron has started to surface rust. I had primed, undercoated, and painted it before I installed the rack the last time so I guess I will just touch it up one day while it is still in place.
Originally Posted by ycis
haha..it shows middleburg for you =) Im just up blanding from ya!
I will remember to message you the next time I am swapping out major parts.
So I guess it's time for another update.
So I added a LED bar to the back of the Safari Rack.
<a href="http://s1172.photobucket.com/user/bigzirb/media/2013-11-13172906_zps138f16f5.jpg.html" target="_blank"><img src="http://i1172.photobucket.com/albums/r564/bigzirb/2013-11-13172906_zps138f16f5.jpg" border="0" alt=" photo 2013-11-13172906_zps138f16f5.jpg"/></a>
I added a High Lift style jack to the Passenger side of the rack.
<a href="http://s1172.photobucket.com/user/bigzirb/media/2013-11-13172928_zps90ad9758.jpg.html" target="_blank"><img src="http://i1172.photobucket.com/albums/r564/bigzirb/2013-11-13172928_zps90ad9758.jpg" border="0" alt=" photo 2013-11-13172928_zps90ad9758.jpg"/></a>
I wanted it secure.
<a href="http://s1172.photobucket.com/user/bigzirb/media/2013-11-13172941_zps8631c17a.jpg.html" target="_blank"><img src="http://i1172.photobucket.com/albums/r564/bigzirb/2013-11-13172941_zps8631c17a.jpg" border="0" alt=" photo 2013-11-13172941_zps8631c17a.jpg"/></a>
And I want to keep it so I stole an ideas from another site and drilled the 1/2" grade 8 bolt to add the lock to discourage anyone from "borrowing" it.
<a href="http://s1172.photobucket.com/user/bigzirb/media/2013-11-13172946_zpsbae4cc64.jpg.html" target="_blank"><img src="http://i1172.photobucket.com/albums/r564/bigzirb/2013-11-13172946_zpsbae4cc64.jpg" border="0" alt=" photo 2013-11-13172946_zpsbae4cc64.jpg"/></a>
Lastly I added a shovel because you never know when it will be useful. It is held to the rack with zip ties and a cable lock to keep it since I ran out of time the day I installed it to build a better mount. It has been there for 5 months that way so I'm just leaving it.
<a href="http://s1172.photobucket.com/user/bigzirb/media/2013-11-13173927_zpsfe8606c3.jpg.html" target="_blank"><img src="http://i1172.photobucket.com/albums/r564/bigzirb/2013-11-13173927_zpsfe8606c3.jpg" border="0" alt=" photo 2013-11-13173927_zpsfe8606c3.jpg"/></a>
As always, please copy, modify, and use however you need!!
Looks good Bigzirb. Not to steal or hijack your thread but here is a picture of mine off your design a little different. Thanks again for idea of conduit for rack. Turning my EX into expo rig for camping and hunting. Now I'm planning a tent trail build. Any way here is a picture
Okay... you guys have inspired me!!!!! bigzirb on the rubber that you put between the truck and the angle iron, where did you get it, how thick is it and how is it holding up after all this time? I've been looking for a rack for months now and nothing will even come close to what I want. This is ideal!!!!
Okay... you guys have inspired me!!!!! bigzirb on the rubber that you put between the truck and the angle iron, where did you get it, how thick is it and how is it holding up after all this time? I've been looking for a rack for months now and nothing will even come close to what I want. This is ideal!!!!
I have had mine installed for close to 5 years now and no problems.
I used recycled rubber garden mats and they are about 3/4" thick.
Closer view of composite rubber. Each block is mounted where original screws are with stainless bolts. Original flip mount on cross bars thrown out, and use the screw on from the smaller cross members. (way more secure and only small amount of fabbing to work)
Front and back are shaped to rack bull-nose. A bit of foam tape under the blocks so they don't rotate, and I had a can of rubber cement laying around so I used that to water seal the bolts in. The bolts sit low enough to allow the cross members freedom to move in the tracks.
Okay... you guys have inspired me!!!!! bigzirb on the rubber that you put between the truck and the angle iron, where did you get it, how thick is it and how is it holding up after all this time? I've been looking for a rack for months now and nothing will even come close to what I want. This is ideal!!!!
The rubber I used is from a 3' by 5' by 1/2" thick rubber mat from Tractor Supply. They sell it for horse stalls. It is holding up very well especially considering it spends all of its time exposed to the Florida weather. I cut off the strips I needed to support the rack the whole length of the roof. The rest of the mat I had left over is the "rug" in front of my gun safe
Hey Snow,
I wish I had all the tools, time, and cash to build in Stainless. Those kayak racks look great!.
Perfect... I know just the place to look then. looks great and thanks for sharing.


 and I am definitely stealing that idea and making my own like that