Intercooler install
#1
 11-13-2011, 05:56 AM


Join Date: Sep 2010
Posts: 377
Likes: 0
Received 0 Likes
on
0 Posts
Intercooler install
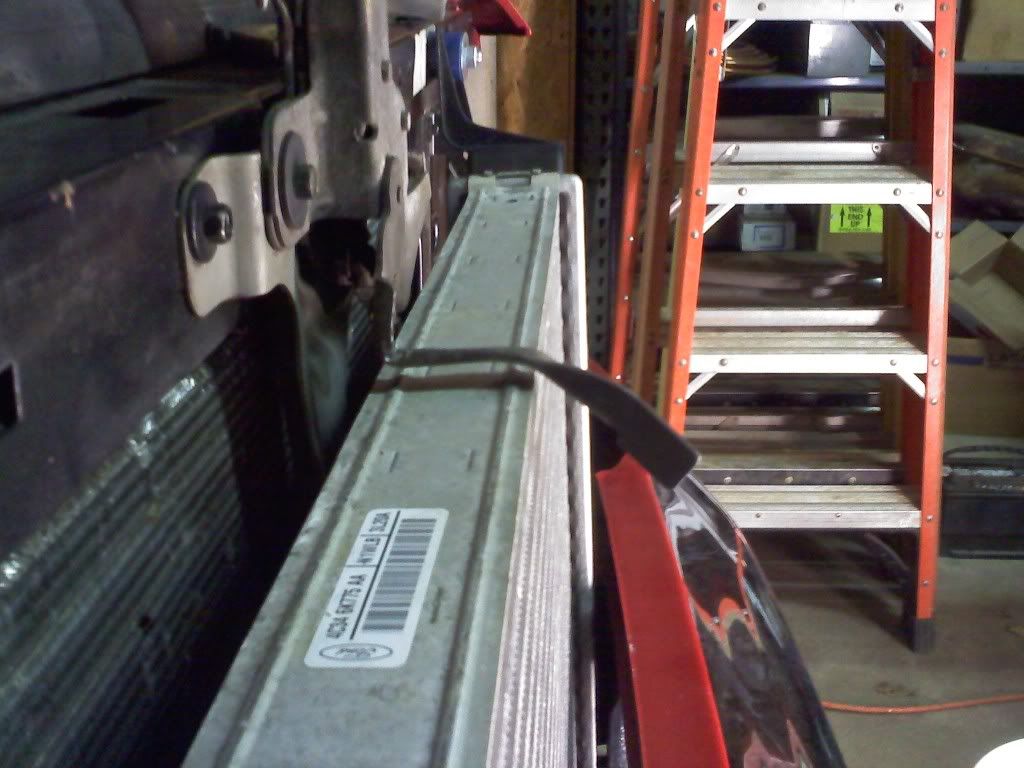
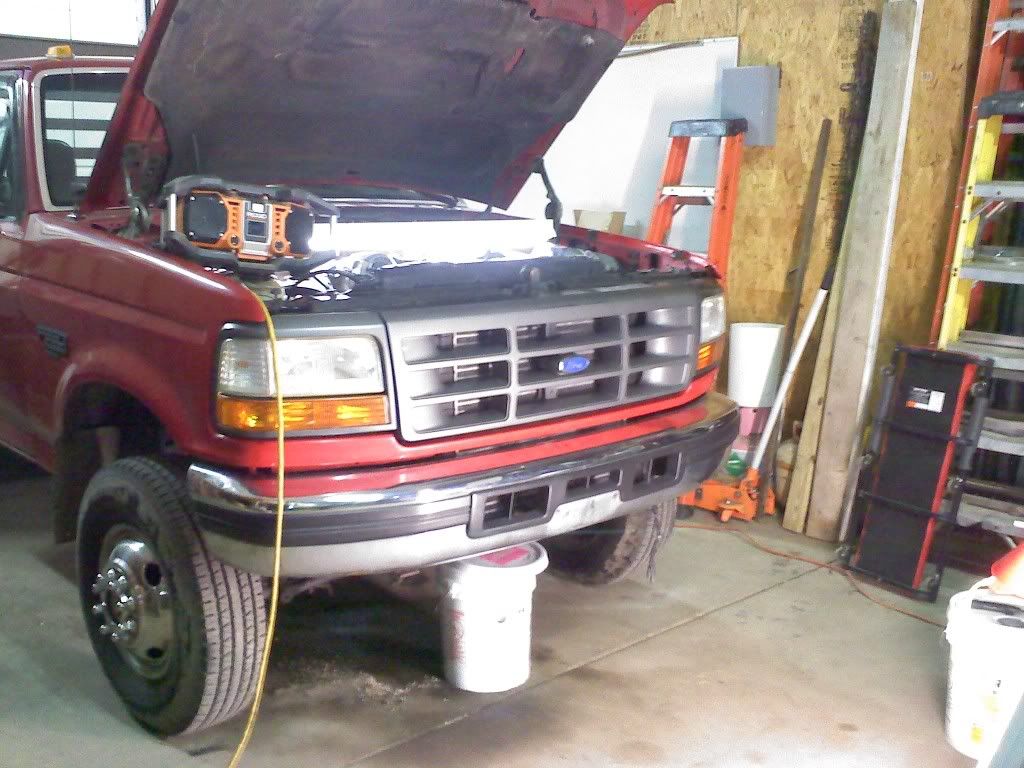
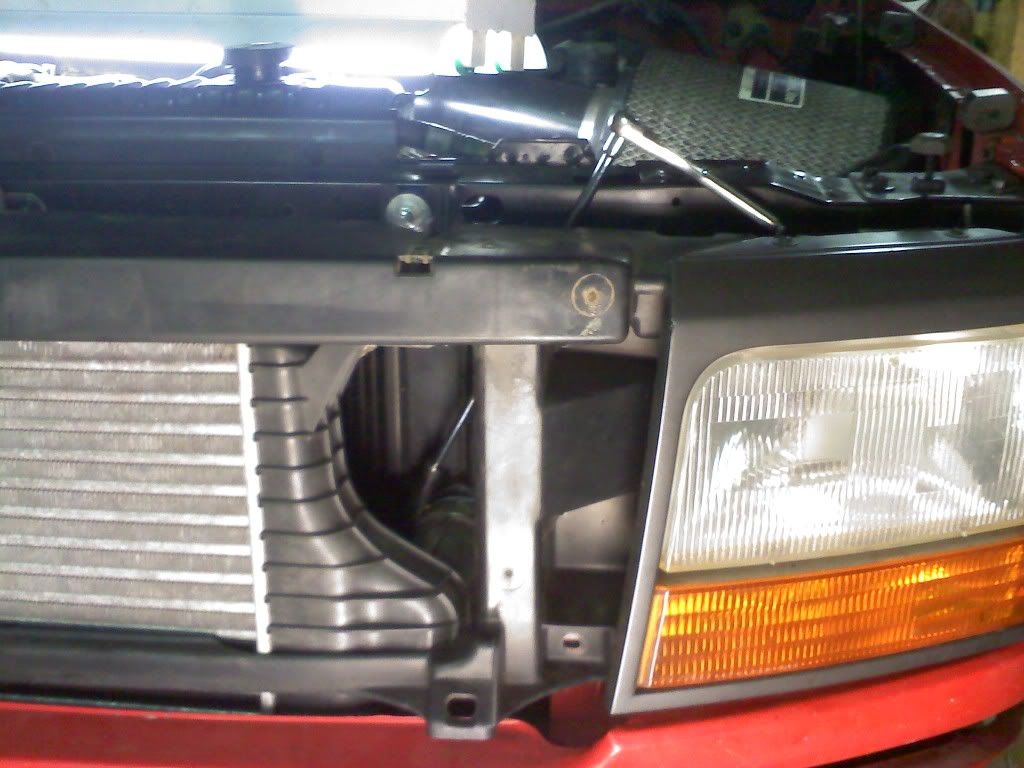
Started my 6.0L intercooler install yesterday.
Got the holes cut, cooler mounted and lower brackets welded up.
Didn't run into ANY of the issues that I've read in any write ups. Not sure why my situation is different.
Didn't need to move the a/c condenser towards the engine.
Didn't need to flatten out the bracket that goes from the hood latch to the bottom of the rad support either.
The cooler-side clamps will be accessible from the front when the grill is removed. So like 4-6 screws and the grill is off and you can reach in there to get a 1/4 ratchet on them.
Basically use this guys thread as reference: 6.0L intercooler install in '92-'96 body
I have a bunch of pics, just have to get them on here. Will take more through the day (today) as I finish it up. Piping will be on a later date.
#3
11-13-2011, 07:20 AM
Join Date: Sep 2010
Posts: 377
Likes: 0
Received 0 Likes
on
0 Posts

#5
11-13-2011, 11:23 AM

#6
11-13-2011, 11:31 AM
Senior User
Join Date: Jan 2008
Location: Emmett, ID
Posts: 226
Likes: 0
Received 0 Likes
on
0 Posts
#7
11-13-2011, 11:48 AM

Laughing Gas
Nice job! Great pics too. IMO, you mounted it in the perfect location. I mounted mine the same as the fourdoorbronco write up. I probably did need to mash the support, but did. With yours mounted 2" higher, it's spaced out towards the front more, so you have even more clearance.
Thanks for sharing, reps sent!
Thanks for sharing, reps sent!
Trending Topics
#8
11-14-2011, 06:21 PM
Join Date: Sep 2010
Posts: 377
Likes: 0
Received 0 Likes
on
0 Posts
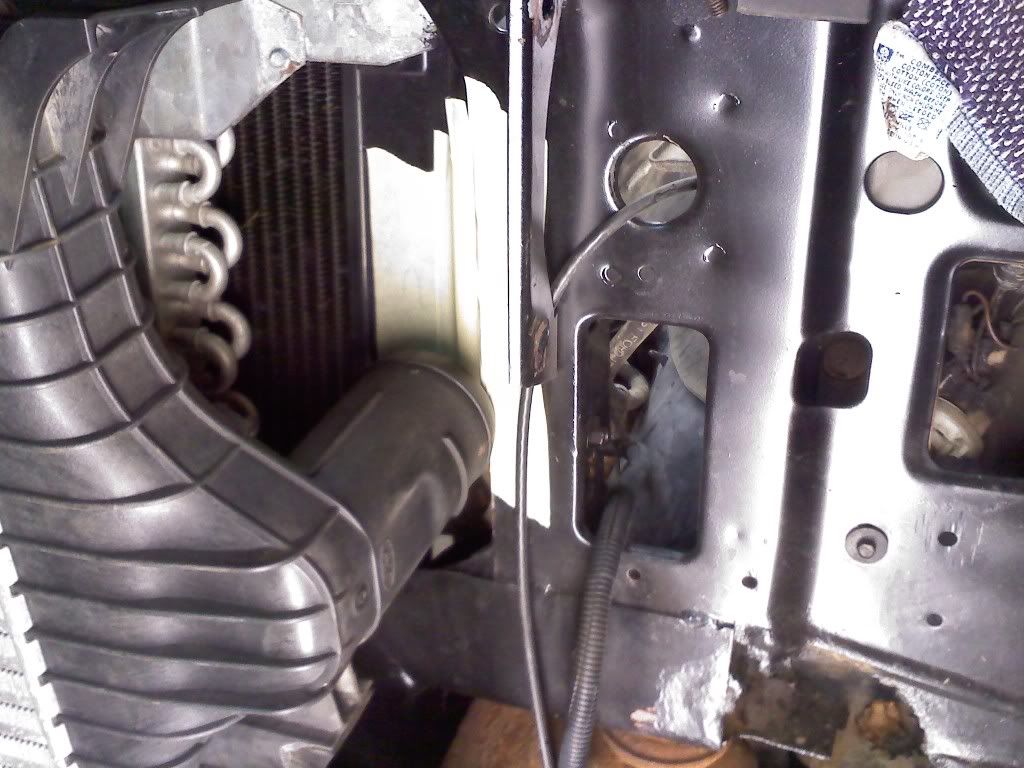
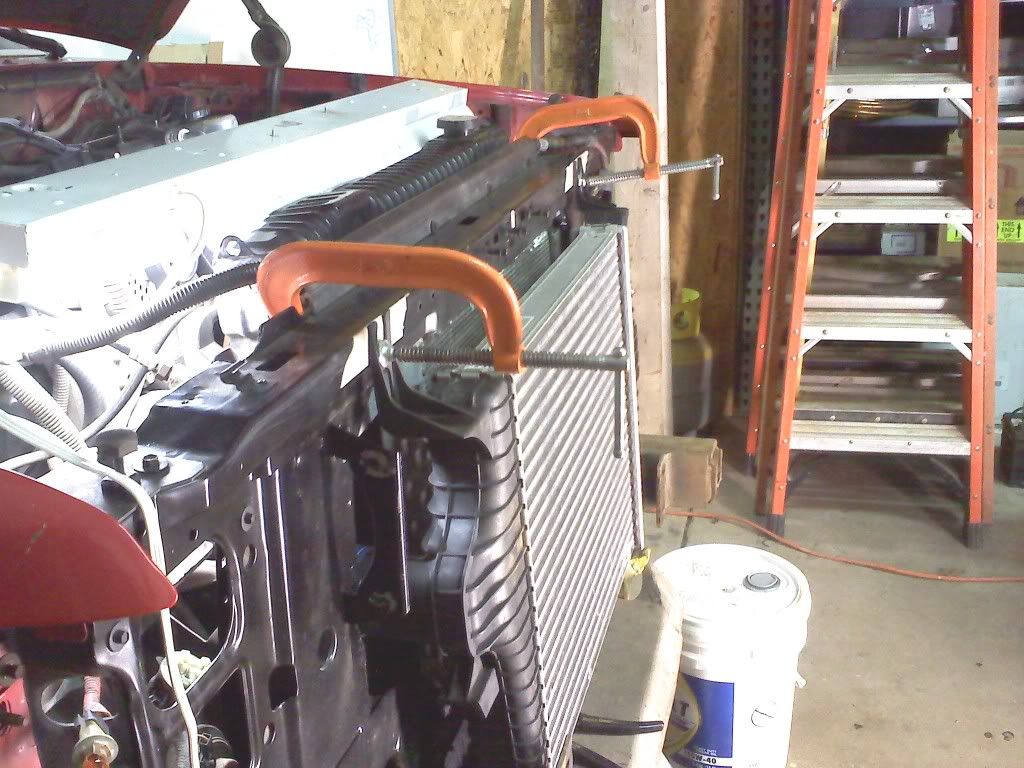
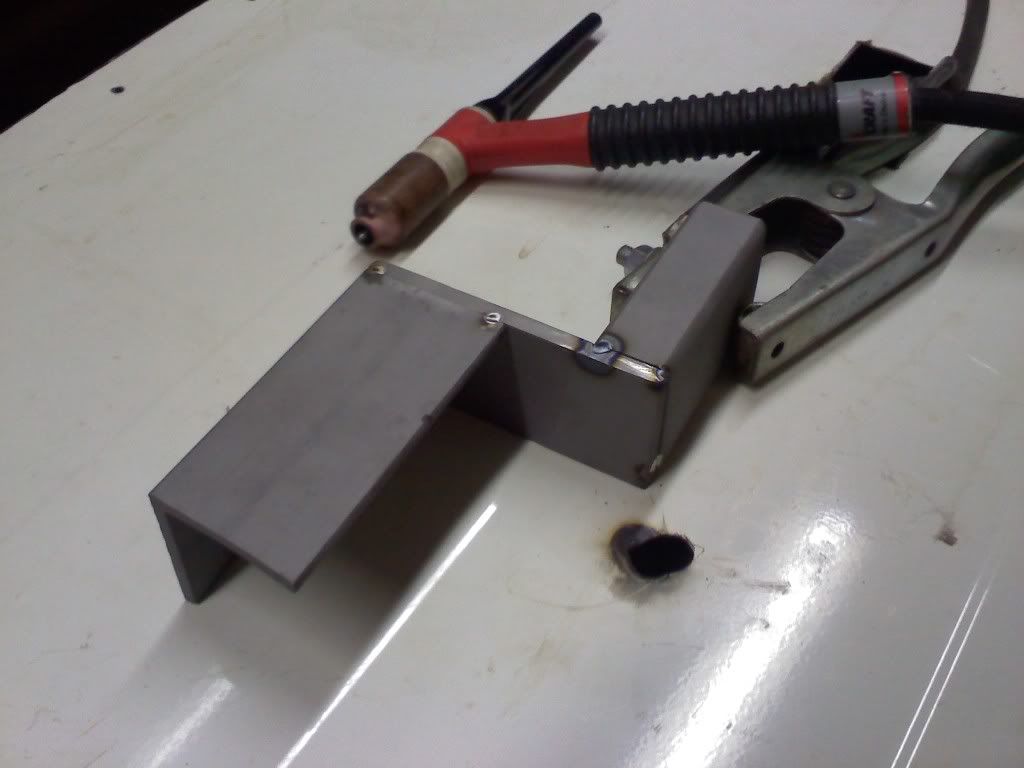
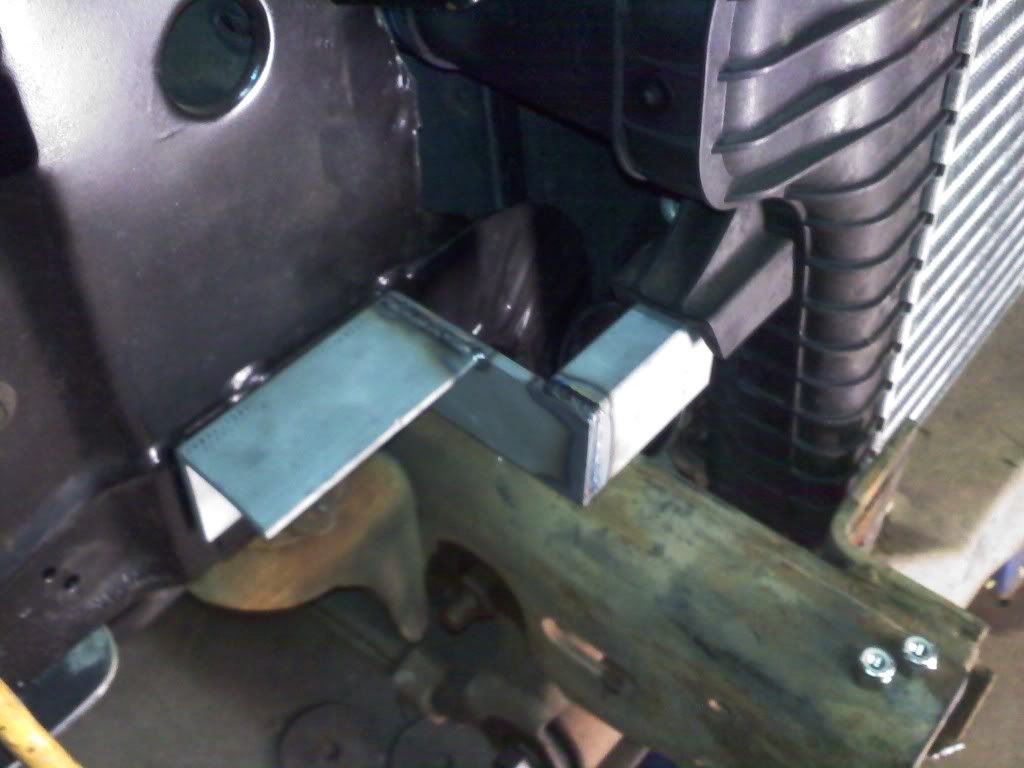
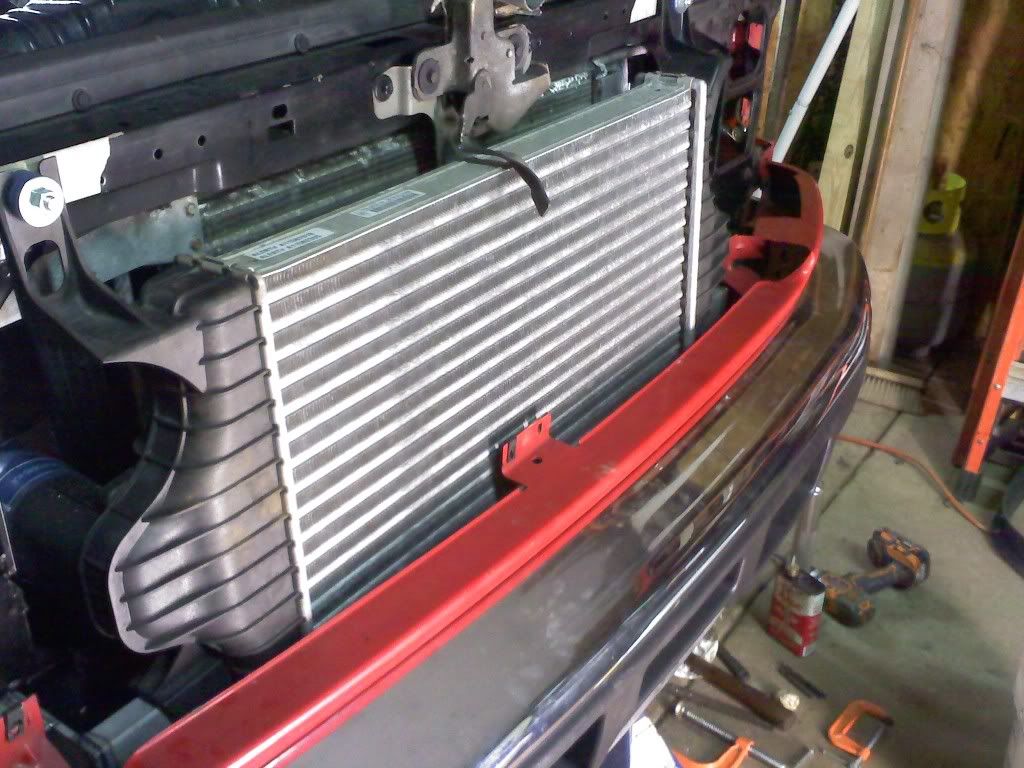
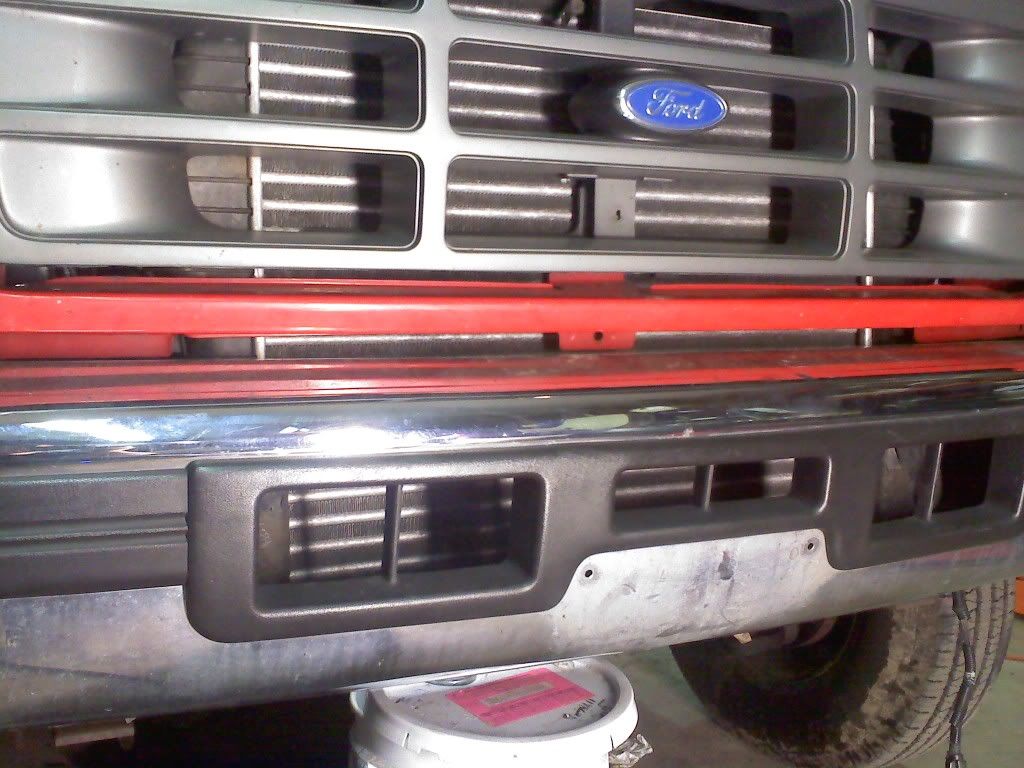
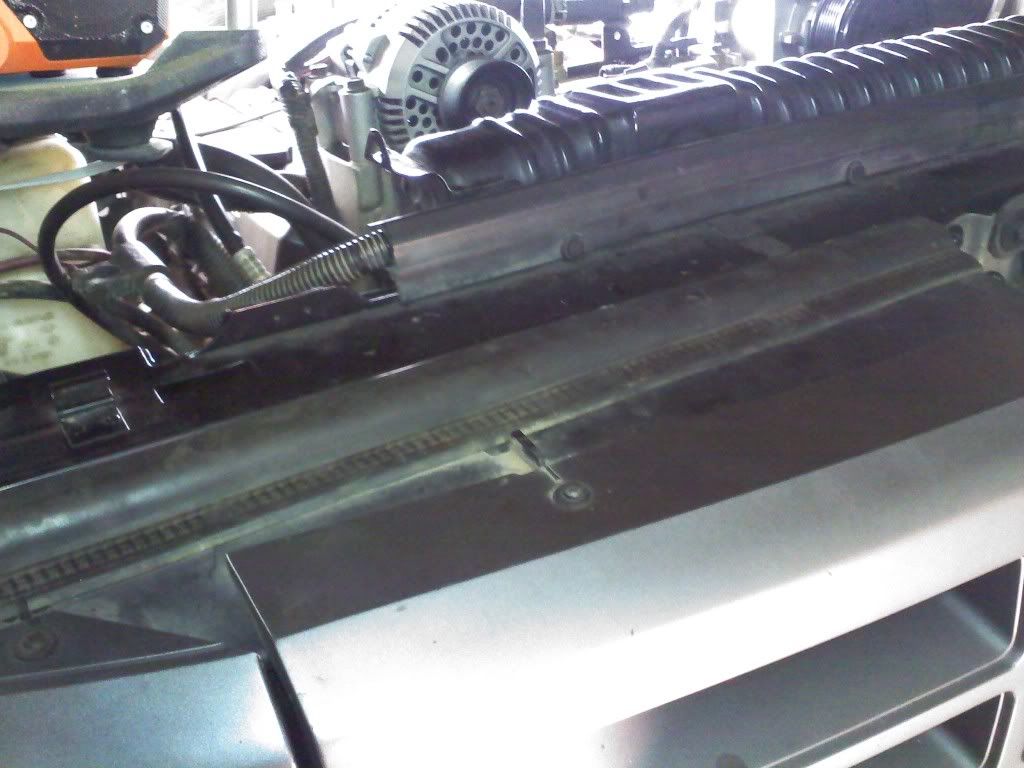
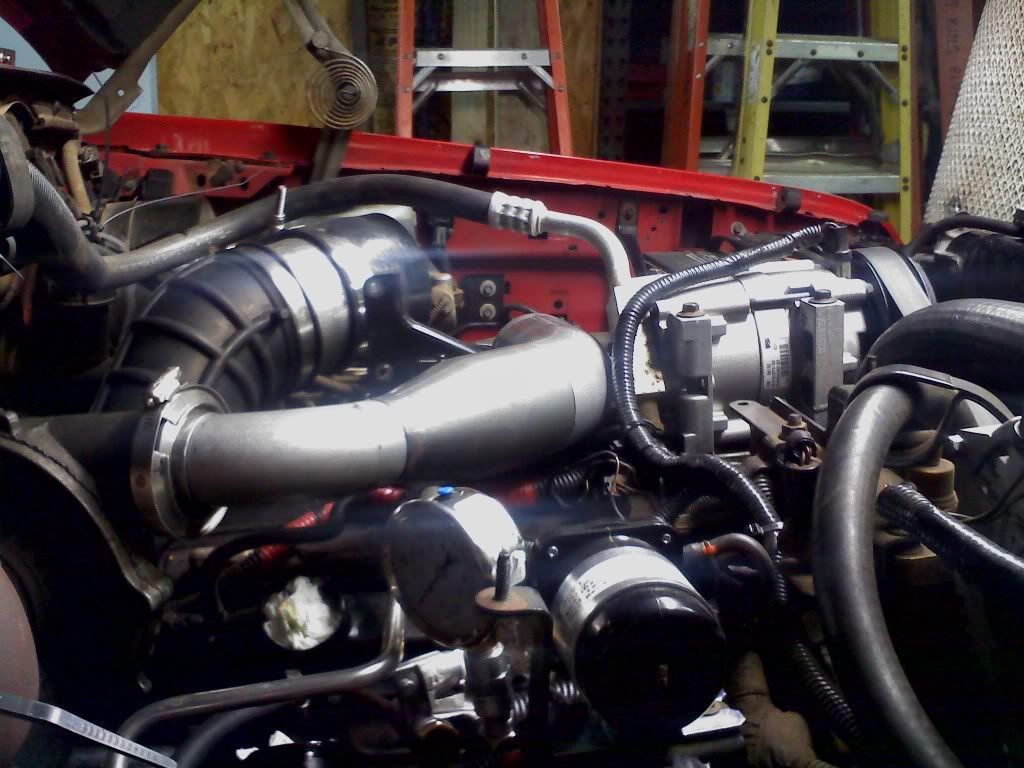
All together...
Nice tight fit
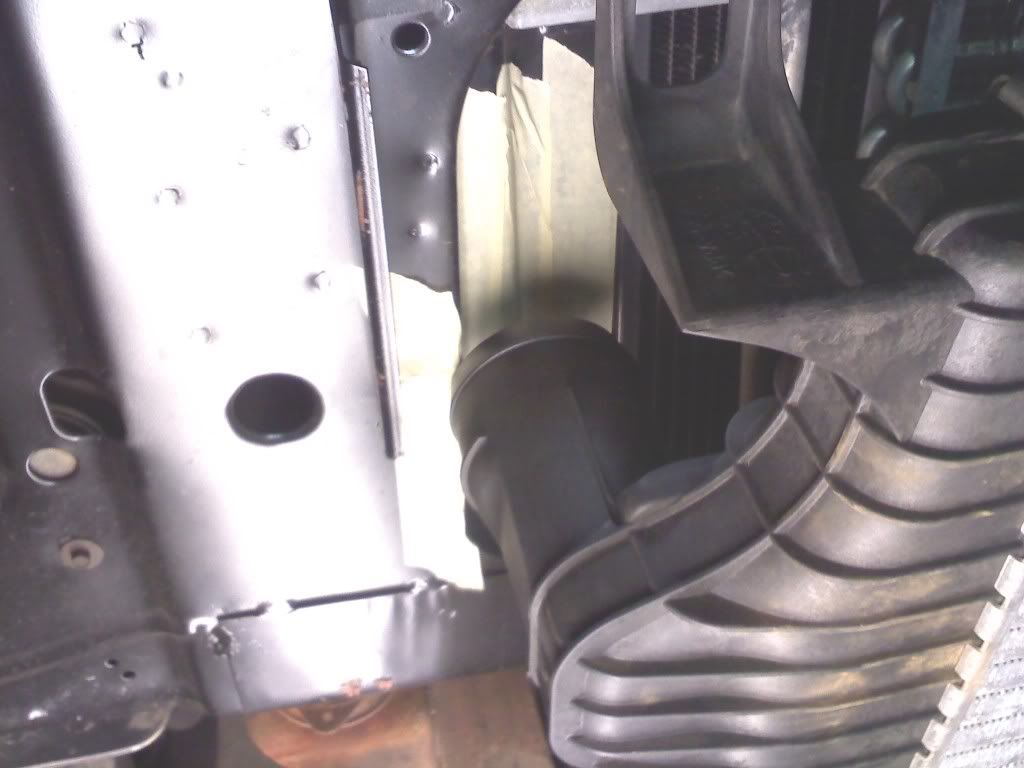
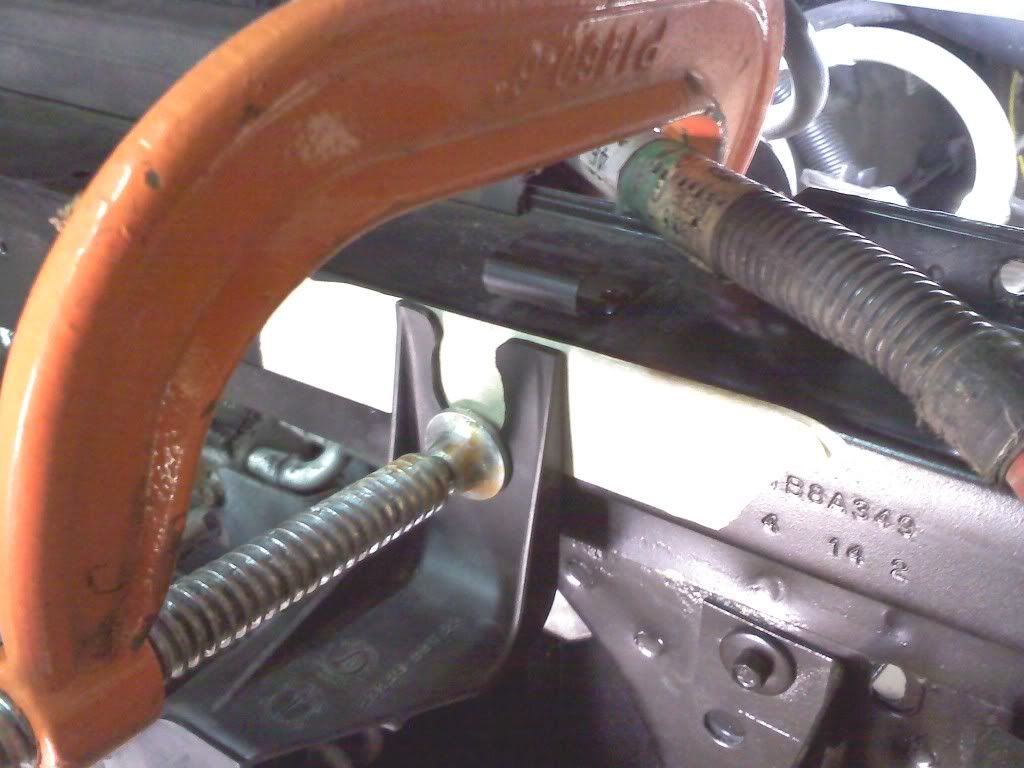
This is my F up....
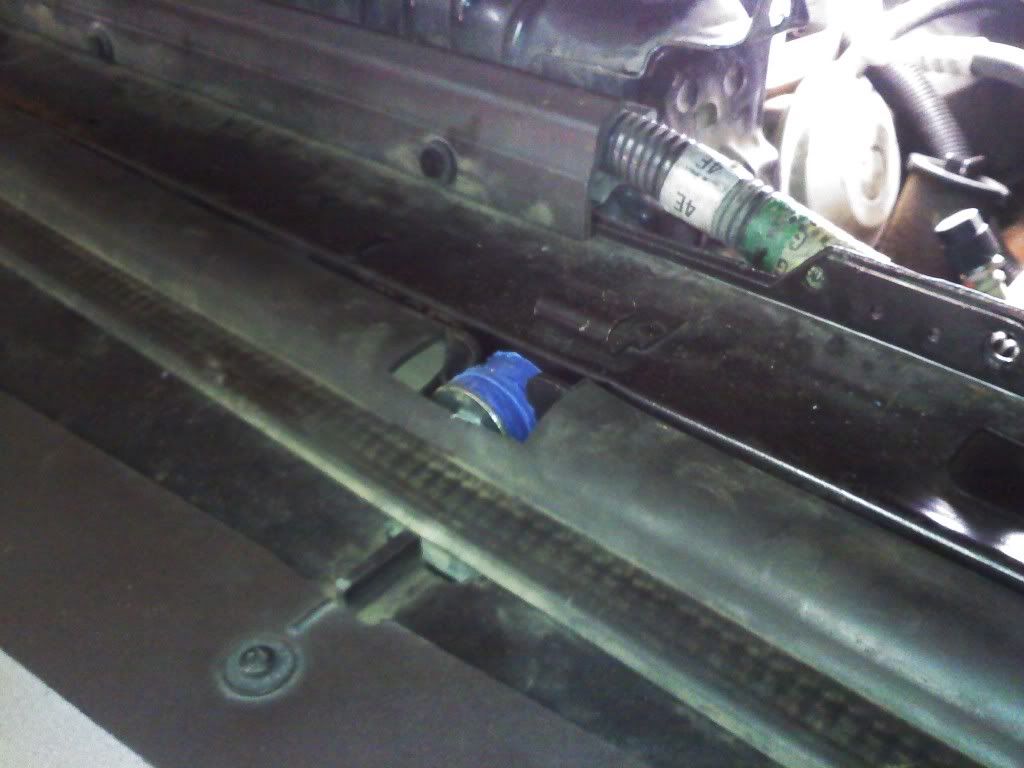
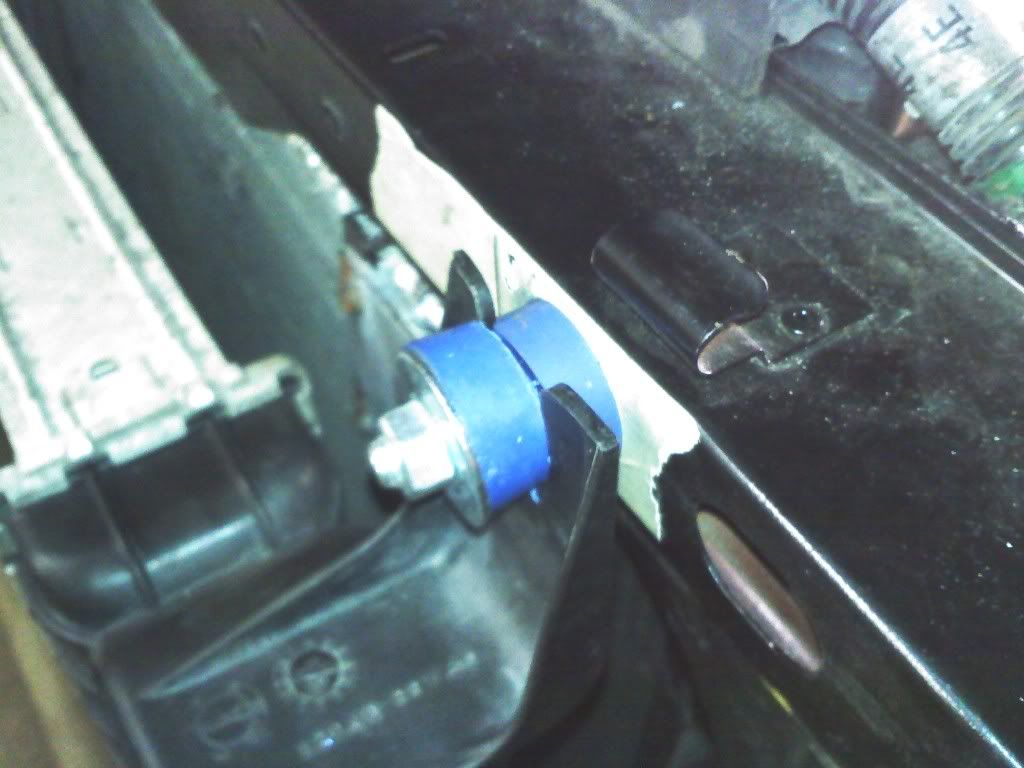
This is the corrected way. Had to go to the junkyard and get another to replace the one I messed up.
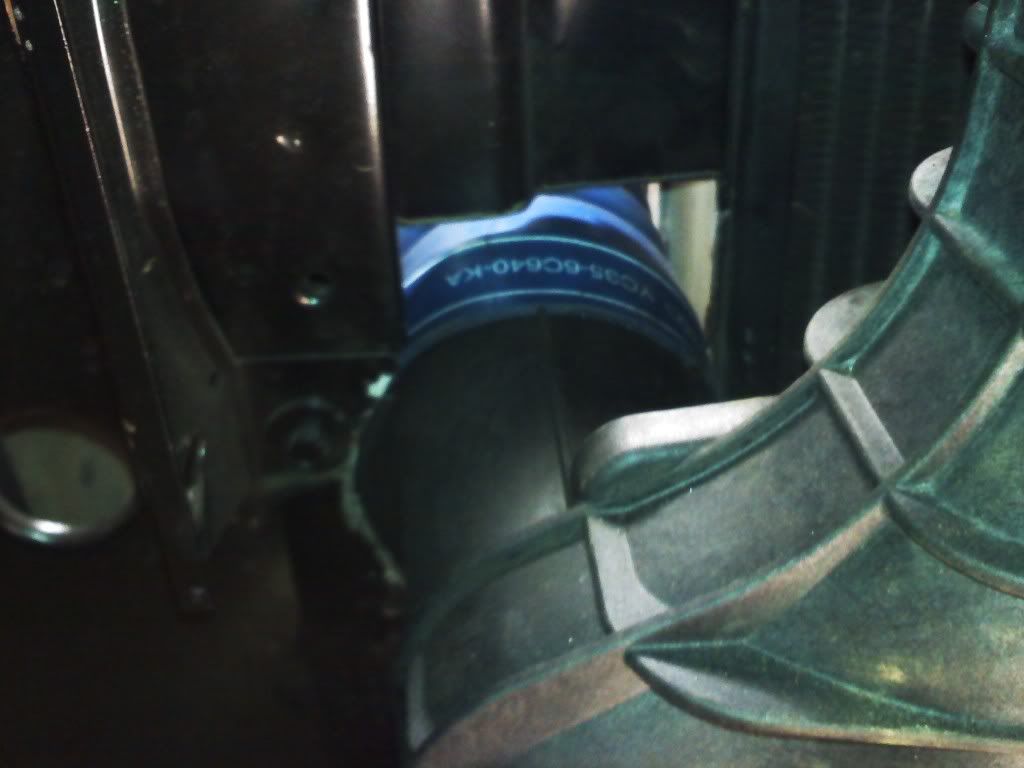
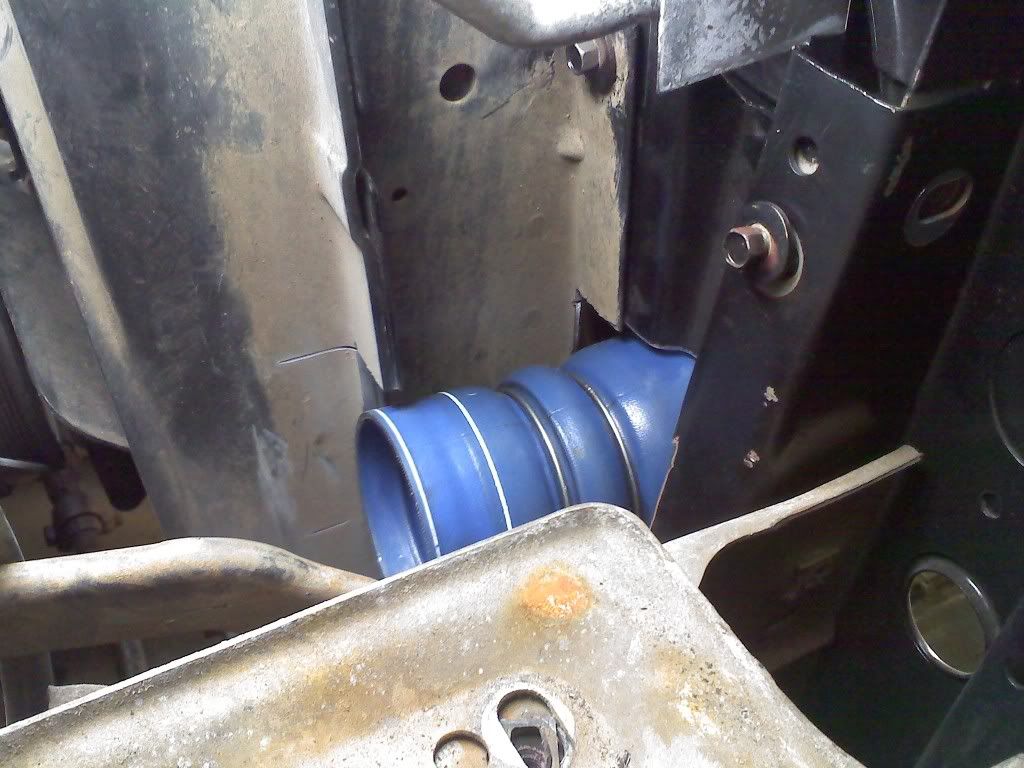
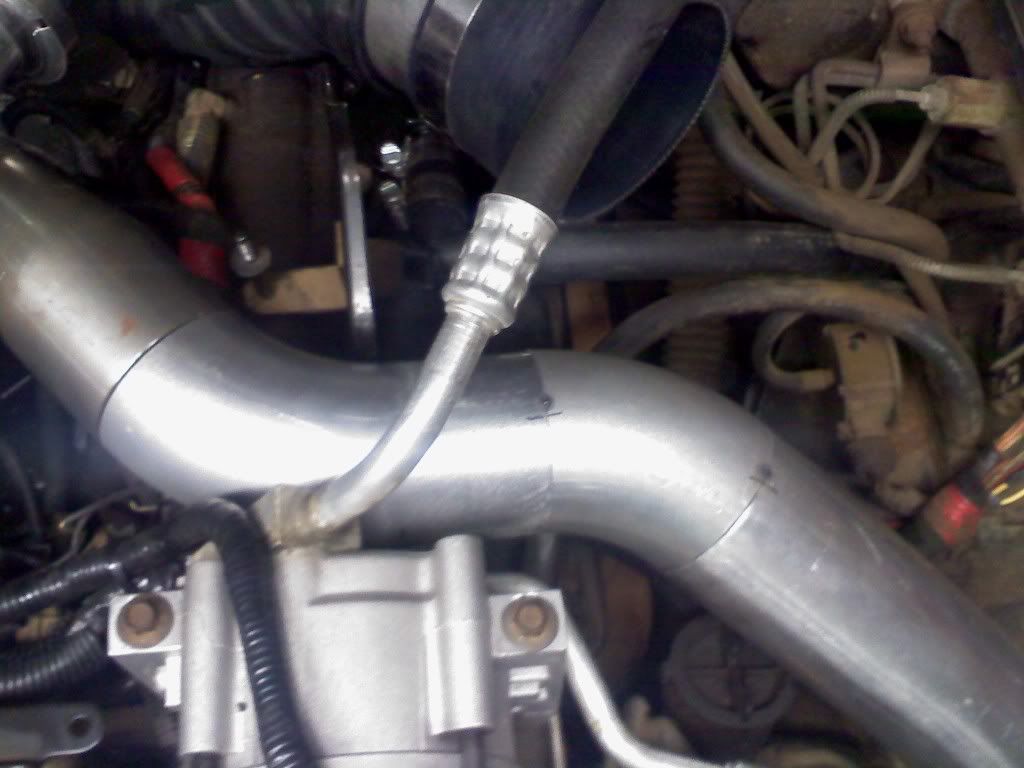
This is how I reached the cooler clamps, just a 1/4" extension. Granted... the grill has to come off to do this. But that is only 5 screws.
Nice tight fit
This is my F up....
This is the corrected way. Had to go to the junkyard and get another to replace the one I messed up.
This is how I reached the cooler clamps, just a 1/4" extension. Granted... the grill has to come off to do this. But that is only 5 screws.
#10
11-15-2011, 12:53 PM
Started my 6.0L intercooler install yesterday.
Got the holes cut, cooler mounted and lower brackets welded up.
Didn't run into ANY of the issues that I've read in any write ups. Not sure why my situation is different.
Didn't need to move the a/c condenser towards the engine.
Didn't need to flatten out the bracket that goes from the hood latch to the bottom of the rad support either.
The cooler-side clamps will be accessible from the front when the grill is removed. So like 4-6 screws and the grill is off and you can reach in there to get a 1/4 ratchet on them.

#11
11-15-2011, 07:22 PM
Join Date: Sep 2010
Posts: 377
Likes: 0
Received 0 Likes
on
0 Posts
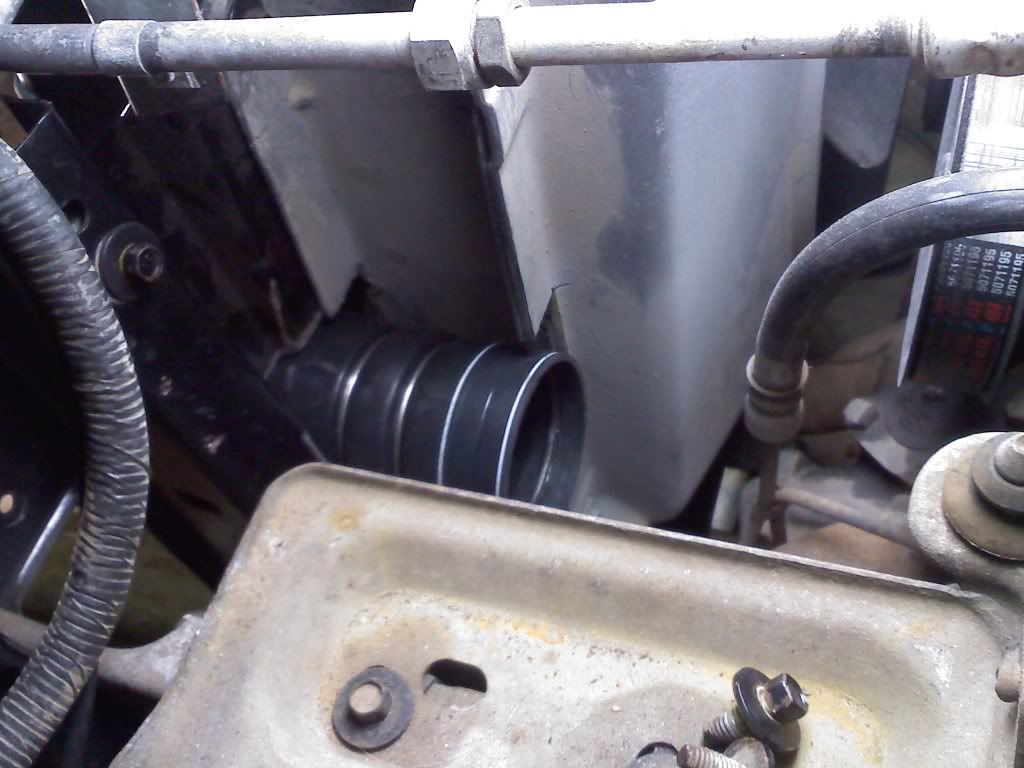
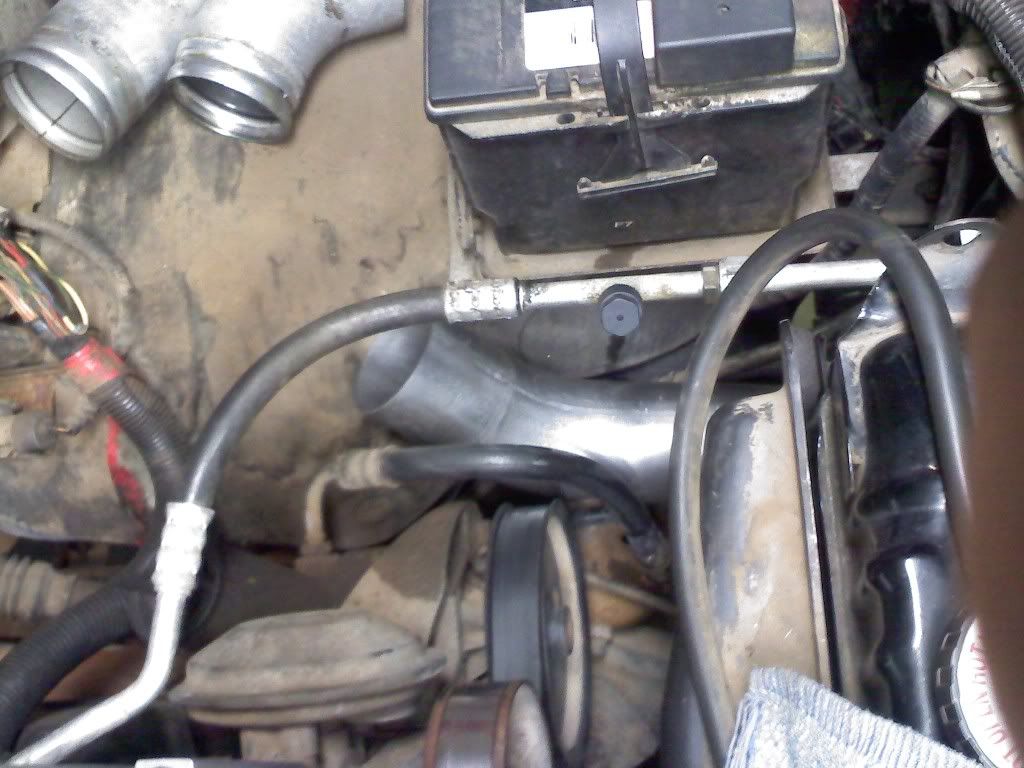
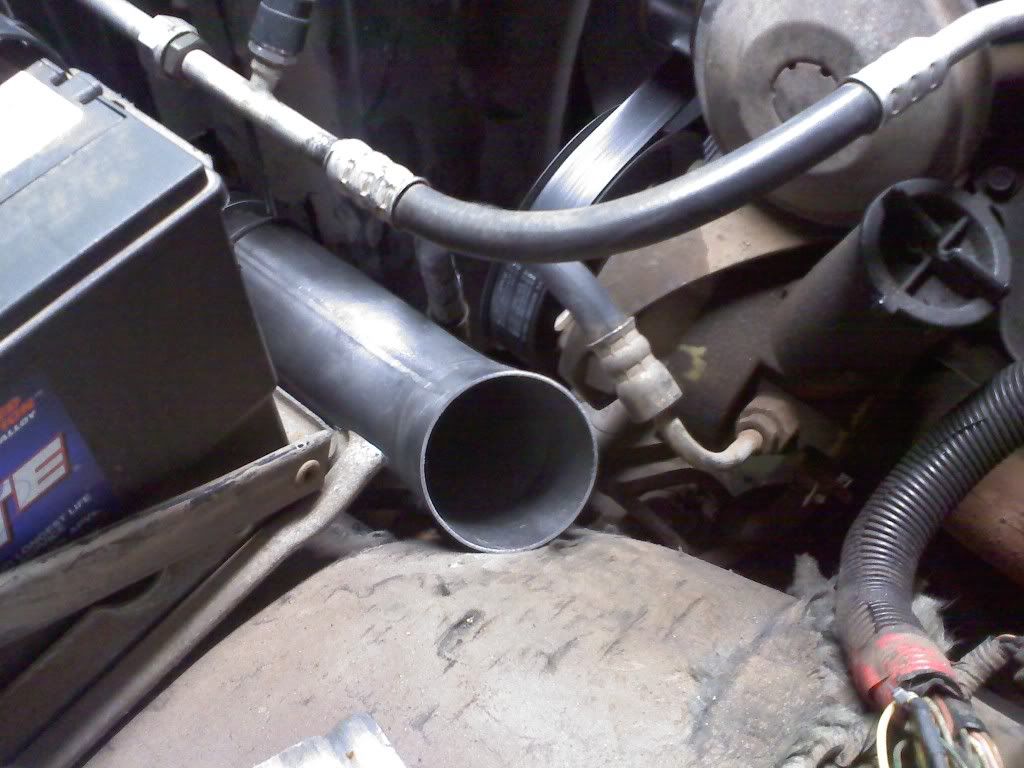
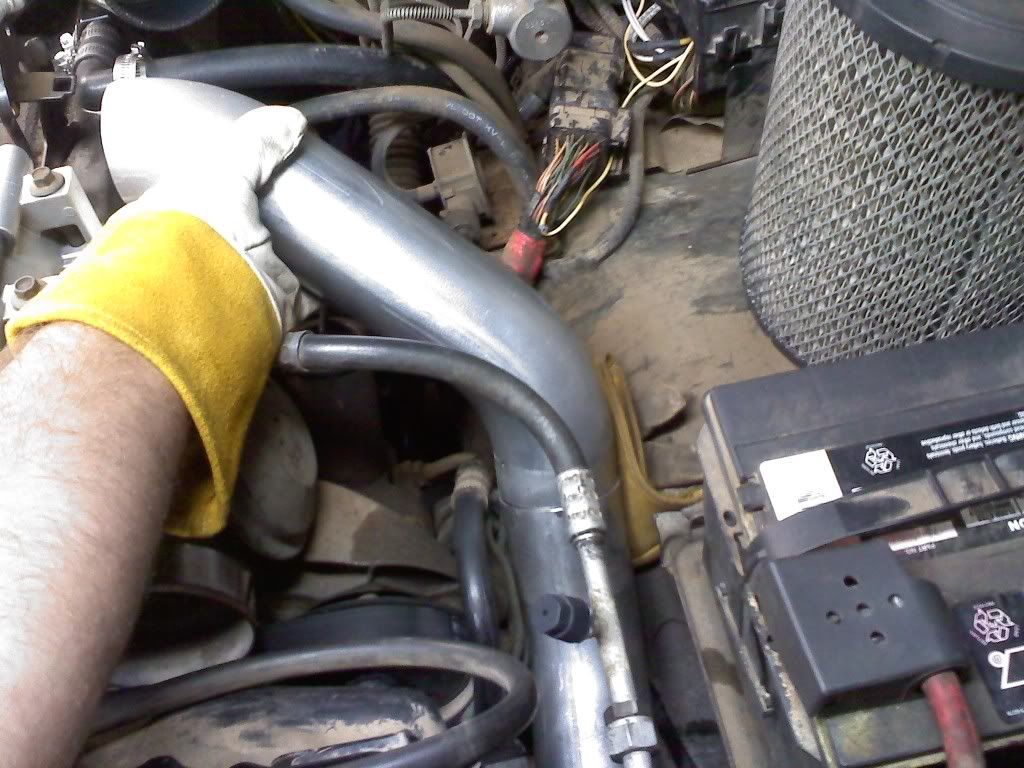
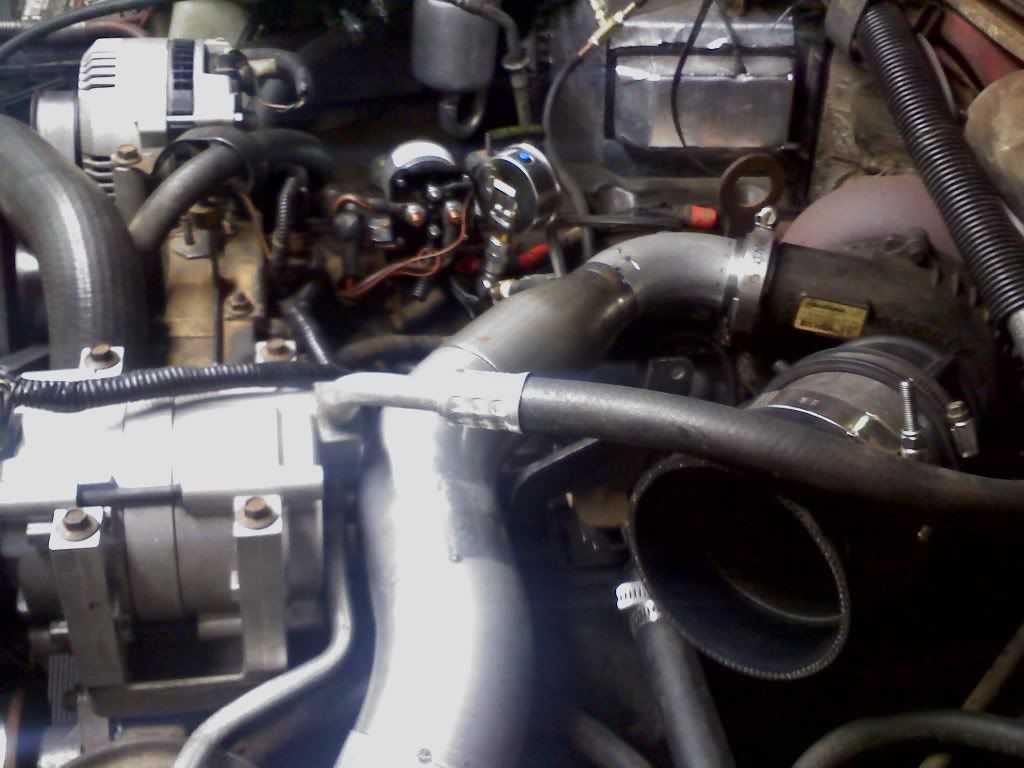
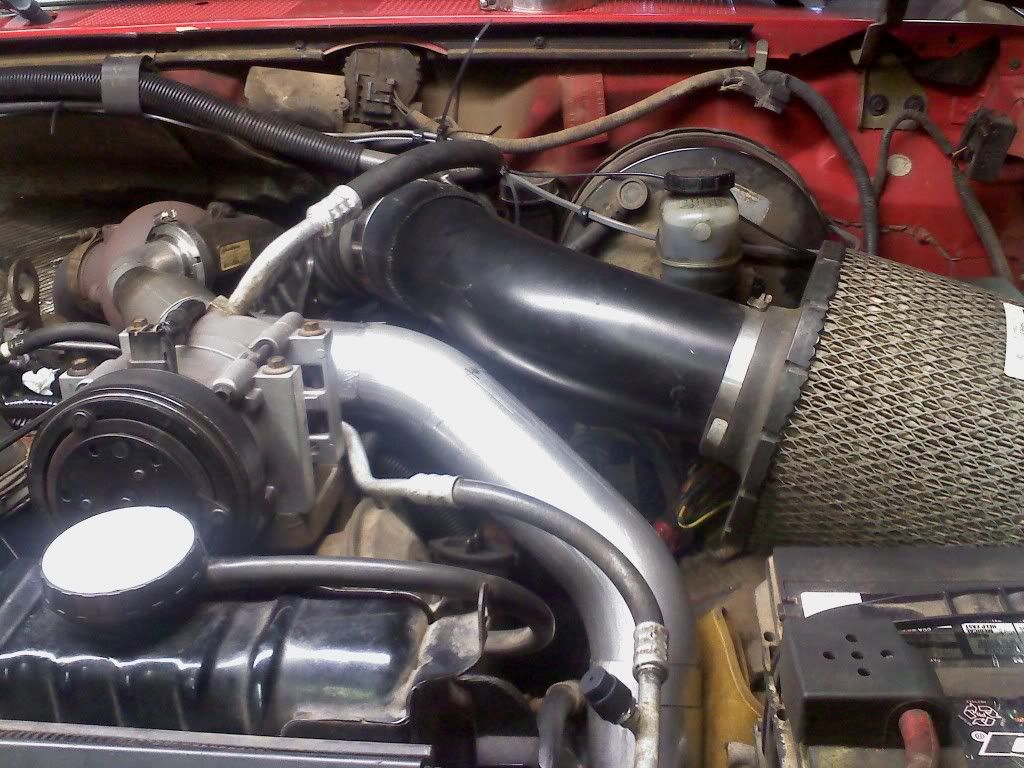
Here's some pictures of the piping work. Started on the cold side.
I started with a new flange and a SD clamp (wider then the OBS clamp)
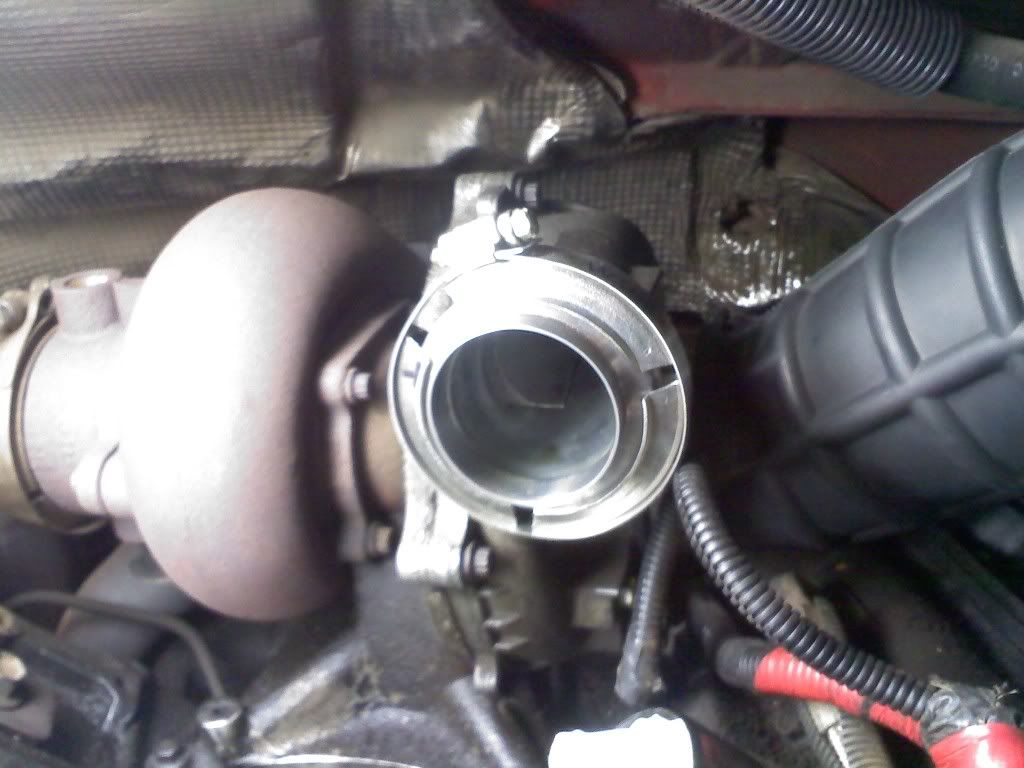
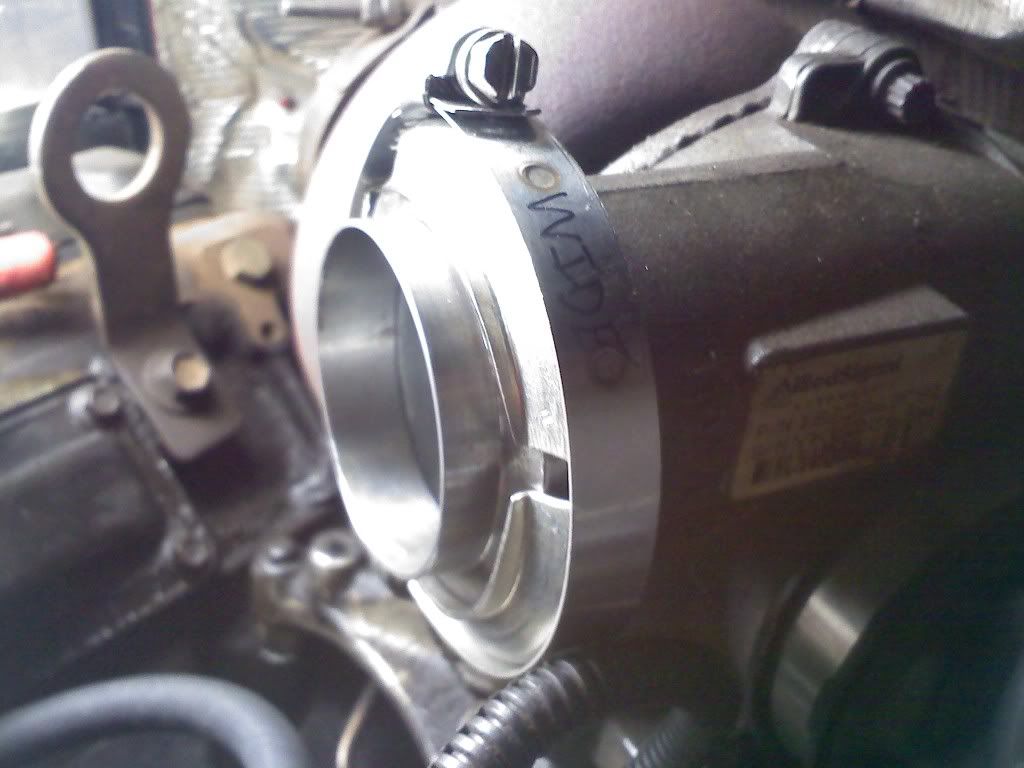
This was my first obstacle, the A/c line. I couldn't 90 up like I had wanted to.
Here is the small hole I wanted to run through.
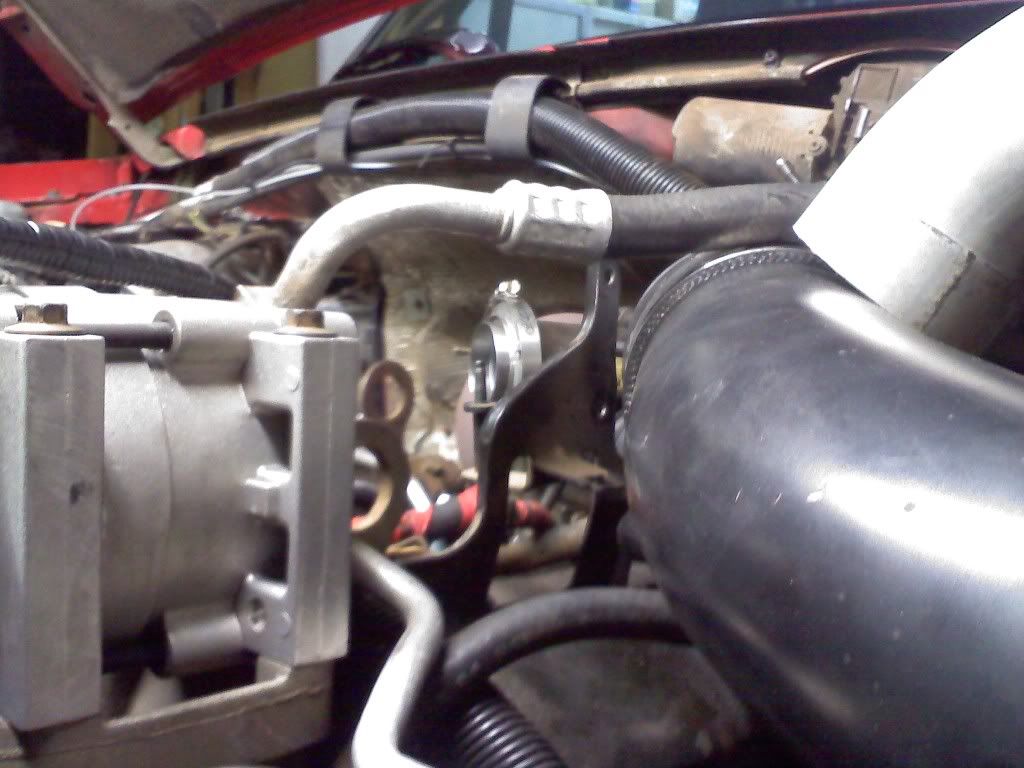
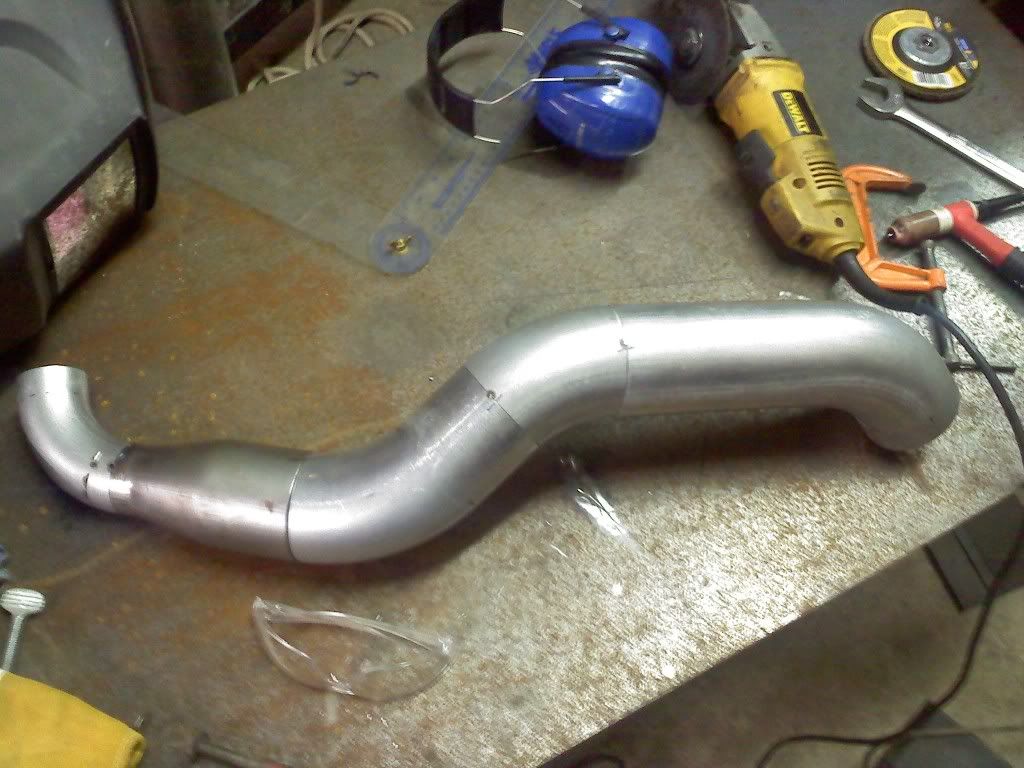
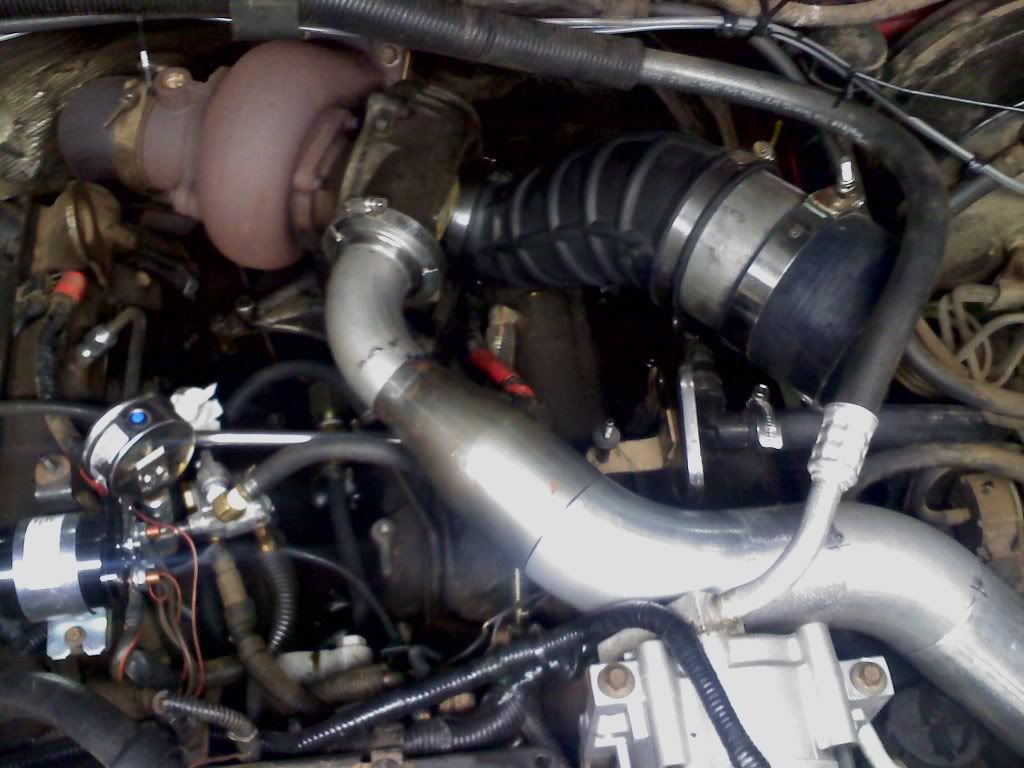
Coming out of the coupling on the cooler, I used a 45
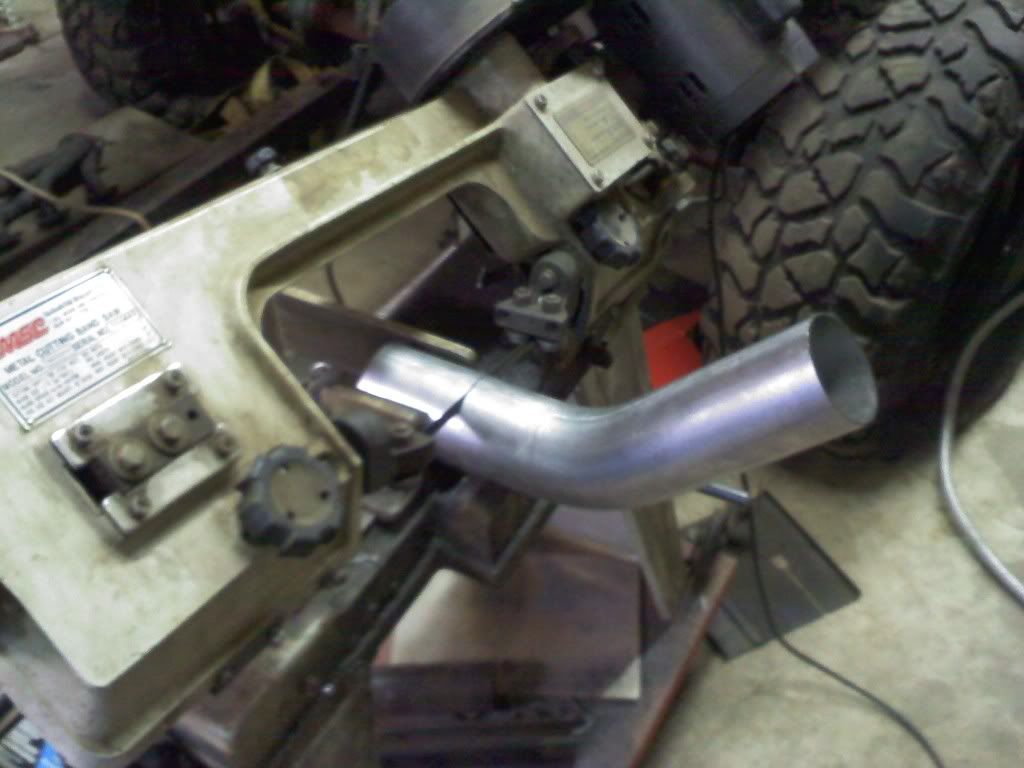
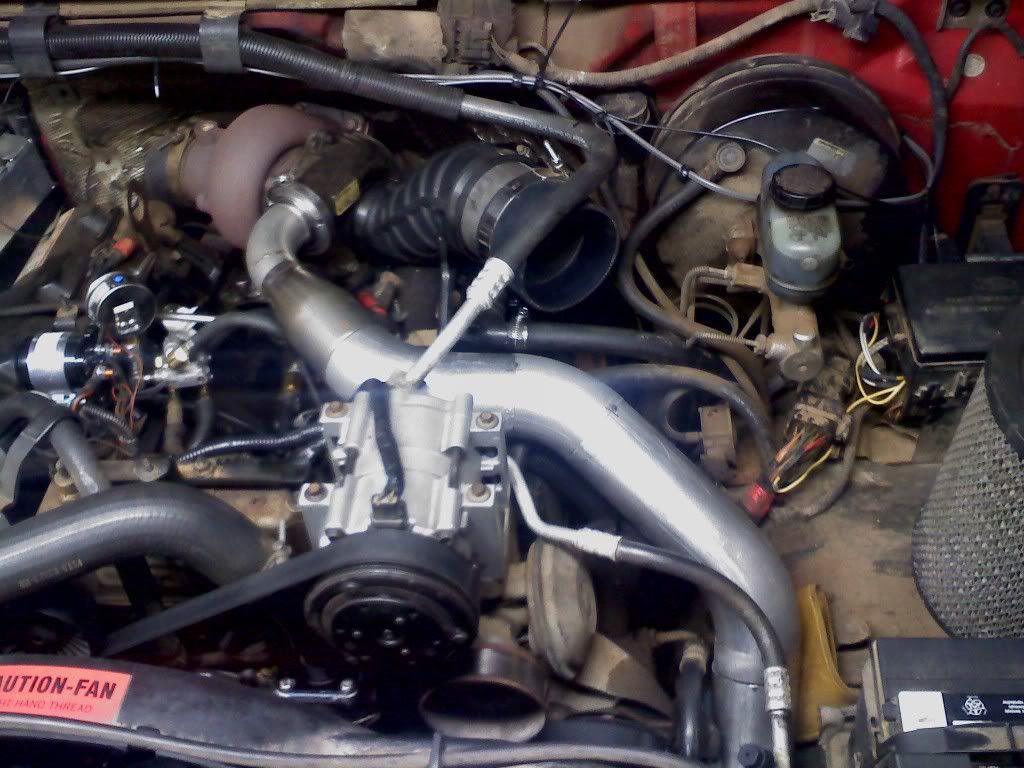
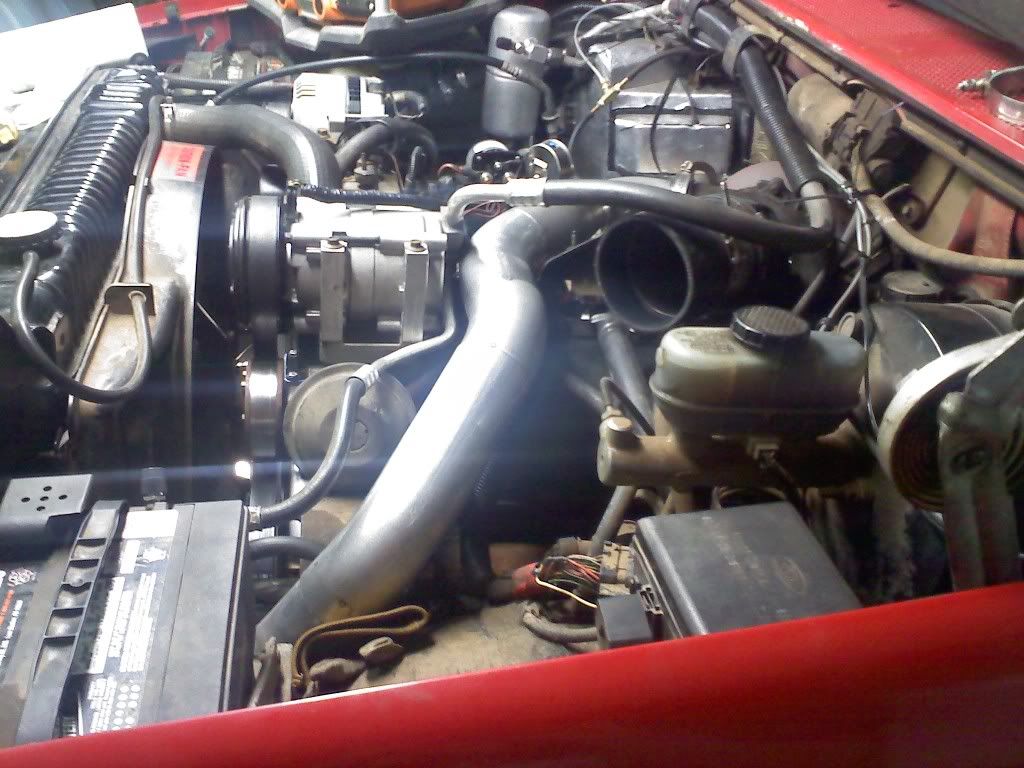
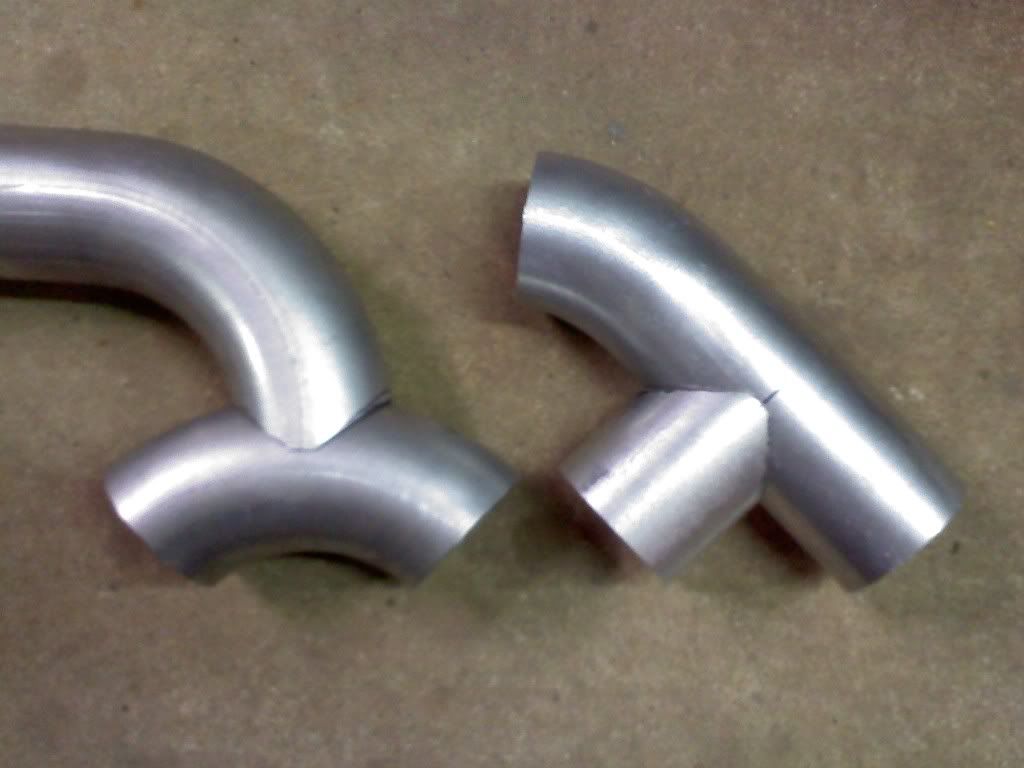
Kind of a BIG jump forward. But here's the finished piece all tacked up minus the piece coming off the cooler.
Here's the new plenums mocked up on the bench.
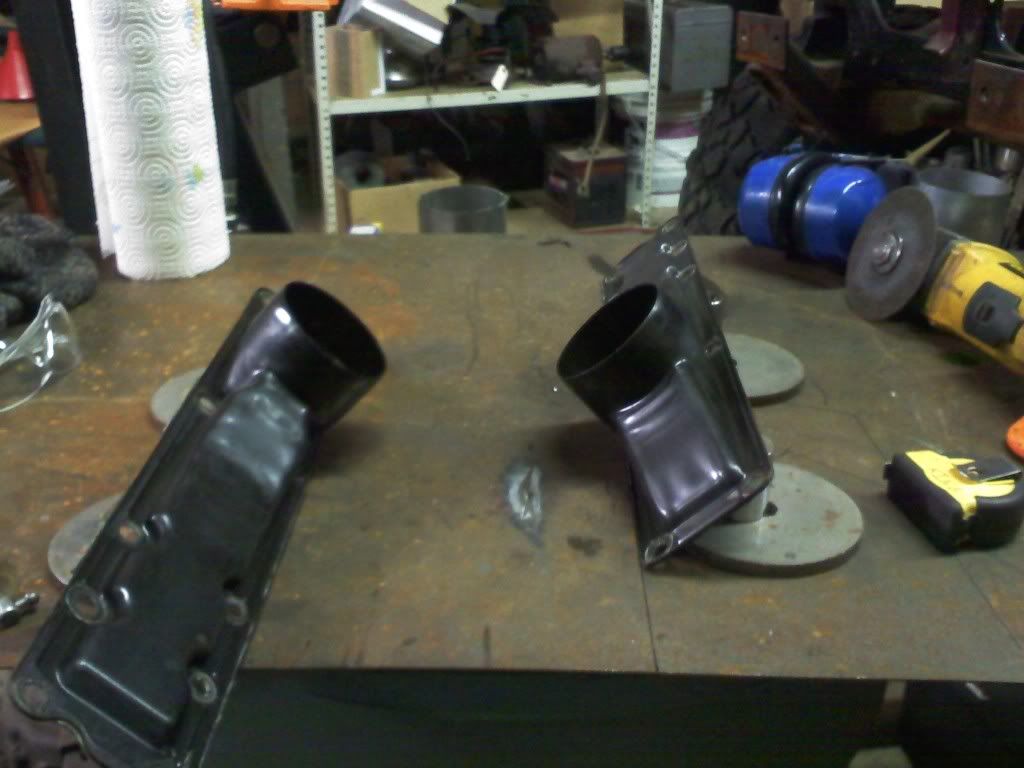
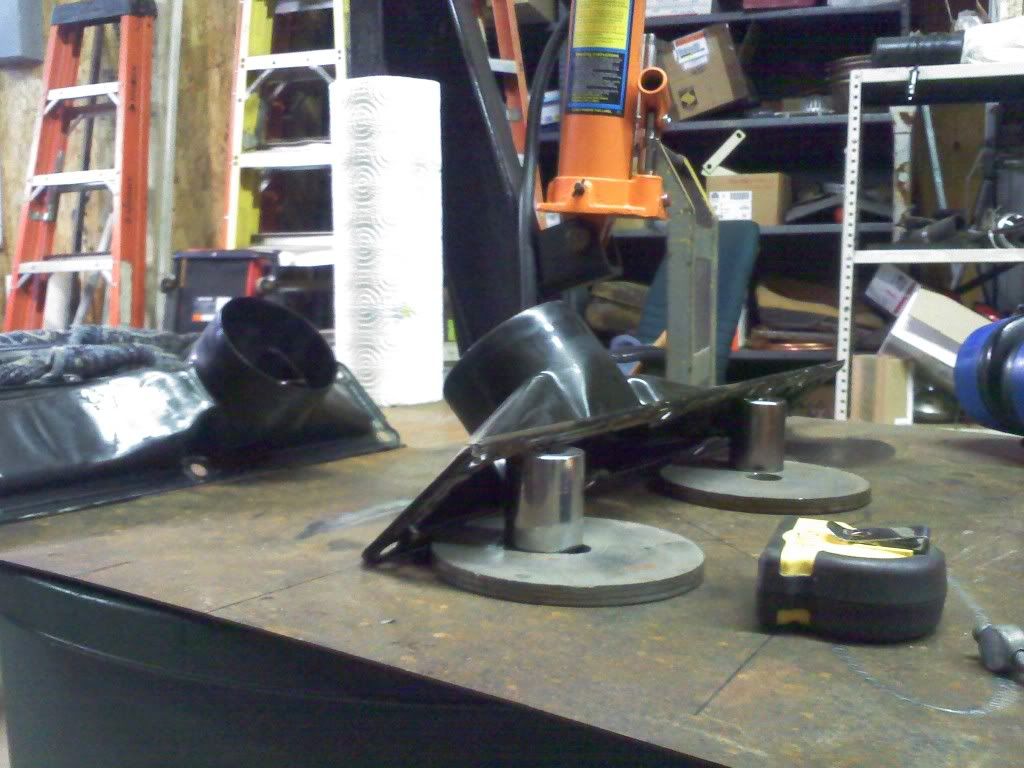
Sooooooooo here's the question for you.... which one to use? The left one will look cooler and flow better, but not hold the clamps on as well as the right one.....
I started with a new flange and a SD clamp (wider then the OBS clamp)
This was my first obstacle, the A/c line. I couldn't 90 up like I had wanted to.
Here is the small hole I wanted to run through.
Coming out of the coupling on the cooler, I used a 45
Kind of a BIG jump forward. But here's the finished piece all tacked up minus the piece coming off the cooler.
Here's the new plenums mocked up on the bench.
Sooooooooo here's the question for you.... which one to use? The left one will look cooler and flow better, but not hold the clamps on as well as the right one.....

#14
11-16-2011, 09:08 AM

Hotshot

#15
11-16-2011, 10:04 AM

Looks good. I mounted mine probably another inch or two higher than you did and cut the split ears off of the top mounting tabs and just drilled a new hole. Doesn't poke up through the top trim that way. I also cut a bunch off of that bracket that used to hold the intake CCV section, that makes the hot side pipe routing a lot easier between the AC compressor and the intake tubing.