


Installed Explorer Overhead Console
Thread Starter
|
Elder User
Joined: Jul 2010
Posts: 506
Likes: 0
Installed Explorer Overhead Console
My truck has original auto dimming rear view mirror and lighted visors so I thought a console would be a nice addition. Ive been wanting to do this for some time and I finally got around to it, it took the majority of the weekend.
I decided to redo my headliner at the same time, which took a while. I took it off and scraped off all the foam with a wire brush then installed a new universal gray headliner.
I went to pick-n-pull and found one from a 95 explorer. I pulled it along with the temp sensor in the front, a chunk of the harness, and ounting plate. $30.00. I also snagged a door light cover I was missing.
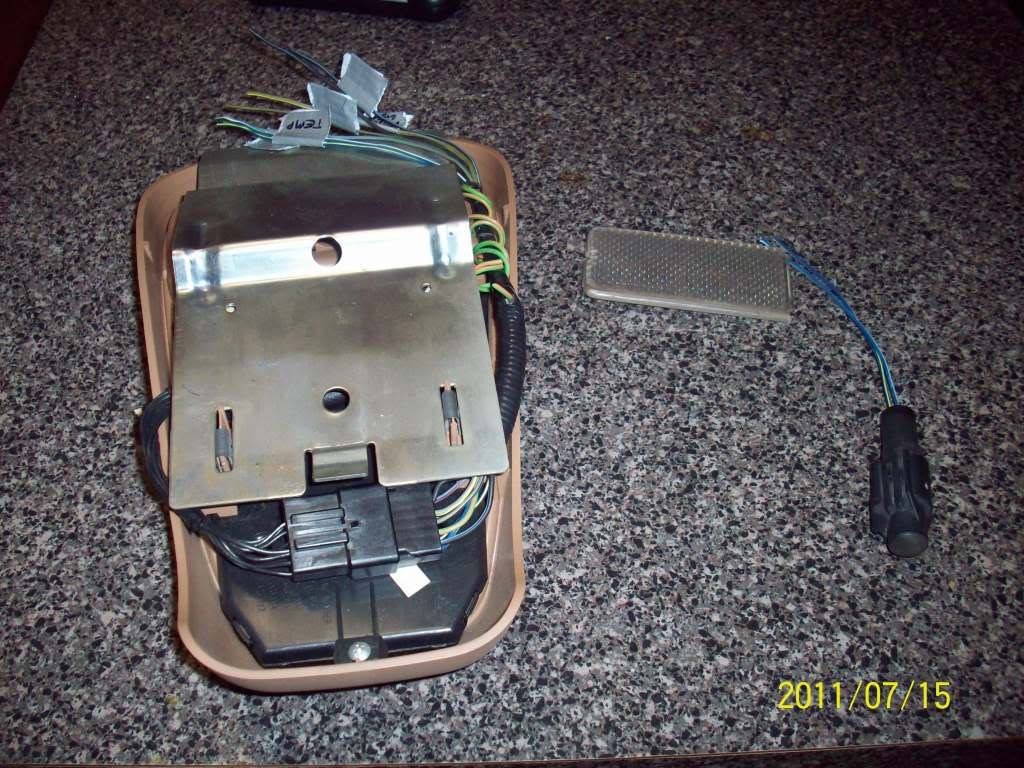
Thereis tons of info on these consoles online soI jumped online and found the wiring colors and matched them to a label.
Here is the temp sender.
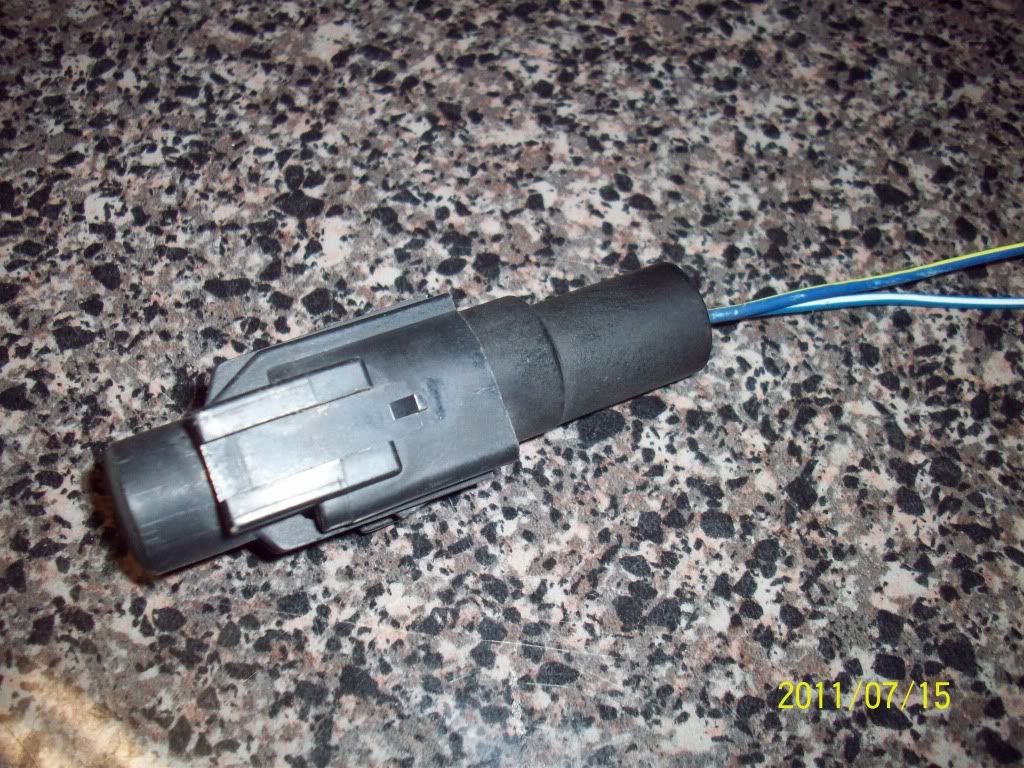
So I went home and tested it only to find it was fried...so the next morning I hit a local junkyard. To my suprise they had plenty. I grabbed one from a Mercury mountaineer and like last time grabbed the harness, mounting plate and temp sender. After hours of playing with positions I realized the shape was not going to work and the bracket brought it down way too low.
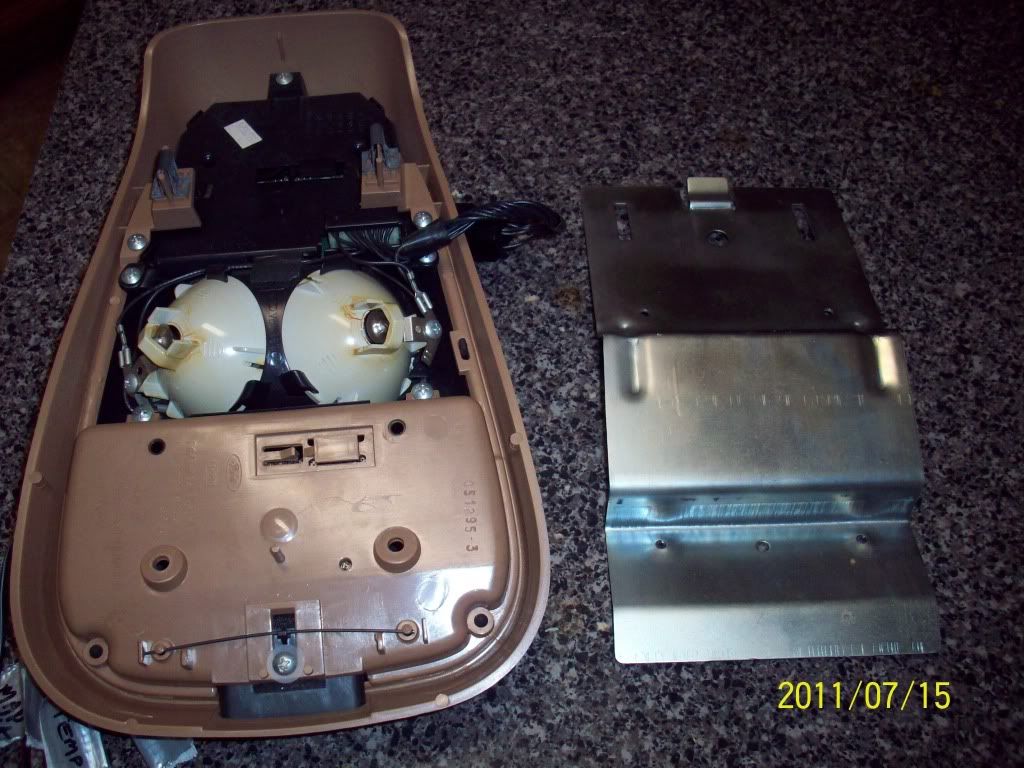
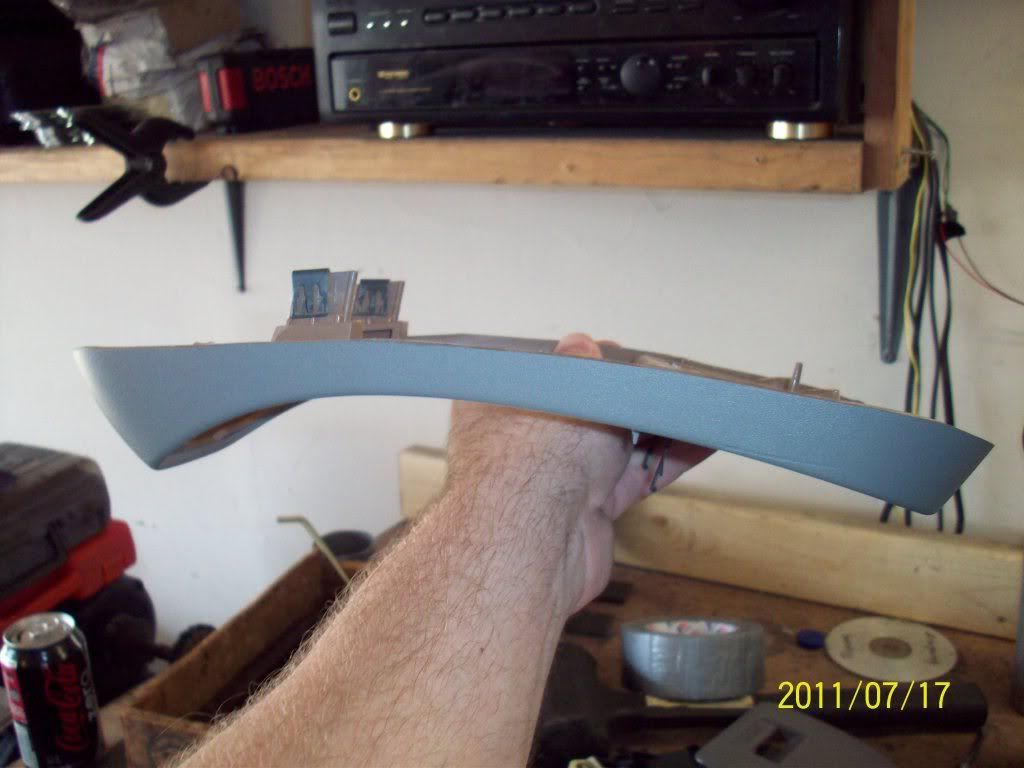
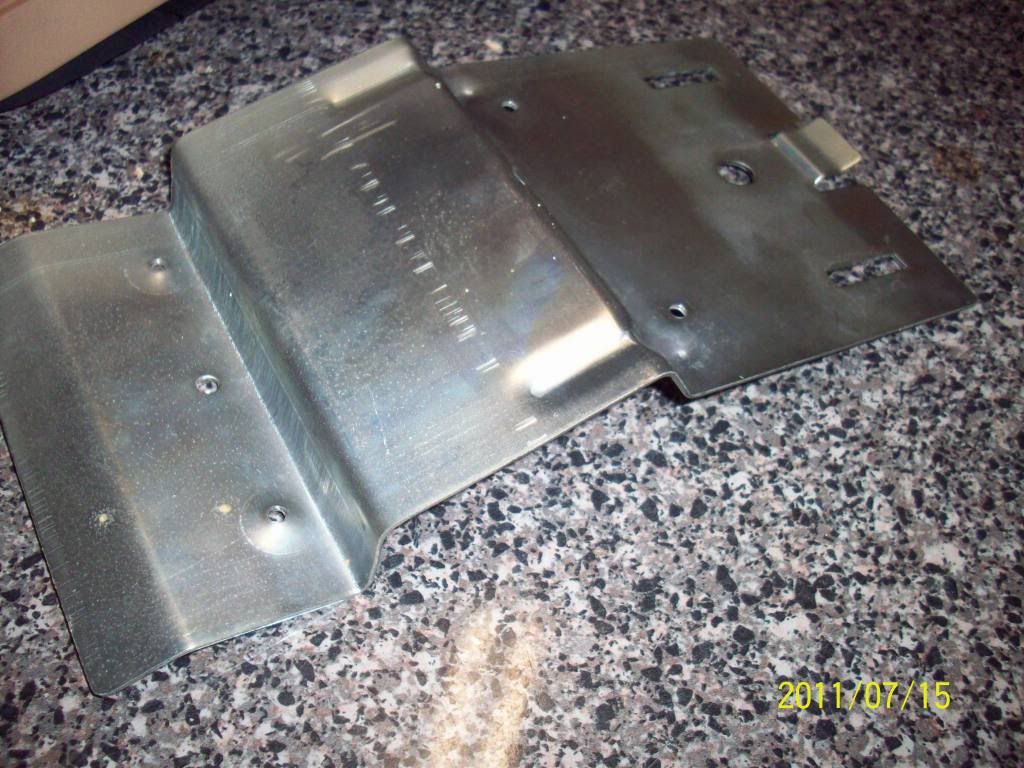
I trimmed down the main part to make it as flat as I could, when I was done I painted it gray.
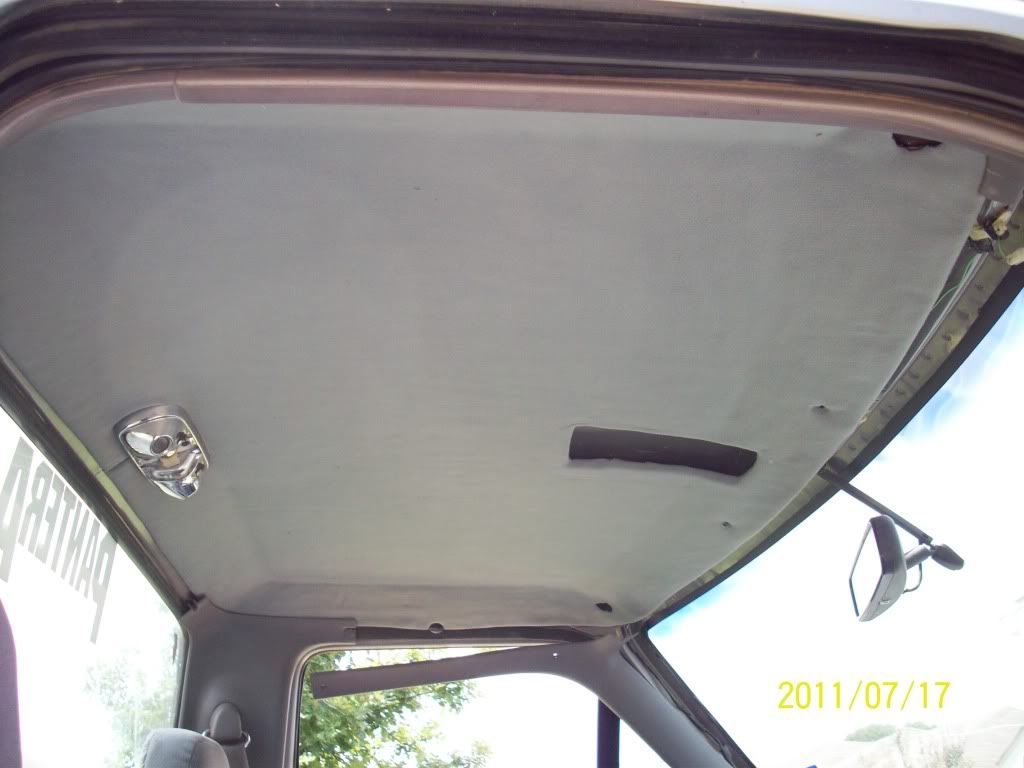
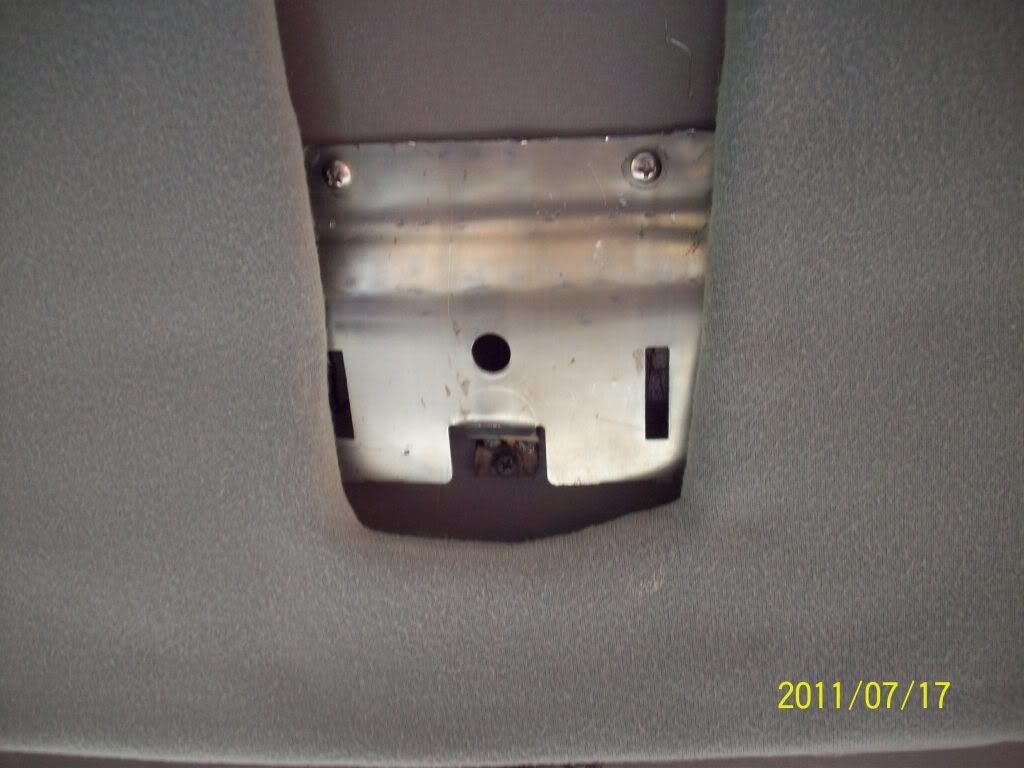
Here is the newly covered headliner with the hole I cut testing its fit.
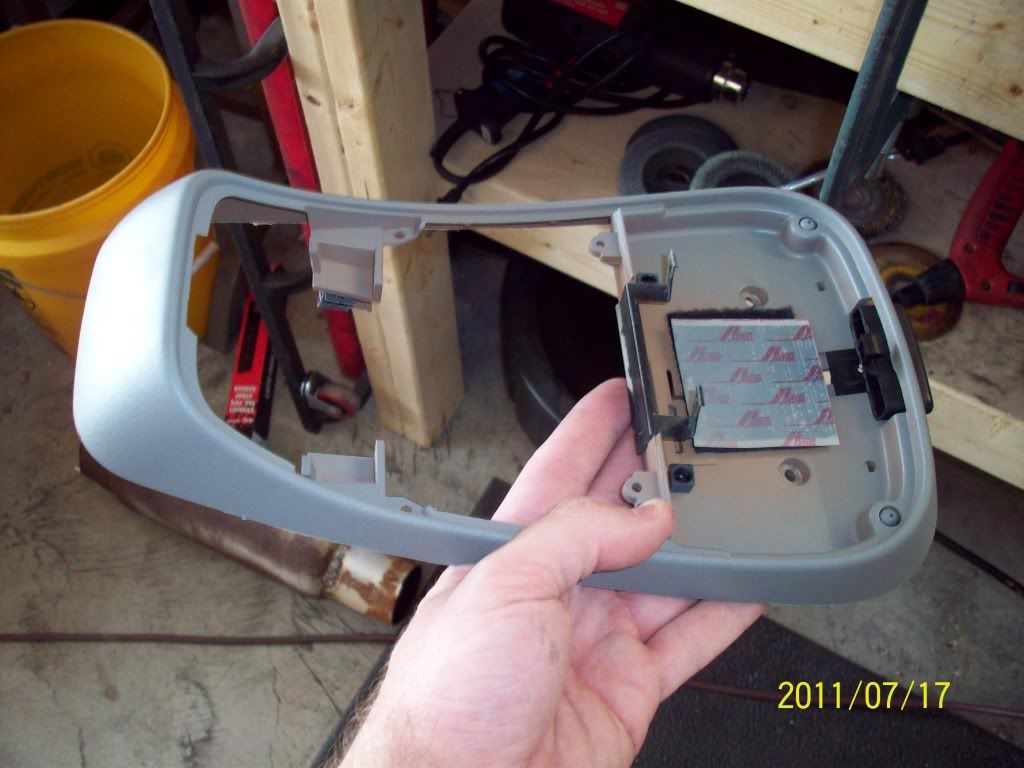
Here is the bracket, I modified it severly to fit the truck.


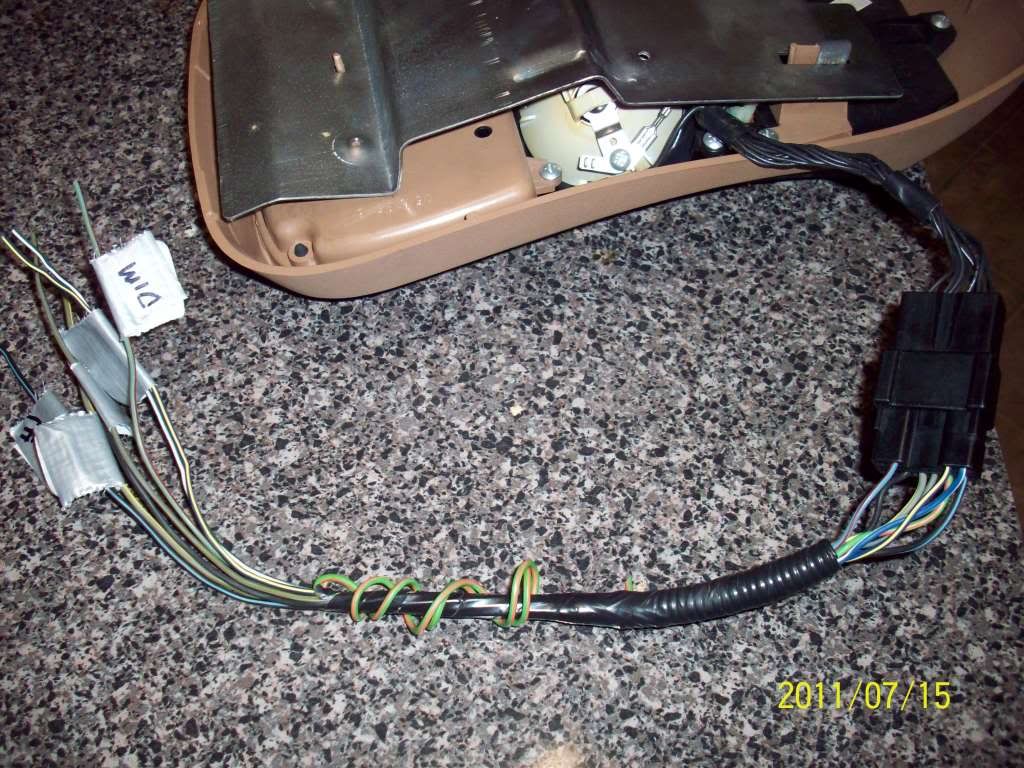
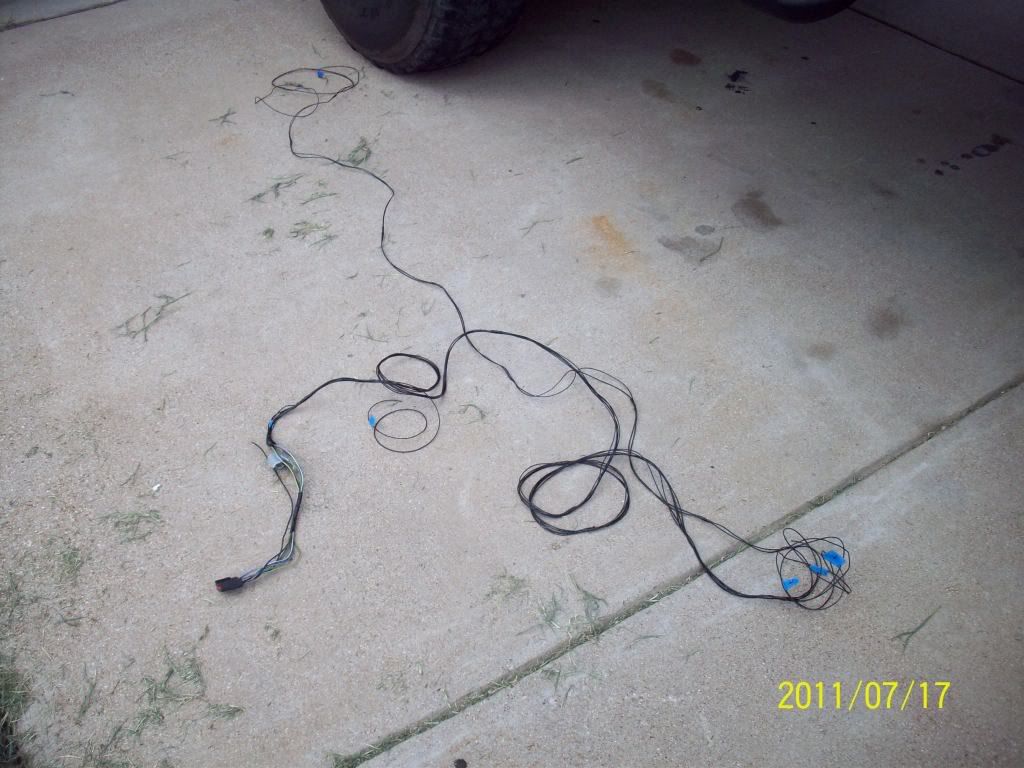
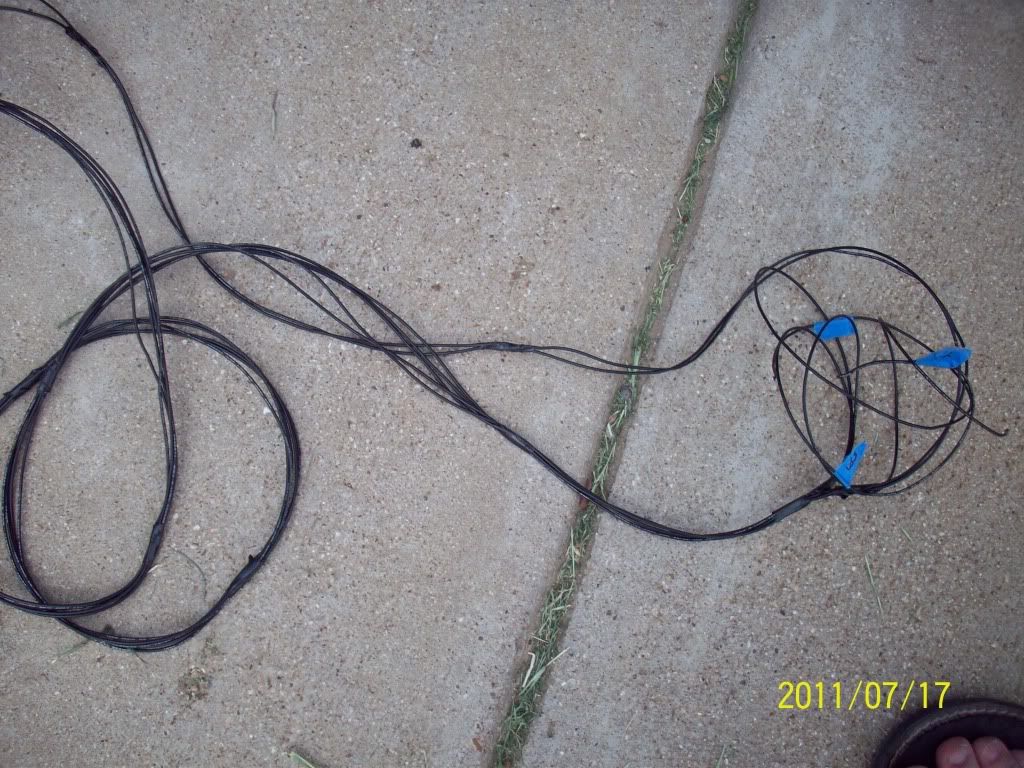
Now the not at all fun part....All I had was black wire so I had to use lots of it and keep it al labeled. Here is the harness I made for it.
The temp sensor from the mercury (the console I ended up using)
snaped right in the lower radiator support factory holes.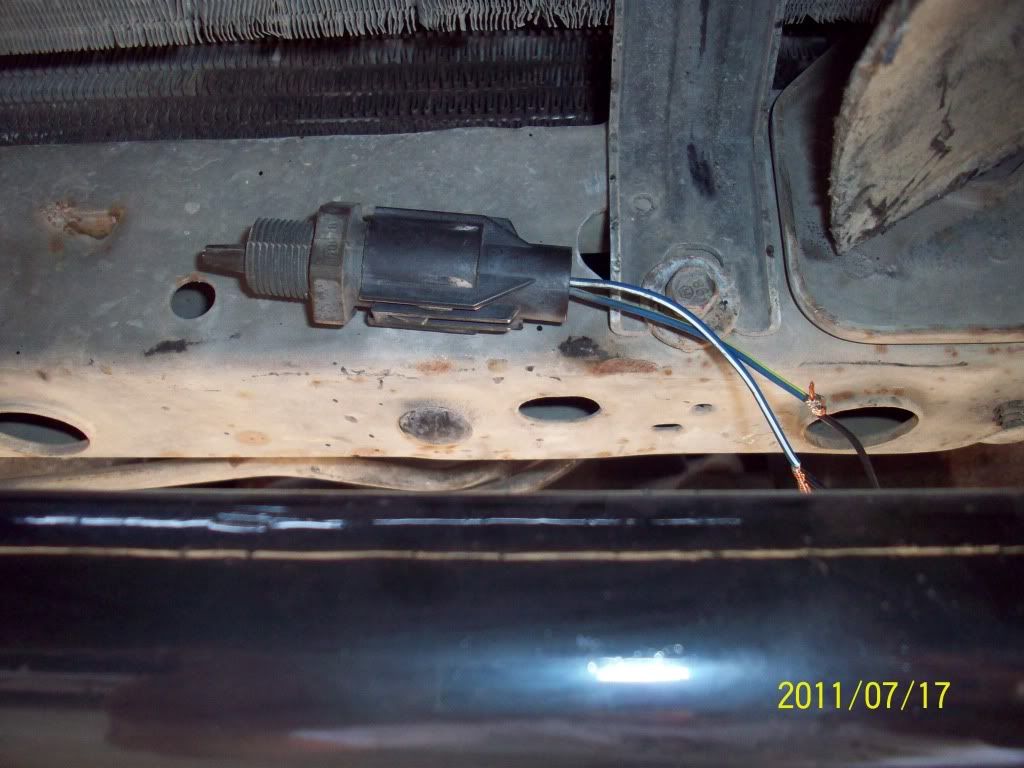
I wired the Map Light and Computer power both to a key on source from the radio. I wired the VSS to the gray and black wire on the cruise control module under the hood. The Dome light wire I tapped in straight from the dome light, this way both light up when the door is open. Then I ran the temp wires up to the front behind the bumper on the radiator support core.
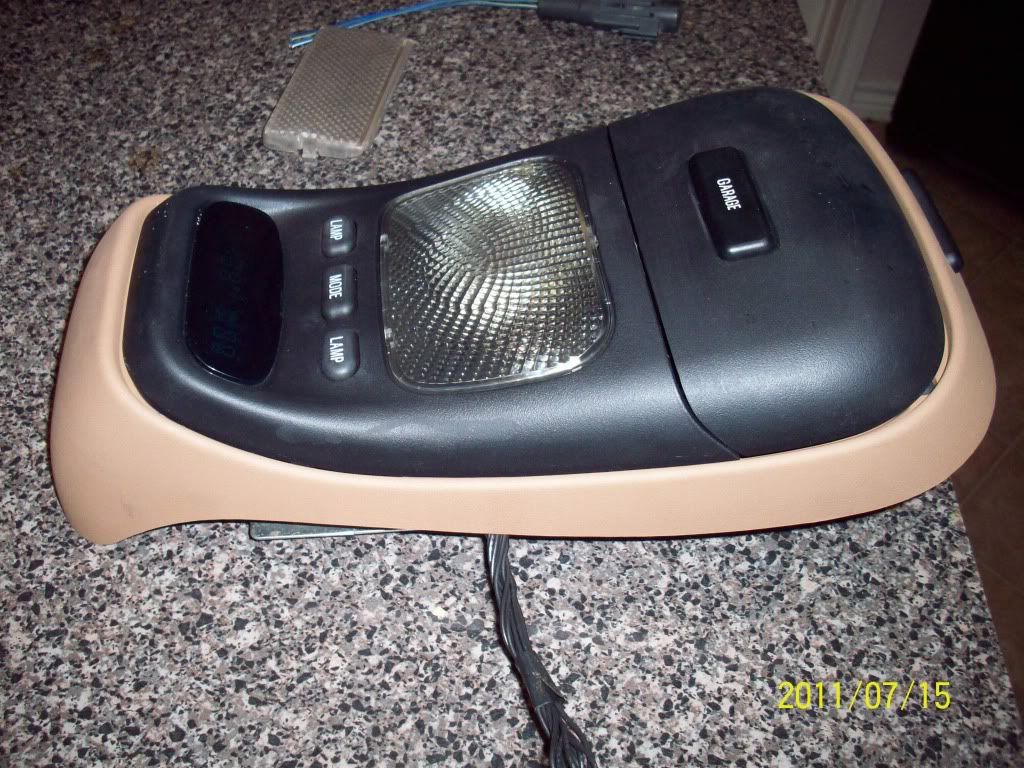
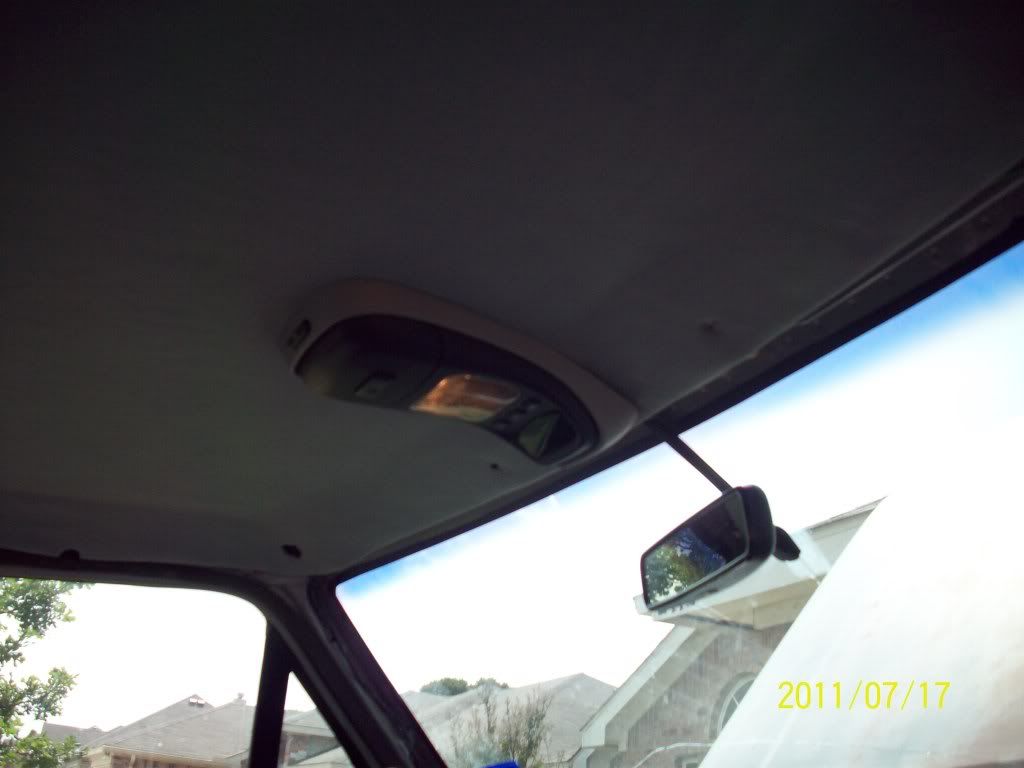
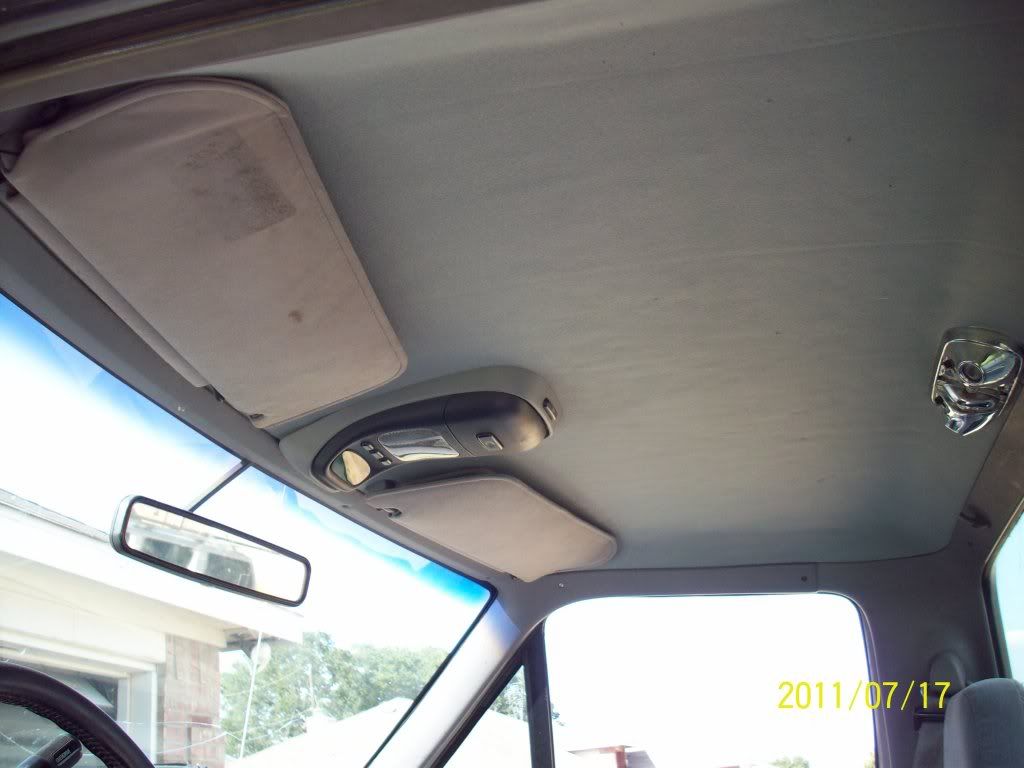
The "gap" in the back bothers me a little, it wasnt there untill I tightened down the steel trim between the headliner and windshield. Here is how it finished up. And yeah it was HOT the entire time, so this literally took all weekend. Still need to calibrate the compass.


I decided to redo my headliner at the same time, which took a while. I took it off and scraped off all the foam with a wire brush then installed a new universal gray headliner.
I went to pick-n-pull and found one from a 95 explorer. I pulled it along with the temp sensor in the front, a chunk of the harness, and ounting plate. $30.00. I also snagged a door light cover I was missing.
Thereis tons of info on these consoles online soI jumped online and found the wiring colors and matched them to a label.
Here is the temp sender.
So I went home and tested it only to find it was fried...so the next morning I hit a local junkyard. To my suprise they had plenty. I grabbed one from a Mercury mountaineer and like last time grabbed the harness, mounting plate and temp sender. After hours of playing with positions I realized the shape was not going to work and the bracket brought it down way too low.
I trimmed down the main part to make it as flat as I could, when I was done I painted it gray.
Here is the newly covered headliner with the hole I cut testing its fit.
Here is the bracket, I modified it severly to fit the truck.
Now the not at all fun part....All I had was black wire so I had to use lots of it and keep it al labeled. Here is the harness I made for it.
The temp sensor from the mercury (the console I ended up using)
snaped right in the lower radiator support factory holes.
I wired the Map Light and Computer power both to a key on source from the radio. I wired the VSS to the gray and black wire on the cruise control module under the hood. The Dome light wire I tapped in straight from the dome light, this way both light up when the door is open. Then I ran the temp wires up to the front behind the bumper on the radiator support core.
The "gap" in the back bothers me a little, it wasnt there untill I tightened down the steel trim between the headliner and windshield. Here is how it finished up. And yeah it was HOT the entire time, so this literally took all weekend. Still need to calibrate the compass.
Thread Starter
|
Elder User
Joined: Jul 2010
Posts: 506
Likes: 0
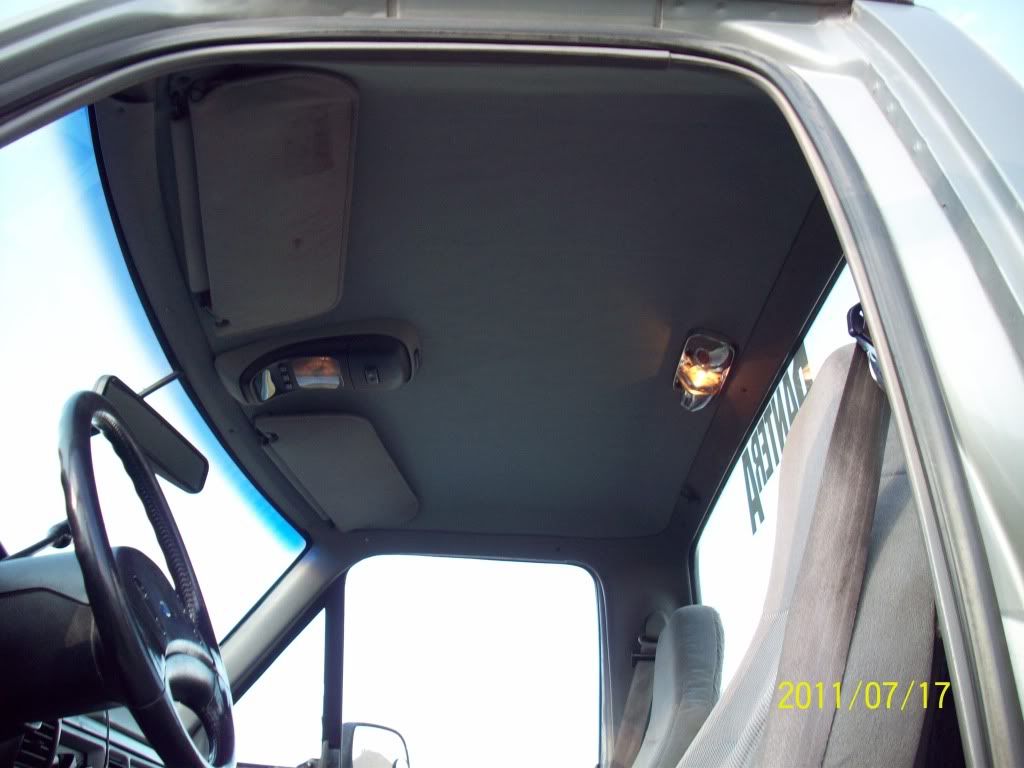
Thanks, it looks kinda funny with the stock chrome / map light. I tried a plastic kind from a 96 single cab and it's wiring/mounting location wasn't the same. I mish you could at least buy a clear legs instead of the white/yellowish stock one.
Thread Starter
|
Elder User
Joined: Jul 2010
Posts: 506
Likes: 0

Trending Topics
Logistics Pro
Joined: Apr 2011
Posts: 4,744
Likes: 5
From: Earth
damn that looks sweet, wish i had the skills and time to do that, as i really want one of the over head things like that!! nice work!
FTE Stories
Ford Trucks for Ford Truck Enthusiasts

3 Best / 3 Worst Parts of Modern Ford Ownership
Brett Foote
10 Amazing Upgrades That Solve Common Ford Truck Owner Headaches
Pouria Savadkouei
Every 2026 Ford Engine Explained
Brett Foote
10 Ugly Ford Trucks That We Still Kinda Love
Joe Kucinski
10 Things Every Truck Owner NEEDS (2026 Edition)
Michael S. Palmer
Rezvani's Latest Post-Apocalyptic Monster Is a Ford F-150 Raptor Underneath
Verdad Gallardo
Top 10 Most Expensive Ford Trucks Ever Sold on Bring a Trailer
Joe Kucinski
2027 Ford Super Duty Buyer's Guide (Every Model, Engine, & Package)
Brett Foote
Top 10 Ford Truck Tragedies
Joe KucinskiThread Starter
|
Elder User
Joined: Jul 2010
Posts: 506
Likes: 0
Thanks. When I was at the yard, I found a nice 96 that had the more rectangular style steering wheel with horn buttons, nd cruise buttons. Does anyone know if the wheels are a direct swap? One problem is that it has an aitbag and mine doesnt.
Hotshot


Joined: Sep 2001
Posts: 11,958
Likes: 228
I always wanted to get a Bronco overhead console. It looks almost the same as the Expolorer one but is longer and the front is shaped different. I looked at putting one like this in my truck but figured modifying it would end up ruining it so I sold it. I may reconsider getting one. Now you need to upgrade your dome light to go with it. This is a plug and play swap.

Thread Starter
|
Elder User
Joined: Jul 2010
Posts: 506
Likes: 0
I wanted a bronco one but couldnt find one, if I did find it it was way too much. I actually have one I grabbed as well but it just didnt fit the curve of the roof. My connections are right in the back next to the curve, I installed it but it left a gap and the lights didnt point in the correct location. It came from a 95 extended cab. I found one in a 96 standard cab like mine, but it looked the same...
Logistics Pro
Joined: Apr 2011
Posts: 4,744
Likes: 5
From: Earth
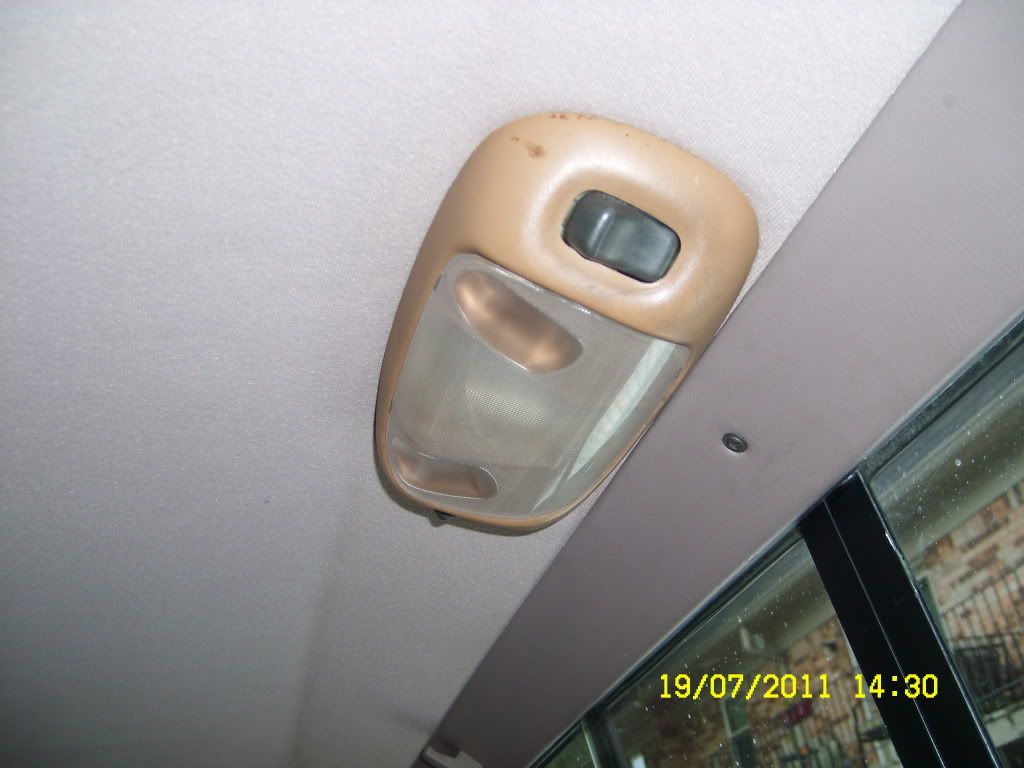
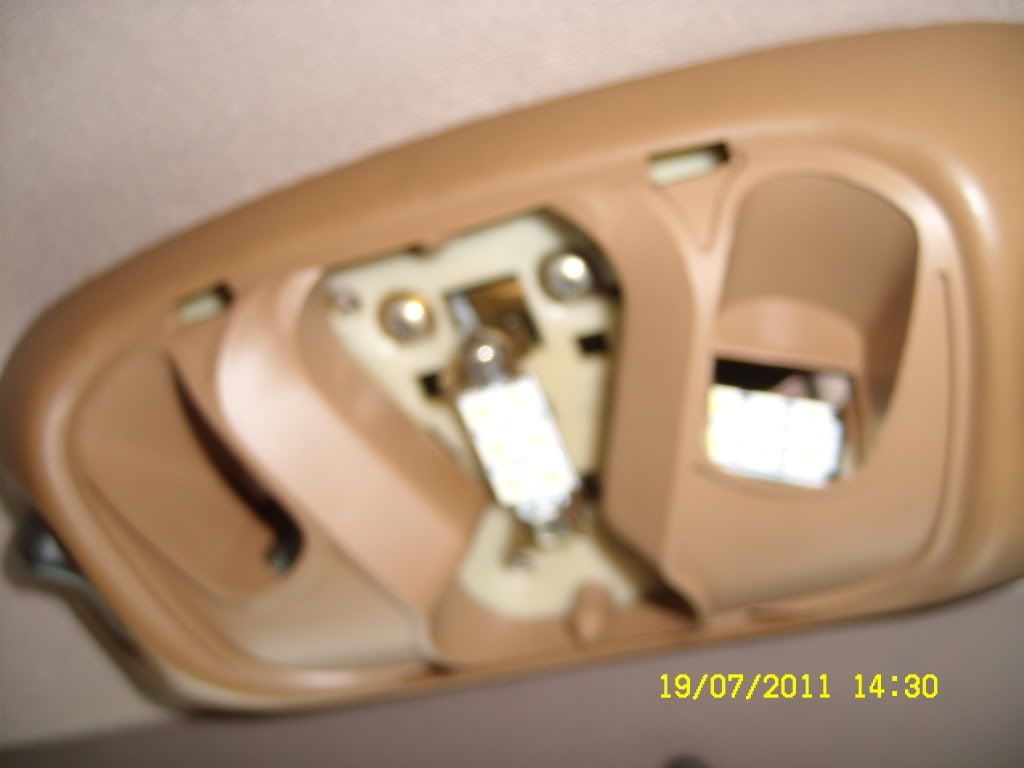
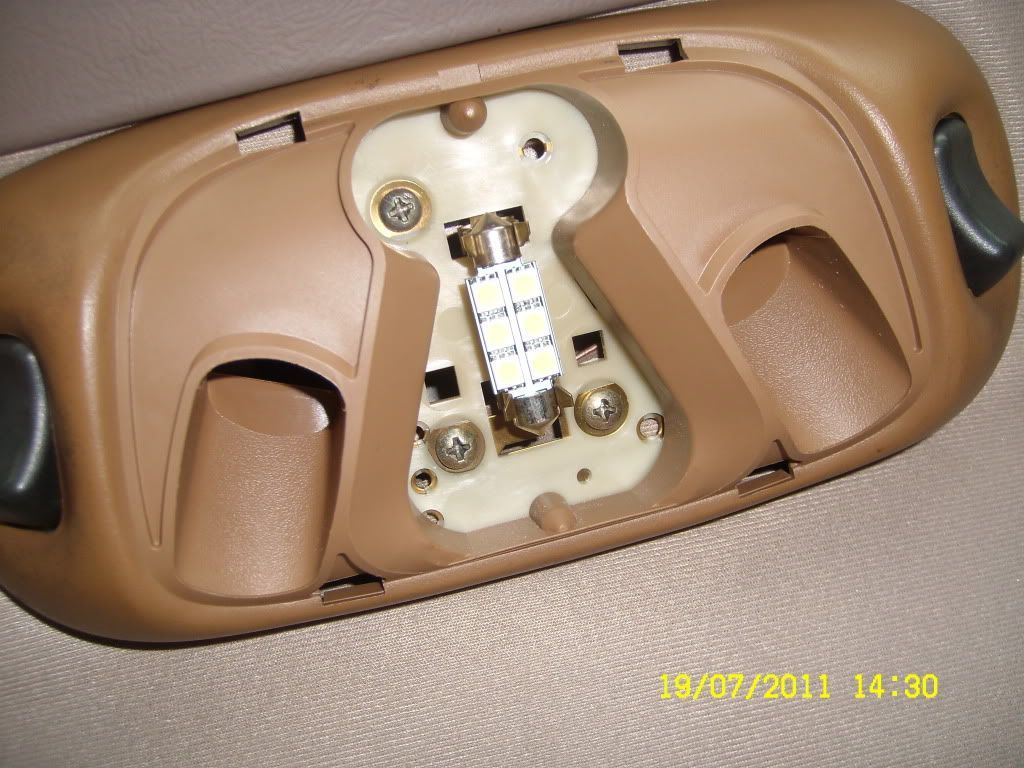
as for the lamp (rear light with maps) its also direct plug and play, any of the following vehicles will have one[list below pictures so keep reading] (or should, as long as its the smaller rectangular shape) I have one in my truck and i took install pics Ill put a few here so you can see the simplicity, there will be a small notch that sticks up that you will have to file/sand/grind level (for best performance as mileage will vary) before install so the lamp will sit flush and proper where it should, but other then that (and yes I would highly recommend putting at least LEDs in the dome lamp and map lights (41/42MM) because the bulbs tend to heat up and for what ever reason seem to blacken the plastic (assumeing from heat) you should have a pretty easy time putting it in, also would suggest looking for one that will match the interior color(s) of your truck, I had the option of tan or brown so i went with the more saddle like brown which fit my interior better

your current lamp (the fuggly one)
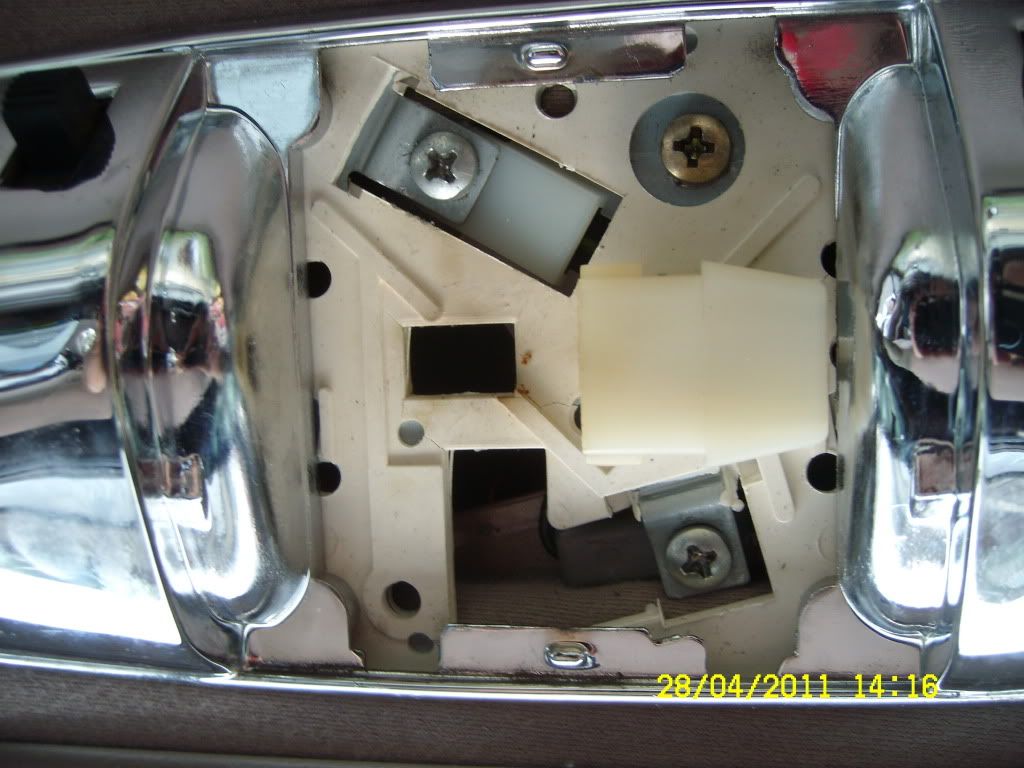
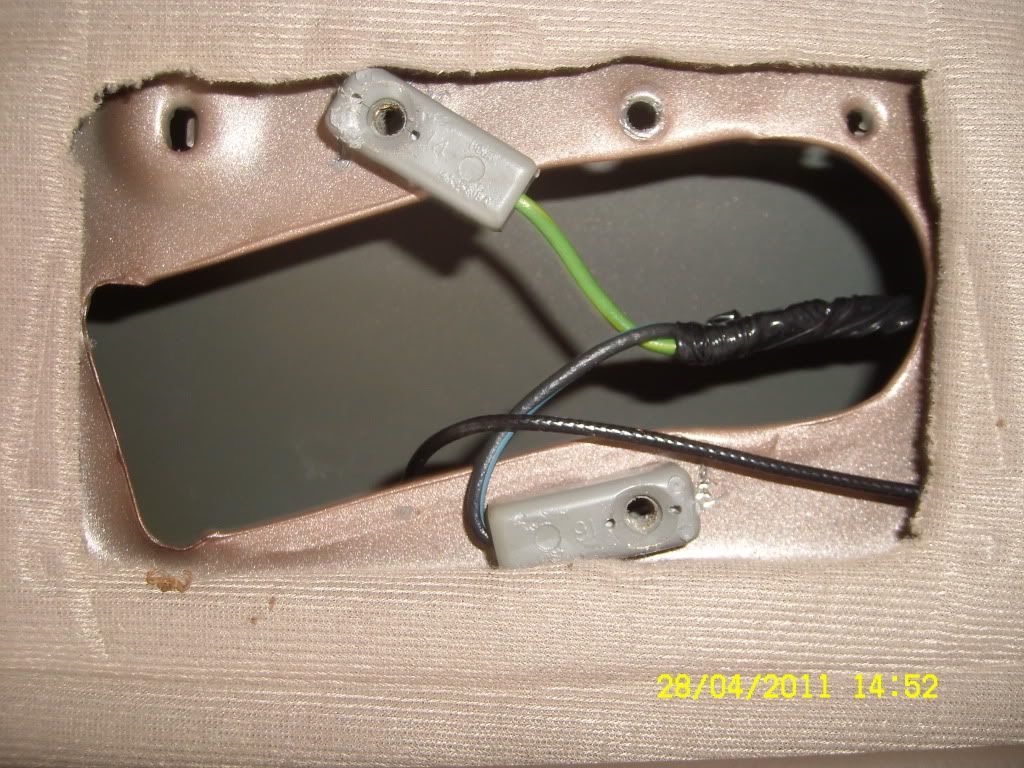
the hole (just three screws man
)
the exploder lamp (this is the long version which you may or may not be able to use depending on your truck cab type, standard cabs like mine can't use this one)
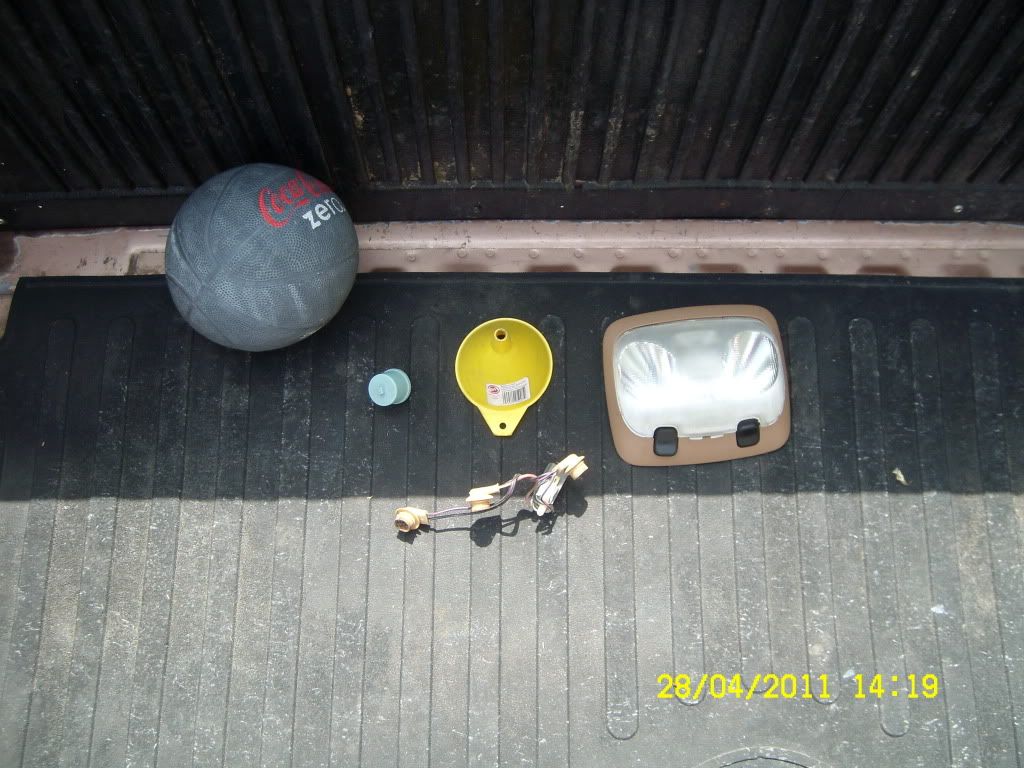
the rectangular one (could be from an exploder or other vehicle that has one, colors will vary)
F150 - various years/models
E-series (iffy on this)
probe
contour
croen vic (some came with the longer exploder version)
windstar - 199+ (or what ever year the wind star first started being produced)
merc exploder (sorry i just know its the exploder base, cant remember its name) - may have slightly different style as well so this is hit or miss i think
sable (merg) - may also have another style
other mercs - can't remember there names (sorry never owned a merc in my life and really not planning on it)
Hope this helps ya out!!!