Ford F-250: How to Replace Tie Rod Ends
Tie-rod ends are responsible for turning your vehicle, so an F-250 or Super Duty with a bad one will have clear steering issues from behind the wheel. Taking it to the shop can be an expensive trip. Save money and learn how to do it yourself with this guide.
This article applies to the Ford F-250, F-350 Super Duty (2005-2014).
The tie-rod end is the link that connects the steering system to the wheels. A tie-rod end that's worn out will result in sloppy steering and a wandering Super Duty. The good news is this part can easily be adjusted and replaced at home. Replacing a worn out tie-rod end yourself will save a few hundred dollars and a trip to the shop.

Materials Needed
- Lug nut wrench
- Jack
- Jack stands
- Wrench
- Marker or paint
- Tie-rod end
- Tie-rod end separator
- Torque wench
- Gloves
- Penetrating oil
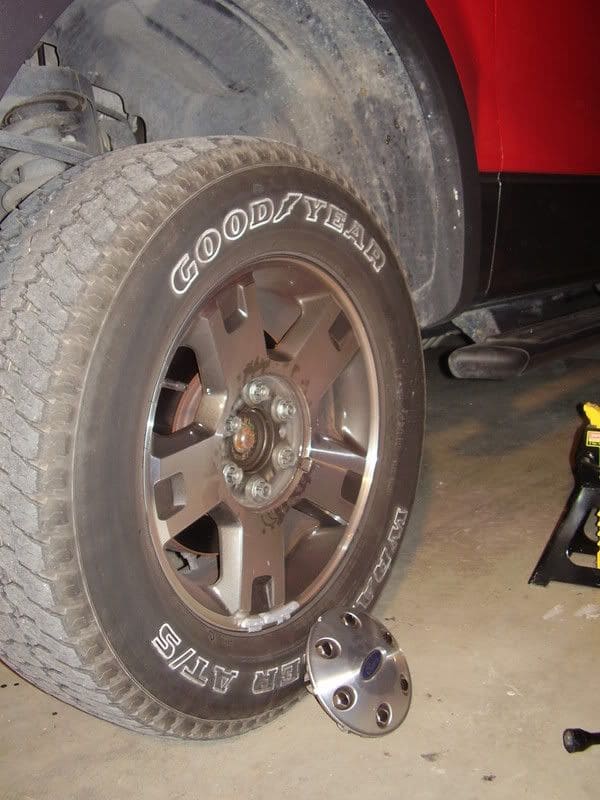
Step 1 - Remove the tires
Loosen the lug nuts on your wheel while it's still on the ground. Use a jack to lift the truck high enough that the wheel is off the ground. Place a jack stand underneath the frame and lower the truck onto it. Finish removing the lug nuts and pull the wheel from the truck.
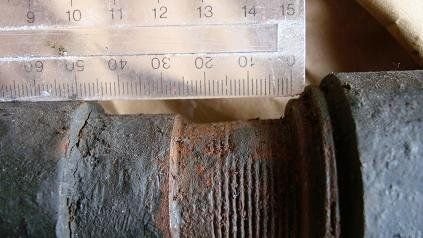
Step 2 - Measure tie-rod end distance
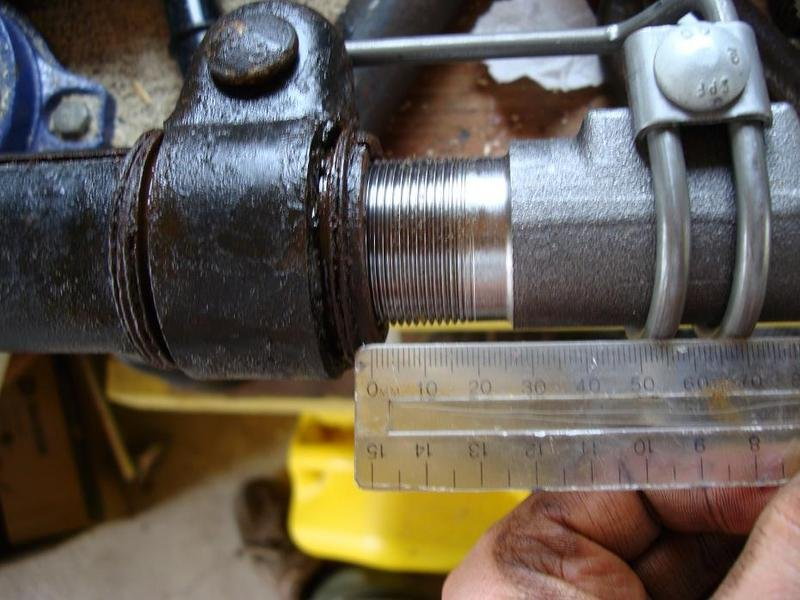
Get under the truck and measure the length of the exposed thread on the tie-rod. Keep a record of this distance so that the alignment won't be off when installing the new tie-rod end.
Pro Tip
If you'd like to make the next few steps easier, now is a good time to spray the adjustment bolts down with a penetrating oil. This will make removing the clamp bolts easier. It will also make unscrewing the tie-rod end easier.
Step 3 - Separate tie-rod end from wheel spindle
Use a pair of pliers to remove the cotter pin from the castle nut on the tie-rod end. Then, unbolt the castle nut from the tie-rod end. Next, separate the tie-rod end from the wheel spindle. A tie-rod end puller or a similar tool is recommended to separate the tie-rod end from the wheel spindle.

Step 4 - Release and unscrew tie-rod end
Remove the bolts in the adjustment clamp on the tie-rod. There will be two adjustment sleeves total; one for each tie-rod. You might need to pry the adjustment sleeves apart if they haven't been used in a long time. After loosening (or removing) the bolts on the adjustment sleeve, unscrew the tie-rod end from the rest of the tie-rod.
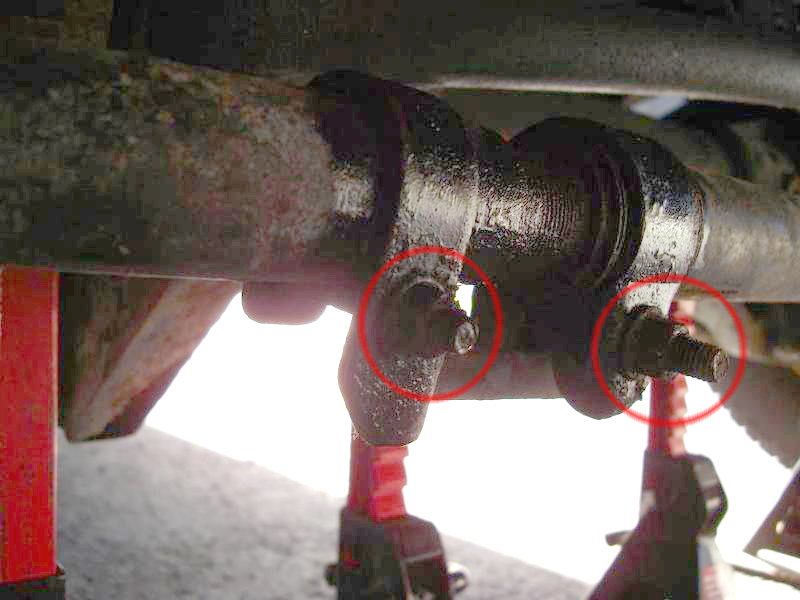
Figure 4. Remove these two bolts to loosen the tie-rod adjusting sleeve. 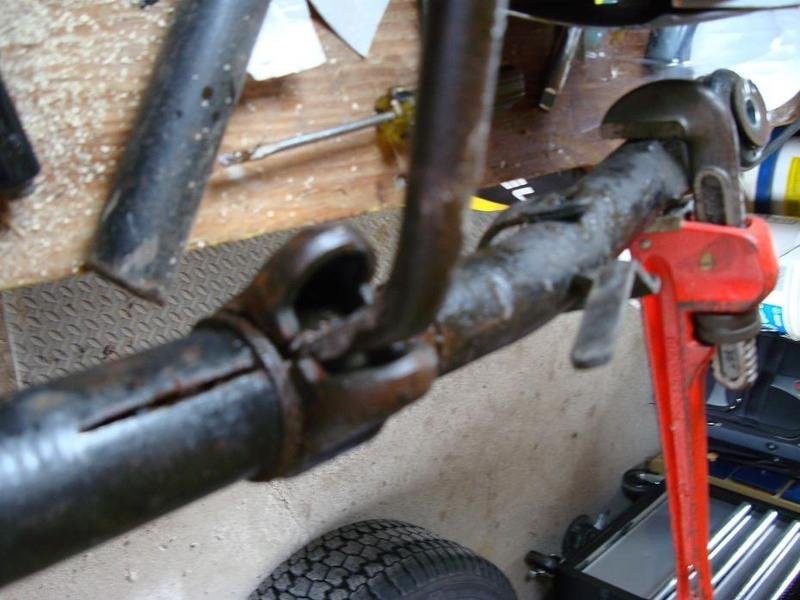
Figure 5. You might need to pry the sleeve apart after removing the bolts in order to get the tie-rod end to turn.
Step 5 - Replace the tie-rod end
Screw the new tie-rod end into place. Make sure the distances of the exposed threads are the same as the measurements you took earlier. Install a new castle nut and cotter pin to connect the tie-rod end to the wheel spindle. Do your best to tighten the nut to 111 ft.-lbs. On the F-350, screw the castle nut with the jam nut to 56 to 84 ft.-lbs. If you own a two-wheel drive F-350, tighten these two parts to 85 ft.-lbs. Tighten the bolts on the adjustment sleeves to finish.
Step 6 - Finishing up
Lower the truck and drive it around the block. Look out for signs of misaligned steering (like a constant pull in one direction), or poorly installed parts (like clunking noises and vibration). We recommend taking the truck to get an alignment regardless.
Featured Video: F-250 Tie-Rod End Replacement
Related Discussions and Sites
- How-to Install Tie-Rod Ends - Ford-Trucks.com
- Average Cost to Replace Tie-Rods - F150online.com