Ford F-150: How To Install a Lift Kit
Learn what it takes to install a lift kit on your F-150. We'll tell you about the risks of installing a bad kit, along with the basic steps for installing a good one.
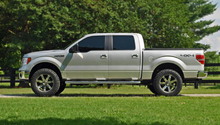
This article applies to the Ford F-150 (2005-2014).
There are a few questions that you need to ask yourself before deciding to lift your F-150 over 2.5 inches. What modifications will need to be done to the frame or drive train to install this kit? How does it address the suspension problems that occur when you lift an F-150? Can I really do this in my driveway or would I need a professional shop to install it? What kind of wheel and tire can I use or I have to use after I install this kit?
Fortunately, many of these answers can be found in the instruction manuals of the kits that most manufacturers will have online. They'll give you an idea of the work required to make the kit fit, but also what tools you need. In a few of these instructions, you’ll see air-powered tools, but don’t let that discourage you. Most kits give time estimates based on the use of air tools. Expect the average install to take 2 to 3 times as long without them. If a kit advertises that it will take about 8 hours, expect it to actually take you 16 to 24 hours with hand tools. You’ll also see them use lifts and, again, don’t let that discourage you from doing it in your driveway or back yard; just be sure you have a jack and set of jack stands that will lift the truck high enough to do the job.
What Changes When I Lift My Truck?
The main issue that occurs when lifting a truck is a change in suspension and steering angles. If you use only spacers, you increase the difference in angle from the outer tie-rods (the steering rod that connects to your wheel) and the inner tie-rod (the steering rod that connects to your rack and pinion. When this happens, the steering linkage arc and the suspension linkage arc do not match. In effect, the tie-rod begins to move the wheel as the suspension cycles up and down even though there is no steering input by you. We call this phenomenon "bump steer."
A similar problem arises in the drive line. The angle between the where the drive shaft connects to the rear differential becomes exaggerated as well. This increases wear on these u-joints in addition to some other unwelcome side effects like shuddering. Four-wheel-drive trucks have the same problem with their front axles as well. Overall, lifting a truck without these facts in mind will quickly destroy your suspension and steering components.
How Do I Fix That?
There are a few ways to fix this ranging from heim joints with high-misalignment spacers to relocating the steering rack (which is not normally possible on a stock framed truck) to modified OEM knuckles that correct steering and suspension geometry to a custom knuckle that is built with the lift in mind. If the lift kit you are looking at has no solution fix these problems, you may want to consider a new kit.
Another consideration for four-wheel-drive trucks is how the angle of the front axles is solved. Normally, this is solved by lowering the front differential so that the axle angle stays flat or very close to it as you drive. How that is done varies from kit to kit and in some of those kits cutting a portion of the differential is required. While we won’t say that we wouldn’t recommend this, it is advised that if you wish to retain the ability to return the truck to stock that you shouldn’t buy a kit that requires you to cut the differential. That doesn’t mean the kits are a bad design, just take the idea of going back to stock into consideration if you are leasing your F-150.

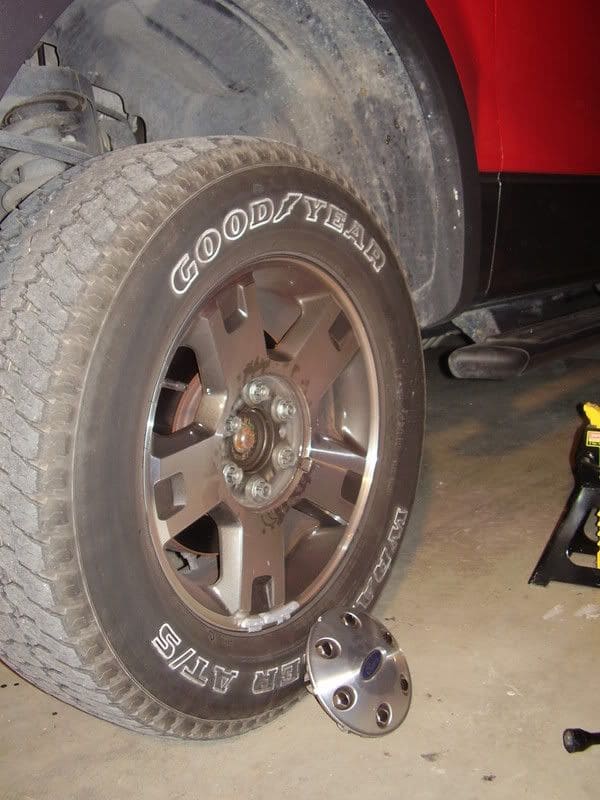
Step 1 - Lift truck and remove wheels
Loosen the lug nuts of the truck while it's still on the ground. Then, lift the truck with a floor jack or a bottle jack. When the truck is high enough that the wheels are free from the ground, place a jack stand under the frame. Lower the truck onto the jack stand and remove the lug nuts. Remove the wheel and set it aside.
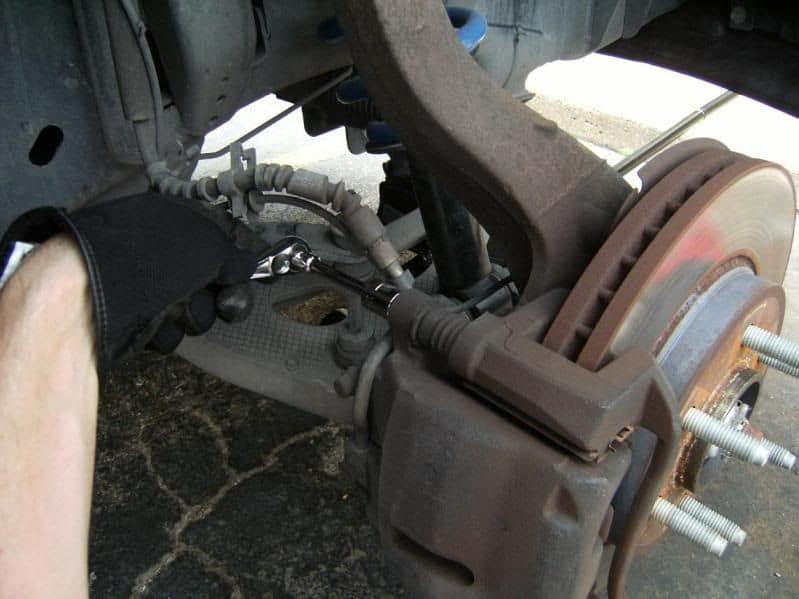
Step 2 - Disconnect brake caliper and brake disc dust shield
You remove this whole assembly in one piece by unscrewing the brake caliper bracket from the wheel hub and sliding it off the rotor. Do not allow the caliper assembly to hang by the brake line as you will damage it! Hang it by using a metal coat hanger, bungee cords... Anything else, but the brake line. Next, remove the rotor. This can be difficult to do if there's severe corrosion. Be sure to check out our forum created method of removal when this happens but it will require the brake caliper brackets to be reinstalled. When the rotor is off, remove the dust shield and the ABS sensor.
Step 3 - Disconnect tie-rod ends and sway bar link
Most kits will start off the same way by requiring you to remove the stock steering knuckle from the truck. This will require you to disassemble the knuckle, starting with the tie-rods. This is a fairly simple job and you can either use a hammer to top against the flat portion of the knuckle at the tie-rod or you can use a tie-rod removal tool. Do not strike the tie-rod or its threads if you use the hammer method. Only strike the knuckle! The electronic steering system in your F-150 will break if you whack the tie-rod with a hammer.

Figure 3. Circled is the tie-rod end. Remove the castle nut and separate from wheel spindle. 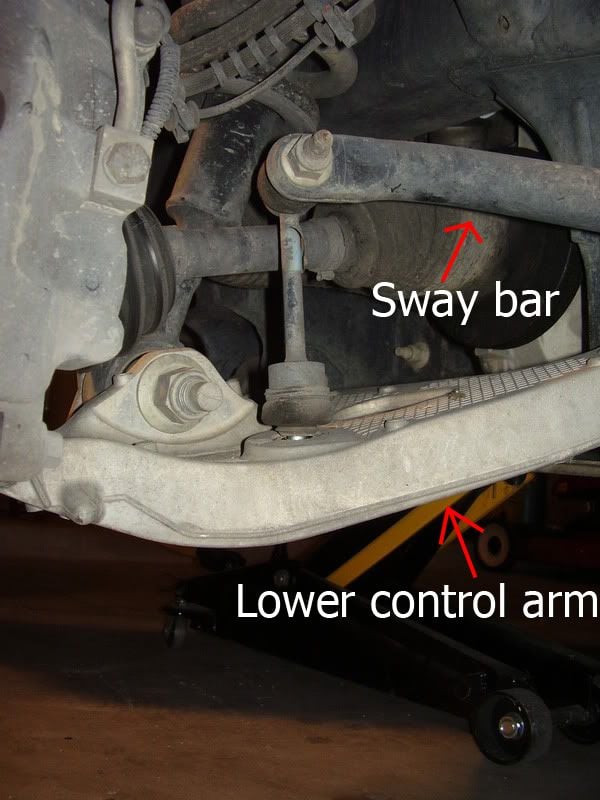
Figure 4. Unbolt the sway bar link from the lower control arm. The nut holding it in is located underneath the control arm.
Pro Tip
There is another problem that arises with 2011 and newer F150s: their EPAS or Electronic Power Assist Steering. You don’t normally have to relocate or modify the EPAS, but you do have to take its module into consideration as you work on the truck. If you don’t disconnect it or remove the negative cable from your battery prior to working on the suspension, you’ll probably end up having to replace the EPAS module. Older trucks don’t have this issue.
For 4WD - Remove axle nut and axle
Before we get to remove the knuckle, 4WD owners will need to remove the dust shield that covers the axle nut on the hub. This is simply removed by taking a hammer and small pry bar to remove the cover. Then, you can reach the axle nut with a socket wrench and it should slide out.
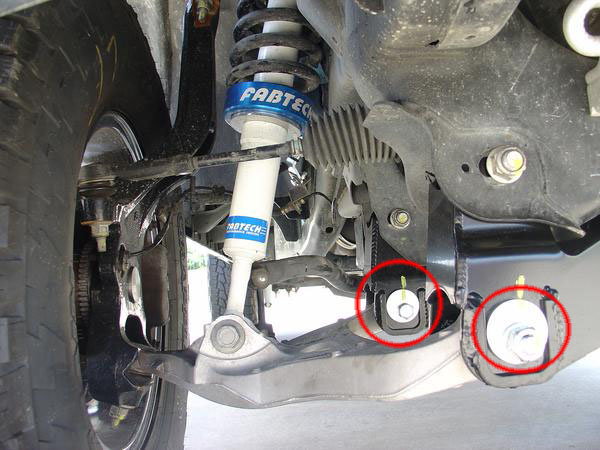
Step 4 - Disconnect spindle from ball joints
Now, you will loosen the upper and lower ball joint nuts then tap your hammer on the flats of the knuckle where the upper and lower ball joints are. Do not hit the ball joints or threads! Tap on the knuckle only. Once these are loose, remove the sway bar link at the lower control arm along with removing the sway bar from the chassis.

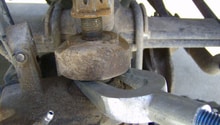
Figure 6. Remove the bolt connecting these the control arm (top) and the wheel hub. Spray with a penetrating lubricant (PB blaster, liquid wrench, etc.) if the bolt is stuck. 
Figure 7. Ford recommends using a pitman arm puller to separate the two. If you don't want to buy one, you could also use a few taps with a hammer, or a pickle fork.
Step 5 - Remove struts
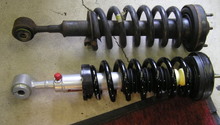
Finally, remove the strut assembly. You must remove the lower bolt to remove the strut assembly. There's one on the bottom securing it to the lower control arm. There are three on top of the strut that secure it to to the strut mount.
Most lift kits will install spacers to the top of your struts. That's how you get a lift in the front of the truck. Fancier kits come with completely new struts.
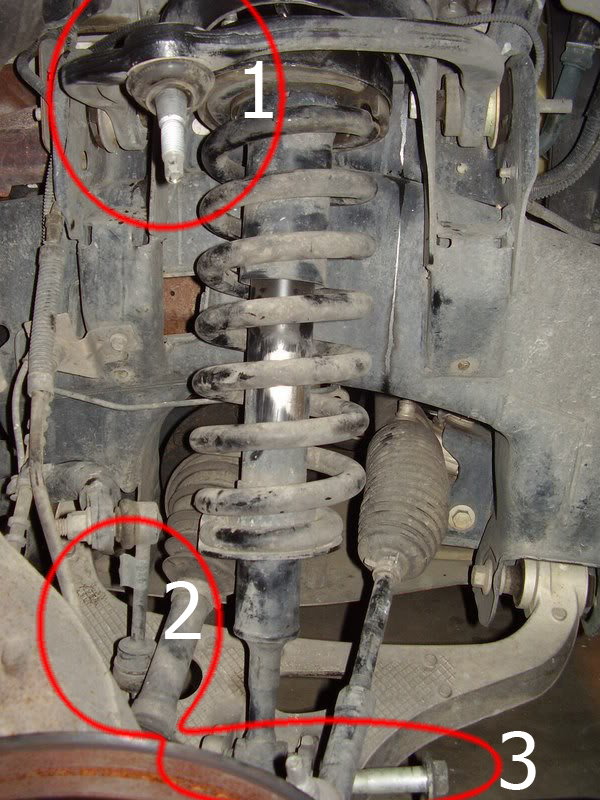
1. Notice that the upper ball joint is free from the wheel spindle.
2. The tie-rod end link is separate from the control arm.
3. The lower shock bolt is also pulled out.
Step 6 - Remove lower control arm
The lower control arms will now be removed along with the lower skid plates. From here, your kits will vary on what step is next. In cases where the steering knuckle is replaced with a new custom or modified OEM knuckle, you will need to remove and reinstall the hub assembly to the new knuckle.
For 4WD - Remove/Install rear crossmember
If you have a 4WD model, you will drop and add a new rear cross-member to the frame that will allow the front differential to drop. You may even have to modify the OEM cross-member to do this; again it depends on the kit. There will most likely be a spacer for the front drive shaft to the differential flange so that the front drive shaft will reach. For 2WD, a new cross member front and rear will be added so that the lower control arm will drop. When it comes to the strut assembly, some kits will have a spacer to add or will come with longer strut assemblies.
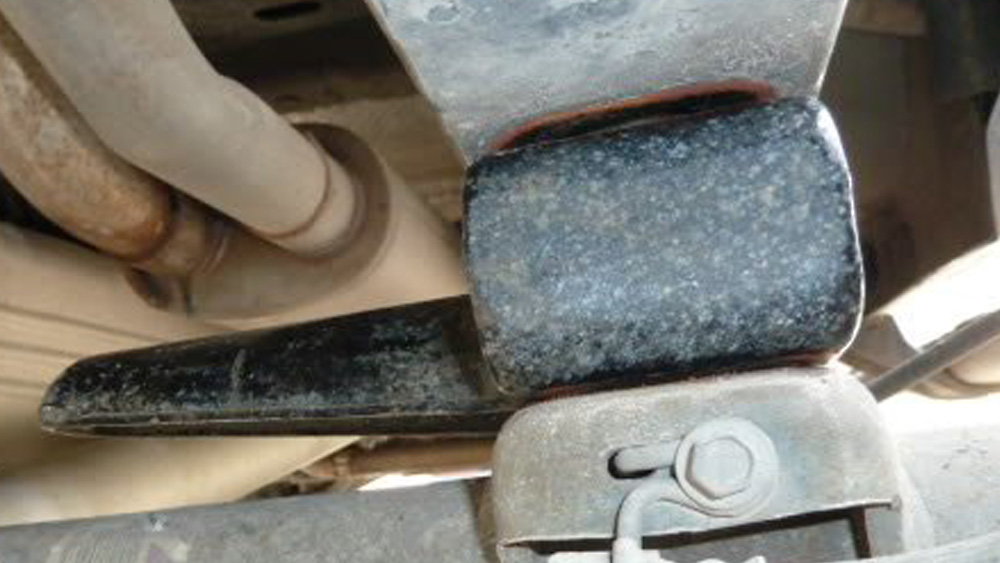
Step 8 - Install rear leafs/blocks/shackles
Now you need to put everything back together and add longer brackets where necessary. The rear is another portion that will vary kit to kit. Some come with new rear shackles and blocks, some come with just blocks, some come with new leaf-spring packs and shocks, or even a combination of all of these. The most common is the need for drop brackets for the emergency brake cables. You’ll probably end up drilling a small hole at the front leaf spring bracket so a new drop bracket can be securely installed. Since there is only one hole on that bracket and it only holds the e-brake cable, it is reused as a bolt hole and the added hole gives the drop bracket a new place to secure itself. Another option is putting the cable bracket to the leaf spring bolt.
(Related Article: How to Install Rear Suspension Blocks - Ford-Trucks.com)
Finishing Up
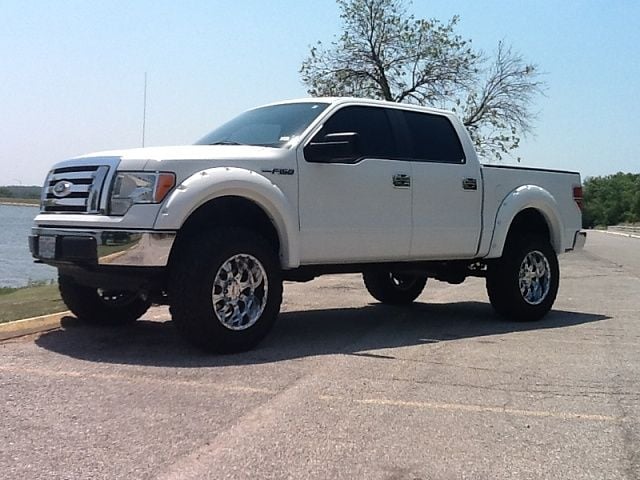
With everything set, enjoy the first 100 miles of your new lift kit but put a reminder in your window to retighten all of those bolts again after the next 100 miles. From there you should be good to go for the remainder of your ownership of your truck besides periodic maintenance at 500 miles to check the bolts again. Now it’s time to enjoy it as you live your new high life. If you’ve installed your own lift kit, show it off in the Ford-trucks or F150online forums. We'd love to see it.
Featured Video: How to Install a Lift Kit
Related Discussion
How to Remove Stuck Brake Rotor - F150online.com