Ford F-150: How to Replace Your Radiator
Your radiator acts like an A/C unit for your truck's engine. If it breaks down, things are going to get hot quickly. This guide will help you replace it -- and it won't burn your wallet.
This article applies to the Ford F-150 (2004-2014).
If your radiator isn't performing properly, it is probably time to replace it. Your F-150's radiator is responsible for keeping your engine cool. Don't grab the stop leak, as that will cause more of a mess and a headache than it's worth. Replacing the radiator isn't as hard as it seems.

Materials and Tools Needed
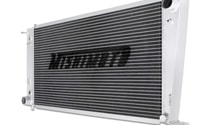
- Radiator
- Motorcraft Gold coolant
- Distilled water
- Socket wrench and sockets
- Drain pan
- Large open-ended or adjustable wrench
- Pliers
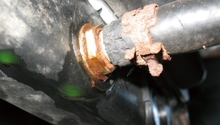
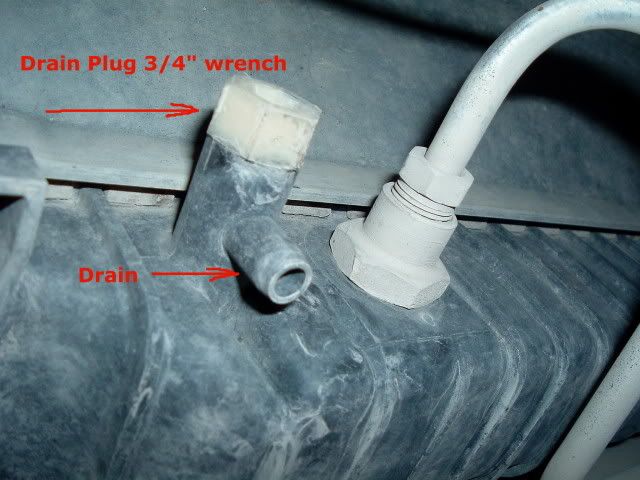
Step 1 - Drain the coolant
Crawl under the truck and loosen the valve on the radiator. Allow all the coolant to drain out before removing clamps and hoses. While it is draining, look at your radiator hoses and clamps. If any of them look cracked or worn, now might be the time to replace them.
(Related Article: How to Replace Your Lower Radiator Hose - Ford-trucks.com)
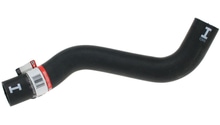
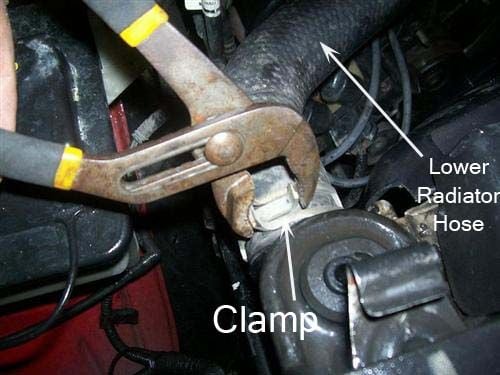
Step 2 - Remove radiator hoses
Once the coolant has drained from the radiator, you will have to get under the truck and remove the lower radiator hose clamp in order to remove the hose. Then head back under hood and remove the upper radiator hose in the same fashion.
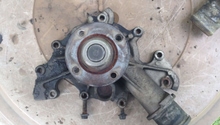
Step 3 - Remove the engine fan
Start off by getting the upper radiator shroud (plastic frame around the radiator) loose, but do not remove it yet. At the water pump, you'll remove the fan by loosening its neck from the water pump pulley. You'll turn the neck to the left with your large open-ended or adjustable wrench. Try knocking it loose, but if the pulley moves, use a large screwdriver to wedge against the pulley bolts to keep it from moving. Once loose, remove the fan and shroud together.

Step 4 - Remove the radiator
Now we can take out that bad radiator. Take the two radiator hold-downs and remove them from the radiator support. Then simply lift up the radiator. If your truck is an automatic, you'll need to take the transmission lines off of the radiator as well using a line wrench. You may have to replace some transmission fluid after installing the radiator. If you have an aftermarket transmission cooler and have bypassed the radiator, then you don't need to worry about this.
Step 5 - Install new radiator
Slip the new radiator into its home, making sure the lower supports hold firmly. If the rubber isolators came out with the old radiator, put them back on their brackets before installing the new radiator. Follow the reverse steps for further installation.

Step 6 - Re-fill the radiator with coolant
Now you'll want to add your 50/50 mixture of distilled water and Motorcraft Gold to your F-150. Add enough to fill to the "Cold Full" line on the degass bottle and start the truck up again after installing the cap on the bottle. Allow it to warm up again, but watch the coolant level as it bleeds air from the system.
Once the level stabilizes, take the truck for a drive to the parts store to dispose of the used coolant you now have. When you get back home, check the coolant level and add as needed. Normally, you'd have to bleed the system with the radiator cap open. However, on a pressurized system that comes on modern F-150s, the degass bottle will bleed the system out by itself. However, you still need to keep an eye on coolant levels after this. Now celebrate as you have just installed your new radiator!
Featured Video: How to Replace Radiator in F-150
Related Discussion
- Radiator Replacement - F150forum.com