Getting a shop to fix the busted radiator on your F-150 or F-250 is a costly job. The good news? You might not have to replace the whole thing. Learn how to fix a leaky radiator yourself below.
This article applies to the Ford F-150 (2004-2014) and F-250, F-350 Super Duty (2005-2014).
Your Ford F-150 or Super Duty's radiator is a very vital part of your engine's cooling system. A leaking radiator could result in an engine overheating. Make sure you always check your coolant level and check under your truck for any leaks. The good news is that you don't always need to replace the whole radiator when a leak occurs. Here is how to fix a leaking radiator.
Materials Needed
Screwdriver
Drip pan or five-gallon bucket
3/4" wrench
Line release tool
Ratchet set
Engine coolant
Distilled water
Radiator sealant
Cold weld epoxy
Scraper
Solder
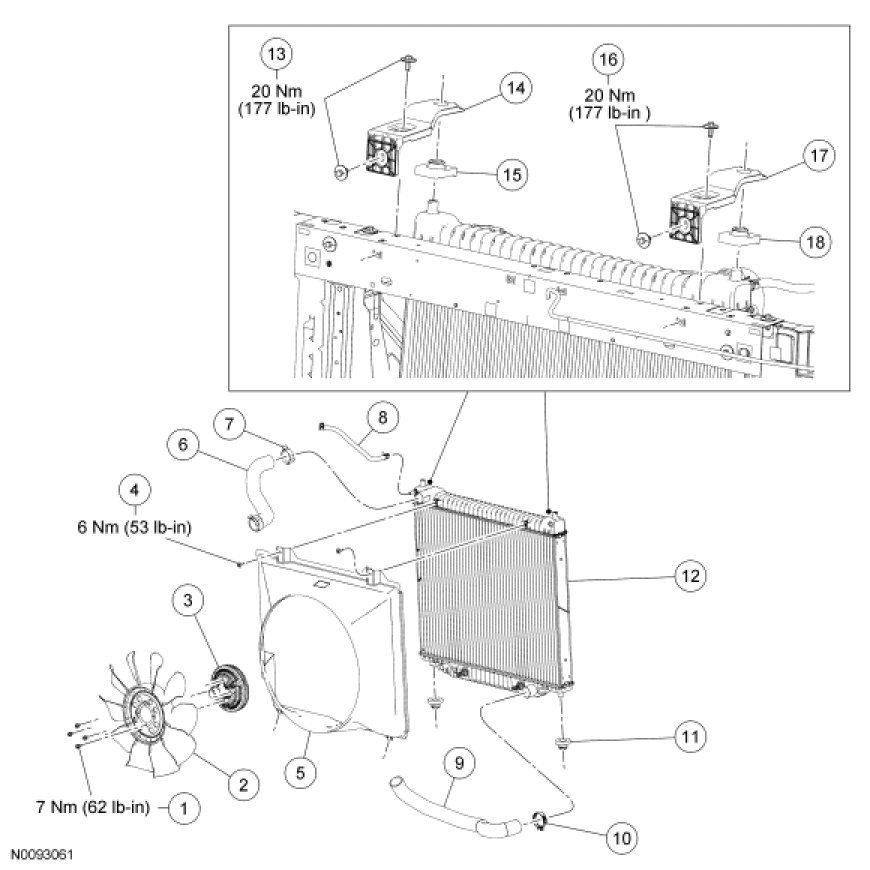
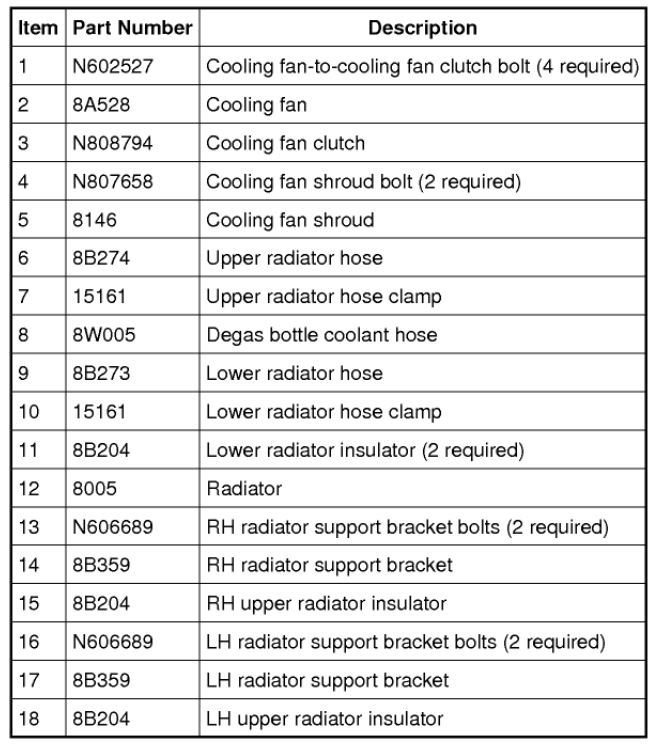
Before you begin, it would be useful to review the diagram below so you have a basic understanding of where the parts are located and how they are connected to each other.
Figure 1. 2010 Ford F-150 V8-4.6L Radiator and Cooling Fan.
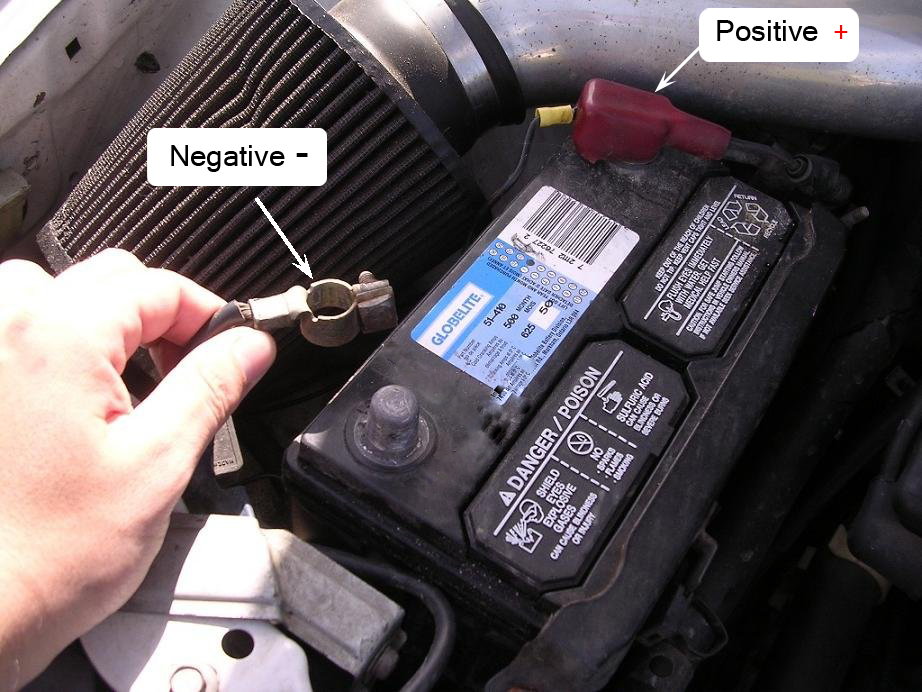
Step 1 - Disconnect negative battery cable
Disconnecting the negative (black) battery cable before beginning your work will protect you from accidental shocks, accidental engine starts (by someone unaware of your presence underneath the truck, perhaps). Also, in trucks equipped with airbags, removing the battery cable will prevent the airbag from accidentally deploying.
Figure 3. Disconnect the negative battery cable.
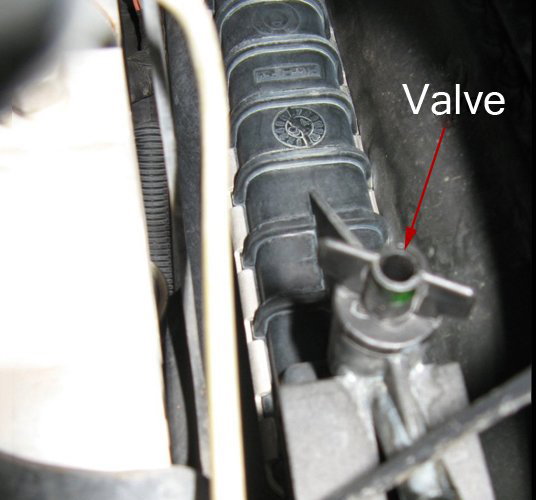
Step 2 - Drain your Radiator
Locate the drain valve (Figure 4 below) on the bottom of the radiator on the driver's side of your F-150 or Super Duty.
Place a drip pan or bucket under the valve. Connect a clear hose to the drain fitting. Use 3/4" wrench to loosen the radiator valve and let the coolant drain out until your radiator is completely empty.
Figure 4. Drain the radiator.
Pro Tip
When draining the coolant, keep in mind that cats and dogs are attracted by ethylene glycol antifreeze, and are quite likely to drink any that is left in an uncovered container or in puddles on the ground.
Step 3 - Remove hoses
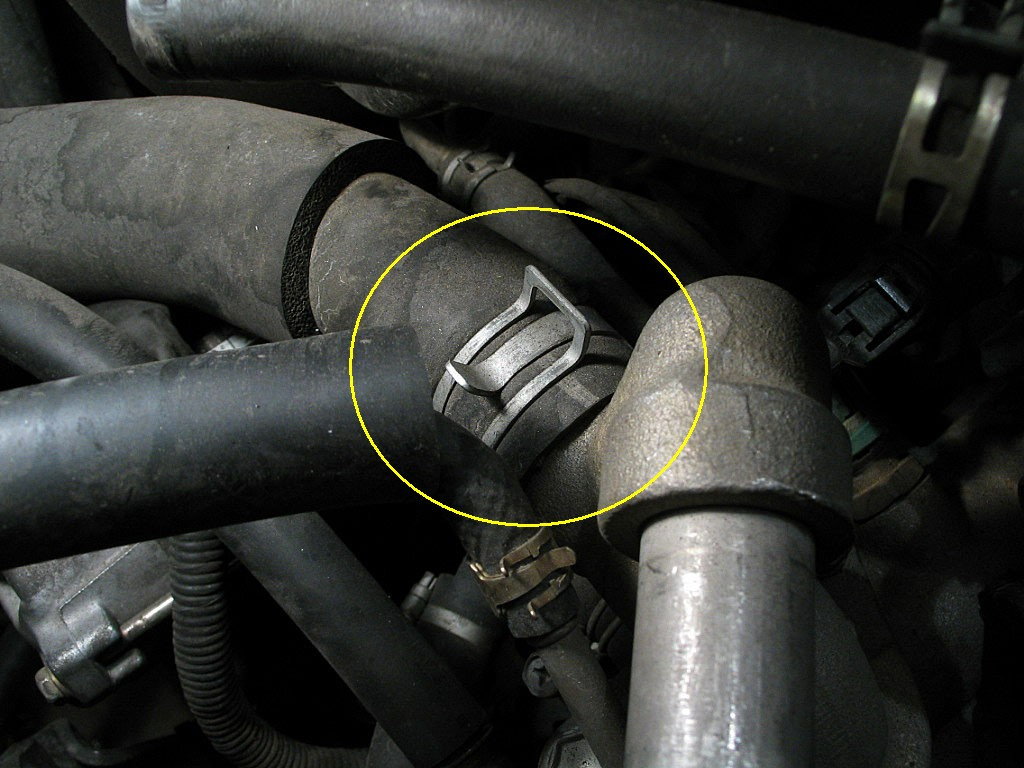
While the radiator is draining, remove all hoses from the radiator by loosening their clamps. This includes the upper and lower radiator hoses, two transmission fluid cooler lines (at the bottom of the radiator), and the overflow tube (near the top). Pliers should loosen the clamps. For model years 2005 and up, you will need to use the line release tool.
Figure 5. Remove hoses and their clamps.
Step 4 - Remove fan and radiator shroud
Remove the cooling fan by disconnecting the fan and clutch assembly with a fan wrench set, letting the assembly rest within the shroud.
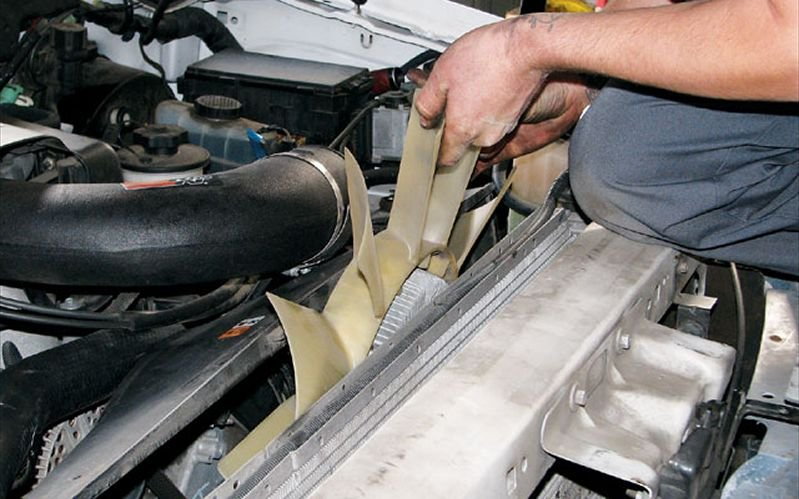
Then remove the shroud by disconnecting the two 8 mm mounting bolts that secure the shroud (as seen in Figure 7).
Figure 6. Remove fan.
Figure 7. Remove radiator shroud.
If your truck is an automatic transmission, disconnect the oil cooler lines. To do this, remove and slide back the secondary plastic clip on the line, attach the tool onto the line, push it into its fitting and then pull the line straight out of its connector.
Step 5 - Remove radiator
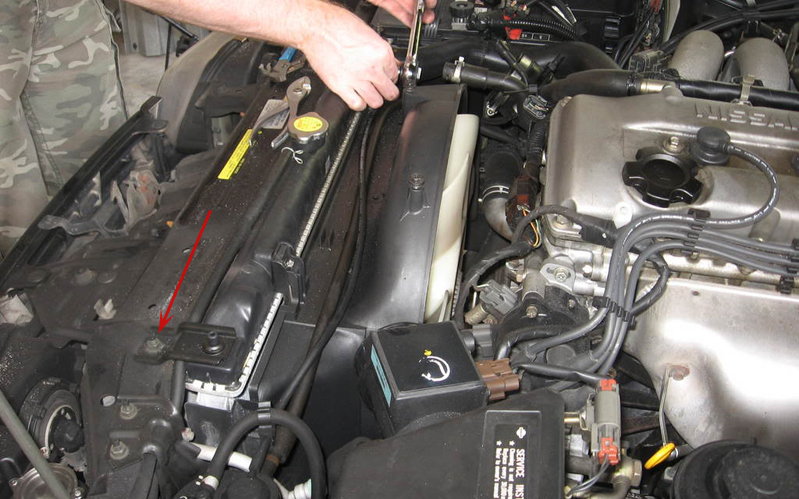
Use your 3/8" wrench to remove the two radiator retaining bolts as seen in Figure 8 below. They are located at the top of each side of the radiator. Once they are removed, lift the radiator out.
Figure 8. Removing radiator retaining bolts.
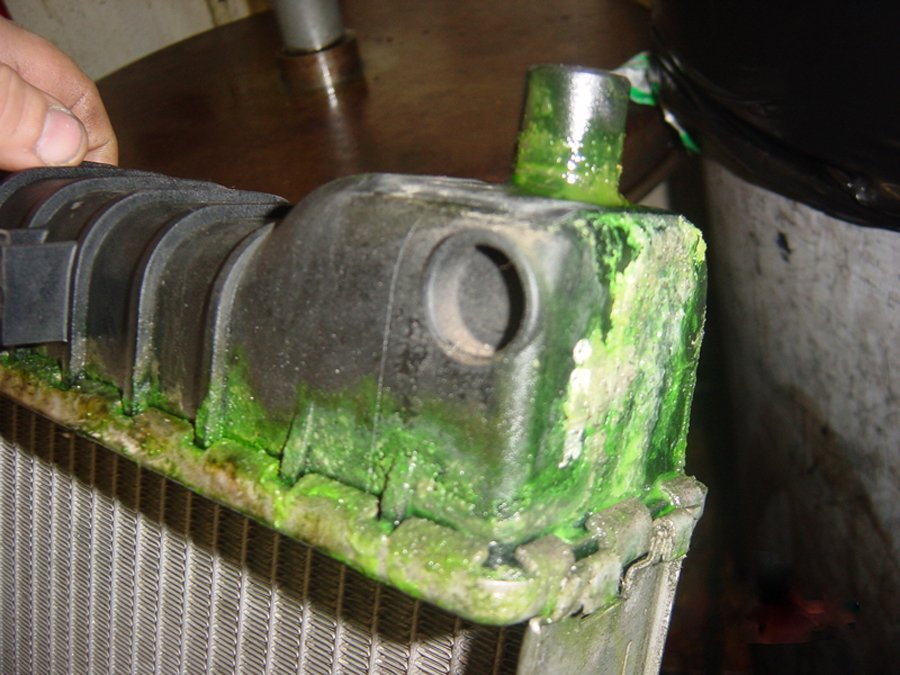
Step 6 - Locate the leak
Now that you have the radiator out, locate the leak. Look for any green-colored coolant around the radiator. Look for rusty spot or any signs of moisture.
Figure 9. Locate the leak.Step 7 - Use epoxy to fix the leak
You can apply a cold weld epoxy to the leaky area. You will need to wait about two hours for the epoxy to dry.
Figure 10. Use epoxy to stop leaking.
Step 8 - Use a commercial leak repair product
This one isn't recommended as it could stop the flow of water. However, if you decide to use it, you will need to just pour it in the radiator.
Figure 11. Use leak repair product.
Step 9 - Install the radiator
Install the radiator in the reverse order of removal. Fill the cooling system and check for leaks. On automatic transmission equipped vehicles, run the engine until normal operating temperature is reached, then check the transmission fluid level. Correct as needed.
Pro Tip
Cracking raw eggs in your radiator has been proven to seal up a leak. You can also use black pepper, cinnamon, ginger, nutmeg, or cigarette tobacco! This is a temporary fix as your cracked radiator will only get worse over time.
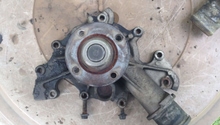
Water Pump
How to Replace Water Pump
A water pump is a vital component to the well being of your vehicle's engine.
This article applies to the Ford F-250 and F-350 Super Duty (2005-2014).
When burning fuel, ...
water pump
How to Replace Your Water Pump
A water pump is a vital component to the well being of your vehicle's engine. In this how to, we will save you money by walking you through the process so you can do the ...
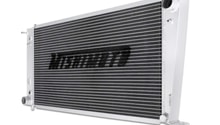
How to Replace Radiator
The radiator is key to keeping your engine running, so you'll want to replace your radiator as soon as you find out its faulty.
This article applies to the Ford F-250 and F-350 Super Duty ...
Ford F150 Replacing Oil Pan Gasket
How to Replace Your Oil Pan Gasket
Stop that messy oil leak from soiling your driveway with a new oil pan gasket.
This article applies to the Ford F-150 (1987-1996).
All of the ...
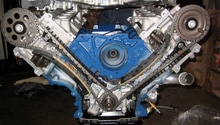
How to Replace Your Timing Chain
Timing chains, tensioners, and when to start worrying about changing them.
This article applies to the Ford F-250 and F-350 Super Duty (2005-2014).
Your F-250's timing chain ...
How to Replace Your Radiator
If your radiator is not cooling your Ford F-150 properly or if you need to replace it with a better one, it could be a costly process. Here is how to replace it yourself.
This article ...