Ford F-150: How to Replace Fuel Filter
Replacing the fuel filter in your Ford F-150 is a very important basic maintenance. Here is how to do it yourself and save some money.
This articles applies to the Ford F-150 (2004-2014).
Poor gas mileage is no drive in the park. If you have been experiencing poor fuel economy or slow moving acceleration in your F-150, this could be a red flag telling you that your fuel filter needs to be replaced. A dirty filter can wreak havoc on your injectors which, in turn, will force your vehicle to work harder than usual. Changing your fuel filter is recommended maintenance that can be performed about every 10,000 miles or so. If you suspect you filled up on a batch of questionable fuel, it is in your best interest to change your filter immediately. This is a relatively simple task that can be performed by a novice truck owner or tackled by a local mechanic. How you choose to handle it is entirely up to you. Below you will find a quick walk through the process.

Materials
- New filter
- Medium flathead screwdriver
- Towels
- Rubber mallet
- 5/16 line compression removal tool
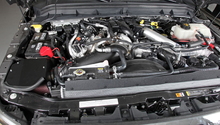
Step 1 - Relieve the pressure from the fuel system
Begin this step by removing the fuse cover located under the hood on the driver side, and tripping the inertia fuel reset switch which should have a red rubber top as shown below.
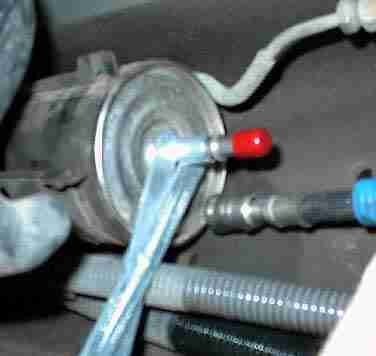
This is one of the few maintenance routines you should perform with your engine running. You should be able to disable the switch by tapping it in the middle with the end of your rubber mallet. You will know you have been successful in doing so when the motor gives out.
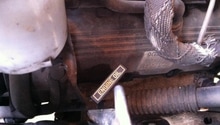
Step 2 - Remove the fuel filter
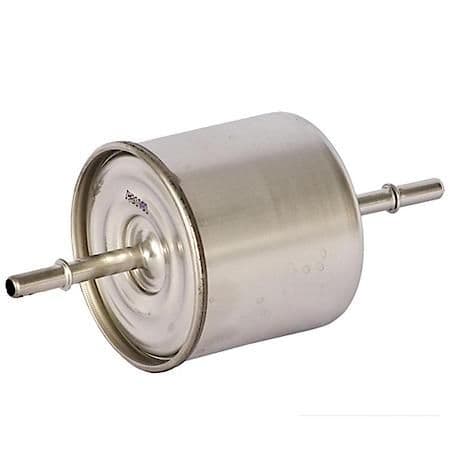
Refer to the section in your F-150 that is just under the driver’s side door to locate your fuel filter. It looks like this:
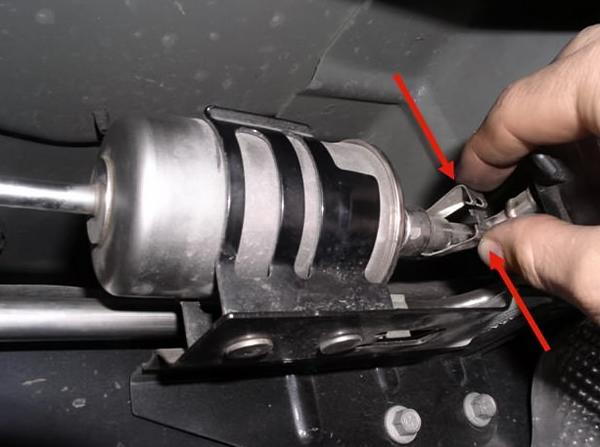
To remove it, unhook the metal retaining clip and position the line compression removal tool so that it rests on the filter’s front end. From there, apply a tiny bit of pressure, sliding the line compression removal tool into the line fitting until it slides off. (Keep your towels handy as fuel tends to gush out during this step.) You will then repeat this process in the rear of the filter, applying as little pressure as possible. Once both ends of the line fitting have been removed, use your flat blade screwdriver to disconnect the dirty filter.
Step 3 - Replace the filter
Replace the worn filter with a brand new one, being careful to position it so that the flow arrow is pointing towards the front end of your F-150. Once the new filter is in place, reconnect the front line and hook the retaining clip back into its position. Repeat this process for the rear line.
Step 4 - Reset and test

With the new filter in place, you are free to reset the inertia switch by clicking the red button once more. Cycle the ignition a few times before checking for leakage and remember to keep the engine running when testing out your new filter.
Featured Video
Related Discussion
Replacement - Ford-trucks.com