Ford F-150: Why Does My Check Engine Light Stay On?
The check engine light is a serious warning light. Here's why it won't go away.
This article applies to the Ford F-150 (2004-2014).
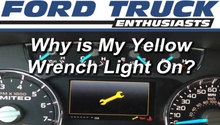
When the check engine light (CEL) appears on the dashboard of the Ford F-150, the truck is essentially communicating that there's an issue somewhere. The first step should be to figure out why the check engine light came on in the first place as prolonging a diagnosis could cause more damage to the truck. Luckily, finding the cause of a check engine light is a pretty straightforward affair, and resetting is even easier. Read on to learn what to do when an F -150 starts flashing a check engine light.
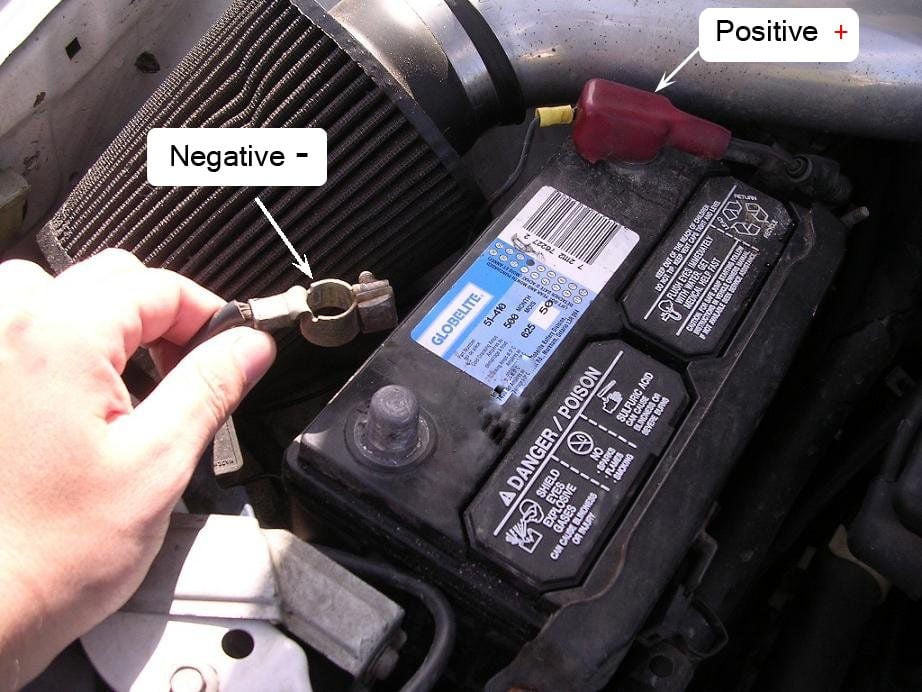
Step 1 - Disconnect the battery
Disconnecting the negative terminal from the battery for a few minutes will cause the engine computer to forget the check engine light. While this might turn off the light temporarily, it'll come on again if a malfunction triggers it again.
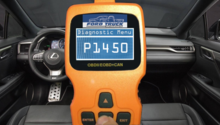
If the engine light comes back on, you’ll need more information as to why. Every time the check engine light comes on, the F-150 stores diagnostic trouble codes in the vehicles computer. These DTCs give information pertaining to the issue. For example, if the catalytic converter isn't functioning properly, it'll trigger a check engine light and store a code engine. That code might read "P0420: Catalyst System Efficiency Below Threshold." That's not a specific component, but it's definitely more helpful to a mechanic than a flashing check engine light.
The cost-efficient way is to bring your car to a local auto shop and have the mechanic pull the diagnostic trouble codes. If you have a scan tool, you can do the diagnosing yourself. See Step 2.
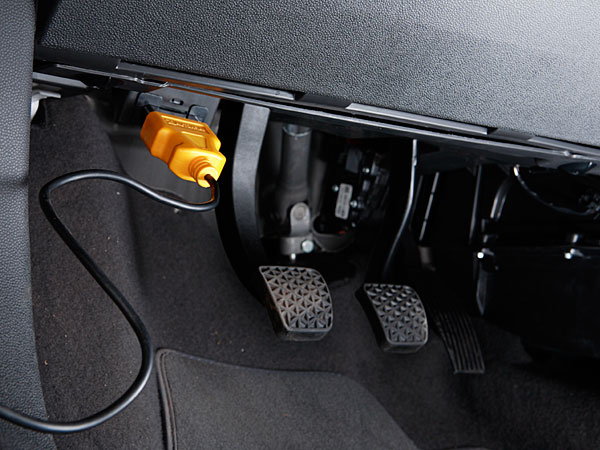
Step 2 - Plug the scan tool connector
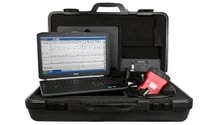
Find the port of the diagnostic connection under the driver’s side of the dashboard, which is 1/2 inch by 2 inches wide. After removing the protective cap, plug the scan tool connector into the port.
Step 3 - Write down the codes
Read the instructions on the scan tool's operator manual to run a test on all three modules. Write down the codes during each stage of the test on a notepad. These codes will reveal the problem which will help you determine the best steps to take.

Step 4 - Re-install the protective cap
Remove the scan tool's connector from the port found under the dashboard. Re-install the protective cap found on the diagnostic connection port.

Step 5 - Check codes
The easiest way to find out what the diagnostic codes mean is to search for them online. Some OBD scanners will have a database of codes built into them and will display the code as well as what the code means. Scanners have the ability to reset the check engine light, too. Once you determine what the problem is, fix it yourself or take it to a trusted mechanic. Once the work is completed, the mechanic will reset your check engine light. If you do the work yourself, you will need to reset it. If your check engine light is still on, move onto Step 6.
Step 6 - Reprogram the system
If the check engine light still won't go off, there's a chance that the engine control module itself is malfunctioning. Bring the truck to a dealership for a diagnosis.
- Ask the dealer to reprogram the power train control module to reset your settings.
- If the re-program does not work, confirm if it is due to a loose gas cap.
Pro Tip
If your car is still under warranty, the work needed to fix the engine light will most likely be covered. If your warranty has expired, a diagnostic typically costs $400 for parts and labor. In some cases, the OBD II system checks the fuels when you drive long distances, and if there are no faults the light will disappear during your next long distance drive.
Related Discussion and Site
- Check Engine Light - Ford-Trucks.com
- OBD II Trouble Codes - OBD-codes.com