
Cleaning your Power window motor brushes (with pics).
#1
 09-04-2010, 03:11 PM

Cleaning your Power window motor brushes (with pics).
I have had a intermittent problem with my passenger side window not working. After doing some searching, I decided to try to tear into the power window motor. Here is what I did:
1. Remove motor. See post 10 in this thread for how to: https://www.ford-trucks.com/forums/9...ml#post8289923
Thanks to Nolan and Robin
2. Remove the four torx head screws holding the casing. Also, I scribed both sides for re-install purposes.
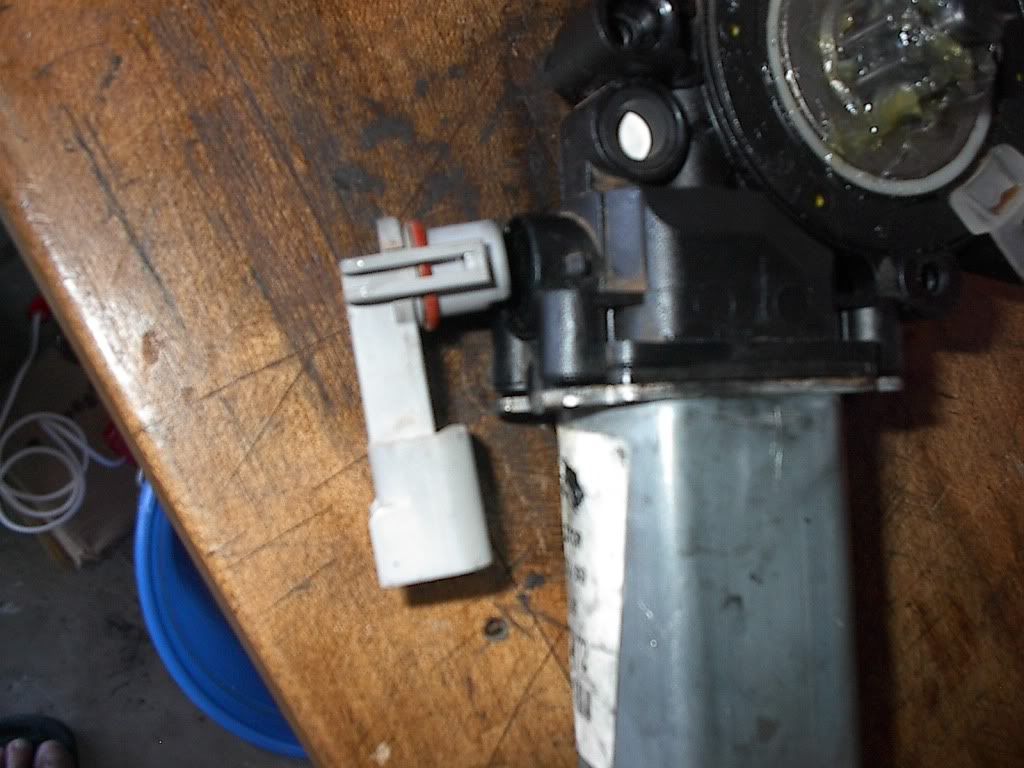
3. Remove the electrical plug. Just has two tabs on each side that need to be pulled out and can be removed.

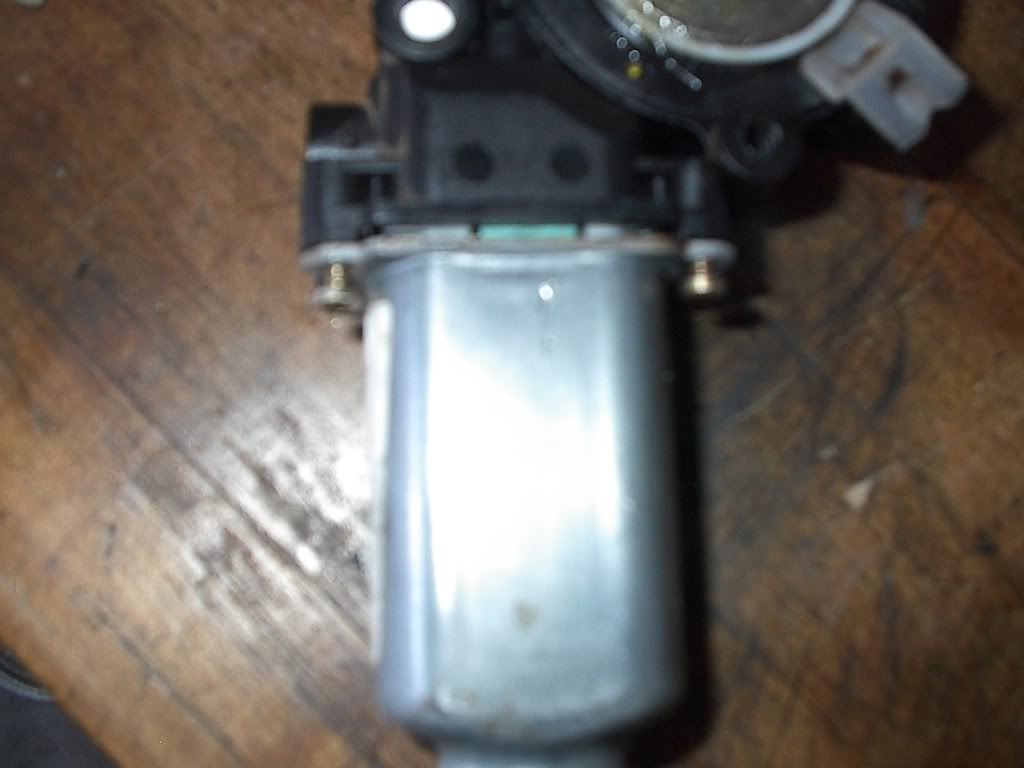
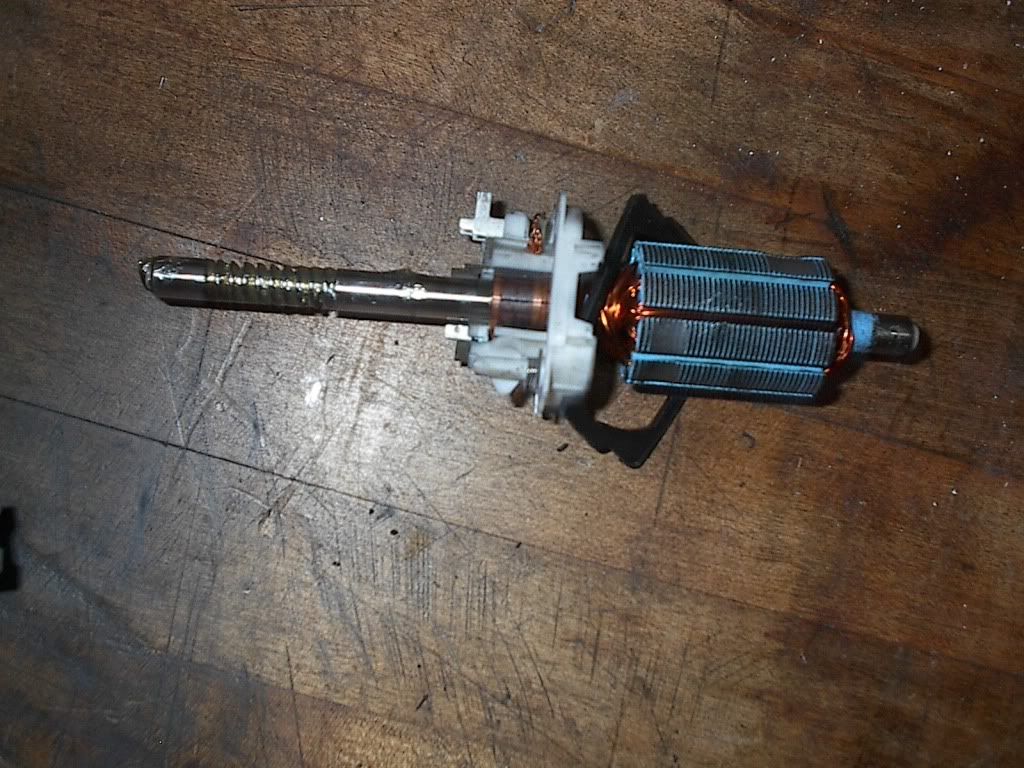
4. Remove the casing and pull the housing off. Then you can pull out the shaft and plastic center piece where the brushes are encased.
Here is another pic of the brushes and plastic casing (sorry for the bad pic) :

One of my brushes was stuck and caked with grease/dirt not allowing to make good contact and move in/out.
5. Clean the shaft, casing, and brushes. I used electrical parts cleaner.
6. Lubricate both ends of the shaft and the main drive gear.
7. Put the brush assembly back onto the shaft. Make sure they are aligned on the middle section.. Then push the shaft back into the motor assembly. Tricky part was to get it assembled w/o the brushes getting out of place. They need to ride on the middle section of the shaft as you can see in the previous pic. You have to push pretty hard to get the shaft to seat correctly.
8. Install the casing, screws and plug.
9. Test the motor before installing by plugging in the motor and switch to make sure it is working correctly.
10. When installing the motor I had to move the gear with the switch so it seated correctly. (Don't forget about the tape)
This is really easy to do and worth a try if you think you are having a problem with the motor. I know this has been discussed here before but just thought I would share my experience and some pics. I'm also going to lube the tracks with some silicon spray and then have a couple beers.
1. Remove motor. See post 10 in this thread for how to: https://www.ford-trucks.com/forums/9...ml#post8289923
Thanks to Nolan and Robin
2. Remove the four torx head screws holding the casing. Also, I scribed both sides for re-install purposes.
3. Remove the electrical plug. Just has two tabs on each side that need to be pulled out and can be removed.
4. Remove the casing and pull the housing off. Then you can pull out the shaft and plastic center piece where the brushes are encased.
Here is another pic of the brushes and plastic casing (sorry for the bad pic) :
One of my brushes was stuck and caked with grease/dirt not allowing to make good contact and move in/out.
5. Clean the shaft, casing, and brushes. I used electrical parts cleaner.
6. Lubricate both ends of the shaft and the main drive gear.
7. Put the brush assembly back onto the shaft. Make sure they are aligned on the middle section.. Then push the shaft back into the motor assembly. Tricky part was to get it assembled w/o the brushes getting out of place. They need to ride on the middle section of the shaft as you can see in the previous pic. You have to push pretty hard to get the shaft to seat correctly.
8. Install the casing, screws and plug.
9. Test the motor before installing by plugging in the motor and switch to make sure it is working correctly.
10. When installing the motor I had to move the gear with the switch so it seated correctly. (Don't forget about the tape)
This is really easy to do and worth a try if you think you are having a problem with the motor. I know this has been discussed here before but just thought I would share my experience and some pics. I'm also going to lube the tracks with some silicon spray and then have a couple beers.
#2
09-04-2010, 04:11 PM

Great write-up.
The only suggestion I would make is that you move the photos to one of your FTE galleries and then link from the photos there. That way, if your Photobucket account goes dormant, users, even years from now, will be able to see your photos.
Reps coming to you for the nice write-up.
Pop
The only suggestion I would make is that you move the photos to one of your FTE galleries and then link from the photos there. That way, if your Photobucket account goes dormant, users, even years from now, will be able to see your photos.
Reps coming to you for the nice write-up.
Pop
#3
09-04-2010, 06:22 PM
Thanks for the reps Marv! I cleaned the tracks with compressed air and sprayed them with silicon spray lubricant and it's like having new power windows. I'm going to do the same to the drivers side for preventative maintenance. Good idea with the gallery. I had a problem when I was trying to set up the gallery. I don't remember the problem but I'll try to figure that out.
#4
09-06-2010, 06:54 PM
I did my drivers side. Sprayed the tracks took apart the motor for cleaning. Put everything back together and the motor did not work. . After taking it apart a couple of times no luck. I was thinking no good deed go unpunished.
  Finally took the four screws out on the casing with it plugged in and moved it in and out and started working again. Not sure if the brushes were not making good contact or what happened. They seem lined up to me. Hopefully this will help someone in the future.
. After taking it apart a couple of times no luck. I was thinking no good deed go unpunished. Finally took the four screws out on the casing with it plugged in and moved it in and out and started working again. Not sure if the brushes were not making good contact or what happened. They seem lined up to me. Hopefully this will help someone in the future.

#7
09-06-2010, 07:37 PM


Trending Topics
#8
09-06-2010, 08:01 PM
test.....
Thanks for posting that up Robin. It's not working for me. Maybe not a supporter. If you could do me a favor and post the other ones. That was the best pic. I guess my camera is not very good.......lol....Do you see the worn out spots on the right hand side? Not sure the proper name for it? My only guess was that was caused from grease/dirt rubbing between.
Thanks for posting that up Robin. It's not working for me. Maybe not a supporter. If you could do me a favor and post the other ones. That was the best pic. I guess my camera is not very good.......lol....Do you see the worn out spots on the right hand side? Not sure the proper name for it? My only guess was that was caused from grease/dirt rubbing between.
#9
09-06-2010, 08:29 PM
#10
09-06-2010, 08:32 PM
The worm-drive gear does look a bit worn out on the right end.
You have a good camera as you can see in pic I posted. You just need to be sure
object is in focus and camera is steady (or use flash).
I will post the pics with reference to the step they are for.
You can then edit your post to let readers know they can be found in this post.
Step 2 Pic:

Step 3 Pic:
Step 4 Pics:


Step 6 Pic same as first pic in step 4.
You have a good camera as you can see in pic I posted. You just need to be sure
object is in focus and camera is steady (or use flash).
I will post the pics with reference to the step they are for.
You can then edit your post to let readers know they can be found in this post.
Step 2 Pic:
Step 3 Pic:
Step 4 Pics:
Step 6 Pic same as first pic in step 4.


Thread
Thread Starter
Forum
Replies
Last Post
Big-old-460
1987 - 1996 F150 & Larger F-Series Trucks
314
09-21-2016 10:38 PM
now_what
Big Block V8 - 385 Series (6.1/370, 7.0/429, 7.5/460)
13
09-01-2015 10:23 AM