
 11-07-2014, 01:39 PM
Last edit by: IB Cristina
See related guides and technical advice from our community experts:
Browse all: Interior Guides
- Why Do My Vents Blow Only Hot or Cold Air?
Guide to diagnose trouble and recommended solutions
Browse all: Interior Guides

air conditioner blows thew the defrost


#2
07-29-2009, 09:42 PM
the air doors inside the duct are controlled by vacuum cylinders. if you loose vacuum, the cylinders go to the default position, and air comes out the defronst. normal areas to loose vacuum are cracked hoses at the firewall under the hood, between glove box, and center of truck,,, and the vacuum canister outside of the battery, in the fender well. small crack in hose or TEE will cause the problem.
#3
03-06-2010, 09:15 PM

Air Conditioner blows out the defrost
I have a 2003 F-150 King Ranch 5.4 My air conditioner is also only blowing out of the defrost when set on "max a/c" however when I change the setting to "vent" the flap will open and blow out of the vents just not cold air. I have taken the dash off and watched the flap open and close when set to "max a/c" it will blow out of vents for a few minutes and then the flap will close and it will start blowing out of defrost...any suggestions on fixing would be appreciated
#4
03-07-2010, 08:22 AM
you still have a vacuum problme... there is a 3rd vacuum door that controls inside or outside air. It is normally set to suck in outside air. When you put it on "max" the 3rd door closes off the outside air and make the fan suck "recirculation" air from inside. That door is somewhere by the passenger side feet. VAacuum loss could be in the selector **** contol system, or a hose
#5
03-12-2010, 06:30 PM

vacuum problem most likely
you still have a vacuum problme... there is a 3rd vacuum door that controls inside or outside air. It is normally set to suck in outside air. When you put it on "max" the 3rd door closes off the outside air and make the fan suck "recirculation" air from inside. That door is somewhere by the passenger side feet. VAacuum loss could be in the selector **** contol system, or a hose
#6
06-22-2010, 11:52 PM

Freshman User
Join Date: Mar 2003
Location: South Eastern U.S.
Posts: 44
Likes: 0
Received 0 Likes
on
0 Posts
I have a 2003 F-150 King Ranch 5.4 My air conditioner is also only blowing out of the defrost when set on "max a/c" however when I change the setting to "vent" the flap will open and blow out of the vents just not cold air. I have taken the dash off and watched the flap open and close when set to "max a/c" it will blow out of vents for a few minutes and then the flap will close and it will start blowing out of defrost...any suggestions on fixing would be appreciated
If when set to MAX air, the vents shut off and the air blows through the defrost vent, then this is the part that is bad. Ford sells the part for $479 but you can get a refurbished from Auto & Truck Electronics with a lifetime warranty for $125. The OEM part number is 2L3H18C612AA. Here is the link: ATE:High Quality Rebuilds at Exceptional Pricing
#7
06-23-2010, 07:31 AM
Junior User
Join Date: Jun 2010
Location: Dover, NY
Posts: 60
Likes: 0
Received 0 Likes
on
0 Posts
Trending Topics
#8
06-23-2010, 10:44 AM
#10
06-23-2010, 08:52 PM
#11
06-24-2010, 11:57 AM

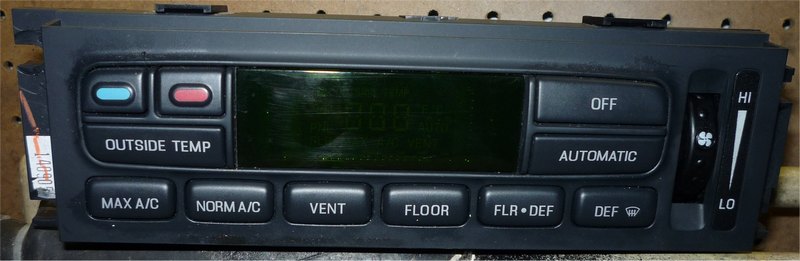
The Electronic Automatic Temperature Control (EATC) module used in Mercury Marauders, Grand Marquis, Crown Vics, Town Cars, F-series trucks, and numerous other Ford vehicles are essentially the same, with some minor functional and cosmetic differences, but they are the same inside. When the o-rings fail, the default setting allows air to only exit through the defrost vents. This is not the only condition that can cause this problem, but it’s the cause in over 80% of cases when an EATC is involved. If your truck or car has ***** rather than electronic buttons, this is not a solution for you.
These instructions were written by a fellow Mercury Marauder owner who has experienced the failing o-ring syndrome of Ford’s EATC module, so I can’t take credit for it other than some minor editing. I have repaired a few of these and it's pretty easy.
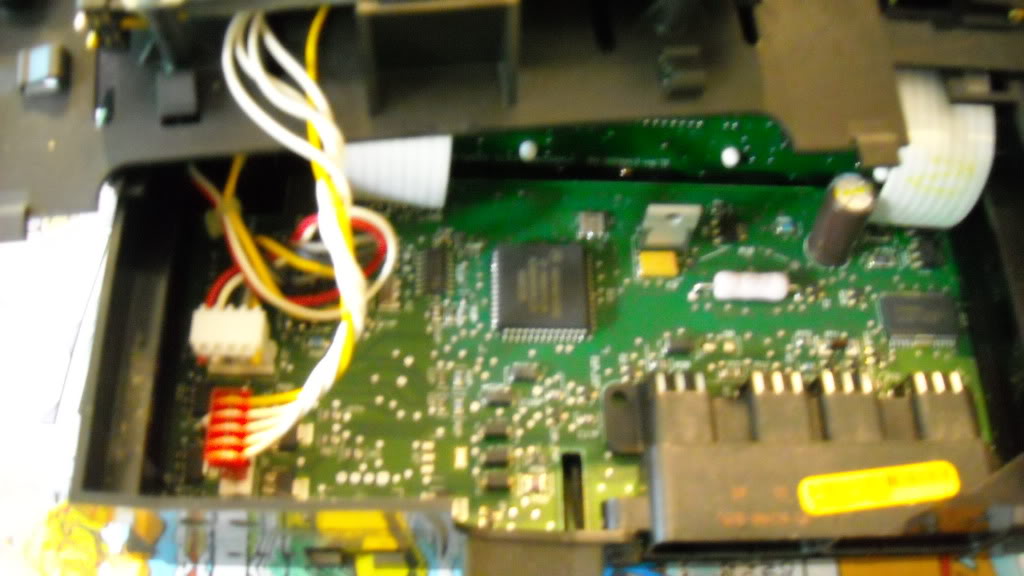
Remove the Electronic Automatic Temperature Control (EATC) module from the dash. The EATC is usually mounted by four screws hidden behind a snap-on trim panel around the face of the module. Once you remove the screws, pull the module outward to get behind the unit to disconnect the vacuum and electrical connectors at the back of the module and remove the module from the dash.
Replacing the o-rings requires disassembly of the solenoids, but that's really not that hard to do, if you have reasonably good mechanical aptitude. But first, make sure they hold vacuum when not energized. Connect a hose to the center vacuum port (where the black vacuum tube was connected) and suck it.
It should hold vacuum. If it doesn't, the following fix probably isn't for you.
I used o-rings from McMaster Carr. You can get 100 for about $5, part number 936K12, silicon #007 o-rings. You will only need four. If you need some you can pm me for my address and send me a self addressed stamped envelope and I’ll send you some.
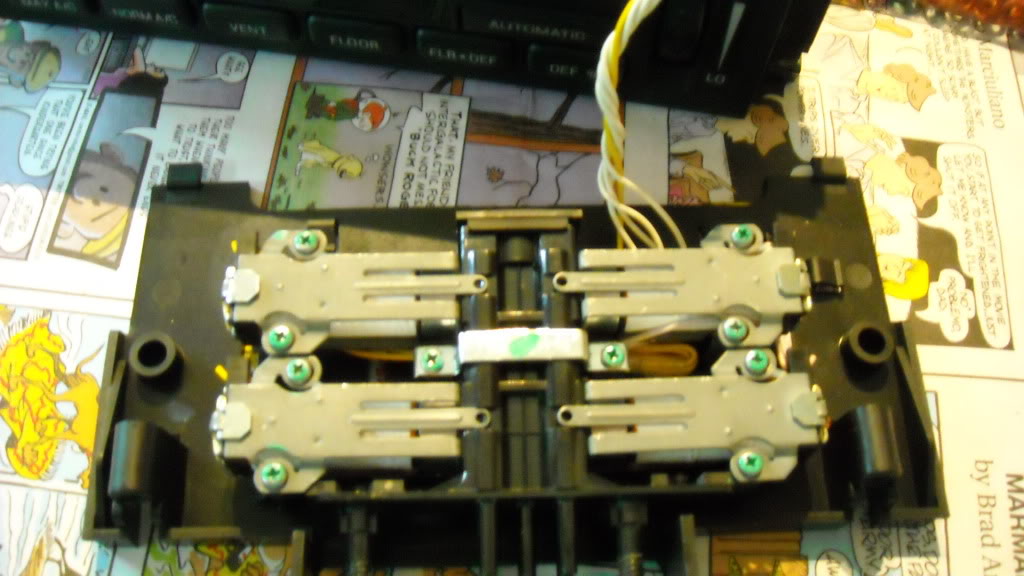
The solenoid assembly comes off the EATC module by unscrewing the two T-20 Torx screws on the backside of the module. Pivot the rear of the assembly up, and disengage the tabs at the front of the module. Disconnect the solenoid connector.
Lay the solenoid assembly on it's back, and remove the 10 screws holding the solenoids and plenum strap to the plastic frame.
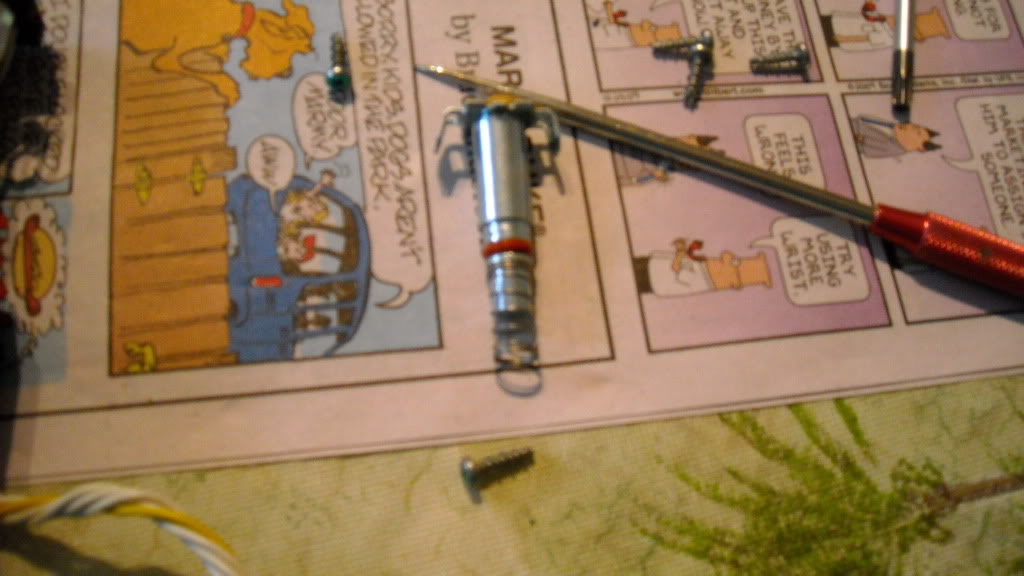
At the wiring end of each solenoid, you'll see two metal tabs folded over, that hold the solenoid coil and armature to the solenoid frame. Straighten these tabs and then carefully pull out the armature, while watching you don't lose the spring or plunger that are inside. Note the o-ring on the armature. That's what we're after.
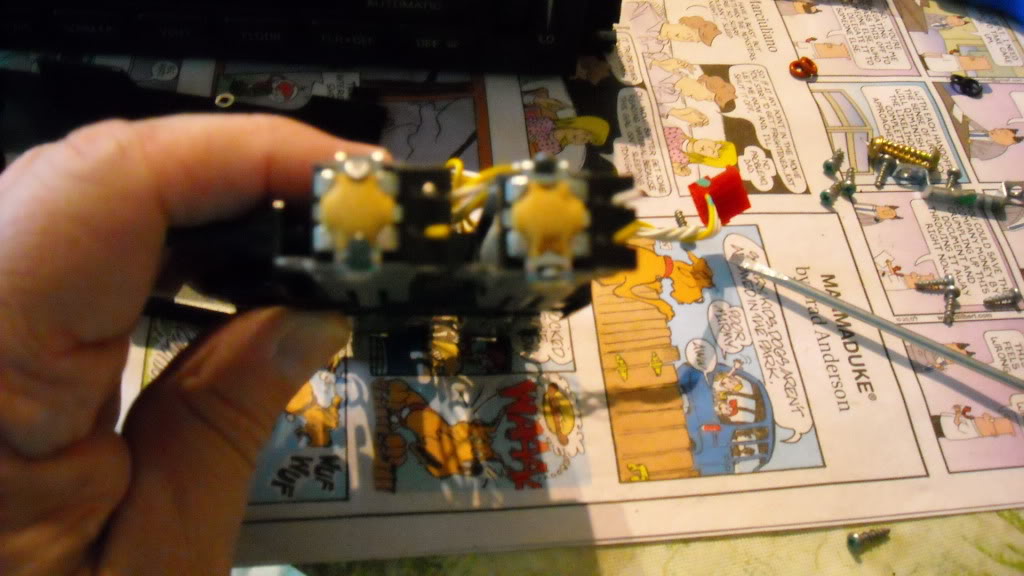
Next, slide the coil off the end of the plenum tube, and then pinch the ends of the solenoid frame together to release it from the plenum. Once the solenoid is all apart, fit the armature back into the end of the plenum tube to check that the o-ring has a good snug fit. If it does, clean the inside of the tube, and reassemble the solenoid. You can replace the o-ring if you like, but if it fits well, there's no need.
Make sure you pay attention to the screw flanges on the solenoid frame. Pinch the end of the frame together to fit it back onto the plenum. The spacer that goes at the plenum end of the solenoid has the inside diameter undercut, and four grooves. The undercut end goes toward the plenum, and you'll see four ribs at the base of the plenum tube that mate with the four grooves in the spacer.
The armature slides back on next, followed by the plunger, and then the spring. (The flat end of the plunger goes into the hole first, if you missed how it came out.) Use a bit of dielectric grease on the o-ring, (I used Nylog) but do not use any oil or anything on the plunger. Make sure the tip of the armature where the plunger seals against it, is clean and shiny. Don't get any dielectric grease on the
tip of the armature. Clean and dry is what you want here. Slide the armature back into the end of the solenoid, and while pressing everything back together, fold the metal tabs back over.
Repeat this for each of the four solenoids.
You might be tempted to only replace the O-ring on the leaking solenoid only, and leave it at that. Don't- do all four while you’re there!
These instructions were written by a fellow Mercury Marauder owner who has experienced the failing o-ring syndrome of Ford’s EATC module, so I can’t take credit for it other than some minor editing. I have repaired a few of these and it's pretty easy.
Remove the Electronic Automatic Temperature Control (EATC) module from the dash. The EATC is usually mounted by four screws hidden behind a snap-on trim panel around the face of the module. Once you remove the screws, pull the module outward to get behind the unit to disconnect the vacuum and electrical connectors at the back of the module and remove the module from the dash.
Replacing the o-rings requires disassembly of the solenoids, but that's really not that hard to do, if you have reasonably good mechanical aptitude. But first, make sure they hold vacuum when not energized. Connect a hose to the center vacuum port (where the black vacuum tube was connected) and suck it.
It should hold vacuum. If it doesn't, the following fix probably isn't for you.
I used o-rings from McMaster Carr. You can get 100 for about $5, part number 936K12, silicon #007 o-rings. You will only need four. If you need some you can pm me for my address and send me a self addressed stamped envelope and I’ll send you some.
The solenoid assembly comes off the EATC module by unscrewing the two T-20 Torx screws on the backside of the module. Pivot the rear of the assembly up, and disengage the tabs at the front of the module. Disconnect the solenoid connector.
Lay the solenoid assembly on it's back, and remove the 10 screws holding the solenoids and plenum strap to the plastic frame.
At the wiring end of each solenoid, you'll see two metal tabs folded over, that hold the solenoid coil and armature to the solenoid frame. Straighten these tabs and then carefully pull out the armature, while watching you don't lose the spring or plunger that are inside. Note the o-ring on the armature. That's what we're after.
Next, slide the coil off the end of the plenum tube, and then pinch the ends of the solenoid frame together to release it from the plenum. Once the solenoid is all apart, fit the armature back into the end of the plenum tube to check that the o-ring has a good snug fit. If it does, clean the inside of the tube, and reassemble the solenoid. You can replace the o-ring if you like, but if it fits well, there's no need.
Make sure you pay attention to the screw flanges on the solenoid frame. Pinch the end of the frame together to fit it back onto the plenum. The spacer that goes at the plenum end of the solenoid has the inside diameter undercut, and four grooves. The undercut end goes toward the plenum, and you'll see four ribs at the base of the plenum tube that mate with the four grooves in the spacer.
The armature slides back on next, followed by the plunger, and then the spring. (The flat end of the plunger goes into the hole first, if you missed how it came out.) Use a bit of dielectric grease on the o-ring, (I used Nylog) but do not use any oil or anything on the plunger. Make sure the tip of the armature where the plunger seals against it, is clean and shiny. Don't get any dielectric grease on the
tip of the armature. Clean and dry is what you want here. Slide the armature back into the end of the solenoid, and while pressing everything back together, fold the metal tabs back over.
Repeat this for each of the four solenoids.
You might be tempted to only replace the O-ring on the leaking solenoid only, and leave it at that. Don't- do all four while you’re there!
#12
08-04-2010, 11:01 AM

2002 f150...When attempting to repair ac vacuum line in engine compartment, I pulled too hard on the vacuum line going through the firewall and line with a rubberized fitting came lose. I think this must have been connected ultimately to the AC control unit because now I only get air out the defrost whereas before this would only happen when I would accelerate. Does anyone have a way to either retrieve the lose vacuum hose through the small hole in the firewall? I also thought about just running a new vacuum line to the control unit, but not sure which line (color) it would replace. Any suggestions?
#13
08-04-2010, 03:45 PM

My experience shows that it is likely the o'rings as identified by Marauder 2004. I installed 007 the first time but had to redo it in about 6 months and installed 008 the next time. Seemed to seal better. Put a little synthetic oil on your fingers and rub the o'ring to lube it a little before installing will also help keep it from tearing and create a better seal. You can get th o'rings at any hydraulic hose repair place locally. (These are not #7 or #8 from Lowes. They are very small.
#14
10-07-2010, 05:25 PM

#15
10-08-2010, 11:01 PM