Radio Interchangeability
#1
Radio Interchangeability
1979 F250...Looking to go back to a factory radio in the truck, the previous owner had swapped it for a stock-looking Panasonic in 1988 but its barely functional.
What years can I look at without worrying about the wiring/antenna/dash connections? I can improvise a little with wiring obviously, but am not nearly as familiar with these as modern radio swaps.
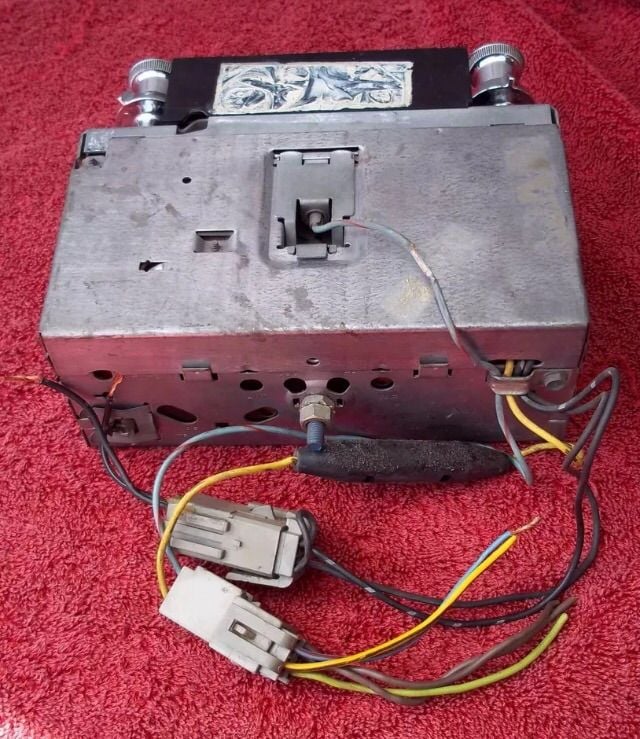
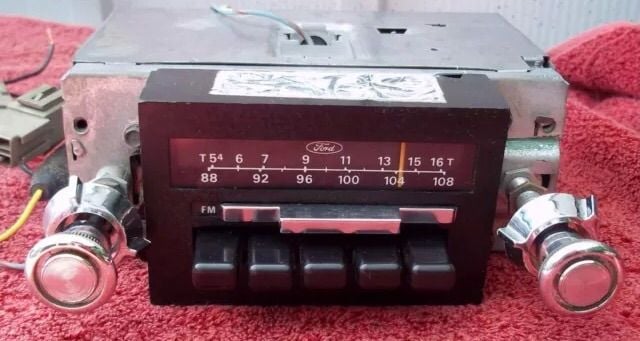
I've got one available from 1978 that I imagine would be fine, but I've found a much cleaner one from an "80's truck small case radio". Wiring looks a little different that the 70's one, but otherwise looks like it would work fine. I've seen that the aftermarket digital ones advertise fitting 1973-1986...think it would apply the same to stock radios?
#2
Wiring on a 73-76 stereo can be a 2 prong with round bullet style type connectors in a half block step plug set up.
And a 77-79 stereo is a 2 wire green (on the truck side) plastic square connector, black or green on the stereo side.
Antenna plug is same same 73-79 and into the 80's. I have pics and more stereo wiring info on my lap top, I will dig it out tonight.
Or here is some of it. https://www.ford-trucks.com/forums/1...-problems.html
And some more. https://www.ford-trucks.com/forums/1...l#post15498922
#3
#4
#5
#6
The antenna location matches up with the stock one. After blowing up the pictures on an actual computer, I realized that the 80's case is slightly larger than the stock radio. Tomorrow will bring tearing apart the dash to see if it's going to be a deal breaker. Somehow I've managed to never tear into the dash in this truck so far.
#7
It is easy to get the dash bezel off and the radio out and the new one back in. Do you have the support bar for the back of it?
Dash bezel removal is first: Disconnect the battery, and reach up under the dash find the release button on the headlight switch. Push the button and pull the **** and shaft out as one piece. If you can not find it rear on….Then remove the 5 screws first. Far left between the headlight/wiper *****, there are 2 screws, 1 between the *****, and 1 above it, going in straight up. Moving right there are 2 more screws. 1 in the middle, 1 far right, both pointing straight up. Section heater control there is 1 screw pointing straight up.
Heater controls are in behind the dash plastic, they stay where they are, but you will slide/squeeze the levers out of way to prevent them from hooking on the dash bezel.
To remove the wiper **** it has a release clip on its shaft that you can put pressure on with small flat tip screwdriver in the tiny slot, press and release and slide the **** off.
Radio may be behind or in front the dash bezel, depending on how previous owner (P.O.) installed it. If its factory or shaft style, pull the ***** off the radio and you will see shallow nuts on the shafts. Clean the shaft threads with elec cleaner and small brush, because the shafts will strip VERY easily, use a deep set socket on them. Once the nuts are removed, there should be a plastic or metal radio plate to remove. Behind that are 2 more screws holding dash bezel to a metal bracket. But not always…
Okay, under the 3 sections that you see the gauges in, under the middle one there is a plastic tab from the dash bezel that is tucked behind the metal part of the dash. You can see the metal cutout area for it, when the headlight ****/shaft is pulled out or removed all together you can pull up on the plastic dash bezel to get the plastic tab out of the slot.
If you could not find the headlight ****/shaft release button earlier. With all screws out of dash and radio loose, you should be able to tilt it forward and see the headlight switch directly behind where the headlight **** is. So with the shaft pulled out like the headlights are on, you tilt the plastic dash bezel forward to get your hand above the switch and feel for a metal button to press and hold to release the headlight shaft from the headlight switch. **** and shaft will slide out as one piece with the button held down.
Trending Topics
#9
#11
The rest of the directions and a few other items are in here....https://www.ford-trucks.com/forums/1...then-some.html
#12
The lens is surprisingly easy to change when you have the cluster out - four push-pins to pop out, and that's it. And a new one makes a world of difference. I didn't realize how cloudy mine was until I had a new one in there.
#13
#14


