1950 ford f1 226 rebuild thread
#181
That engine looks too pretty to put oil in! Awesome build, man! I'm hoping to start putting my h series back together soon. Previous owner said it was stock, but when I got home it had 5 cylinders. 040-.049 over, and one .060 over. I had it taken to .060 over on all 6, got the rings and cups to match, and shaved the head .015 to clean it up. Hopefully mine fires up as nicely as yours. Lol
#182
Well it sure looks AND sounds great.
I had the same dilemma on how to get my engine which I rebuilt in the basement to above ground and out to the garage. (gravity put it down there)
So after cutting down a small tree and making plywood ramps over the stairs I used my old rusty S-10 to squeeze between the remaining trees and haul it up and across the yard. I kept moving the plywood along under the handcart.
It worked, no damage to my friend, me, or the engine and my wife never saw a thing.....she would have had a phone in hand with the first digits of 911 already dialed. My neighbor didn't see a thing either....I had to drive a little across his yard with that circus parade because making turns with a top-heavy engine on a cheapo handcart means you have to go wide.
Tom
I had the same dilemma on how to get my engine which I rebuilt in the basement to above ground and out to the garage. (gravity put it down there)
So after cutting down a small tree and making plywood ramps over the stairs I used my old rusty S-10 to squeeze between the remaining trees and haul it up and across the yard. I kept moving the plywood along under the handcart.
It worked, no damage to my friend, me, or the engine and my wife never saw a thing.....she would have had a phone in hand with the first digits of 911 already dialed.
 My neighbor didn't see a thing either....I had to drive a little across his yard with that circus parade because making turns with a top-heavy engine on a cheapo handcart means you have to go wide.
 Tom
#183
Well it sure looks AND sounds great.
I had the same dilemma on how to get my engine which I rebuilt in the basement to above ground and out to the garage. (gravity put it down there)
So after cutting down a small tree and making plywood ramps over the stairs I used my old rusty S-10 to squeeze between the remaining trees and haul it up and across the yard. I kept moving the plywood along under the handcart.
It worked, no damage to my friend, me, or the engine and my wife never saw a thing.....she would have had a phone in hand with the first digits of 911 already dialed. My neighbor didn't see a thing either....I had to drive a little across his yard with that circus parade because making turns with a top-heavy engine on a cheapo handcart means you have to go wide.
Tom
I had the same dilemma on how to get my engine which I rebuilt in the basement to above ground and out to the garage. (gravity put it down there)
So after cutting down a small tree and making plywood ramps over the stairs I used my old rusty S-10 to squeeze between the remaining trees and haul it up and across the yard. I kept moving the plywood along under the handcart.
It worked, no damage to my friend, me, or the engine and my wife never saw a thing.....she would have had a phone in hand with the first digits of 911 already dialed.
 My neighbor didn't see a thing either....I had to drive a little across his yard with that circus parade because making turns with a top-heavy engine on a cheapo handcart means you have to go wide.
 Tom

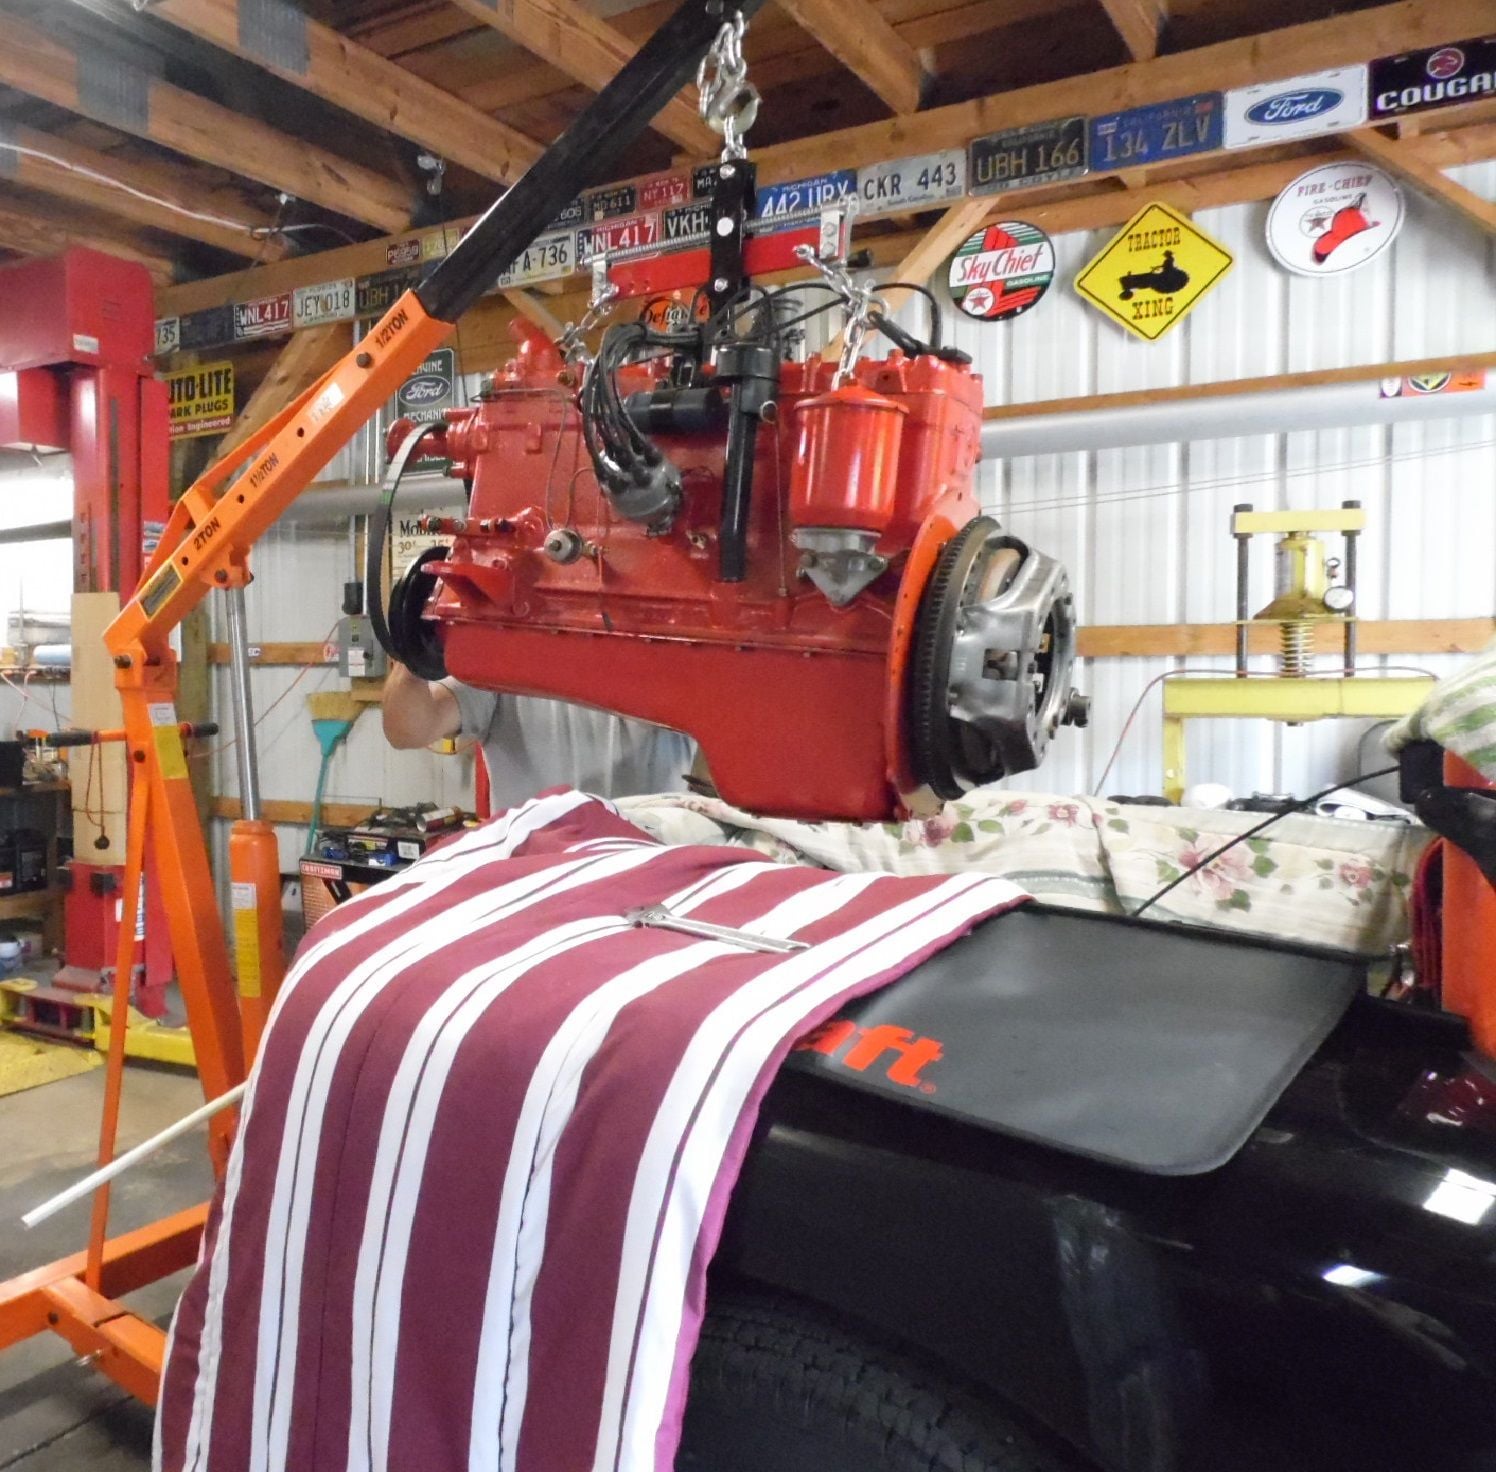
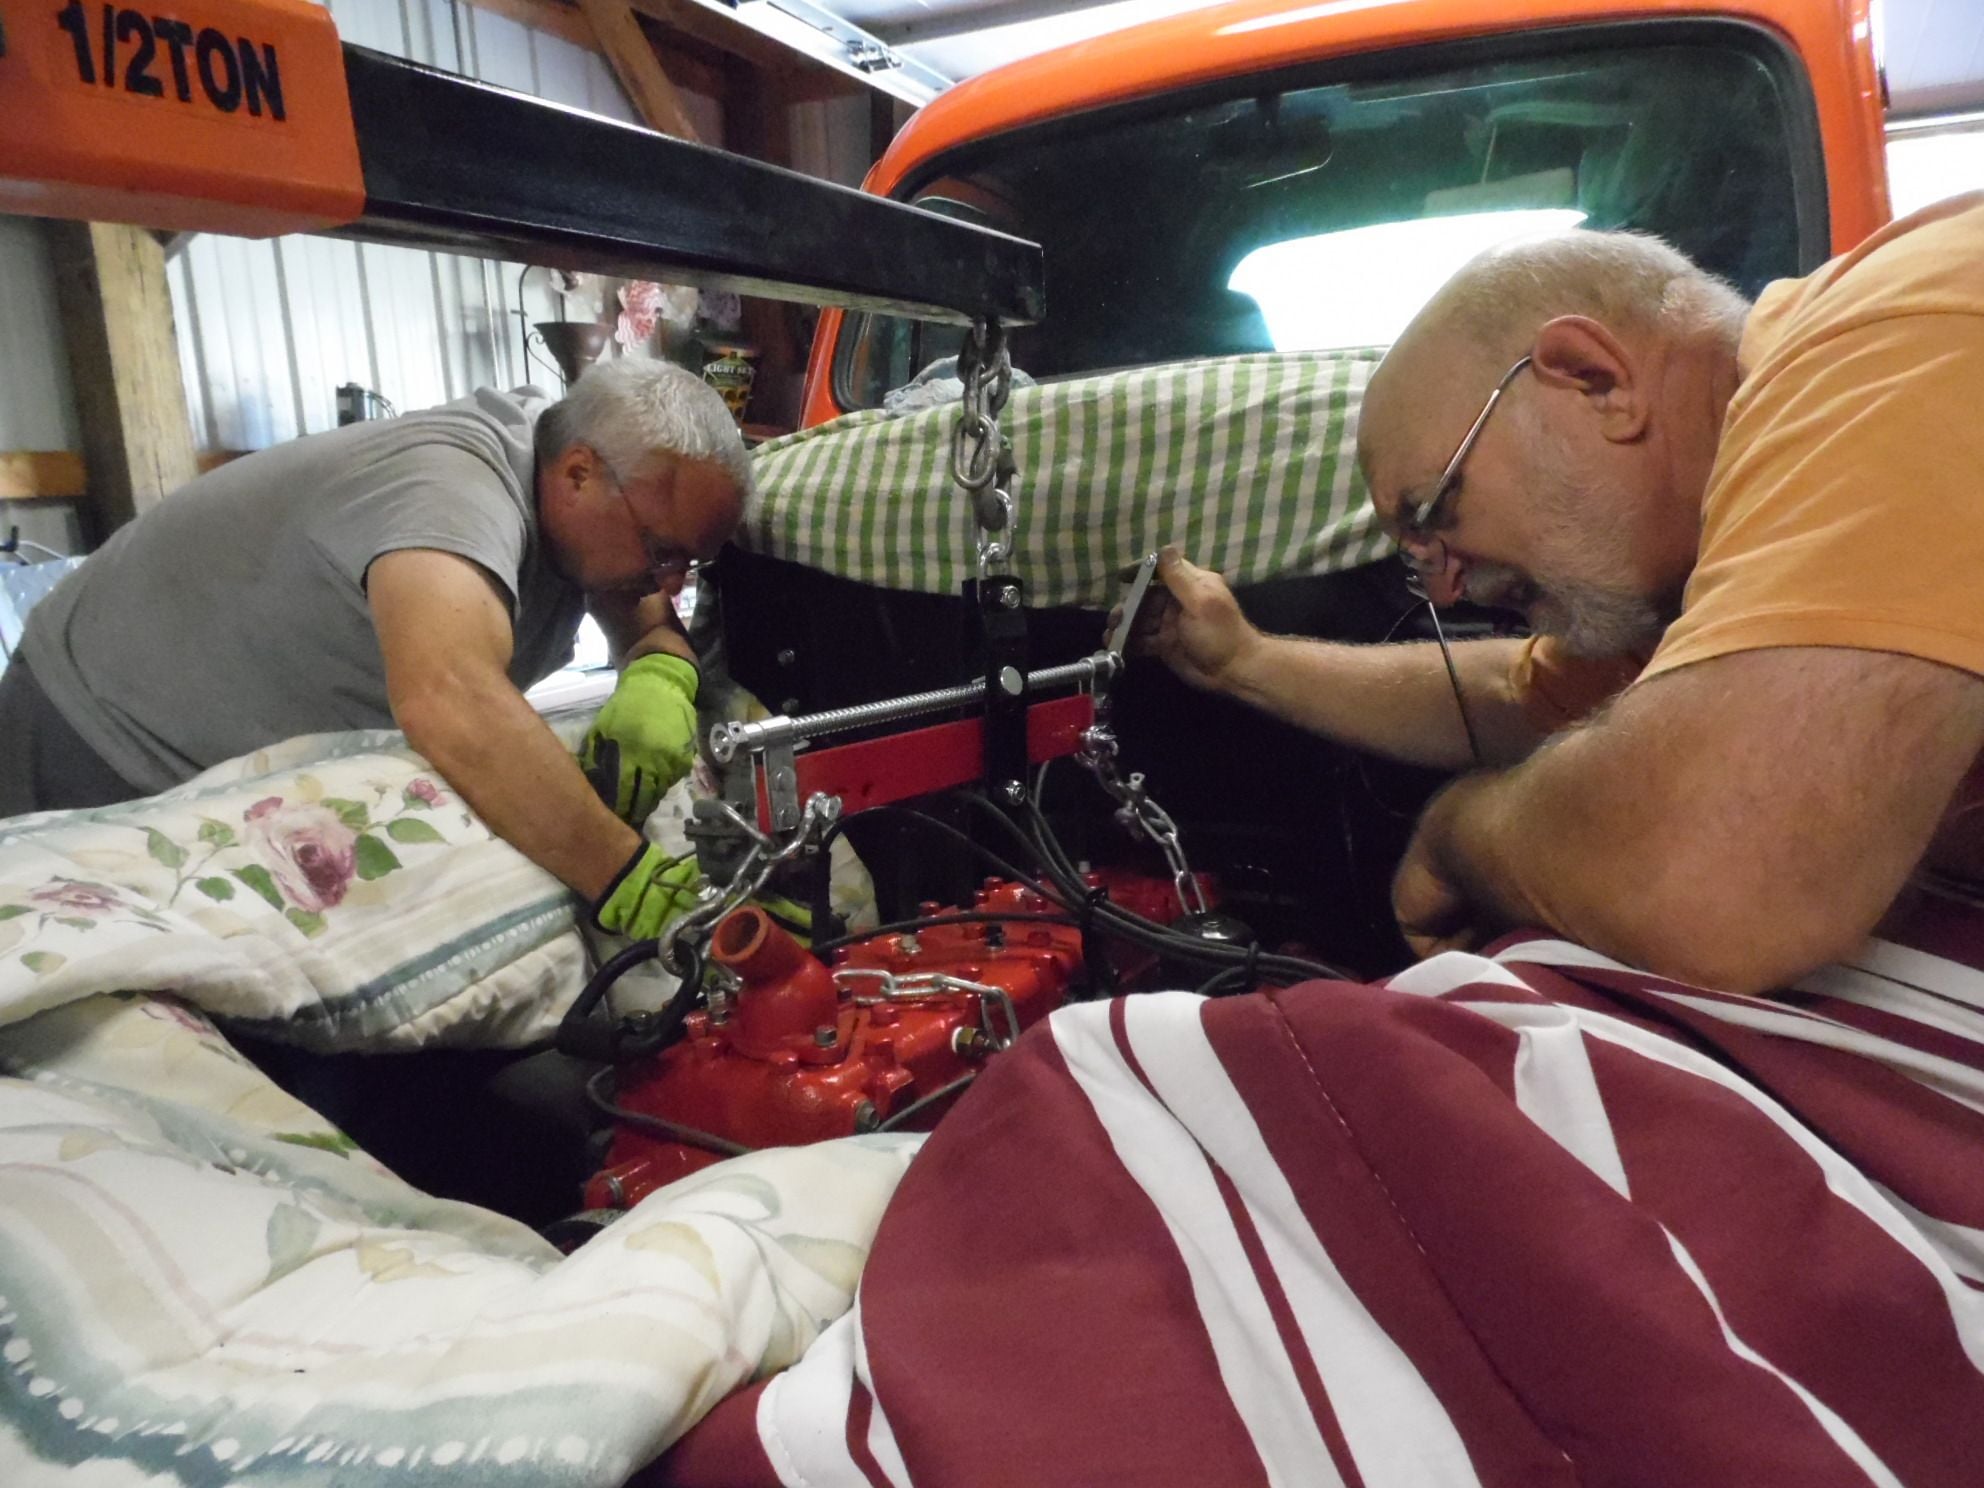
Didn't think the lift would go this high!

Engine almost in place.
#185
Well, I got the engine out of the basement and into the shop. My cleanout was leaking so today I took the pan off to seal the cleanout a little better. I was surprised to find quite a bit of sludge in the pan already and what appeared to be fine metal shavings. I had put marvel mystery oil in so hoping all of that was in the oil passages and that I don't have an issue on assembly. Filled it back up with oil and will see what pressure I get.
JB
JB
#186
Oversize bearings
That engine looks too pretty to put oil in! Awesome build, man! I'm hoping to start putting my h series back together soon. Previous owner said it was stock, but when I got home it had 5 cylinders. 040-.049 over, and one .060 over. I had it taken to .060 over on all 6, got the rings and cups to match, and shaved the head .015 to clean it up. Hopefully mine fires up as nicely as yours. Lol
#188
Got the engine warm on the stand. Oil pressure is about 30 hot idle and a little above 60 mid rpm. I checked #6 and #5 cylinders and both had 100 lbs so I called it a night. The dirt and shavings I found still bug me but I am going to run it and see if that clears up. The good news is that my cleanout isn't leaking.
#189
#190
#191
#194
Hey JB, great job on the rebuild! Quite an inspiration. I have a couple of questions for you about the clutch/backing plate...
I'm in the process of swapping in a 3 speed to replace my crashbox 4 speed. The 226 I have came with a flywheel drilled for the 11" clutch/backing plate, so I ordered replacements for both from Van Pelts... what concerns me is that the replacement backing plate looks the same as the 11" you had problems with... I'm guessing that they were ultimately manufactured by the same parts factory... Did you ever figure out exactly why it wouldn't adjust out correctly?
I also have the original 11" backing plate, which is in good condition, but needs some resurfacing. Would you suggest using this instead, as you did?
Thanks,
badger_hound
#195
Hey JB, great job on the rebuild! Quite an inspiration. I have a couple of questions for you about the clutch/backing plate...
I'm in the process of swapping in a 3 speed to replace my crashbox 4 speed. The 226 I have came with a flywheel drilled for the 11" clutch/backing plate, so I ordered replacements for both from Van Pelts... what concerns me is that the replacement backing plate looks the same as the 11" you had problems with... I'm guessing that they were ultimately manufactured by the same parts factory... Did you ever figure out exactly why it wouldn't adjust out correctly?
I also have the original 11" backing plate, which is in good condition, but needs some resurfacing. Would you suggest using this instead, as you did?
Thanks,
badger_hound
I'm in the process of swapping in a 3 speed to replace my crashbox 4 speed. The 226 I have came with a flywheel drilled for the 11" clutch/backing plate, so I ordered replacements for both from Van Pelts... what concerns me is that the replacement backing plate looks the same as the 11" you had problems with... I'm guessing that they were ultimately manufactured by the same parts factory... Did you ever figure out exactly why it wouldn't adjust out correctly?
I also have the original 11" backing plate, which is in good condition, but needs some resurfacing. Would you suggest using this instead, as you did?
Thanks,
badger_hound
JB


