1950 ford f1 226 rebuild thread
#61
I thought I had replaced all the plugs that could leak anti-freeze but apparently there is one more
#62
Hey Ross, were the "Rotomatic" values used for rebuilds? My 52 catalog does not list them, but the 56 does. Curious why the change if you knew?
Also, my 226 has the 51 press-on puller onto dampener, not the riveted on which would be correct for 1950. Everything appears original, any idea if they did a mid year change? (Not a high number-97hy308753)
Totally not trying to hijack!
Also, my 226 has the 51 press-on puller onto dampener, not the riveted on which would be correct for 1950. Everything appears original, any idea if they did a mid year change? (Not a high number-97hy308753)
Totally not trying to hijack!

#63
#64
Waiting on my gasket set to continue the engine rebuild so I am taking measurements and getting ready....
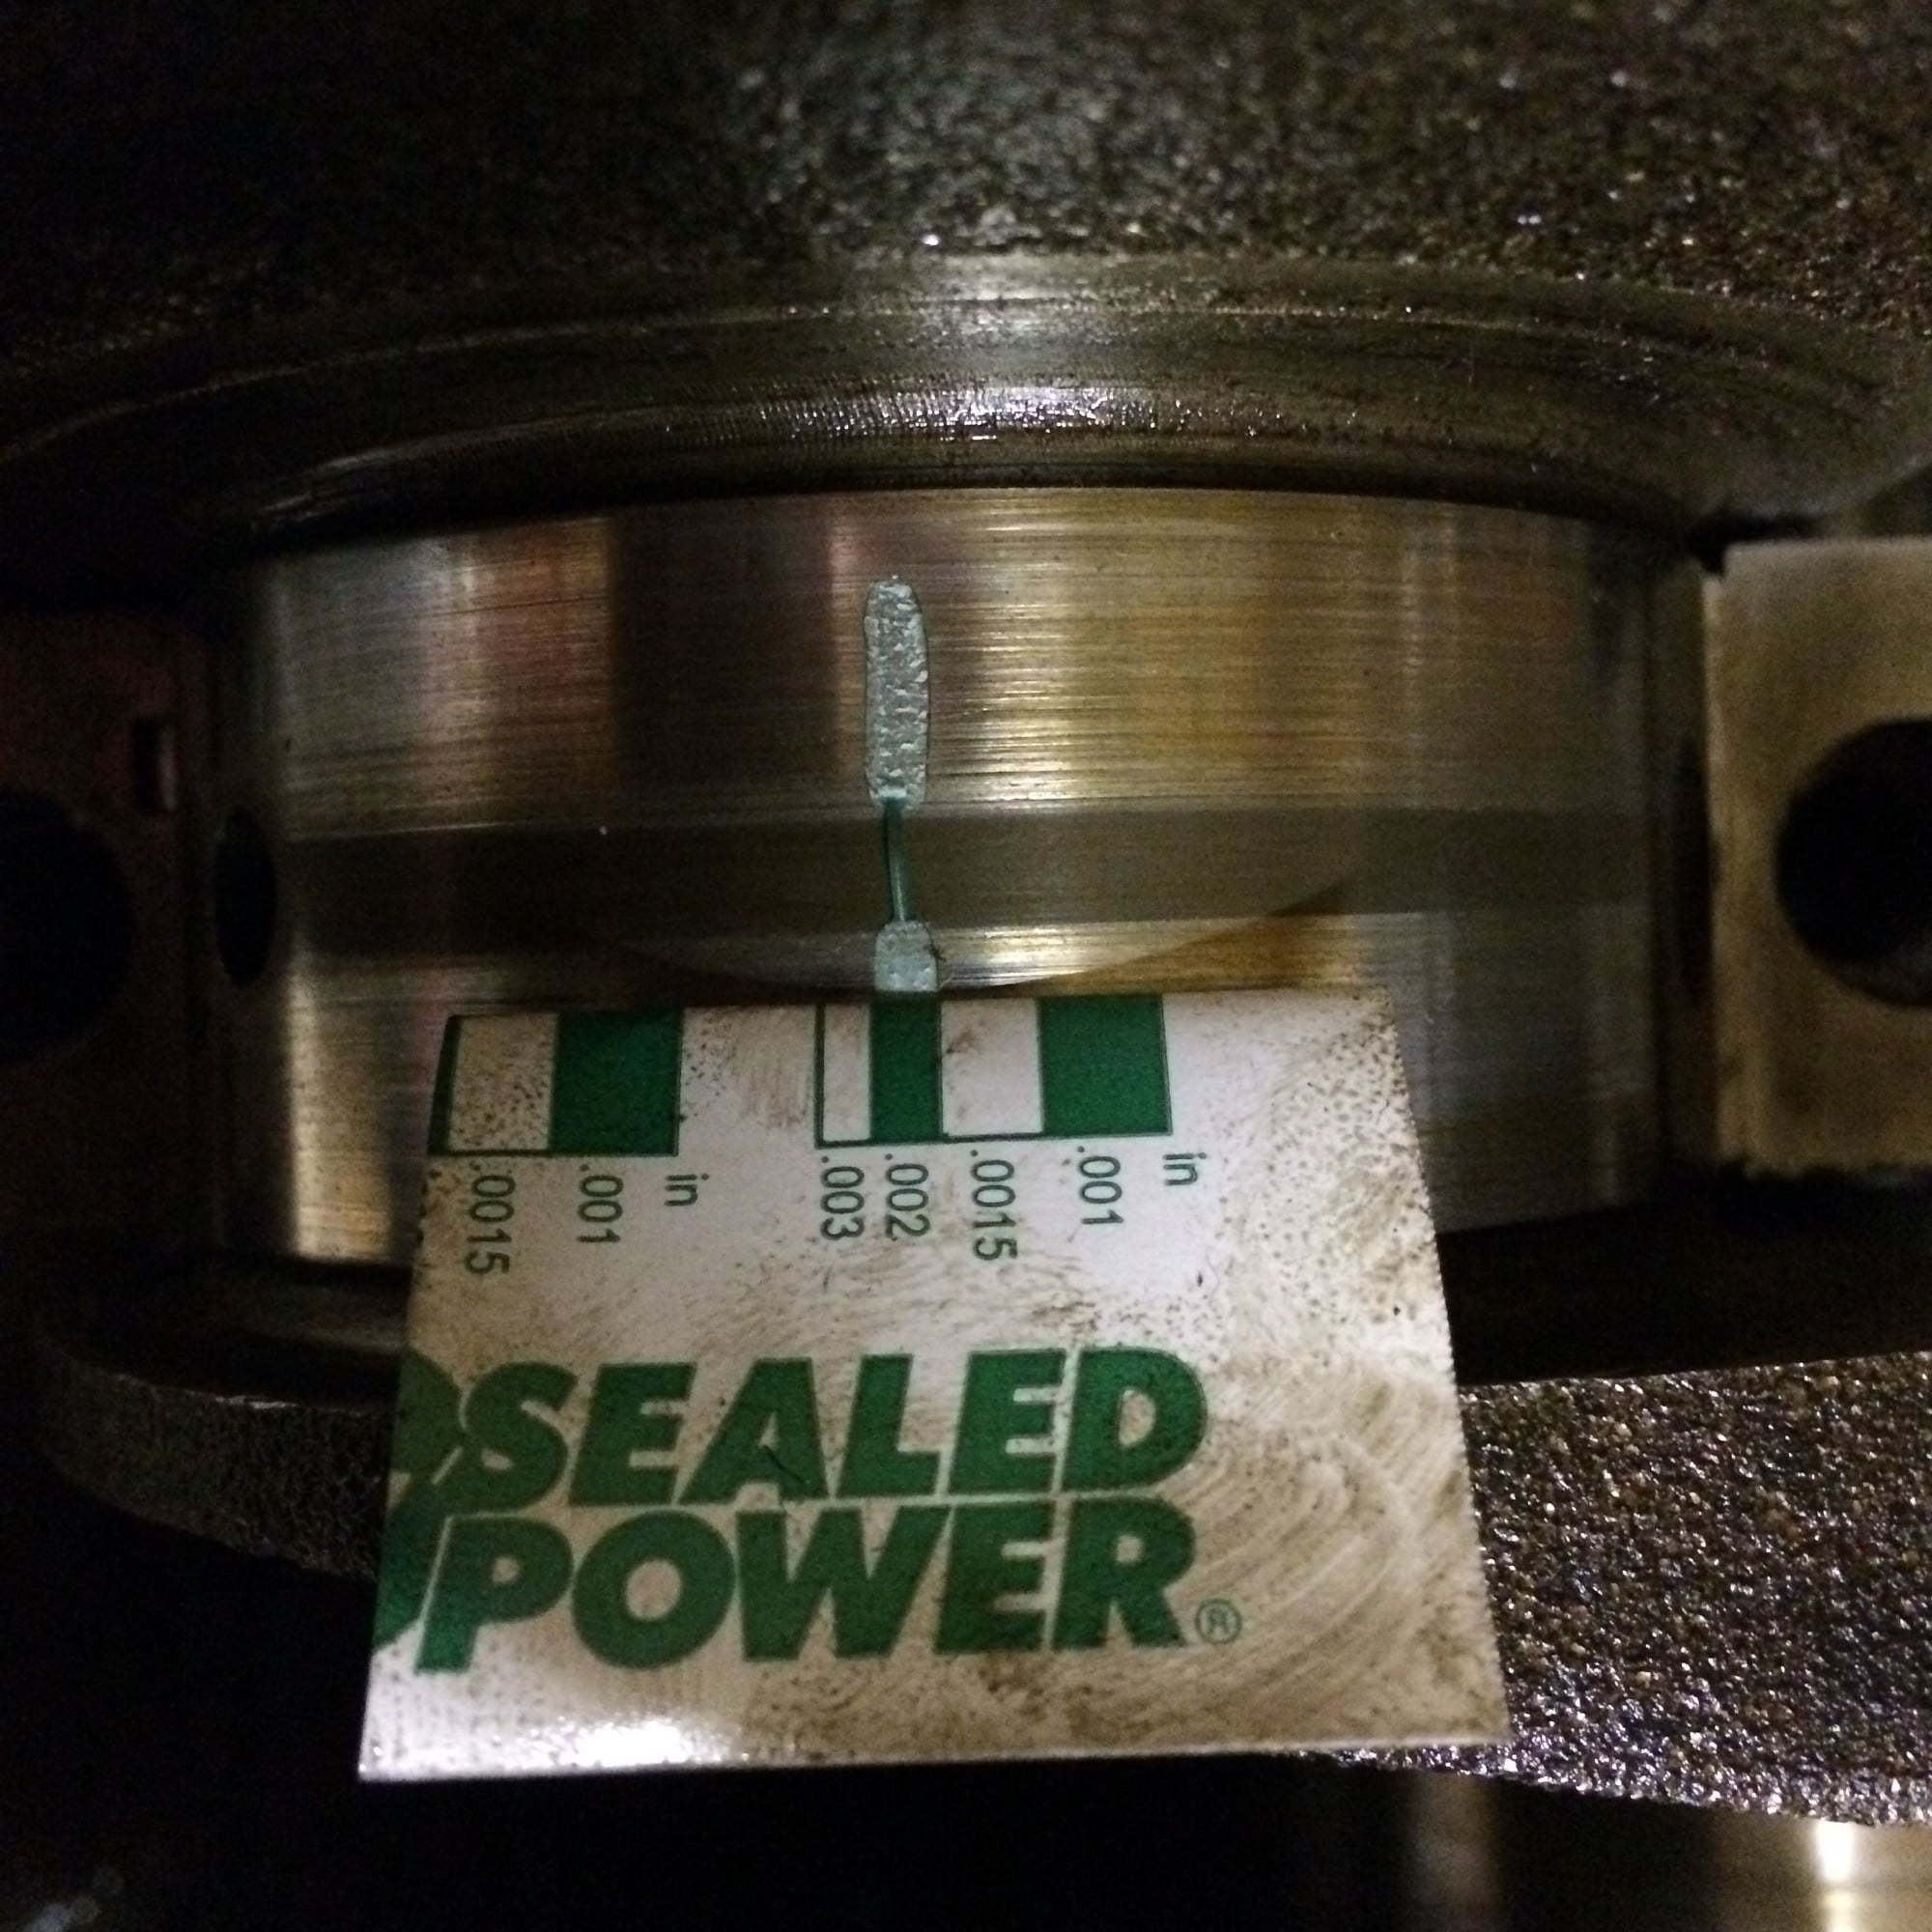
I torqued the front main down to 90lbs, and mic'd the opening. Largest reading I took was 2.871. I mic'd the crank front journal and smallest reading I took was 2.869. So I think 0.002 clearance and within spec. Problem I am having is that those values don't align with the values for standard size bearings / crank diameters in the shop manual? Am I worrying too much and it's probably my tools?
JB
#67
Waiting on my gasket set to continue the engine rebuild so I am taking measurements and getting ready....
I torqued the front main down to 90lbs, and mic'd the opening. Largest reading I took was 2.871. I mic'd the crank front journal and smallest reading I took was 2.869. So I think 0.002 clearance and within spec. Problem I am having is that those values don't align with the values for standard size bearings / crank diameters in the shop manual? Am I worrying too much and it's probably my tools?
JB
I torqued the front main down to 90lbs, and mic'd the opening. Largest reading I took was 2.871. I mic'd the crank front journal and smallest reading I took was 2.869. So I think 0.002 clearance and within spec. Problem I am having is that those values don't align with the values for standard size bearings / crank diameters in the shop manual? Am I worrying too much and it's probably my tools?
JB

#68
#69
Received my best gasket set from van pelts yesterday. Rope seals are soaking in oil now. Looking for advice on proper sequence of rear seal retainer install, front timing cover seal install, harmonic balancer install onto crank, final torquing of main caps, and cutting of rope seals. Trying to avoid leaks.....
JB
JB
#70
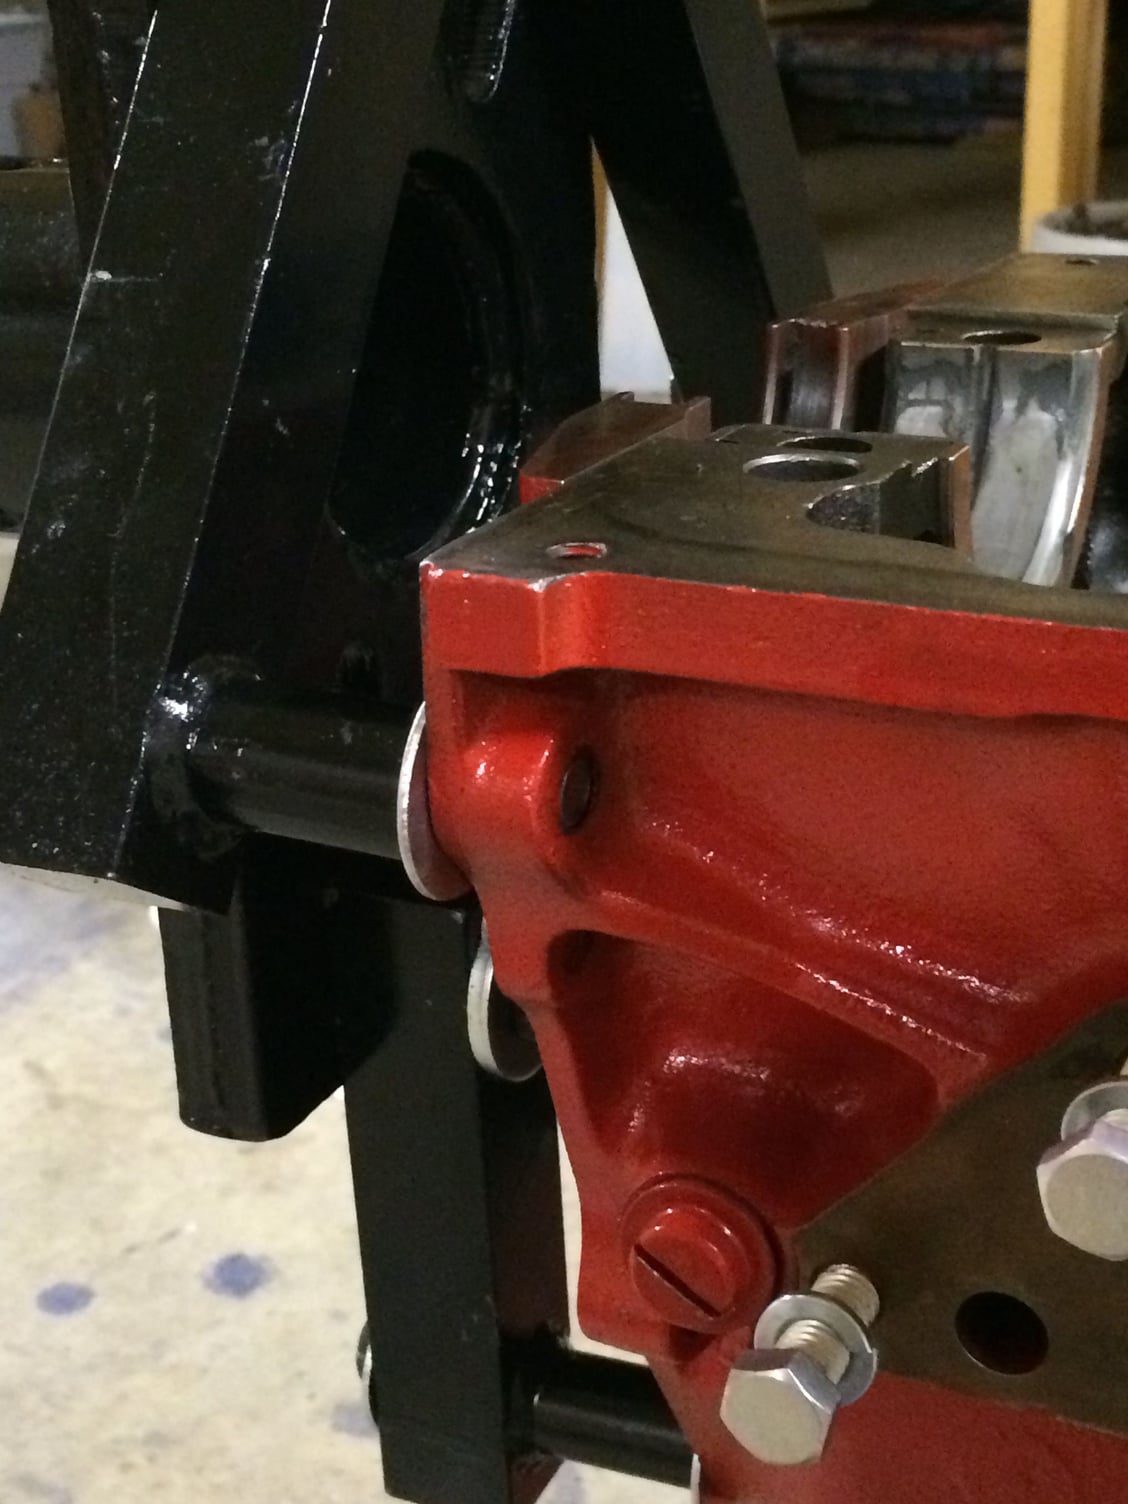
Before I install the seals and crank, I wanted to put the engine on a stand so I could flip it easily after I torque down the mains. Purchased the 1 ton HF version stand. Should I mount the stand straight to the rear of the block or attach the rear plate and bellhousing and hang from bellhousing? The rear of the block has 7/16 threads but the attach points are poor. The bellhousing will have better attach points but are only 3/8-24 and it hangs it out 3 or 4 more inches. Worried about snapping a bolt or cracking the block with the tension.
#71
#72
#73
Grade 5 should be OK, if they are really Gr. 5. Whatever you use it's important to torque them (all of them) down to (say) 40 ft-lbs with no weight on them.
It's about the same setup for V8's, as far as arrangement of bolts. Were you able to do any better with the head plate horizontal (90* from where it is now)? Should be fine, just watch out for it "flopping" as you rotate. Especially when the mass of the block is off to the side. Things could go bad quickly!!
Edit: could you drill some new hole in the arms on top, to raise the block closer to centered?
#75
Decided to install the rear oil seal before I hung the engine on the stand. Put the rope in the retainer and torqued down the crank to seat it, then pulled the crank to cut it flush. My razor blade will not cut through it. Any advice on what others have used? They are Best Gasket rope seals with the glittery stuff on them.


