When you click on links to various merchants on this site and make a purchase, this can result in this site earning a commission. Affiliate programs and affiliations include, but are not limited to, the eBay Partner Network.
The ratcheting straps work great. If the cab is out of balance a couple clicks on one of the ratchets and it levels right out. Now that we have done it a couple times my wife and I lift the cab with just the two of us.
Yeah I did it with just the one of me... It was a little hard. Two people would help. A lot easier than lifting it.
Hi Mike.... first off, good looking truck!! You and your wife did a lot in a few days.....
Regarding the TCI front suspension..... I assume you had it ordered for the Coyote engine? Had that option from TCI been available when I stated 52 F1 project, that would have been the way I would have gone also. Question, will the stock Coyote fit with it's original oil pan, or do you have to change and/or make modifications?
And Good Luck on your March time frame for completion.
Mark
Mark, the TCI suspension was not set up for the Coyote, I did get them to send a set of Coyote mounts though. . The suspension I bought was for the 53 to 56 trucks so the crossmember was 2" to wide for my frame, I document how I made it fit in the next series of photos. I think the Coyote would fit without pan modifications but my installation required some.
Yes I have been following your build for some time. Yours along with others on this board is where much of my inspiration comes from.
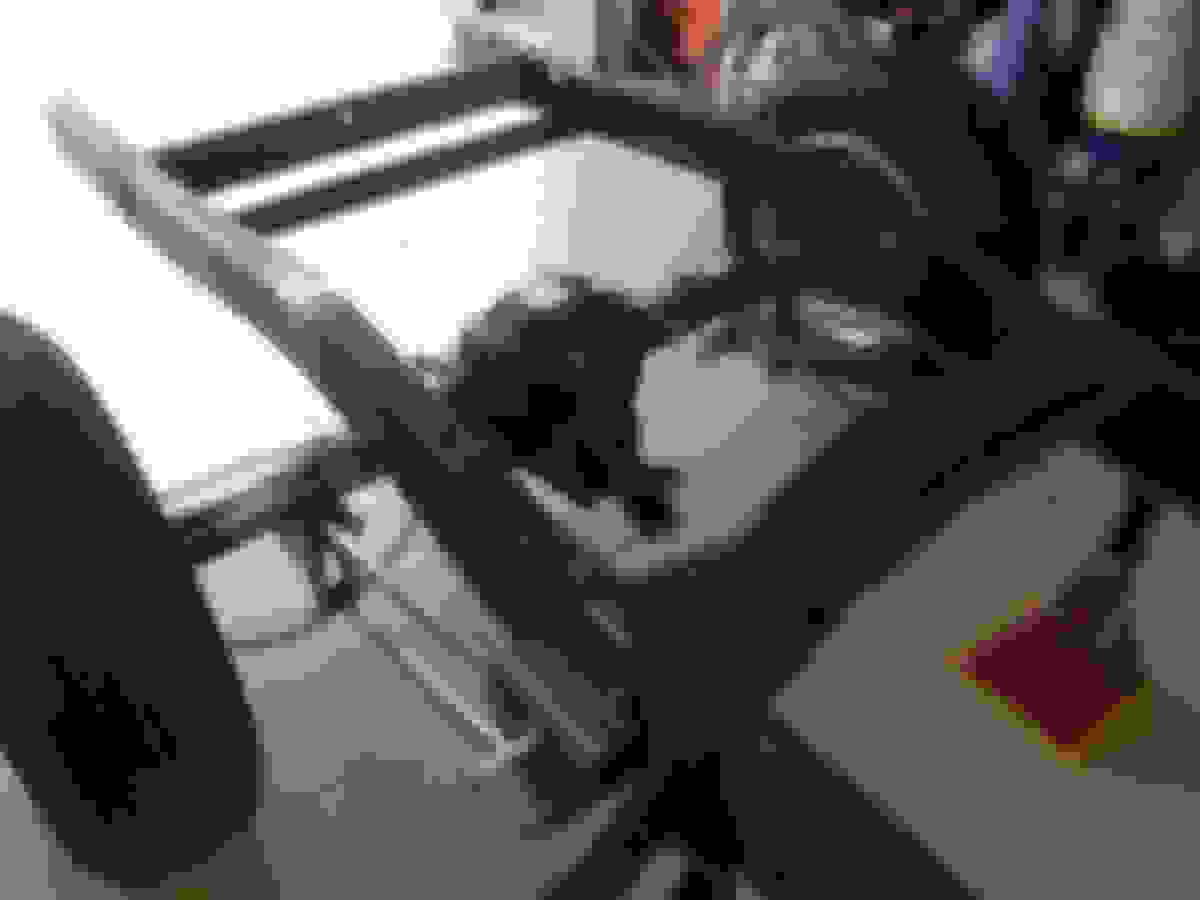
The following photos are from the second week of construction. We are moving right along as the frame will be painted outside and we need to beat the cooler weather. I try to do something on the truck every day and succeed most days. Lois (wife) helps whenever she can. I have a friend Rick who is a great machinist and welder I design what I want and give the design to him, he makes it happen. Our goal for this week was to get the frame prepped for the new suspension, tack everything together and test fit the engine and transmission.
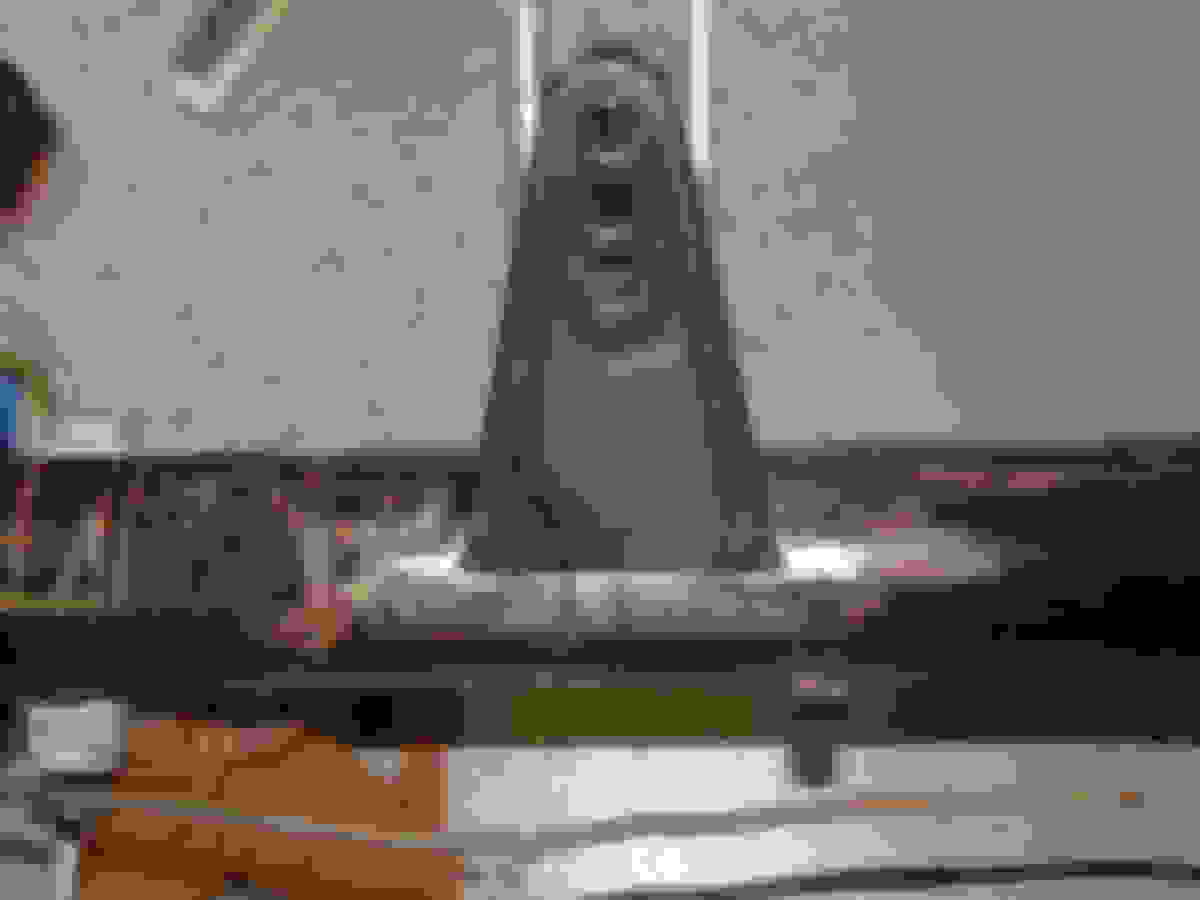
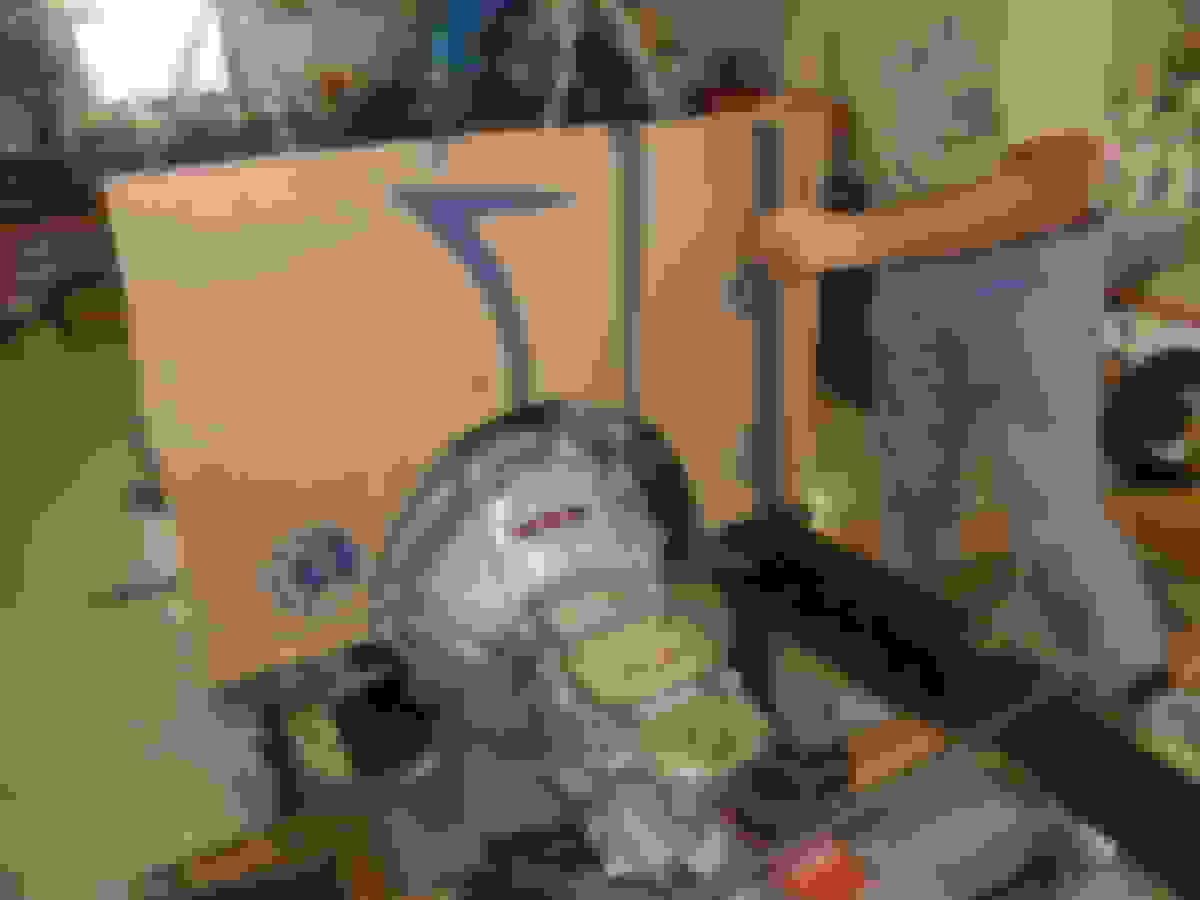
This is the condition of the frame when we started. Needless to say we were thrilled.
Mocking up the 4-link
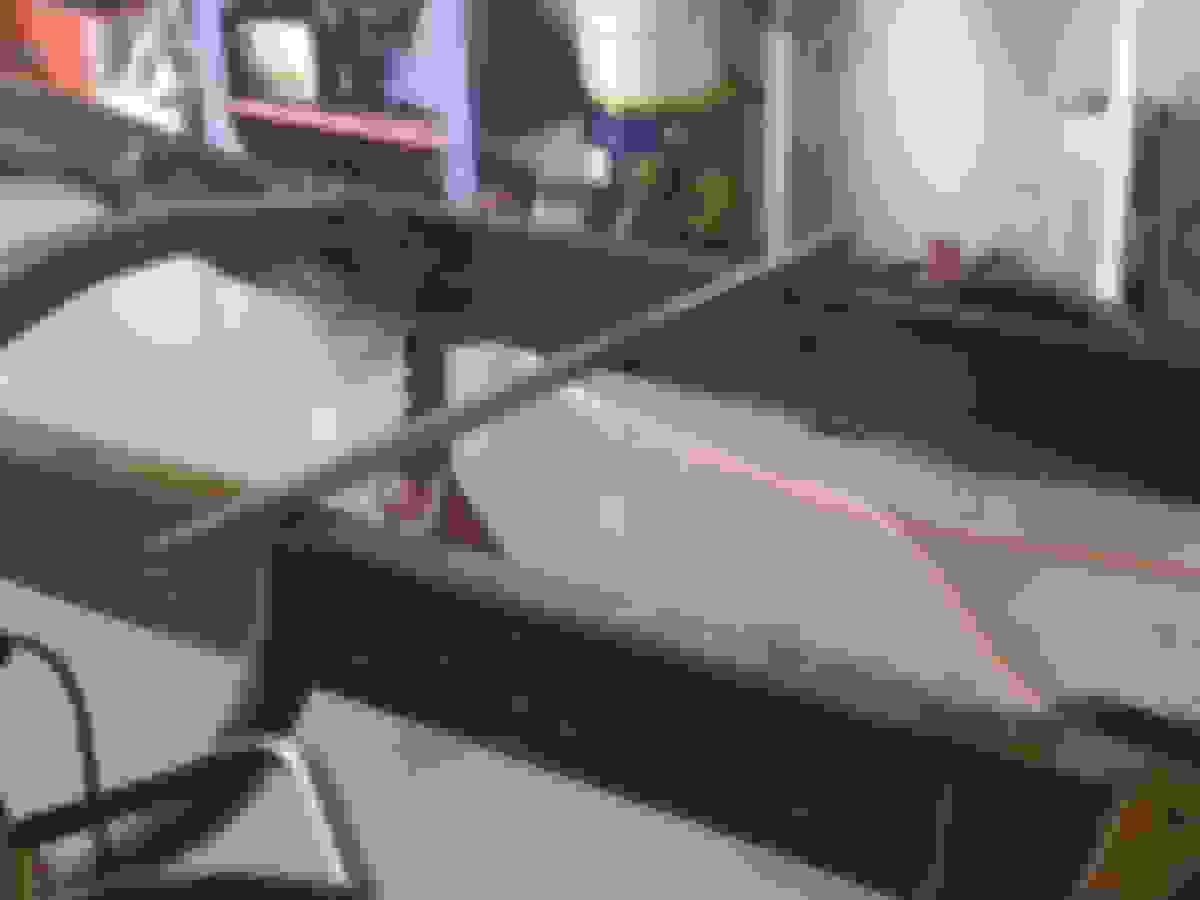
Prepping for the front suspension. Because the new suspension is not for a 52 the dimensions were way off. In the photo it looks like we moved the suspension forward but it is just the angle, plumb bobs to the floor confirmed measurements made diagonal and between front and rear center-lines.
Lois and I turned the frame over to make some of the work easier. She said it was a heavy lift but managed it fine. This is why I try not to anger her.
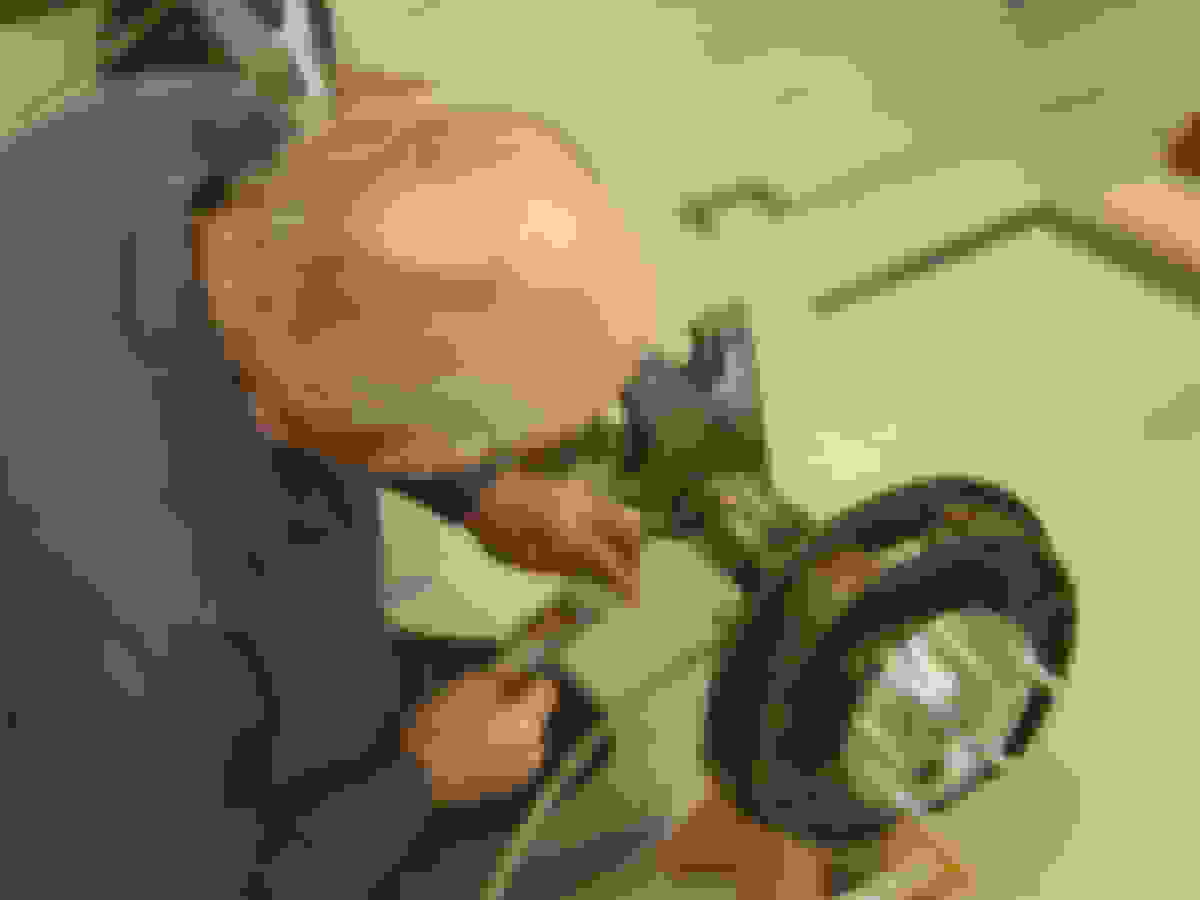
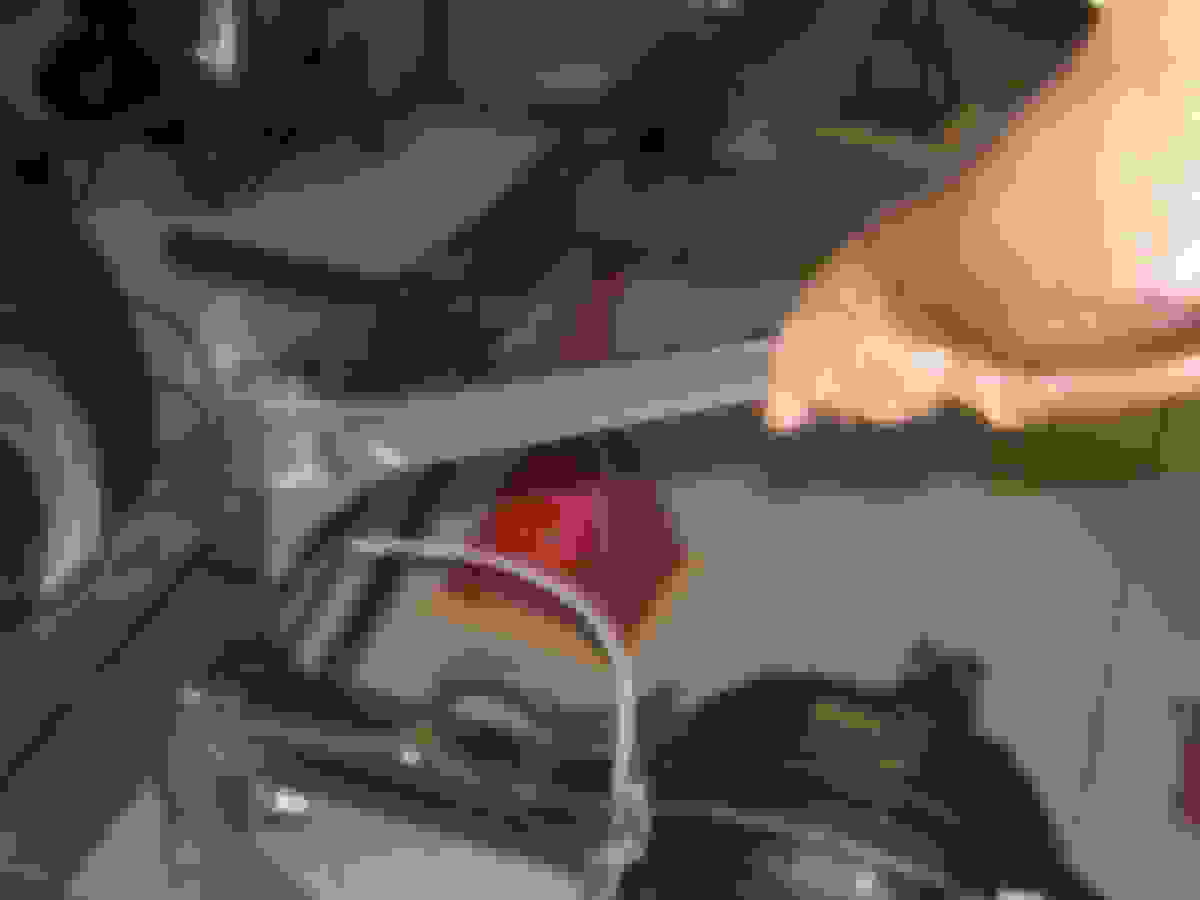
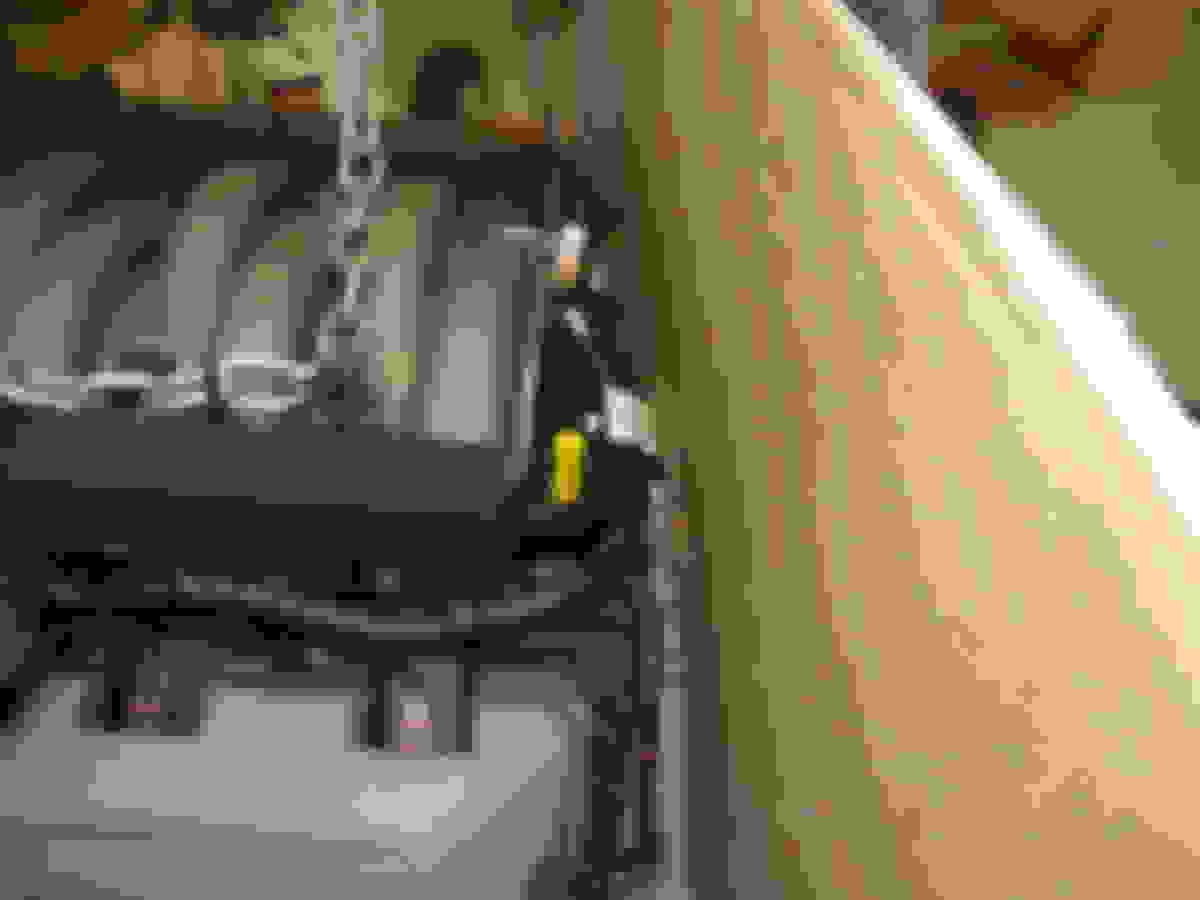
While I was busy with the frame Rick was working on a new fuel outlet and return. The original 1/4" outlet will be removed and this dual 3/8" unit installed. The aluminum tube threads into the return AN fitting. This move any returning air away from the outlet.
Outlet is raised above the bottom of the tank 1/2" so less debris and water will enter. Return is flush so when removed tank can be completely drained.
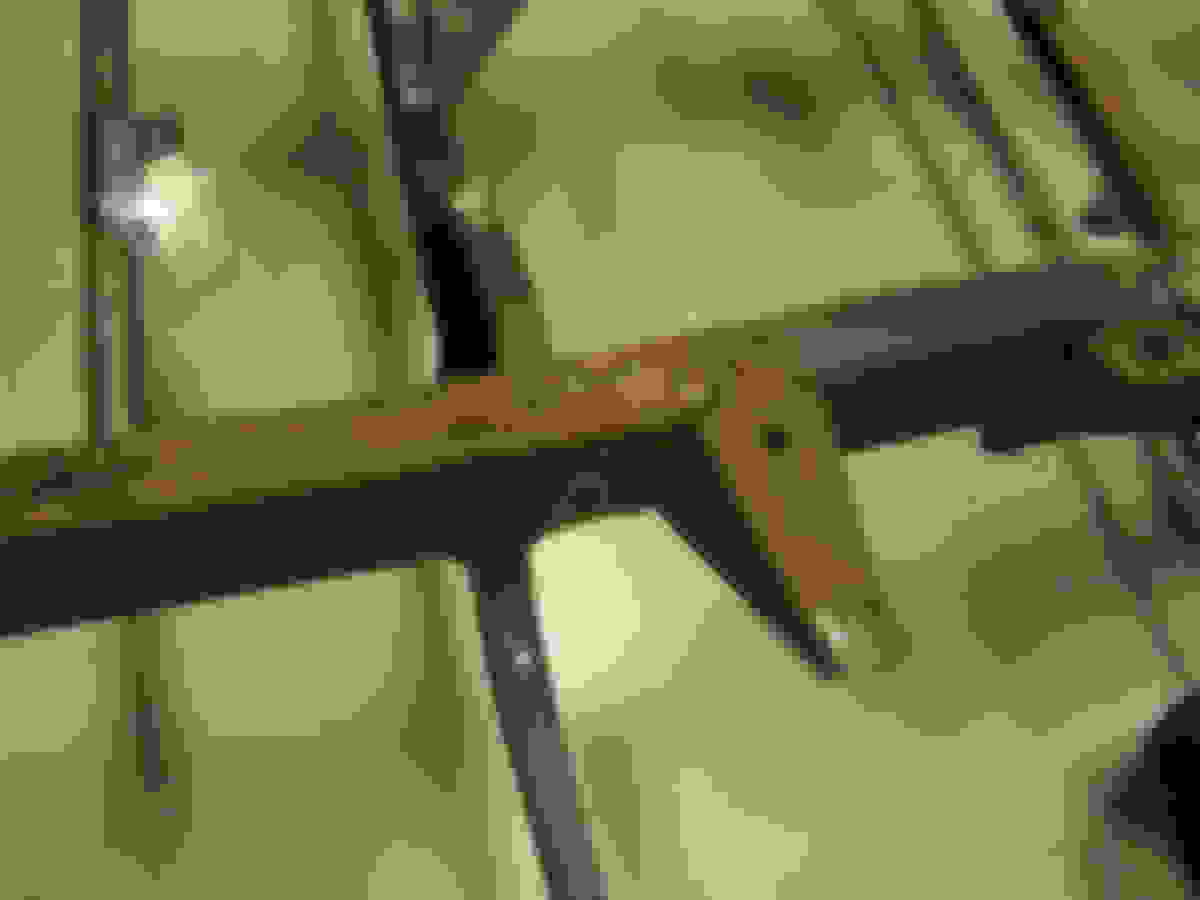
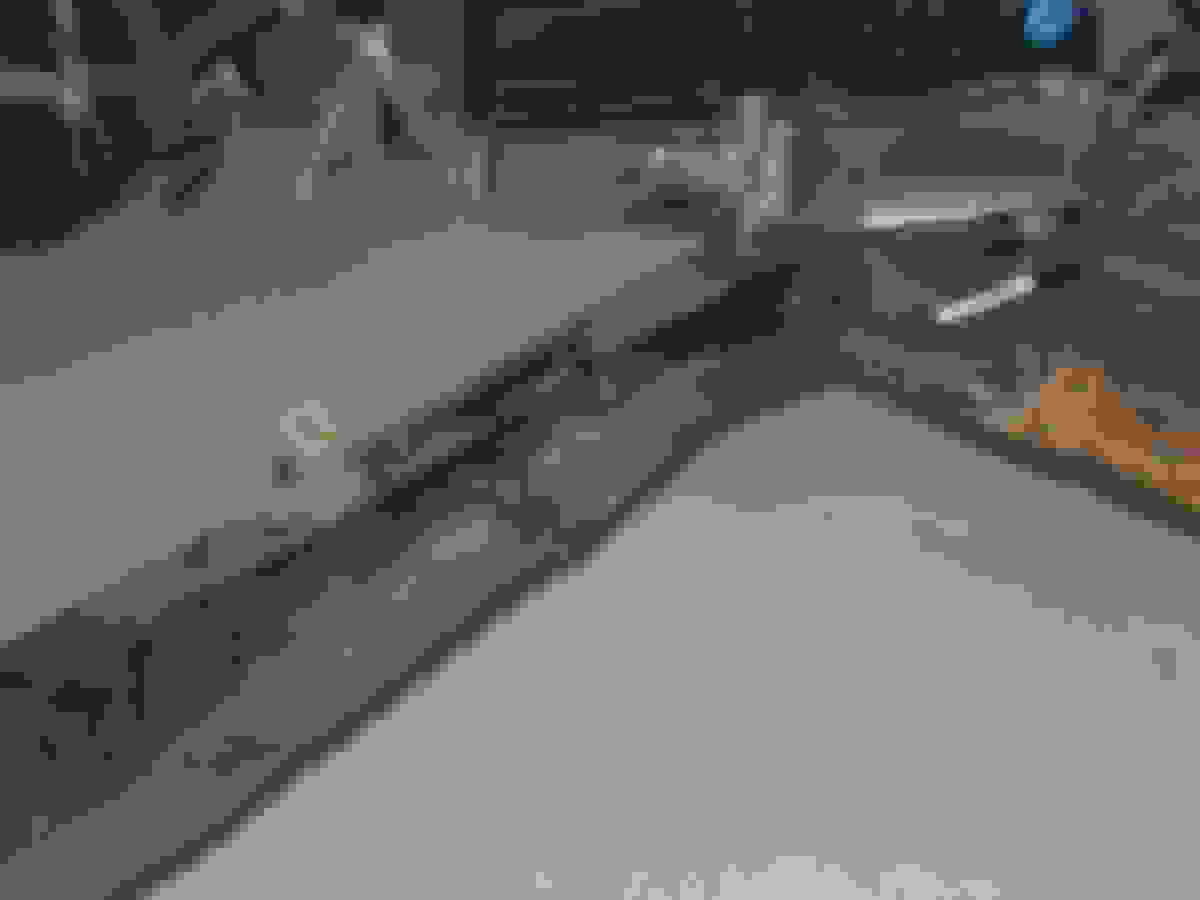
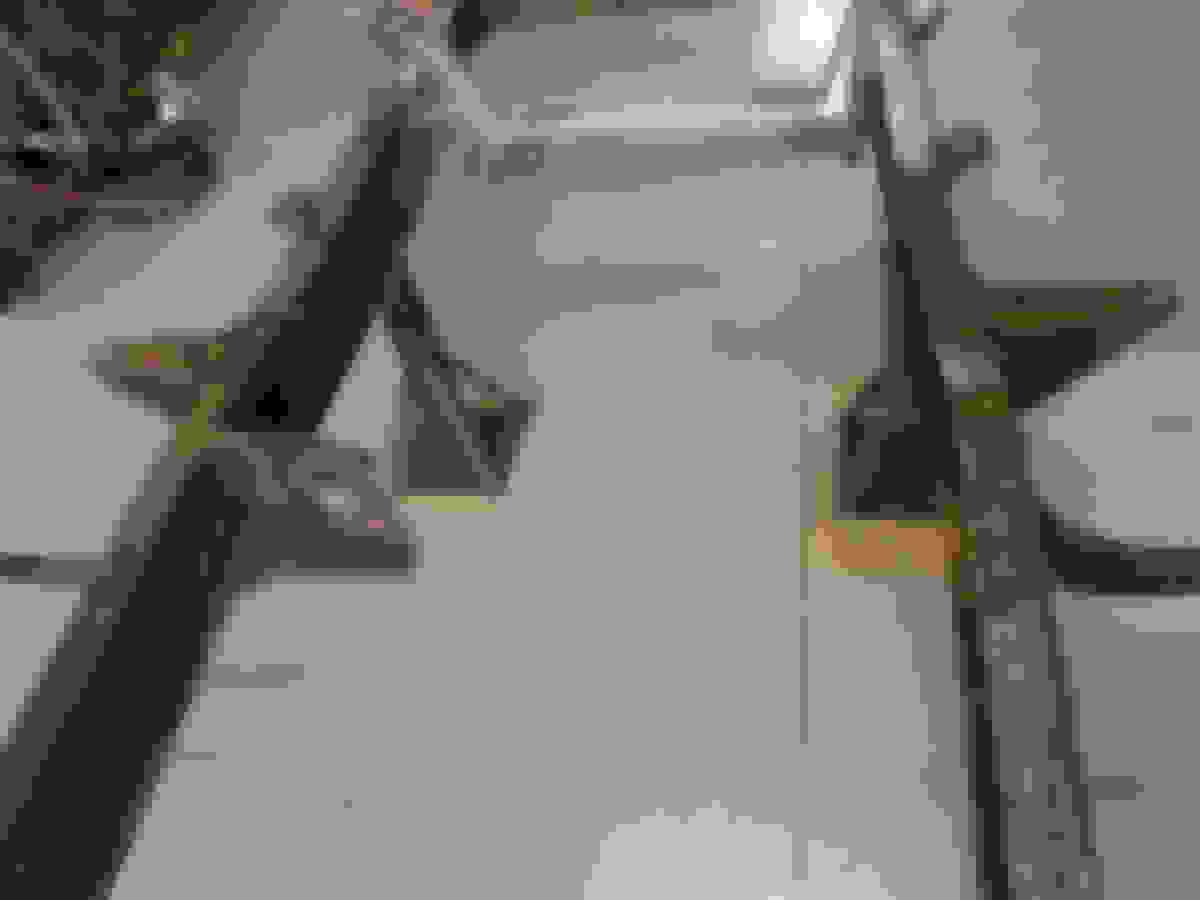
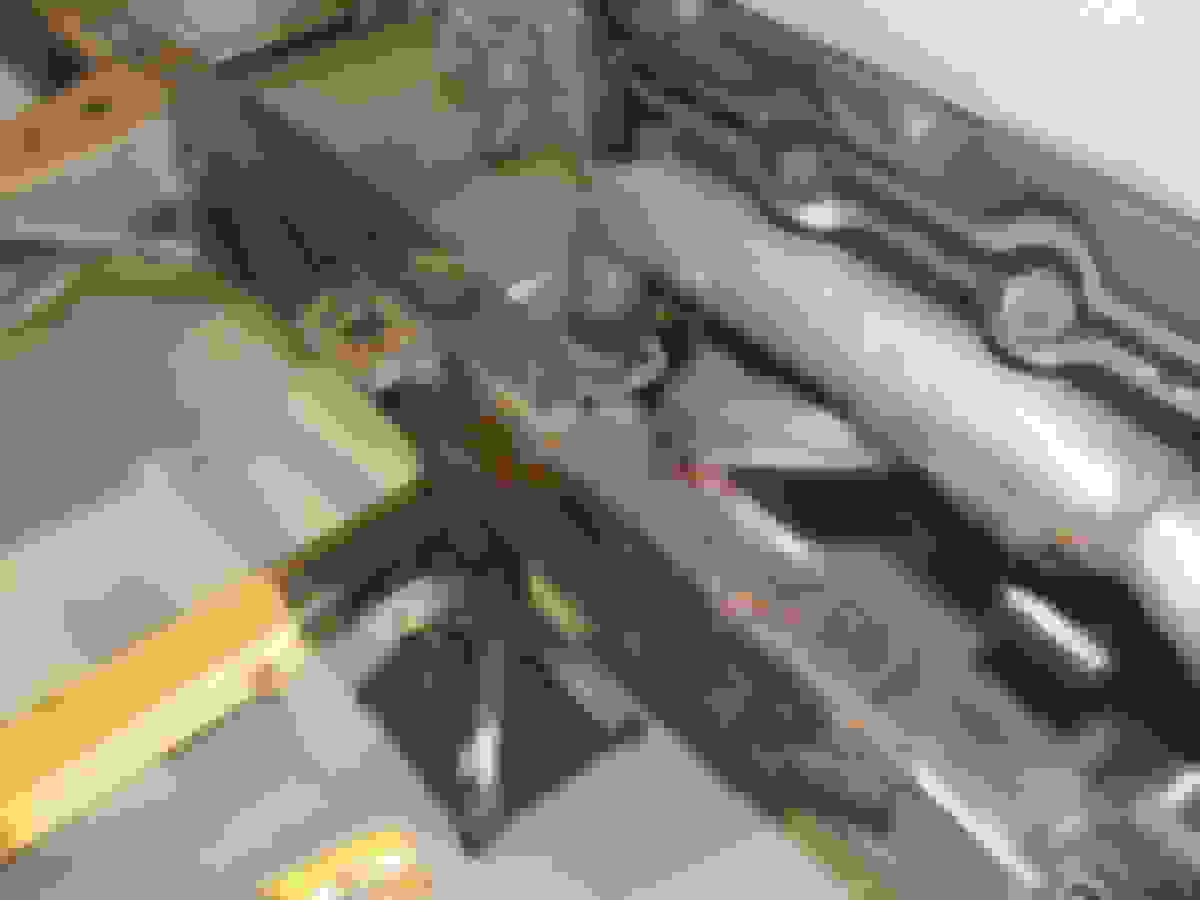
The new front suspension is 2" to wide for the frame. TCI wanted me to cut down the cross-member so it would fit between the boxed frame. This would only leave about 1/2" of material left at the top of the cross-member where it is it's thinnest. I talked to Rick about this and we decided to notch the frame and the box up to the cross-member. We also closed in the open backside of the cross-member to keep out water and to make it effectively a square tube. With the other outside the frame boxing of the cross-member we will do it ends up being incredibly strong.
Laying out for the cross-member notch.
We cut the notch shallow so we could work up to the full size for a tight fit.
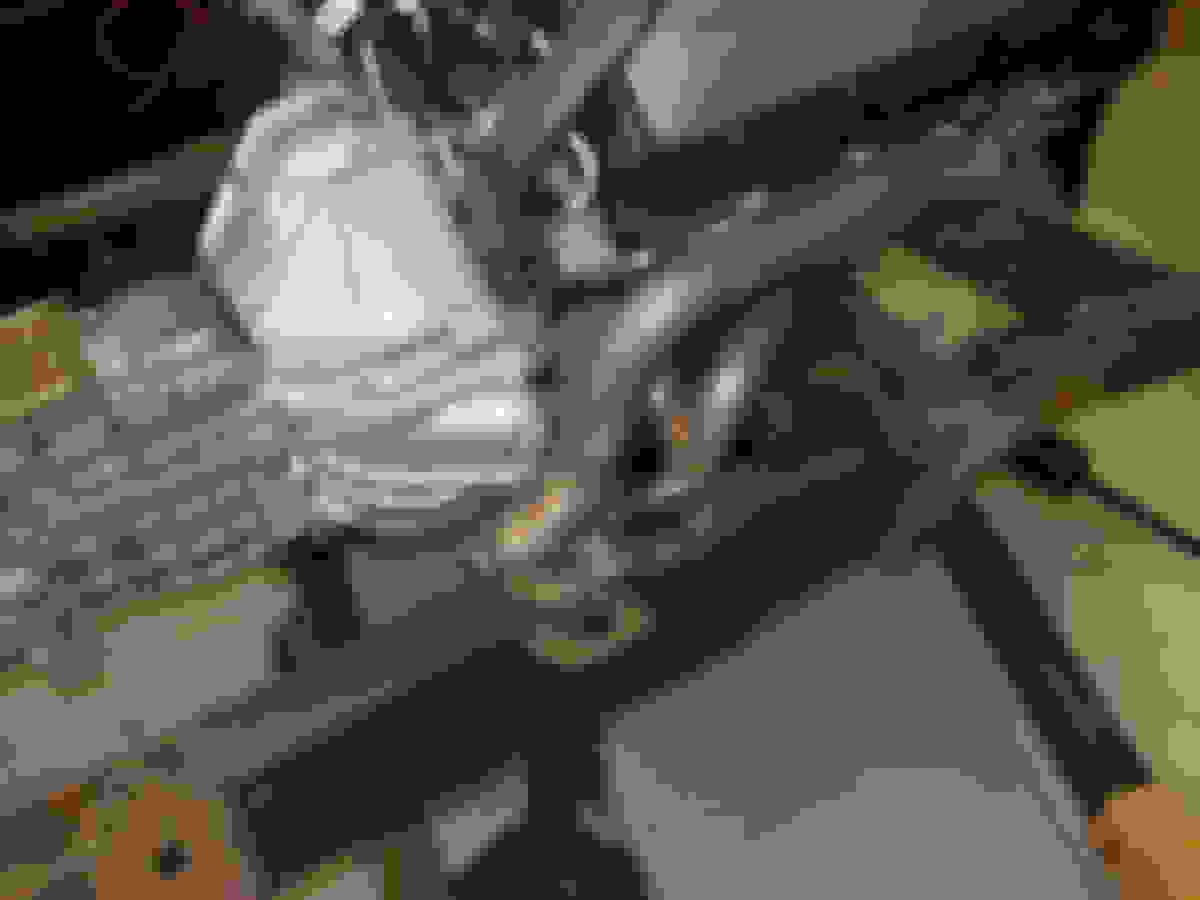
With the cross-member partially installed we could mark the lower, wider flange.
Checking that cross-member was at 2 degrees so it would sit level when the truck is at ride height.
I would tack in the front suspension later after Rick fully boxed the backside and I had a chance to spray some weld through primer. So we went back to the rear suspension.
Rick cleaning up after welding in the brackets. This was done over a couple hours a little at a time letting it cool while we worked on the front.
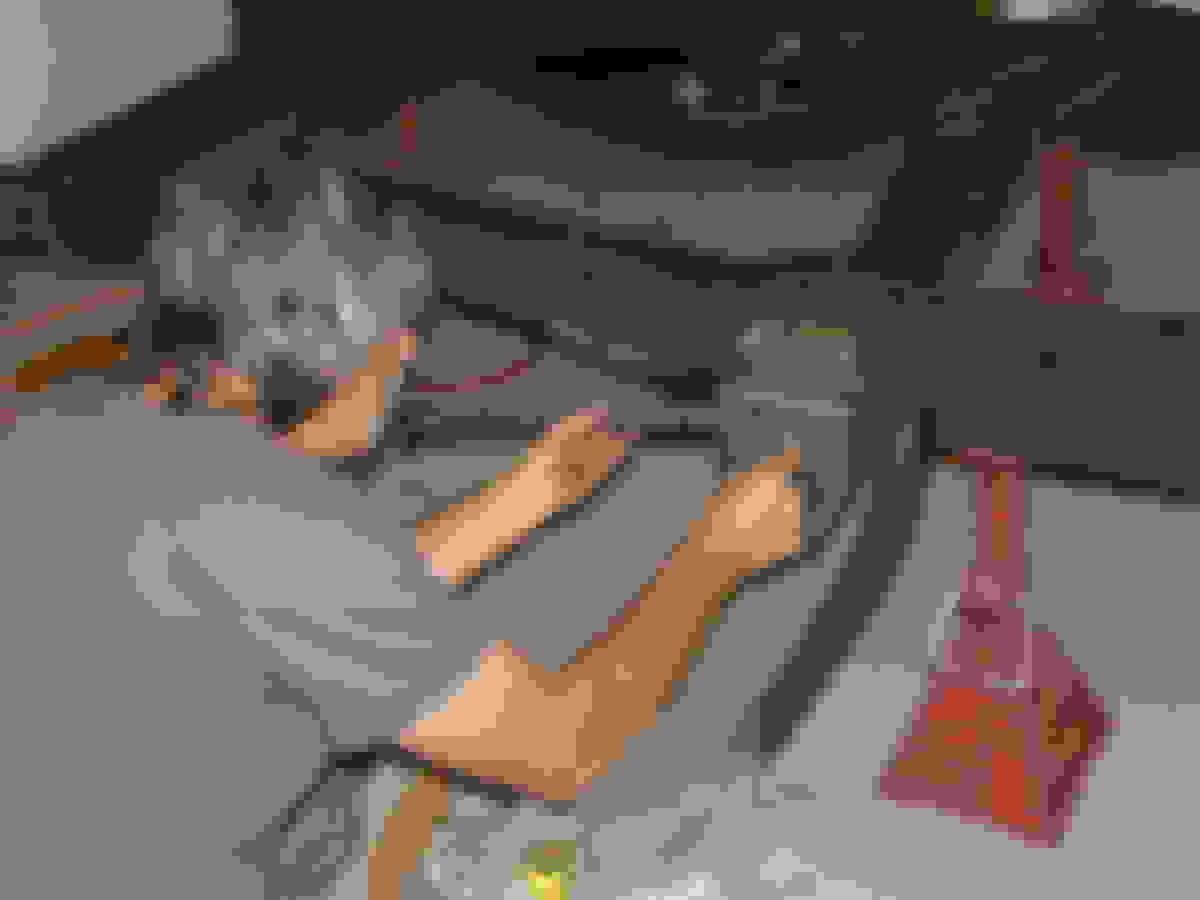
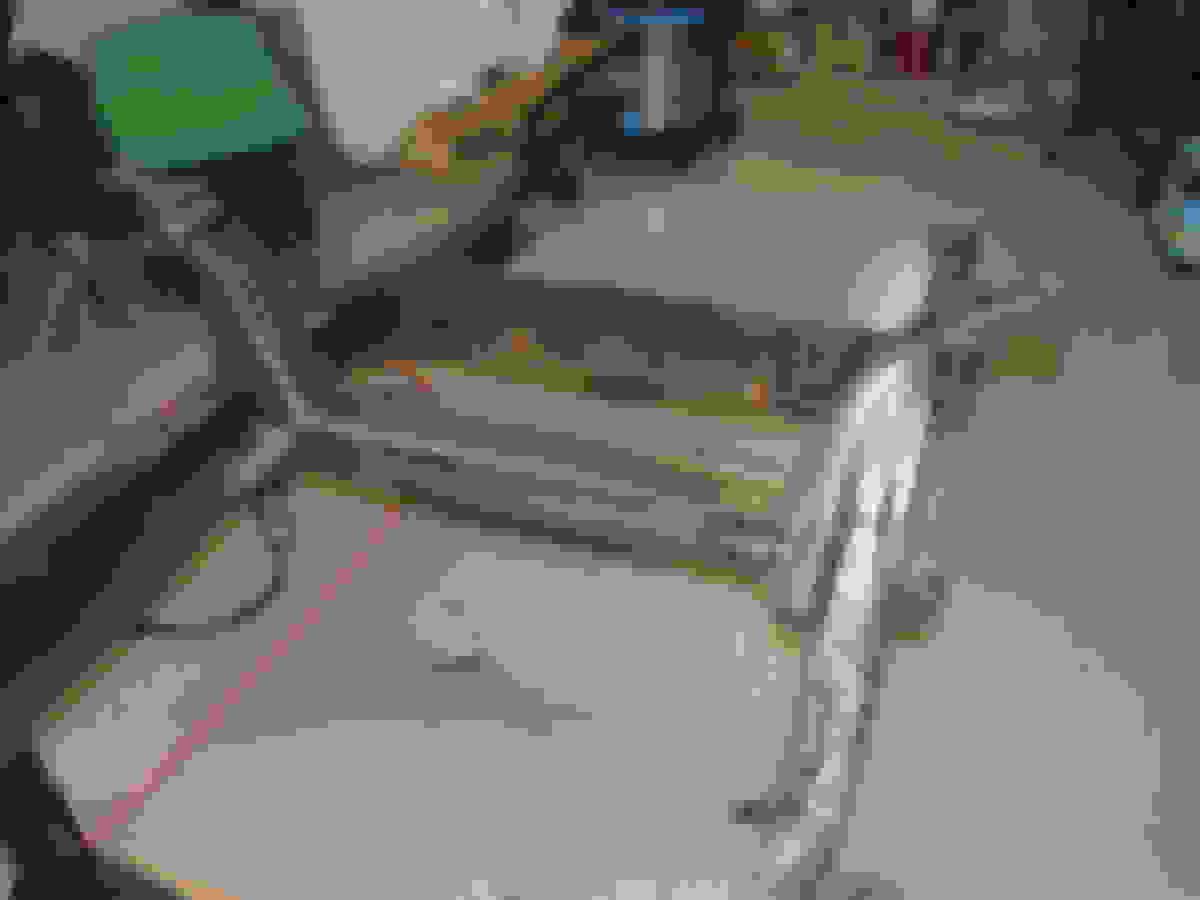
Axle in place so we could determine the location of the new coil over mount. Directions had photos ov and dimensions for a 53-56 even though this kit was for a 48-52.
Frame flanges were a little too narrow so I used my carburetor adjustment tool to open them up a bit.
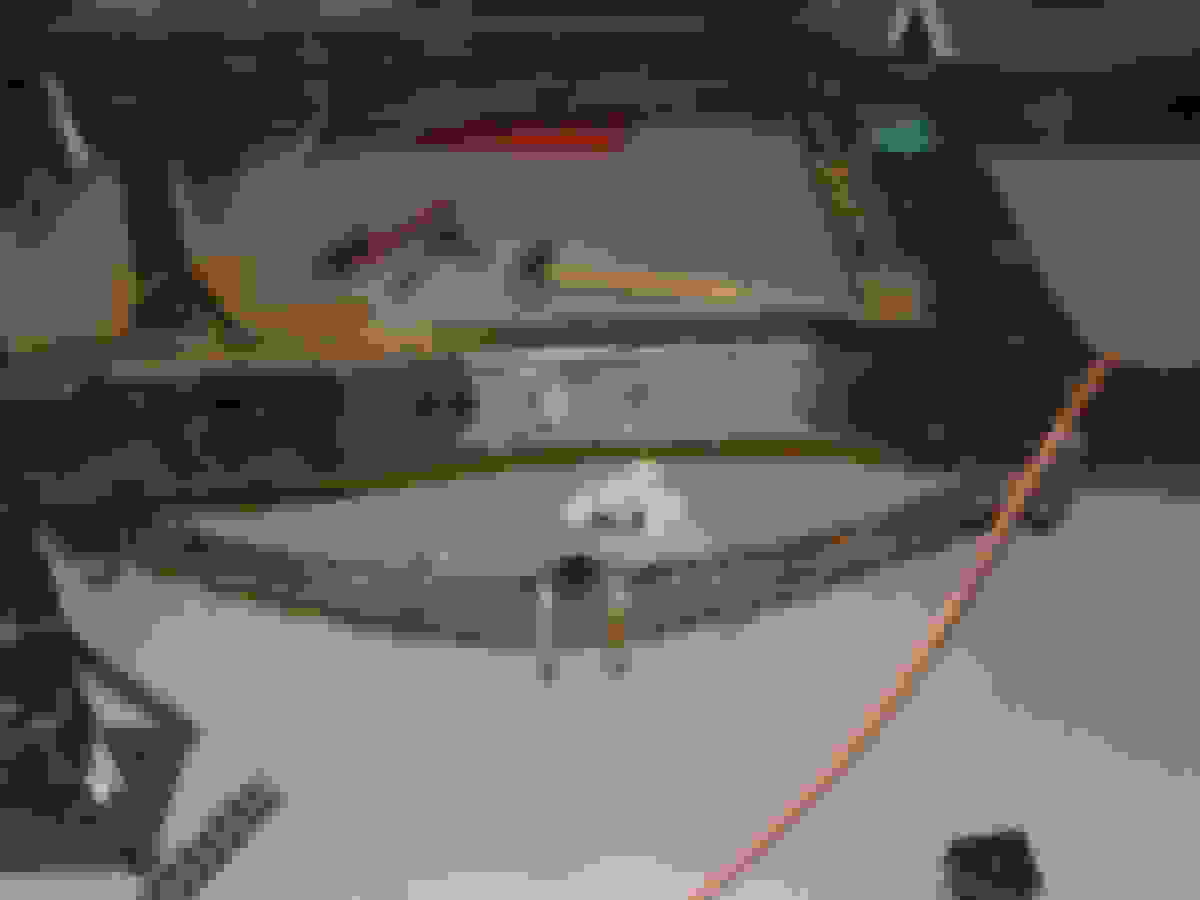
After Rick was gone I continued on tacking the front.
I'm only fair at welding but I can tack like crazy.
Tacked in and making sure it didn't move. I learned this the hard way. It's amazing how much metal can move when welded.
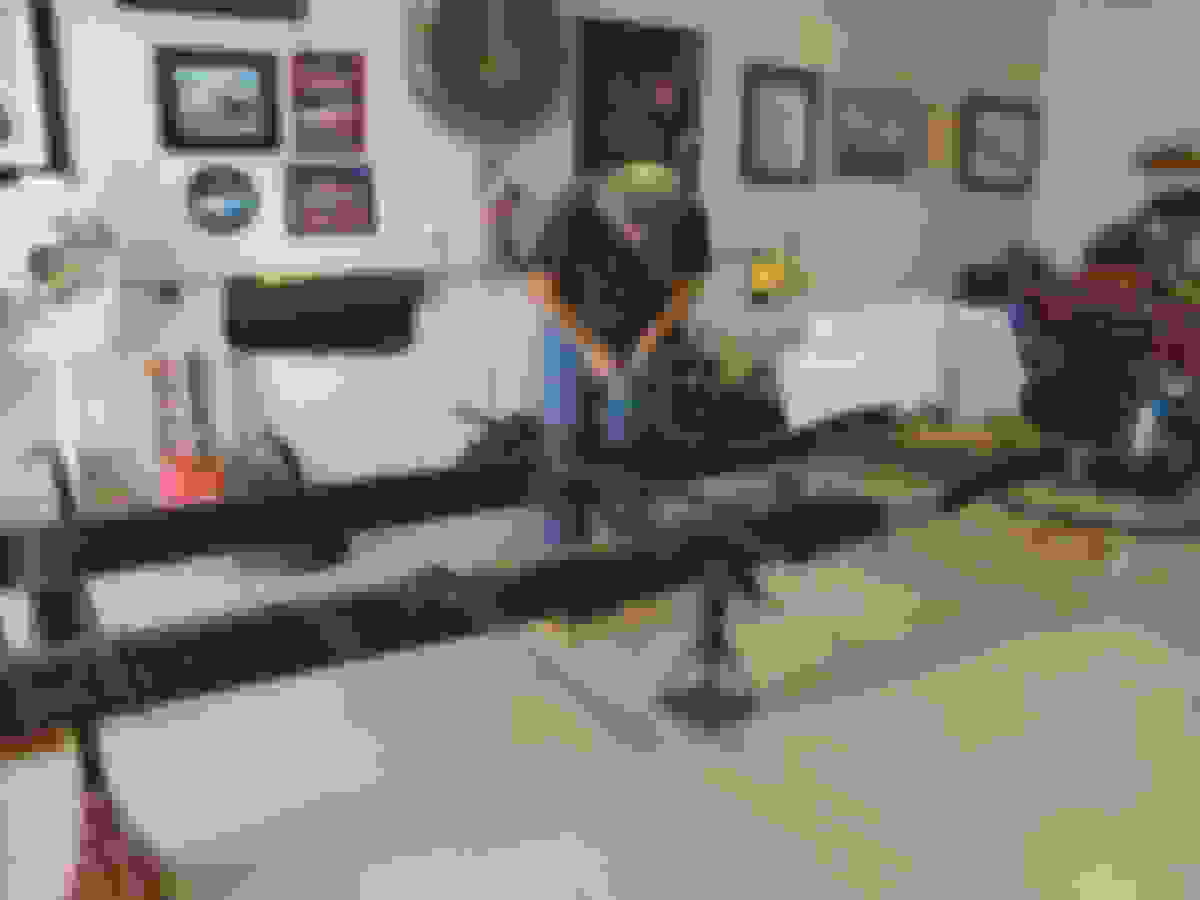
I needed to remove the original cross-member but that would leave a long span of unsupported frame. A brace welded across the center would ensure nothing moves.
Original cross-member had to come out so a engine/transmission test fit could be done. Saws-all, man's best friend.
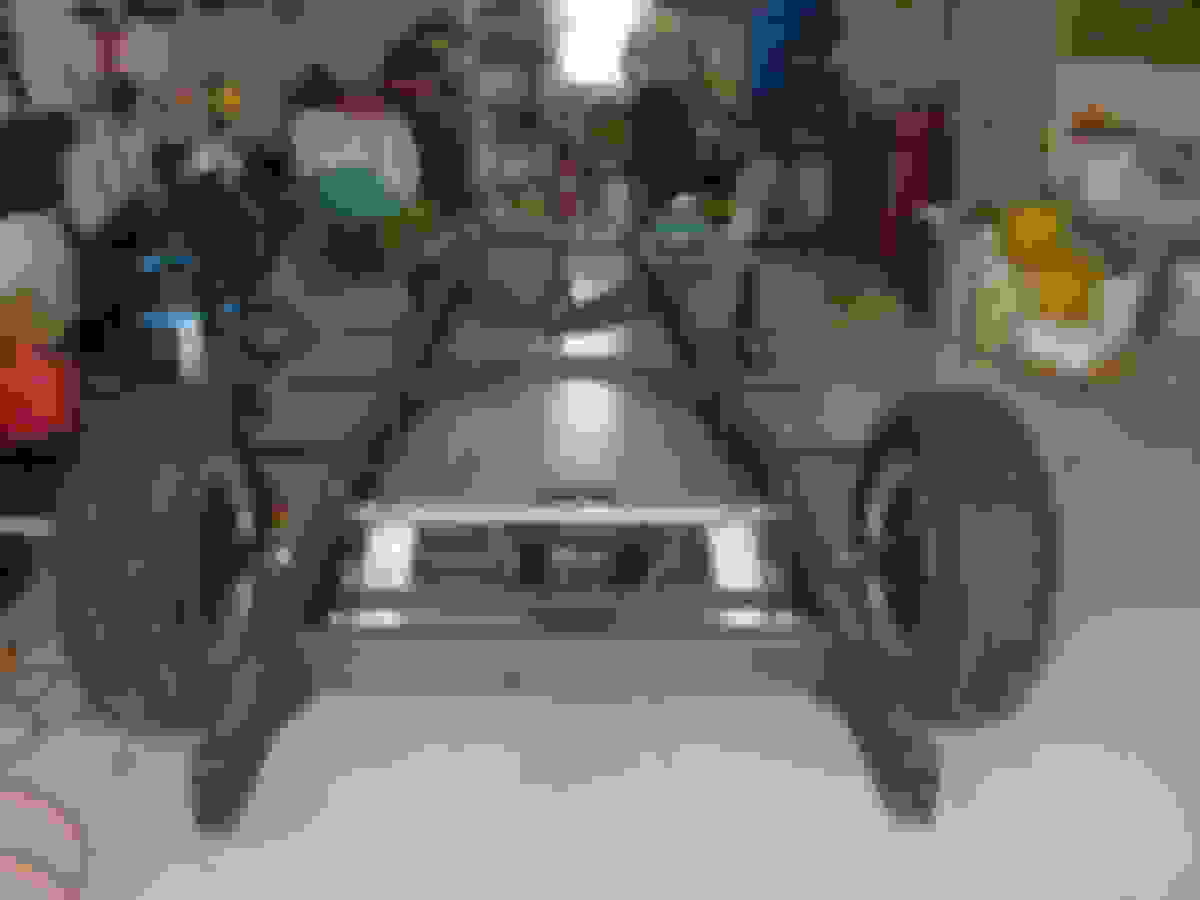
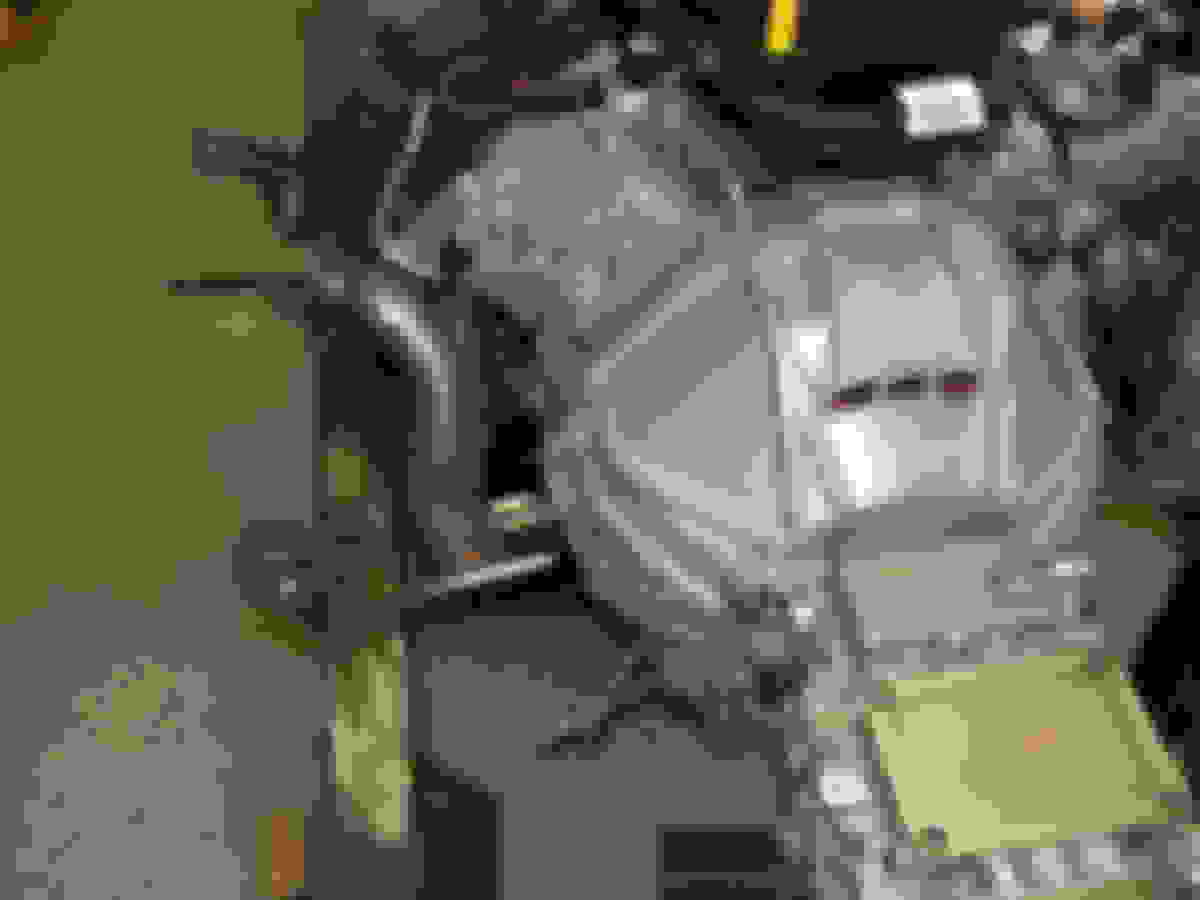
The moment of truth was upon me. Would the Coyote I had been admiring in the corner the last 6 months fit?
It fits!!! The right header contacts the frame.
The left side will have plenty of clearance as soon as we can move the engine to the right. The flange, widest part fits between the top and bottom frame flanges.
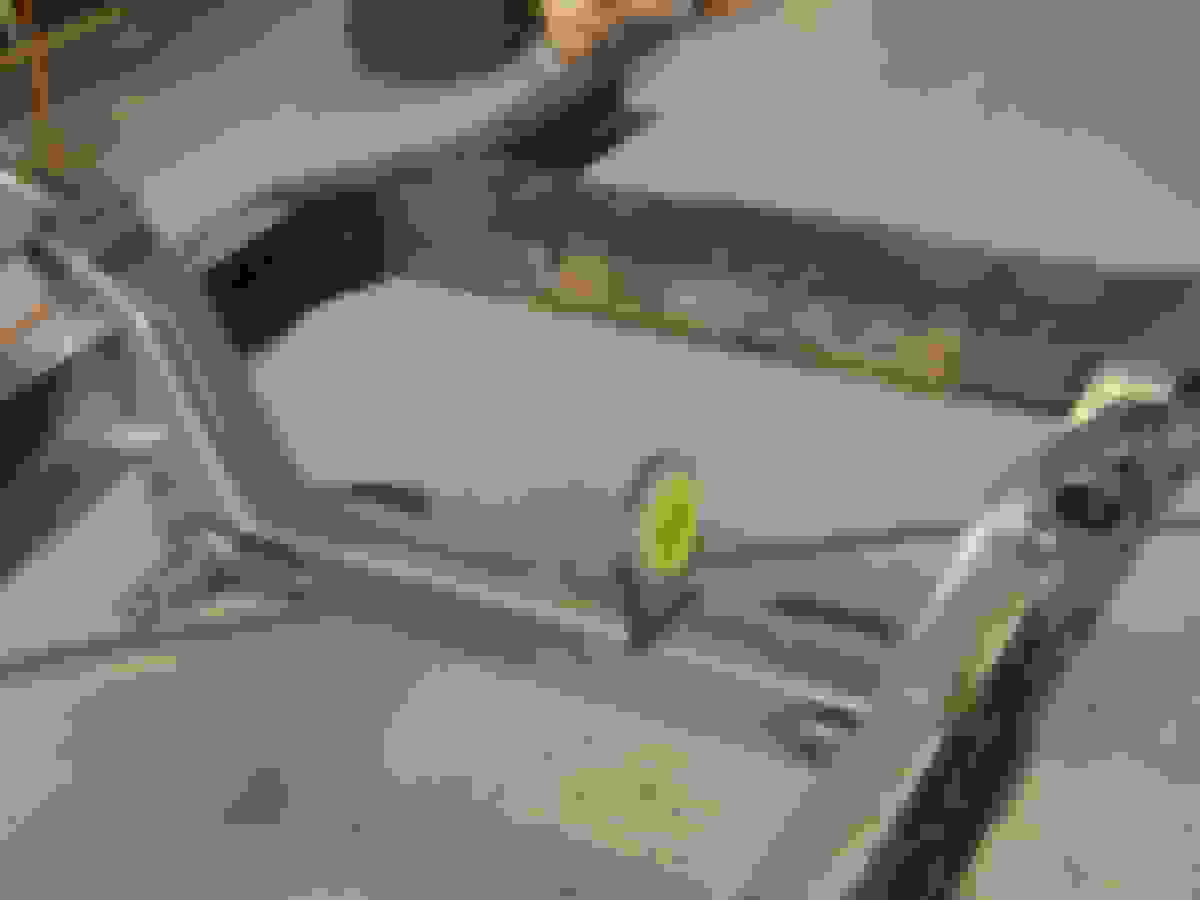
Before removing the cab I made a template to simulate the firewall and took some position measurements so I could place it later without re-installing the cab.
I wanted 1" between the firewall and cylinder head.
After I had the front to back correct I could clearance the right frame and center the engine.
Now I had to raise the transmission to the correct height. The top of the square tube is where i figured the floor would be. On the red cover where it reads Tremec is where I thought the rear edge of the trucks transmission cover would be. I was right.
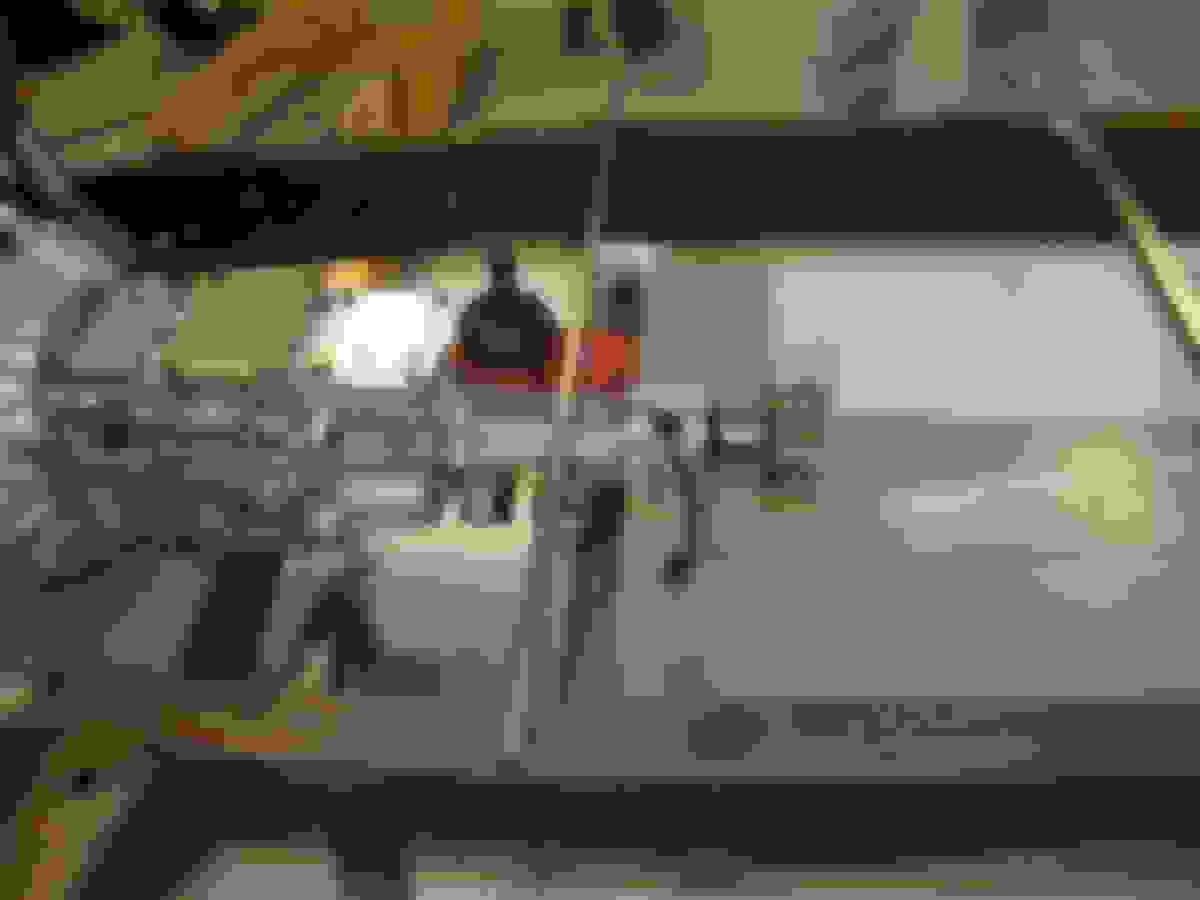
Last thing to do was put the original radiator in the 6 cylinder position and check clearance. I will be using a different air inlet tube that is closer to the front of the engine so clearance is fine. It's the end of a second long weekend and time to back to work so I can get some rest.
Looking good my friend. I have to comments/questions on the posts above:
1) By not narrowing the front Mustang II suspension, like TCI recommended, doesn't that make the rest of the suspension (e.g., hubs, wheels, anti-roll bar, etc) too wide? I really like what you did, but it does seem the end result would just push everything else to the left/right and therefore the wrong geometry? Help me understand.
2) The Tremec shifter location. I had the same problem, i.e., too far to the rear. I bought a mid shifter (3rd party on ebay, and removed the original. The problem is the swing of the shift arm hitting the dash and/or seat because of the long throw angles. I even had to notch the shift arm to bend forward. Reverse is the most rearward position. One you get the cab on and seat in, you can test fit the shifter and "make it work". Note, when you remove the original rear shift location, you loose the neutral safety switch.... no big deal... just an FYI.
Mark
Mark, The TCI is the correct width hub to hub, I have measured the track wit wheels installed and it is 60". They wanted me to cut 1" out of the vertical portion of the cross-member where it connects to the inside of the frame rails, this leaves very little metal just inside of where the upper control arm mounts.
The shifter should come into the cab 4 to 5 inches in front of the stock bench seat. Lokar makes a shifter for these applications but my friend Rick say's no. He wants to make one, it would be one of the few things he gets to do on the truck that you actually get to see and use.
Thanks for the heads up on the neutral switch my system has to have one.
Fantastic build of an excellent truck! You did what several of us preach which is to buy the truck with the best sheet metal that you can find since that will be the quickest and least expensive route (and you have the best truck in the end).
From the one picture of the mocked up firewall it looks like you will need to modify the firewall some to open up the cutout at the center where the stock transmission pan screws to. Is that the case or is it just the angle of the photo?
 01-02-2015, 08:11 PM


 . The suspension I bought was for the 53 to 56 trucks so the crossmember was 2" to wide for my frame, I document how I made it fit in the next series of photos. I think the Coyote would fit without pan modifications but my installation required some.