When you click on links to various merchants on this site and make a purchase, this can result in this site earning a commission. Affiliate programs and affiliations include, but are not limited to, the eBay Partner Network.
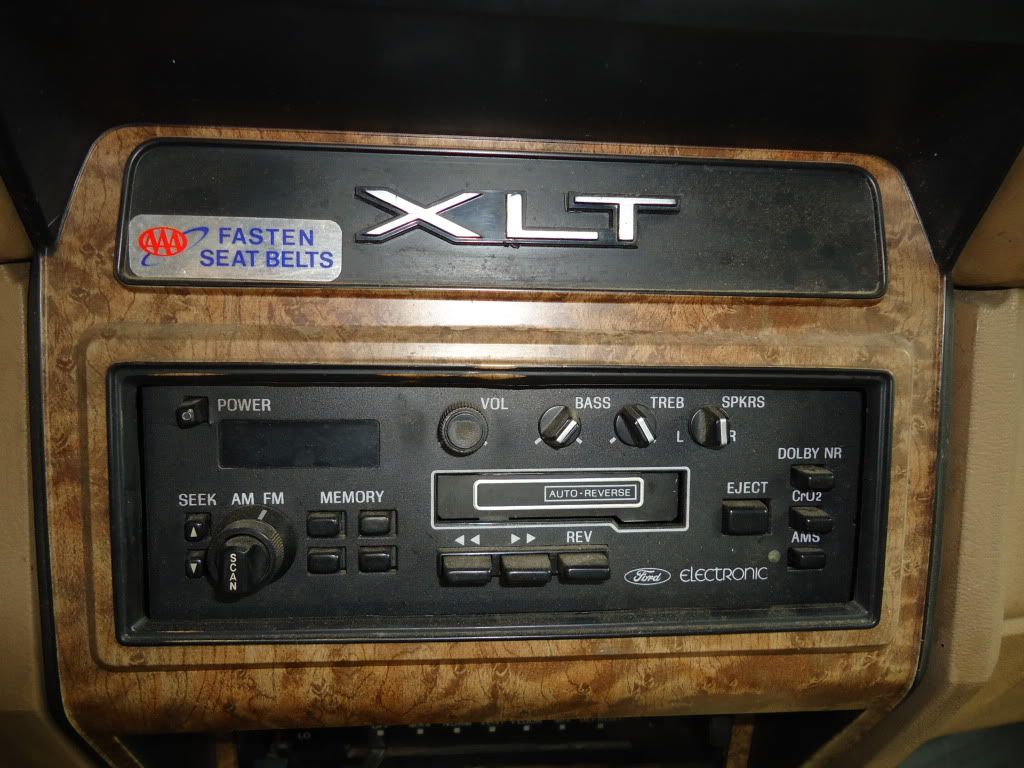
Not quite. That particular model was introduced in 1987. Except the one Reamer has was not meant for a standard cab F150. You can tell because of the FADE feature. These trucks didn't have rear speakers.
The 1985 - 1986 models came with the larger DIN openings to fit one of two cassette tape players.
Conventional:
Same difference since they are the single din factory radio in 86
Hey Gary
Only shaved off the 1/8" thickness of the lip (as seen in the photo).
See what happens when:
Unemployment hits, and
It's cold outside, and
the woodstove in the basement is going, and
3 crazy females up stairs, (wife two daughters under 12) and
an idle table saw and a radio and a Bezel wanting to mate!
I didn't want and aftermarket Chinese radio, Just update the original Ford stuff.
In the spring I'll make a rear bracket that will slide onto the back of the radio, and mount to the cab cross-member, or where ever it seems feasible.
Yes, sometimes the need for creativity is driven by our surroundings - or what's in the surroundings.
The table saw scares me. I like clamping things to the mill's table, turning on the switch, and cranking the handles from afar. My fingers just feel much safer that way. And, PM seen and will be answered as soon as I check my stash - after I drink another "cuppa", as the Brits would say.
Don't a have a mill, so I play with the equipment I have. Here is photos of the faceplate I made to hide the gap between the radio and bezel. It is made from 0.030 thick plastic, and the width is 0.1875" Outside edges are rounded so it will fit. I think its 1/16" radius?
Will be painted black when done.
Made From 0.030 plastic and 3/16" wide frame.
Installed, would like to make this with either rigid plastic and sheet metal need 1/16"? radius to fit around the silver of the bezel.
Radiusing outside corners is a bear with a vertical mill as it requires mounting the item precisely on a rotary table and then turning the rotab 90 degrees - unless one has CNC, which I don't. And that step has to be done for each corner. Radiusing the inside corners is a breeze, but making them square, as you've done, is a bear as it requires using a horizontal mill and a slitting saw - similar to how you did it. All in all, that isn't an easy project for a manual vertical mill.
Having said that, it could be roughed out without too much difficulty. The inside corners would be the radius of the end-mill chosen, and the outside corners would be square. Then a file and/or sanding block could be used to square/radius them manually.
 12-23-2014, 03:38 PM