When you click on links to various merchants on this site and make a purchase, this can result in this site earning a commission. Affiliate programs and affiliations include, but are not limited to, the eBay Partner Network.
It is time this subject gets covered. Many people ask about HID's for their truck, but don't realize that the cheap "HID conversion kit's" on ebay do nothing but blind other drivers. In fact, in most cases, the output of an HID will be WORSE due to the housing not being designed for the HID bulb. The way to fix this is to implement a HID projector. The projector focuses the output of the HID bulb giving you the most out of the HID bulb. However that is not all it does. It also contains a cut-off shield that prevents you from blinding oncoming traffic.
To demonstrate what I am saying, this is the output of a typical HID from ebay in a reflector housing:
All of the light is thrown upwards. This is all glare that blinds other drivers.
Here is what an HID projector's output looks like:
Note here that there is still a small amount of light above the cut-off. This went away once I put the lens on the housing.
As you can see all of the light is directed towards the ground and how intense the light is. The step in the cut-off is purposely lower on the driver side as to help prevent blinding of oncoming traffic.
Ok so enough schooling, on to the retrofit...
BIG shoutout to The Retrofit Source. They sell compete conversion kits (minus housings) that make doing a retrofit MUCH easier. Their customer service is great and they stand behind their products. I want to personally thank Jamielle for answering all of my questions and helping make make choice on the kit I ordered.
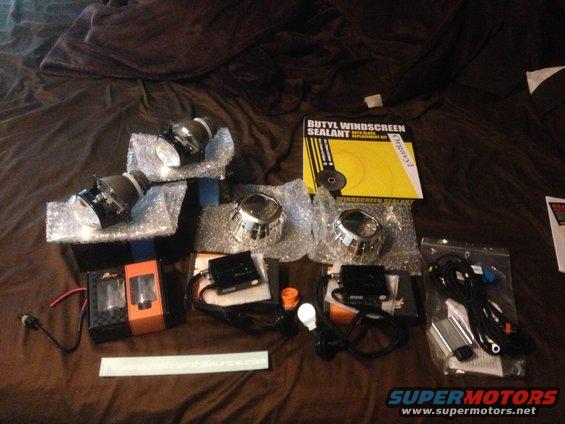
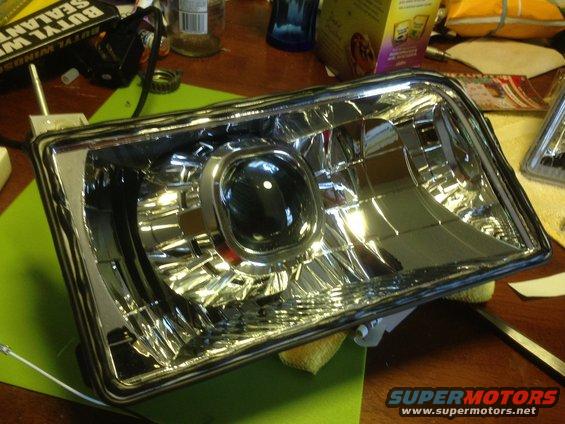
The kit I ordered from them was their Morimoto Mini D2S 3.0 Stage III kit. I opted for the square lens option. The kit includes the following:
-2X Morimoto Mini D2S 3.0 Projectors (I chose X-Lens/Square Lens)
-2X Morimoto 3Five 35 watt Ballast's (I ordered the long cord version)
-2X Morimoto 3Five Bulbs (I chose OEM 4300K White)
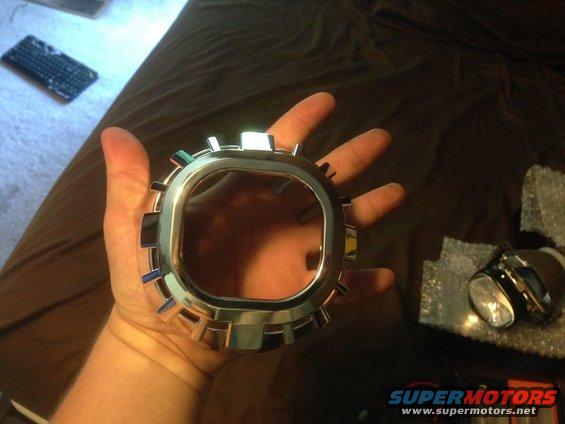
-2X Your choice of projector shrouds (I chose Gatling Gun 2.0 X-Lens)
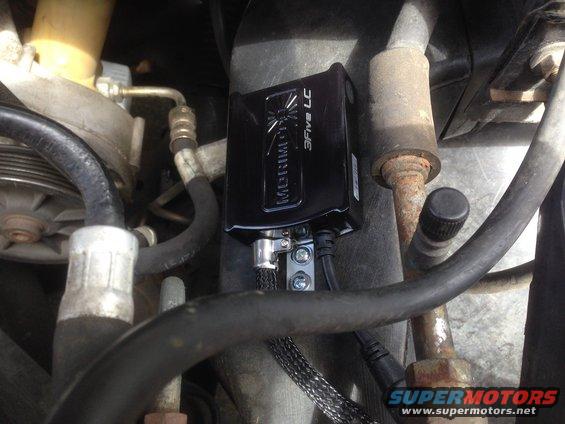
-Morimoto Motocontrol 9004/9007 Relay Harness
-2X Alcohol Cleaning Pads For Bulbs
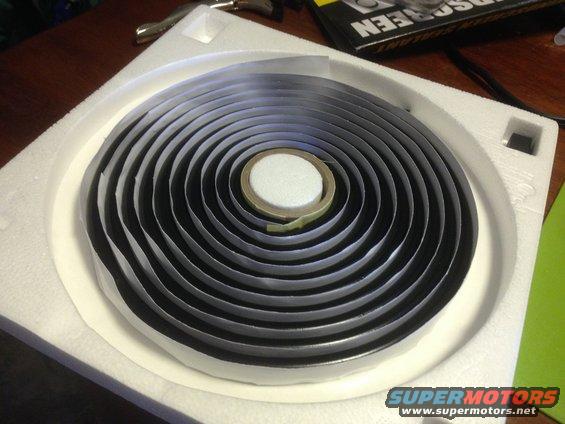
-Optional: Butyl Rubber Tape (I opted for it and strongly suggest for resealing housing)
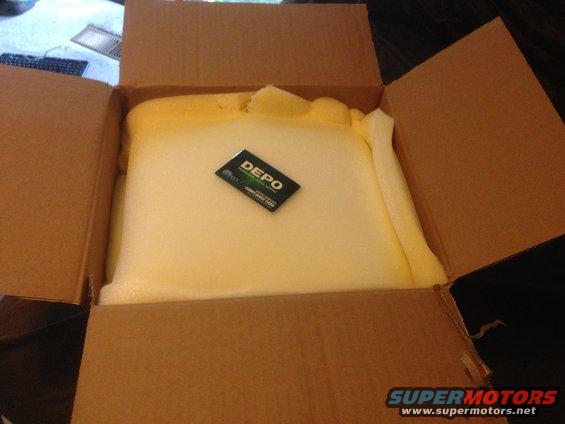
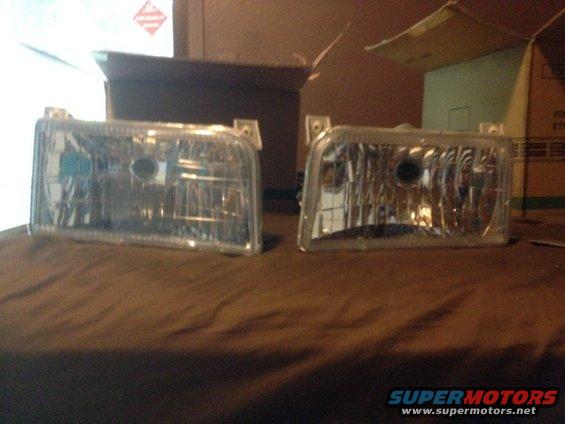
The other thing you need for this conversion is a set of clear headlight housings. I opted for DEPO brand ones and am very pleased with the quality upon arrival.
So now that you have everything, time to dive in.
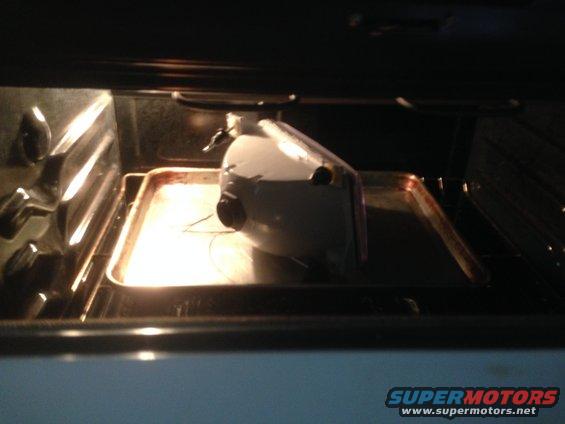
The first step I took was to take my brand new housings and open them up. To do this I chose the oven method.
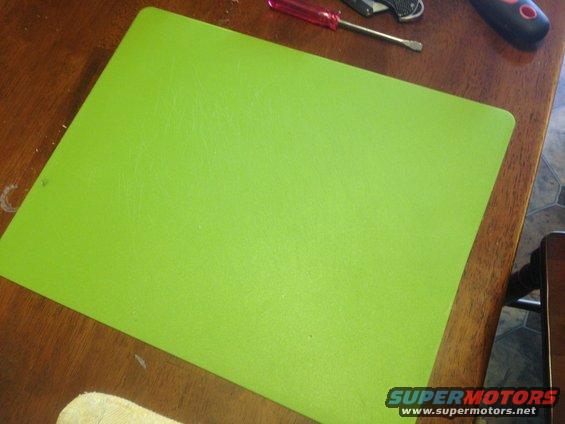
First thing you want to do it setup a work space to open the housings on. I used a rubber cutting board and a washrag on my kitchen table. The cutting board and towel are to prevent the lens from getting scratched.
The tools I used were a putty knife, a SHARP razor blade knife and a small flat blade screw driver. These housings are sealed with permaseal which make opening them much harder.
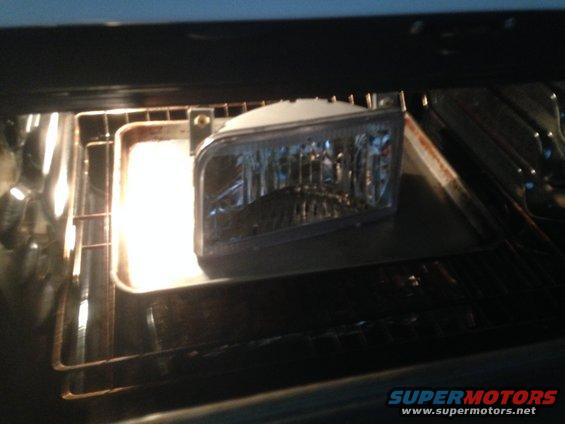
To open the housing I set the oven to 235* and put the housings in there for 15 minutes.
Headlights, its whats for dinner...
Before you take them out, make sure you have gloves on.
The way I found worked the best was to start in a corner and pry it open enough to get the razor blade in to cut the sealant. I continued this process until I had one edge of the housing loose. Then I put the housing back into the oven for 5 minutes to heat the glue back up. Then repeat until you have the lens off. TAKE YOUR TIME.
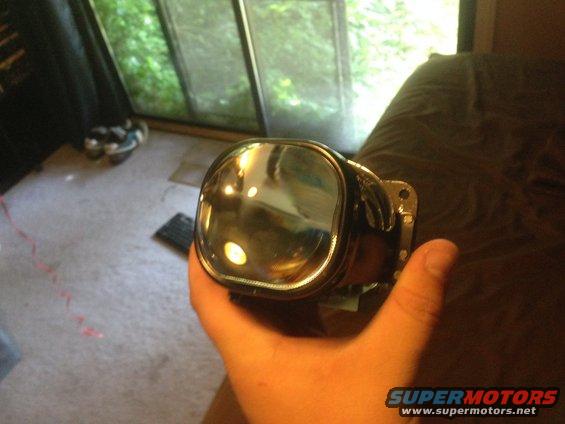
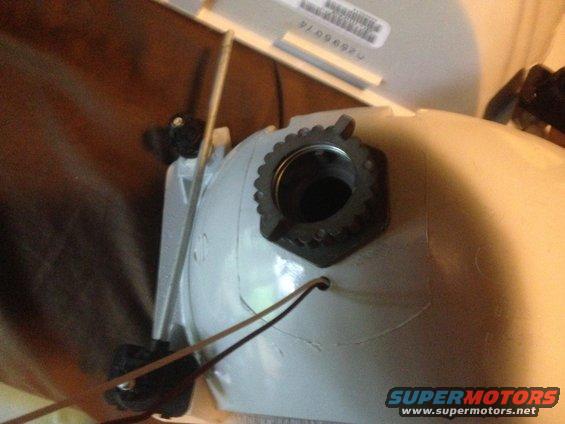
Once the lens is off it is time to make the projector fit into the housing. The mounting shaft for the projector is too big to just go through the bulb hole in the housing. You will need a Dremel at this point.
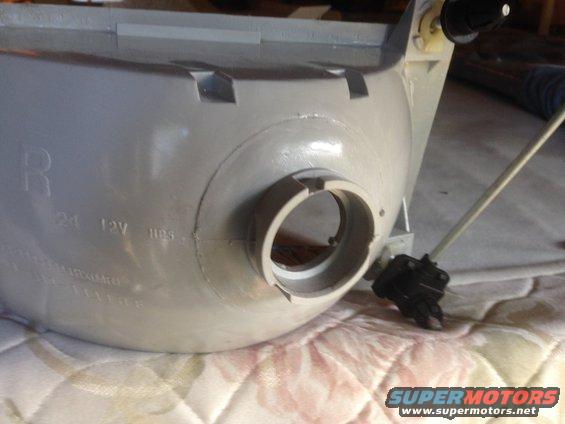
Here is what the back of the housing looks like untouched:
I cut the ring flush with the housing first so I didn't sand more than I needed to. Then I took the sanding barrel for the Dremel and opened up the hole for the projector's mounting shaft.
I didn't take any pictures of the outcome, but essentially you sand until the shaft fits into the bulb hole.
Next up is trimming the shrouds. This part you are pretty much on your own as the amount of trimming depends on the shrouds you pick. For my Gatling Gun 2.0 shrouds I had to trim about 1/2" from the top.
A belt sander will make this process very easy as you can sand it evenly untill you get to where you need. I however don't have a belt sander so it was back to the old cutoff wheel with the Dremel.
Here is before:
And after cutting and sanding:
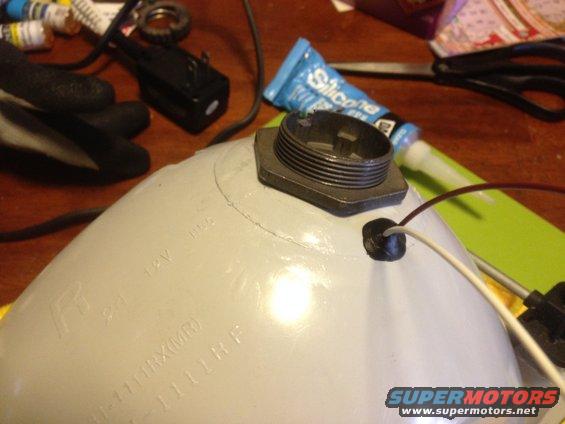
The next thing that needs to happen to the housing is a small hole be drilled for the bi-xenon solenoid wires to come though.
Once this is done I put the projector into the housing and put the shroud on the projector. I then set it up on a level work bench and test fired the projector. With the housing level, I made sure the output on the wall was level. MAKE SURE YOU DO THIS BEFORE SEALING THE HOUSING.
Once the projectors are level, pull the shrouds off, apply some JB Quik-Weld or other form of epoxy on the mounting tabs in the shroud and put in on the projector. Now your shrouds are on and should hopefully stay there.
Up next is sealing the housing back up. This is where the Butyl tape is a must. It is soft, stretchy and pliable. I rolled a bead of it into the channel in the housing and a bead on the outer lip of each housing.
Then I pressed the lens on by hand to get it lined up and on the housing. After this it is back to the oven. I went with 235* for 10 minutes. This soften the glue so you can compress it for a good seal.
When I took it out of the oven I used a set of vice grips with electrical tape on the ends to squeeze the housing together.
With this done the next step is to seal the hole you made for the bi-xenon solenoid wires. Take a small piece of the Butyl and kneed it around the wires to cover the hole like so:
Last step is to put the connector into the wires for the bi-xenon solenoid wires.
With that done you end up with a finished and sealed headlight ready for the truck.
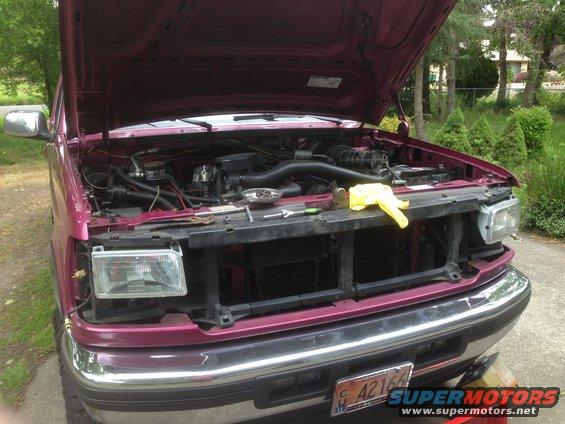
First step was removing the grill. It is held on by 5 screws. $ across the top and one in the middle lower opening.
Ideally this will all be phillips head but one of mine was replaced with a TORX at some point.
Next I completely removed the battery.
Then I went to the other side and removed the washer fluid reservoir.
Then I removed the halogen bulbs. Last time they will be in the truck.
This pic shows where the the two nuts for the headlight surrounds are. The two holes in the core support are openings to the bolts.
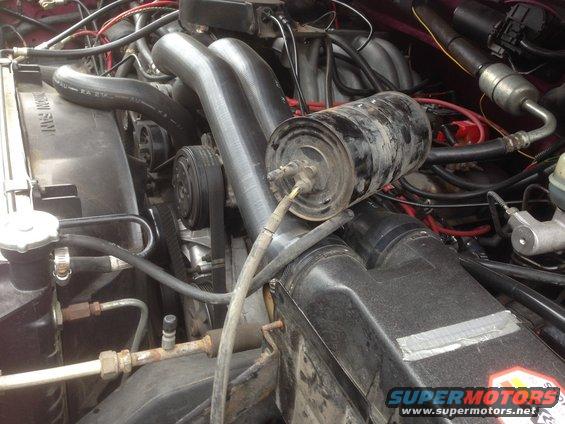
I removed the cruise vacuum canister to make more room to work.
With those nuts removed and the 2 phillips screws removed the surround can be removed from the truck.
I then went back to the other side and removed the batteyr tray to give myself more room.
Then you removed the 2 nuts and 2 screws and the surround of off on that side.
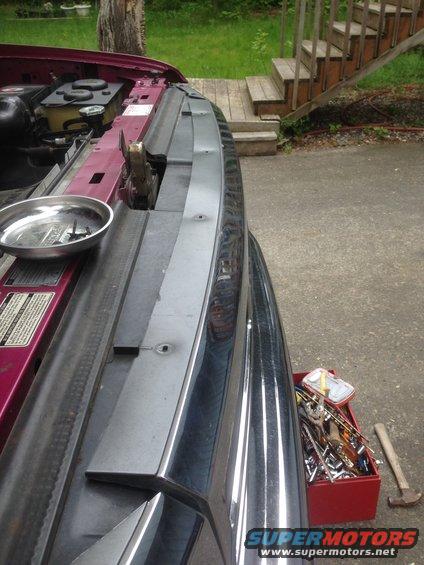
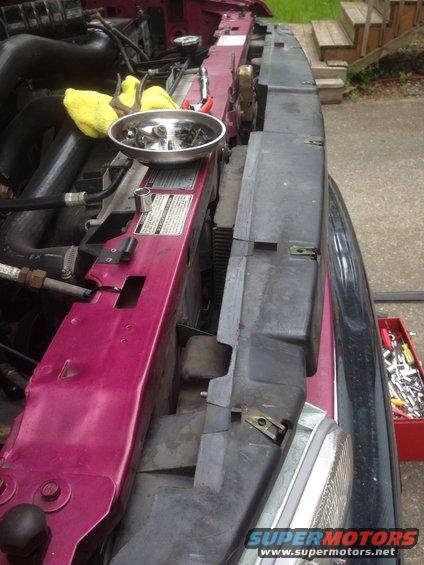
Then I removed the rubber strips from the header panel.
There are 11 bolts holding the header panel to the core support. I believe they are 5/16. With those removed you can pull the whole assembly from the truck.
Now you have plenty of room to start running the harness and mounting everything.
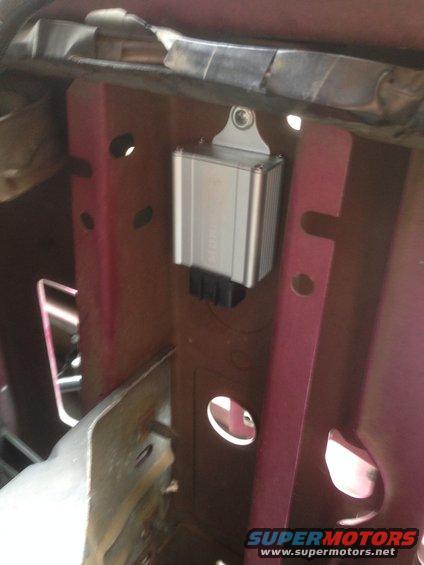
I opted to put the relay control box on the core support on the passenger side.
An important note here is that this box needs to be mounted vertically like shown as per the instructions.
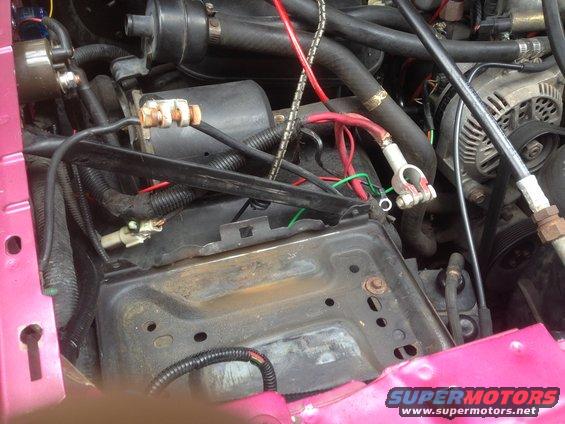
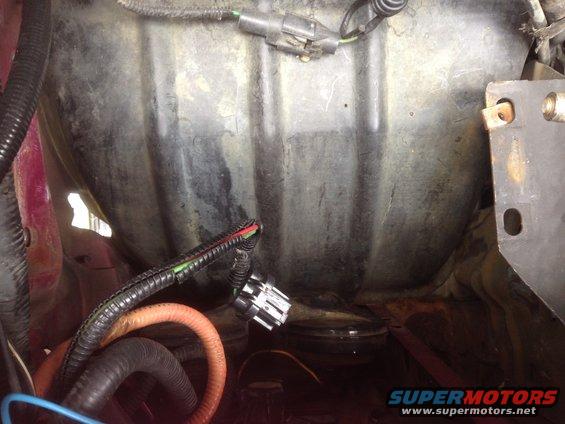
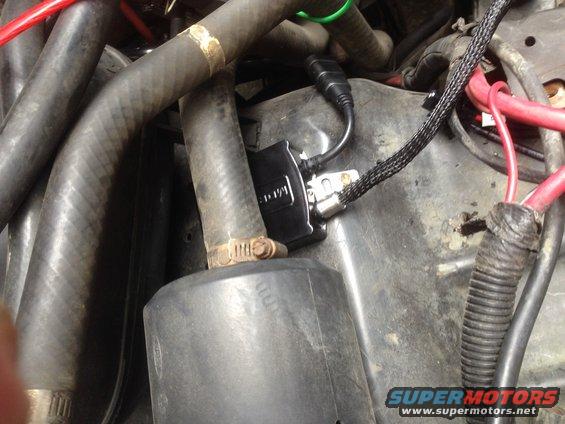
Next I mounted the passenger side ballast. I chose to mount it to the inner fender liner right behind the battery tray.
I then plugged the harness in and checked to see if everything would reach. All was good.
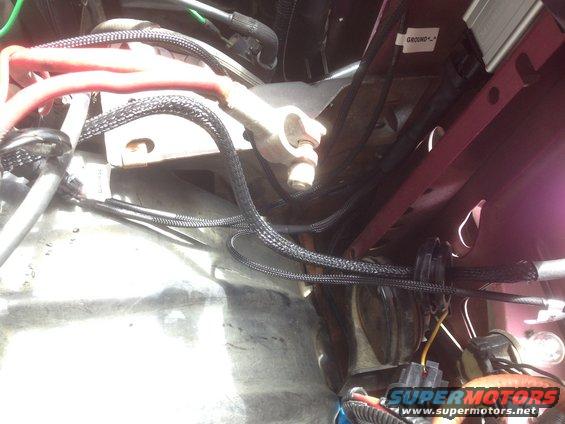
I then ran the harness to the other side of the truck. I zip-tied it up above the radiator.
I know I am gonna get flamed for this, but this was the only practical place to mount the ballast on this side. Yes that is the inlet hose for the intake. I didn't want to mount it under the fluid reservoir as I didn't want to risk things leaking on it.
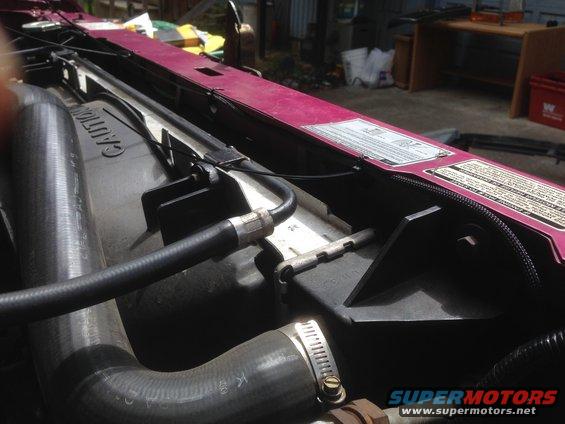
With everything ran you just need to plug the ballasts in and hook up the power and grounds. Everything is well labelled so it should be strait forward.
Back to the header panel.
This is why I chose to remove it completely. I can get to those clips with ease now.
Then I put the new housings in and put new clips in to hold it in.
From here I put the header panel on and started the aiming process.
I didn't bother with pics as I spent about 4 hours aligning everything.
The basic method I used was to move the truck close to the garage door to make sure the lights were aimed strait out and not cross-eyed. Then I adjusted the lights so they would sit flush with the headlight surrounds. Then I backed the truck up, removed the surround and made the fine tuning. I spent 2 hours doing this. Basically You want the light to be level with each other and the steps of the cutoff's spaced apart as far as the separation between the projectors. The height is not final though as it isn't dark yet but I think they will be right on. My truck is lifted so they are aimed lower than normal so I don't blind people.
Once You have the alignment where you want it, put everything back together and admire your handy work.
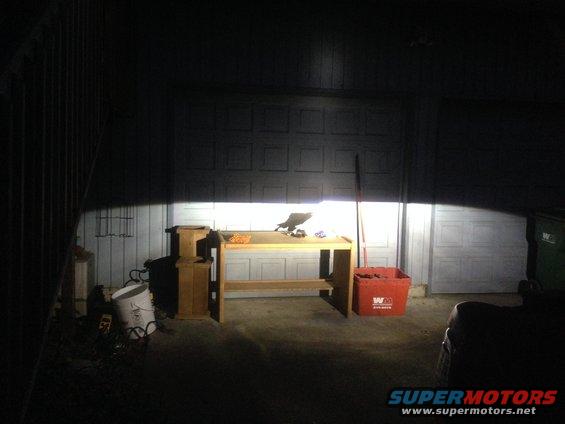
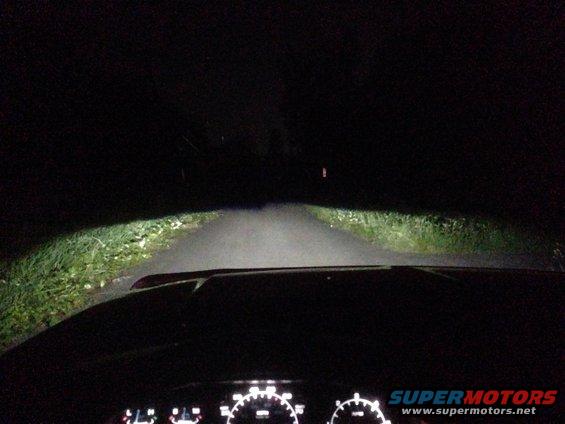
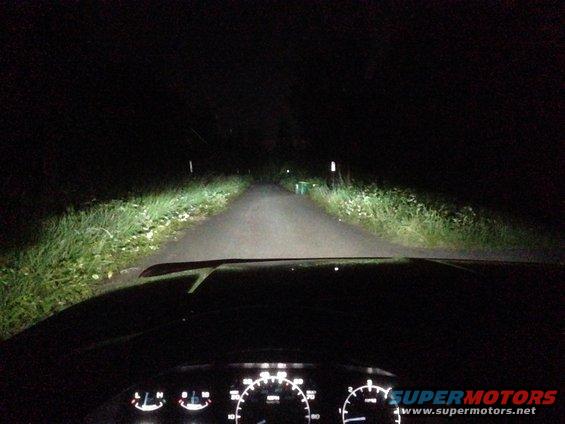
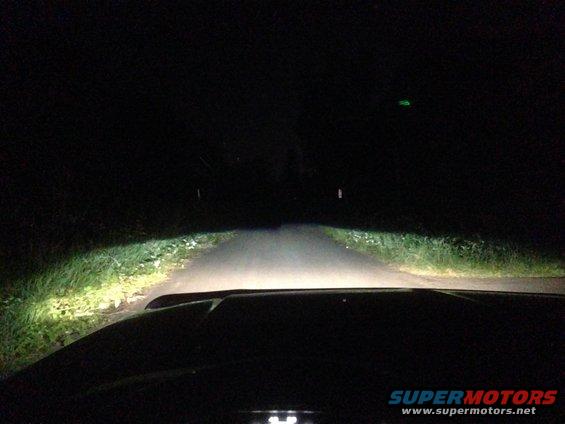
Output shots:
Stock headlights AND fog lights:
Reference for how dark the road was:
HID Low Beams:
HID High Beams:
HID Low Beams + Hella 550 Halogen Fog's:
HID High Beams + Hella 550 Halogen Fog's:
Again, I want to send a thanks to The Retrofit Source for an awesome product, will for sure buy from them again.
How long does it take from start to finish and do you have to do anything to aim the projectors inside the housing?
The projector's do a good job of centering themselves with the contour of the housing due to the big silicon washer on mounting shaft. As for time, I assembled the lights in the house in about 6 hours. Didn't touch the truck up to this point. Once I dug into the truck, it took about 5 hours.
Originally Posted by Diesel_Brad
Other that the CLEAR lens. I like it
I like the clear, and for projectors you HAVE to have clear lenses.
Output shots coming tonight when the sun goes away.
Thanks a lot for this write up Evan_P
I'll be doing this on my truck after it's been back together for a bit and I've got the rebuild bill paid down some.
Thanks a lot for this write up Evan_P
I'll be doing this on my truck after it's been back together for a bit and I've got the rebuild bill paid down some.
For your '89 you probably won't be able to do this due to there being NO clear aftermarket lenses. I have been toying with the idea though of getting a set of JY '89 lights, pulling the factory lens off and using it to make a mold to make clear lenses for the '89...
Originally Posted by roughridn_sob
very nice, deffinitely on my to to list!
Thanks. I already LOVE them and I have only driven through the neighborhood.
What about the HID conversions that come with new lens assemblies? I'm really interested in doing the conversion, and if the bolt in kits will work as they should that would be great.
They work, but the projectors in those are actually intended for halogen bulbs. The HID's will work in them though and they will be much better than reflector housings, but don't expect them to perform like a set of retrofitted projectors.
This just may be one of my next mods. My wife's car has real hids from the factory and I love them. I'd love to retrofit a set for my headlights and get a true hid protector foglight setup for extreme lighting.

 06-04-2014, 08:11 PM