72 crew cab long bed cummins

#482
 02-07-2015, 09:59 AM
Logistics Pro
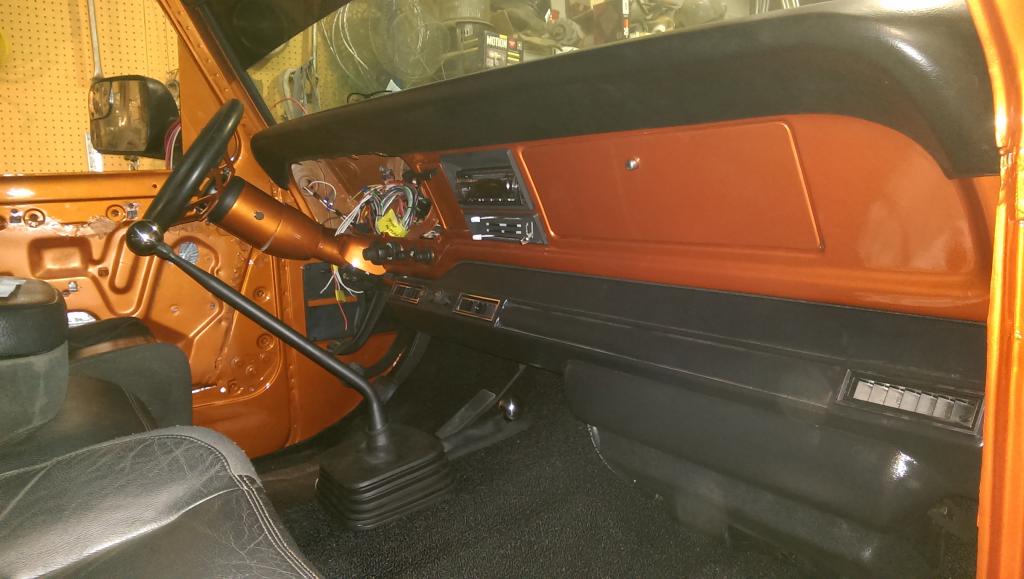
The holes are drilled and tapped for steering assist. Where I messed up was the two wheel drive box. I Already had It mounted and mached up before I was aware it wasn't the best box for the job. But having said this isn't going to be a rock crawler ether. With the steering assist taking half or so of the pressure off the shaft I'm thinking this box should last a long time. If down the road It fails I may look at some other options then...
steering assist


steering assist


#483
02-07-2015, 12:54 PM
Logistics Pro
Trucks looking amazing the color really turned out well. Liking your black color scheme on all the accents. The crossover and assist will be a delight to have in the truck. I should be getting my crossover linkage next week for mine. Then I can set mine up. Just need to look where to drill my 4x4 box for lines. I probably asked but what was the floor and under cab liner called?
#485
02-09-2015, 09:16 AM
Trucks looking amazing the color really turned out well. Liking your black color scheme on all the accents. The crossover and assist will be a delight to have in the truck. I should be getting my crossover linkage next week for mine. Then I can set mine up. Just need to look where to drill my 4x4 box for lines. I probably asked but what was the floor and under cab liner called?


And I had some leftover Ketstone liner from sparing my toyota So I used it up on the floor on the inside.
A link for hydro assist.
Thank you for posting that link up....
Steering Box Adaptation For Hydro Assist Steering
Thank you for posting that link up....
Steering Box Adaptation For Hydro Assist Steering
#486
02-10-2015, 11:55 AM
Sorry sir I didn't see your post till just now......
I bought one off ebay like this.
http://www.ebay.com/itm/POLISHED-ALUMINUM-STEERING-COLUMN-FLOOR-MOUNT-LOWER-SWIVEL-2-COLUMN-/321553832884?pt=Motors_Car_Truck_Parts_Accessories&hash=item4ade1a1bb4&vxp=mtr
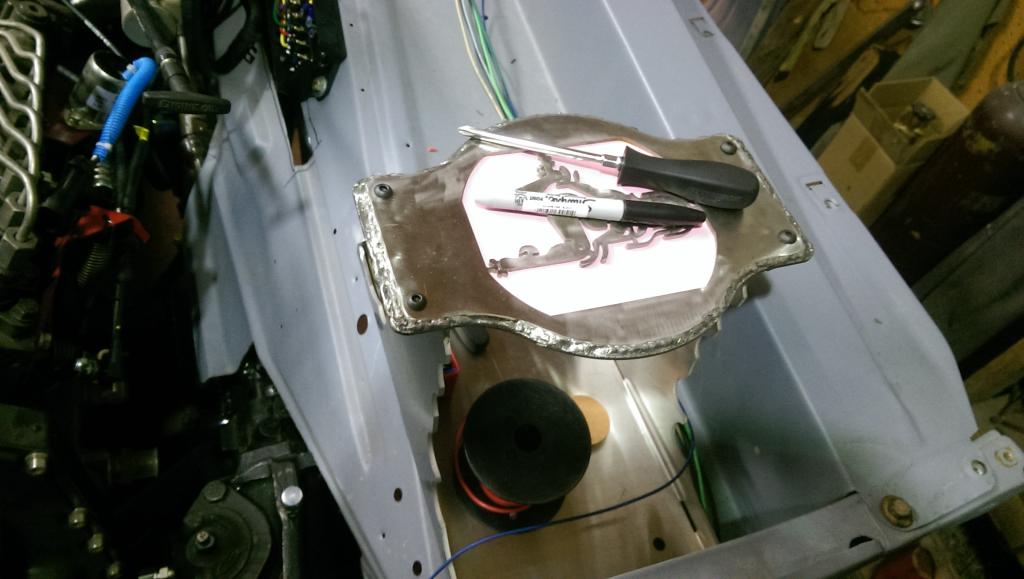
That would fit my column, then made a plate to fill the hole from the original column. and bolted the swivel to it. After a touch of powder coat....
Not part of your question but but the 100 dollar powder coat kit for eastwood was one of the best investments Ive made for this build... I had to have some trim done that wouldn't fit in a household oven and the guy wanted to charge me 200 bucks... So worth it...
I bought one off ebay like this.
http://www.ebay.com/itm/POLISHED-ALUMINUM-STEERING-COLUMN-FLOOR-MOUNT-LOWER-SWIVEL-2-COLUMN-/321553832884?pt=Motors_Car_Truck_Parts_Accessories&hash=item4ade1a1bb4&vxp=mtr
That would fit my column, then made a plate to fill the hole from the original column. and bolted the swivel to it. After a touch of powder coat....
Not part of your question but but the 100 dollar powder coat kit for eastwood was one of the best investments Ive made for this build... I had to have some trim done that wouldn't fit in a household oven and the guy wanted to charge me 200 bucks... So worth it...
#487
02-10-2015, 12:55 PM

#488
02-10-2015, 05:04 PM
Logistics Pro
The steering column floor mount is a good deal I thought it would of been more. Did you research Into the Eastwood powder coat kits at all or did you just pick up the cheap kit? The old lady been wanting to powder coat some of her truck parts and since I moved I lost my guy that did all my parts. So we been wanting to try out one. Thinking about the dusl voltage kit from Eastwood do you know anything about them? 200 for some trim that guys insane on his price. I paid less then that for a big bunch of my parts and it was even mixed colors. You saved a ton for sure on getting your own kit.
#489
02-10-2015, 05:26 PM
I did look into both guns.... But I dont have an oven big enough to large stuff as of yet lol So I didnt need the higher voltage gun. If I were to go back right now having used the cheapest version of the gun I still would buy the single voltage gun. it works really really well and its fun to play with the voltage button... you can spray without the voltage and it just float around and then you spray with the button pressed and you can watch it go for the charged metal.... The gun itself would probably break if you dropped it though lol Pretty cheaply built. But works well. Its still has quit a charge to it being the small gun If you get anywhere near and inch or so from charged metal it will throw and ark between the two,
#491
02-25-2015, 02:38 AM
#492
03-09-2015, 10:06 AM
Lots of small progress. But nothing really stands out as different. its just all stupid little stuff that takes forever. but its coming along... got a couple picks for you guys... Thanks btw....
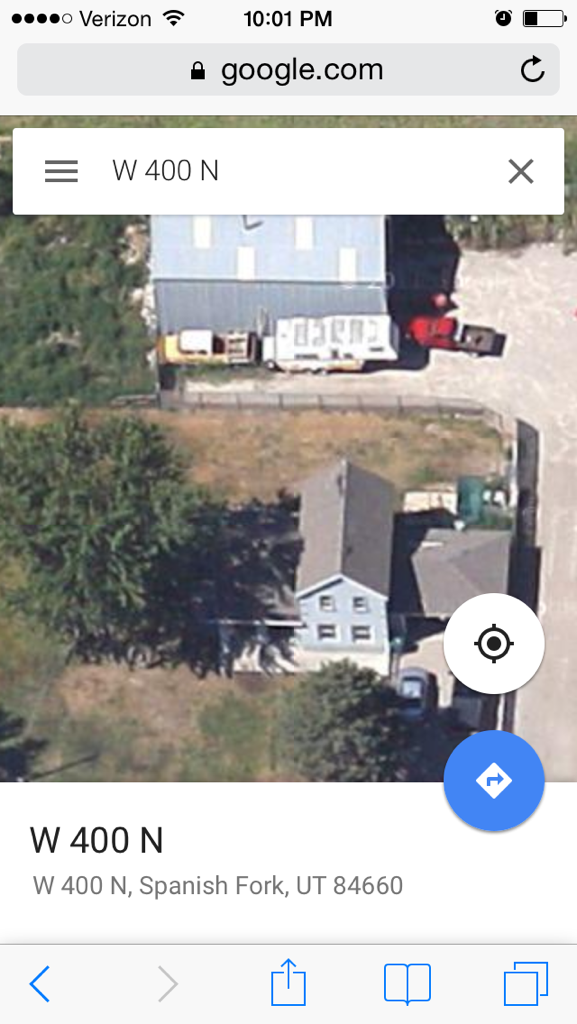
Was google earthing the other day on my phone and was able to find the house that I bought the truck at on there. And check it out google hasnt updated since then.... here is the old yeller in all its tucked away glory...

Hmmm what do I have left inside.... About all I can think of is Gauges some type of electric windows and door panels. Then Im pretty sure that part is done. Ohhh and ac drain....
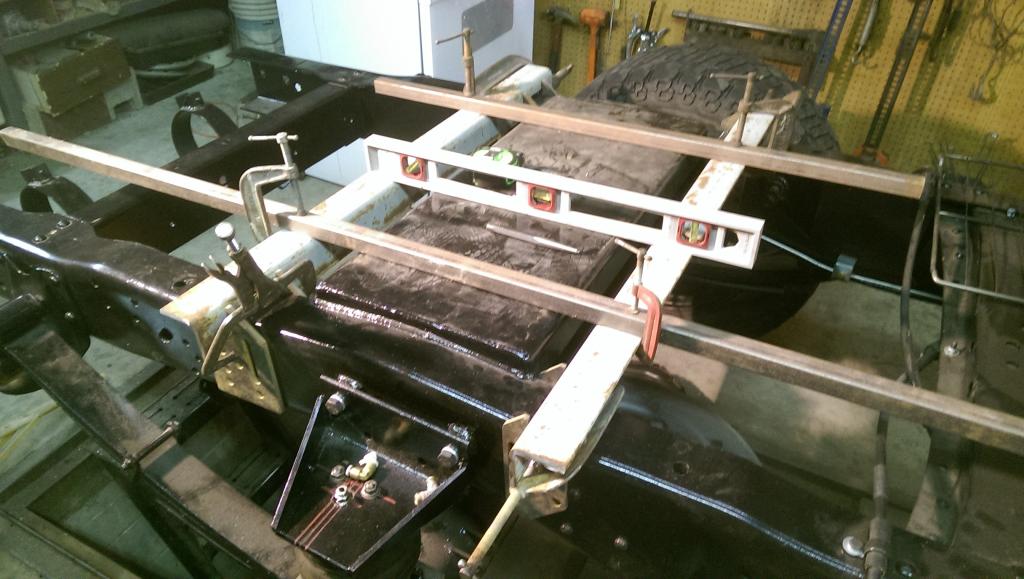
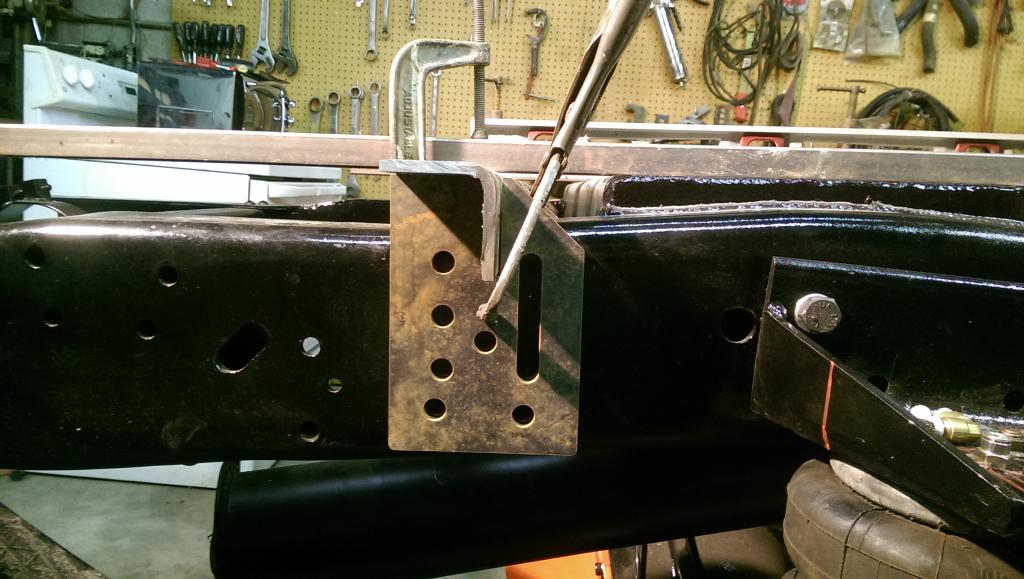
decided to add a little bit more to an already way over done hitch set up but decided Im going to be using one of the anderson goose neck adapter hitches in my truck. But Im not sold on the idea of using existing goose neck hitch to pre-load 40 or 50 lbs on the floor of the bed. then the tong weight of the trailer goes on the hitch witch to me is basically putting that weight on the bed floor as well. So I think I come up with a plan to take that weight off the bed floor well 90 percent of the weight....
Built these so once the bed is on I can slide them up into the bottom of the bed hence the slotted holes then once Im convinced there supporting enough weight of the bed floor I can drill holes using the pattern and threw bolt them snug.

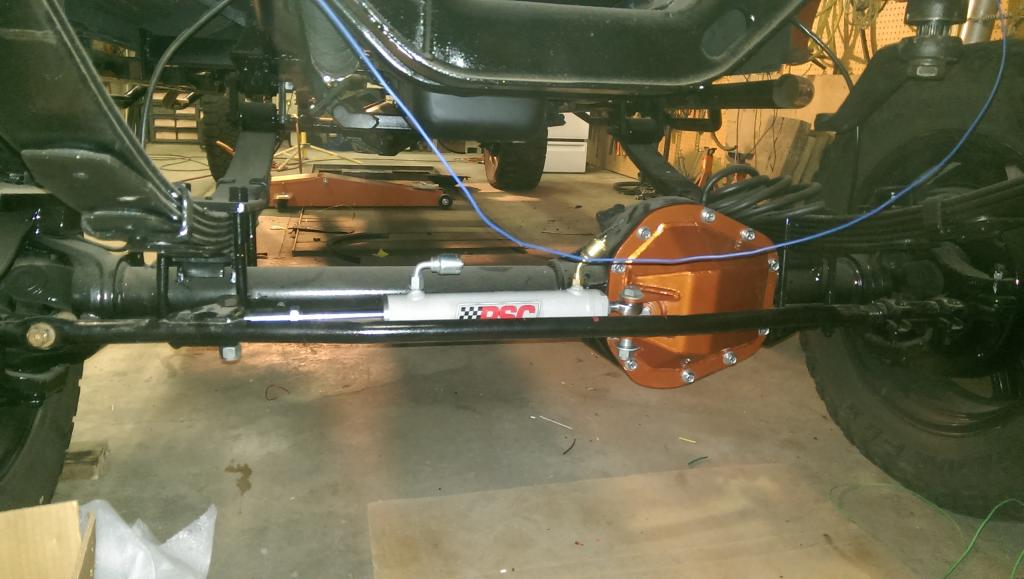
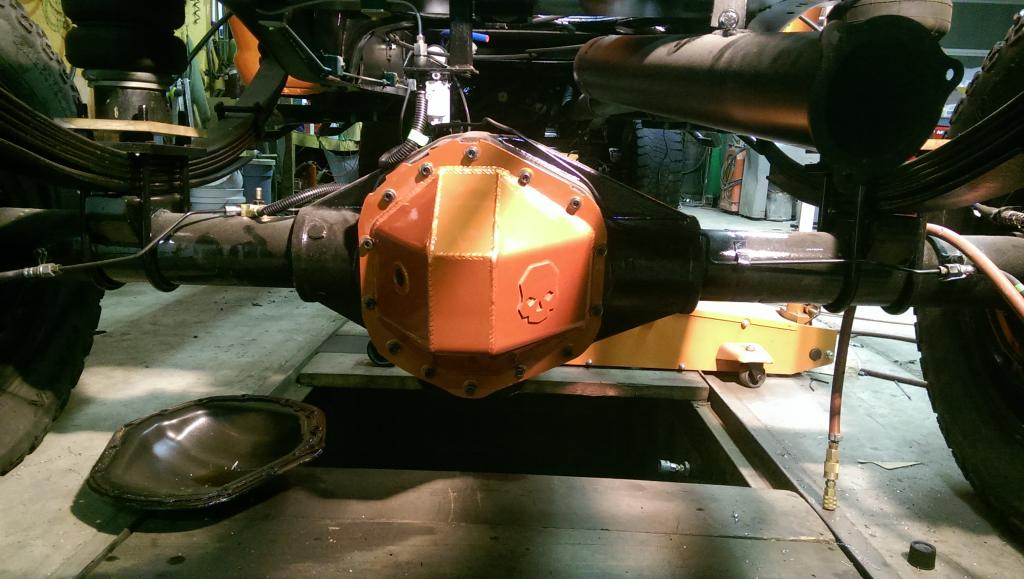
pulled the diff cover to swap out and inspect gears.... everything looks great and I found what I was hoping to find. 3.73 gears
with 3.73 and a 37 inch tire going 75 mph @.73 (5th gear od) my rpms will be right around 1855 so same specks at a 1 to 1 (4th gear) will be at 2540 rpms so about perfect for pulling up hills at or around 65-70 mph. Witch seems to be really talked about subject with the 4500s is pulling hills in 4th If possible
extra capacity diff cover

got the front cover on as well.... along with the hydro assist ram... The front is a different story all together. It still has the 4.11's in it from the po.... Im going to wait and make sure I like the rear combo before I change the front out....
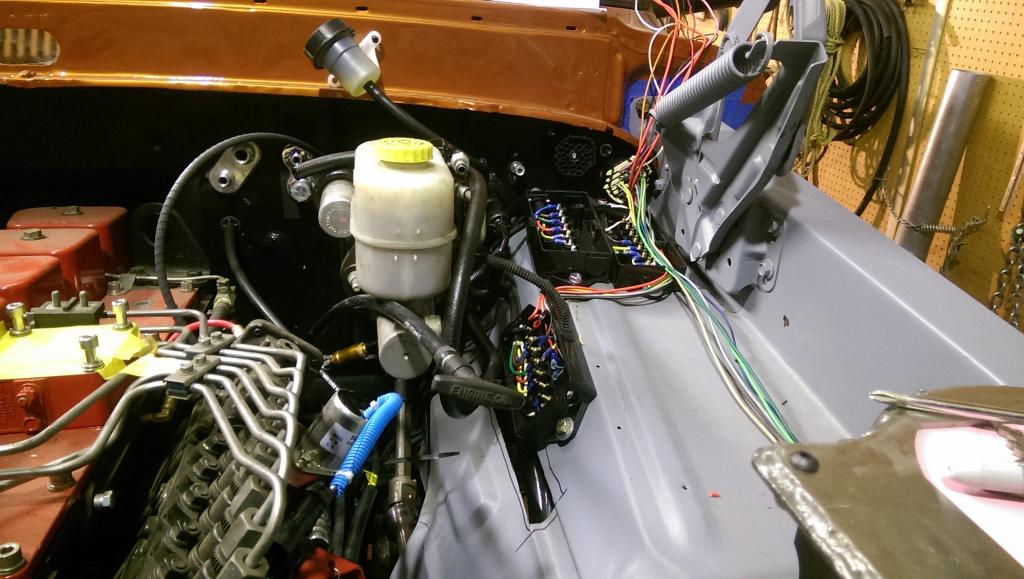
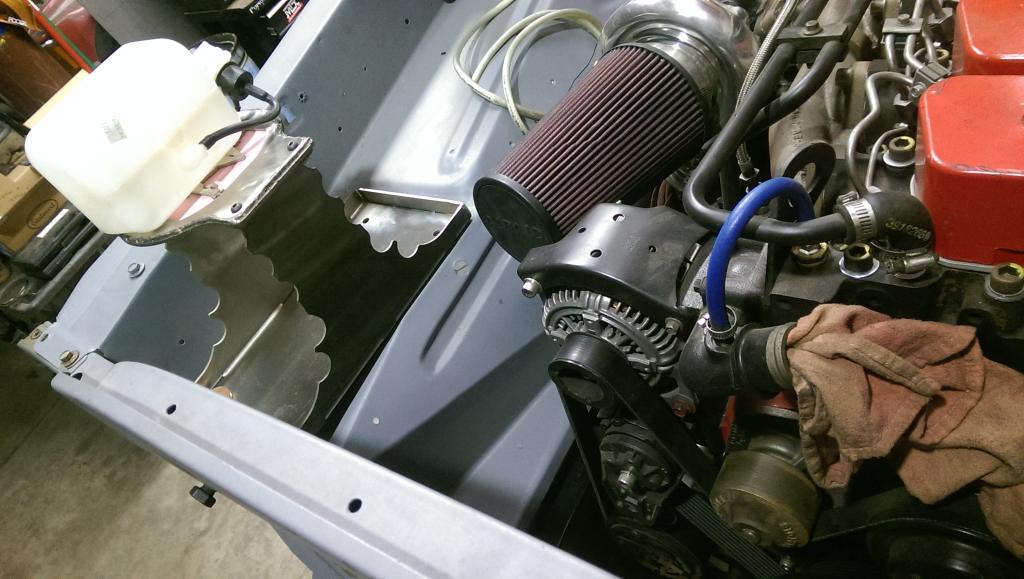
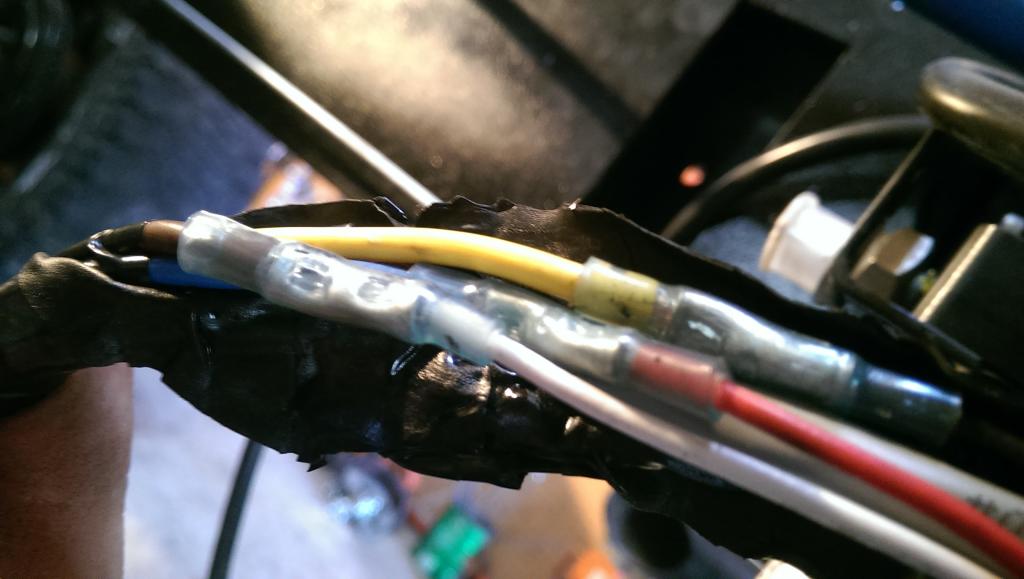
got some wiring stated in the front, Waiting on parts as usual. But Im thinking everything should be here this week,.
Lol My unk hooked me up with some matching battery boxes.... lol there bad a$$
This one is just for personal reference lol

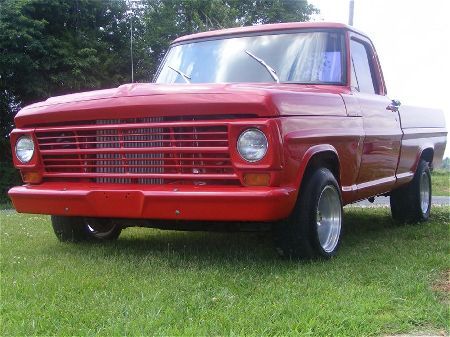
Here is a pic I found online of a truck with a painted nose that looks really sharp to me... I know some of you dont agree but Im excited to get mine together to see what it looks like.

Was google earthing the other day on my phone and was able to find the house that I bought the truck at on there. And check it out google hasnt updated since then.... here is the old yeller in all its tucked away glory...

Hmmm what do I have left inside.... About all I can think of is Gauges some type of electric windows and door panels. Then Im pretty sure that part is done. Ohhh and ac drain....

decided to add a little bit more to an already way over done hitch set up but decided Im going to be using one of the anderson goose neck adapter hitches in my truck. But Im not sold on the idea of using existing goose neck hitch to pre-load 40 or 50 lbs on the floor of the bed. then the tong weight of the trailer goes on the hitch witch to me is basically putting that weight on the bed floor as well. So I think I come up with a plan to take that weight off the bed floor well 90 percent of the weight....
Built these so once the bed is on I can slide them up into the bottom of the bed hence the slotted holes then once Im convinced there supporting enough weight of the bed floor I can drill holes using the pattern and threw bolt them snug.


pulled the diff cover to swap out and inspect gears.... everything looks great and I found what I was hoping to find. 3.73 gears
with 3.73 and a 37 inch tire going 75 mph @.73 (5th gear od) my rpms will be right around 1855 so same specks at a 1 to 1 (4th gear) will be at 2540 rpms so about perfect for pulling up hills at or around 65-70 mph. Witch seems to be really talked about subject with the 4500s is pulling hills in 4th If possible
extra capacity diff cover

got the front cover on as well.... along with the hydro assist ram... The front is a different story all together. It still has the 4.11's in it from the po.... Im going to wait and make sure I like the rear combo before I change the front out....

got some wiring stated in the front, Waiting on parts as usual. But Im thinking everything should be here this week,.

Lol My unk hooked me up with some matching battery boxes.... lol there bad a$$


This one is just for personal reference lol

Here is a pic I found online of a truck with a painted nose that looks really sharp to me... I know some of you dont agree but Im excited to get mine together to see what it looks like.

#493
03-09-2015, 10:06 AM
Lots of small progress. But nothing really stands out as different. its just all stupid little stuff that takes forever. but its coming along... got a couple picks for you guys... Thanks btw....
Was google earthing the other day on my phone and was able to find the house that I bought the truck at on there. And check it out google hasnt updated since then.... here is the old yeller in all its tucked away glory...
Hmmm what do I have left inside.... About all I can think of is Gauges some type of electric windows and door panels. Then Im pretty sure that part is done. Ohhh and ac drain....

decided to add a little bit more to an already way over done hitch set up but decided Im going to be using one of the anderson goose neck adapter hitches in my truck. But Im not sold on the idea of using existing goose neck hitch to pre-load 40 or 50 lbs on the floor of the bed. then the tong weight of the trailer goes on the hitch witch to me is basically putting that weight on the bed floor as well. So I think I come up with a plan to take that weight off the bed floor well 90 percent of the weight....
Built these so once the bed is on I can slide them up into the bottom of the bed hence the slotted holes then once Im convinced there supporting enough weight of the bed floor I can drill holes using the pattern and threw bolt them snug.

pulled the diff cover to swap out and inspect gears.... everything looks great and I found what I was hoping to find. 3.73 gears
with 3.73 and a 37 inch tire going 75 mph @.73 (5th gear od) my rpms will be right around 1855 so same specks at a 1 to 1 (4th gear) will be at 2540 rpms so about perfect for pulling up hills at or around 65-70 mph. Witch seems to be really talked about subject with the 4500s is pulling hills in 4th If possible
extra capacity diff cover
got the front cover on as well.... along with the hydro assist ram... The front is a different story all together. It still has the 4.11's in it from the po.... Im going to wait and make sure I like the rear combo before I change the front out....

got some wiring stated in the front, Waiting on parts as usual. But Im thinking everything should be here this week,.

Lol My unk hooked me up with some matching battery boxes.... lol there bad a$$


This one is just for personal reference lol
Here is a pic I found online of a truck with a painted nose that looks really sharp to me... I know some of you dont agree but Im excited to get mine together to see what it looks like.
Was google earthing the other day on my phone and was able to find the house that I bought the truck at on there. And check it out google hasnt updated since then.... here is the old yeller in all its tucked away glory...
Hmmm what do I have left inside.... About all I can think of is Gauges some type of electric windows and door panels. Then Im pretty sure that part is done. Ohhh and ac drain....
decided to add a little bit more to an already way over done hitch set up but decided Im going to be using one of the anderson goose neck adapter hitches in my truck. But Im not sold on the idea of using existing goose neck hitch to pre-load 40 or 50 lbs on the floor of the bed. then the tong weight of the trailer goes on the hitch witch to me is basically putting that weight on the bed floor as well. So I think I come up with a plan to take that weight off the bed floor well 90 percent of the weight....
Built these so once the bed is on I can slide them up into the bottom of the bed hence the slotted holes then once Im convinced there supporting enough weight of the bed floor I can drill holes using the pattern and threw bolt them snug.
pulled the diff cover to swap out and inspect gears.... everything looks great and I found what I was hoping to find. 3.73 gears
with 3.73 and a 37 inch tire going 75 mph @.73 (5th gear od) my rpms will be right around 1855 so same specks at a 1 to 1 (4th gear) will be at 2540 rpms so about perfect for pulling up hills at or around 65-70 mph. Witch seems to be really talked about subject with the 4500s is pulling hills in 4th If possible
extra capacity diff cover
got the front cover on as well.... along with the hydro assist ram... The front is a different story all together. It still has the 4.11's in it from the po.... Im going to wait and make sure I like the rear combo before I change the front out....
got some wiring stated in the front, Waiting on parts as usual. But Im thinking everything should be here this week,.
Lol My unk hooked me up with some matching battery boxes.... lol there bad a$$
This one is just for personal reference lol
Here is a pic I found online of a truck with a painted nose that looks really sharp to me... I know some of you dont agree but Im excited to get mine together to see what it looks like.
#494
03-09-2015, 07:52 PM
