Ford F-Series: How to Clean Your O2 Sensor
This article applies to Ford F-Series Trucks (1985-Present).
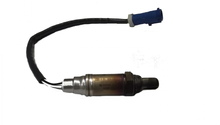
Oxygen sensors are important components of a vehicle's fuel injection system as they measure the amount of unburned oxygen in the exhaust gases to gauge the fuel mixture. This information is relayed back to the ECU and the mixture is adjusted accordingly to not only achieve the best engine performance, but also to control tailpipe emissions. As O2 sensors age from accumulated mileage, they can become plugged and/or contaminated, thus disrupting accurate readings. While it is generally recommended that dirty or faulty oxygen sensors be replaced, some have been able to restore performance and functionality by cleaning the sensors. This article will outline several O2 sensors cleaning procedures for Ford F-Series trucks that can be performed before spending money on new replacement sensors.
Key Information
- DIY Time: 60-90 minutes
- DIY Cost: $5-$20
- Professional Cost: $100+ for sensor replacement
- Req. Skill Level: Easy: Can be completed at home with a few simple tools.
Materials Needed
- Sandpaper (400-600 grit)
- Small wire brush
- Dental pick
- Chemical cleaner (carburetor cleaner, brake cleaner, etc.)
- Torch
- Compressed air
Although oxygen sensor cleaning is often met with limited success, cleaning is inexpensive compared to a new set of sensors.
Step 1 - Remove O2 sensor(s)
The first step that needs to be taken before an O2 sensor can be cleaned is to remove it from the vehicle. This may require lifting the vehicle and supporting it with jack stands to have adequate room to gain access to the sensors. Similarly, they may need to be soaked in penetrating oil prior to removal as they have a tendency to rust in place. Refer to Ford F-150/F-250: How to Replace Oxygen Sensor for additional information on sensor removal.

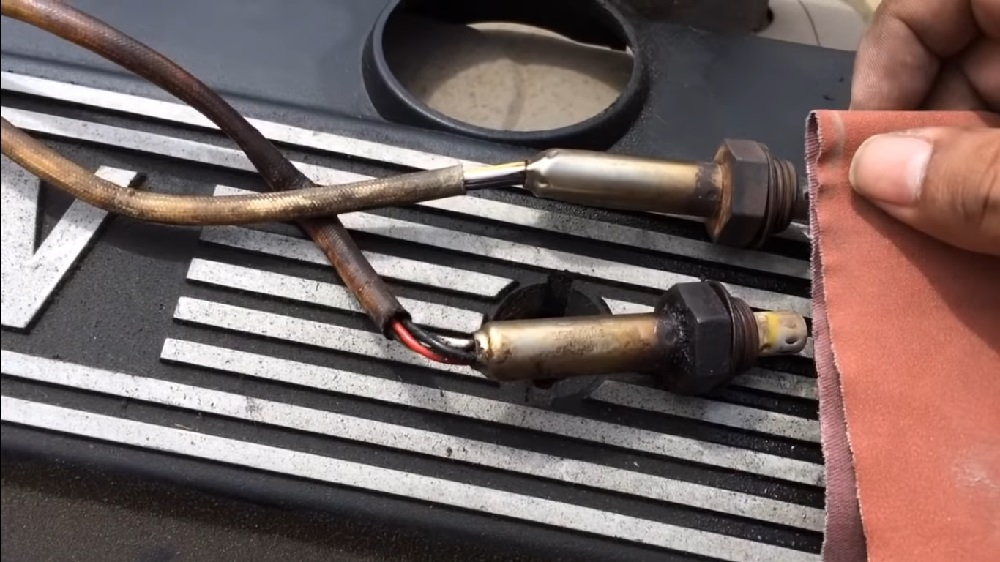
Step 2 - Abrasive Cleaning
An O2 sensor is a fairly complex device that has a number of layers before reaching the sensing element inside, thus it can be difficult to thoroughly clean them. That said, forum members have suggested that the first step is to clean the outer cover and any of its small orifices by way of abrasion. This can include a small wire brush, dental picks, and even some 400-800 grit sandpaper to remove any build-up. The idea is to clean any carbon or other contaminants off of the outside of the sensor as well as the inside of any small orifices.
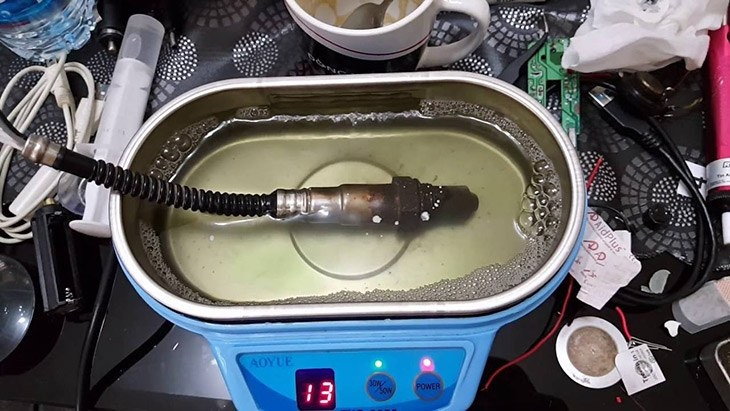
Step 3 - Chemical Cleaning
Since the inner workings of the sensor cannot be reached unless the cap is cut off, a cleaning agent is likely the most effective way to loosen any build-up inside. Using a chemical cleaner such as carburetor, MAF, or brake cleaner is your best bet. Fill up a small catch pan with the cleaner of your choice and submerge the end of the sensor into it. Allow the sensor to soak. Be careful not to allow the sensor wiring to be submerged in the cleaner as harsh chemicals could cause the insulation to soften or dissolve.
Pro Tip
The longer a sensor is allowed to soak in cleaner, the better chance it will have of loosening any deposits.
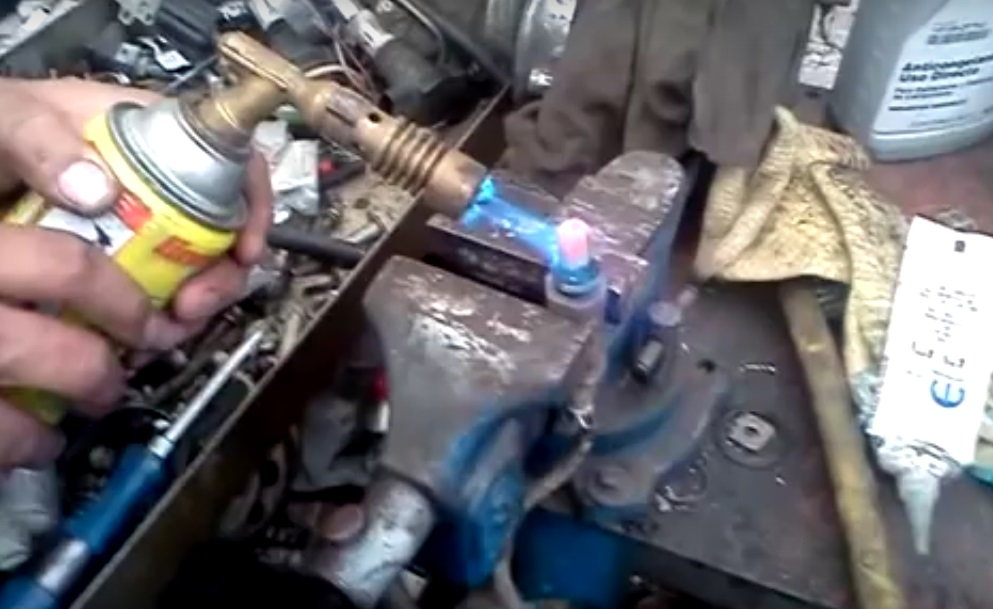
Step 4 - Heat Cleaning
In addition to abrasive and chemical cleaning, it is a good idea to try to clean the sensors with heat. The idea behind heating the sensor is to get it extremely hot in order to burn out any contaminants insides. Note that sensors are subject to exhaust gas temperatures that can reach upwards of 1,200 degrees Fahrenheit while under load, so you need to have a torch capable of getting the sensor hotter than this. With the sensor clamped in a vice or similar device, heat the end of the sensor to the point that it is red hot. Some sources have suggested blowing compressed air onto the tip of the sensor while hot in an attempt to blow out any carbon deposits. Allow to cool and repeat as necessary.
Pro Tip
Some have used the flame of a gas stove to successfully heat the sensor.
Step 5 - Reinstall the O2 Sensor(s)
After cleaning the sensors, it is time to reinstall them into the vehicle. Once installed, determine if the oxygen sensors are functioning or if the sensor related problems are still present. If the sensor cleaning has proven unsuccessful, proceed with replacing the old sensor(s) with new units.
Related Discussions
- O2 Sensor Cleaning - Ford-Trucks.com
- How to clean o2 sensors - Ford-Trucks.com
- Can you clean oxygen sensors? - Ford-Trucks.com
- How to Replace Oxygen Sensor - Ford-Trucks.com