Ford F-150/F-250: How to Install Car Stereo
Replacing the stock stereo on the Ford F-150 or F-250 Super Duty is a popular modification. Here is how to install a new stereo.
This article applies to the Ford F-150 (2004-2014) and F-250 Super Duty (2005-2014).
Upgrading a stereo system has many options to choose from, including satellite radio, an MP3 player, and high definition systems. There are kits that have built-in satellite radio, an auxiliary port, and an equalizer, all of which improve the stereo system's sound quality. Using aftermarket decks can be easy to install, or it may require technical experience with the assistance of an expert. This guide provides instructions on how to install a system.

Materials Needed
- Flat head screw driver
- Box head wrench
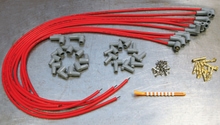
- Speaker wire
- Mounting adapters
- In-line crossovers
- Line output converters and controls
- Ford removal keys
- Voltage meter
- Radio wiring harness
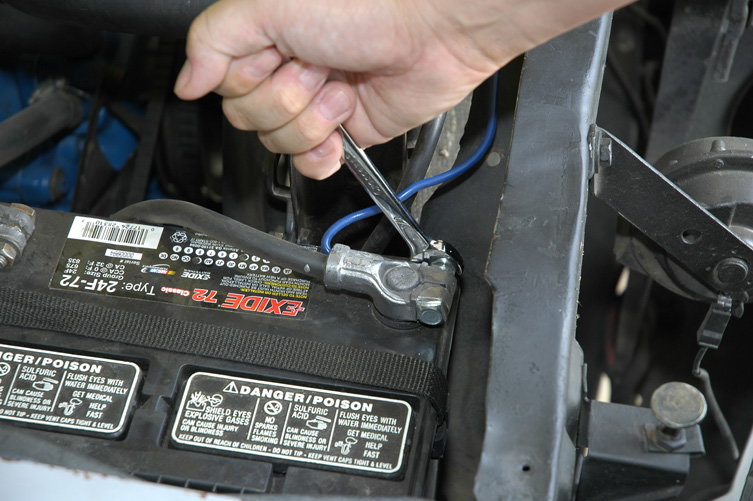
Step 1 - Disconnect the battery
Disconnect the negative cable of the battery and remove the rubber pad on top of the radio trim panel with two 9/32” screws.
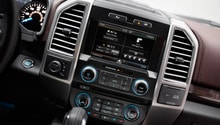
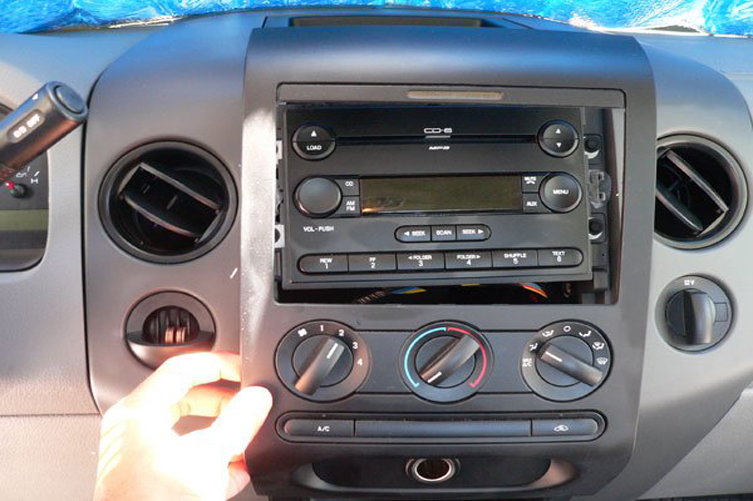
Step 2 - Remove the stereo trim
Take the A/C vent side panels off from the radio trim and slowly remove the stereo radio trim, including the molex plugs. You can remove it by carefully inserting a flat head screwdriver under the trim and slowly popping it out. Be cautious not to scratch the trim.
Step 3 - Remove the connector
Take the 9/32” screws from the factory radio and take off the connectors at the back.
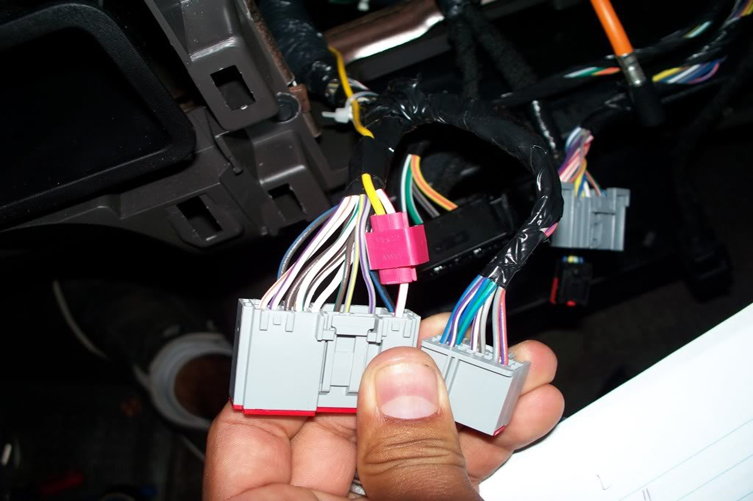
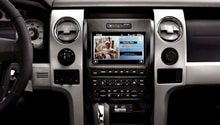
Step 4 - Install the new unit
Input the wiring harness and bus cable in the back of the new stereo and plug the antenna cable. The cables should match the old ones, so connect the colors the way they were connected previously.
Step 5 - Re-connect the battery and test the radio
Connect the negative onto the battery and start the car to make sure the radio is working.
Related Discussion
-
Stereo Installation - Ford-Trucks.com