When you click on links to various merchants on this site and make a purchase, this can result in this site earning a commission. Affiliate programs and affiliations include, but are not limited to, the eBay Partner Network.
While driving a week or so ago, a clicking noise that occured when the clutch was pushed in began. This was also accompanied by the clutch pedal feeling off, and not seeming like it was engaging fully. When inspected, a crack in the firewall was found, and the entire thing could be seen flexing when the clutch pedal was pushed.
I had remembered seeing a plate on Jeff�s Bronco Graveyard to repair this while browsing for other parts. One was ordered, and with little time to work on my truck, I came up with a plan on how to save some time but not quite half-a** the install.
To install the plate, the steering column would normally have to be pulled and reinstalled through it. To get around this, I simply cut a chunk out of it that allowed me to simply slip it on. The plate is almost too sturdy in my opinion, and the missing chunk seems to make no difference.
I then removed the clamp and plate holding the steering wheel to the firewall, the gas pedal, the clutch master, and the two screws holding the throttle cable to the firewall. The repair plate could them be slid in its spot behind the steering column plate. The repair plate did need to be removed and pounded on its right side with a hammer once or twice to get it to set flush with the holes aligned. This was just due to slightly poor manufacturing, and not my hacking at it.
Once installed, the plates hardware came next. Two bolts on top add support to the inside of the cowl, and three on its right side add support to the firewall. Almost all of the holes can be drilled from the inside using the plate holes as a guide, though one or two needed to be drilled from the outside (If holes need to be drilled from the outside, the airbox on an EFI truck needs to be removed). To do so i measured the hole on the inside and drilled from the engine bay accordingly. Now comes another corner to cut. The instructions suggest to remove windshield trim, the cowl, and make a whole mess out of things in order to get the piece that the top bolts thread into inside of the cowl. Having discarded the directions already, I went another route. Simply remove your wiper motor, and put the bracket in through the hole. Once inside, manuver it in line with the holes drilled with something thin through the vent in the top. A piece of romex wire worked well.
Now to install the side bracket. Without another person to hold it in place, it can be difficult to bolt up. This can also be solved with the previously used wire if you are working alone. Strip it, and use one piece to hold the bracket in place like so. Secure the bracket with a bolt through the empty hole, remove the wire, and bolt up.
Tighten down and reinstall everything, and your bullnose is shifting like new again.
Very Informative , Great pictures My 85 has over 500000 miles and no problems on this yet , but you never know. Thanks***** , I secondly ask? any pictures of the original crack???TR
Thread is a couple years old but I never understood starting a new thread when an existing informational thread is already present. Anyway I fixed mine today with just a few nuts, bolts, and washers. I'd been noticing that the clutch on my 86 F250 engaged very close to the floor and the pedal had to be fully to the floor for smooth(est) shifting, particularly into reverse. I had the same issue on my 88 F150 a couple decades ago which I first fixed temporarily with a broom stick wedged between the backing plate on the firewall and the core support. This worked fine but wasn't a permanent solution. I just drilled a couple 5/16" holes around the clutch master cylinder and put a couple 1.5 inch long 1/4" bolts with big fender washers through the front and nuts on the inside of the cab. Worked perfect then and again today. The bracket they make looks pretty neat but like a lot of unnecessary work in my humble opinion. Hardest part is snaking your hand up through the linkages and steering column to to get the nuts started, but once they are on I used a box end wrench in the engine bay and a socket on a swivel with long extension to tighten the nuts inside the cab. Took about 45 minutes by myself. Hope this helps someone. Clutch now disengages in a normal midway position like it is supposed to and shifts much smoother into all gears, including granny gear and reverse.
Here's a video of the master pushing in and out but I'm not great at posting videos. Click on it then open it in your download. It's about 8 seconds long and shows exactly what the problem is.
Last edited by crazynormy; Feb 13, 2025 at 01:32 PM.
Reason: Video not posting
The bracket in my opinion is necessary to address Fords TSB.Glad it worked for you .Did you notice on that bracket the 90 degree angle to the side and then to the top to firm up this bracket?J Savage is showing you how to cut the bracket to where you will not need to remove the steering column .Hard to understand how two 5/16 bolts cured the flexing of the firewall.I took his advice and purchased a plate ,cut it ,installed it and it’s held up great. Is your truck Automatic lol .TR
I like how he cut it to save him some time. I think the firewall cracking is kinda a description that is for a lack of better words. Unless my issue (on both trucks which had hydraulic clutches) is different, it�s the large plate that is fixed to the engine bay side of the firewall between the brake booster/clutch master. It should have been welded or bolted in at the factory, but instead looks like it was glued on with body adhesive. Were you able to open my video above? It shows exactly where it�s flexing and how by using the bolts to sandwich it all together works. I�m not opposed to using a rigid backing plate, just don�t need it for my application. If someone knows a better way to upload video let me know.
I couldn't open your video. Can you post a couple photos showing what you did? There's more than one way to do this. I used the original Ford bracket that was made available when the issue first came up and a TSB was issued.
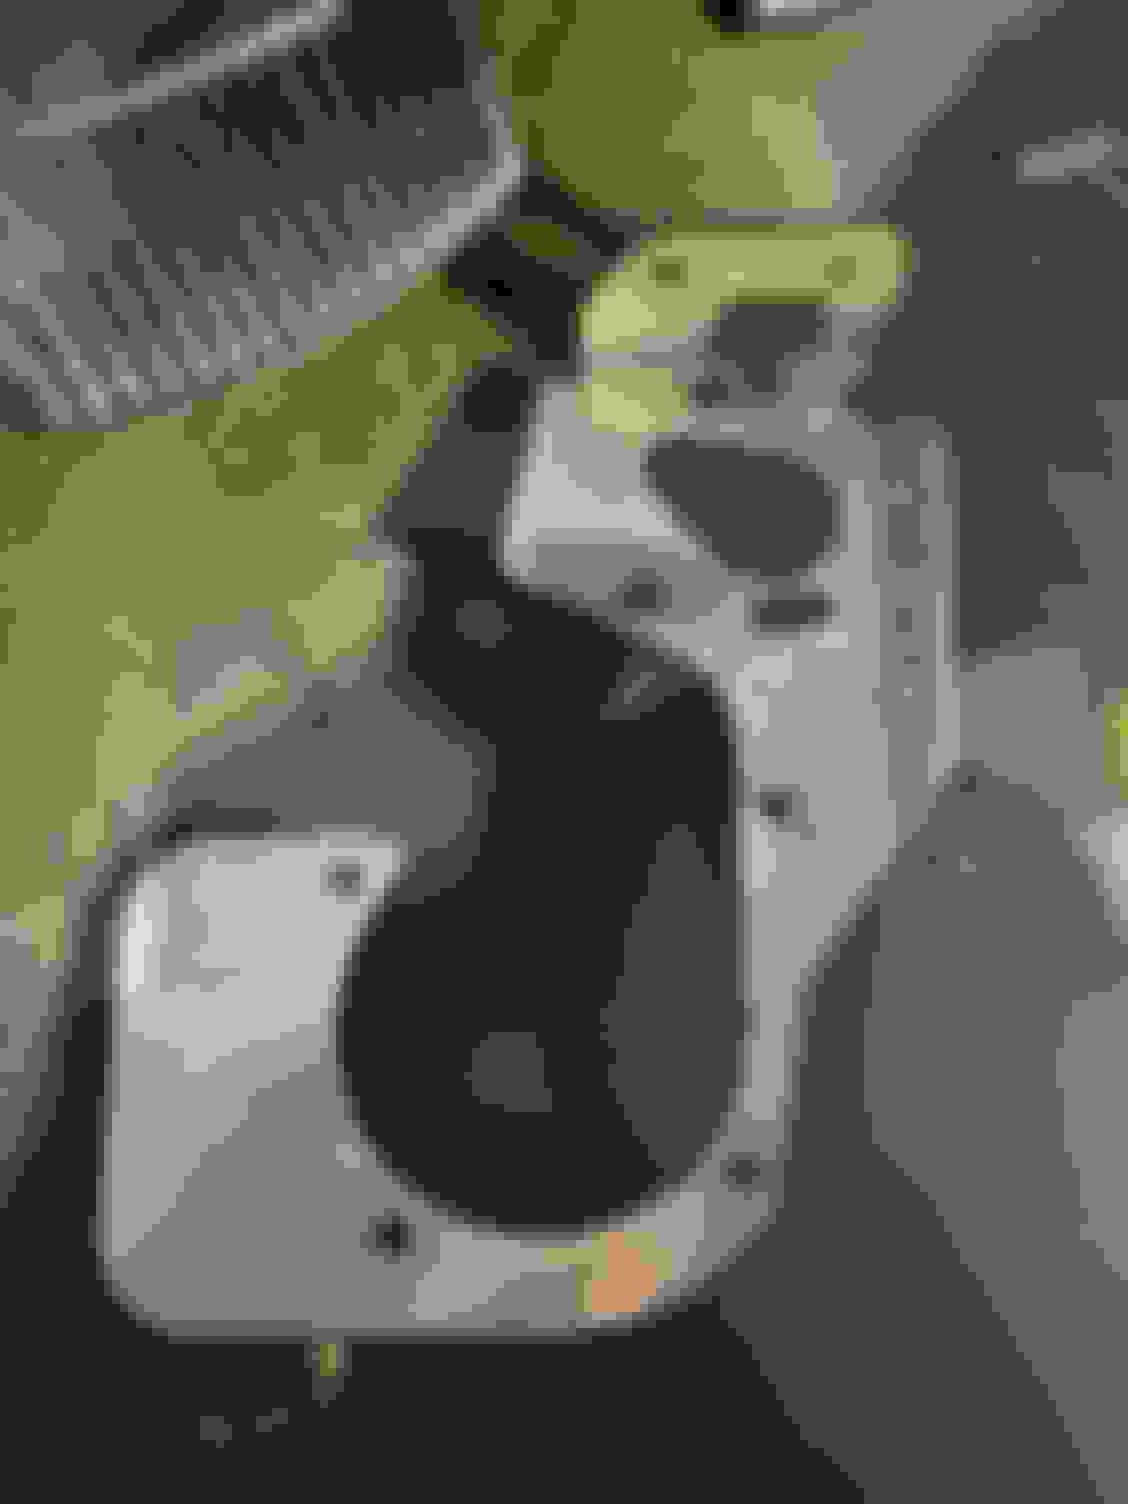
hope these come through. The truck is actually in really nice shape despite the pictures looking nasty. The first picture shows one of the bolts as well as a small bracket I had laying around that I screwed down. Second picture shows the bolt under the clutch master that helps lock it down. The third and forth picture just show the location inside where the bolts came through. If anything some bigger washers on both sides but it�s working fine as it and the flex is gone. It�s quite amazing in the video I posted but that is difficult to open without going through a couple steps.
This Hennessey Takes the Expedition Tremor's Off-Roading Capability to the Next Level
Slideshow: The VelociRaptor Expedition gains a lift, upgraded suspension, Brembo brakes, and trail-ready equipment while retaining the stock 440-horsepower EcoBoost V6.
Rezvani's Latest Post-Apocalyptic Monster Is a Ford F-150 Raptor Underneath
Slideshow: Called the Fortress, the 850-horsepower pickup combines Raptor underpinnings with military-inspired features, survival equipment, and a starting price of $285,000.