When you click on links to various merchants on this site and make a purchase, this can result in this site earning a commission. Affiliate programs and affiliations include, but are not limited to, the eBay Partner Network.
I've seen some of you do this type of thread to track your journey, and decided I'd like to do the same with this new-to-me truck. After having to sell the Big White Stupid Truck in 2014 (my wife's term of endearment for it), and rebuild my life from a job loss and a stretch of unemployment, the time has finally arrived to get back in the game. While not near what I had before, this truck will be a great project - something to continue learning on with all of you, from whom I've benefited with so much friendship and 7.3L advice over the years.
Details of this rig are in my signature. It has a few issues, but runs and drives fairly well. It will not be my daily driver now, so I can take my time working on it, which is nice.
2001 F350 Lariat 7.3L 4x4 CCLB SRW 4R100
Purchased for $15K+tax May 5, 2020 with 269,275 miles on the clock
Build Date: Aug 2000
May 25, 2020.....269,393 miles
-R&R Front Axle shafts, replace seals, right U-joint, needle bearing, stub shaft
One of the issues this truck has is the passenger stub shaft is always turning with the wheel, even with the Warn manual hub unlocked. I noticed the vacuum nipple on that side was broken off, with the old vacuum hose hanging nearby. Looks like it's been that way for awhile, possibly allowing water/dirt to enter the inner bearing where the stub shaft rides.
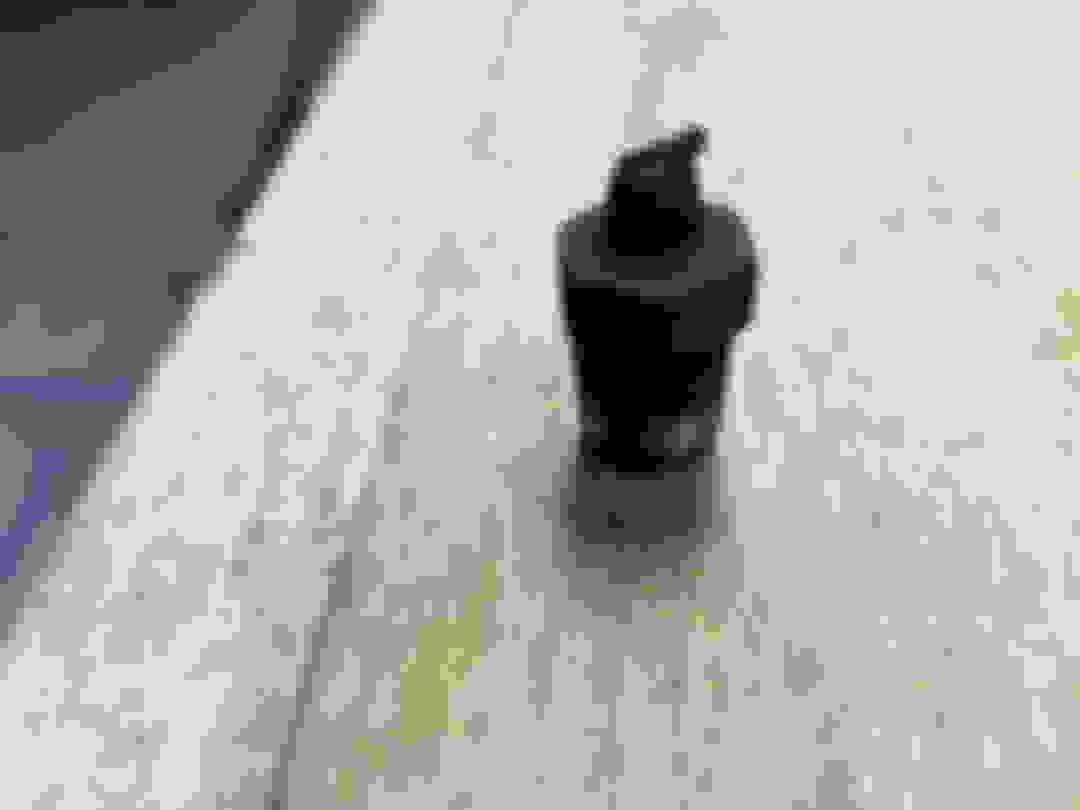
Here is the snapped off vacuum port.
I capped it off with a brass plug.
What do you think it will take to free up the shaft from the hub? I can probably remove the hub and shaft assembly as a unit and work on this in the shop. Hoping the shaft is not too badly damaged from this. Assuming I need to separate the shaft from the hub assembly and clean it up, then replace the small bearing it rides on inside the hub assembly, if possible.
Hmmm, saturate where the shaft goes through the hub with penetrating oil, then heat the hub and gently tap the shaft out with a mallet maybe? If you have access to a shop press, press that shaft out?
If you find the stub shaft needs replacing anyway, it might be a good time for this.
Hmmm, saturate where the shaft goes through the hub with penetrating oil, then heat the hub and gently tap the shaft out with a mallet maybe? If you have access to a shop press, press that shaft out?
Thanks Leonard - I will try that procedure with oil, mild heat and tapping and see what happens. I don't have a shop press, but might be able to mask up get some help from a fellow FTE'er nearby. That dynatrack kit is incredible. More than I can spend, but looks to be a rock solid upgrade.
With a few light taps, I could see the axle move a bit, and locking the u-joints with a bar while trying to turn the hub showed a little movement. I gingerly pried and coaxed the hub assembly and axle shafts with their seals out as a unit, then with more penetrating oil and some back and forth tapping, separated the hub from the stub shaft. Some water definitely got in there.
This side of the front axle is a beast. I never pulled axle shafts before. They are substantial.
Predictably, the needle bearings are shot. The shaft is pretty scored up as well.
So I need a stub shaft, a u-joint, some seals, and a needle bearing. Kinda fun learning about all this. Might pull the other side too and see where things are at. I think the bearings are ok there, just some dust seal wear, though the needle bearings might be low on lubrication. Good time to check the brakes on that side as well. It pulls a bit to the left.
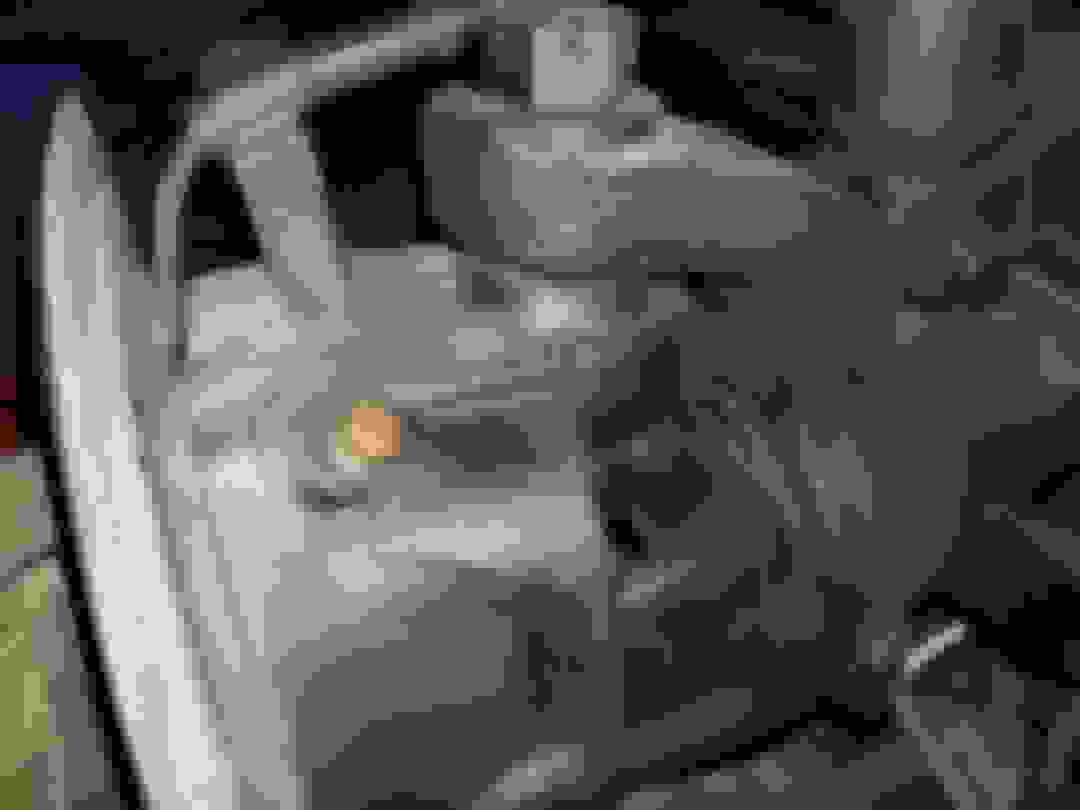
As you can see, the stock air box is there. I suspect it has not been sealing well at times. No blowby at the oil fill, but the stock garrett turbo has evidence of dusting:
Interior view. The driver seat leather has been replaced. Passenger side is pretty worn, but not ripped.
Transmission dipstick tube was broken off and lodged down on the passenger framerail. There's a plug sitting in the remaining stub. Not a good sign, but it drives/shifts well (so far).
The downpipe appears to be the stock diameter (3"). 3.5" stock exhaust starts after the pipe transitions to horizontal.
Working through another issue in parallel. The transfer case will not shift from 2WD to 4Hi or 4Lo. Forscan lite on my S7 phone shows code P1820. No Low Range light when ignition key is turned. I do have the 4x4 light.
Good [link] to what @Baatzy worked through. I think my issues are likely wiring/connector related.
I'm referencing the ESOF troubleshooting guides for a 2000 truck from our tech folder as well - very helpful
What I've checked so far:
- all fuses in the central junction box and under hood junction box. removed and reinserted as well.
- no power to shift motor when I operate the selector switch. no clicking from the under hood shift relays either.
- shift motor - works when I apply 12V. Operates one direction or the other depending on the polarity I apply.
- selector switch - forscan shows GEM is seeing it switch between 2WD, 4Hi, 4Lo. Measured voltage on dark blue wire at switch in each position: 5.6V, 2.5V, 0.9V
- dash indicators - just have 4x4, not Low Range. Checked by removing shift encoder from shift motor assembly and moving it manually. Might have a bad light.
-shift relays - bench tested - appear to work with power applied, continuity verified between appropriate blades of the relay energized and de-energized.
-power at shift relay mounts, location 86 and 87, both relays. Grounds appear good at 87a, both relays.
-pulled fuse block/GEM and it appears to be in good shape in terms of no water damage. Solder joints look good both sides of PCA. All connector pins clean.
I can apply power to the shift motor by jumper at one relay mount, 30 to 87, leaving the other relay to provide a ground path. Shift motor runs when I do that.
Connector to the shift encoder will not latch - easy to slide off. When sliding it on, it does not click, and I can't slide the red clip in. I think the nub on the encoder side is worn, Not sure yet best way to fix this.
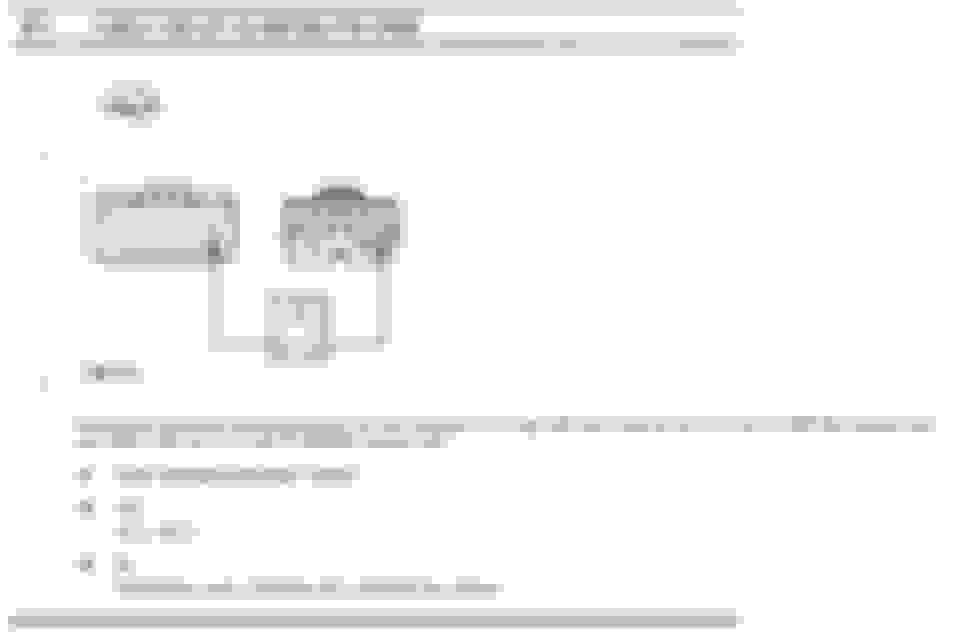
I appear to have an open wire between low-to-high shift relay coil pin 85 and GEM C240c pin 10, ckt 782. I have continuity between the other shift relay coil pin 85 and GEM C240c pin 11, ckt 781.
Note in the illustration, the view of the relay mount is from underneath (what they call "harness side").
Finding that break is going to be a challenge. Looking at the exposed wires under the dash from the relevant connector, and under the hood from the relay mount to the firewall - no obvious spot. I thought I'd start with cleaning up these fender mounted connectors.
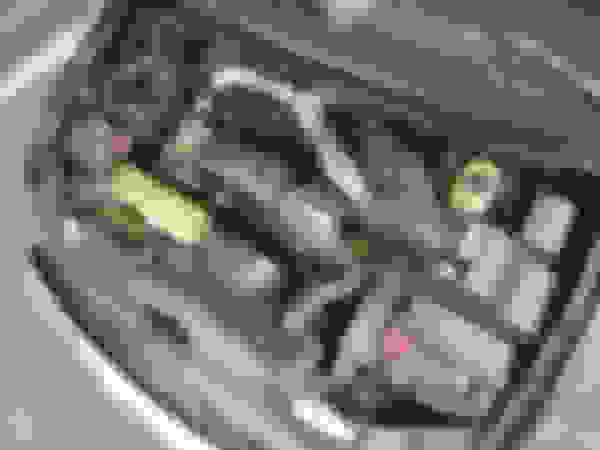
Here's the shift motor encoder connector. Interesting how the red slide works. I'm trying to understand it, but it appears to be locked open when not inserted in a connector. I think the nub in the mating connector has to push the tip of the red slide such that the whole red clip can slide home. I played with the connector on the MAP sensor which operates similarly. Still hard to see what's going on there.
If cleaning and reseating the fender connectors does not solve the problem, I might run a new wire. There are some extra wires labeled "customer access circuits" that pass through the firewall. I could use one of those.
Several weatherproof joints to make though to get that BR/WH wire connected. Certainly better if i could find the break.
Well, there are several connectors along the way that you can pop open so you can at least isolate which segment of the wire is broken. You can check in the following steps:
Thanks for this - the C1044 connector appears to be the one on the fender I was going to clean up - closest to the front of the truck. I bet the C1051 connector is one of the firewall pass throughs. I'll dig into this and see if I can isolate the open.

 05-11-2020, 12:06 AM