Shudder chucking?
#1
Shudder chucking?
First post. Iíve got a 99 E150 club wagon with a 5.4. Iíve done a lot of work trying to get this van solid, safe and comfortable to drive distances. I canít get rid of a heavy, weighted vibration from somewhere underneath when I hit a bump or road defect. Iíve done the following and probably more, mostly to eliminate weird handling and this ďchuckĒ but it still persists.
Hankook HT tires
Front and rear springs
Front KYB and rear Monroe load coil shocks
All ball joints and repeat alignments
Engine and trans mounts
Replace exhaust hanger in front of muffler
Left radius arm bushing and bracket (damaged in a freak parking accident)
Spare tire is tight
Kinda tired of messing with it but planning on doing the right radius arm, I beam and sway bar bushings. Just with that reluctance of doing more and not solving the problem.
Any other ideas?
#3

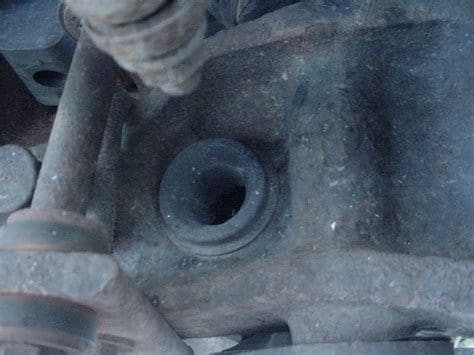
I just located the source of a "rattling - thumping" noise on my E150 when I hit certain "washboard" imperfections in the road ….. it was the END BUSHING on the sway bar that had worked it's way out and was just hanging on the sway bar, while the sway bar end was hitting metal-to-metal on the bare opening. Not sure if this is your problem, but something to look at. I had looked at the sway bar mounting hardware/bushings several times, but didn't notice the loose bushing inside the I-beam hole. I was used to sway bar "end links" on my other vehicles, so this was new to me. I think this is a file photo of the bushing that came out …. it's just where the end of the sway bar pokes through the I-beam.
Last edited by econovanfan1; 07-03-2018 at 04:57 PM. Reason: file photo
#4
Cool, thanks everybody.
I have the sway bar bushings and Iím going to try to get to them tonight. I can see where the bushing is hogged out. I replaced the other radius arm too. I also picked up a set of urethane I beam pivot bushings. I need to make sure theyíll fit before I burn out the old ones though. The product listing omitted 98-02 or so E 150.
Also, while crawling around underneath, I noticed my tailpipe hanger allows for more movement than it should. Hopefully I can adjust the tailpipe. If not Iíll have to shorten the hanger a bit.
Also, while crawling around underneath, I noticed my tailpipe hanger allows for more movement than it should. Hopefully I can adjust the tailpipe. If not Iíll have to shorten the hanger a bit.
#5
#6
#7
Re: Urethane Bushings
Depending what brand you use the sway bar bushings might require complete removal of the metal sleeve the OEM parts have---I use Energy Suspension myself. Their set includes the frame mounting bracket bushings as well.
The axle pivot bushings--again depending which brand, Energy Suspension for me there too---might require you LEAVE the factory steel bushings in the I-Beam during installation.
Good luck with all this---its not complicated but sure is a lot of heavy lifting.

Trending Topics
#8
#9
More Improvement
Replaced the KYBs with a set of Monroes. I never liked how the KYBs fit. The body of the shock was too close to the track arm even with a spacer. The driver side developed slop in the shaft and was clunking. My advice: Dont use KYBs. Get the Monroeís or splurge on the Bilsteins.
Also. I put Monroe load coil shocks on the rear. I noticed while crawling around, the parking brake cable to the right wheel had significant wear on the casing from interfering with the driver side coil over. I assume that under certain conditions the cable was hanging up in the coil and tension was being put on it, hence the slightly higher temperature at that wheel. I was also noticing hard shifts sometimes like a brake was dragging.
I also installed an Addco rear sway bar. It firmed things up nicely. If you get one of these, be sure to buy several grade 8 washers and nylon lock nuts. I like washers and they donít include any. Also, youíll be trial and erroring on the install a few times so some of the lock nuts will no longer be any good. Their directions are F-
Feels good to finally be figuring these problems out.
#10
It is a good feeling when your hard labor and time pay off in a smooth, quiet riding vehicle. I just returned from 10,000 miles of traveling this summer, and couldn't be more satisfied with the performance and reliability of my old van. Now I know why people keep these Econolines for 250,000+ miles … they are a great way to travel with a lot of room and (in my case) avoid spending big bucks on hotel rooms. I went places and travelled back roads that a bigger RV would never dare to travel, and got 19mpg to boot …. so it's really the best of both worlds. Glad to hear you've got your van to a point where you can really enjoy it now.
#11
#12
Hellwig can be found through Amazon or Jegs.com or Summit Racing---they have the better prices.
HTH
#13
As I went through the install, I realized that many fasteners needed to go certain directions for clearance, access etc. The directions donít divulge this and are truly useless. You could throw them away.
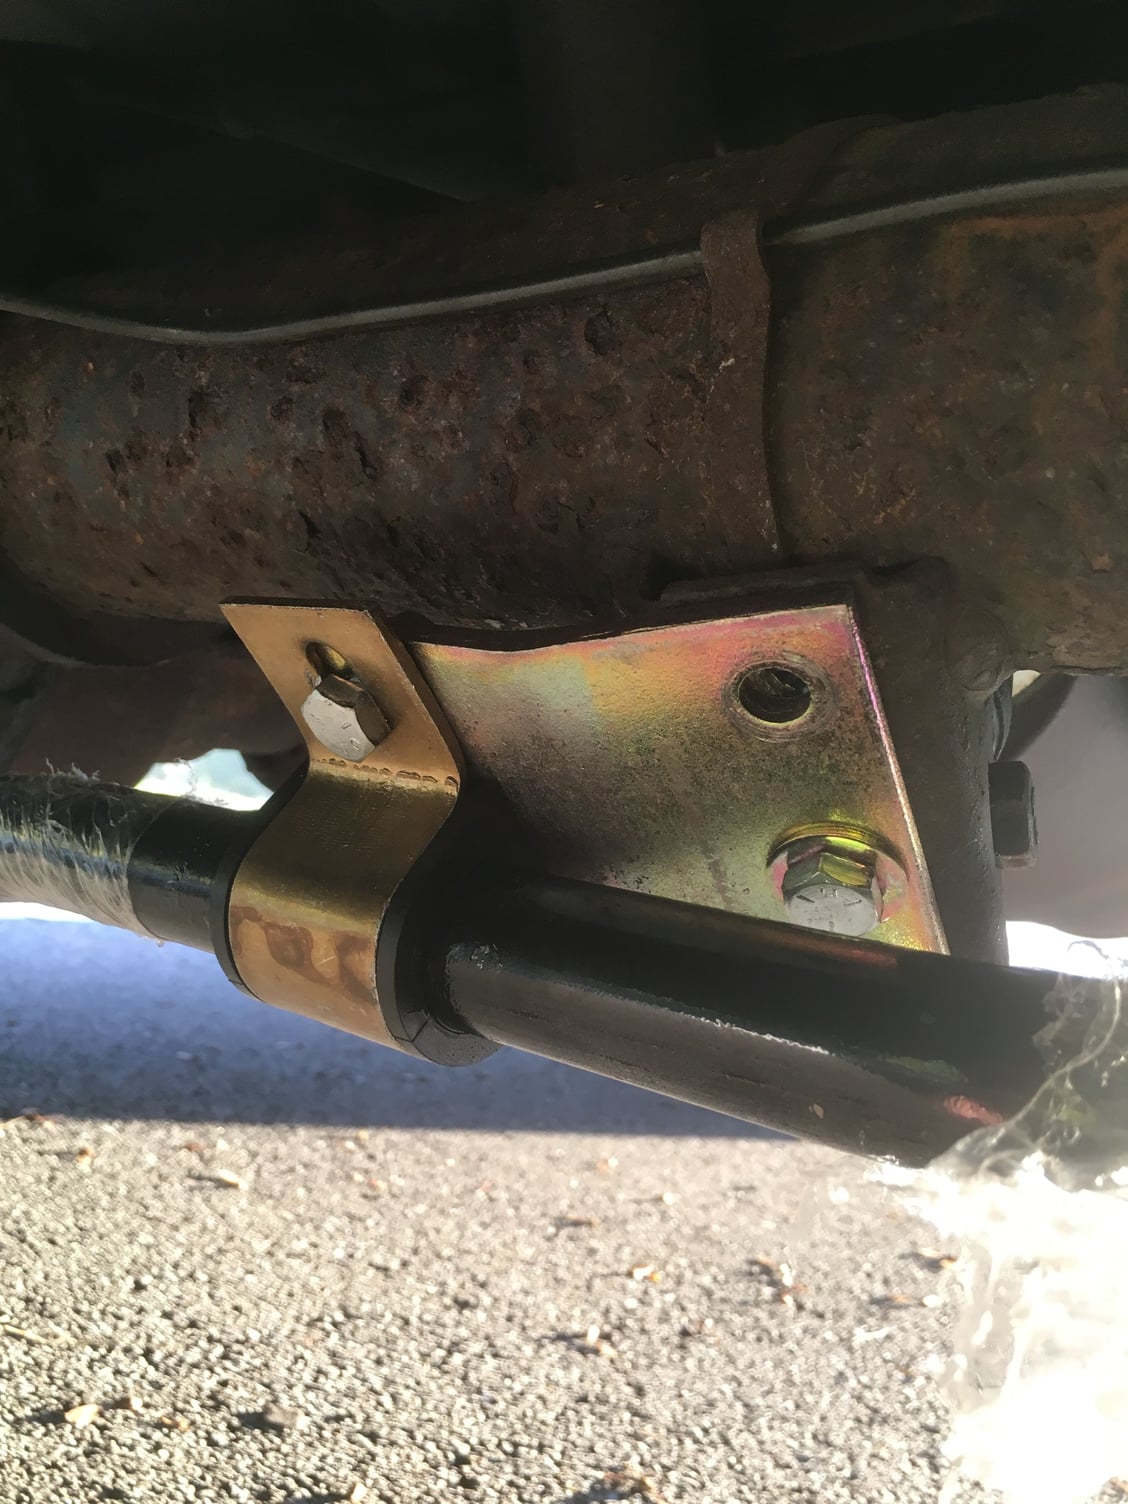
Note the orientation of the bend of the plate and that the side with four holes goes to the shock mount. I personally wouldíve preferred a better bolt spread here but I donít plan on doing any auto crossing. Weíll just have to see how it holds up.
Before tightening the plates that bolt to the shock mounts, put the bolts that will hold the bar clamps in with threads towards the rear of the van. I also used a wide flange, heavy washer on the bolt hole that I had to drill as it seemed a little closer to the edge than I liked.
In my pic, taken from the right rear, youíll notice the clamp bolts are not facing the ground like I mentioned earlier. I had to cut the end off of the upper bolt as it bottomed out on the axle tube. Maybe it wouldíve added support, perhaps it wouldíve worn a hole in the scaly old tube. I was running out of lock nuts and didnít feel like undoing it again anyway. And you may also notice the lack of washers on the clamp bolt...I ran out, wasnít going to get more and was going to get the damned thing on that night!
On the ďLĒ brackets for the end link, make sure youíve got them the right way. The holes are different sizes. I used a washer on the chassis side here too. The big holes go to the chassis if I recall correctly.
Had I had this info, a box of washers and some extra lock nuts before I started, the job wouldíve gone much quicker.

#14
Hellwig's installation is much much less complicated and/or fraught with DIY improvised steps.
Of course there are some fasteners that are better oriented one way or another but that's not a real issue. I do have a few photos of my own installation of a typical Hellwig front bar--glad to share them if interested.
Of course there are some fasteners that are better oriented one way or another but that's not a real issue. I do have a few photos of my own installation of a typical Hellwig front bar--glad to share them if interested.
#15
And another thing...
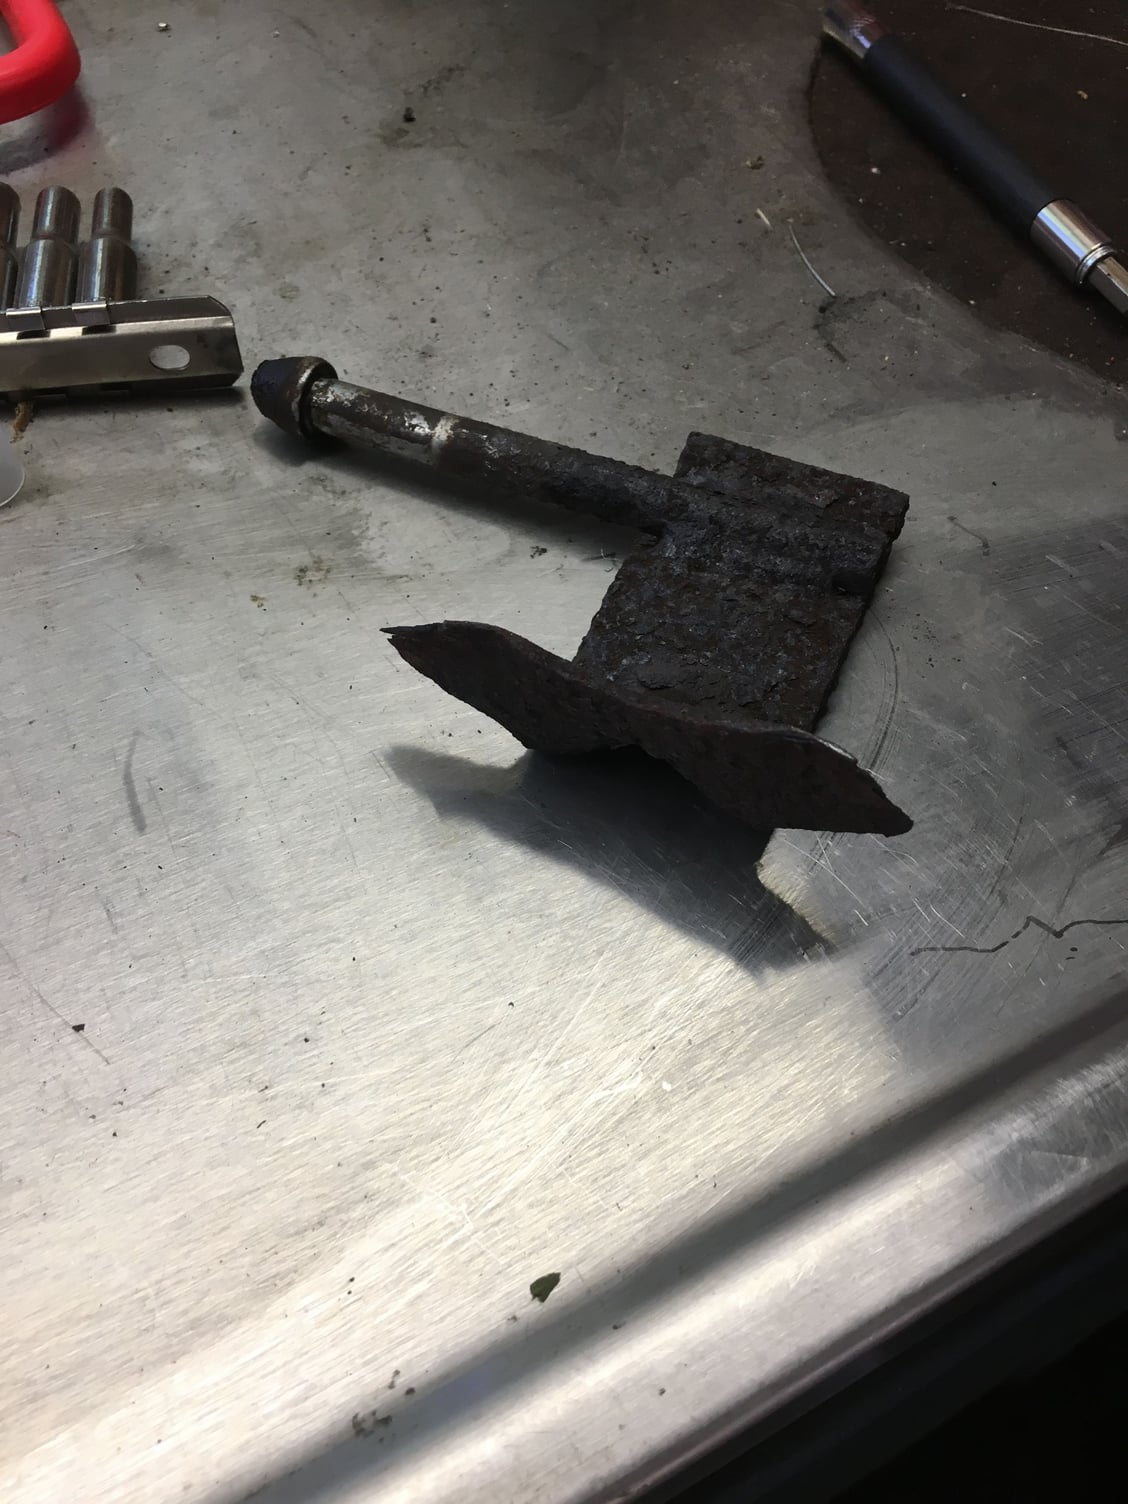
I had slop in my tail shaft housing and had the bushing in it replaced. Got rid of some NVH. A previous owner cut off the rear heater core lines as they had rusted out. While under my van I moved them around and discovered another source of clunking. I removed their remains.


