When you click on links to various merchants on this site and make a purchase, this can result in this site earning a commission. Affiliate programs and affiliations include, but are not limited to, the eBay Partner Network.
***Shop tips, tricks, and tools. Got a neat gadget you came up with? Post it here!
So, wanted to put this up, so we can share cool ideas for tools, tricks, whatever. Post up pics of what you came up with. Lets try and keep the bs'ing down, to make the thread easier to read!
Just to start this off, to aid in stripping my frame, I used two engine stands as a rotisserie. Make sure the stands are vertical, and not the angled ones that can cause issues flipping the frame. I used two pieces of box steel to attach the frame to the stands, but, I've seen guys use wood 4x4's also.
When drilling out spot welds, I found that it can be difficult to get the bit in certain areas. So, I picked up this extension from Lowes. I did have to have the bit taken down on a lathe to fit, but, it works great!
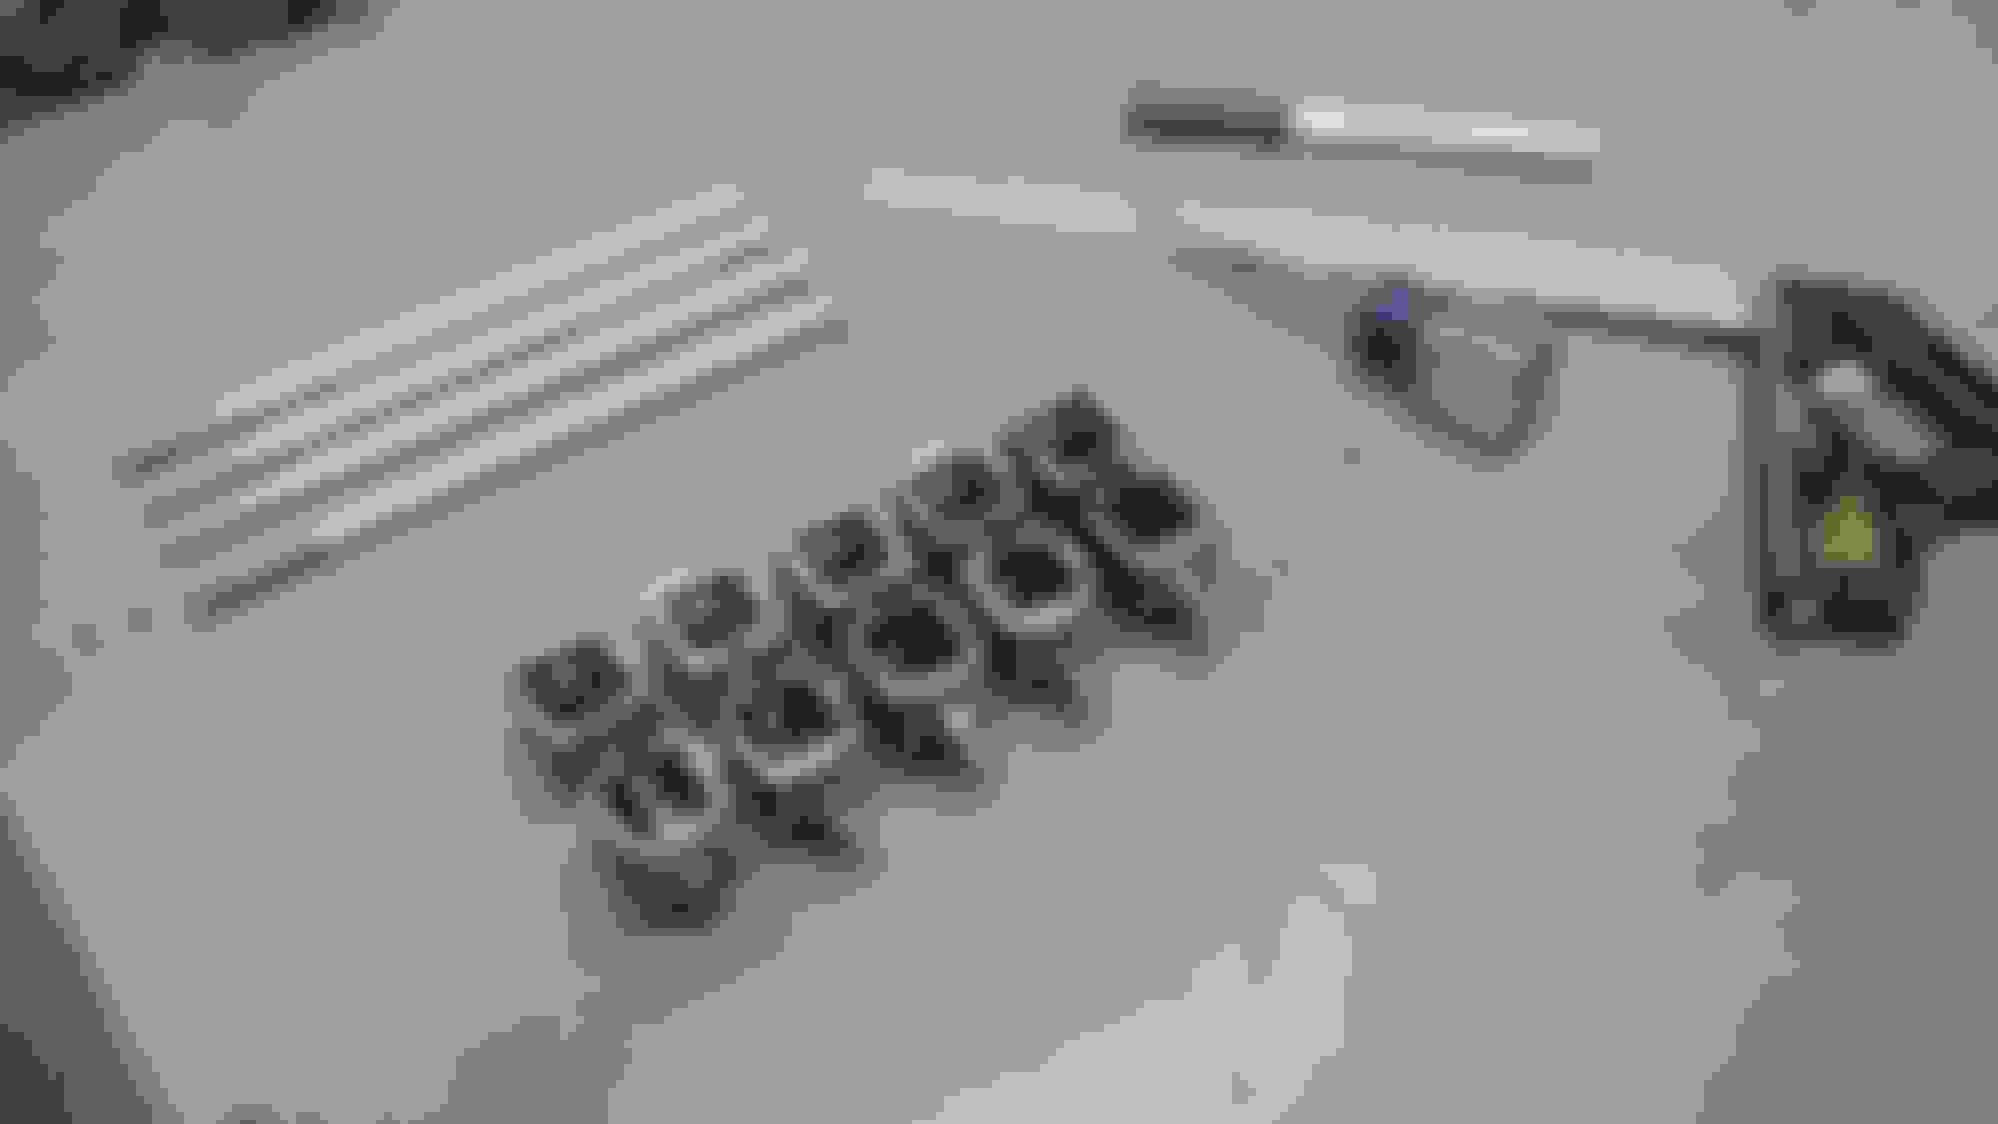
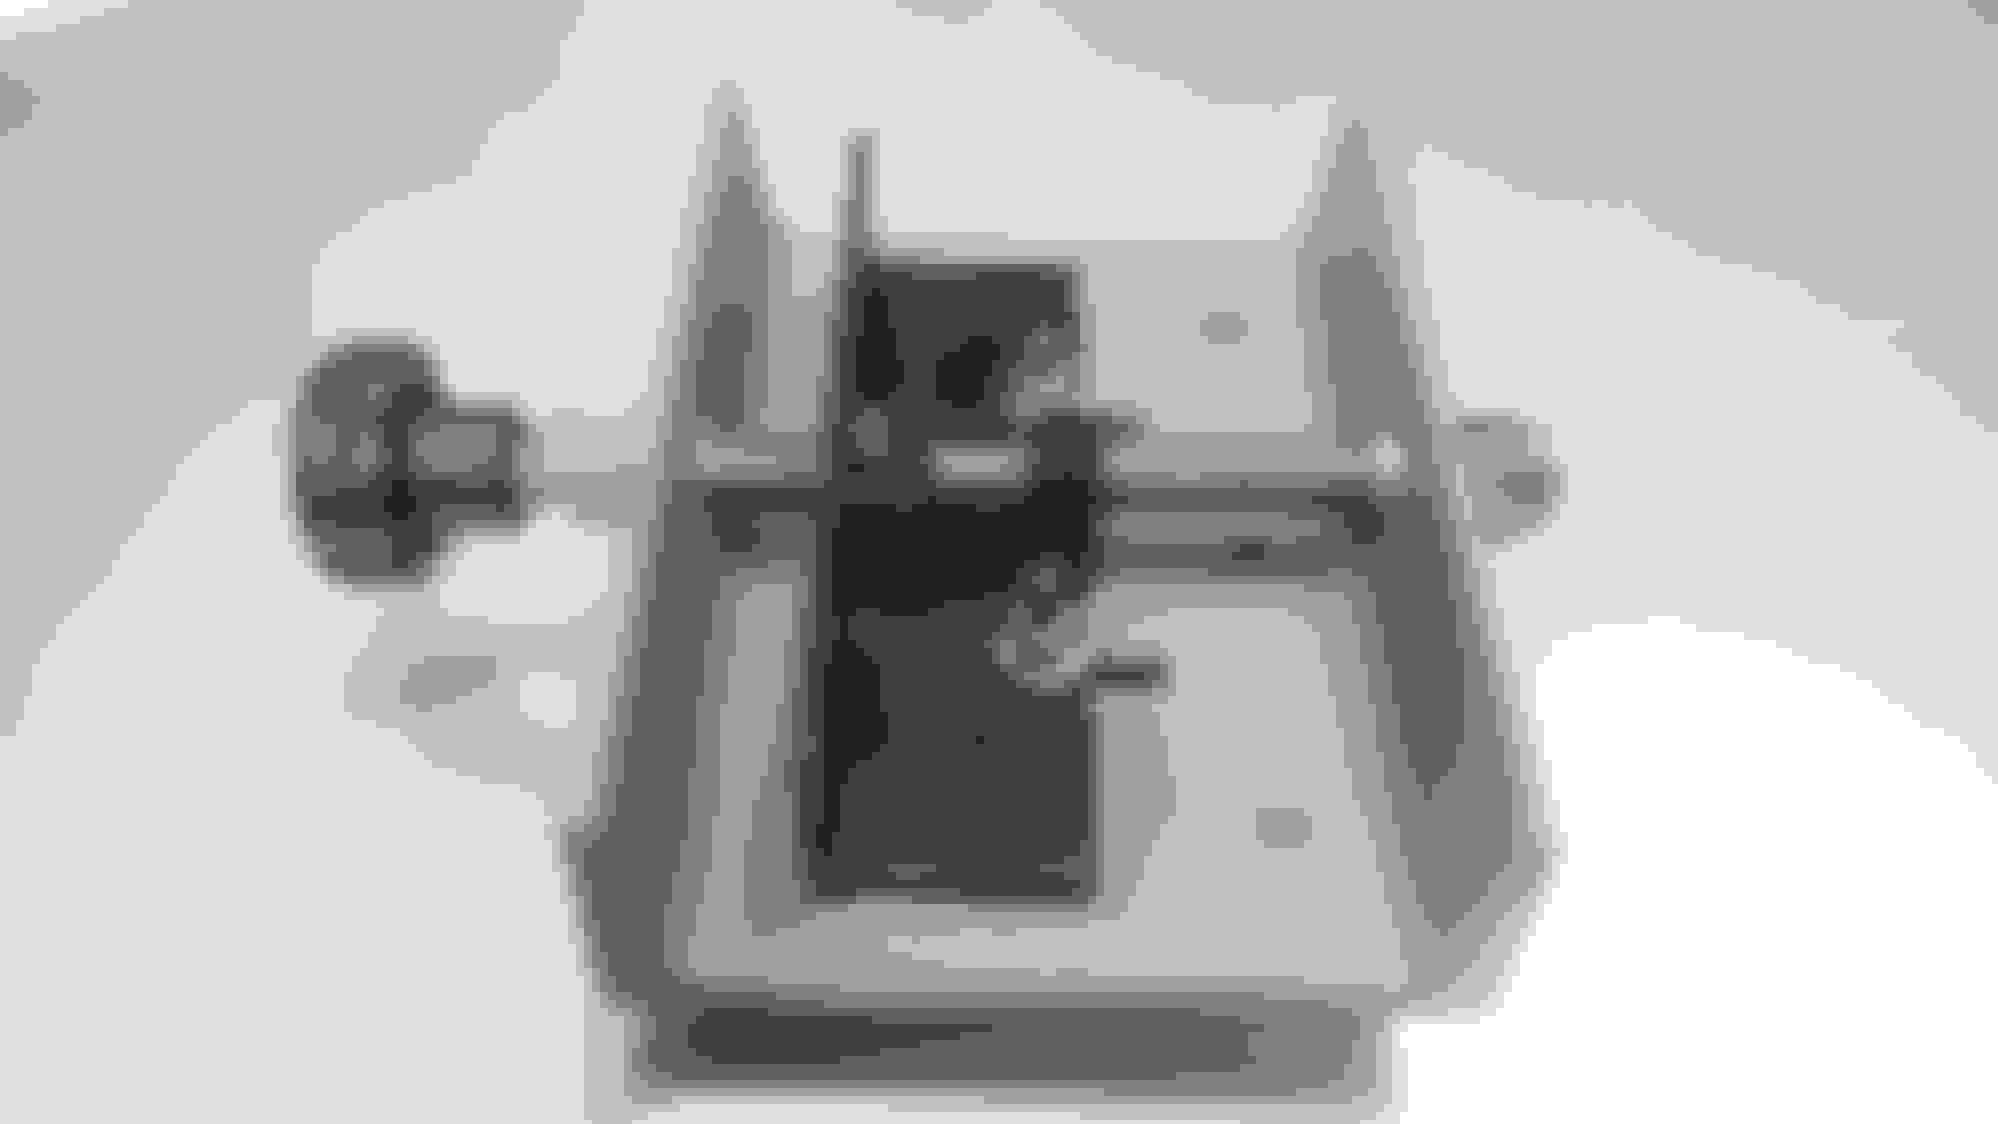
I have a '98 Ford 4R70W, electronically-shifted, 4-spd, automatic, overdrive transmission that will eventually be installed in my truck. I was looking at holding fixtures to be able to tear down and rebuild the transmission with. However, the price on them was over $200.00. I decided I would build my own holding fixture. I only have around $20.00 dollars invested in materials.
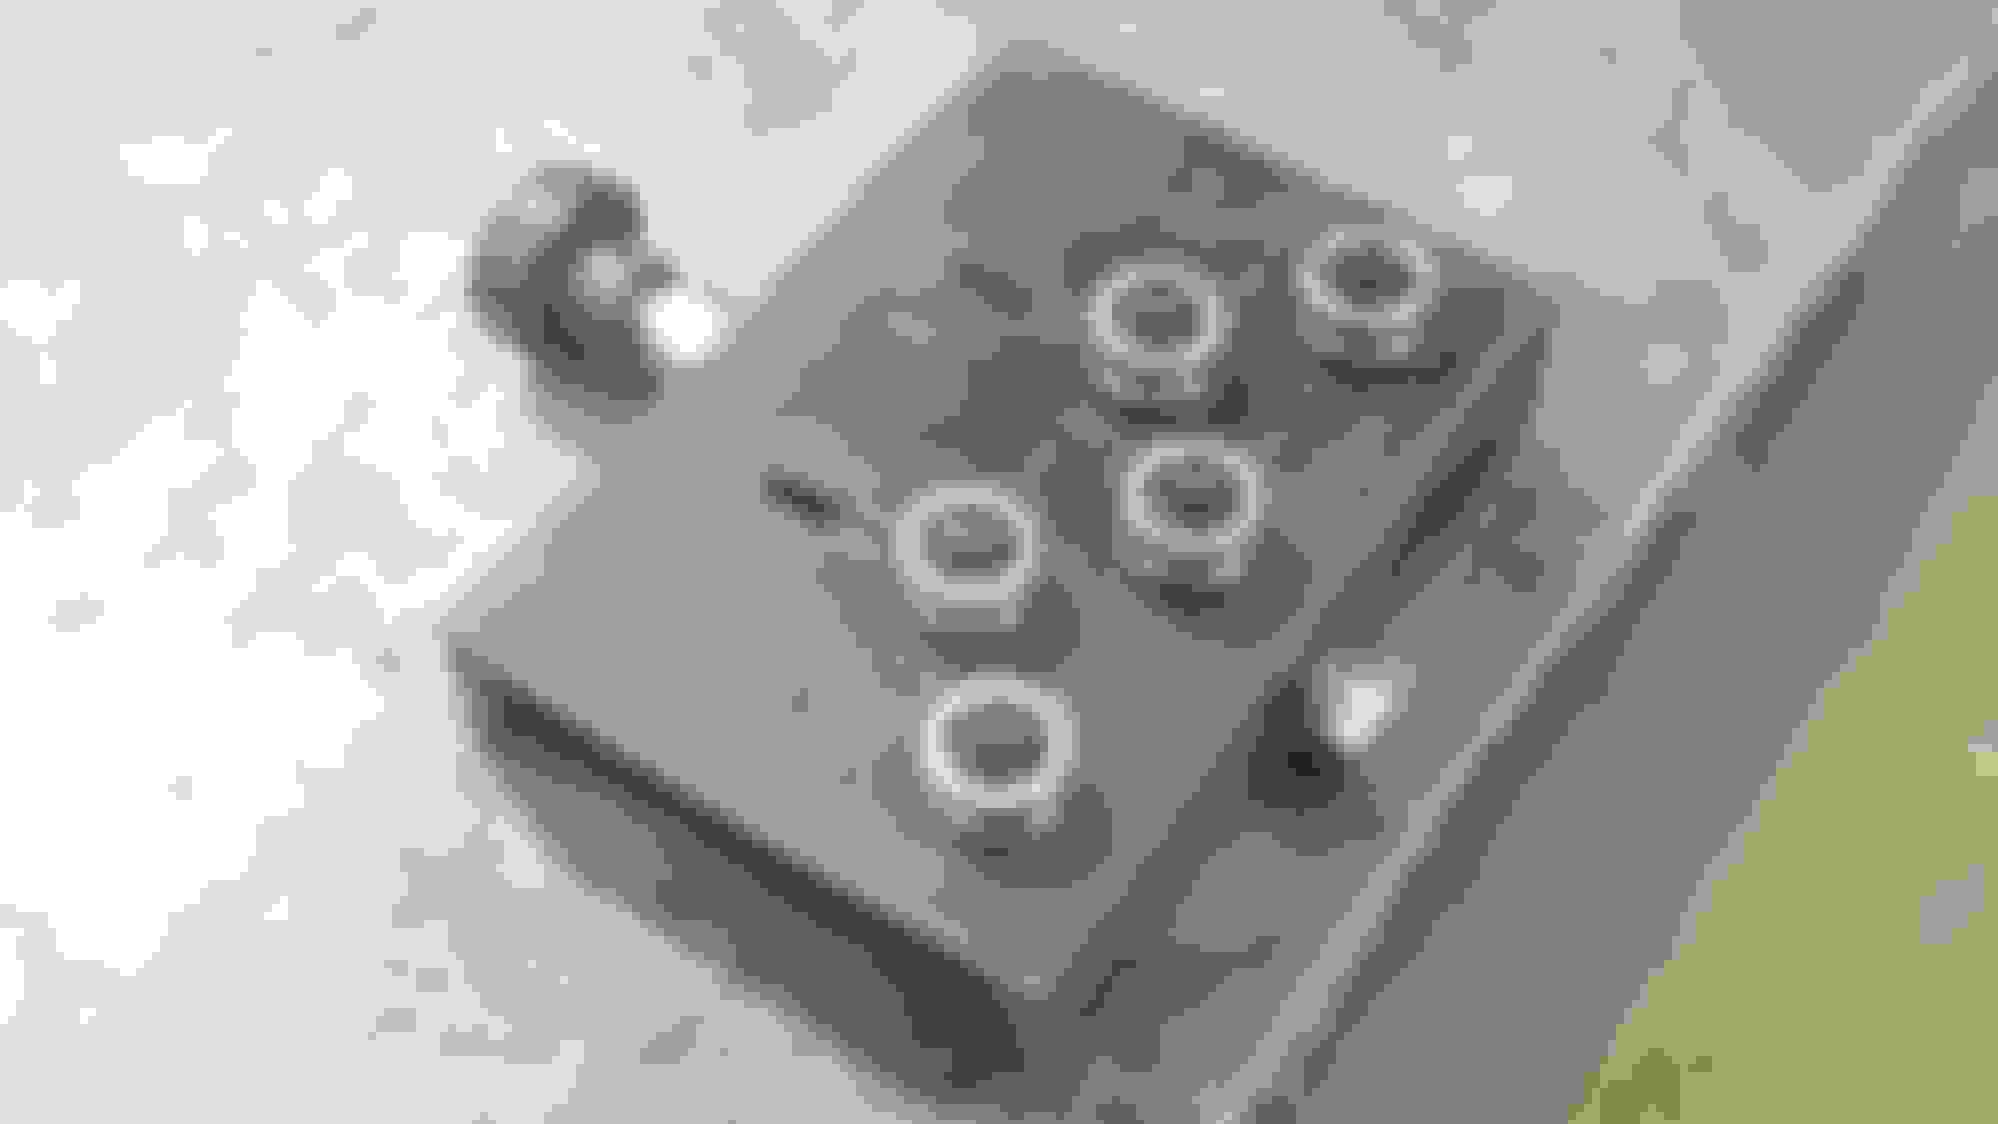
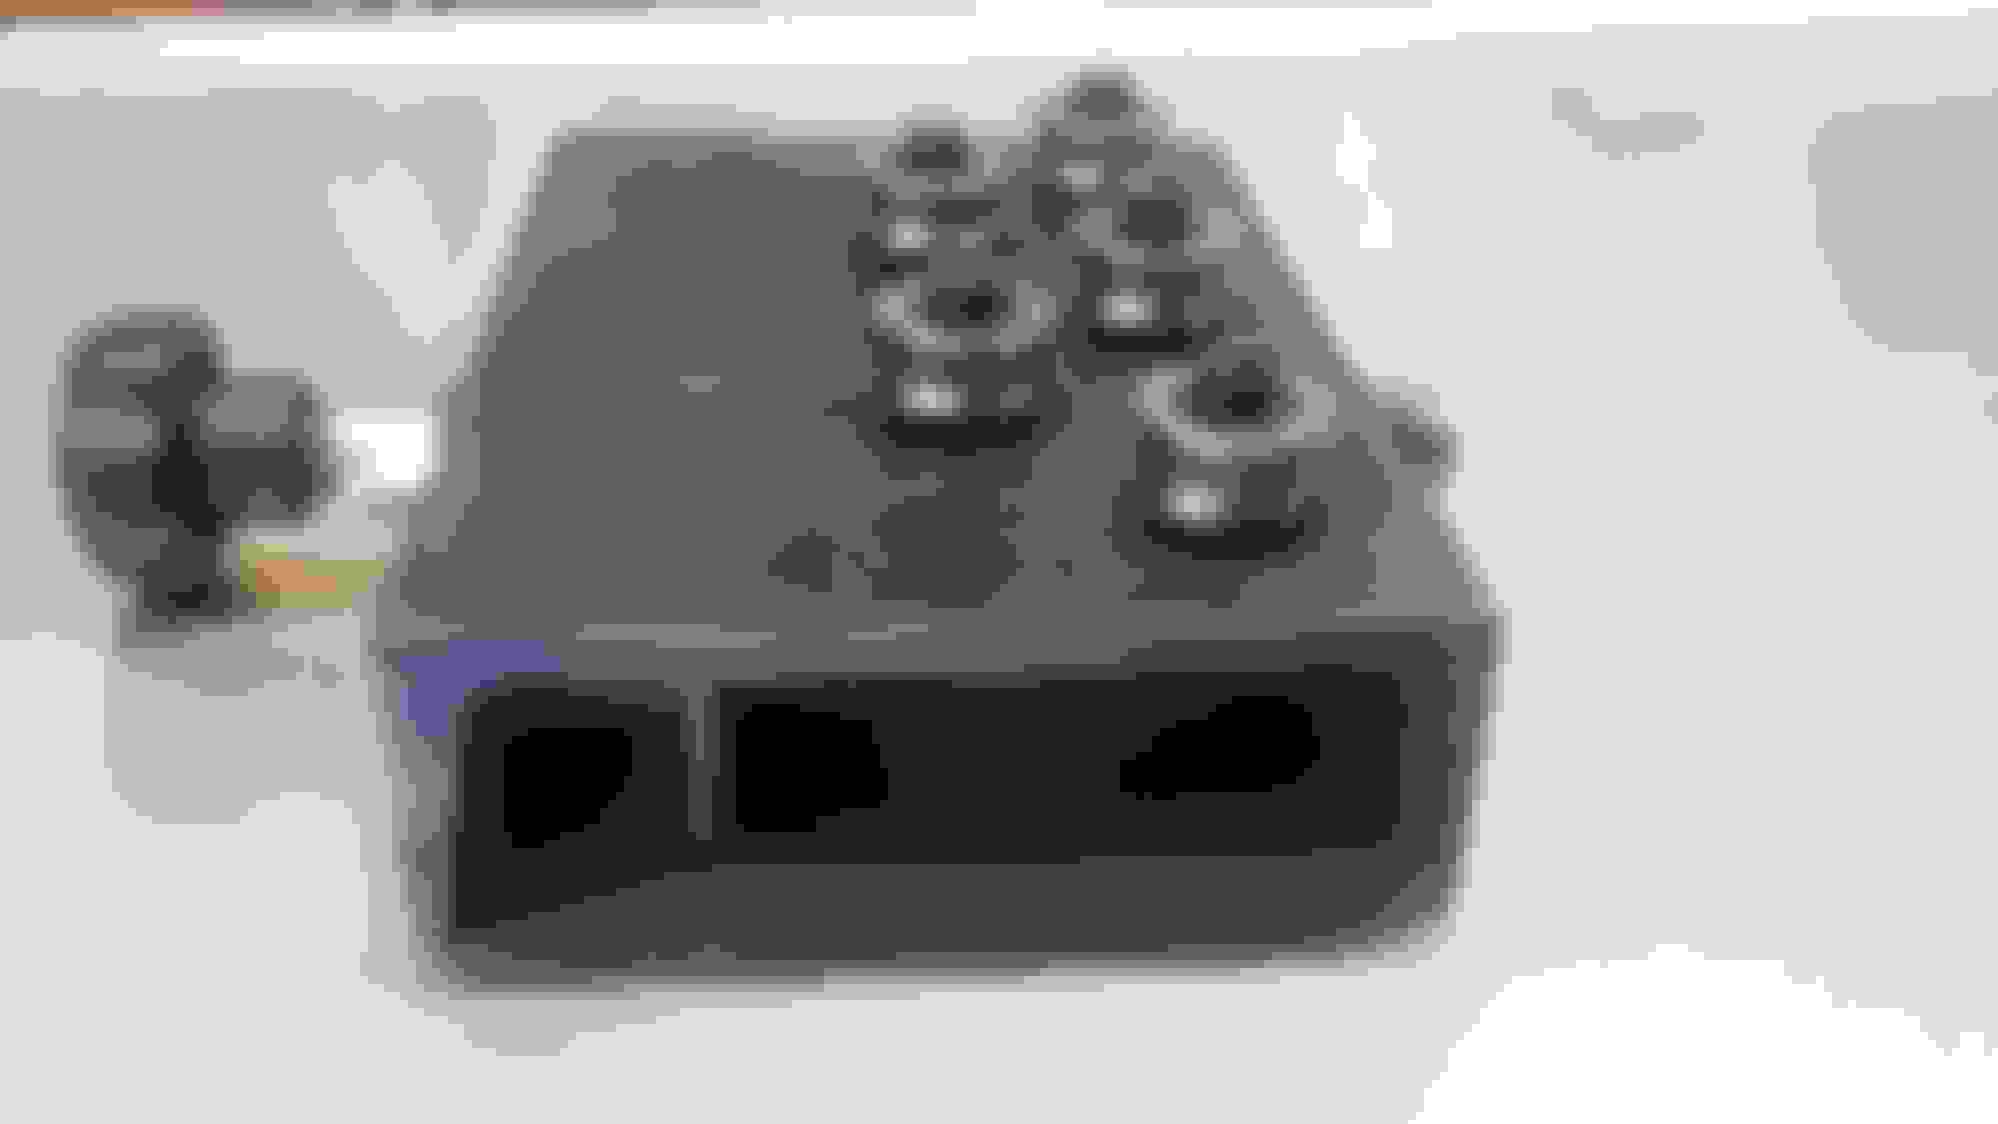
The primary components; 1-1/2" x 1-1/2" boxed tubing and a short section of 2-3/8" O.D. pipe, 1/2"-13 all-thread, 1/2"-13 coupling nuts and some regular 1/2"-13 nuts.
The boxed tubing cut to the dimensions of the paper template --that's old school CAD (Cardboard Aided Design).
Full weight of the transmission (plus the torque converter) being supported by the holding fixture with no problems.
....unfortunately, they don't stay looking nice for long.
I pulled the new rotors back off (at the time I was doing my front disc brake conversion in 2014), to mask off the rotor's friction surfaces, so I could prime/paint the areas the brake pads don't come in contact with. Knowing that covering the friction surfaces with masking tape would take forever and a day, I figured there had to be a better/faster way to do this.
I got some plastic cutting mats from the home ware aisle at Wal-Mart and cut out a mask from it that would overlay on the rotor's friction surfaces.
I took a compass that has two sharp metal points and cut the circles out of the matting material.
Cut the outer ring and work back towards the center. If you cut the inner circle out first, there'll be no 'anchor'/reference point for the cutting device to cut accurately.
Once the mask is cut out, it applies and removes from the rotor in just seconds and it's reusable, over and over.
This is a set of panel clamps (20 in all) I had made from some 1" x 1" boxed tubing, some slotted pan head 1/4"-20 screws, 1/4" washers and nuts, 1/16" sheet metal and some long 5/16" bolts.
I cut an 1/8" wide slot down the middle on one side of the boxed tubing. I did this on the milling machine but, the slots could be cut with a 3" cutoff wheel with a thin blade.
After the slot was cut, I cut the square tubing into 1" sections along the length of the tube.
I cut the 1/16" sheet metal into tabs, drilled a 5/16" hole at one end and inserted the other end of the tabs into the slot of the screws and welded the tabs to the screw heads.
I cut the threads and the heads off of the 5/16" bolts and then cut the shanks into 1" lengths --a piece of 5/16" rod could be used for this, if you have it.
View of clamps from the back side of the panel with the 5/16" pin going through the tab.
Repair being made to a rusted out section of floor pan on a '72 F100.
So far you guys are doing great. I saw this one on another site.
I've been rebuilding a ZF 5 speed to put behind the cummins 4BT in my '68 highboy and the manual called for a bearing heater to aid in installing the bearings and fixed parts of the syncros as all are press fits and the syncros are splines as well as a press fit.So I went to Wallmart and bought a 4 quart I think deep fryer for ~$25.00 and filled it with ~3" of 5w-20 motor oil and set the thermostat to 320*F and verified it with my infrared thermometer it was off ~ 30* low.I put the parts in and leave them for just 2 or 3 minuets after the light goes out and using a clean pair of work gloves slid them on the shaft,all but one slid right on one got cocked a bit so I taped it on with a 12 0z ball peen and a socket that fit the race it was still hot so it went on fairly easily.It was $25.00 well spent made assembly a breeze
Hope this helps someone out.
Simple idea for heating small parts that are press fit.
Basic visualization of where the U-groove bearing rollers would go.
Pilot drilling the holes before stepping up to tap the holes to 5/16"-18.
Drilling/tapping the upper roller adjustment bracket.
I had to trim some off the other side of the angle iron so it wouldn't stick up above the edge of the channel iron.
Making the 3/4" holes for the adjustment screw bronze bushings.
Preparing to weld the two 5/8"-11 nuts to the upper roller adjustment bracket.
Slotting the channel iron.
Checking the upper rollers/adjustment bracket to make sure they will slide in the slots.
Mockup to check out the movement.
Everything disassembled, the channel iron base bead blasted, degreased, primed and painted (New Ford [engine] Gray).
Tubing straightener assembled.
I didn't have any coiled brake tubing on hand but, I did have a 60" stick of 3/16" brake tubing that had some bends in it, when I got it from the parts store. I put it in the straightener and adjusted the top rollers down until it made contact with the bent tube and made several passes with the tube back and forth through the rollers, turned the tube 90� and made a few more passes back and forth. In just a minute or so, the bends were almost completely straightened back out. --if I had worked with it a little more and put a little more pressure on the top rollers, the tubing would probably have been arrow straight again. ....I had seen what I wanted to see though.
So, it does work and this straightener will handle 3/16" through 3/8" diameter tubing.
The copper washers that comes with the brake hoses seems to have a difficult time sealing off fluid from leaking, right out of the box.
You can take a propane torch and heat the copper washers to cherry red, let them cool off back to ambient temperature and then install them. This will anneal the washers to make them softer, to have a better chance of them sealing like they should.
Since I have to look it up each time and the morons at NAPA don't even know what I'm talking about, I thought it would be good to record the part # of this item since every so often people are asking for a source for it.
NAPA # 660-1580. This is the thermostat bypass tube that press fits into the front of the intake manifold. They are famous for rusting out.
The Ford number was C5AZ8555A. Replaced by C5AZ8555B then discontinued. Was universal 5/8" diameter. And "cut to fit".


 10-23-2017, 07:46 AM