When you click on links to various merchants on this site and make a purchase, this can result in this site earning a commission. Affiliate programs and affiliations include, but are not limited to, the eBay Partner Network.
Hi everyone after reading and learning a lot on this great web site!! I just started work on this truck.
It's a 1949 Mercury M-47
My goal for it is to actually use it as a daily driver, keep drum brakes, install dual chamber master, install 5.0EFI with AOD, cheap paint, etc.
Budget is 10K Canadian (7500k usd ..... which I know is low but the best I can do. I have set aside a day a week to work on it so hope to keep plugging along.
Please provide your input....can't promise I'll do it but I'll definitely listen.
Anyways enough talk ..... here's a picture of the truck when I first got it. The previous owner media blasted the body and frame and epoxy coated it. Then it sat in his back yard for 8years...... needless to say lots of rust.
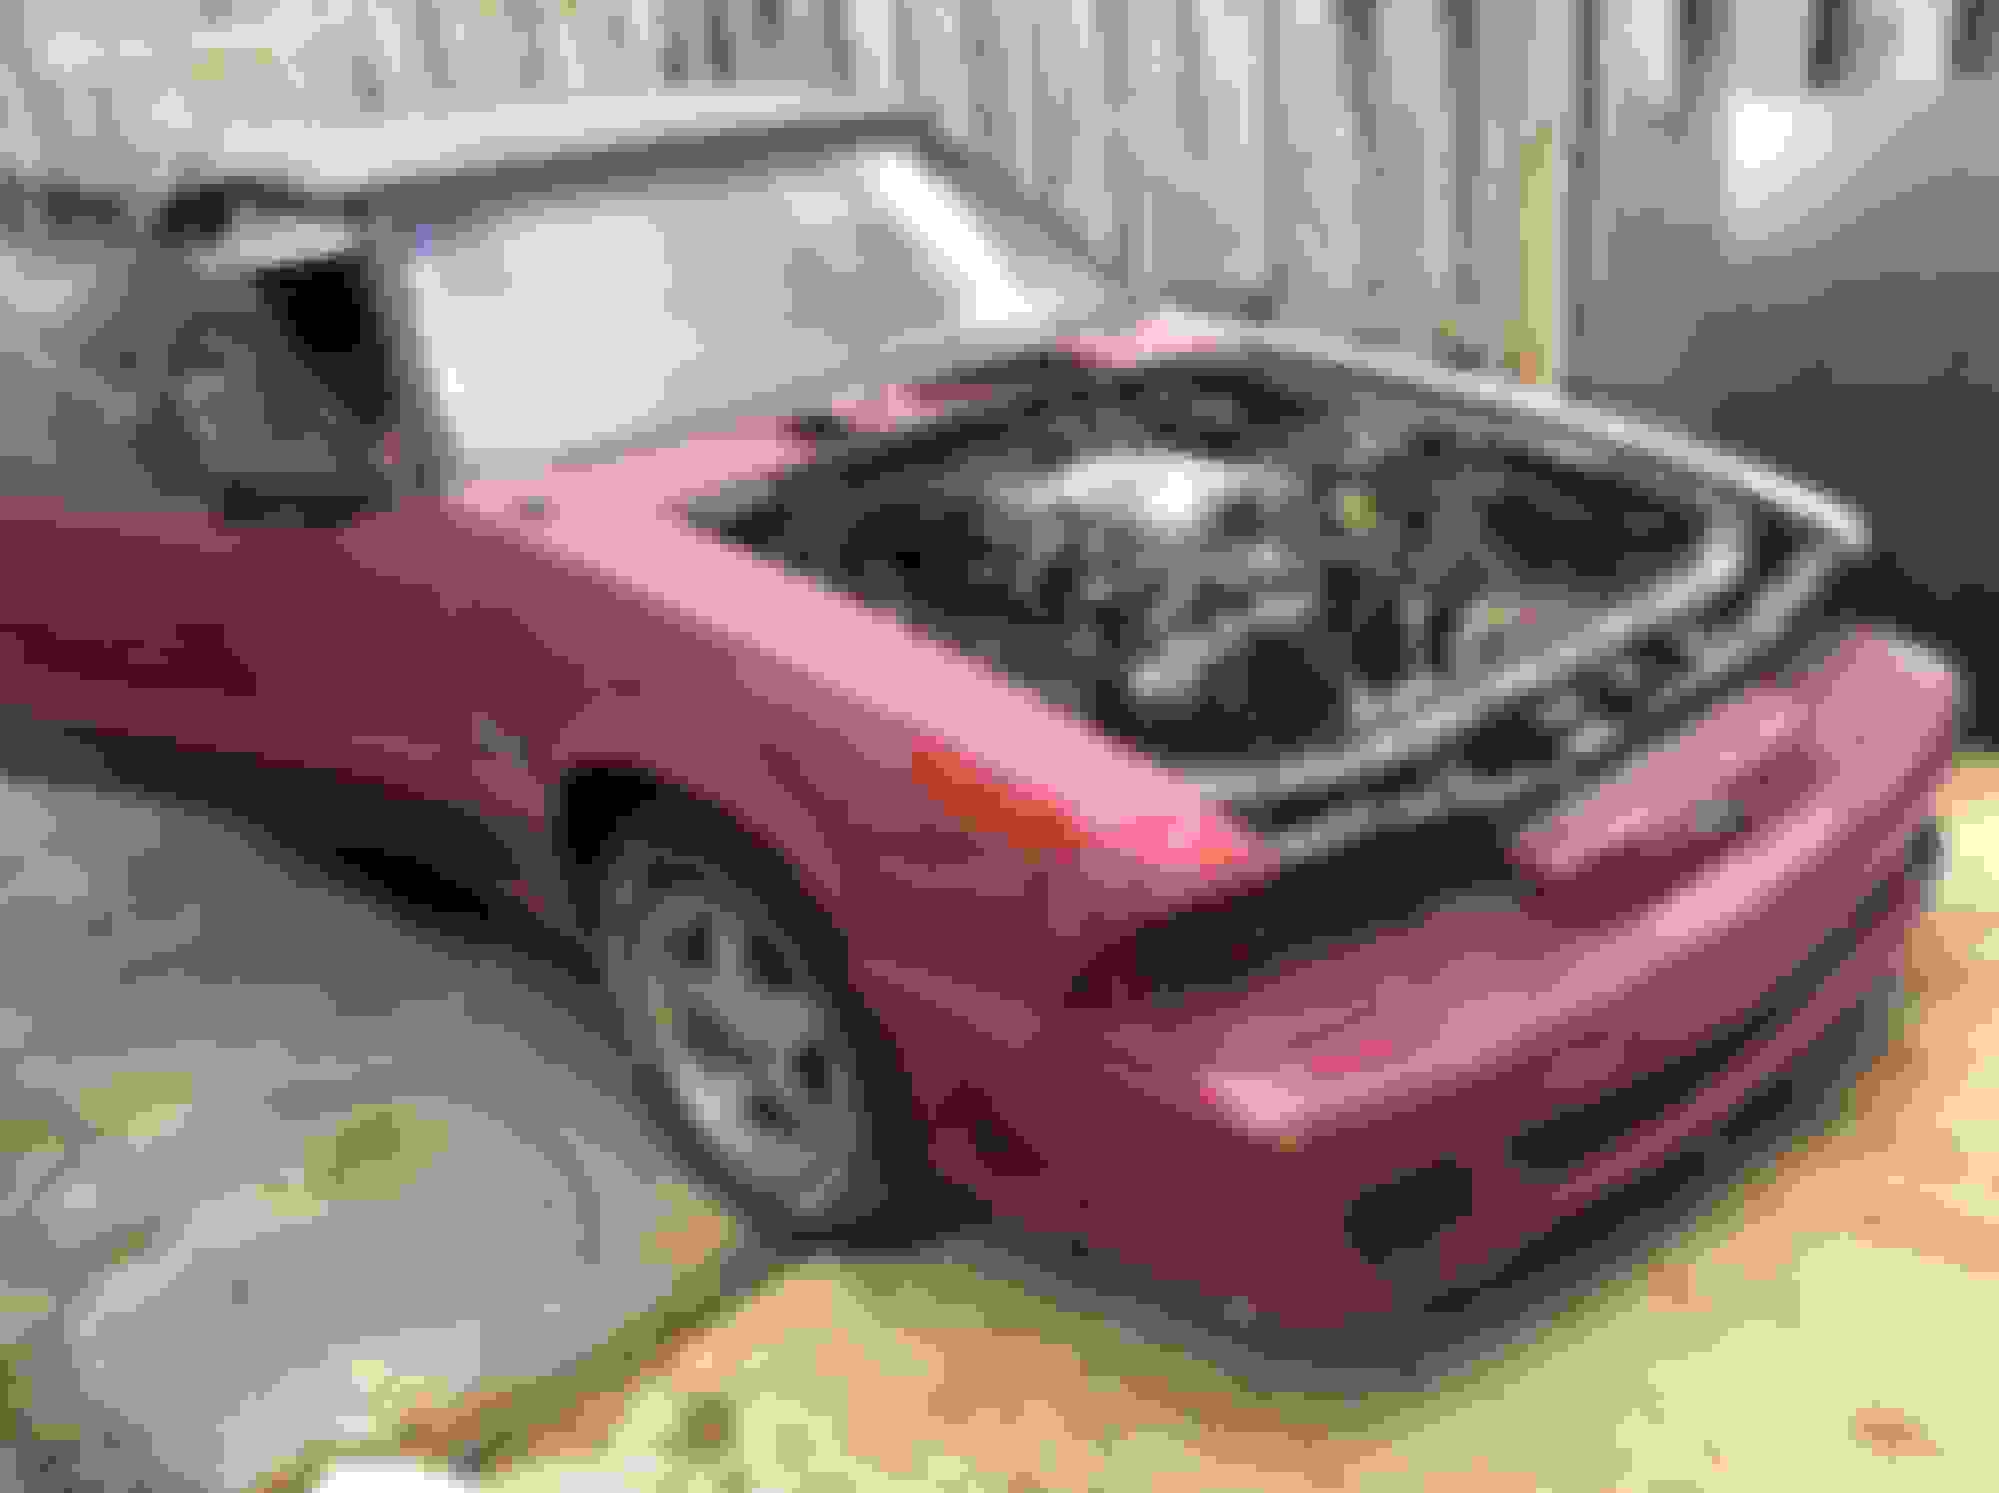
I then bought this 1986 mustang GT convertible, with 160000km on it, picked it up for 800$. The floor and frame was shot. I stripped out engine trans harness and anything else I thought I might need sold all parts off the car I could then scrapped car for 100. Not bad whole thing cost me 350$ after done.
For the last day and a half Ive been patching in some metal that I had kicking around. Looked into another cab or patch panels but thought I will try without. They didn't fit within the budget. I had to keep checking drivers door to make sure it lined up while welding things back together. First time I tacked it in huge gap, 2nd time to tight, 3rd time was the charm. Sorry about the poor welding job..... not clean enough, etc, etc.... I'm a mechanic not a body man.:-(
I hope to improve as I go.... lots of welding to do.
This is as far as I got today. I'll keep updating as things get done.
Zac
Nice to see another Merc coming back to life. You have definitely given yourself a big project there, but it seems you are already aware it involves plugging along at one thing at a time. The guys around here tend to say set a budget, then expect to spend twice that much - you definitely will have a challenge with your numbers, and the more skills you bring the better.
Good luck - looking forward to your photos and descriptions.
The guys around here tend to say set a budget, then expect to spend twice that much
Dave
That is so true.... good advice. I'm only in my late 30s so no extra cash kicking around (family, house, etc) if it needs more then what I put aside it will slow it down for sure. At least it's something I really enjoy so if it takes a little longer no problem.
I'm really not looking for anything close to perfection or period correct. I wish but after I started pricing things out I knew that wouldn't work for this truck little to far gone...... so the goal now is just a truck I can drive around, use once and awhile for my construction business.
Had a few parts arrive last week. Now have all new drums, shoes, hardware, roll of brake line, hoses, etc.... I have a new master cylinder for under the floor but have been debating just putting the 86 mustang linkage booster and master on the firewall. ...... once I get the engine located I'll see how it looks.
Appreciate the comment and input.
Zac
Hey Zac, looks like you got an awesome project going there, we are just an hour down the road in Chatham. Good luck with the build and keep those pictures coming! And welcome to the Forum!
Thanks for the Welcome:-)
Hope your build is going well. Maybe we'll see you at the summer bash here in London. I'm not part of the club but It's the best event I've ever attended. Here's a link below.
Zac
Hey Zac,
Welcome Aboard! I like your floor already! You had a big rusty hole....
gone....check! Your welding looks to have improved as you moved to the bottom of that door.
Doors are tricky to keep square - lot's of cross bracing.
Hi Ben,
Thanks for the welcome. I'm really rusty with the welding, I enjoy it but am not that good. �� .... I took a welding course just out of high school but everything has long been forgotten. I just have a cheap craftsman pro so I've been finding that the best is very high heat short welds as your welding you can almost watch the weld drop...... anyways work in progress but I'm enjoying it.
From the mustang I removed engine trans, driveshaft, all harness with inertia switch, computer, fuse box, trans mount, pedal assembly, booster,master, and swaybar (I've seen the debates but I'm going to install it) I debated installing the rear diff but decided with the 4 bolt axles and all the other work to get it to fit....... my stock diff will be fine. There's enough work as it is. ��
The mechanical work does not bother me I worked as a Ford diesel tech for 10 years before I got into construction........ it's the body work that makes me stressed.
Oh by the way beautiful truck you have there...... I learned a lot from your posts and build.
Worked on the truck all day today......... As you can see the rear cab mounts were rusted right out. I thought about it all week and this is what I came up with as a solution. I got 1" square tubing and a few pieces of angle iron and then tied both rear mounts together it reinforced the whole back mount. Then added a heavy gauge metal 14?.16? Under each mount then just normal gauge metal over the middle. I would have replaced it all as 1 piece but I really wanted the heavy metal under the body mounts. Bolts will go right through both mounts into the angle iron, I figure down the road it will give me something to attach my seat belts to.
I then replaced the passenger side floor pan. After that put on the first coat of Por15.
Then I pulled the crossmember out, I want to move it back, use it as the trans x-member..... I really don't want to cut anything after that I test fitted the 5.0L ....seems to be ok but tight around the steering box as usual. The plan is to move it to the passenger side 1" .... I'll have to see what I can find for exhaust manifolds to fit.
Anyways here's some pictures
I wanted to check the engine out before I went to much farther..so I .pulled oil pan off. Plasti-gauge a few con rod bearings and the rear crank bearing..... clearence was ok ..... within spec so pulled plugs and inserted camera to do a quick check cylinder walls.... ok
So installed new 1 piece pan gasket, replaced intake gaskets..... had to remove broken bolt ...... 2nd picture. Then installed new front crank seal t-stat and water pump.
Then painted the whole works up here's a few pictures
Hello,
Nice project you got ahead. From the experience with my project, with 1 day a week you can easily go from 1.5 to 3 years, of course depending of how far you wish to go in job quality. It ain't true that you will use the 52 weekends of the year. As you said, we can enjoy a lot working with our toy but hours fly by really fast each working session.
Body work is for me the most time consuming activity since body filler, sand blocking and primer painting takes hours to get a decent finish. However it is my favorite part because you are some kind of sculptor trying to turn around your truck into something beautiful and enjoyable.
Anything you need to learn you will find it on youtube or google. Of course this forum has a lot to offer, but I am mostly a video type kind of student. Almost everything is posted there. Lots of professional guys out there are sharing their knowledge.
One of my favorites is diyautoschool (youtube) where a guy named Pete is coursing and yelling most of the time, but can teach you nice tricks, do's and dont's. I have had a lot of fun with that guy... lol
Some tools that you don't usually carry around in your garage must be purchased, and so many techniques learned and mastered. This is for me the fun part of the project, learning new stuff.
And then, don't forget all the missing, lost, modified, frankesteined, and broken parts inside the cabin where you will spend most of the time in your truck, that in my case I want the most comfy and nicest as possible. So you got to spend time to look around a lot, dig and read in order to find the best solution to fix every issue.
You plan to invest (expend) around 5.000us$. In my project initially I said 7.000us$, I am already over 8.500us$ in almost 2 years, and I guess there will be needed 1.500us$ to finish last details...
BTW, I got into this thread to share that the truck I bought came already with a 5.0EFI engine out of a 93 bronco, manual transmission, with the harness, fusebox, pedals, brakes and suspension installed. I had to relocate almost everything, even had to level the engine cause I did not like the engine ready to take off like a plane from under the hood. It is a huge engine for the space available. Should pay special attention to gears since the volume might give you some trouble with the floor pan in the cab.
Sorry for the long thread. Wish you luck!!!
 05-26-2017, 08:16 PM


 ..... which I know is low but the best I can do. I have set aside a day a week to work on it so hope to keep plugging along.