When you click on links to various merchants on this site and make a purchase, this can result in this site earning a commission. Affiliate programs and affiliations include, but are not limited to, the eBay Partner Network.
See if you knew me you would disagree. I'm loud and then it matches my personality. I may paint up the full panel for an example but it was a burgundy and I like that idea also. I'll think it over till the winter and see how things go when I paint
I guess you could say I'm loud too, but there's a difference between a loud "look at me" race car and a pickup truck. I like pickups to be classy pickup colors, but that's just me. To each his own for sure.
Ya I think I've heard ur story before. Lately the burgundy is growing on me. I think I'll keep the shines trim and polish it up then keep the black black and do the burgundy. It's very close to the factory color and the bright red will look like a lightning. Which I really do not want.
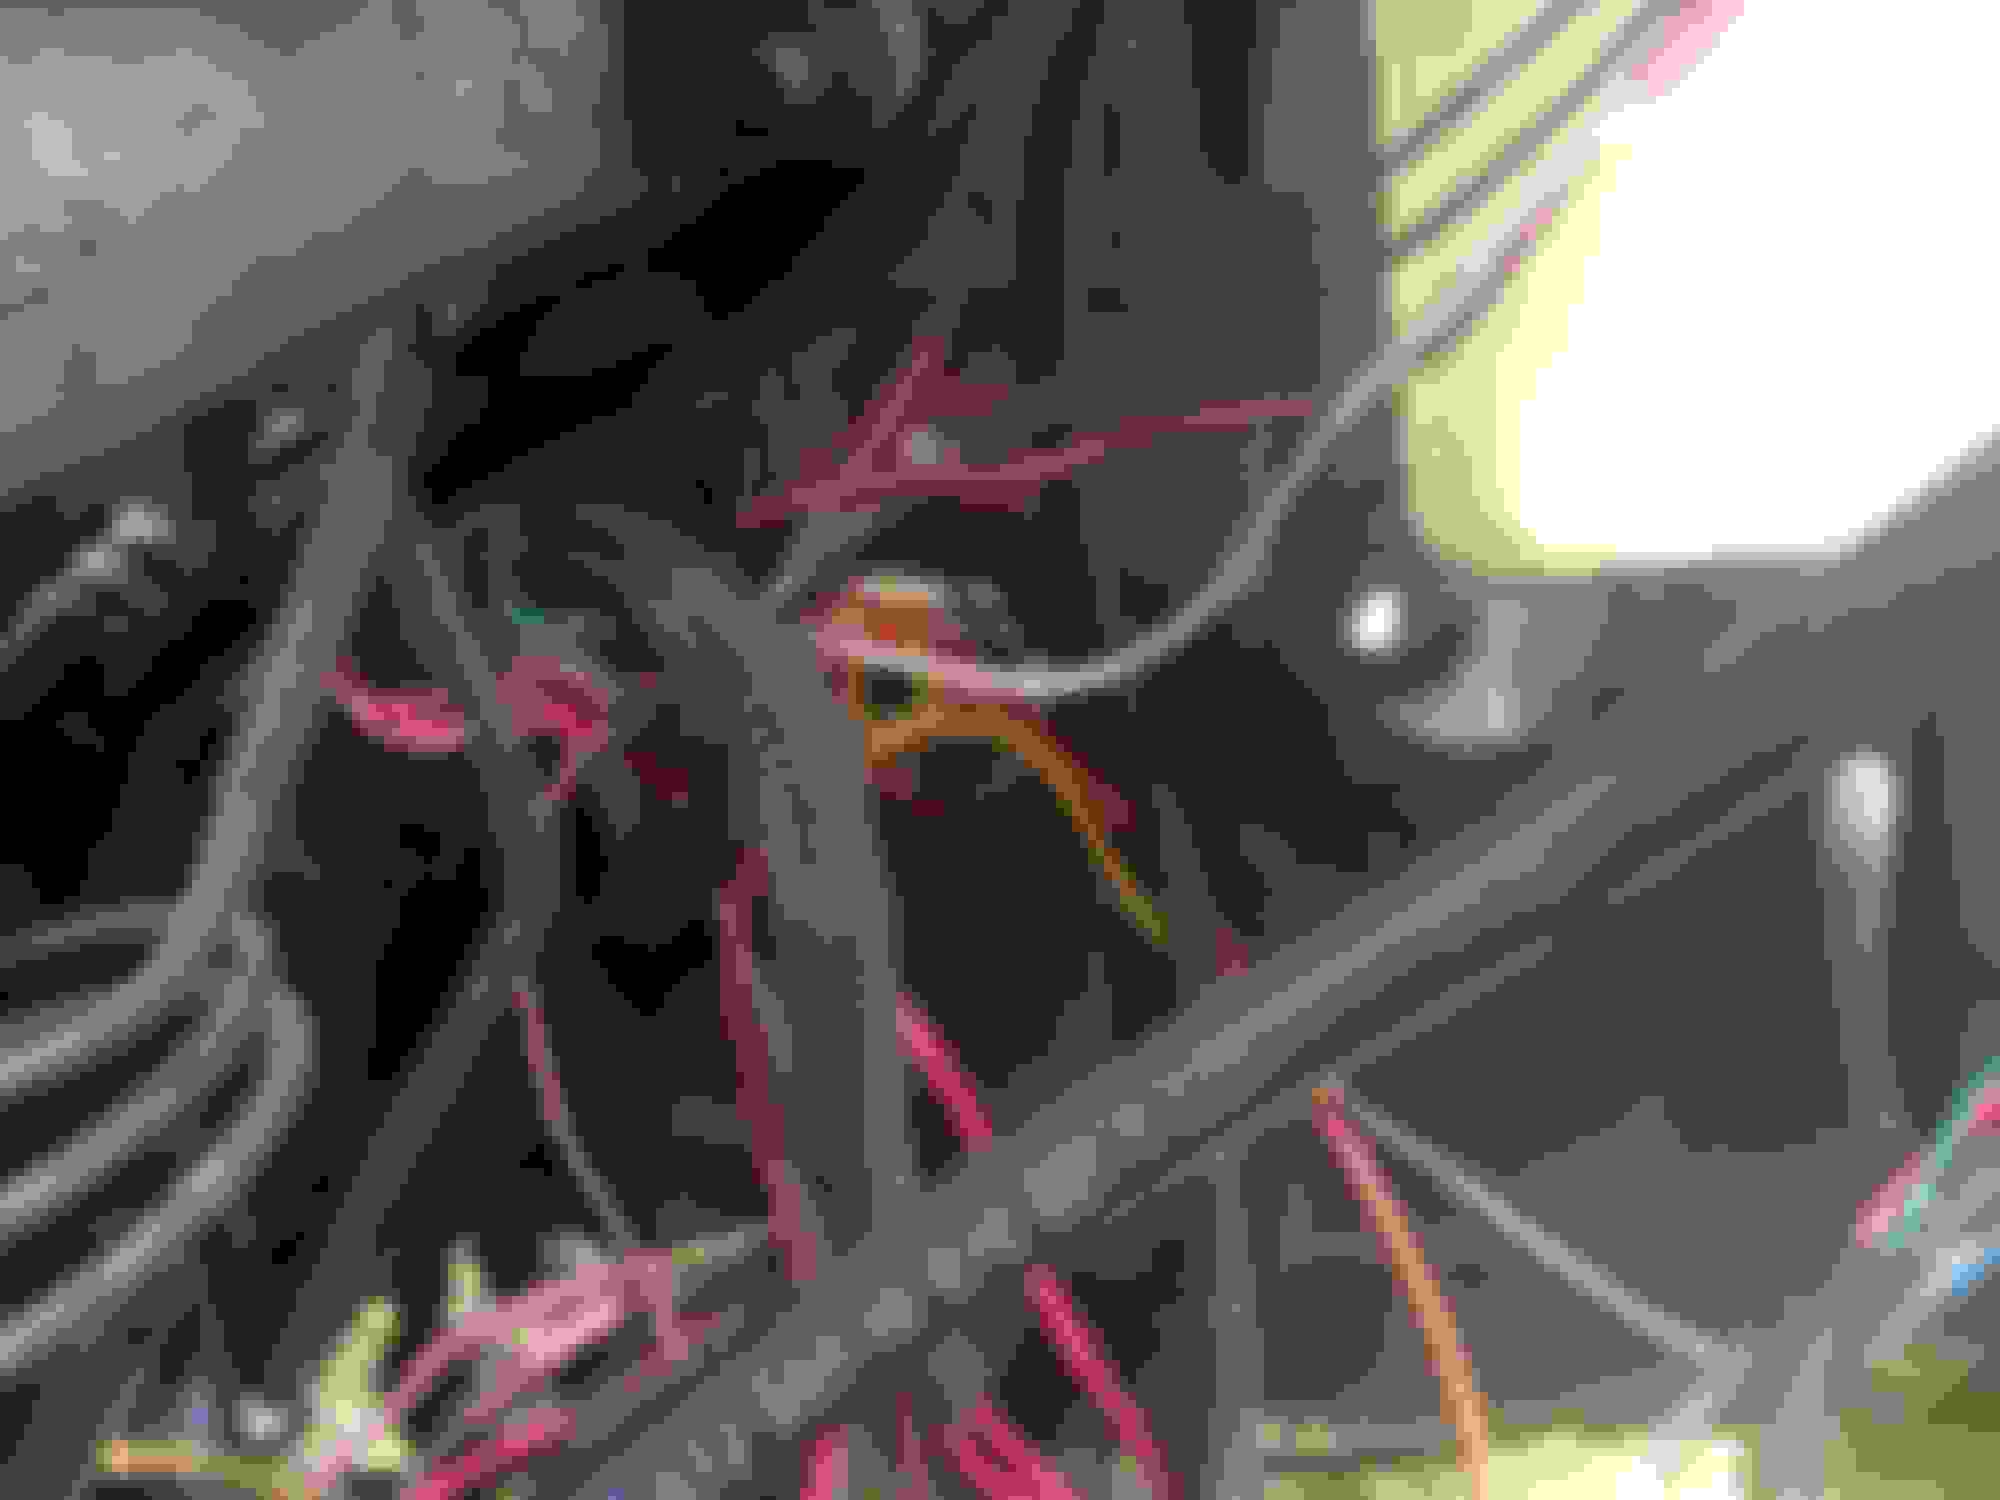
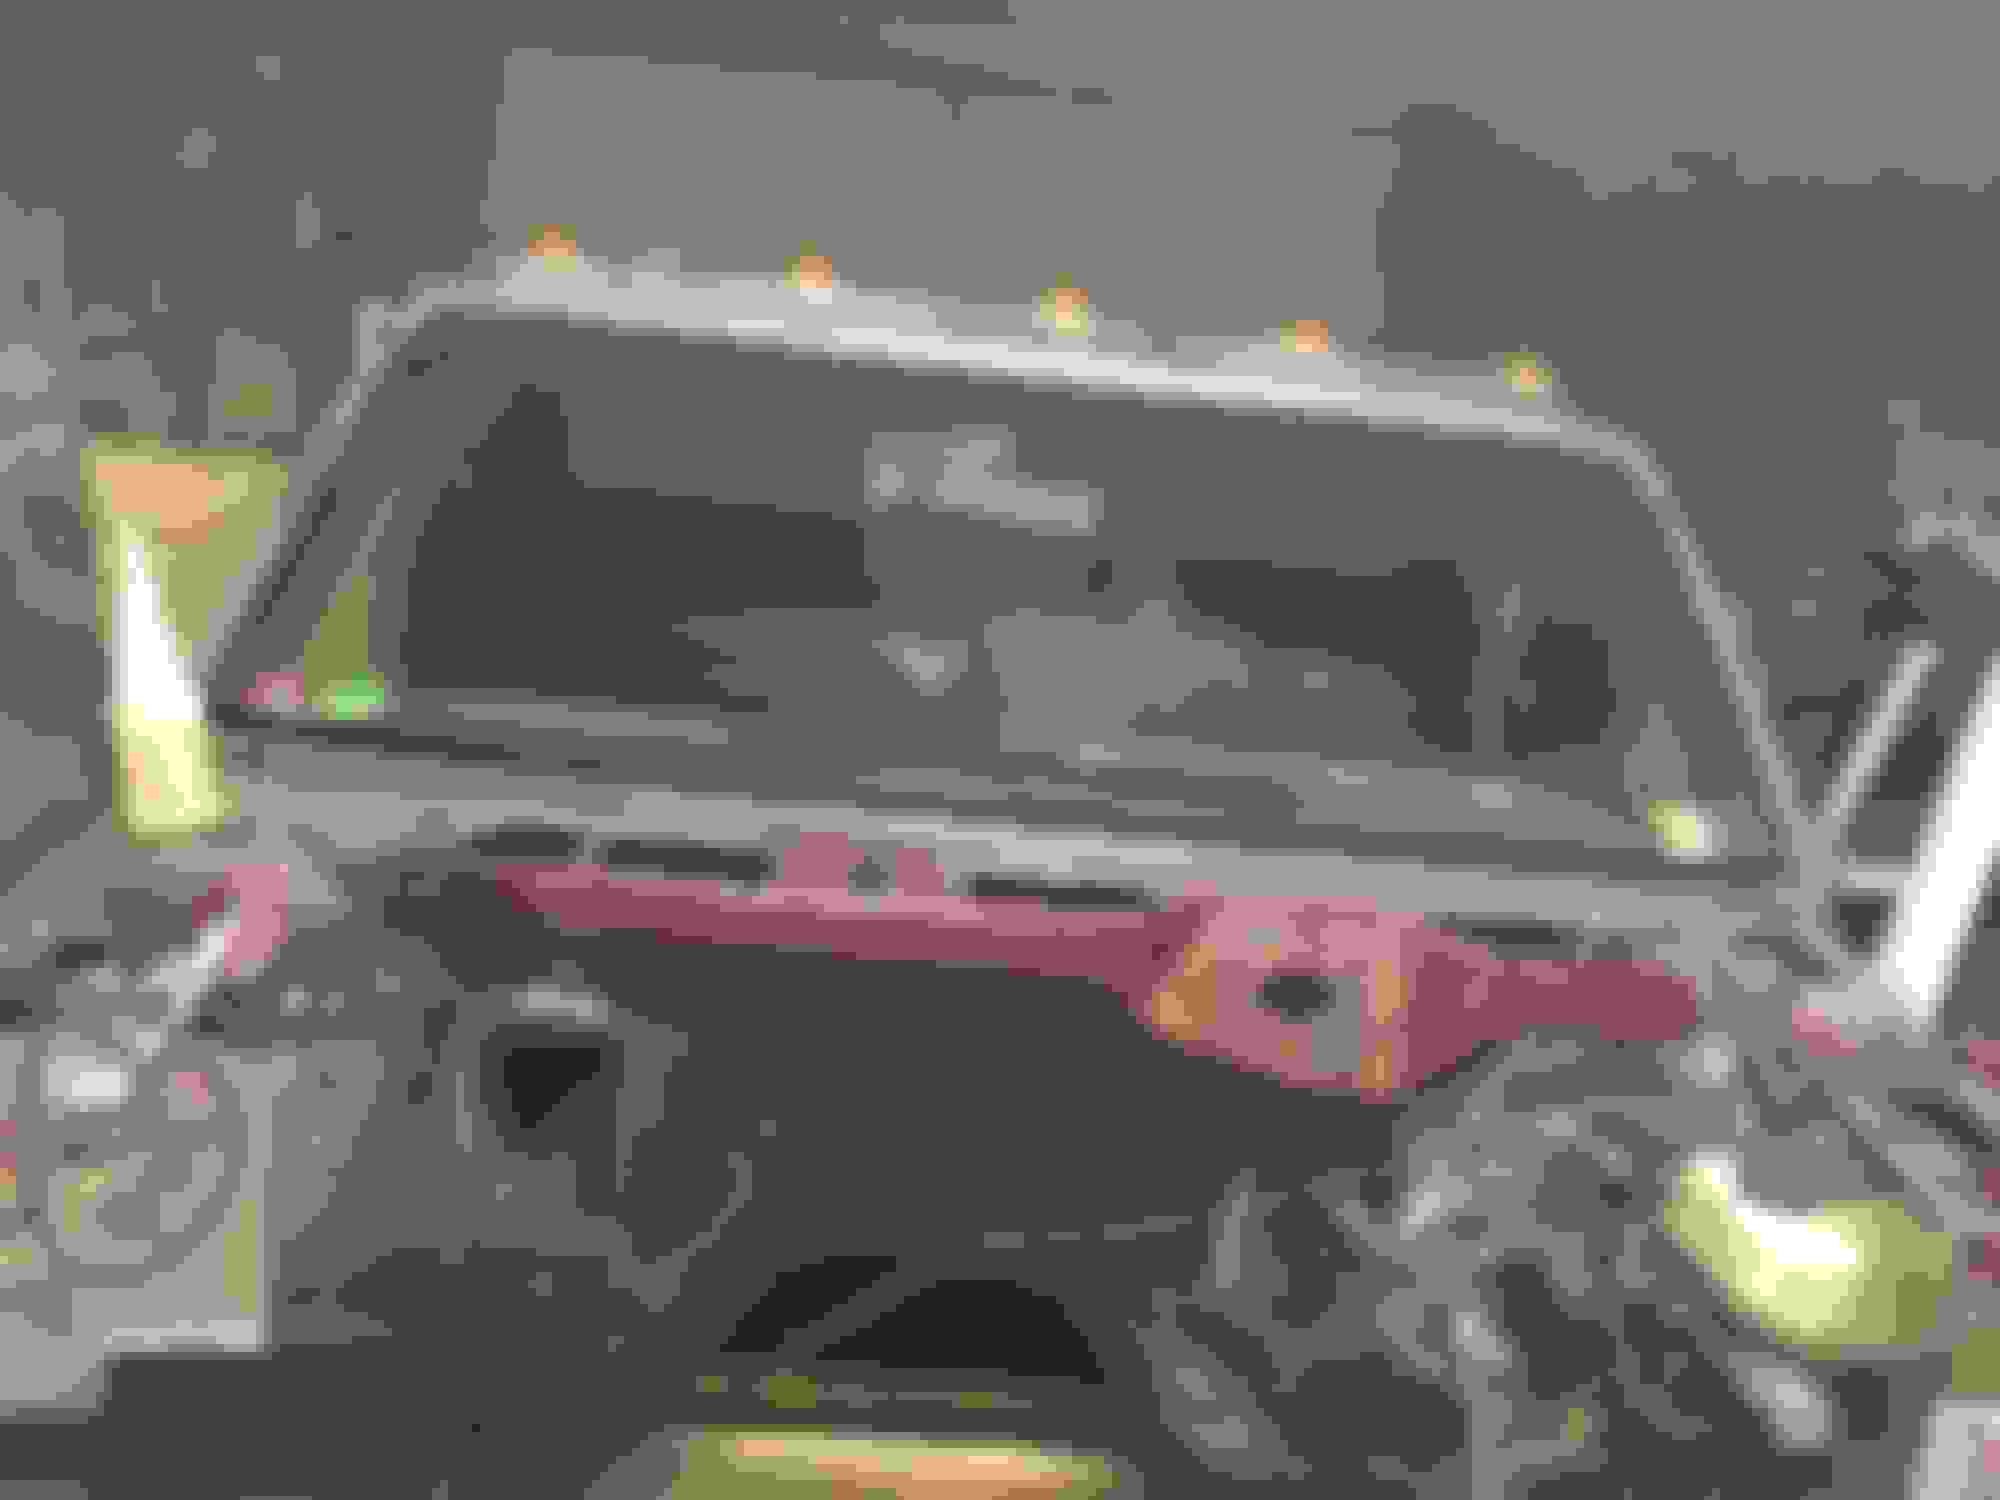
So some updates it's either been 100% humidity or raining lately so I just got the wiring connectors in place. Also got the plow mounted on the psd but will need to get lights still.
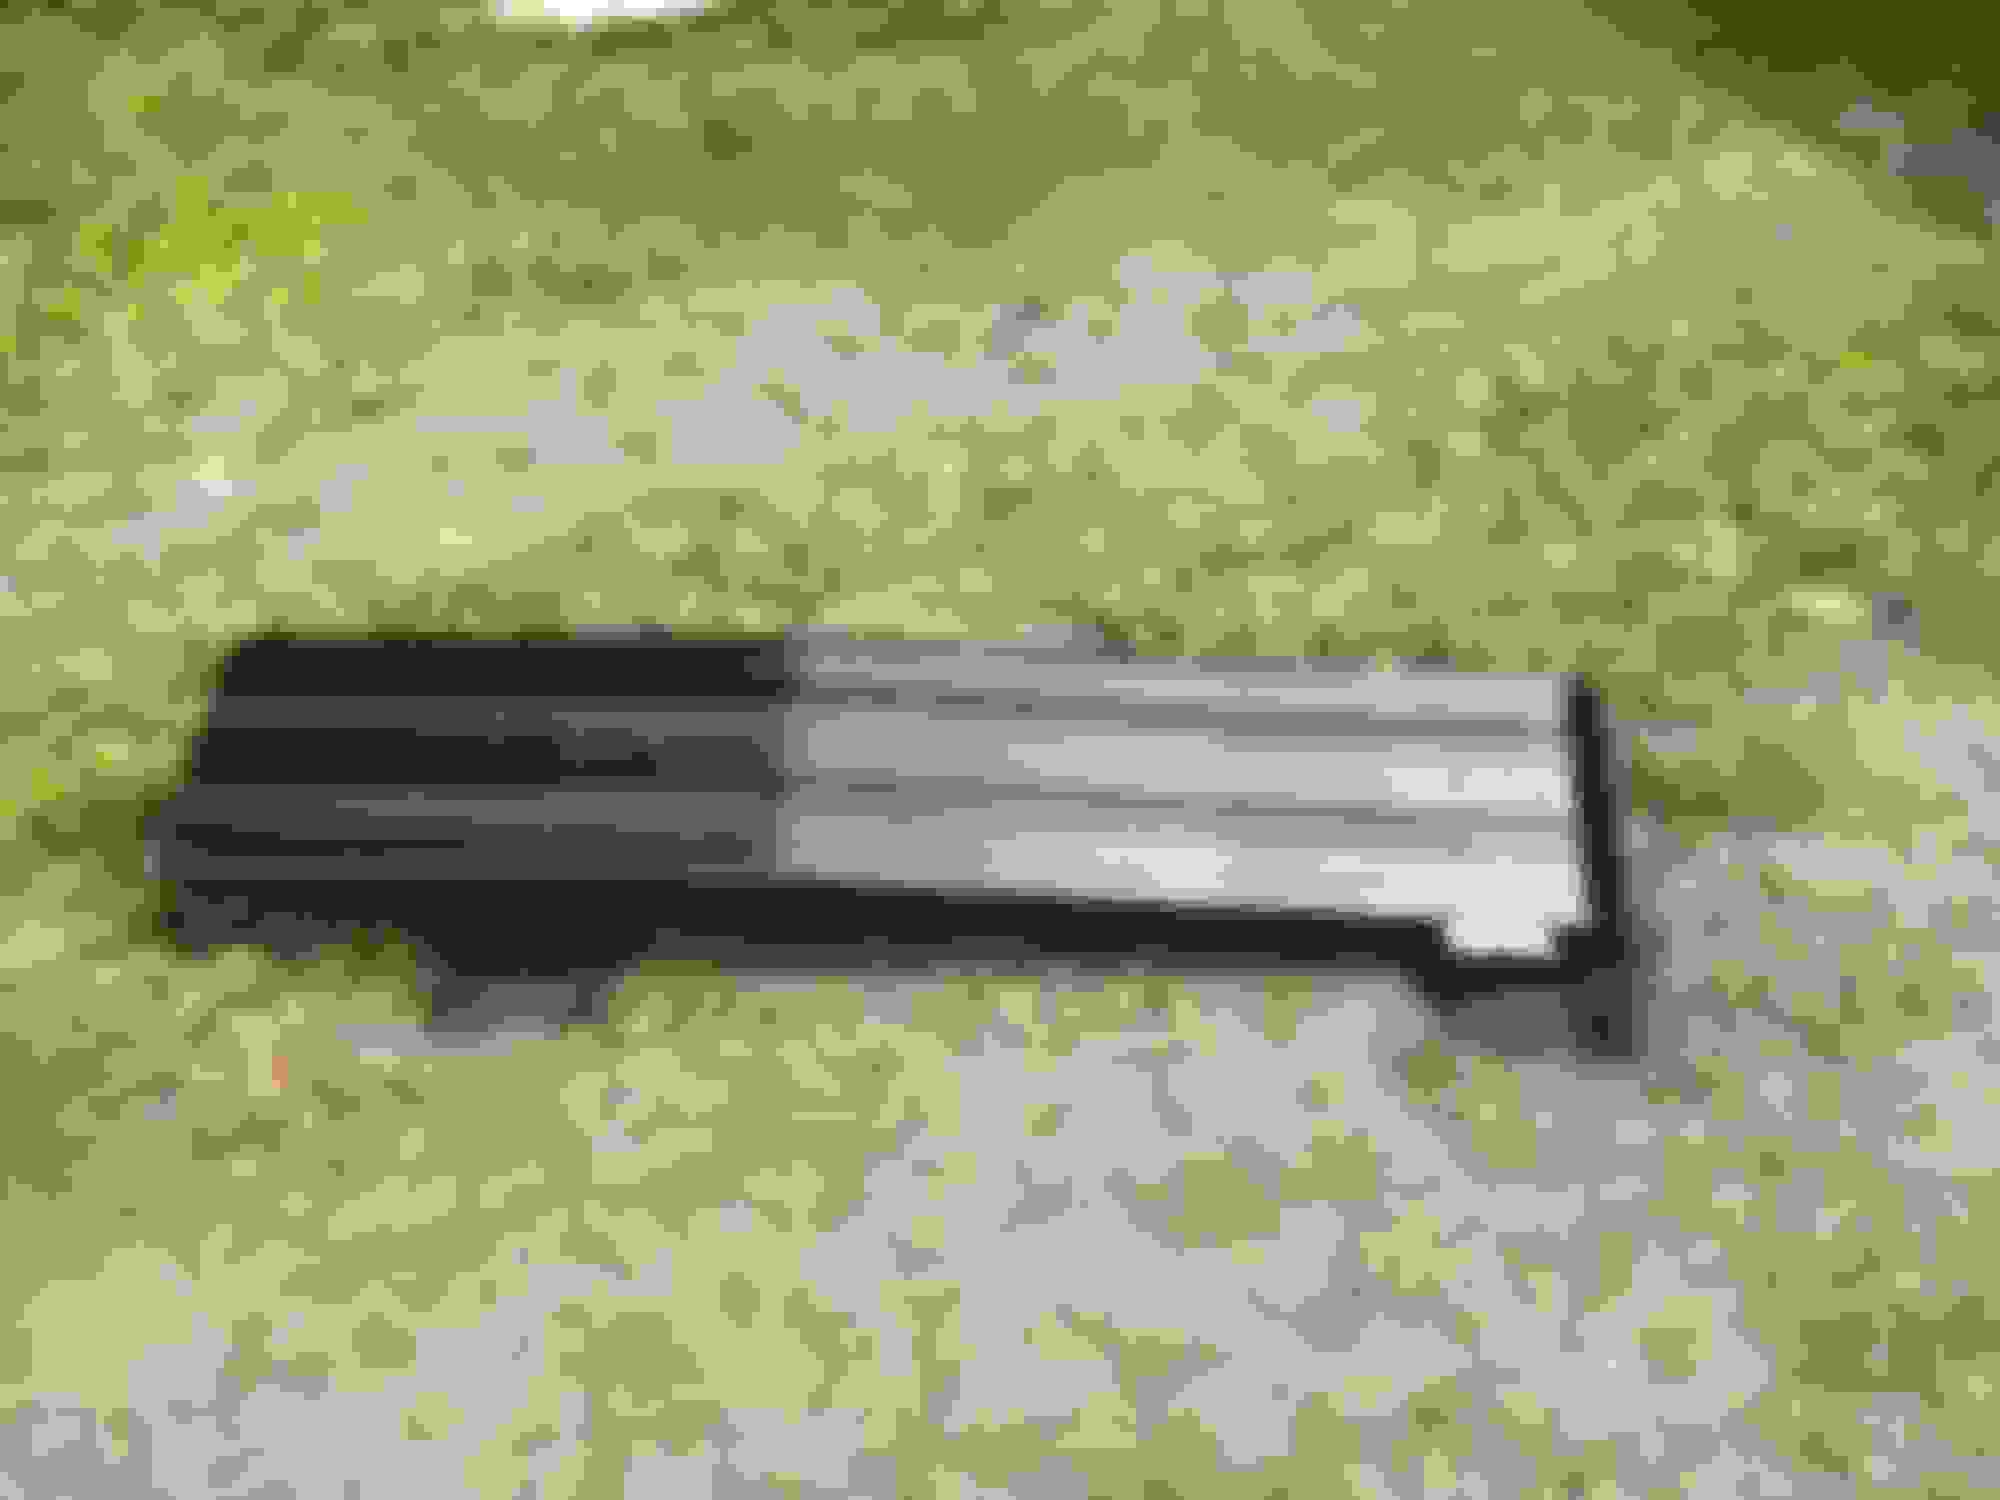
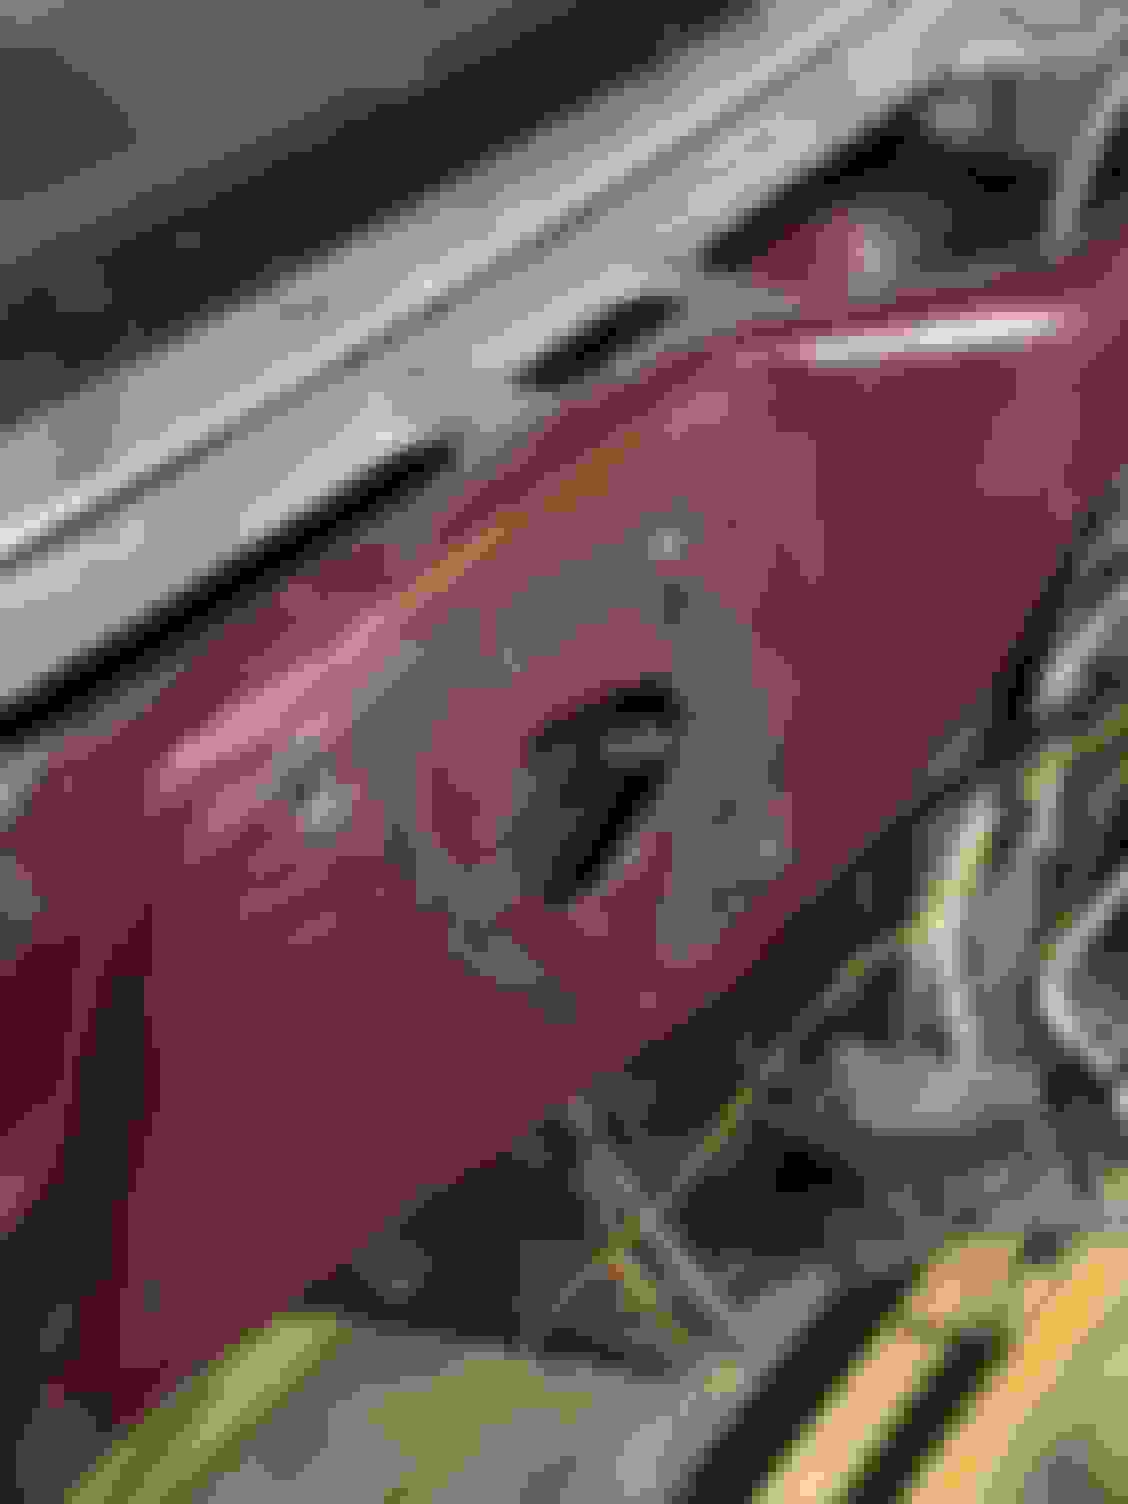
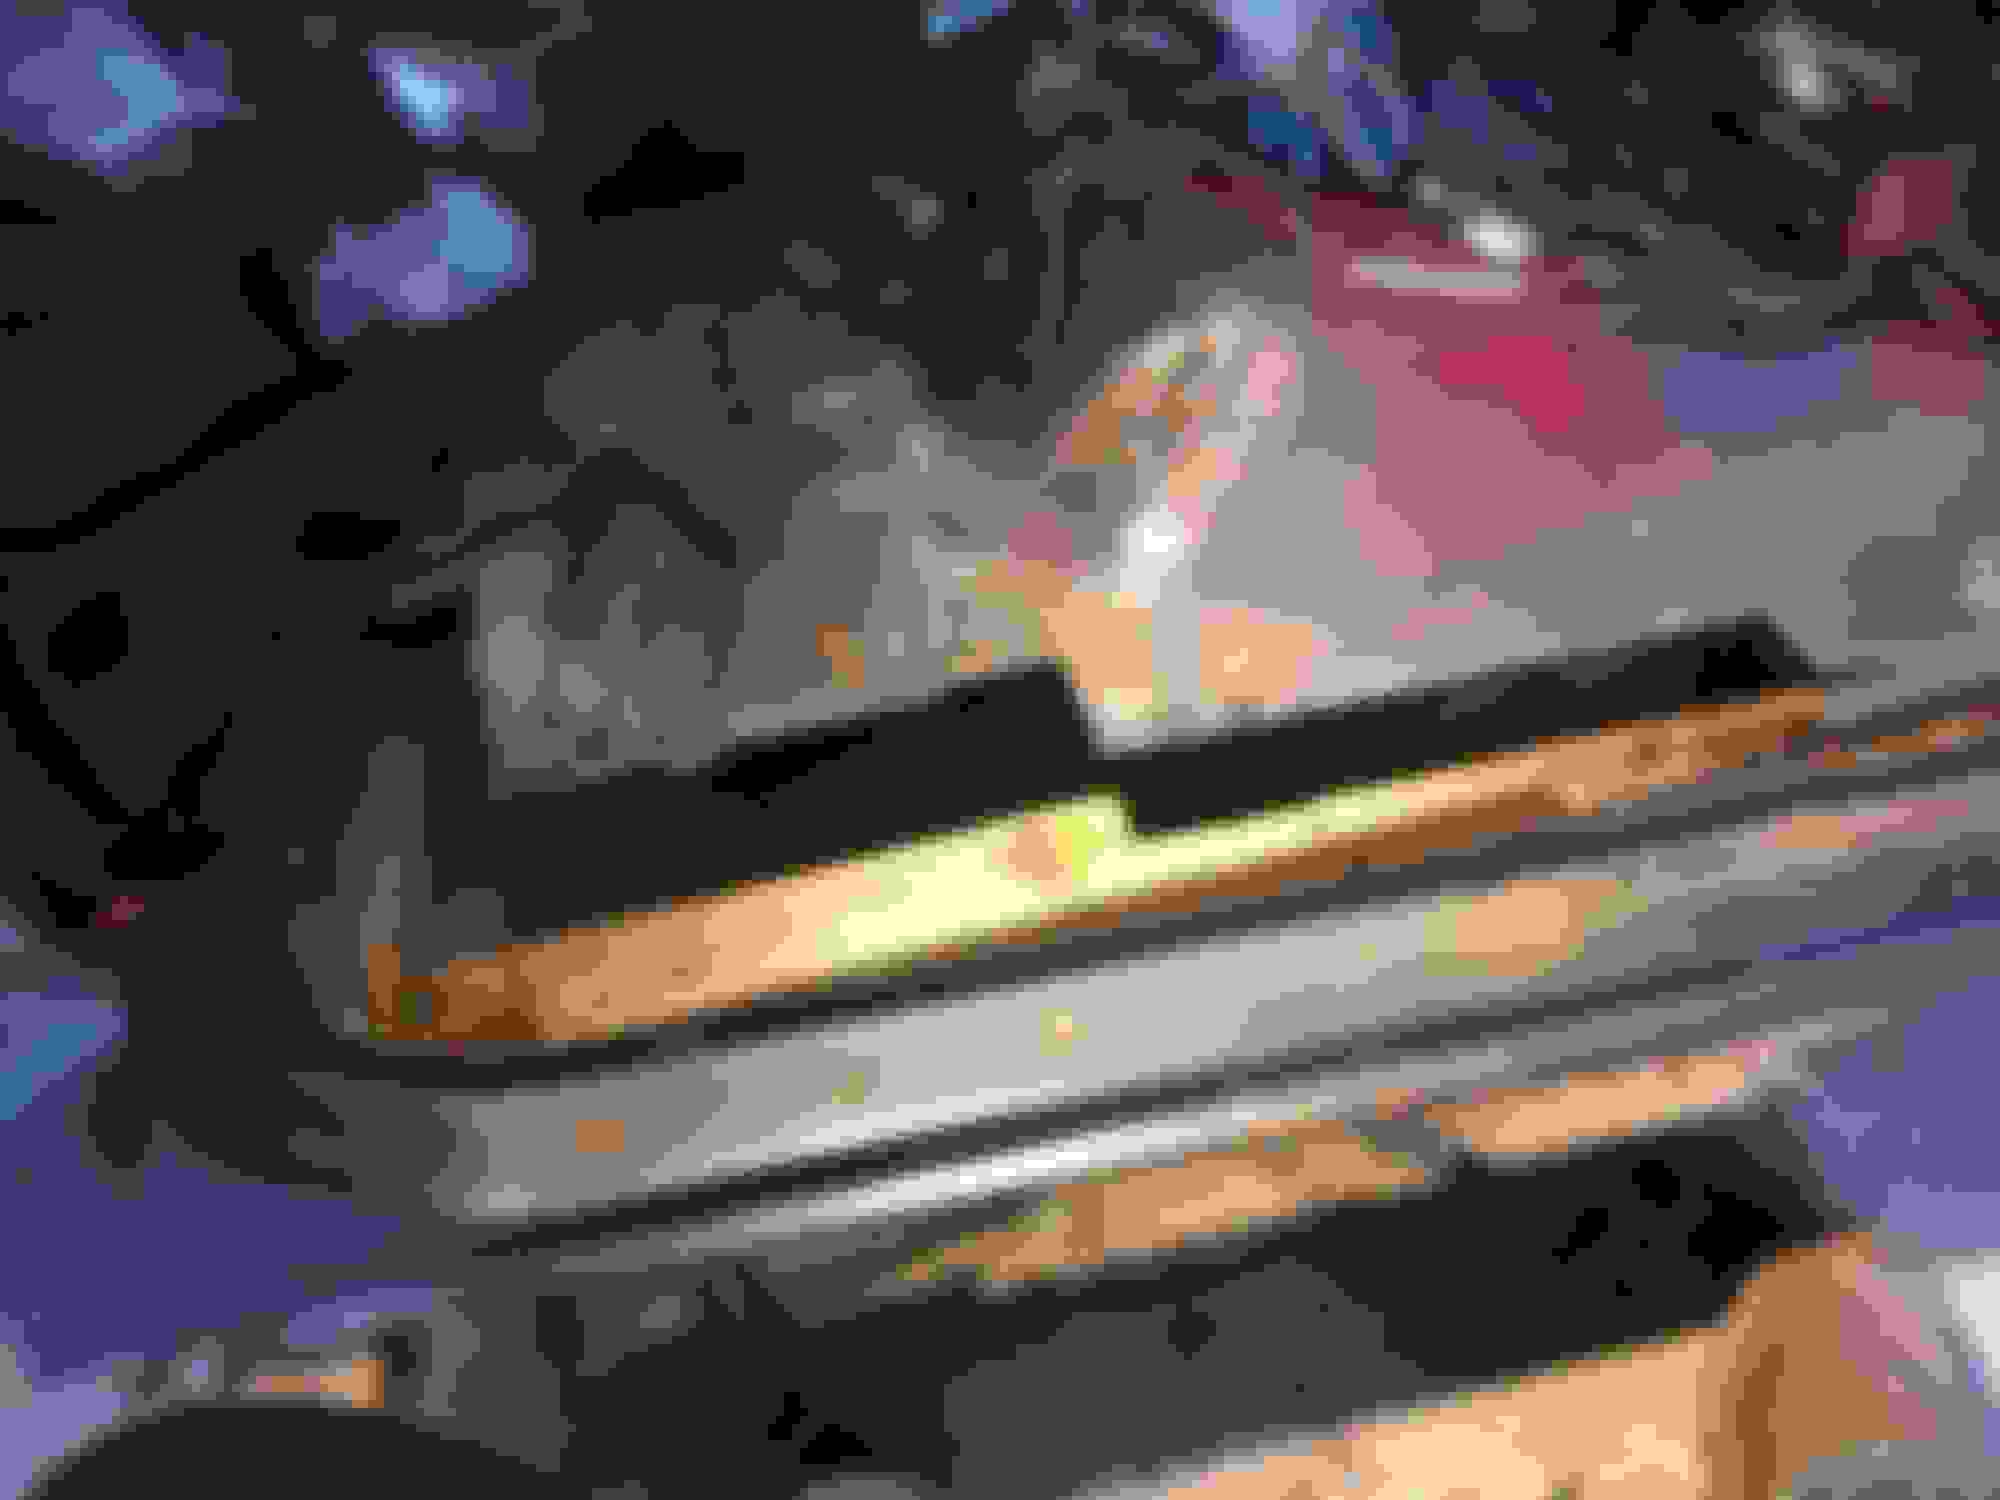
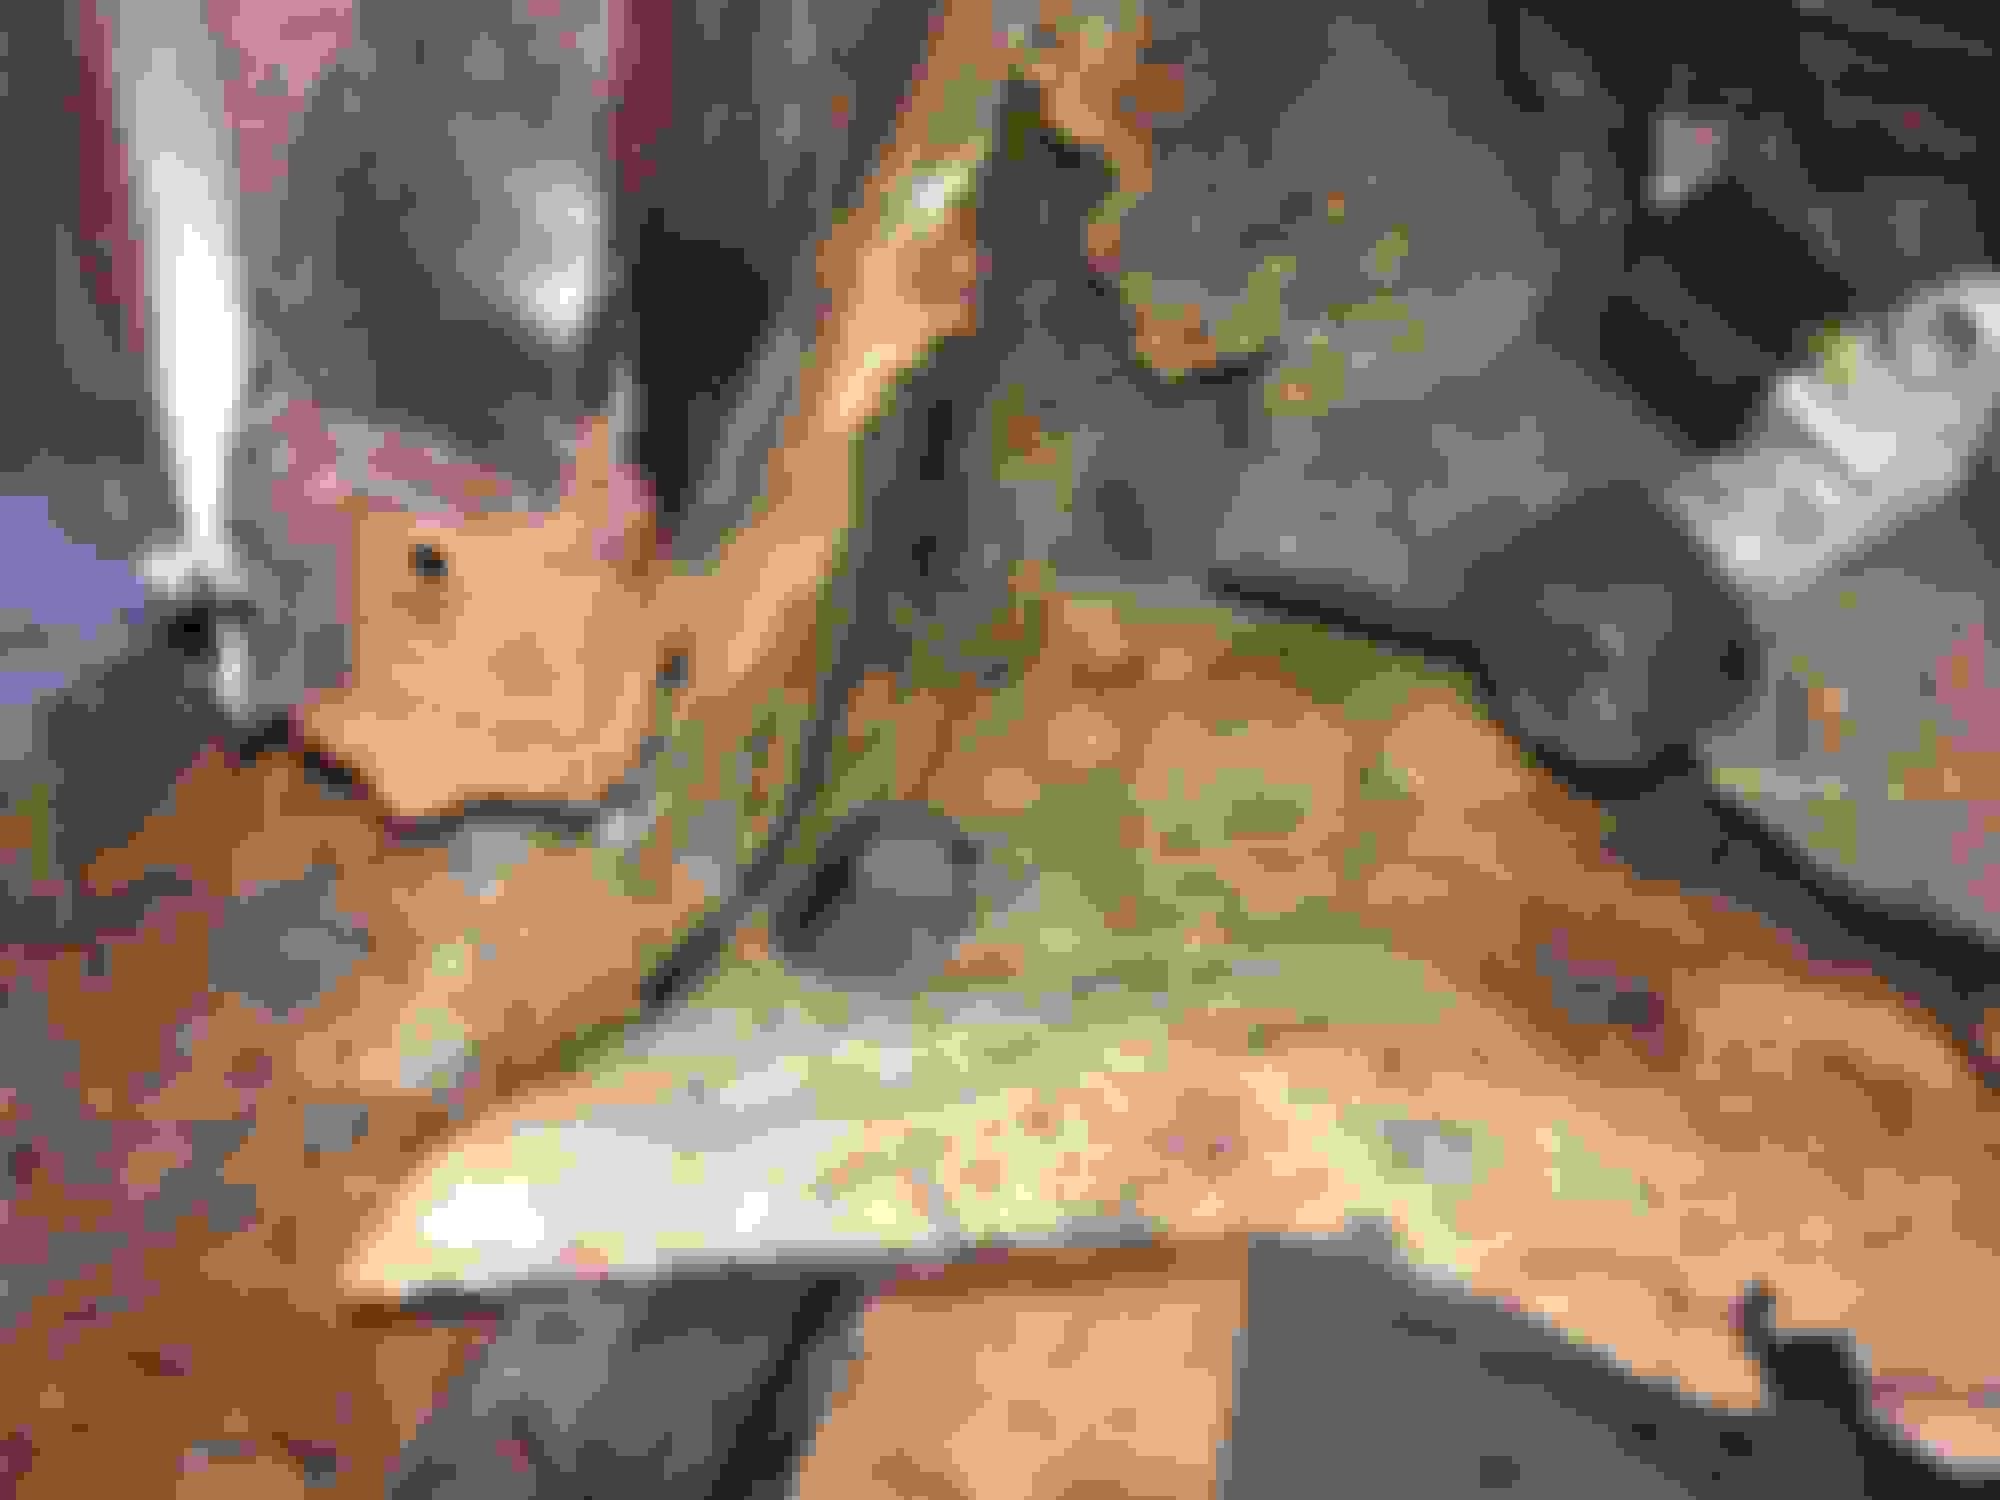
Also got the front skid plate cleaned and painted.
Plow mount for the psd. It's really sturdy so we'll see how it works.
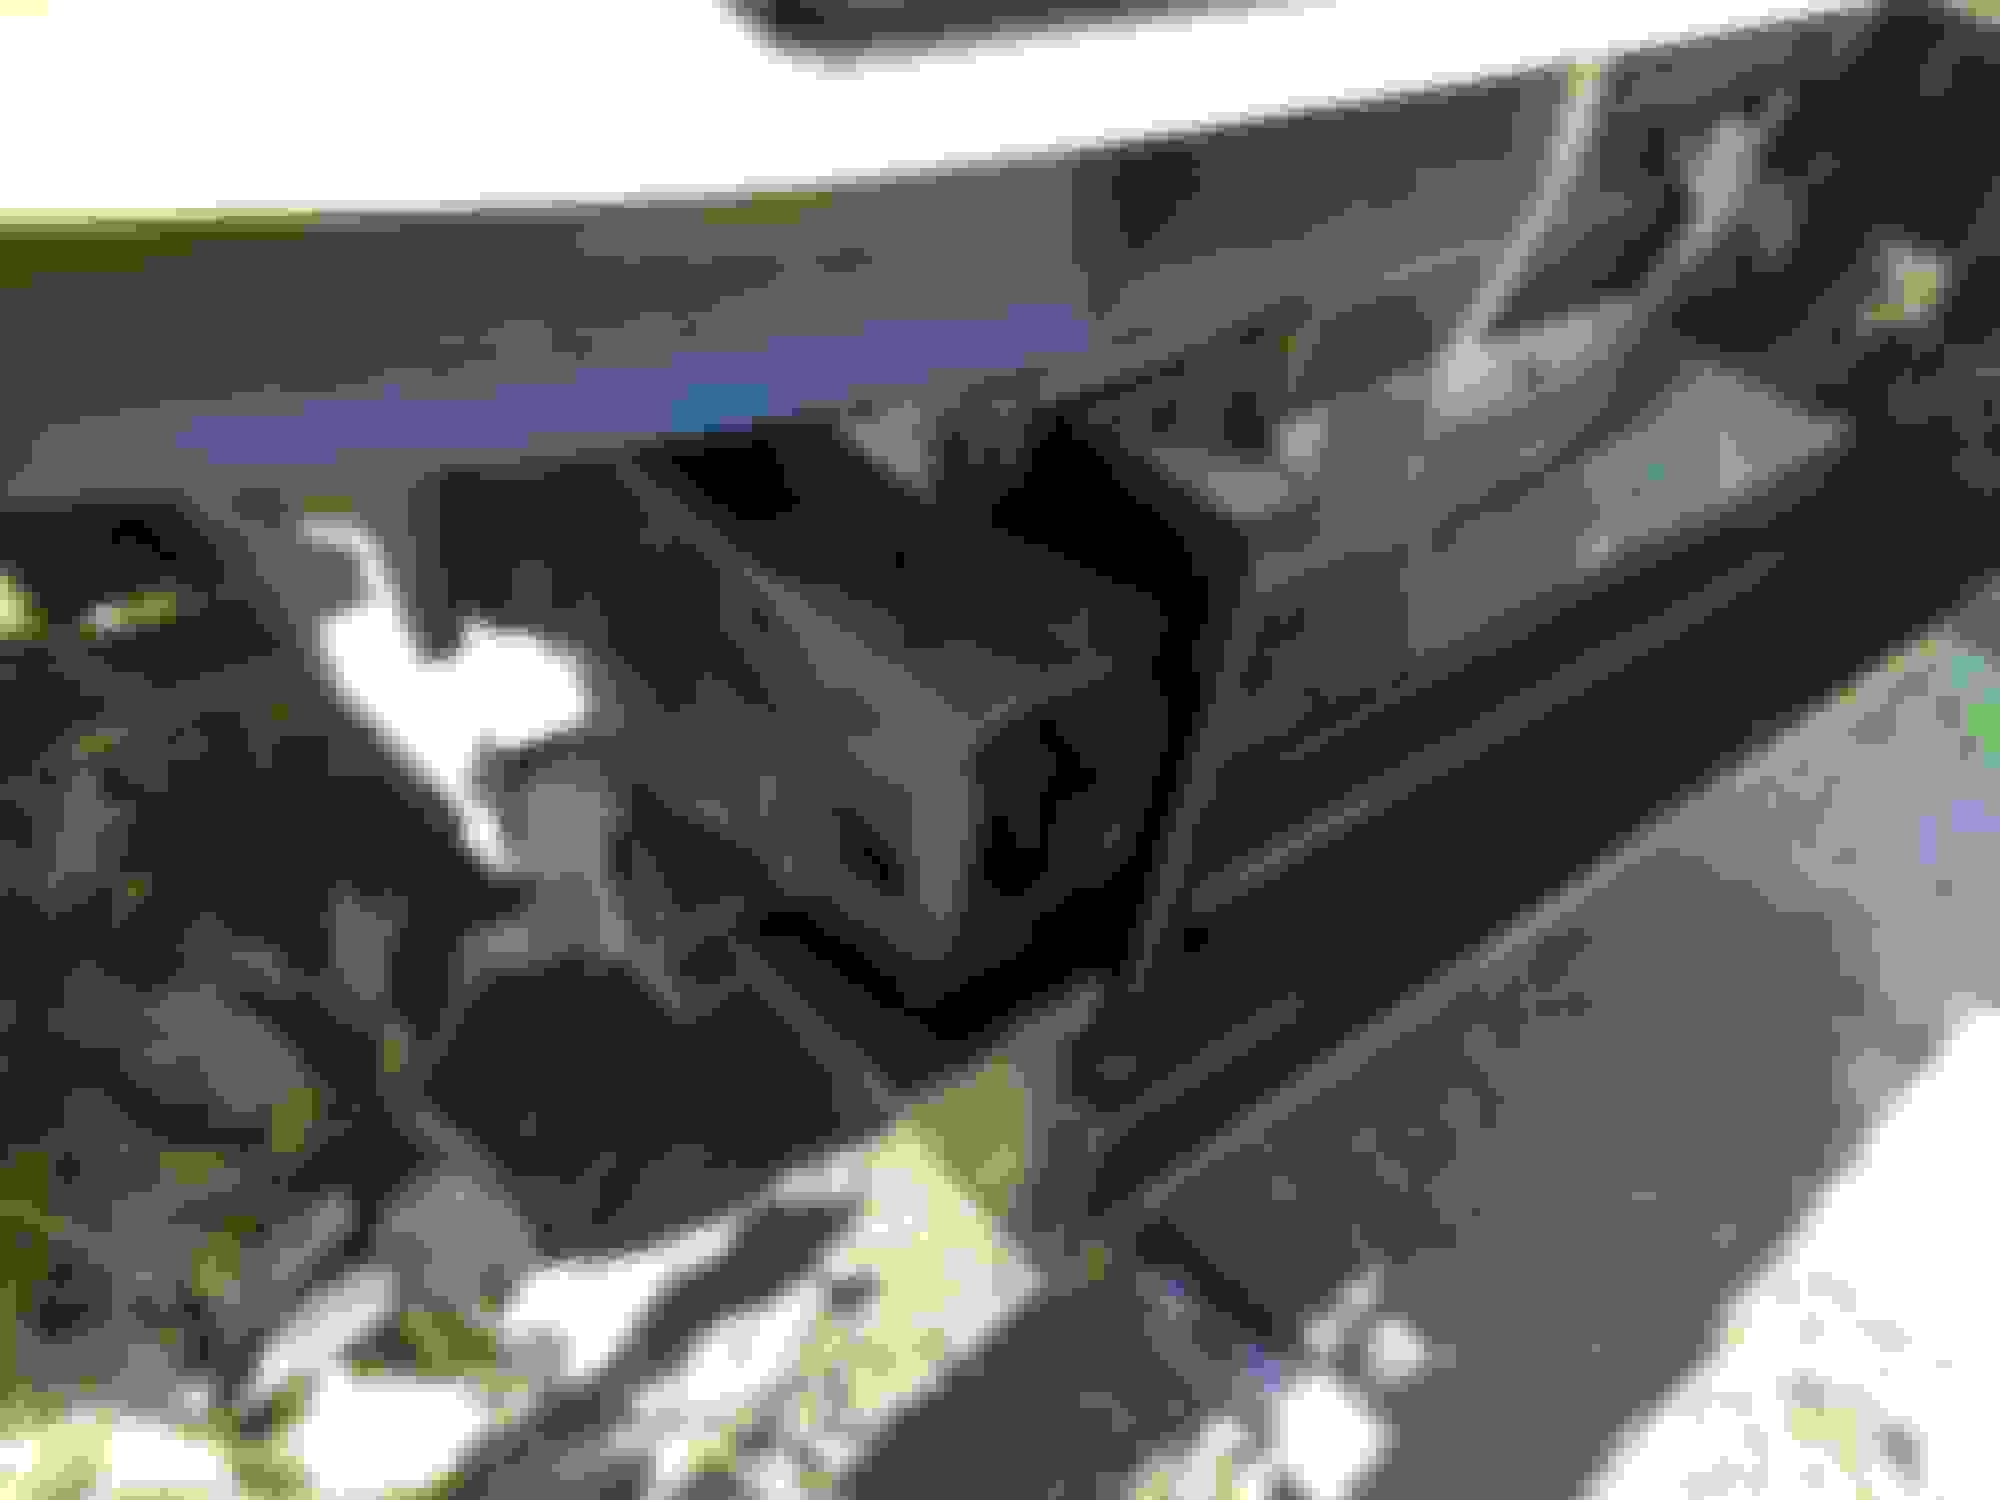
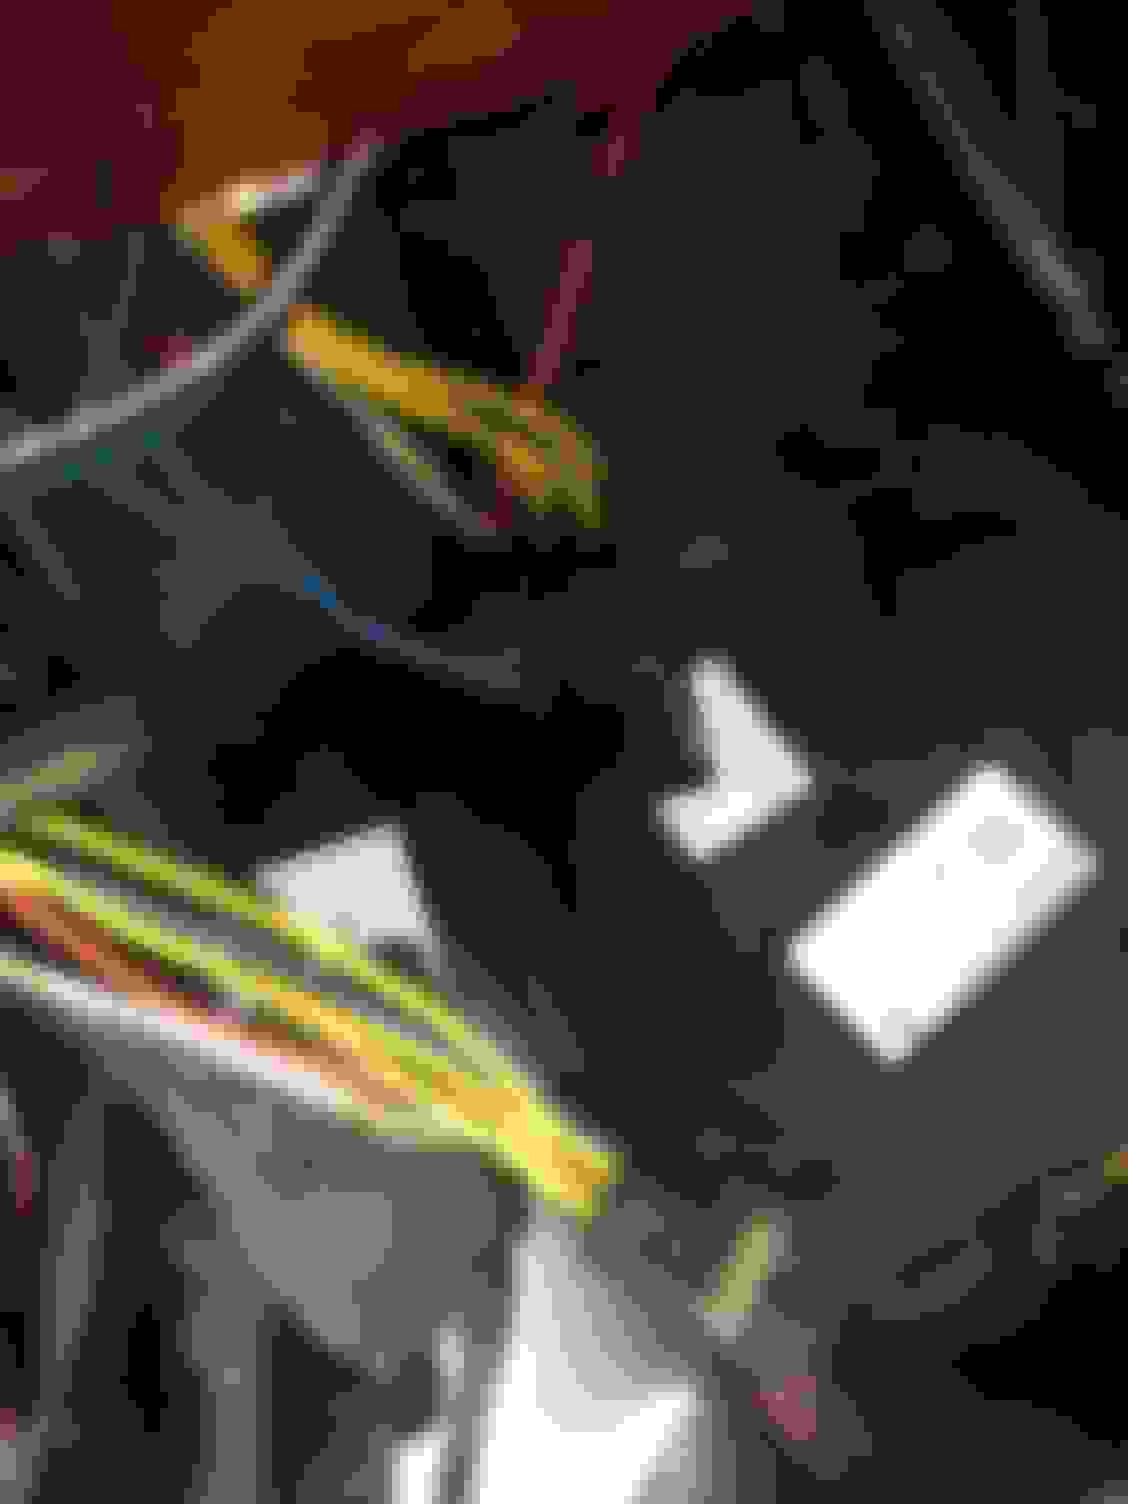
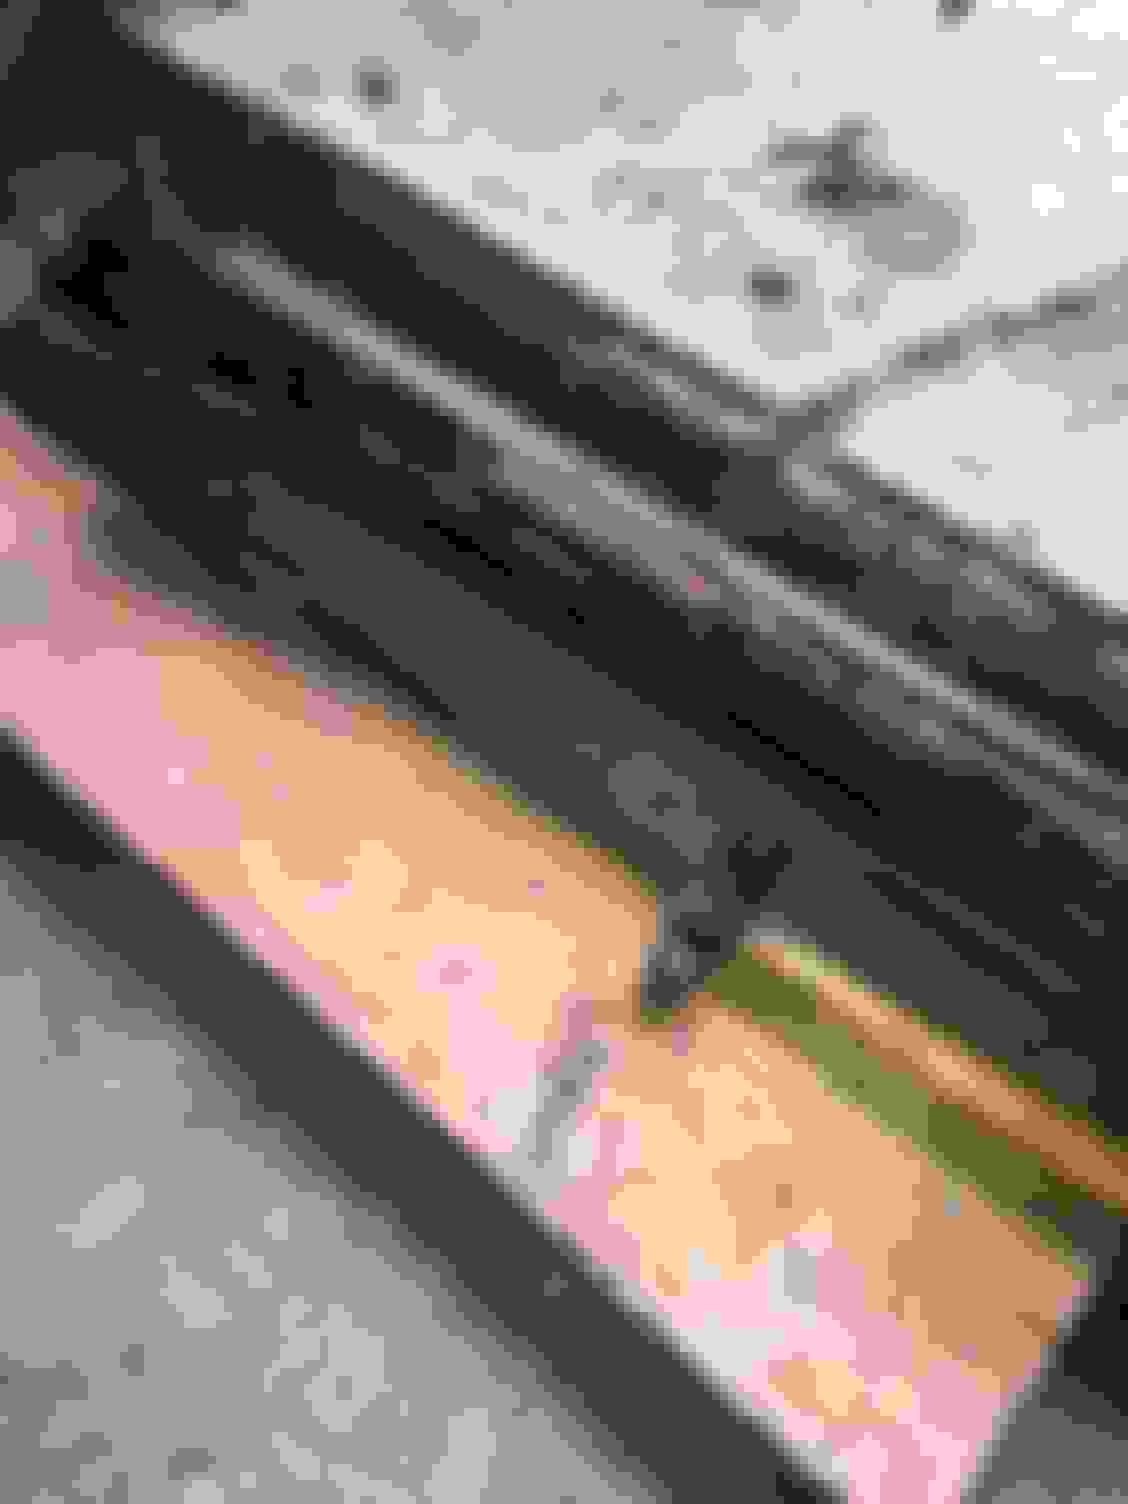
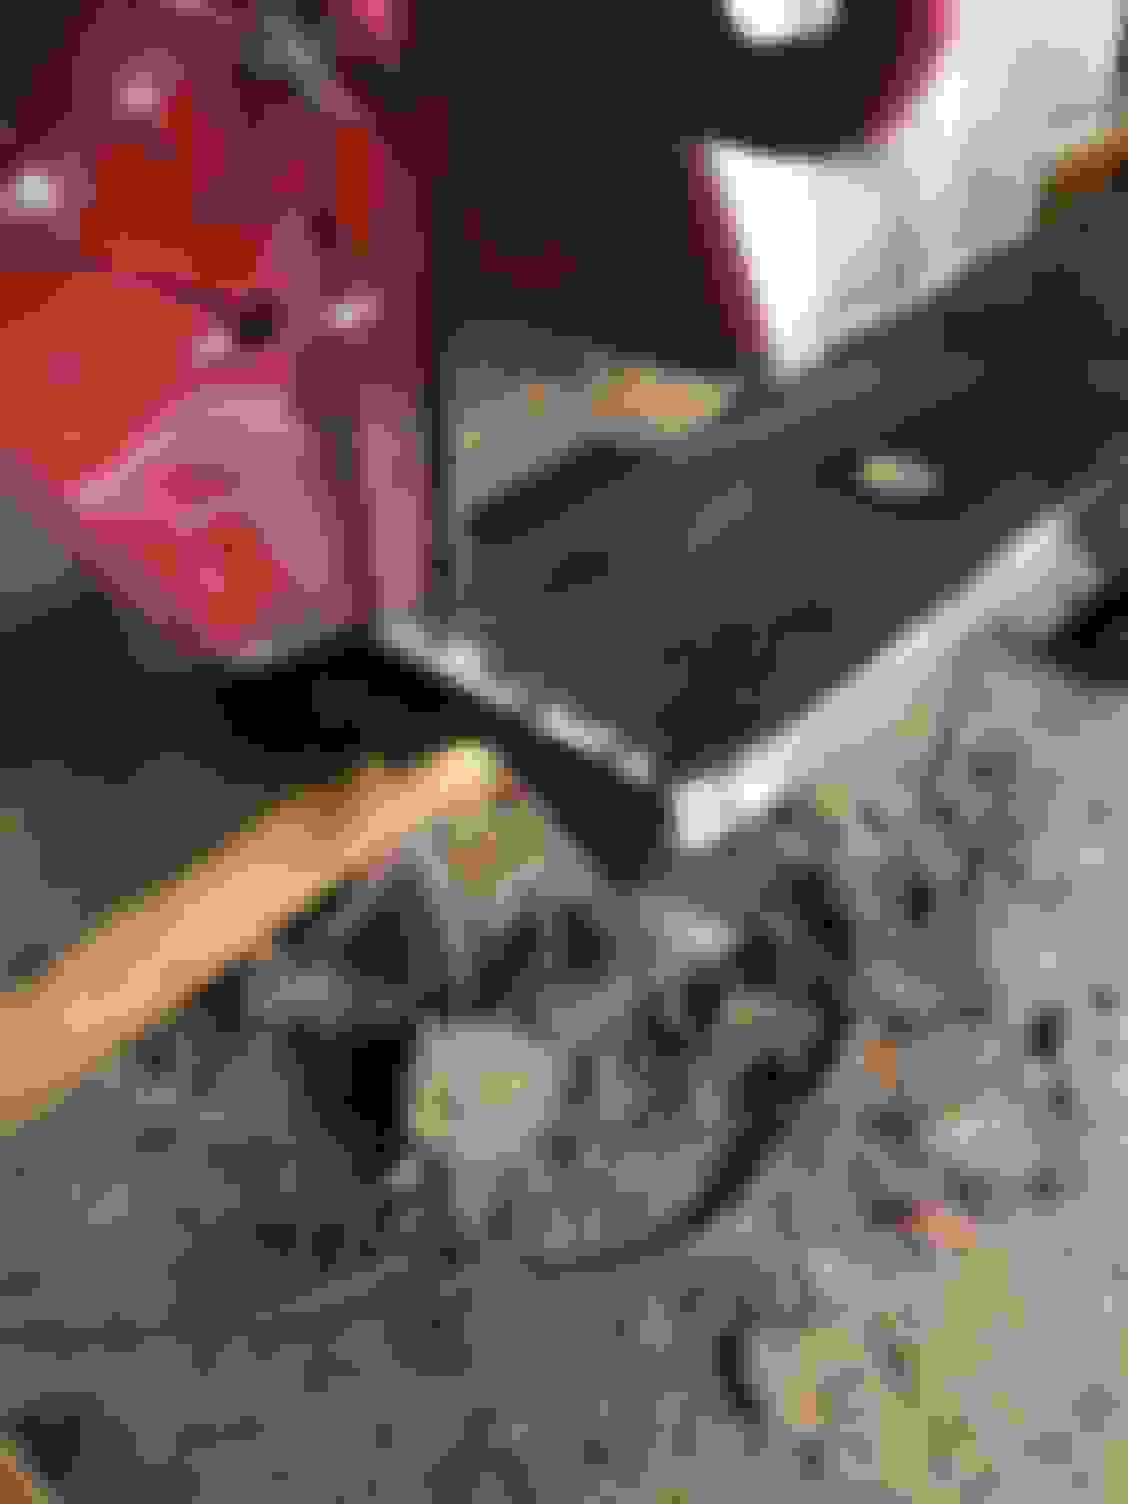
I have 2 of these going through the firewall. With all the lighting and add ins the painless 28 circuit harness needed some wires added to it. So now I'll need to make the other hole for the second connector once the cab is pulled. Weather pack is the only good thing gm ever did.
Location on the firewall where connectors will be. The hole on the right is where the other one will be mounted.
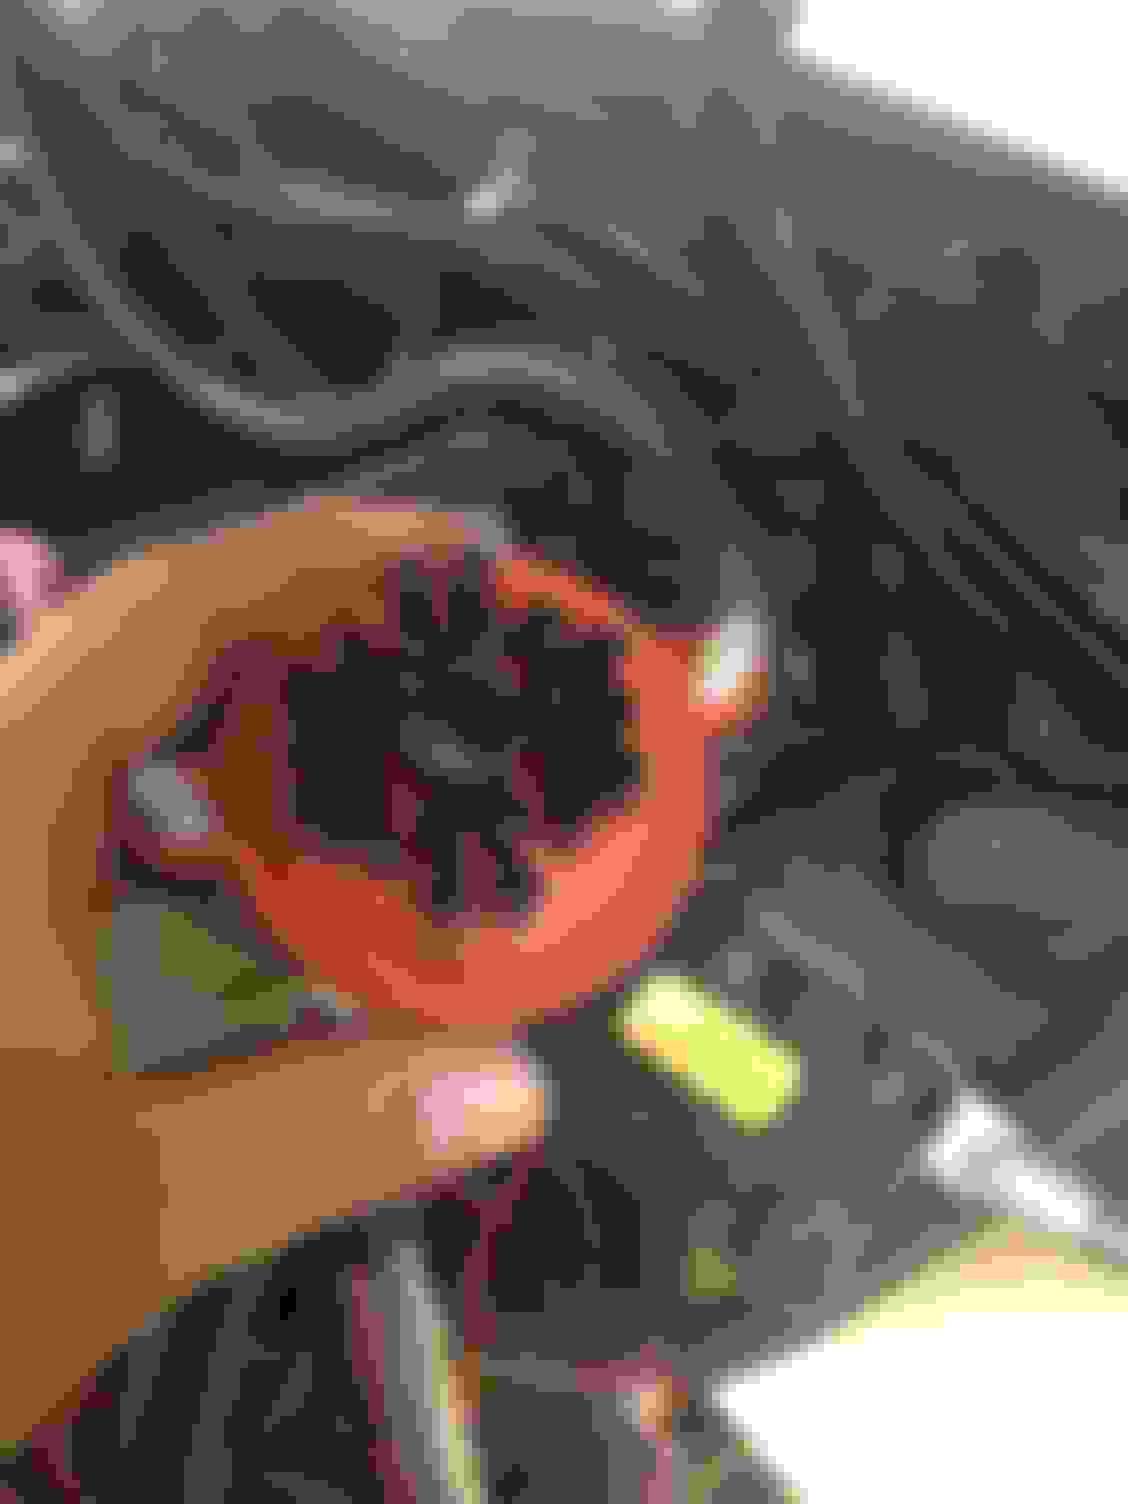
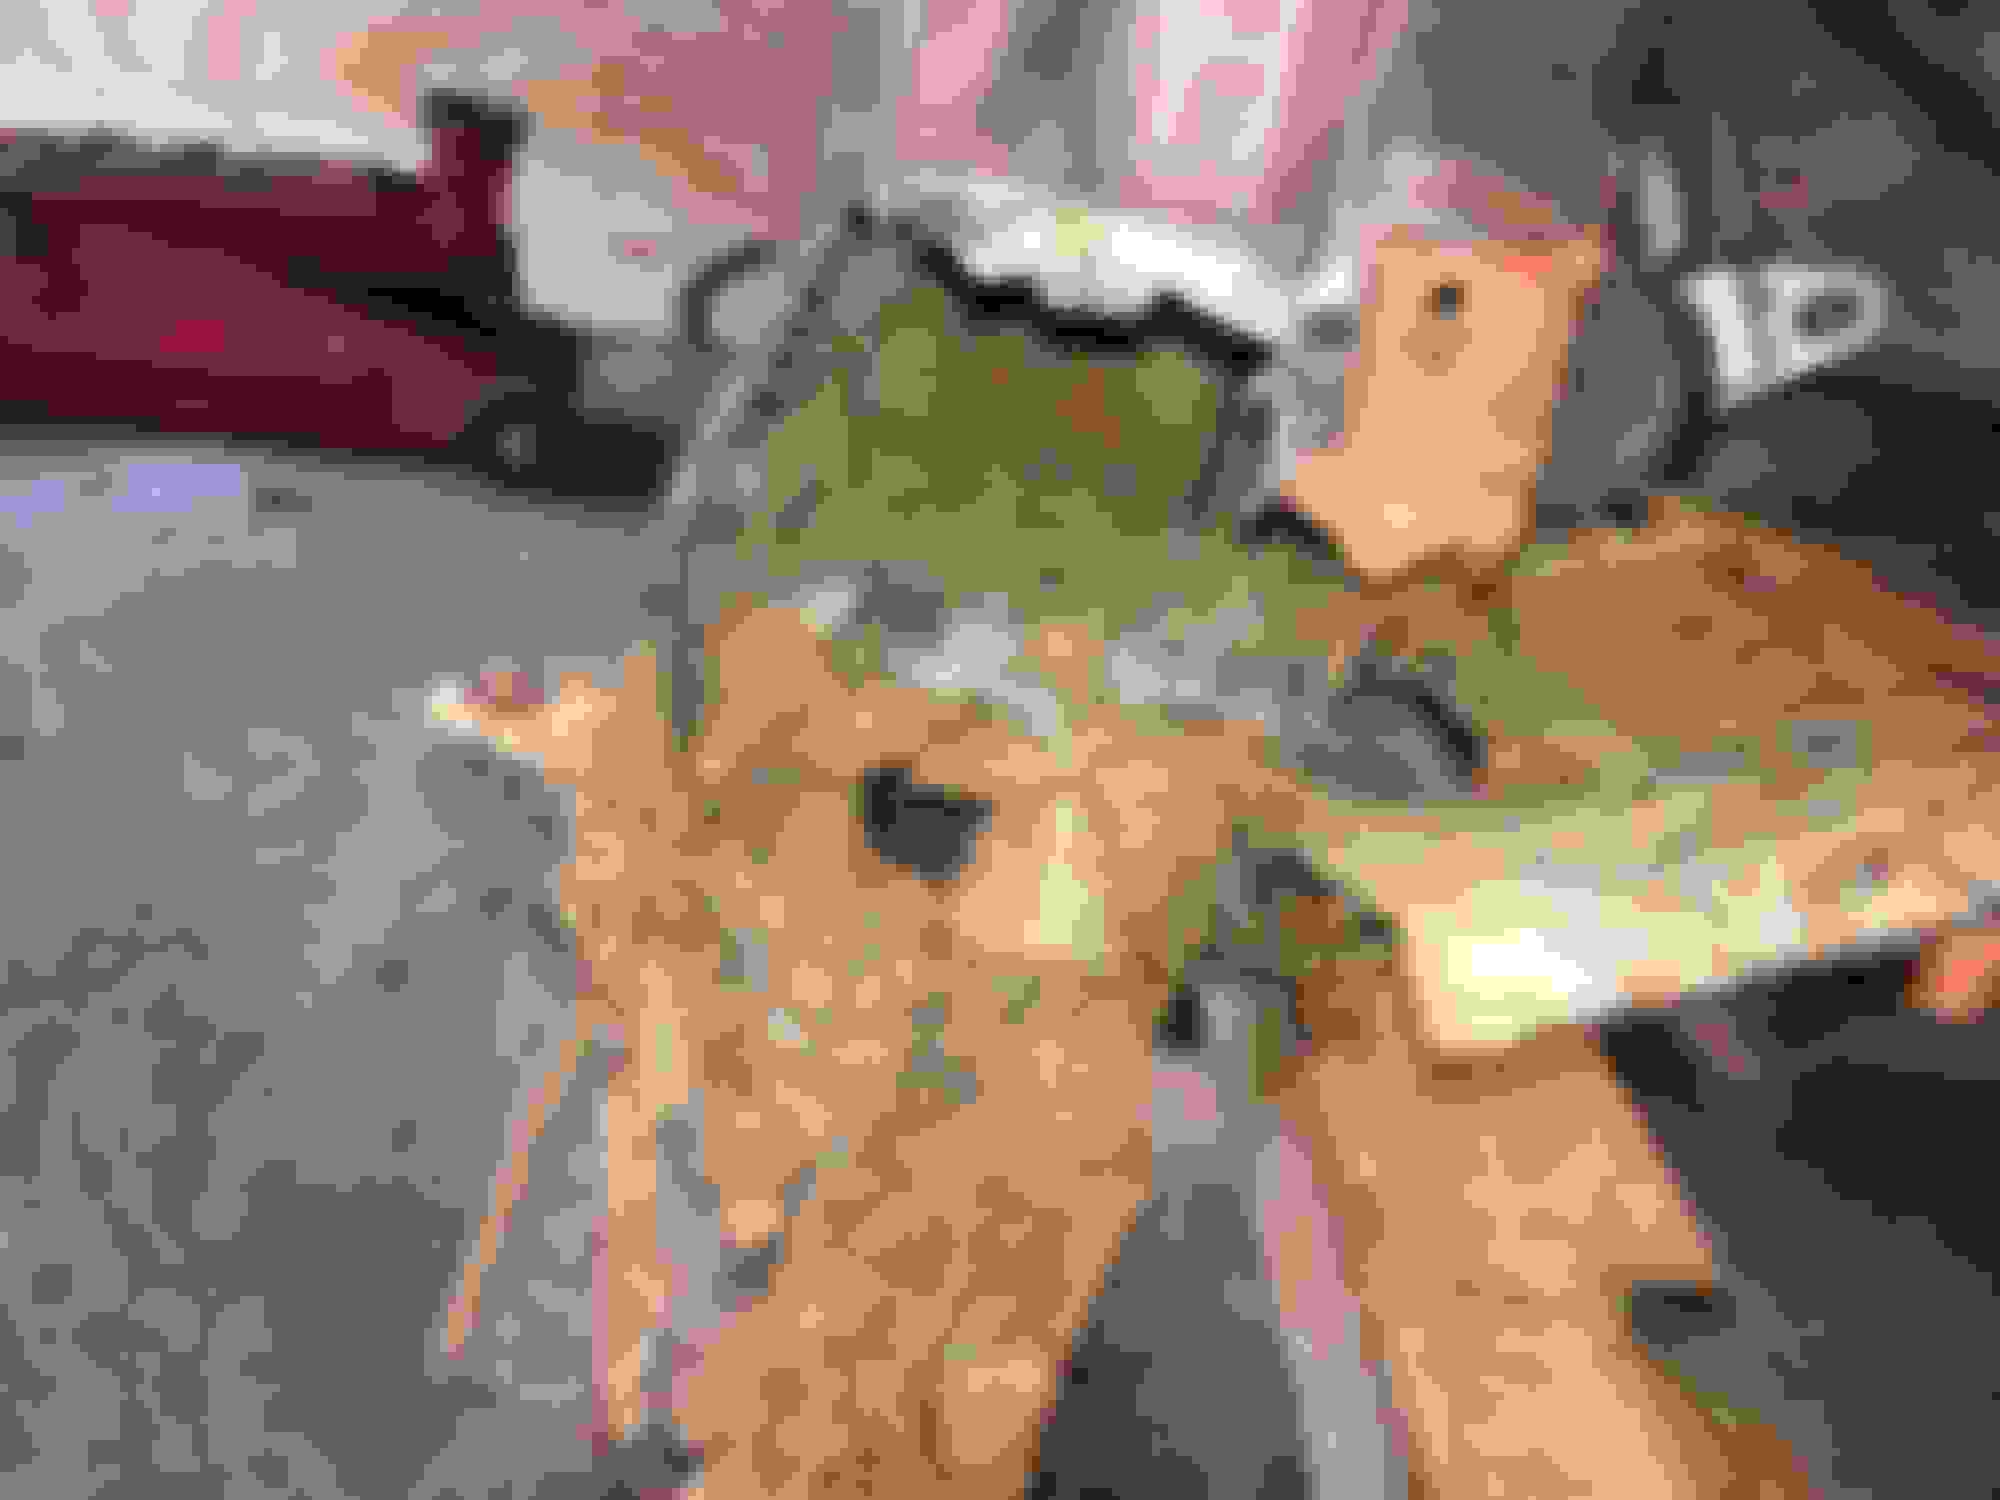
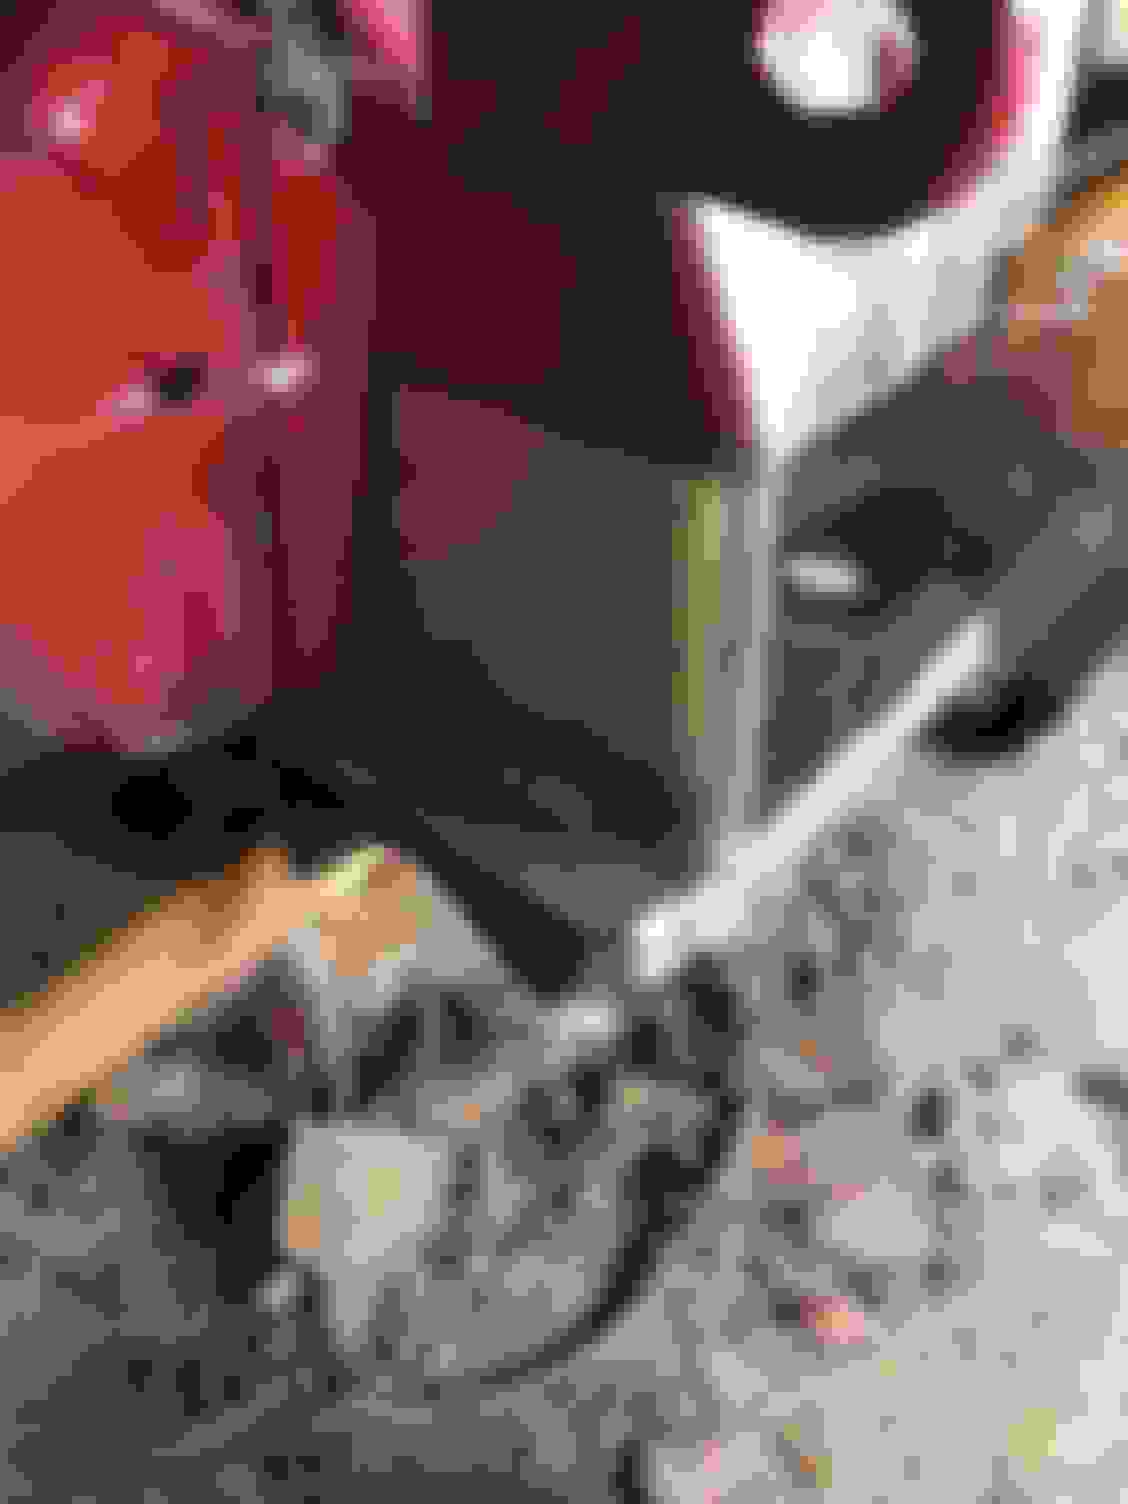
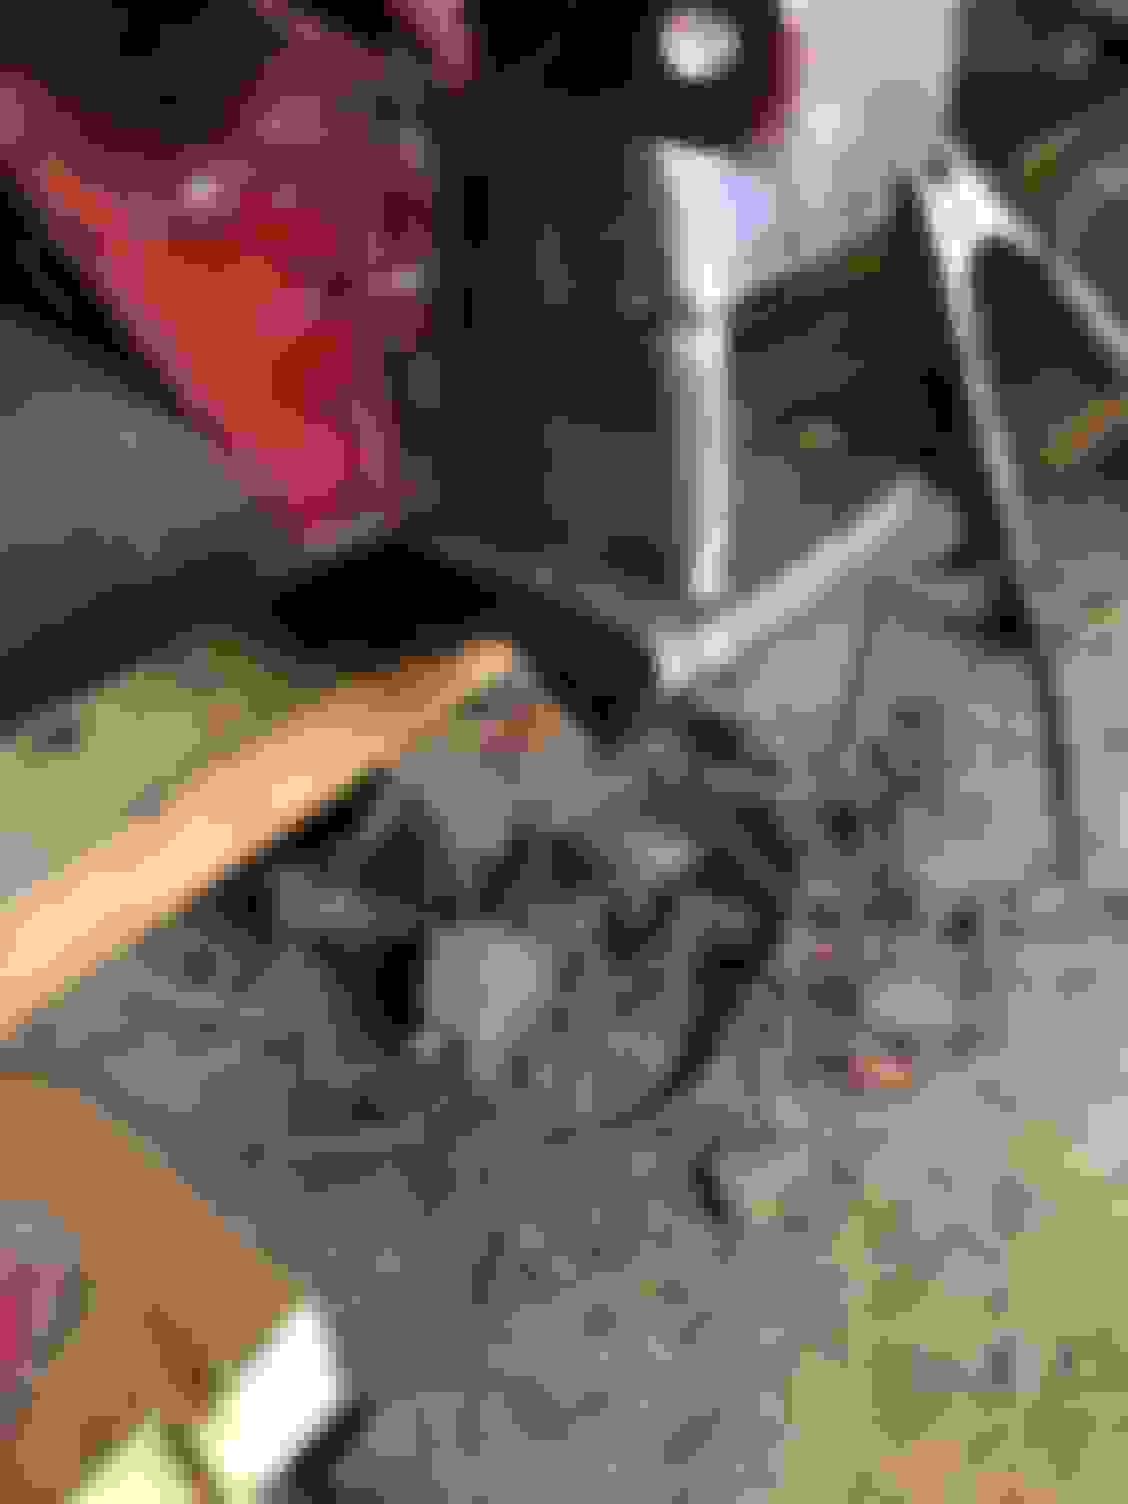
Connectors to make the doors come off without re wiring.
Ok got the injectors in the psd and had to do a timing chain on the woman's jeep. So everything is caught up for now and I should be back on the truck this weekend.
Ok got to removing some parts from the cab and rust removal. The cancer on the drivers side was really bad. Neither inner or outer rocker half the floor and the bottom of the a and b pillars survived the plasma cutter. Here's some pics.
Removed wiper motor and found some original paint. The rest of the fire wall is original also under the grease
Cowl wipers etc out
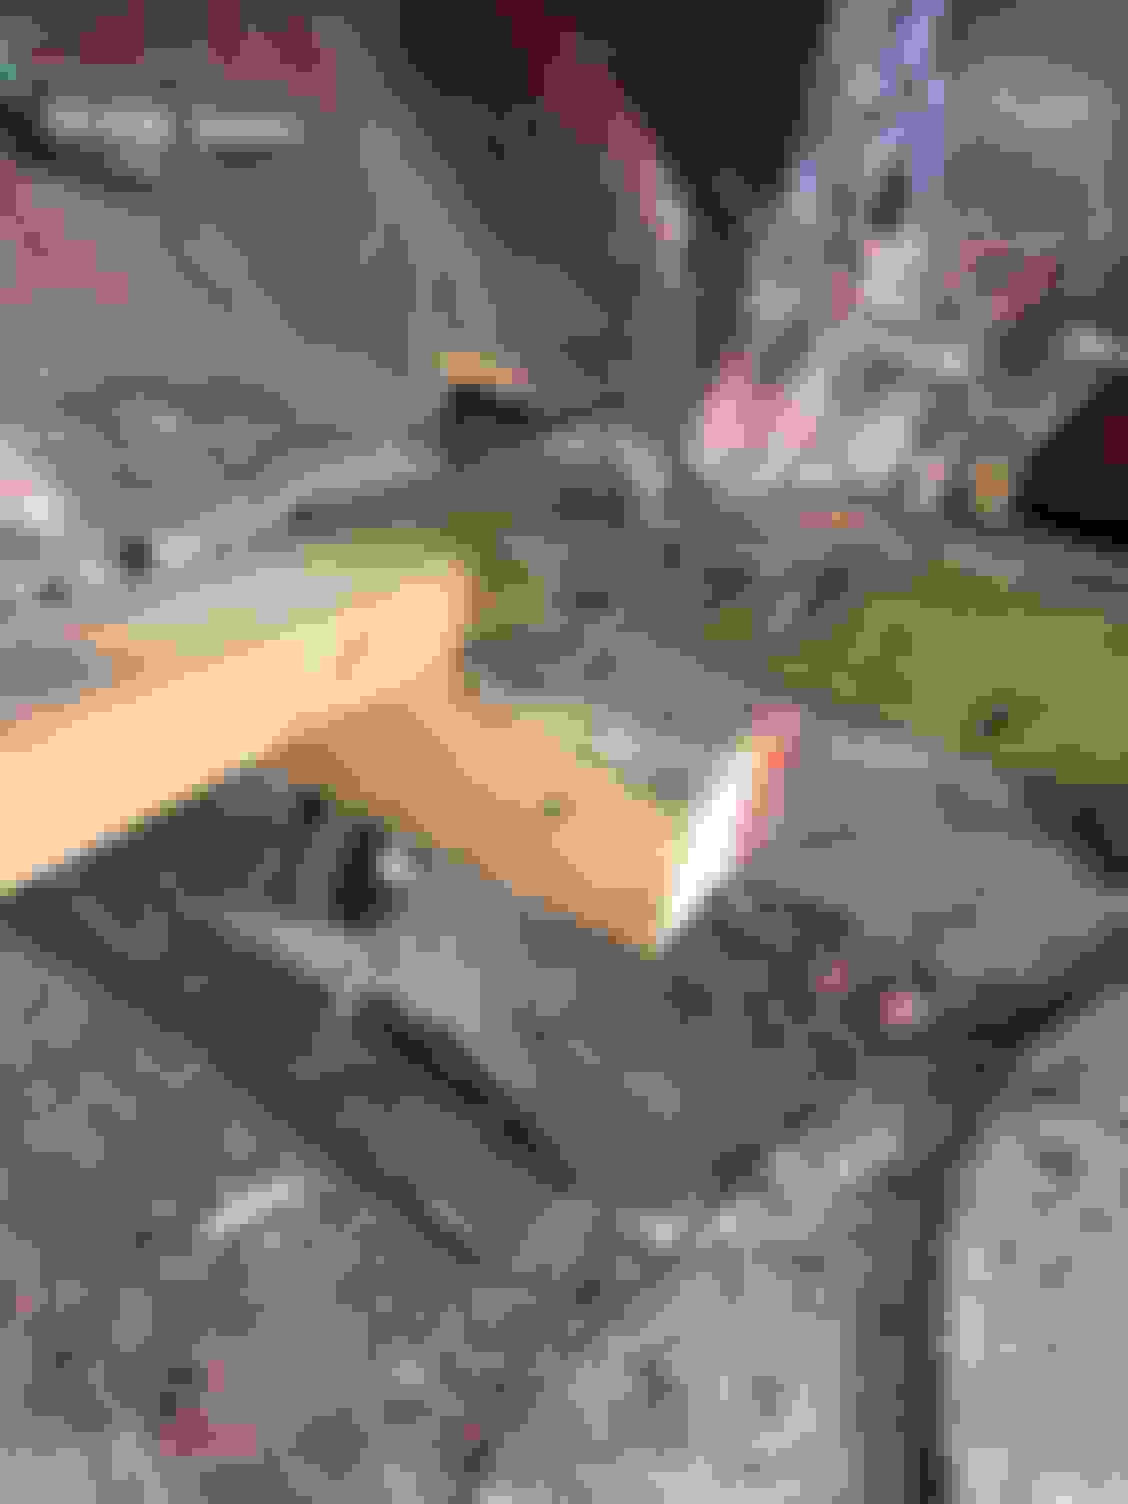
Dents from a 3 inch dp install. If you ever have the engine out or the cab off do this with the access not with everything together.
Rocker rust and dirt
Why the rockers get so bad on these trucks.
I found good metal
Pulled the outer rocker off and here's the remains of the inner
Got more done on the a pillar repair. This thing will be strong once done. The other side needed a few small patches but this is needing the whole bottom 5 inches. Also got the part of the b pillar the rocker attaches to re done.
Outside of a pillar hole.
Patch panel cut
Welded in both patches. This has the rocker fully attached to the a pillar.
Inside shot.
More of the inside of the a pillar.
All welded up and welds cleaned up. You can see how the rocker will attach to the a pillar in many places.
B pillar where the rocker attaches. I'll be measuring everything tomorrow before installing the rocker permanently. However I used the other side for reference so we should be good to go
Got the rocker welded in but not much else. I'm going to try and get the outer rocker in place but there is a lot of boring work waiting to be done. So updates may be slow. End of this month the engine and trans are coming out and the new trans will be mocked in place. I'll need to take a lot of measurements to get it where we need it
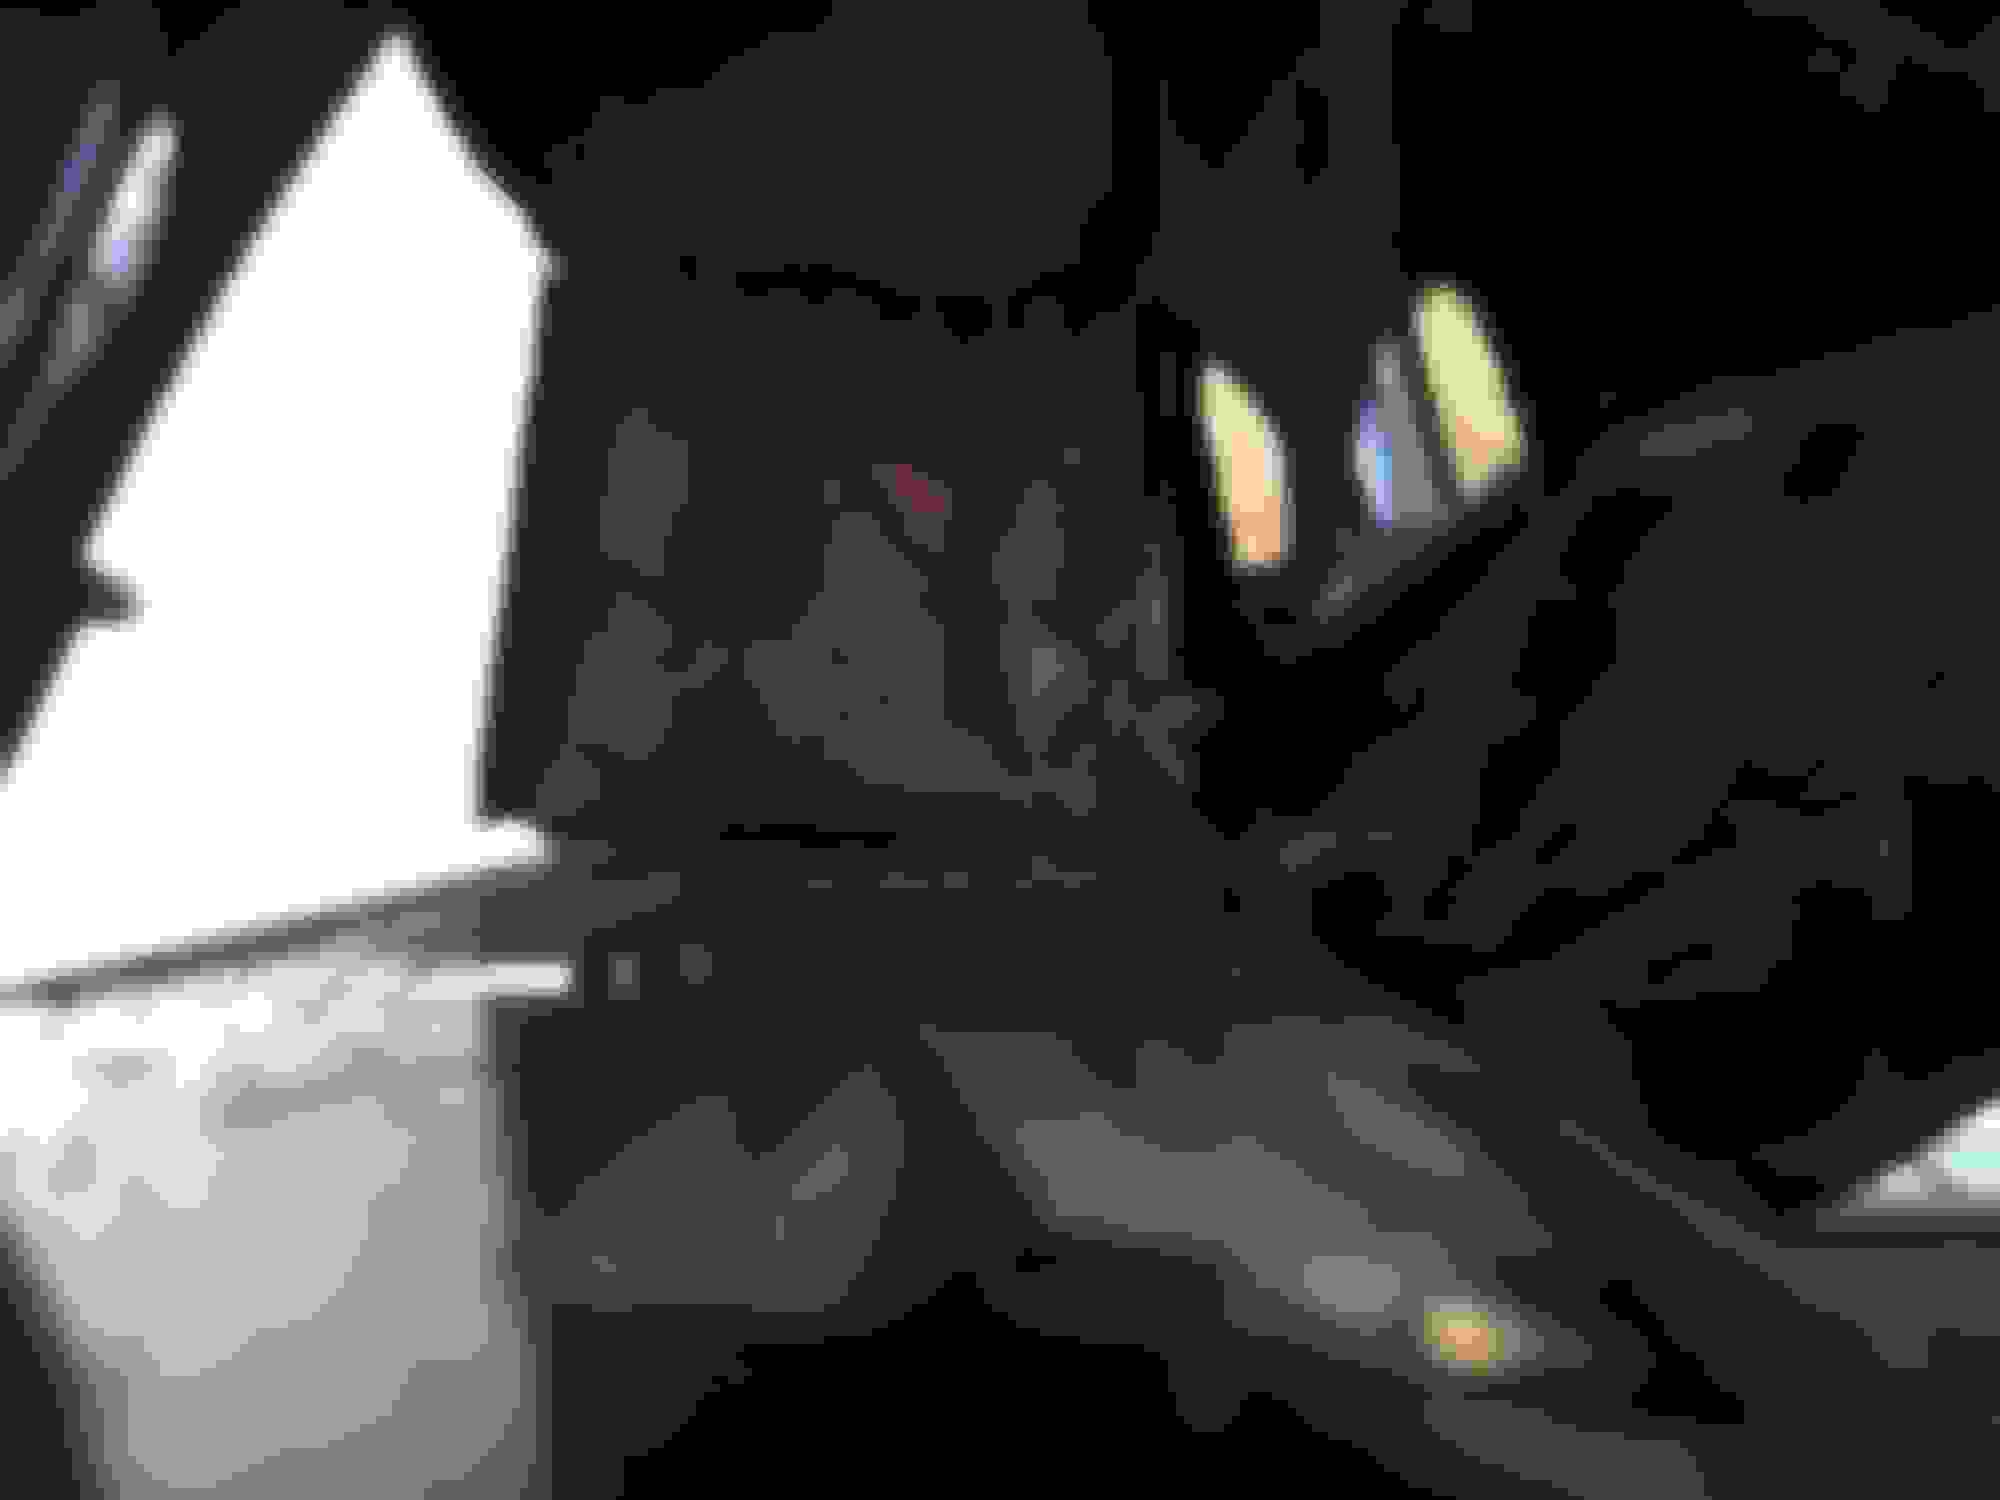
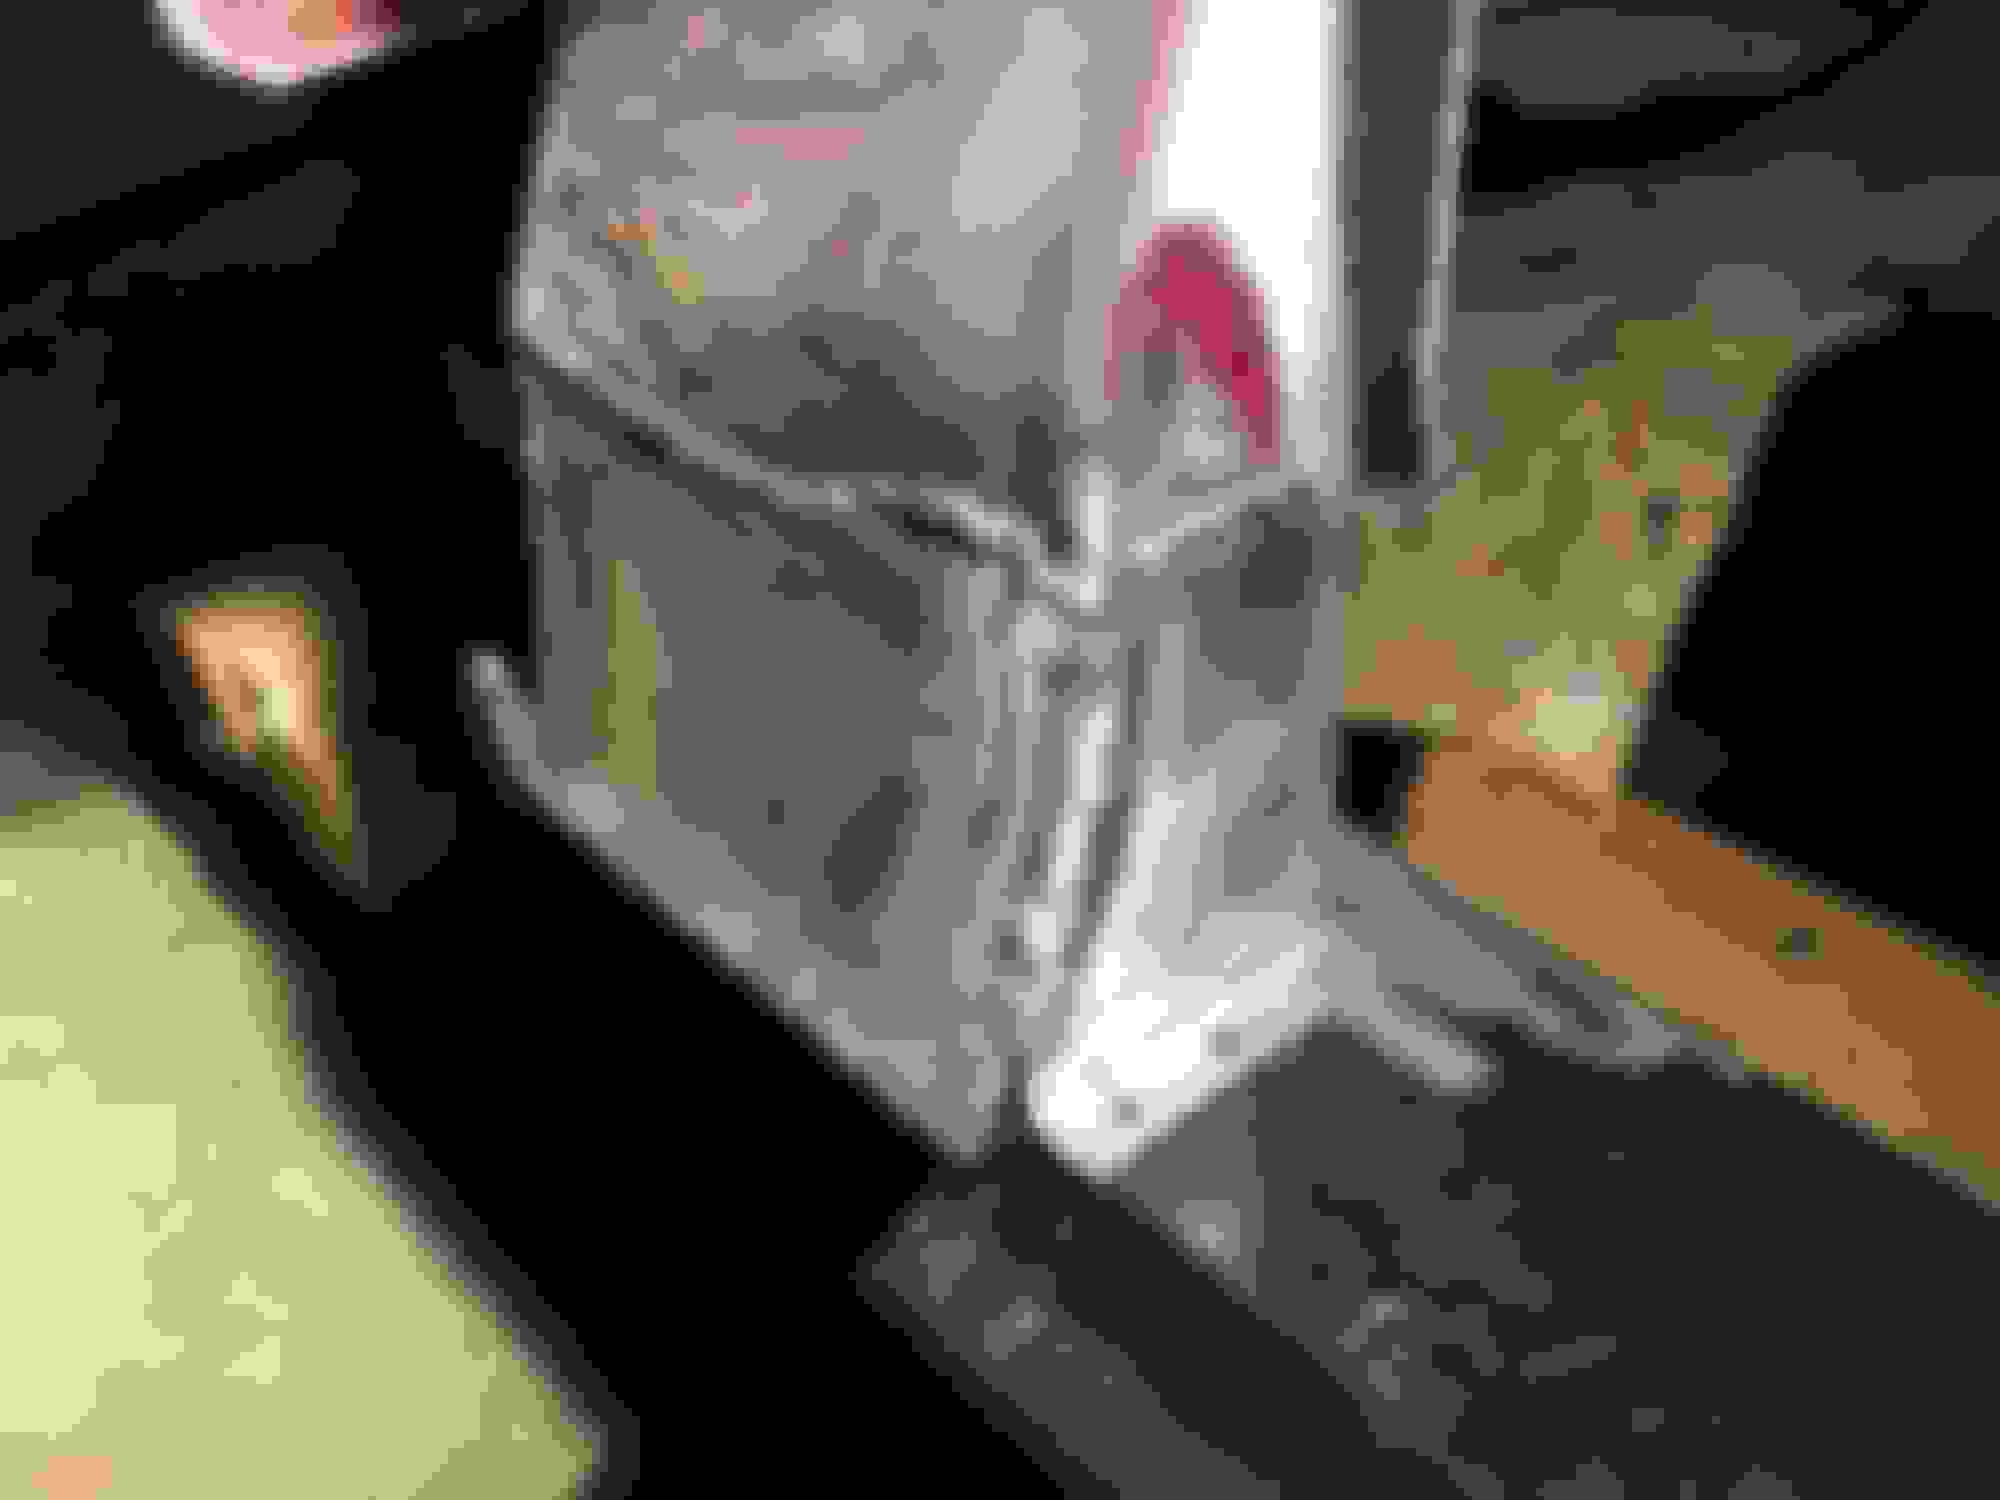
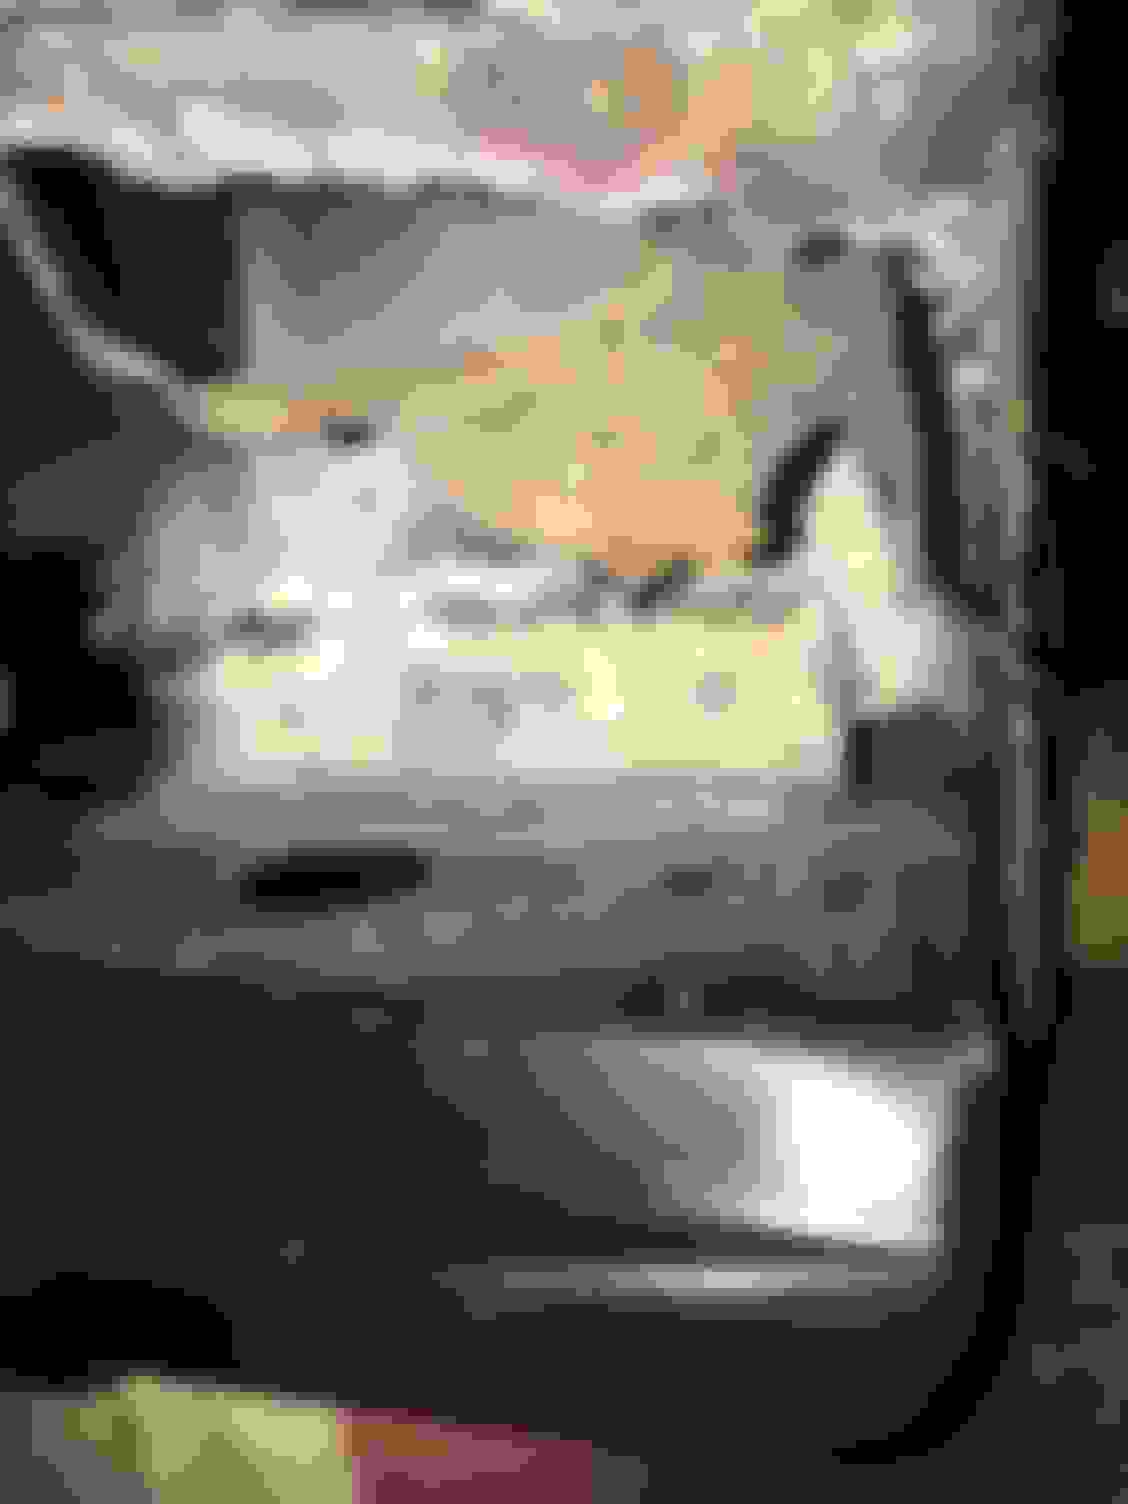
Well got the headliner pulled. More issues. Interior roof panel is all buckled it had rivets holding the interior roof to the b pillar and it looks like the front spot welds above the windshield busted out. Here's pics. Any input would be helpful.
Wel can't find the cab corner to locate the rocker so gotta order another. Got the tcase pulled and trans fully disconnected. Now just to pull the trans tomorrow. If I'm feeling up for it the engine may come out too but I gotta find a spot to put it. Next step is to mock up the trans and make mounts. That will come once I get back from vacation.


 08-06-2016, 01:04 PM

 is your name supposed to be '89FTurd? No joke, I can't figure out if that's the joke behind your username, haha.