My '85 F150 4x2 project/build log.

#47
 08-15-2011, 09:32 AM
Hotshot
Holy Cow Dave, you are a real go getter!!
a guy who repairs military vehicles here locally suggested that you do a light skimming of body filler over the whole hood and roof, and use a long block to sand with, that way when you start to sand down to the metal, you can stop when you sand down to the high points, and it will give more of a smooth appearance when you paint it a dark shiny, color.
of course he was talking about my hood, not yours but the principle would be the same.
anyone else have any input on that?
#48
08-15-2011, 09:38 AM
Holy Cow Dave, you are a real go getter!!
a guy who repairs military vehicles here locally suggested that you do a light skimming of body filler over the whole hood and roof, and use a long block to sand with, that way when you start to sand down to the metal, you can stop when you sand down to the high points, and it will give more of a smooth appearance when you paint it a dark shiny, color.
of course he was talking about my hood, not yours but the principle would be the same.
anyone else have any input on that?
a guy who repairs military vehicles here locally suggested that you do a light skimming of body filler over the whole hood and roof, and use a long block to sand with, that way when you start to sand down to the metal, you can stop when you sand down to the high points, and it will give more of a smooth appearance when you paint it a dark shiny, color.
of course he was talking about my hood, not yours but the principle would be the same.
anyone else have any input on that?
#49
08-18-2011, 07:28 AM
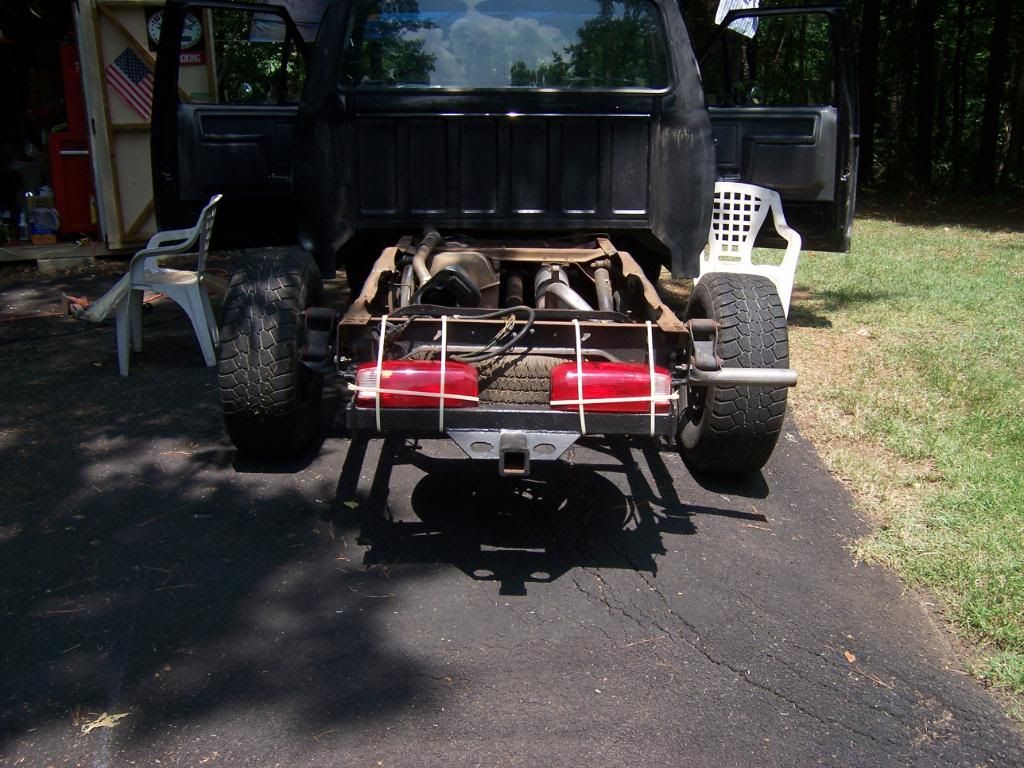
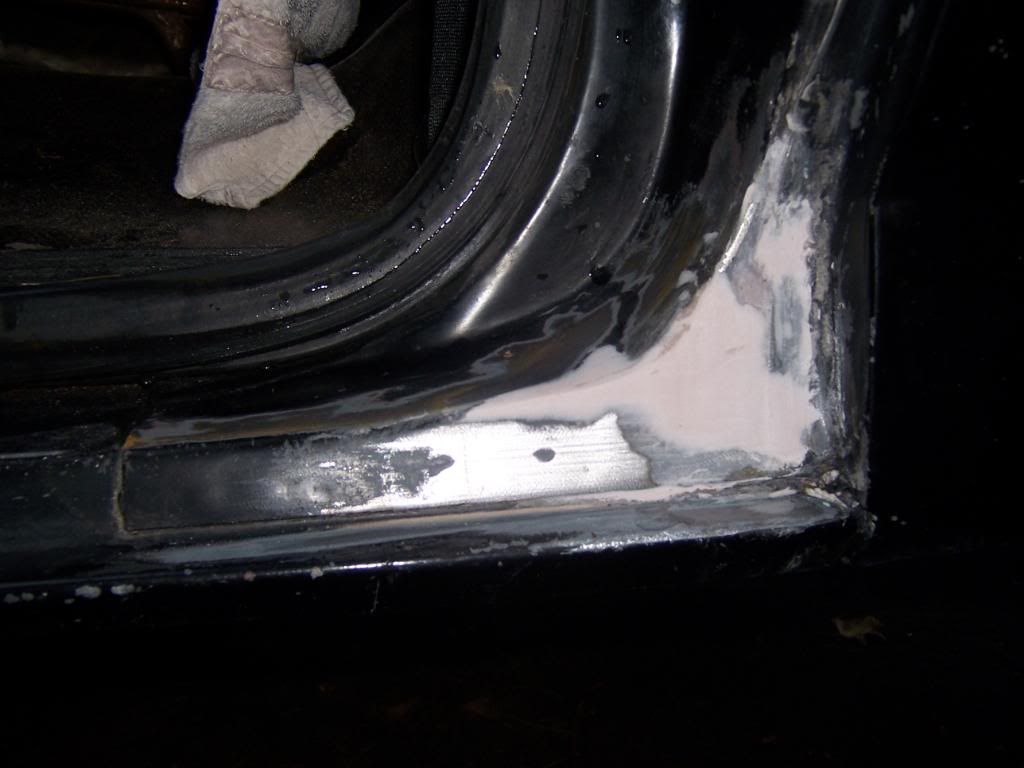
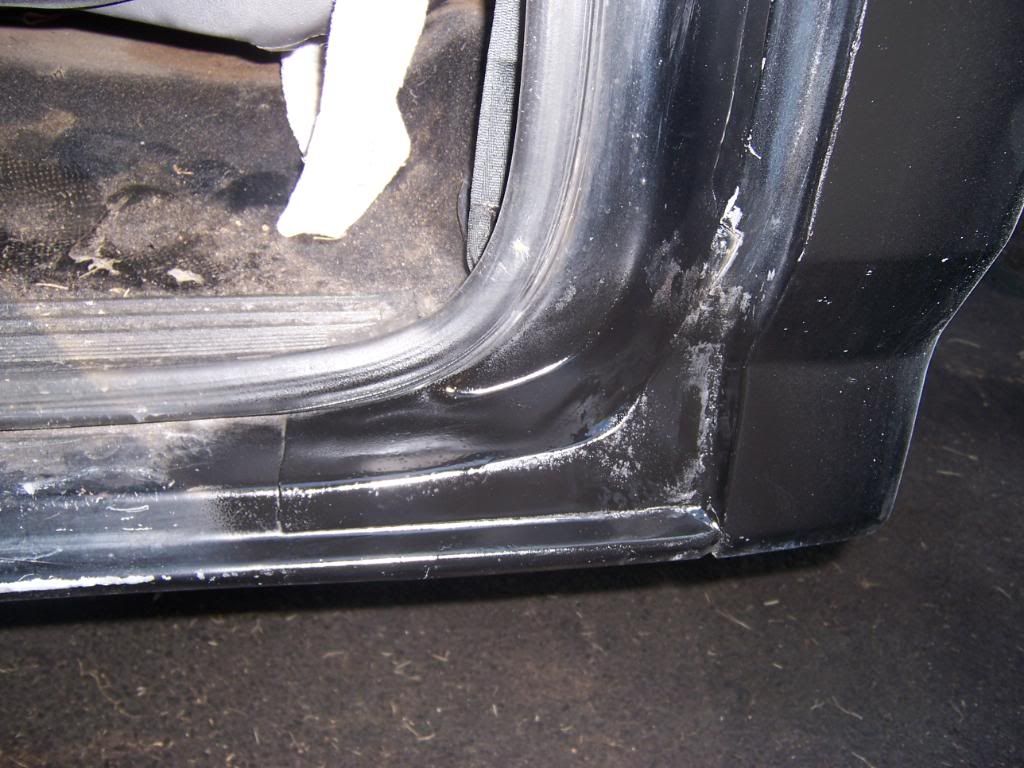
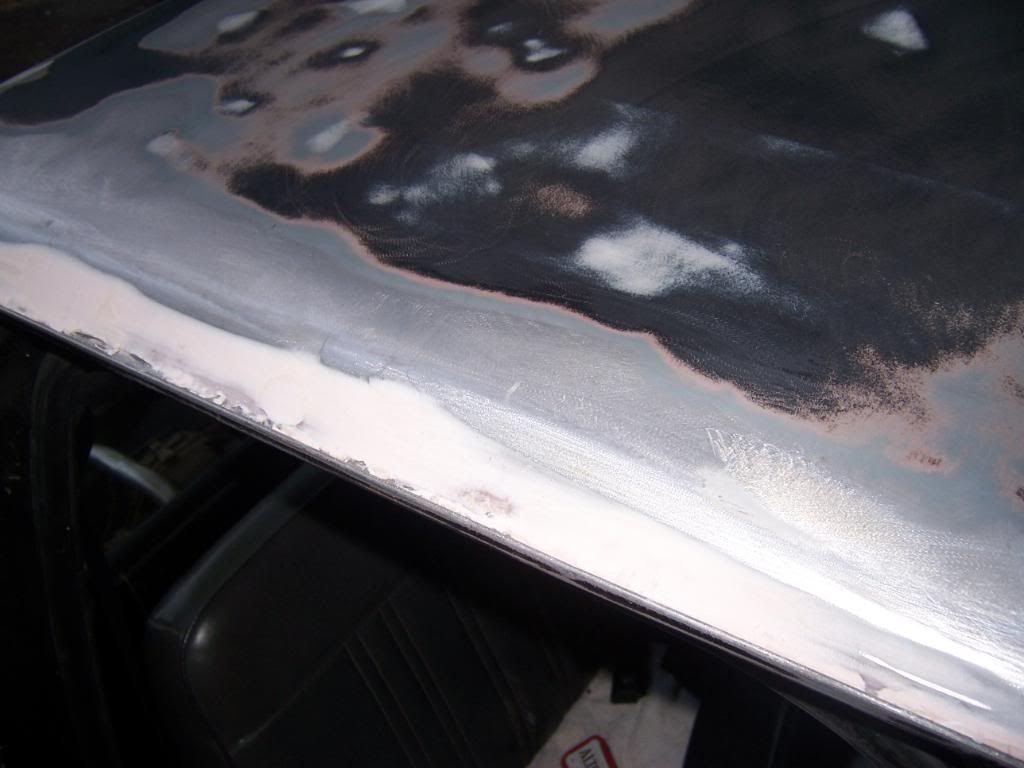
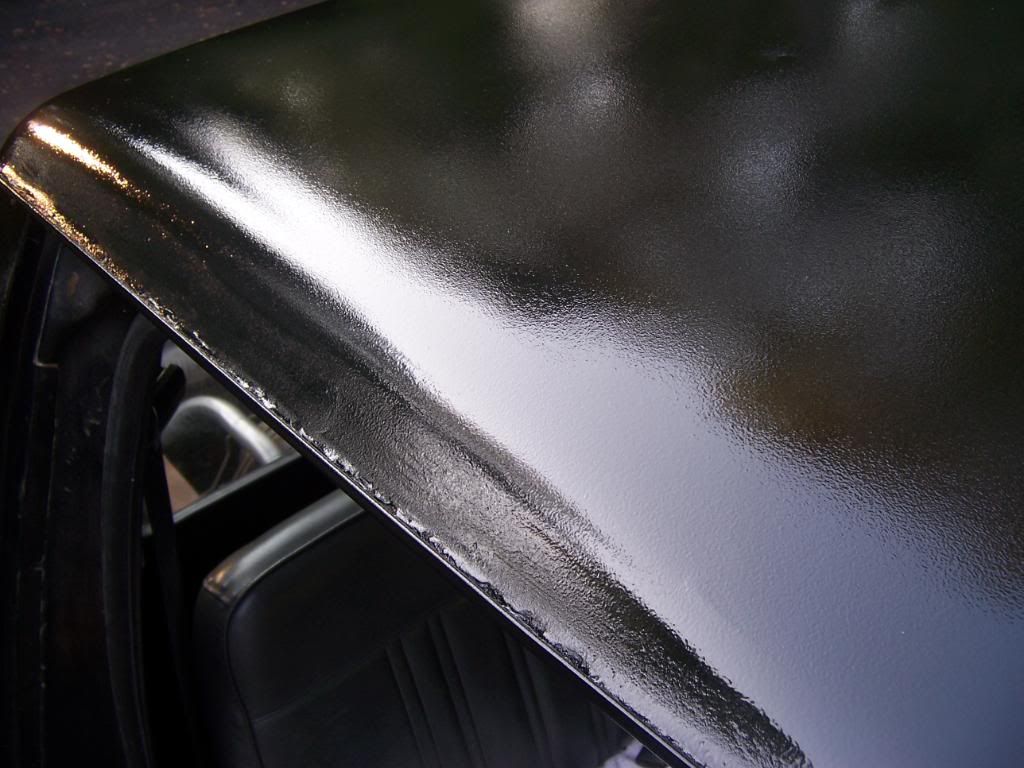
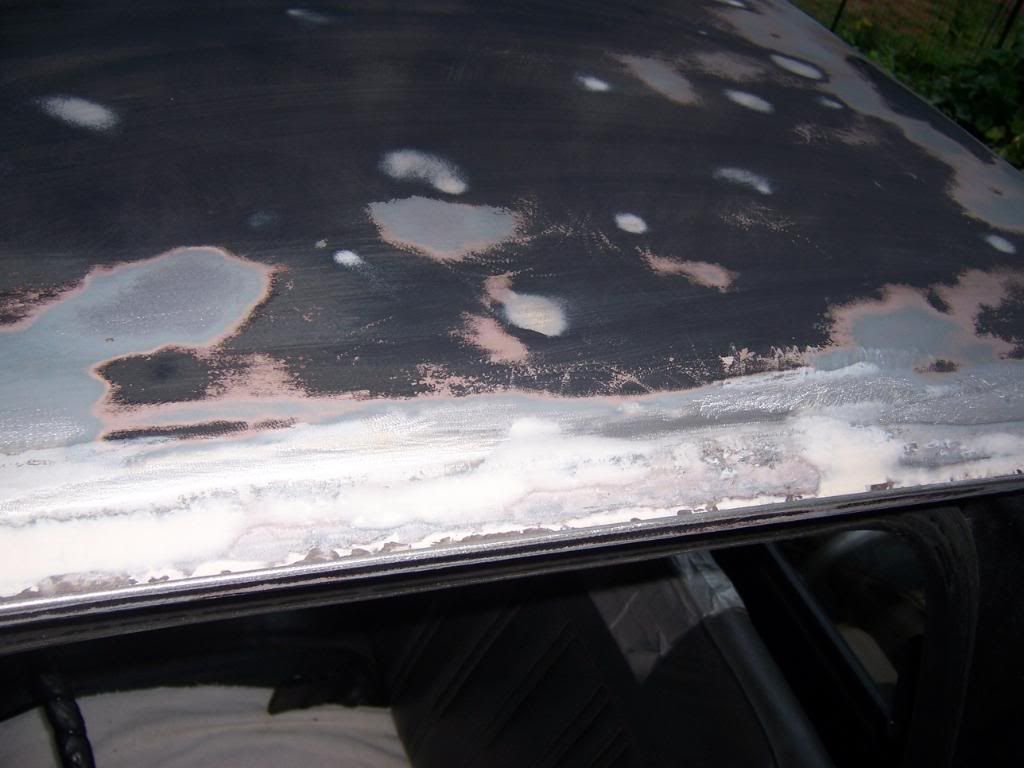
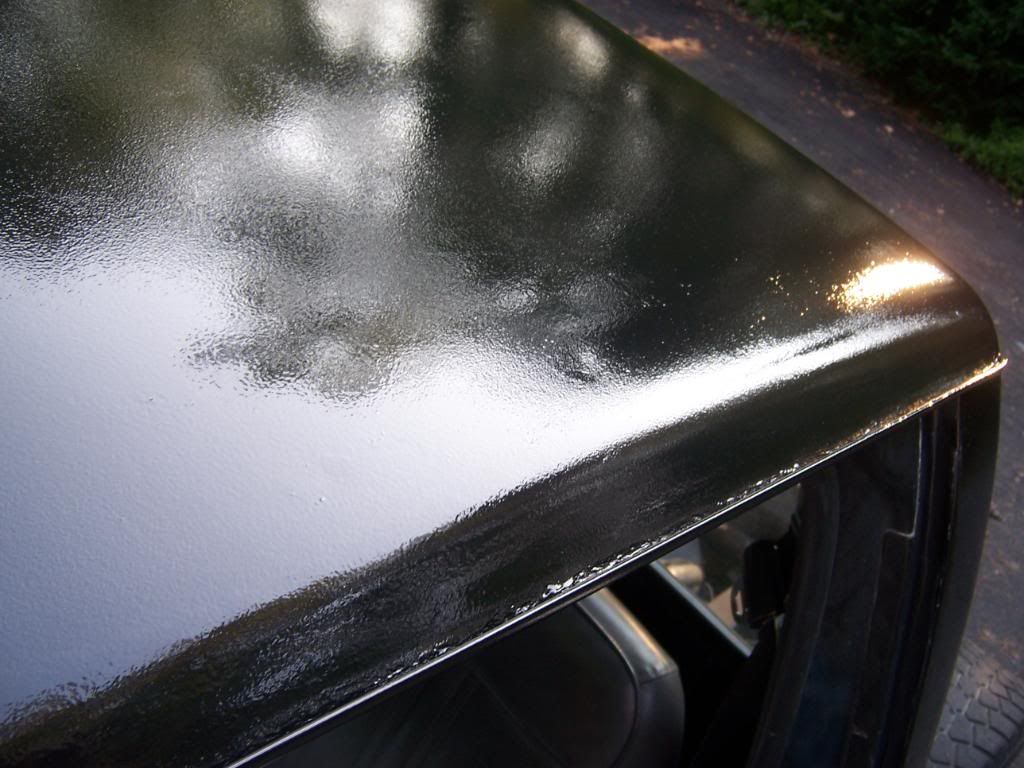
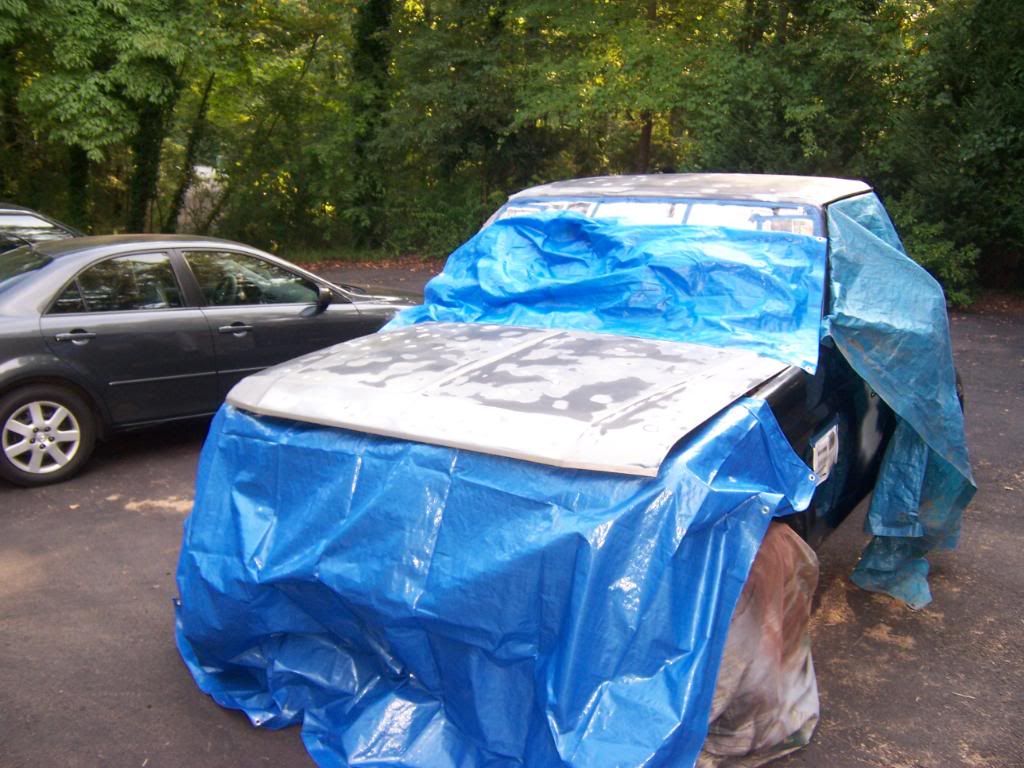
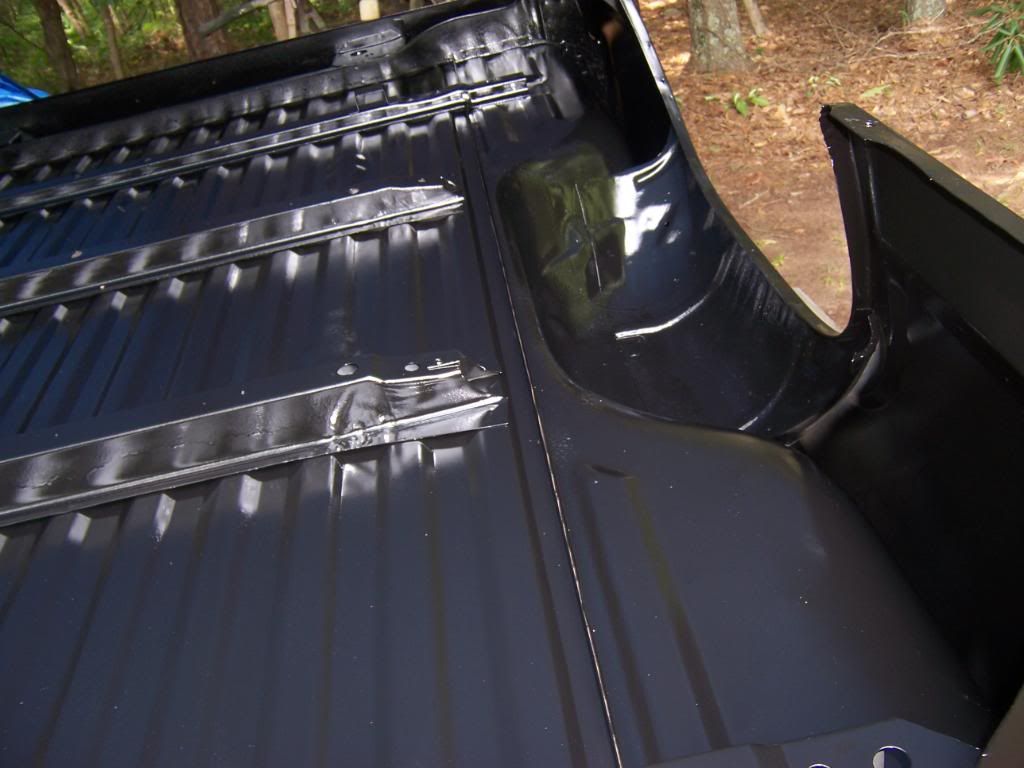
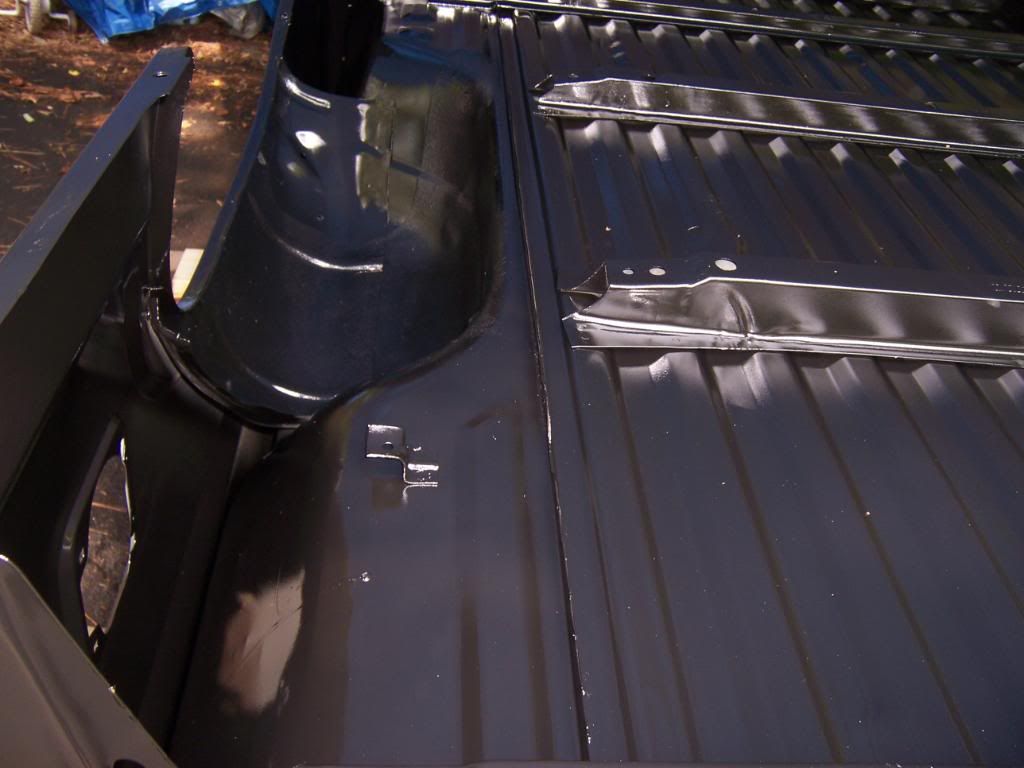
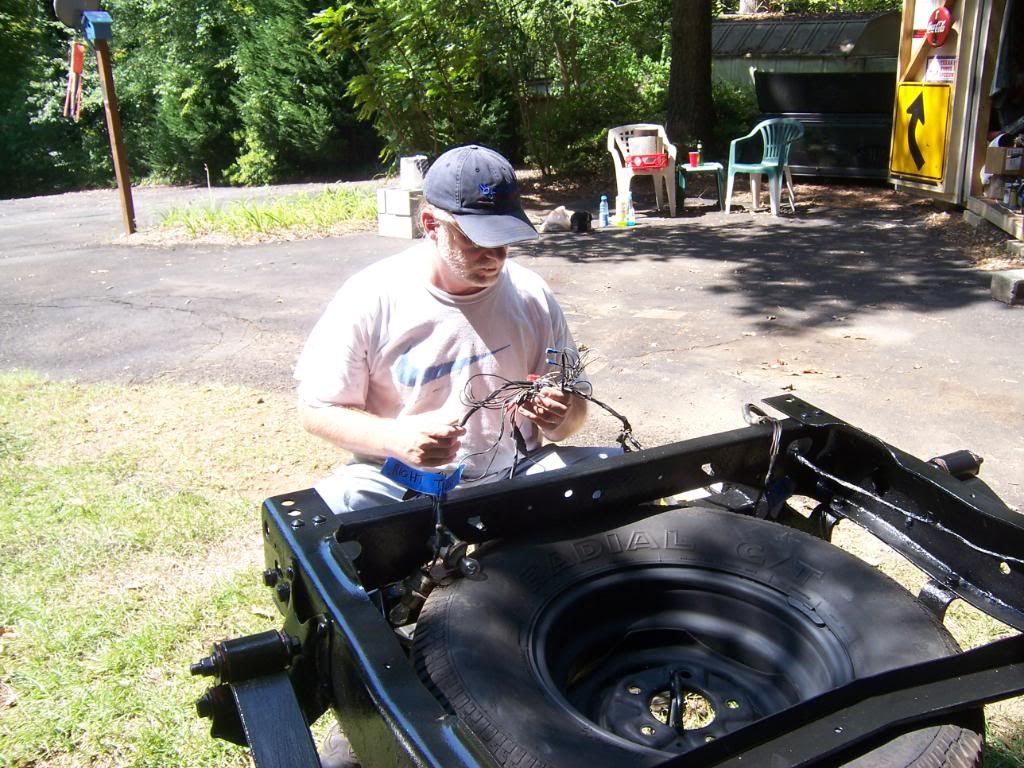
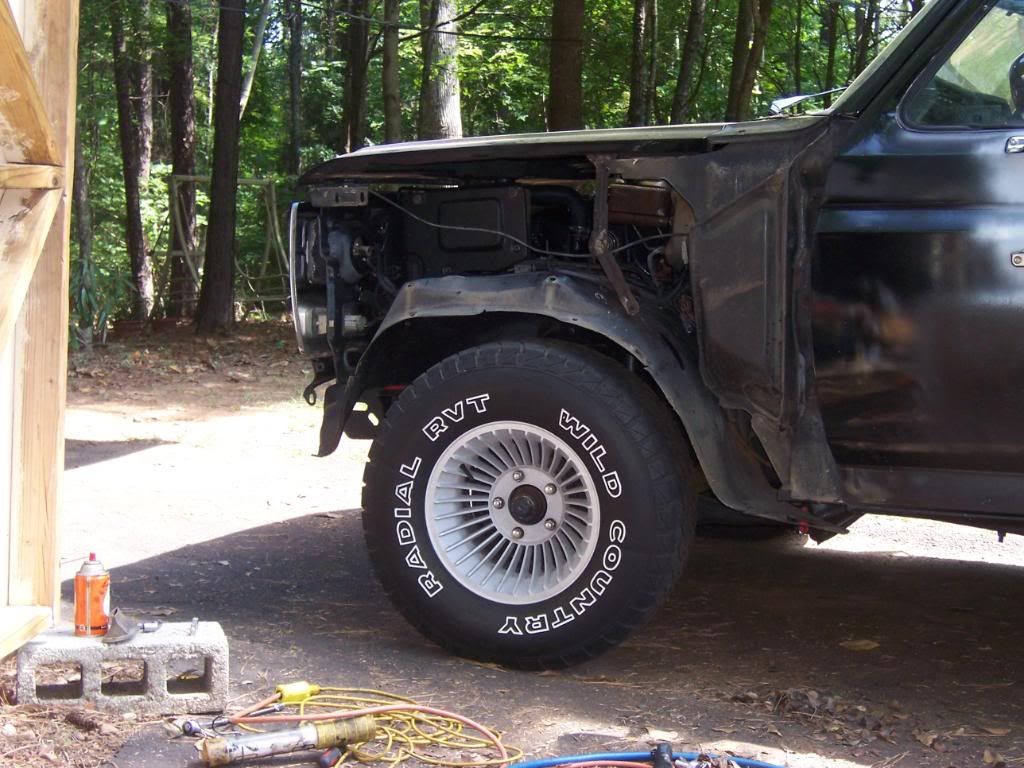
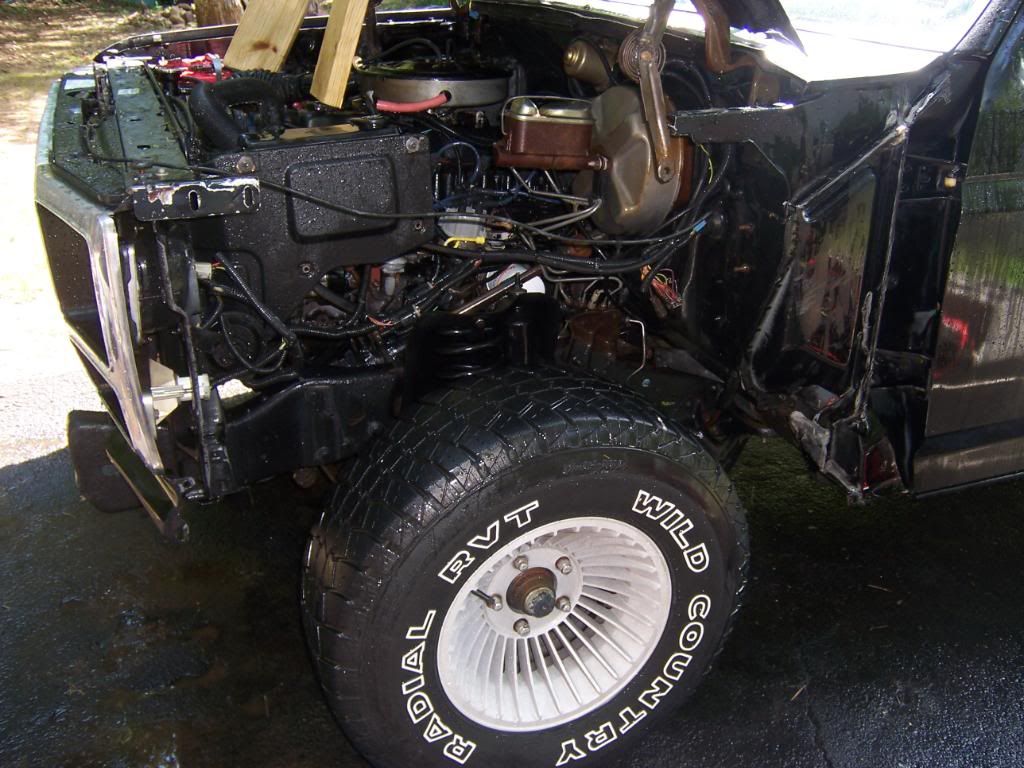
I shot my hood, roof and drip rails with two coats of epoxy primer last night. This afternoon it's off to the body shop for some rust repair. I hope to have it back by the end of next week. Oh well, at least I have the bed left at home to work on till then.
Before;
After;
Before;
After;
Before;
After;
Before;
After;
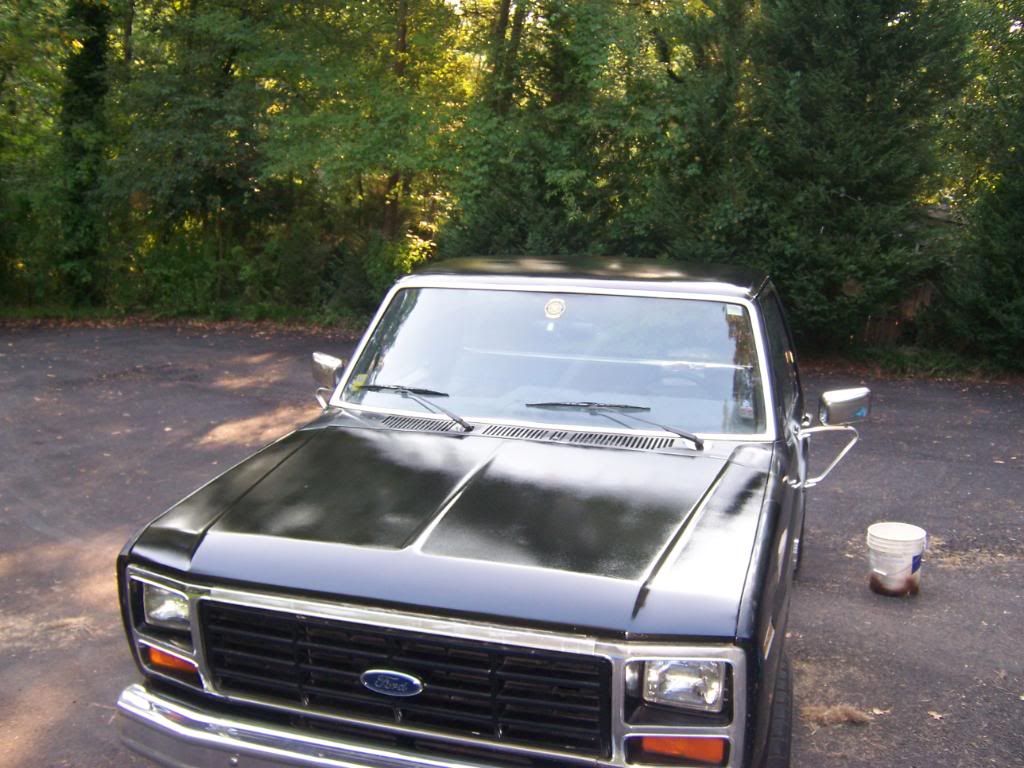
I still have a few small hail dents that need to be addressed, after that I have to do the high-build primer and wet-sand thing several times. And I still have to learn how to dial in the spray gun better, but no runs this time. I still have to put the seam sealer in the drip rails, I think I will let the wife do that when it comes back from the body shop since she is much better at caulking than I am.
Before;
After;
Before;
After;
Before;
After;
Before;
After;
I still have a few small hail dents that need to be addressed, after that I have to do the high-build primer and wet-sand thing several times. And I still have to learn how to dial in the spray gun better, but no runs this time. I still have to put the seam sealer in the drip rails, I think I will let the wife do that when it comes back from the body shop since she is much better at caulking than I am.
#50
08-21-2011, 03:35 PM
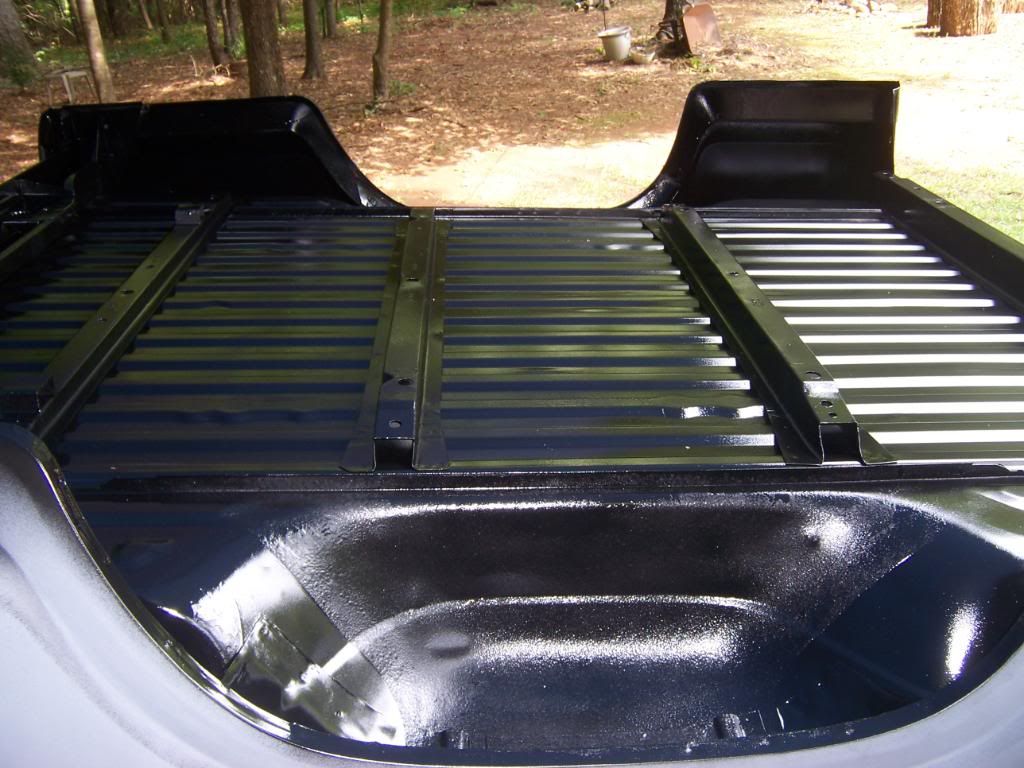
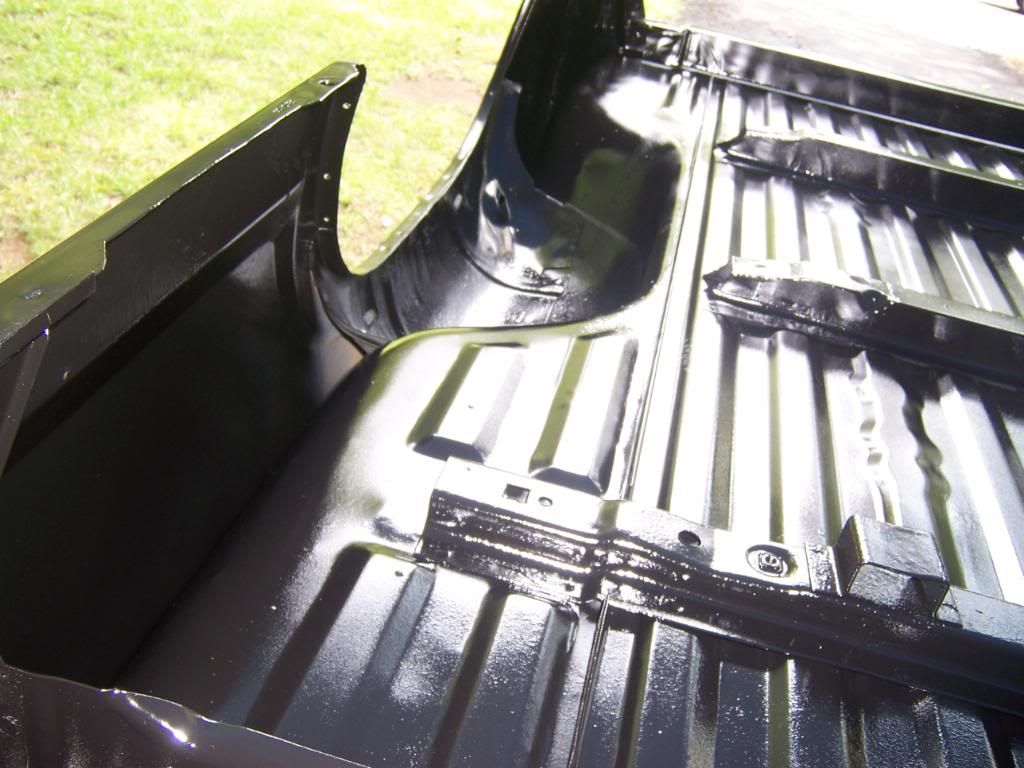
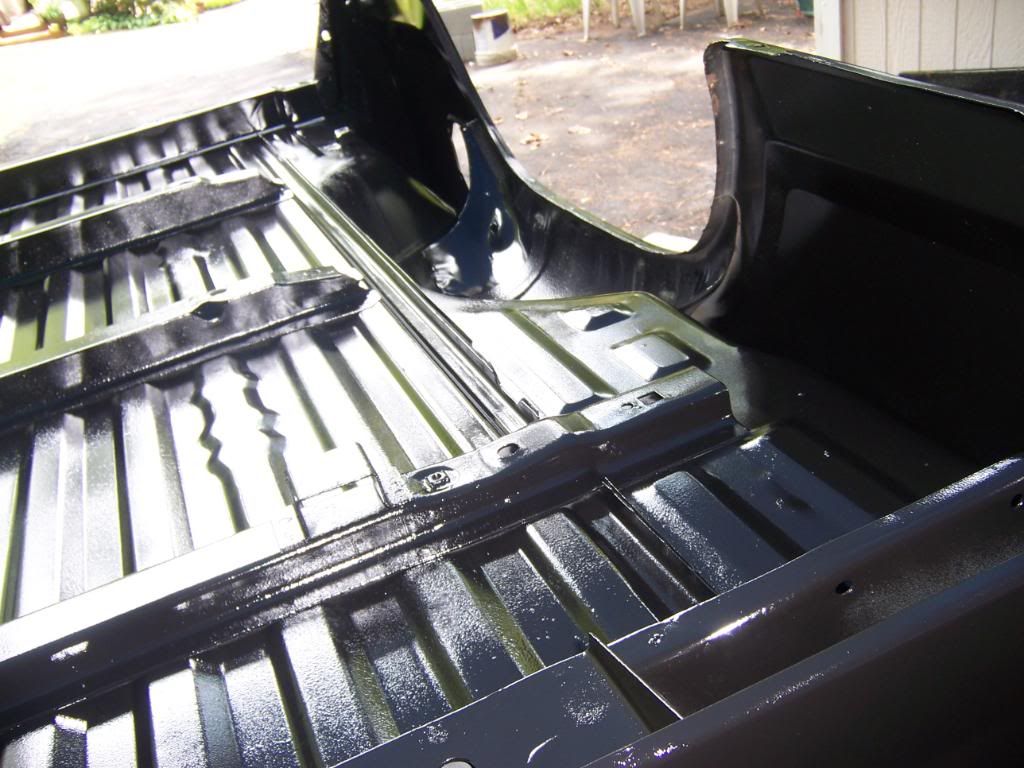
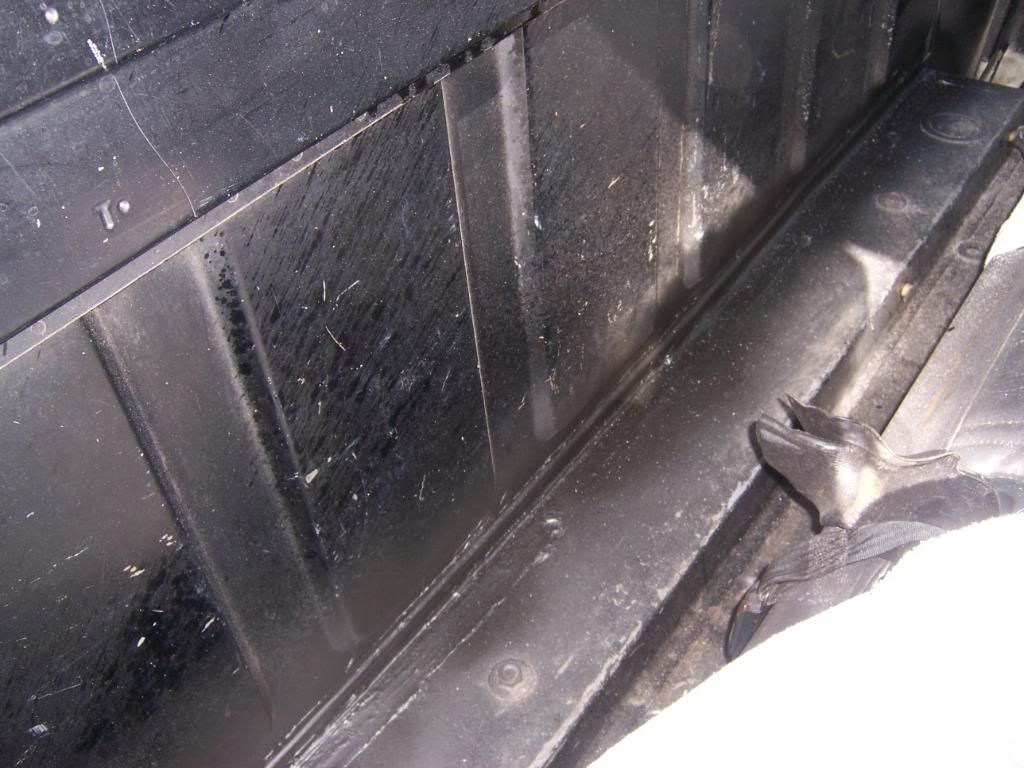
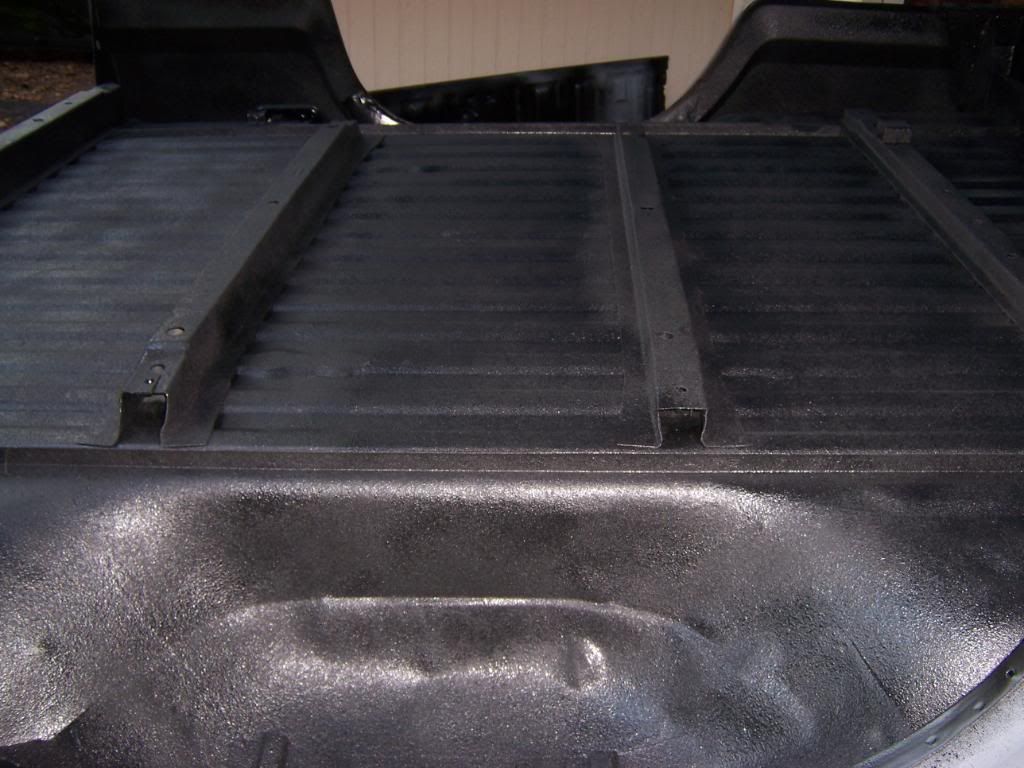
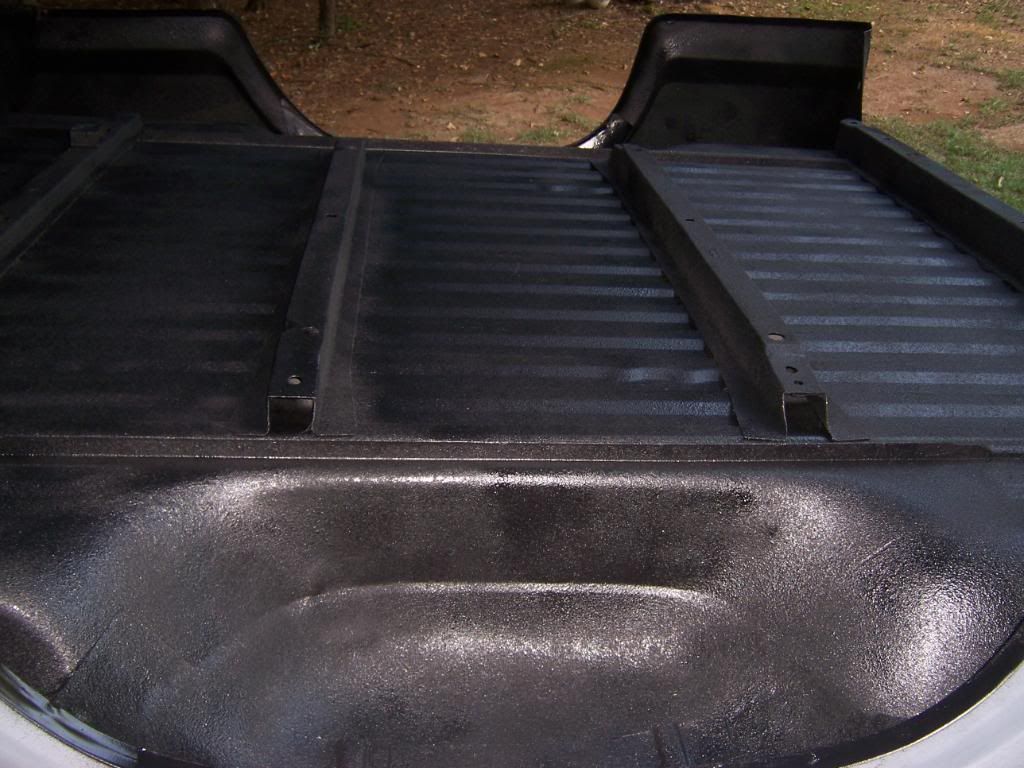
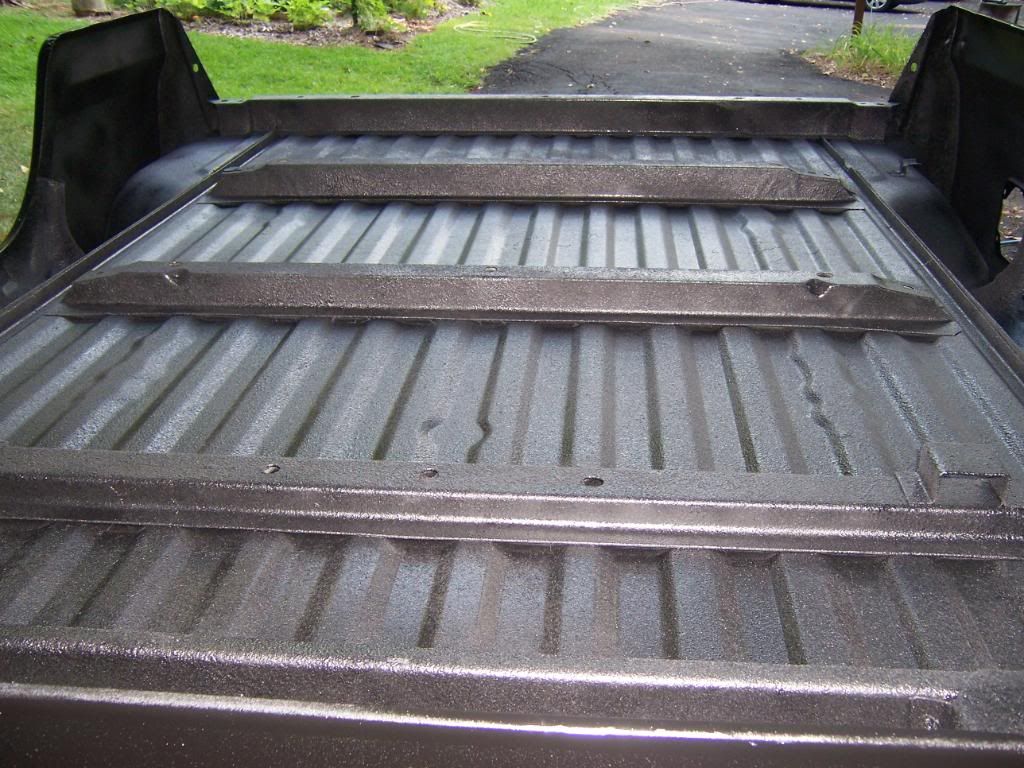
I cleaned, prepped, and sprayed 2 coats of epoxy primer on the underside of the bed, this weekend. Next is the undercoat or bed-liner spray, I'm still trying to make up my mind which one to get. I guess the cheaper of the two would be just as good as the other. I hope to have the undercoat done by this next weekend.

#51
08-21-2011, 04:50 PM
Elder User
Join Date: Oct 2009
Location: Jonesborough, TN
Posts: 723
Likes: 0
Received 0 Likes
on
0 Posts
Wow! That is looking awesome. I'm restoring an 86 F150, and I have learned to appreciate how extensive and time consuming some of these seemingly simple projects can be. And of course in the Georgia summer heat, it's even more fun. Keep up the good work and keep those pictures coming. Very cool.
#53
08-22-2011, 10:14 AM
#54
08-23-2011, 06:20 PM
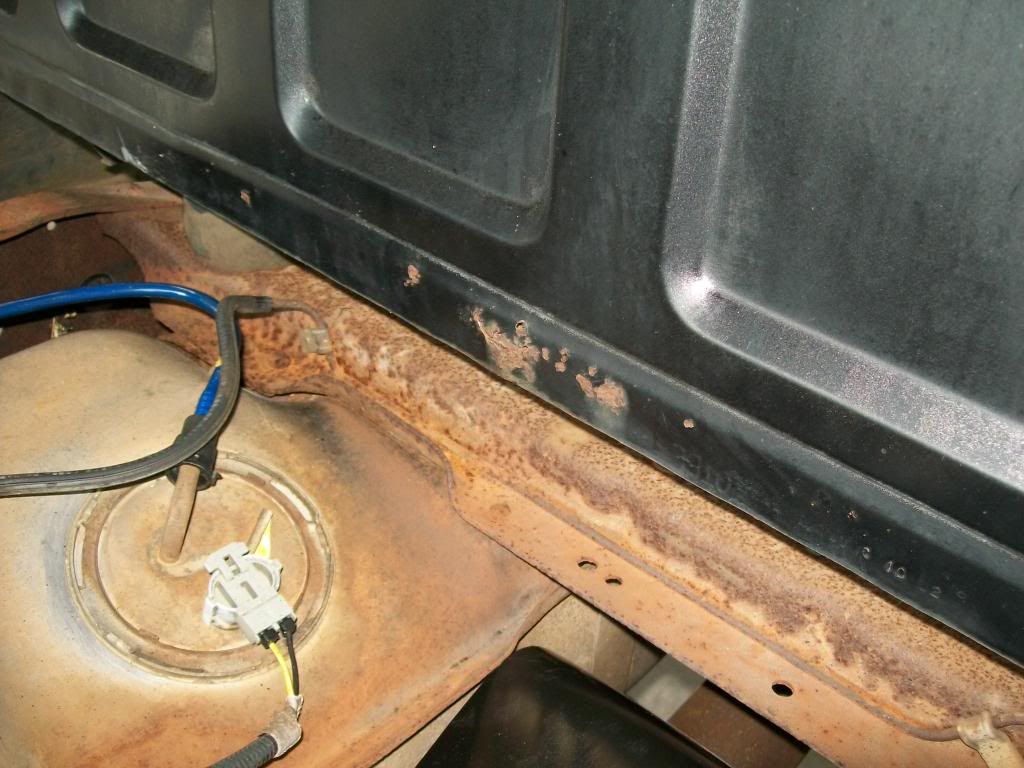
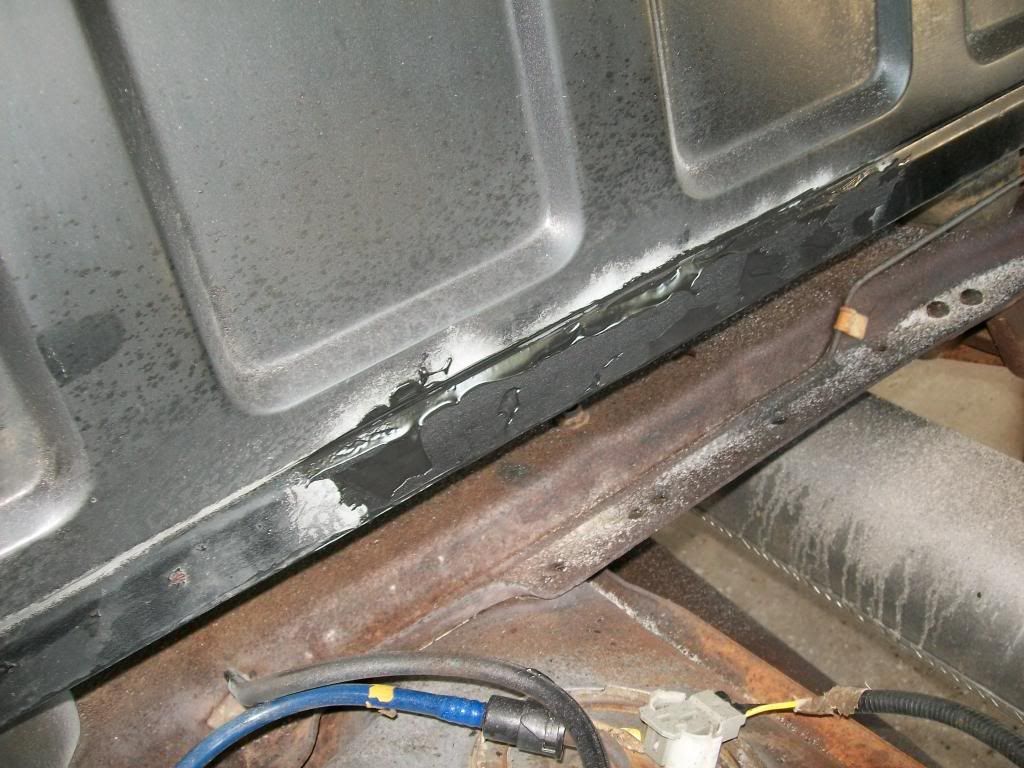
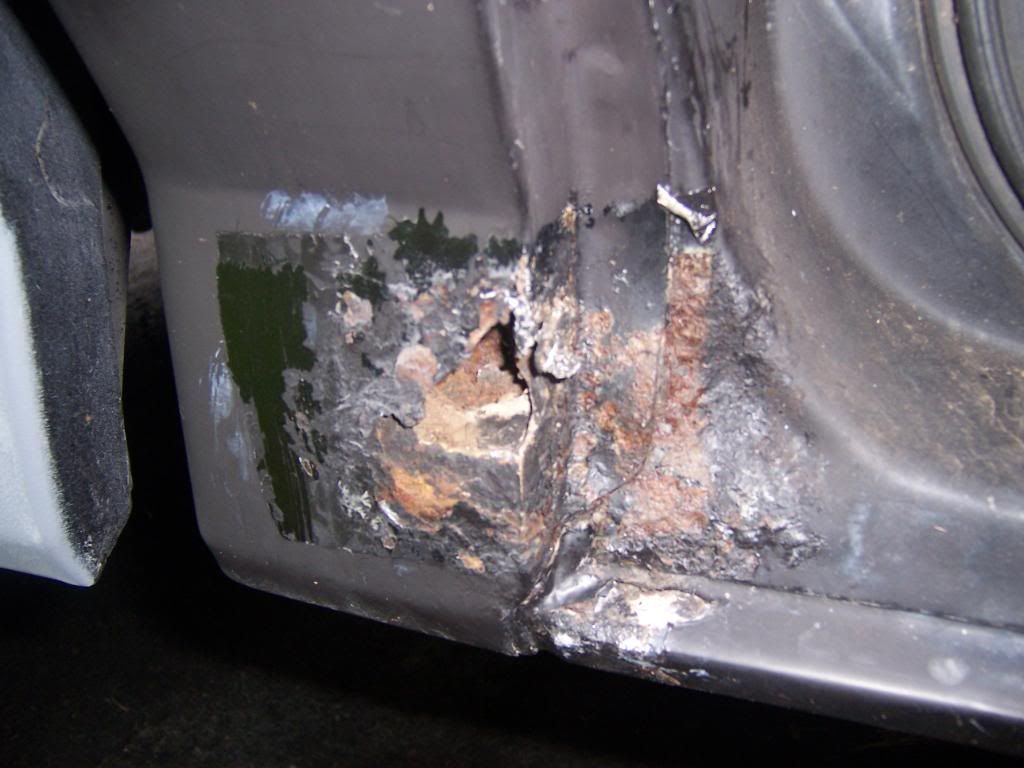
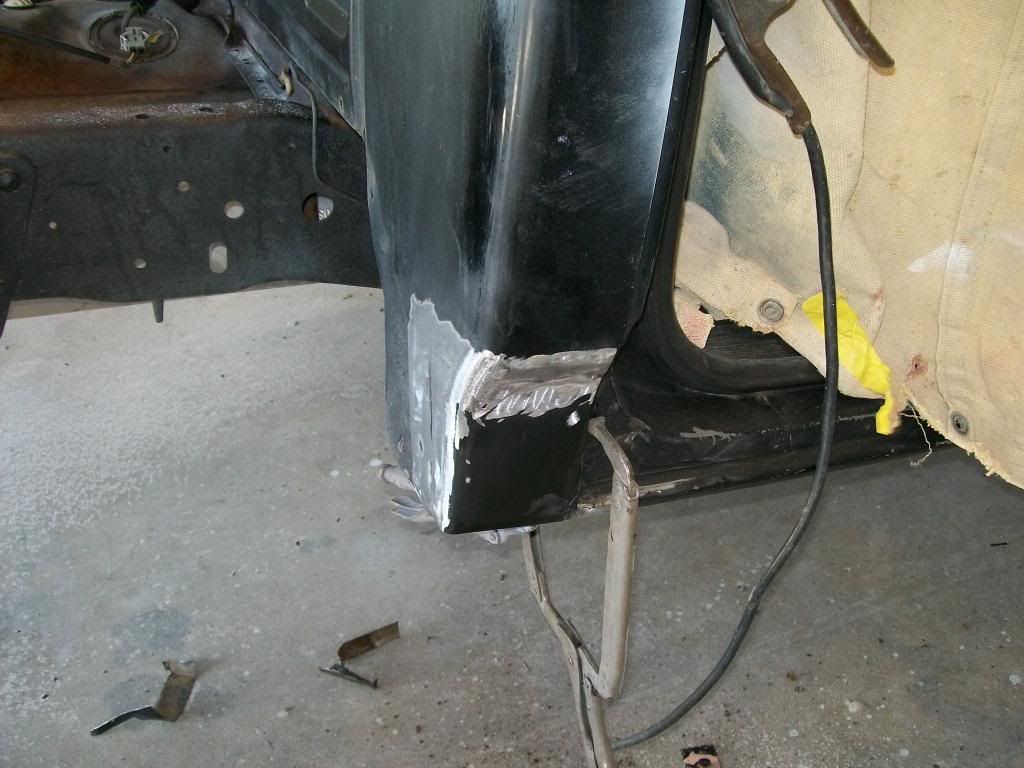
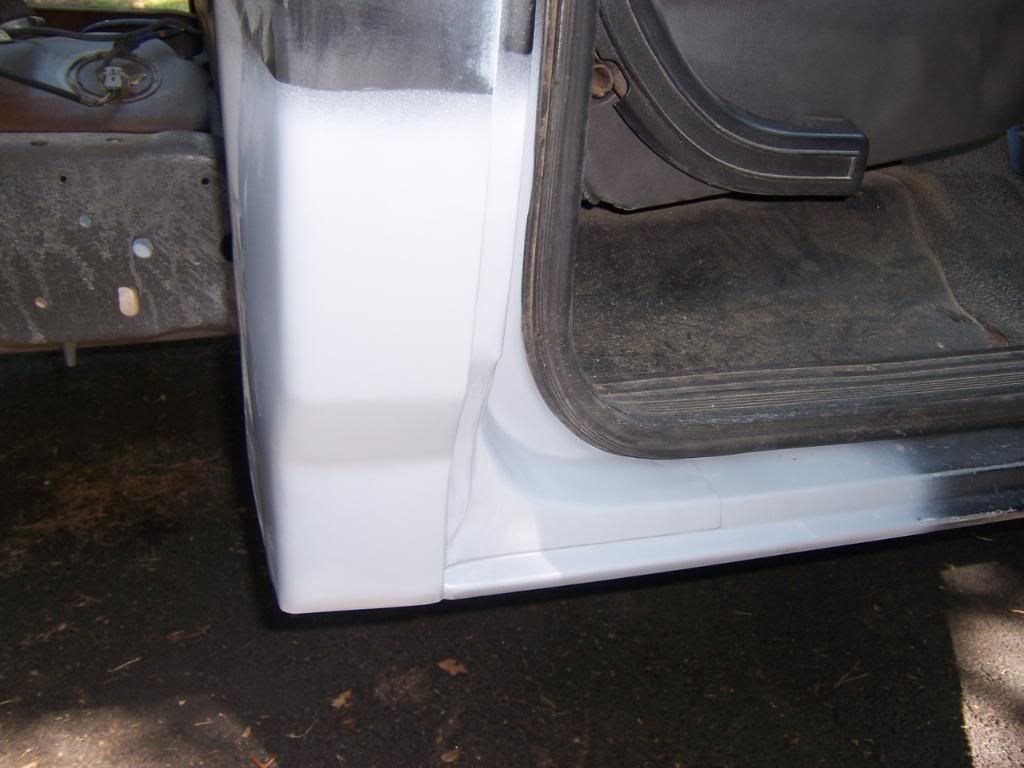
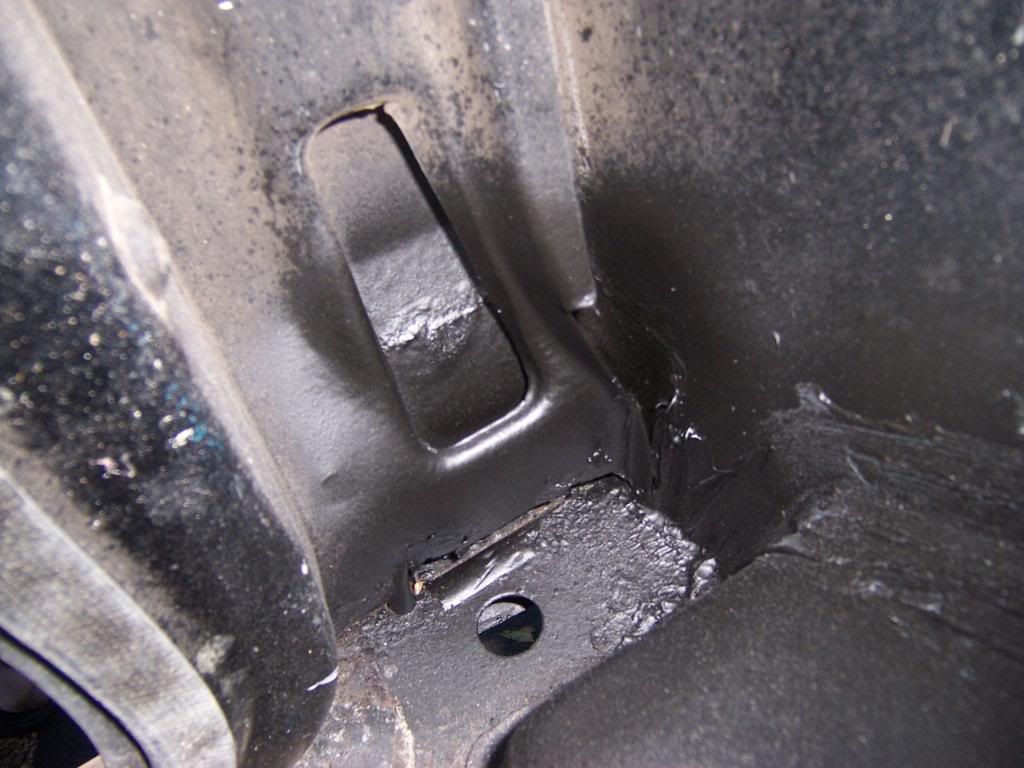
I have to say that we are happy to have our baby back home. The cancer has been eradicated. The whole truck is dusty and there is sand in the cab, which is to be expected. The owner, Jack Dempsey (Dempsey's Body Shop, Woodstock, Georgia), told me they sandblasted the inside back bottom of the cab as well as the outside of it. He said they treated it and put some sealer on it. They did the same thing to the back underside of the cab corner. For the outside cab corner they only used part of the replacement and left me with the rest. I have to say that so far I am very pleased with the work performed, as well as the price.


Now it is on to other things. First, I have to undercoat the bed. Then I will have to pressure wash the rear frame area of the truck. After that I will have to clean any rusty areas back there. Then I will use some Chassis Saver on the frame and anything else that needs it back there. I am thinking about dropping the gas tank and cleaning and painting it too (silver or aluminum or something like that). I also have some more bondo work to do on the hood and roof. I think I will also go back and solder all my old connection and re-run the electrical wires in some corrugated plastic line. All the things to do before it turns too cold, and then some more.
Now it is on to other things. First, I have to undercoat the bed. Then I will have to pressure wash the rear frame area of the truck. After that I will have to clean any rusty areas back there. Then I will use some Chassis Saver on the frame and anything else that needs it back there. I am thinking about dropping the gas tank and cleaning and painting it too (silver or aluminum or something like that). I also have some more bondo work to do on the hood and roof. I think I will also go back and solder all my old connection and re-run the electrical wires in some corrugated plastic line. All the things to do before it turns too cold, and then some more.
#55
08-26-2011, 07:10 AM
I finished spraying undercoat on the bottom of my truck bed last night. I used two different types of rubberized undercoat. First, I used one quart of 3M type rubberized undercoat and sprayed it with a special spray gun. It just didn't completely cover the whole underside. So, then I used three spray cans of Zep Rubberized Undercoating to make sure that it was completely covered and no spots were missed. Now, I just have to find some help to flip it back over. Hopefully, I can get a couple of buddies over this weekend to help.
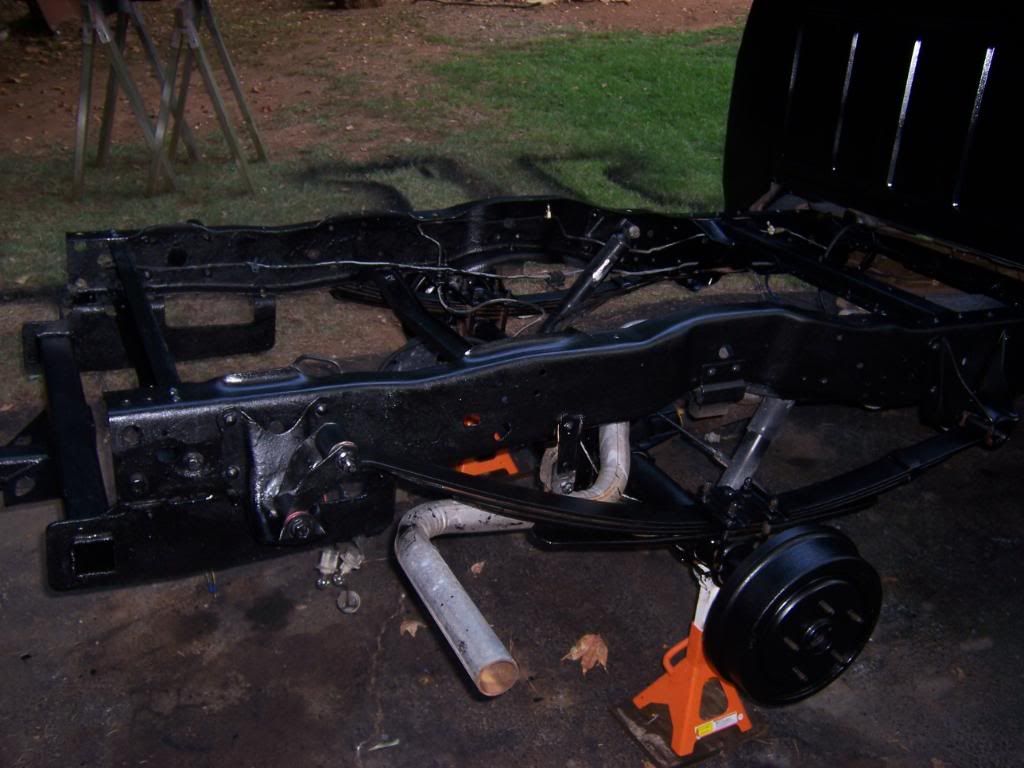
Sometime this weekend I'm going to start cleaning up the back end of the truck; pressure washing, wire brushing the rust, frame clean-up, etc.
I used two different types of rubberized undercoat. First, I used one quart of 3M type rubberized undercoat and sprayed it with a special spray gun. It just didn't completely cover the whole underside. So, then I used three spray cans of Zep Rubberized Undercoating to make sure that it was completely covered and no spots were missed. Now, I just have to find some help to flip it back over. Hopefully, I can get a couple of buddies over this weekend to help.Sometime this weekend I'm going to start cleaning up the back end of the truck; pressure washing, wire brushing the rust, frame clean-up, etc.
#57
09-02-2011, 10:24 AM
As promised, here are a couple of pictures.
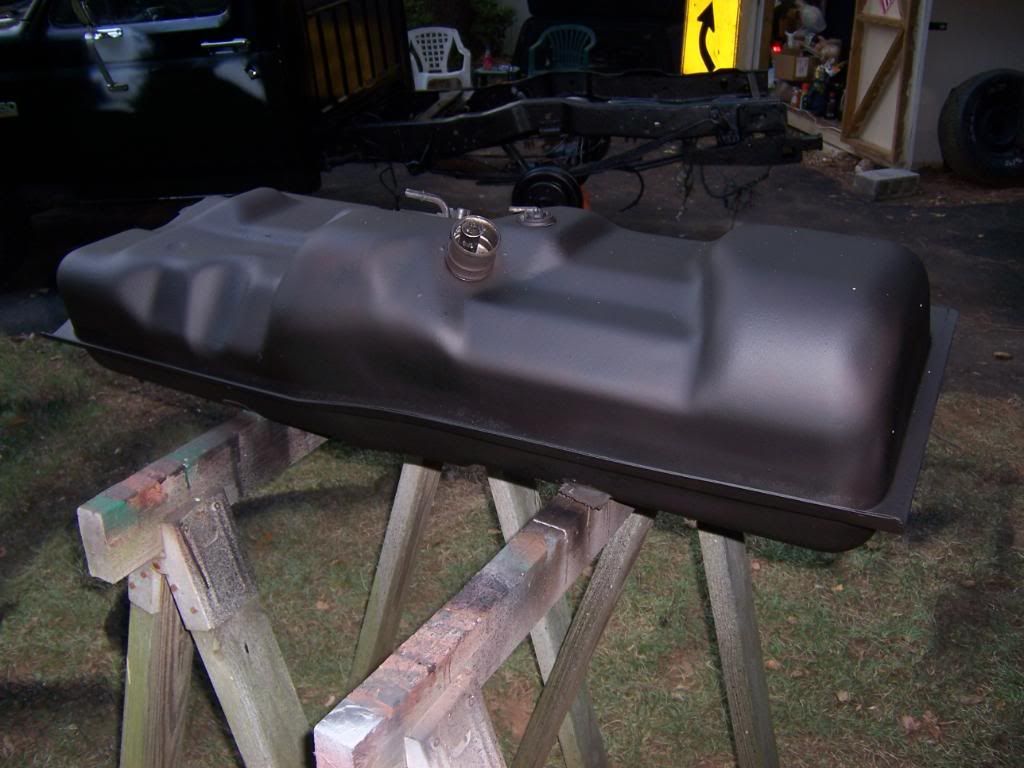
The gas tank after I cleaned, epoxy primed, spray bombed, and undercoated.
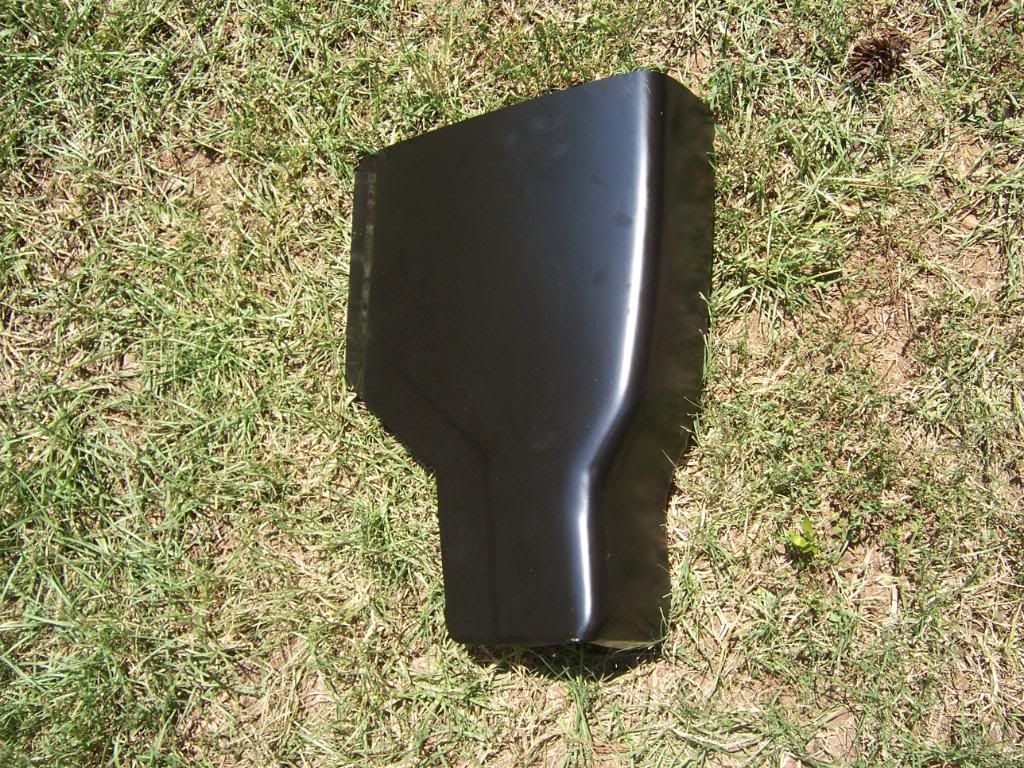
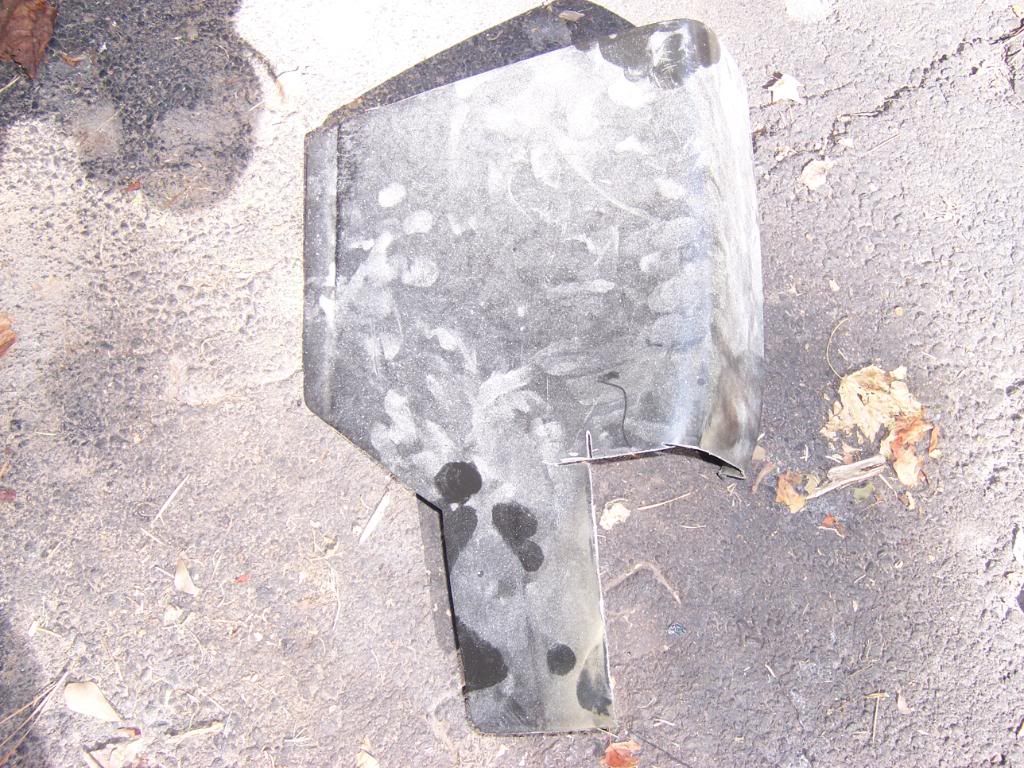
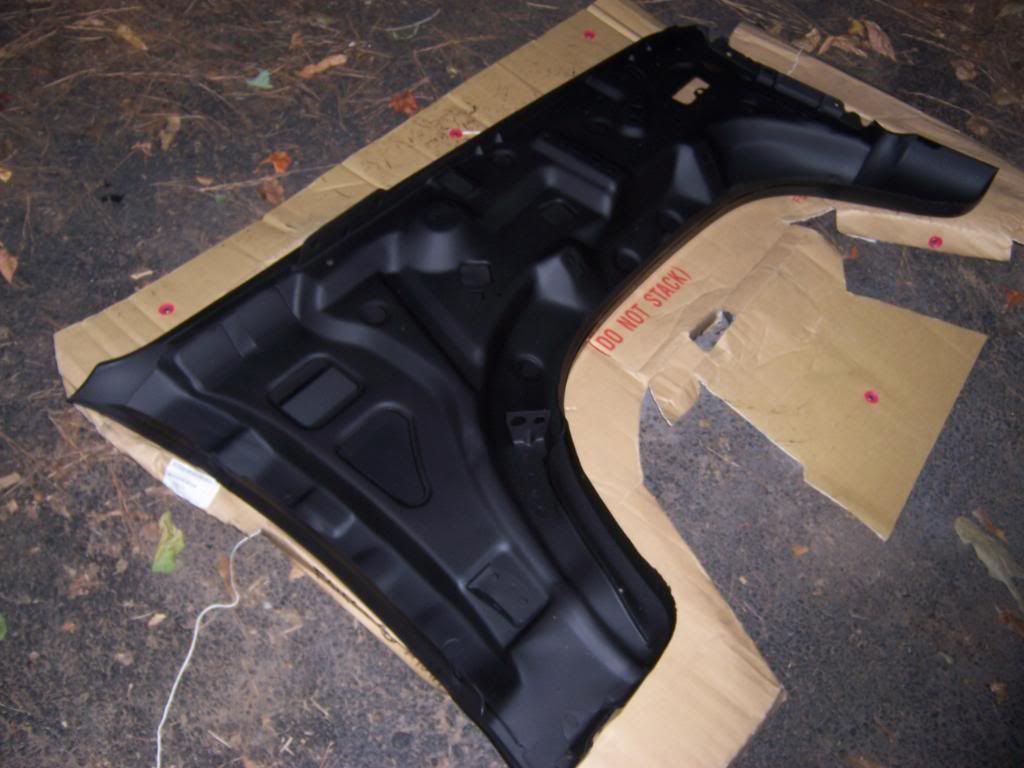
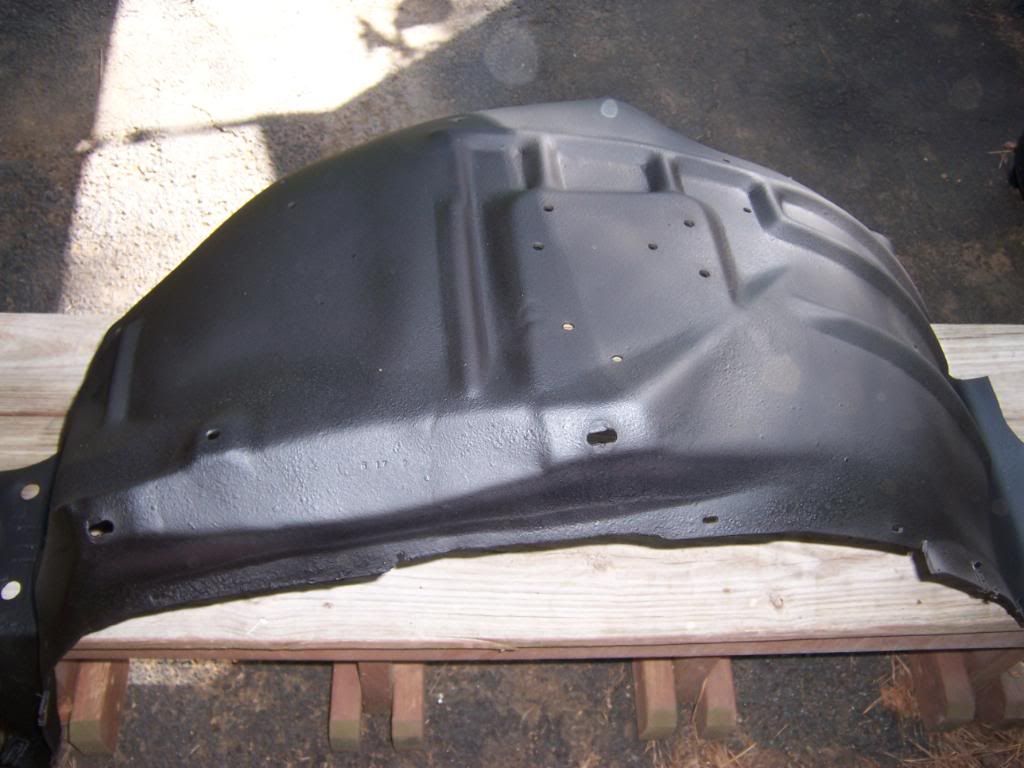
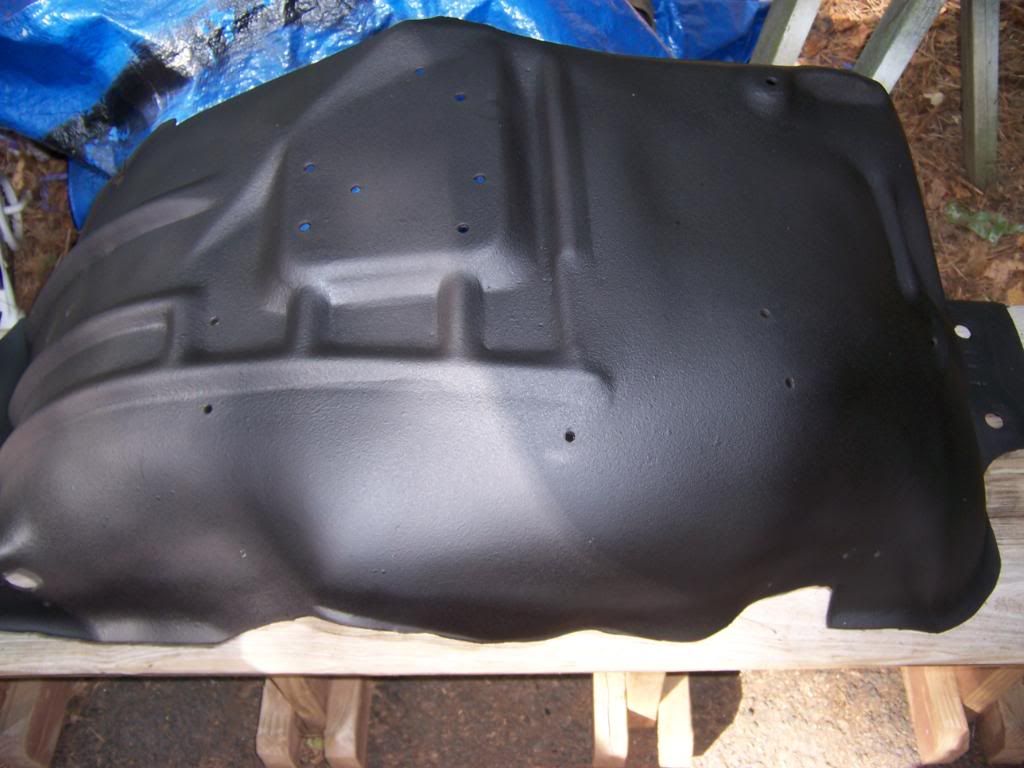
Both new fenders after I epoxy primed and undercoated the backside;

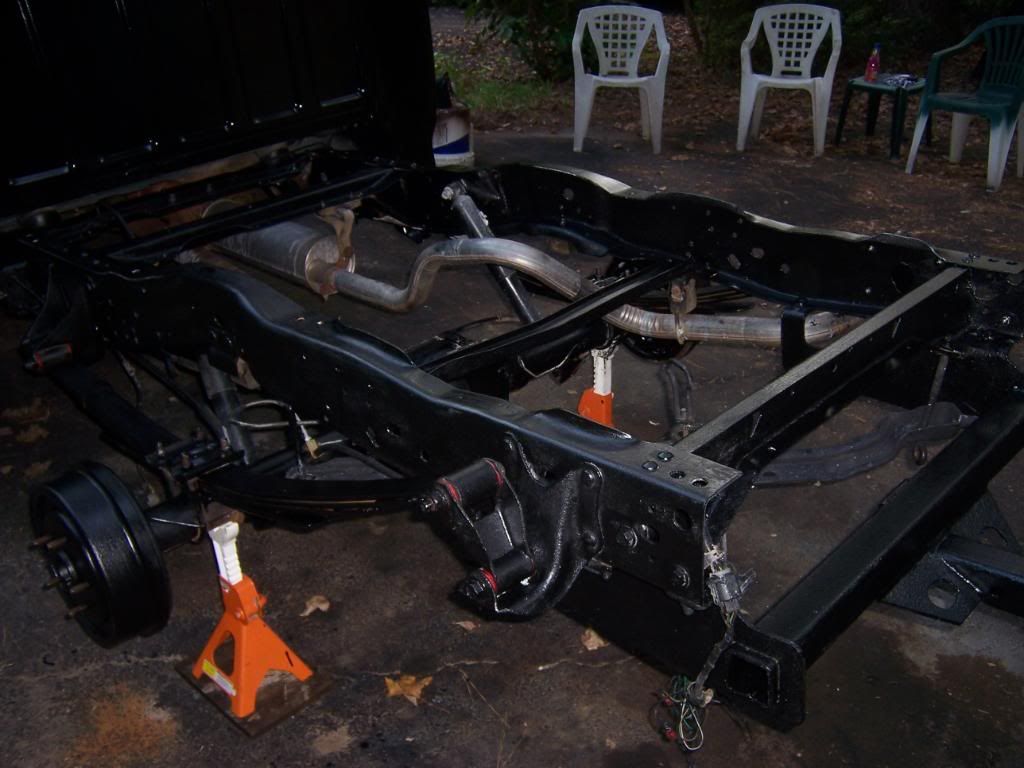
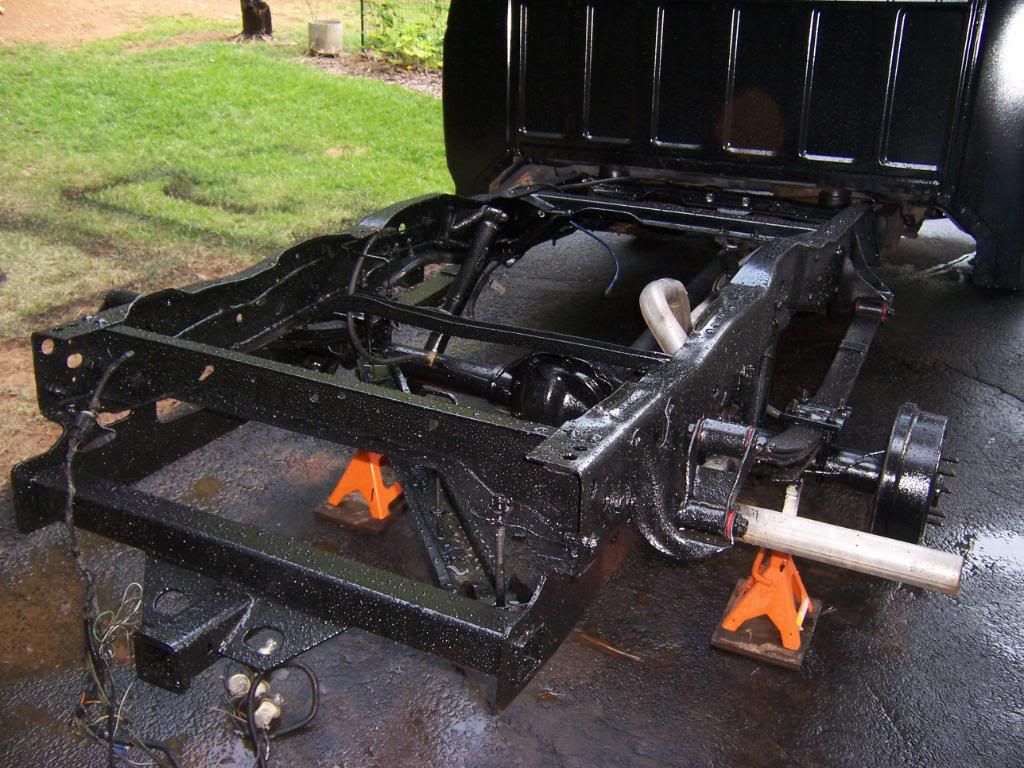
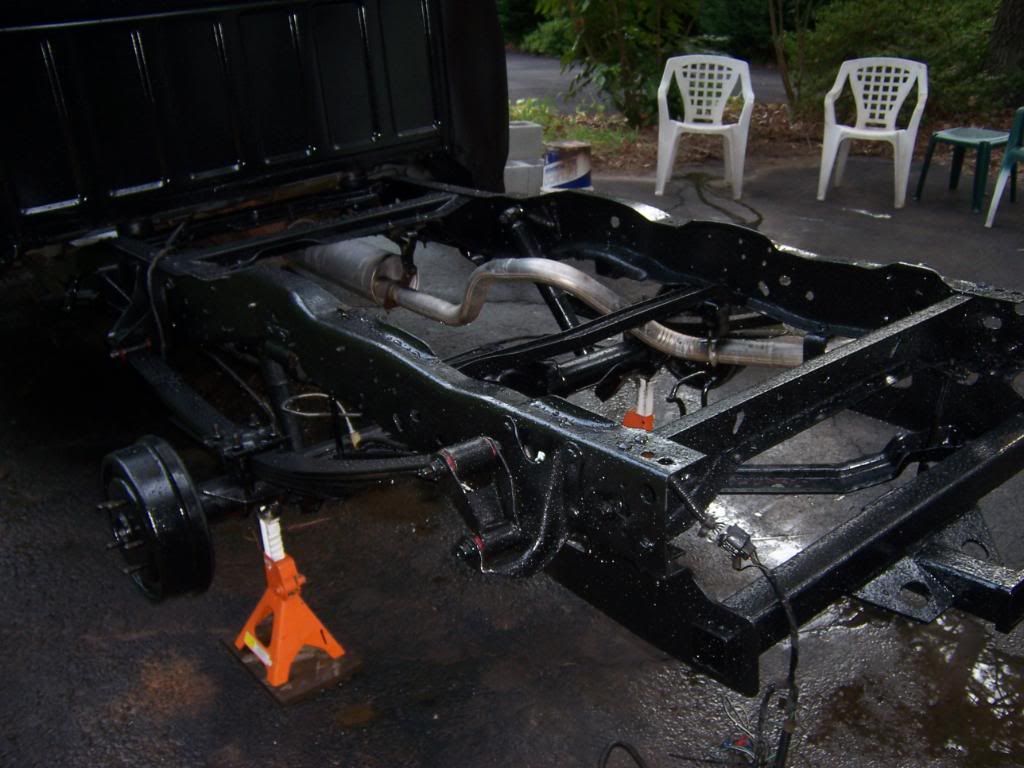
The frame after I cleaned, wire brushed, and the first coat of Chassis Saver on it;
I have already put the second coat of Chassis Saver on the frame and painted it with gloss black Rustoleum. I will post the pictures as soon as I take some more. But First, a holiday weekend break.
The gas tank after I cleaned, epoxy primed, spray bombed, and undercoated.
Both new fenders after I epoxy primed and undercoated the backside;
The frame after I cleaned, wire brushed, and the first coat of Chassis Saver on it;
I have already put the second coat of Chassis Saver on the frame and painted it with gloss black Rustoleum. I will post the pictures as soon as I take some more. But First, a holiday weekend break.
#58
09-06-2011, 07:36 AM
#59
09-11-2011, 06:34 PM
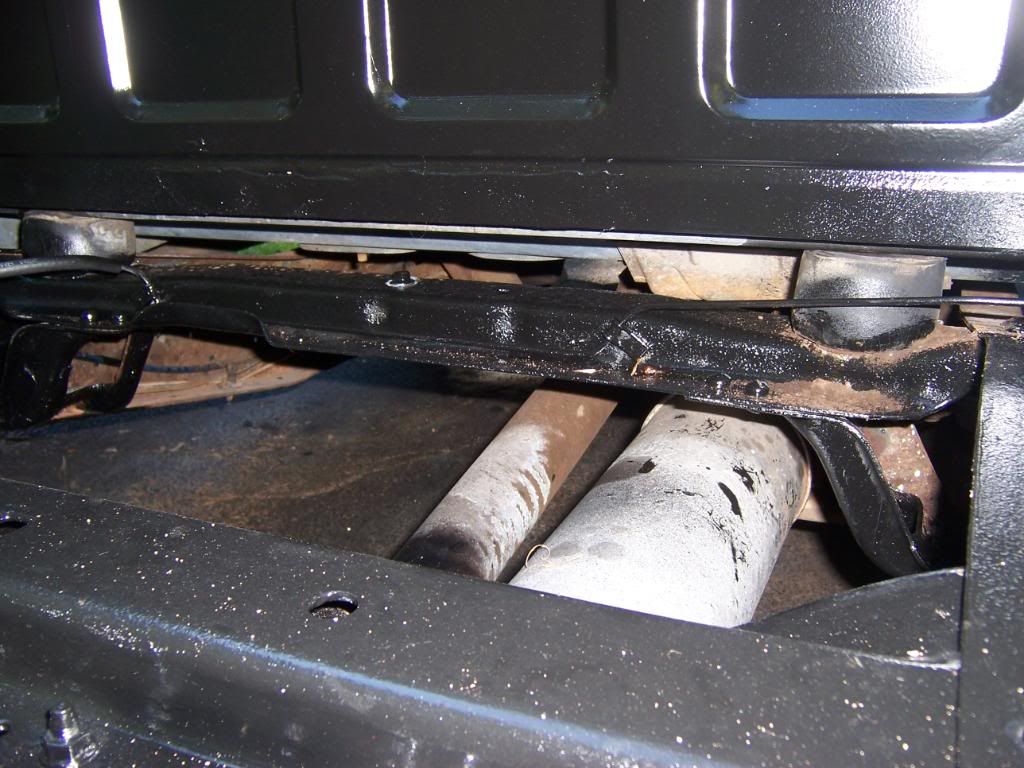
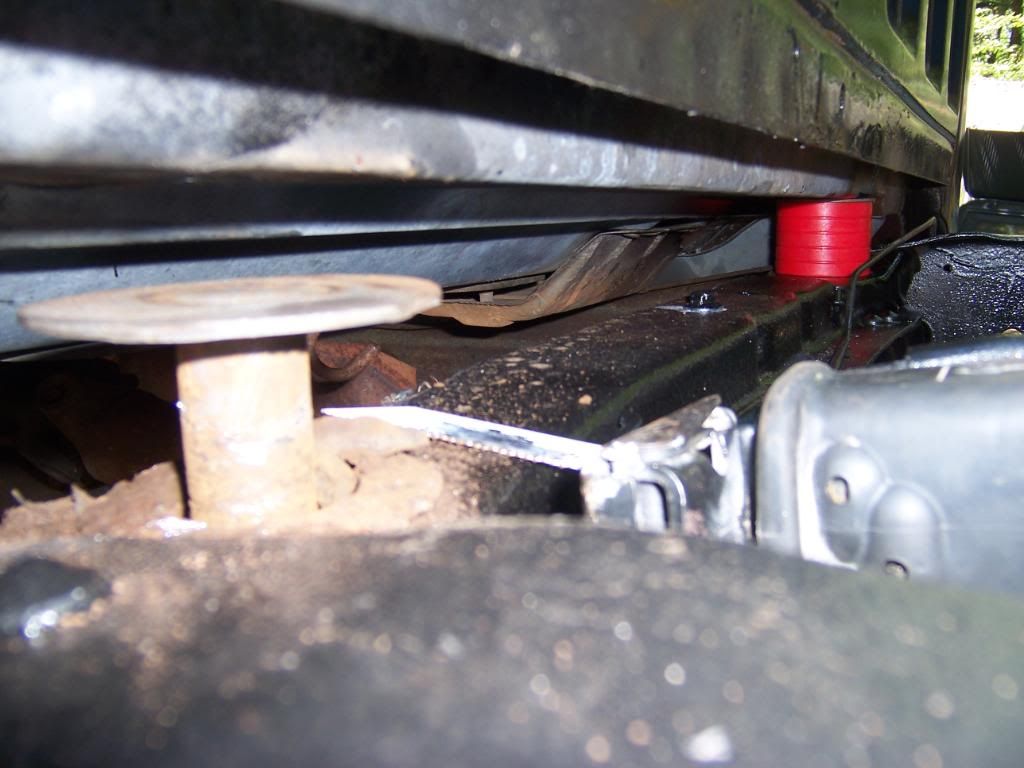
This weekend I finished with the frame, rear cab bushings, gas tank, wiring, and put the wheels back on.
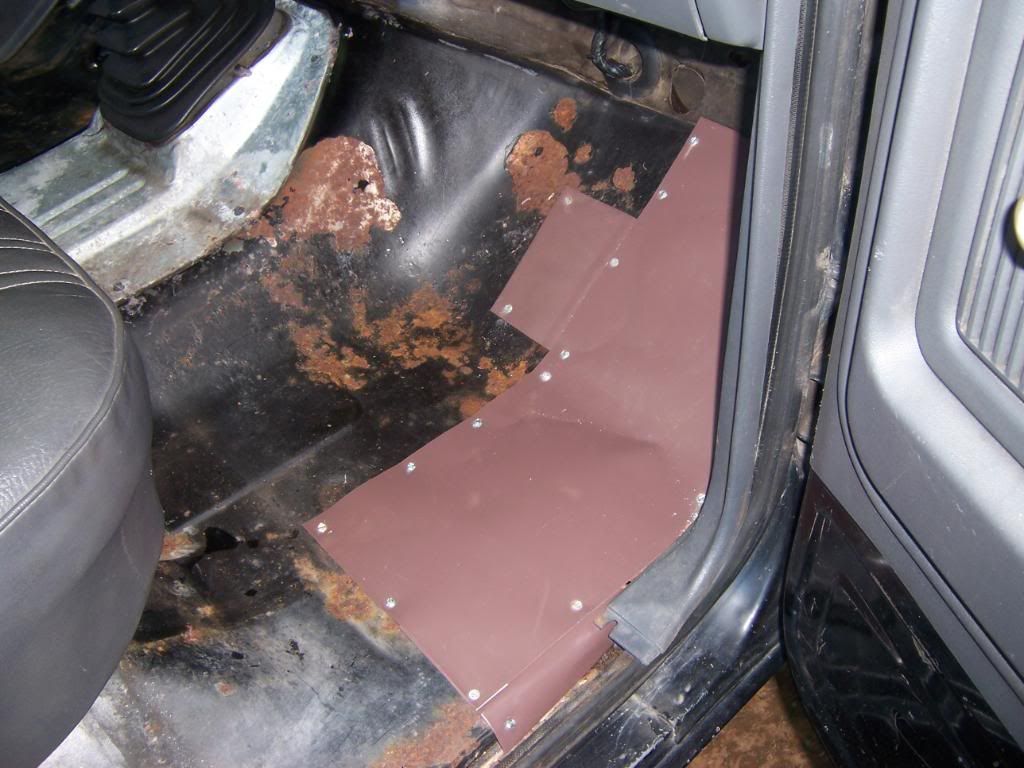
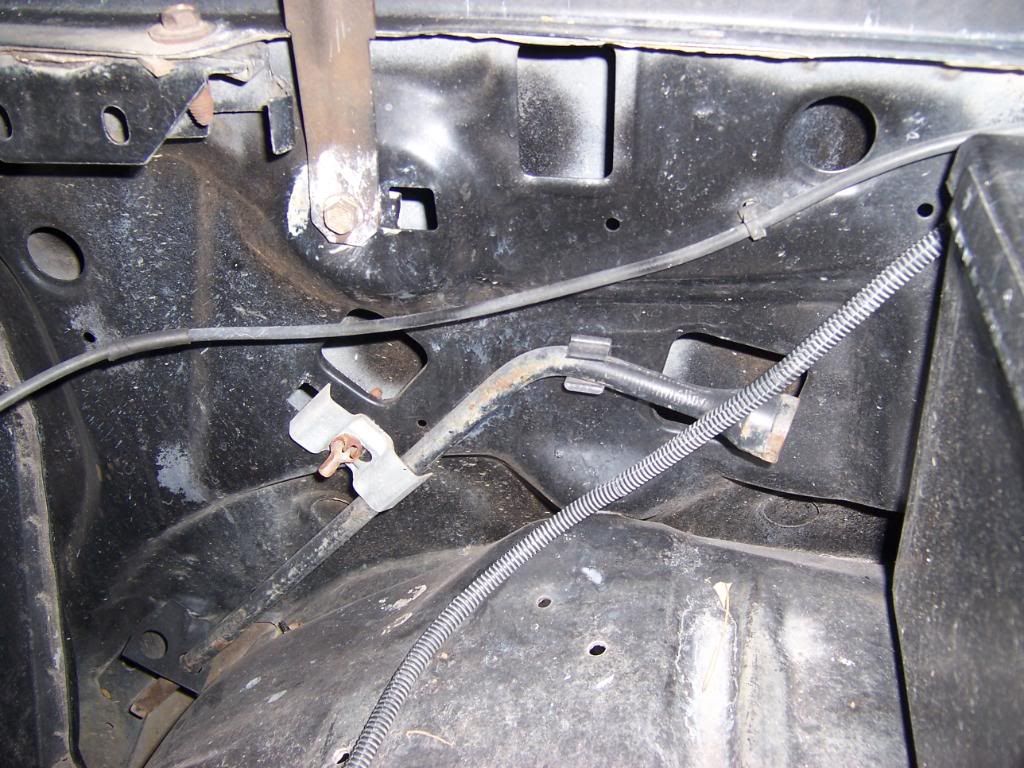
While I was at it, I took out the rubber mat and padding underneath it. Looks like I have a little rust repair to tend to.
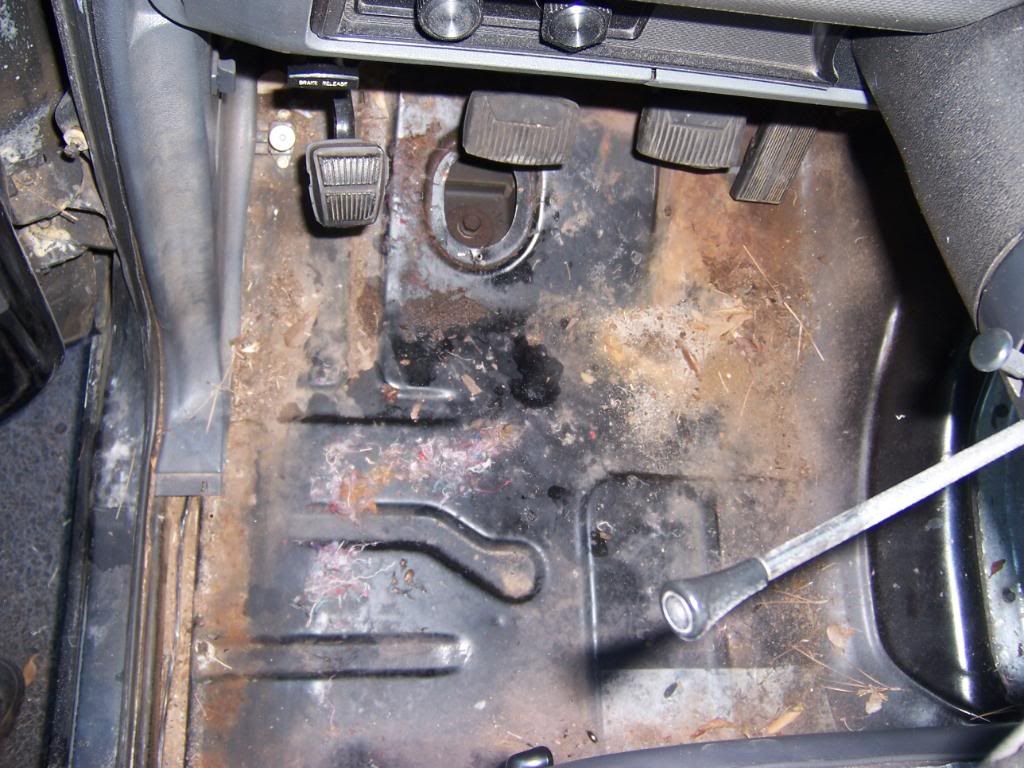
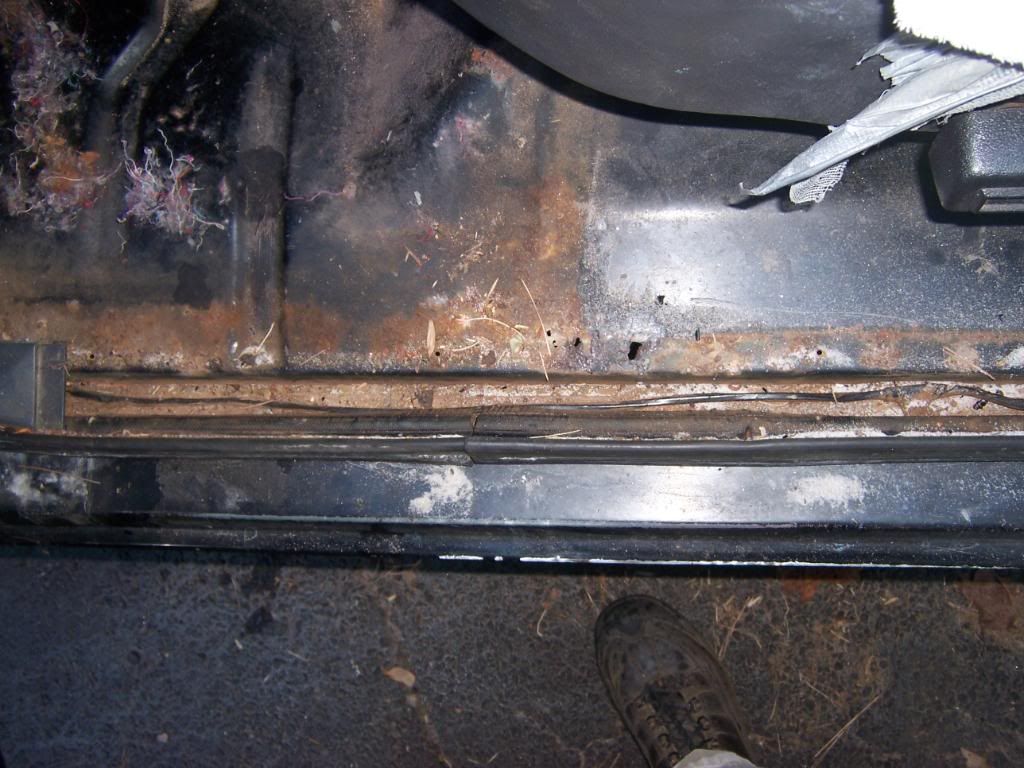
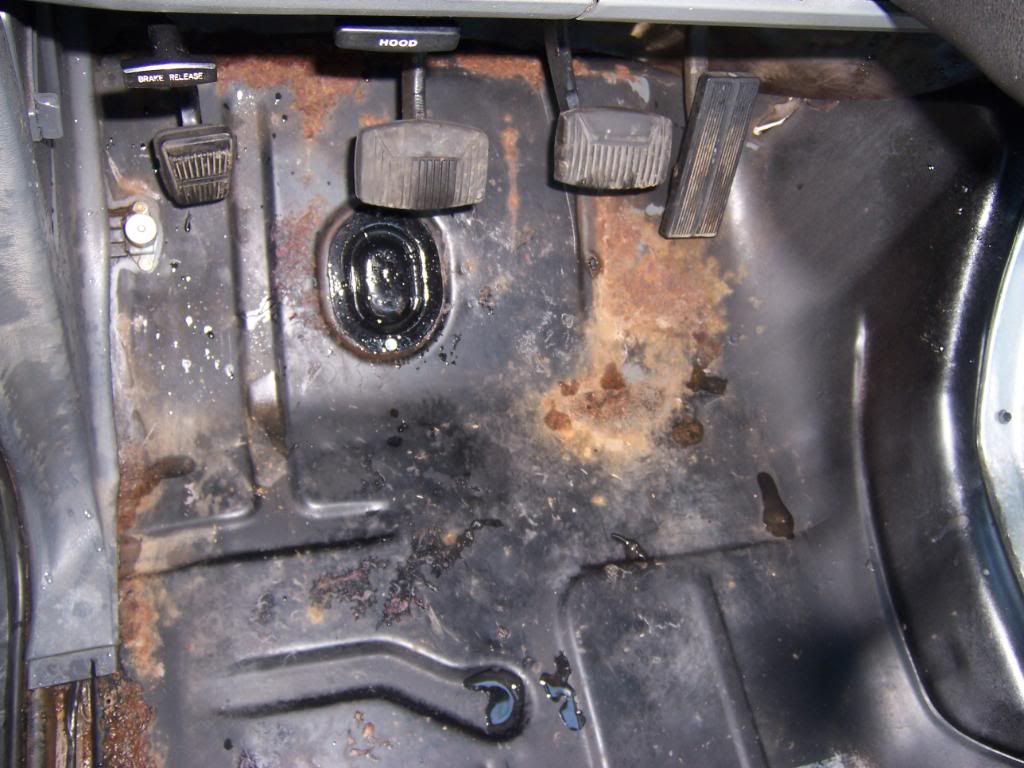
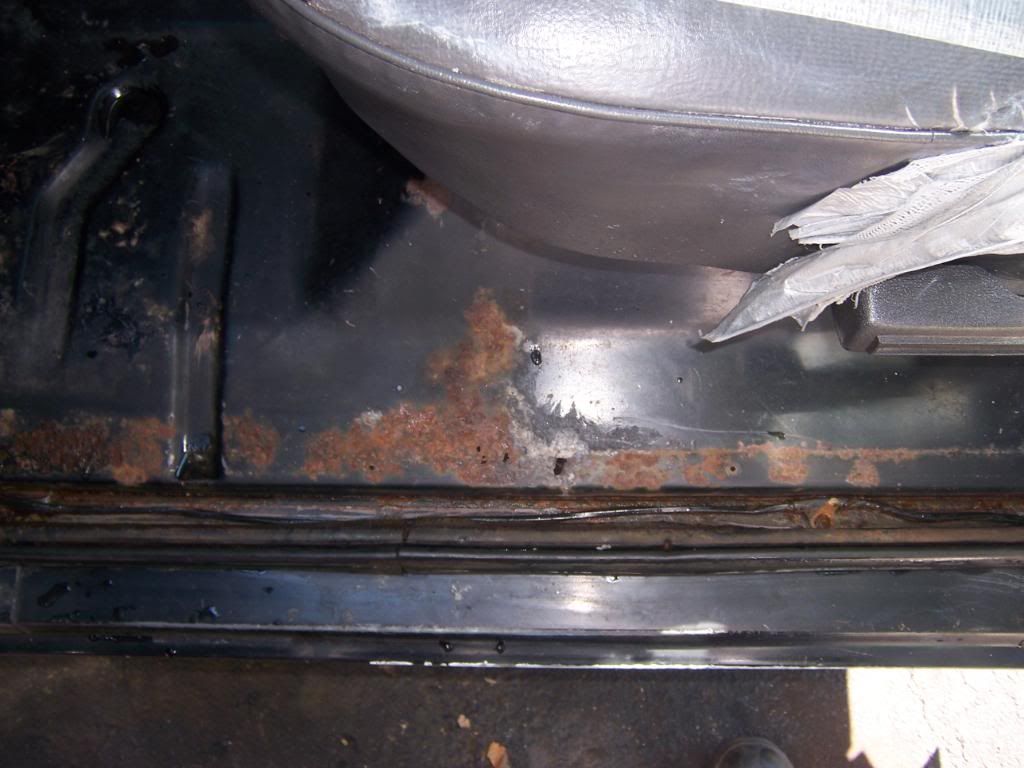
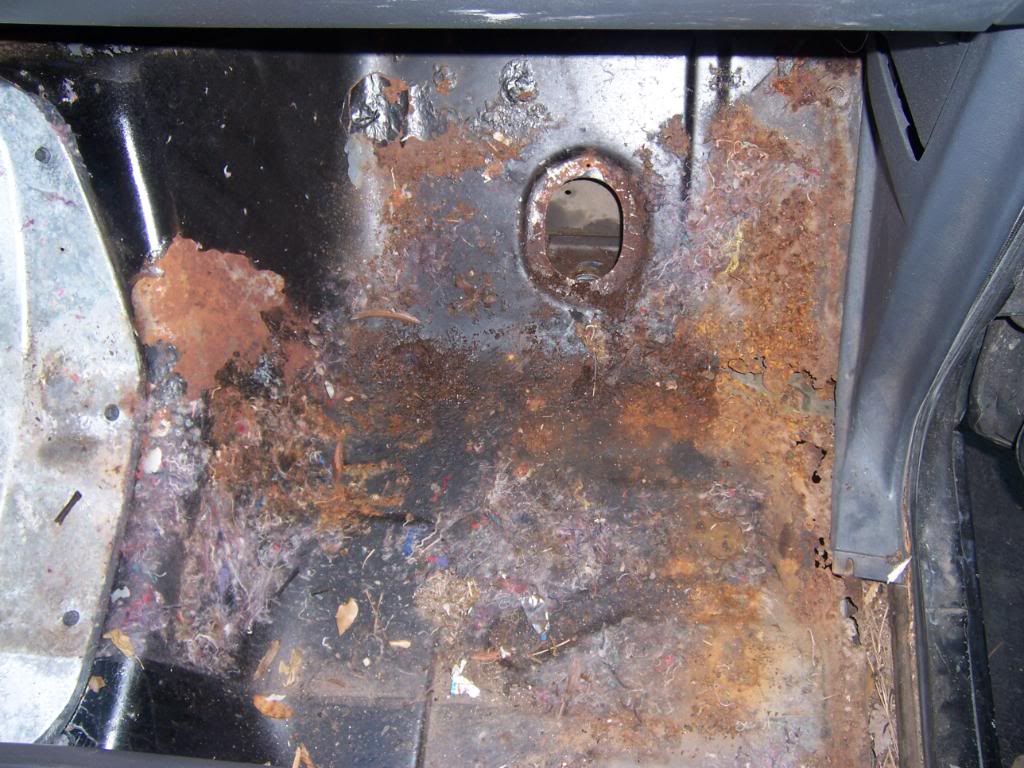
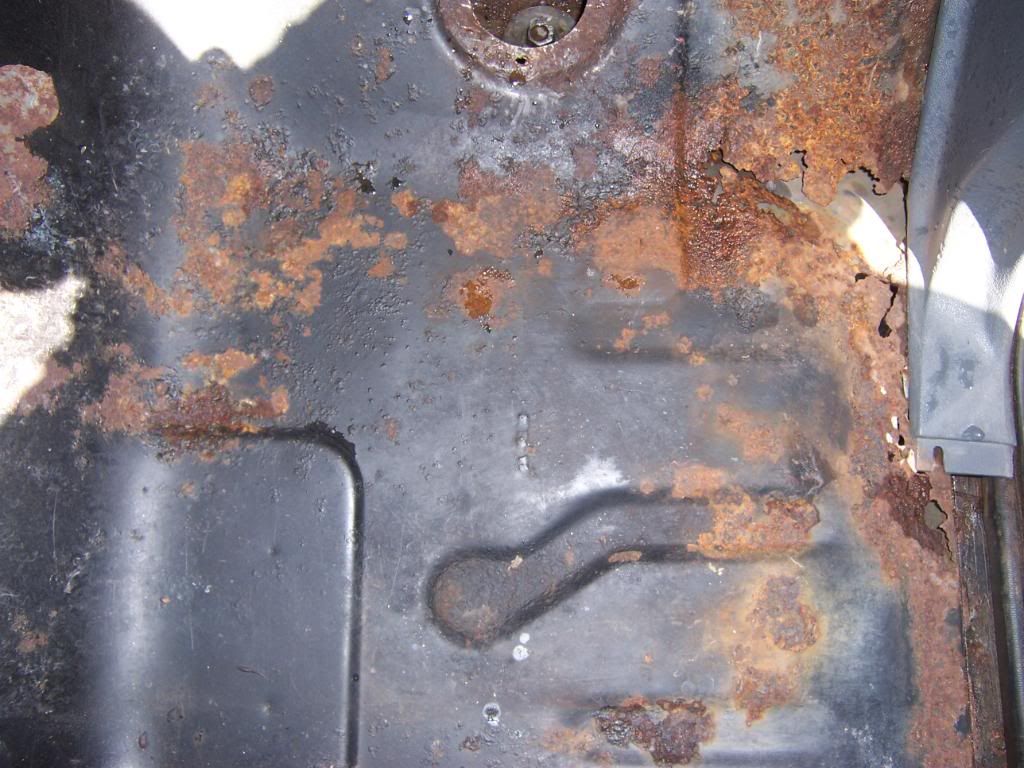
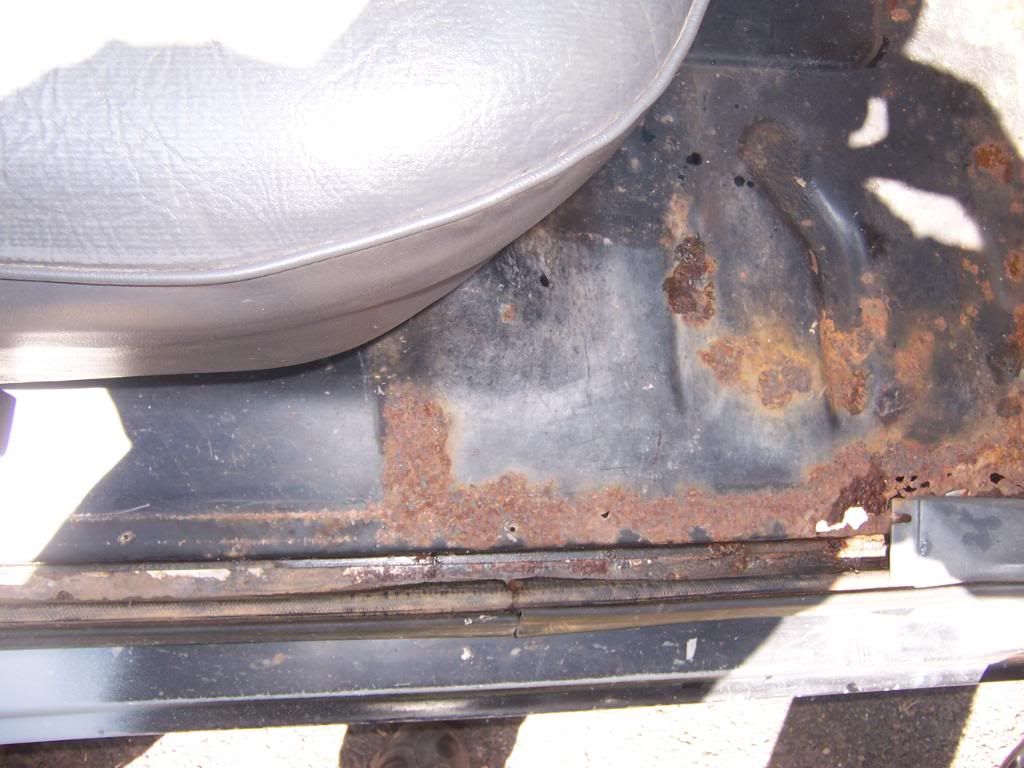
My wife said that she didn't want to ride around with any holes in the floor that were large enough for any little critters to get in. So, she made and installed a few patches from some leftover aluminum flashing.

Now it's time to get some friends over to help me put the bed back on.
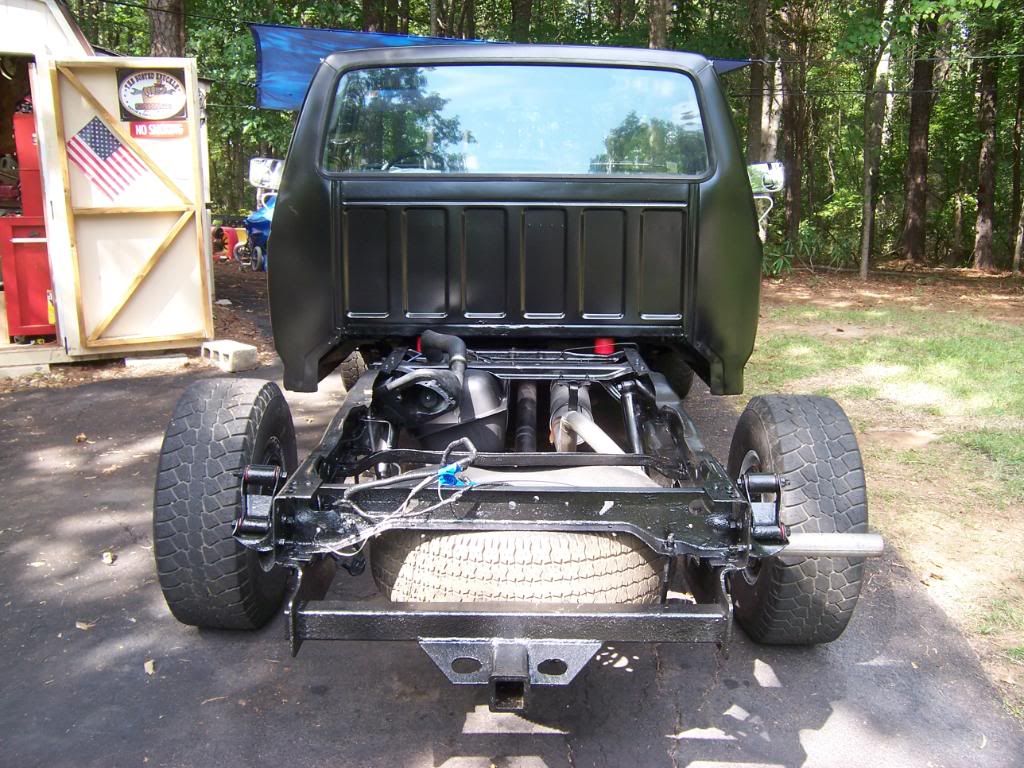
Then on to the fenders, cowl, and other assorted front end stuff.
While I was at it, I took out the rubber mat and padding underneath it. Looks like I have a little rust repair to tend to.
My wife said that she didn't want to ride around with any holes in the floor that were large enough for any little critters to get in. So, she made and installed a few patches from some leftover aluminum flashing.
Now it's time to get some friends over to help me put the bed back on.
Then on to the fenders, cowl, and other assorted front end stuff.
#60
09-18-2011, 07:25 PM
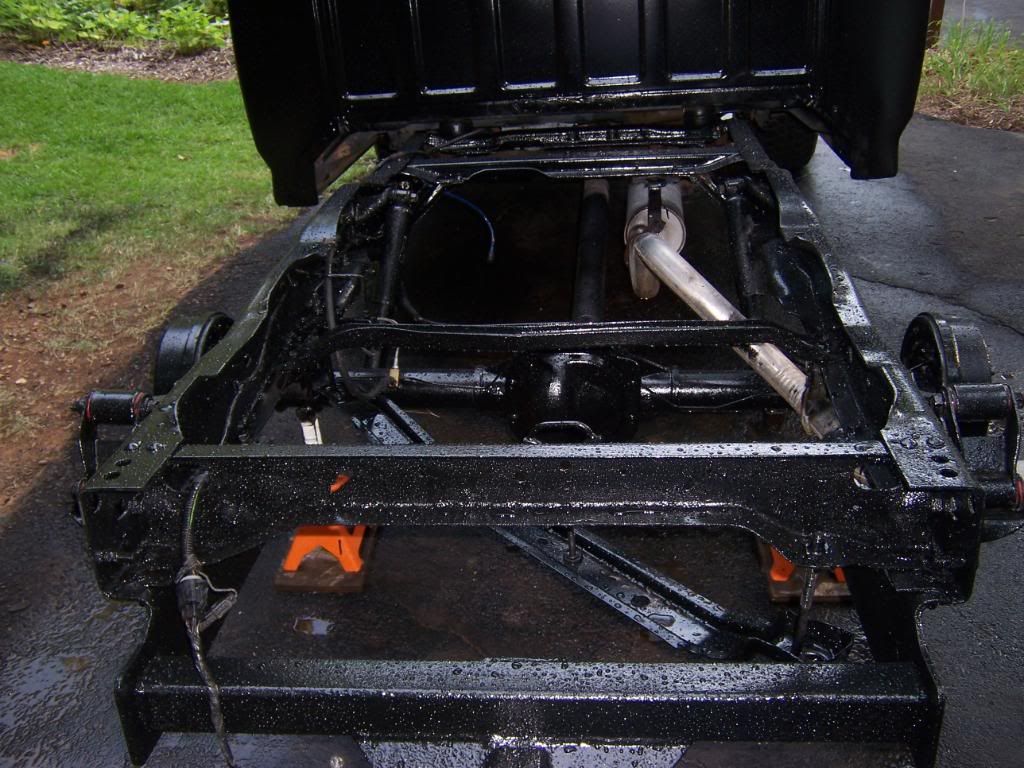
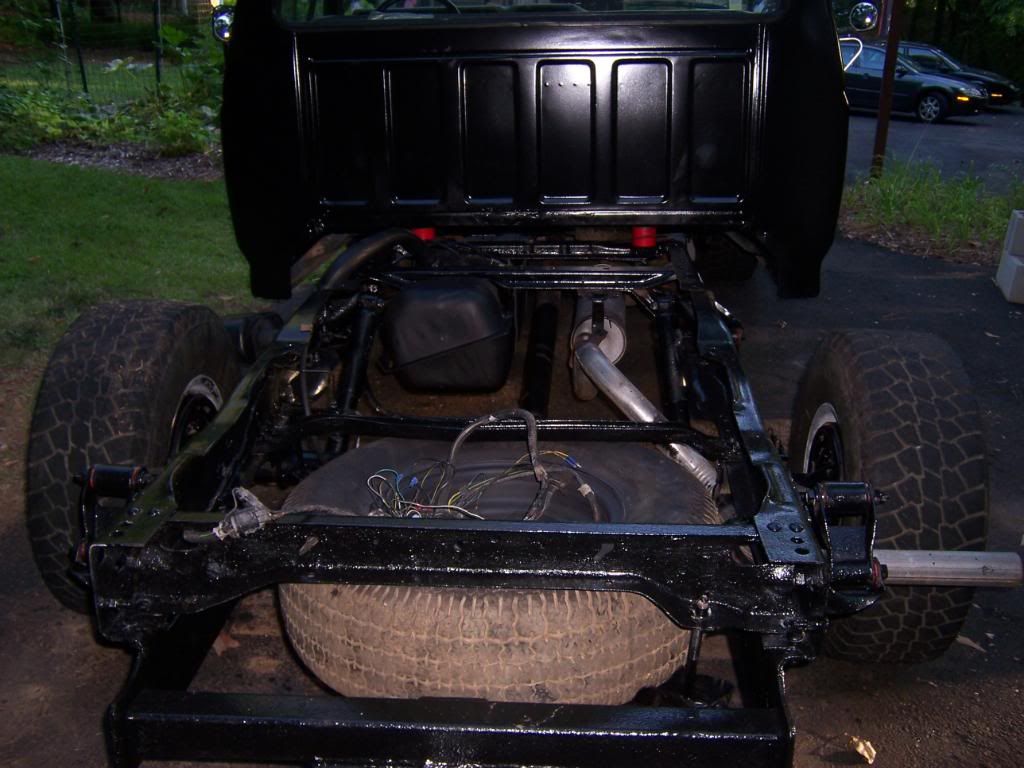
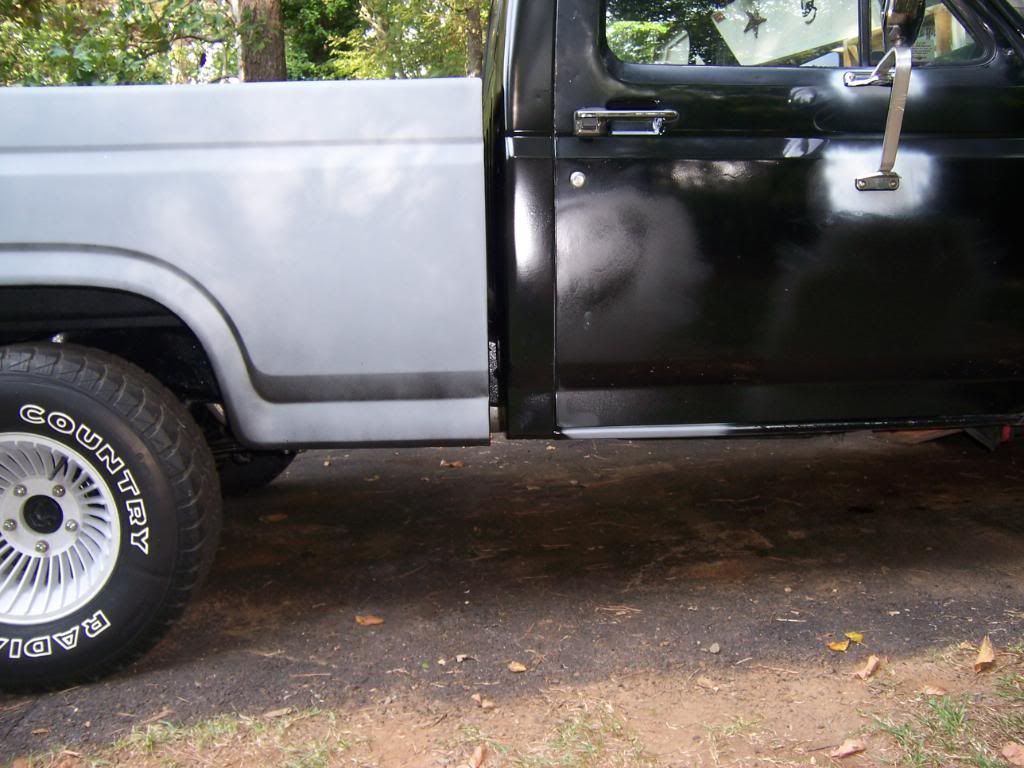
I got some help putting the bed back on my truck last week.
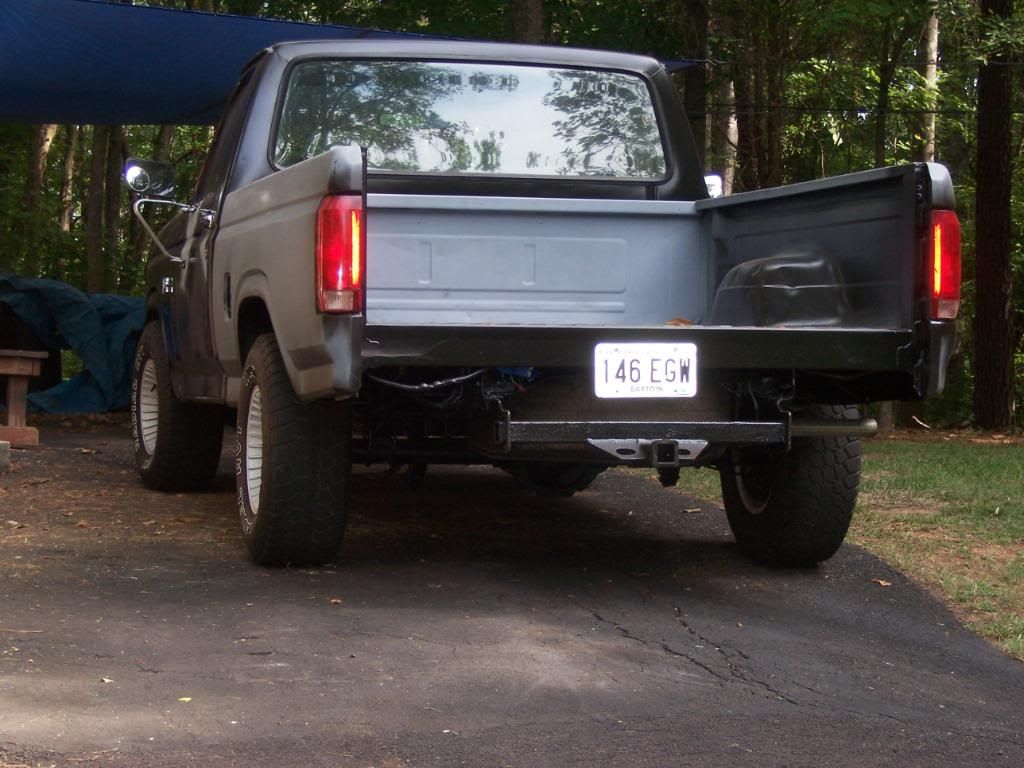
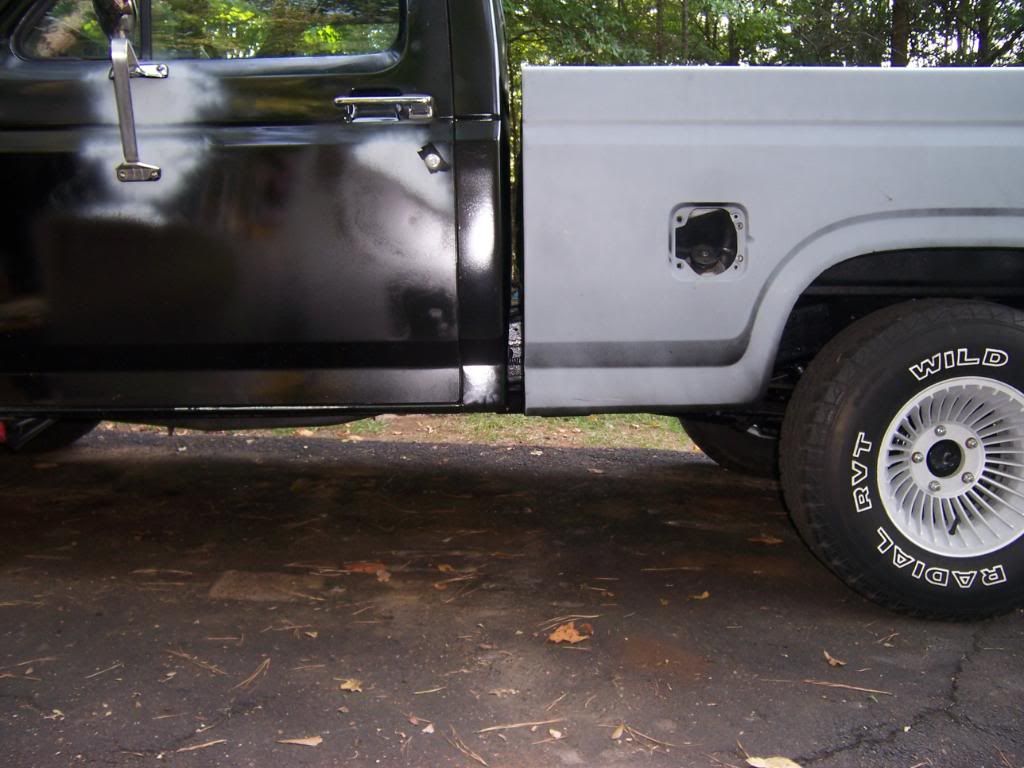
Afterwards, I was looking at the body lines between the bed and cab, I noticed that it looks like the new cab bushings that I installed raised the height of the cab slightly.
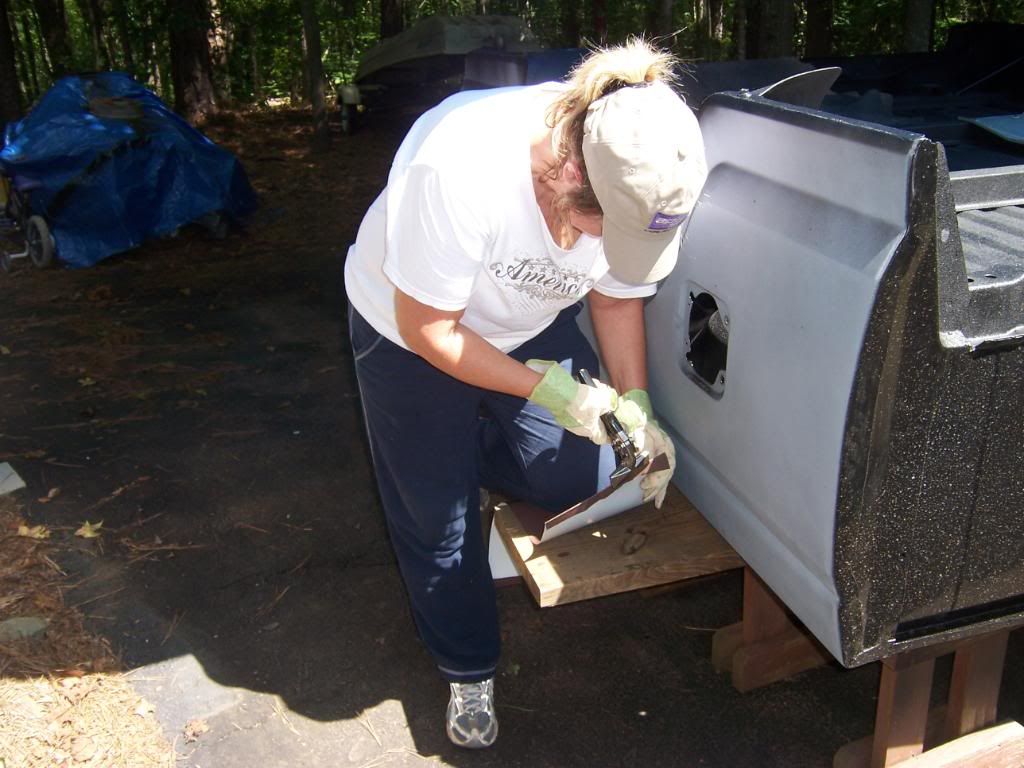
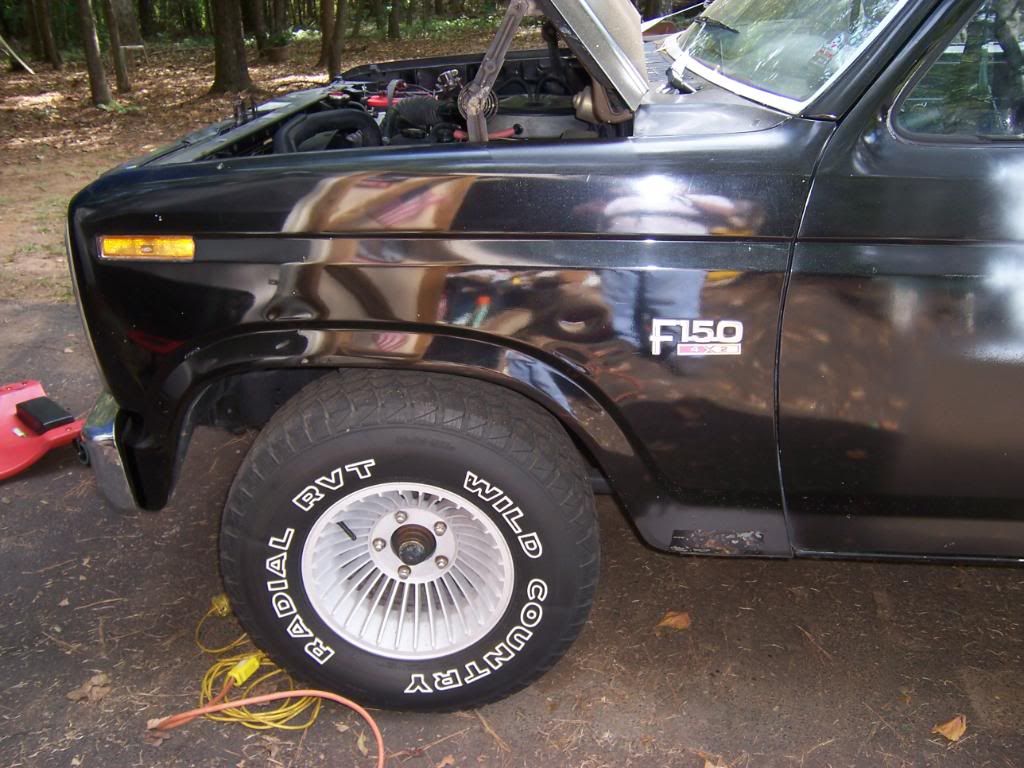
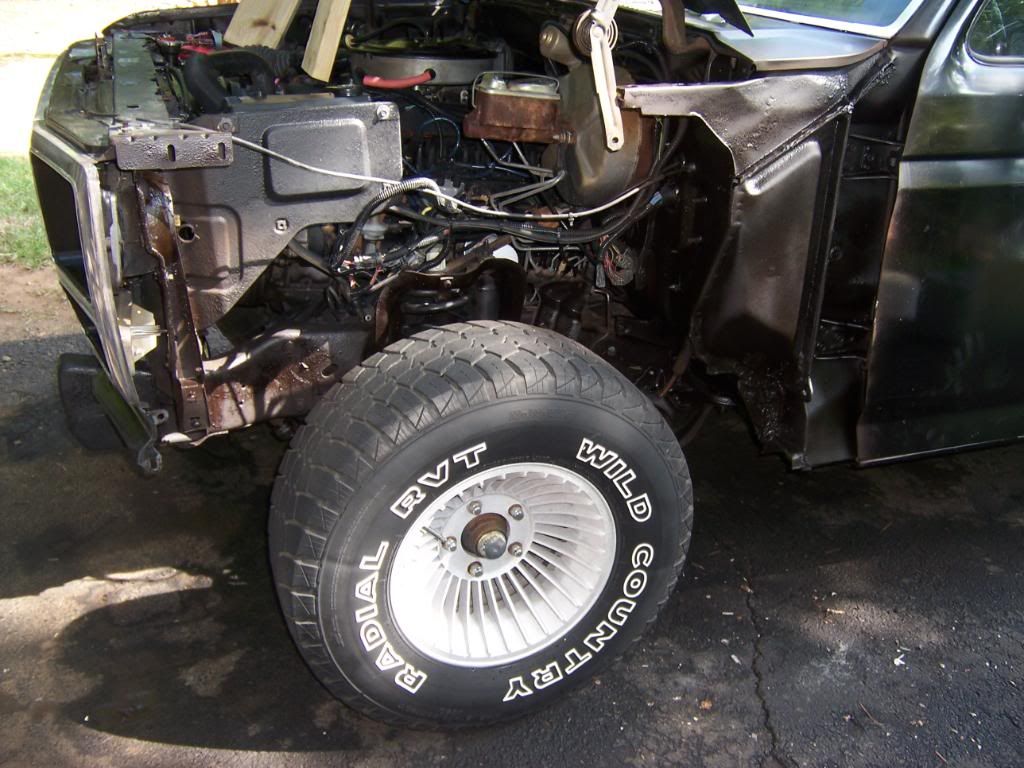
This weekend, I started working on the driver's side fender. I removed the old fender, cleaned everything, put some new seam sealer where needed, primed where needed, sprayed some undercoating where needed, and left it all to dry for several days. I will put the new fender on once it all dries good.
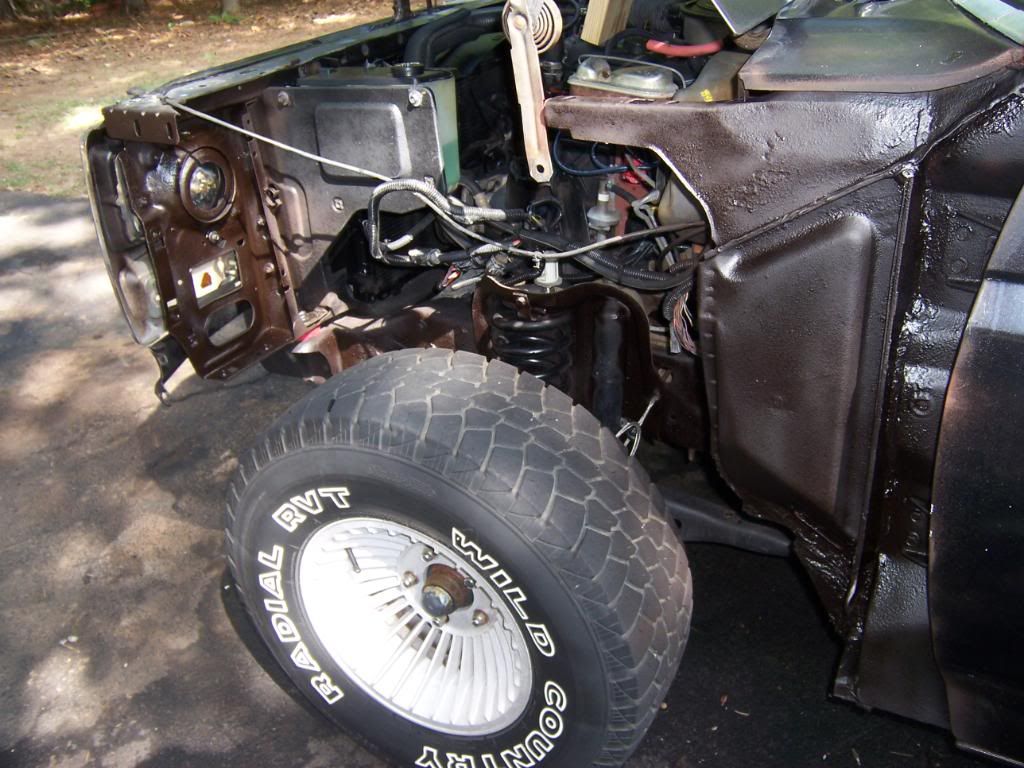
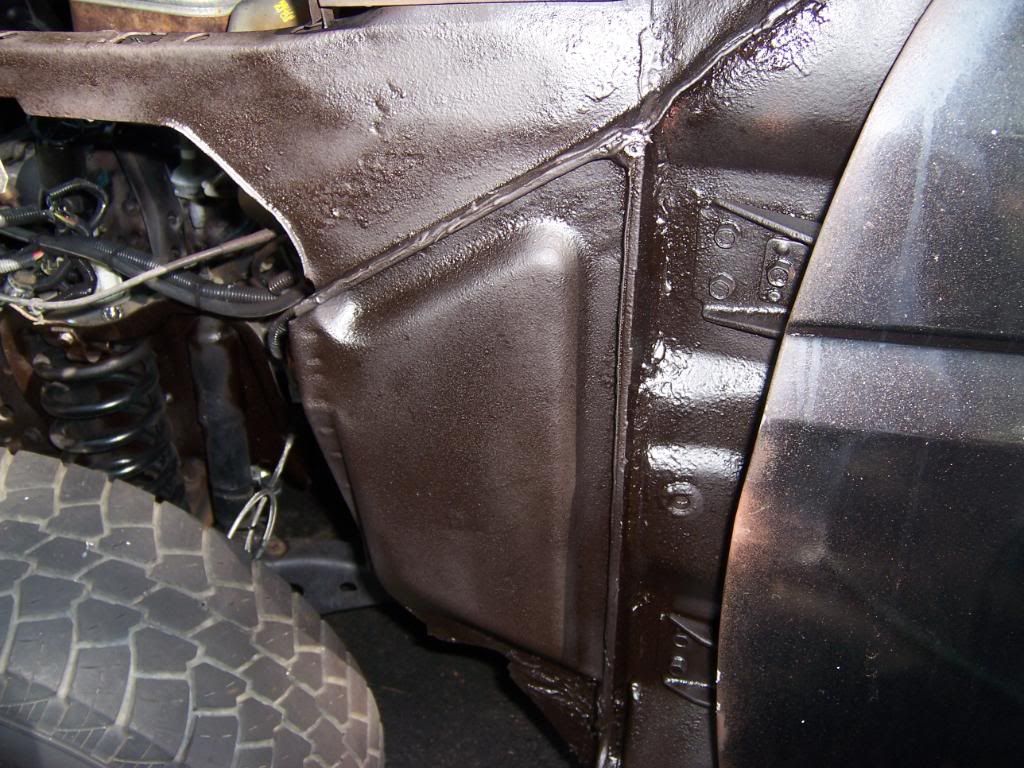
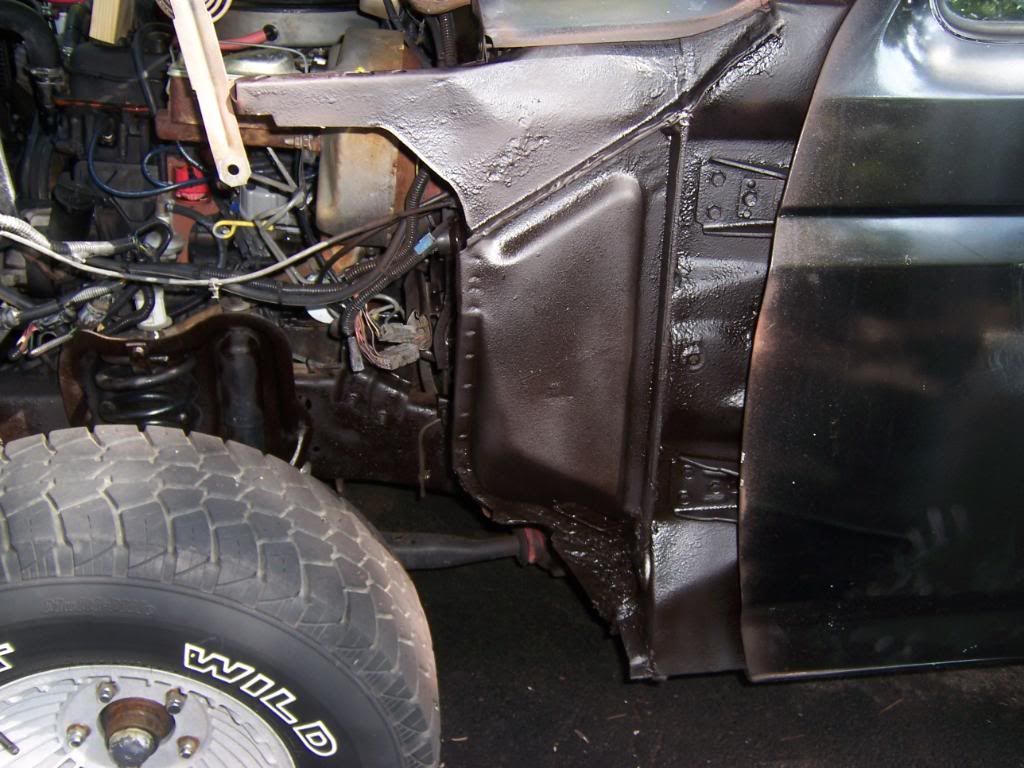
I've noticed that this Dupli-Color Rubberized Undercoating goes on as a brown color, and once it dries it turns to a black color.
Afterwards, I was looking at the body lines between the bed and cab, I noticed that it looks like the new cab bushings that I installed raised the height of the cab slightly.
This weekend, I started working on the driver's side fender. I removed the old fender, cleaned everything, put some new seam sealer where needed, primed where needed, sprayed some undercoating where needed, and left it all to dry for several days. I will put the new fender on once it all dries good.
I've noticed that this Dupli-Color Rubberized Undercoating goes on as a brown color, and once it dries it turns to a black color.