Walker's 66 Ford F100 Restoration
#181
 05-26-2010, 12:15 AM

Join Date: Apr 2008
Location: Saskatoon
Posts: 648
Likes: 0
Received 0 Likes
on
0 Posts
I'll have to check out that MC stand at CT! I'll definitely be adding some foam covers and rubber matting. Since these doors where still under repair I wasn't too worried.
#183
05-26-2010, 07:29 PM
[QUOTE=e-tek;8928401]Thanks Mitch - I appreciate the comment. What obstacles are you having? There are some really good sites with very helpful members you might want to visit. www. autobodystore.com is one of my faves. Len the owner is awesome and always gives good succinct answers. If there's ever anything I can help with, just PM me.
I'm starting on my 64 F100; biggest hurdle is the door post area on my drivers side; I purchase new floor pans, cab mounts and the pillar post on this side; so my repairs shouldn't be to difficult. Especially after viewing your step process. I also like your door stablizer / lift. Beats the old knee lift & wrench techinque.
Also thanks for the website I'll check in on that site.
Mitch
#184
05-27-2010, 10:39 PM
Join Date: Apr 2008
Location: Saskatoon
Posts: 648
Likes: 0
Received 0 Likes
on
0 Posts
Getting down to it!!
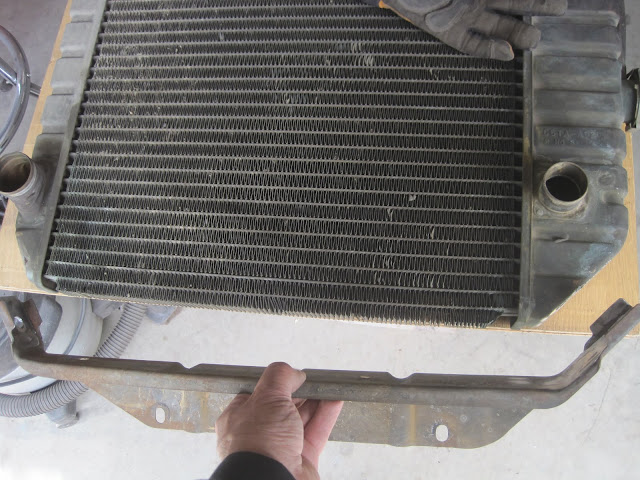
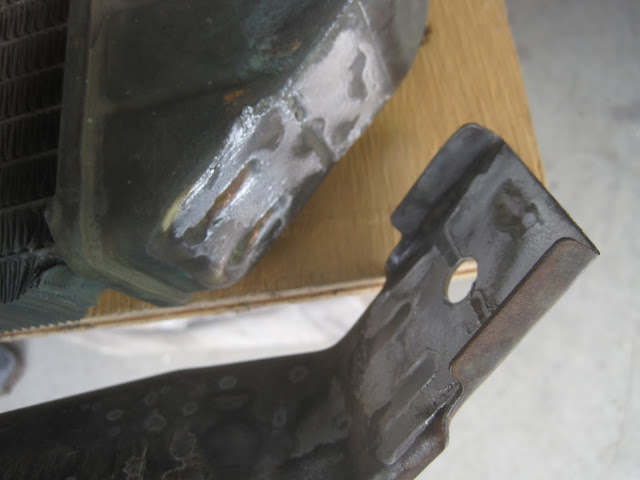
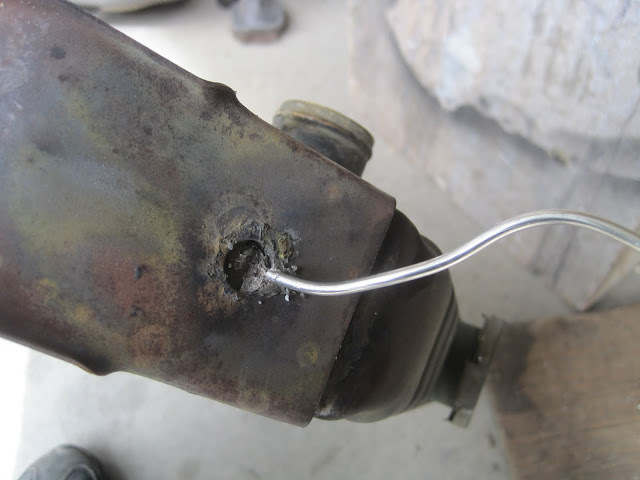
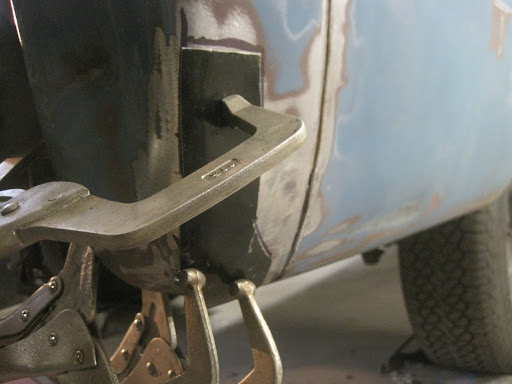
When I removed the rad, the side support fell off (of course!). Here the Rad is repaired:
You can use a solder/lead mix (like used in "lead-filler"), or just straight ("plumbing") solder
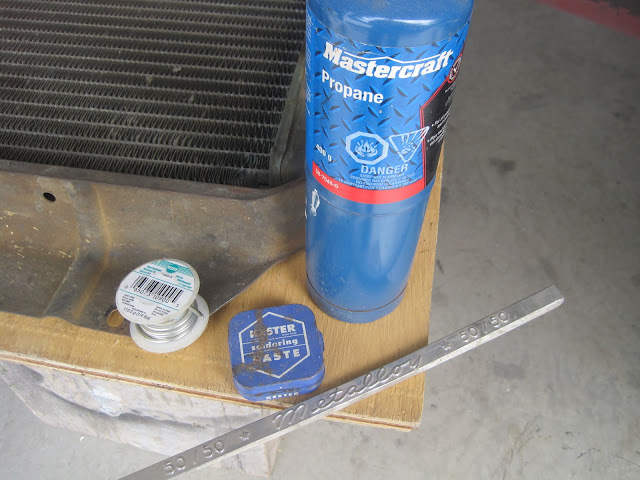
Flux is key of course:
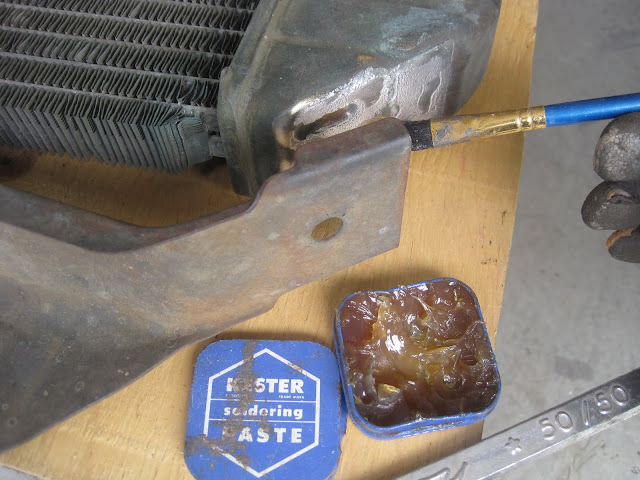
Once heated to the right temp, the solder will get sucked in to the space via a capillary action - much like sweating pipe.
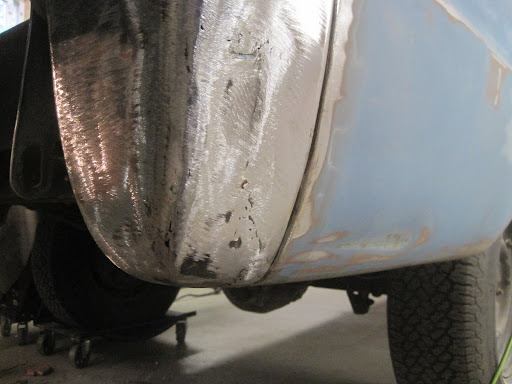
The box bed had two pieces of wood bolted to it - not sure why - but of course they held water and crap and rusted the bed out. Here I had to be sure they went in flat, as there's nothing hiding it and a bunch of filler in the bed wouldn't be cool - so I "hammer welded" it. I'll do some grinding and shrinking tomorrow to get 'er as close a as possible.
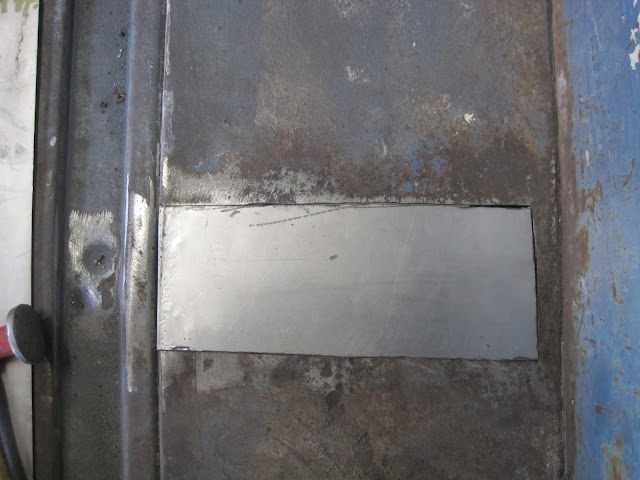
Weld-through primer...
Butt-welding (tacks first)...
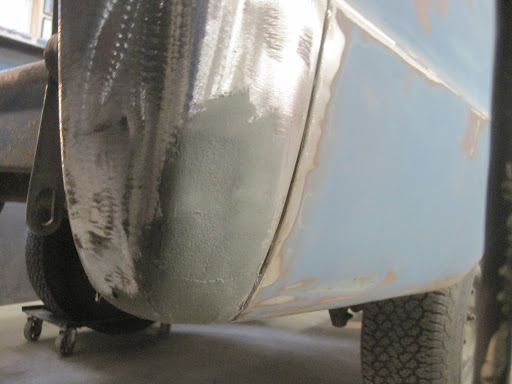
Stayed fairly flat using the hammer and tack method:

When I removed the rad, the side support fell off (of course!). Here the Rad is repaired:
You can use a solder/lead mix (like used in "lead-filler"), or just straight ("plumbing") solder
Flux is key of course:
Once heated to the right temp, the solder will get sucked in to the space via a capillary action - much like sweating pipe.
The box bed had two pieces of wood bolted to it - not sure why - but of course they held water and crap and rusted the bed out. Here I had to be sure they went in flat, as there's nothing hiding it and a bunch of filler in the bed wouldn't be cool - so I "hammer welded" it. I'll do some grinding and shrinking tomorrow to get 'er as close a as possible.
Weld-through primer...
Butt-welding (tacks first)...
Stayed fairly flat using the hammer and tack method:

#186
05-28-2010, 10:33 AM
Join Date: Apr 2008
Location: Saskatoon
Posts: 648
Likes: 0
Received 0 Likes
on
0 Posts
#188
05-28-2010, 01:50 PM

Elder User
Join Date: May 2005
Location: Montana
Posts: 581
Likes: 0
Received 0 Likes
on
0 Posts
#189
05-28-2010, 08:06 PM
Join Date: Apr 2008
Location: Saskatoon
Posts: 648
Likes: 0
Received 0 Likes
on
0 Posts
Final metal work time!!!
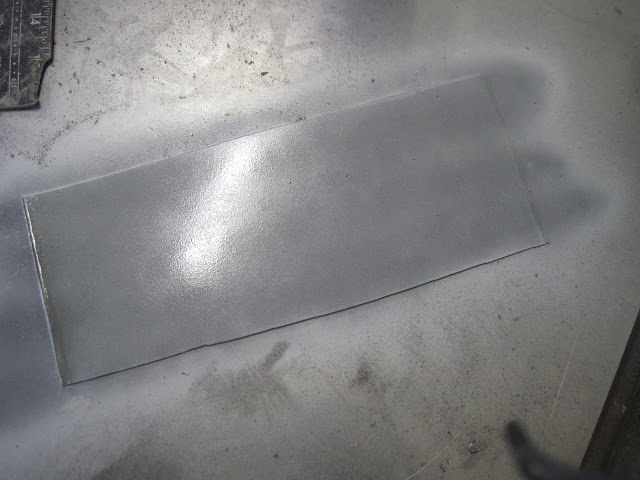
This is a box corner - almost missed it!! Here's the patch fitted over the damaged area. I marked it, removed it and cut on the line.
What you don't see: Cut, fit, trim, weld, grind...
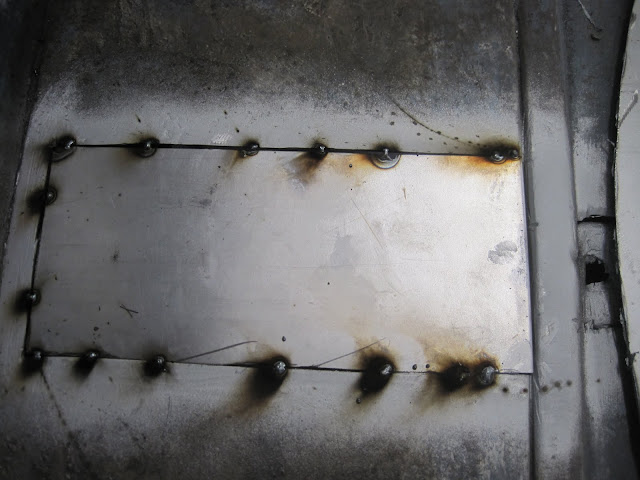
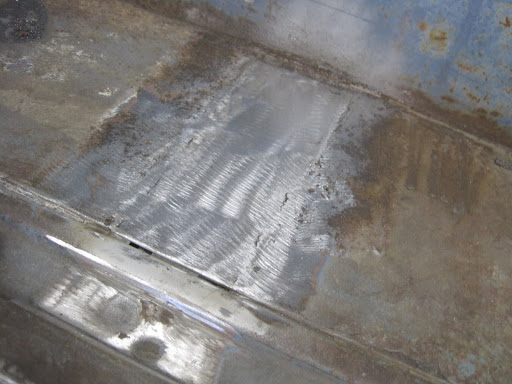
Turned out well enough to only require a skiff of fibreglass filler ("kittyhair"), which seals any pin holes in the weld...
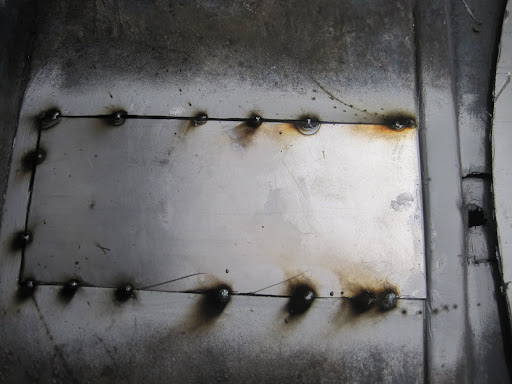
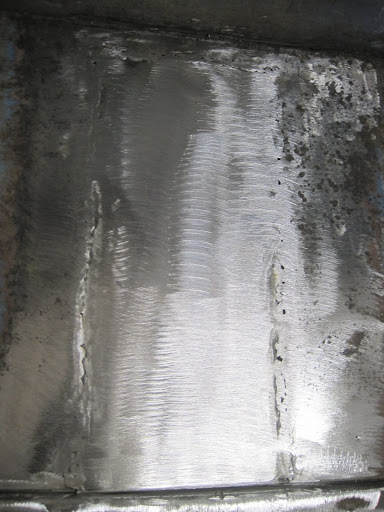
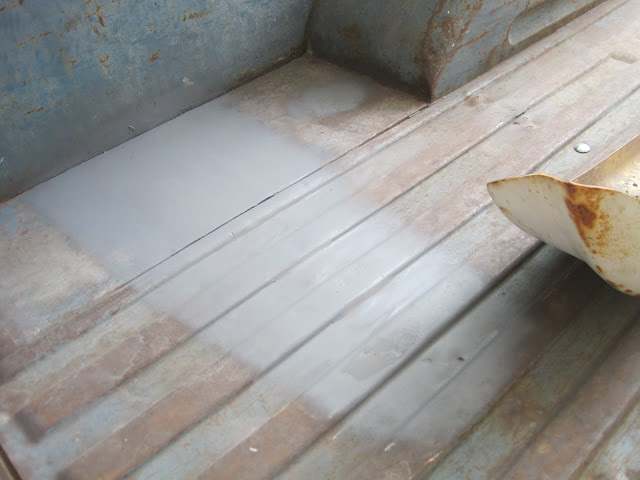
Big rust holes cut out of the floor bed and patched. Butt welded and dollied throughout so as not to warp it and not need much filler.

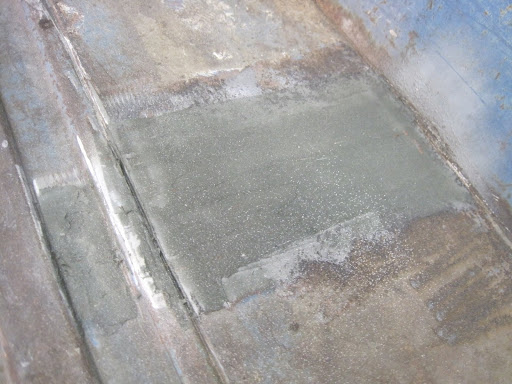
Skiff of filler....
So,what's left? A little filler sanding, seam sealing, more POR 15 (under the cab) and undercoating, final gap adjustments and a few coats of epoxy primer. This seemed like a long project: month-wise, but really, what with all my other projects and my real job getting in the way (
 ), it really didn't take too long!
I'll take some shots next weekend on its way out the door. Thanks for following along!!
This is a box corner - almost missed it!! Here's the patch fitted over the damaged area. I marked it, removed it and cut on the line.
What you don't see: Cut, fit, trim, weld, grind...
Turned out well enough to only require a skiff of fibreglass filler ("kittyhair"), which seals any pin holes in the weld...
Big rust holes cut out of the floor bed and patched. Butt welded and dollied throughout so as not to warp it and not need much filler.
Skiff of filler....
So,what's left? A little filler sanding, seam sealing, more POR 15 (under the cab) and undercoating, final gap adjustments and a few coats of epoxy primer. This seemed like a long
project: month-wise, but really, what with all my other projects and my real job getting in the way (), it really didn't take too long!I'll take some shots next weekend on its way out the door. Thanks for following along!!
#190
05-28-2010, 08:56 PM
Can you guestimate man hours from start to finish? Like you said before, customer is always right and customer get's what he/she wants. As long as customer is happy all is good. Thank you for taking the time to photograph and document progress throughout build. I'm sure everyone feels the same. This thread made for good reading. Good, bad and indifferent. Thanks again.
#191
05-28-2010, 10:30 PM
Join Date: Apr 2008
Location: Saskatoon
Posts: 648
Likes: 0
Received 0 Likes
on
0 Posts
Can you guestimate man hours from start to finish? Like you said before, customer is always right and customer get's what he/she wants. As long as customer is happy all is good. Thank you for taking the time to photograph and document progress throughout build. I'm sure everyone feels the same. This thread made for good reading. Good, bad and indifferent. Thanks again.
- And the customer is happy! This was his grandfathers truck. He has memories of riding in it and it being worked on. He had to find it and buy it from someone who his grandfather had sold it to. I know the feeling - I would pay a LOT to get one or two of the cars that my Dad and I worked on together.
I believe the owner is going to do some engine work, install and repair some interior pieces and just enjoy it, before having it painted. For the money he'll put in he'll have a good driver that will last throughout his adulthood.
Just to put it all in perspective, I've done jobs with similar stories before, and have SEVERAL more lined up. They may not all be "worth it" in a monetary sense, but all are "one of a kind" - to someone. I like doing this kinds of work - because I know, that if I could find my Dad's 66 Valiant Signet (and couldn't do this work myself), I'd happily pay many thousands to have it restored.
Thanks for your comments.
#192
05-28-2010, 10:43 PM
Join Date: Apr 2008
Location: Saskatoon
Posts: 648
Likes: 0
Received 0 Likes
on
0 Posts
Ed, I hadn't seen this truck since we got you to do the 1956 Chevy fenders; you've certainly brought it a long way. Looks good, but what a lot of work.
If anyone is looking at the link and wondering, I only repaired the fenders for Trent - he's the one working hard on the rest of it. Should be a beauty when it's done!!
#193
05-28-2010, 10:57 PM
Join Date: Apr 2008
Location: Saskatoon
Posts: 648
Likes: 0
Received 0 Likes
on
0 Posts
Very nice thread and craftsmanship sir! I am a little confused though as to your use of Kitty hair and/or all metal filler? In earlier pages you said to only use metal filler over welds to avoid rust-through later IIRC, and on the floor I see you just using the fiberglass? Or am I getting mixed up? I just brought home a '64 F100 to build for my wife and will be doing some patch panels also, looking to learn as much as I can. Are there any down sides to using the metal filler? I'd imagine it would have to be harder to sand than bondo?
I'll try and clarify....while I do normally like to use metal-filler over welds, a lot of these areas are going to be re-exposed to the elements. For this reason I started using the kitty-hair. It gives the same structural integrity (maybe better), but I thought the kitty hair may be better if exposed to moisture, mud, etc.
As for the metal-filler being hard to sand - not so much - so long as you sand it early! I guess it's somehwere between the new "Featherlight" fillers and the kitty hair - which can get really hard fast (no pun intended!)
#194
05-28-2010, 11:06 PM
Join Date: Apr 2008
Location: Saskatoon
Posts: 648
Likes: 0
Received 0 Likes
on
0 Posts
Another point, is that, POR15 should only be applied over RUST or very roughed up metal - NEVER smooth metal. It'll peel right off smooth or painted surfaces, so I wouldn't want to apply POR15 to the new patch panels I've installed.
Hope that helps!
#195
06-04-2010, 10:47 PM
Join Date: Apr 2008
Location: Saskatoon
Posts: 648
Likes: 0
Received 0 Likes
on
0 Posts
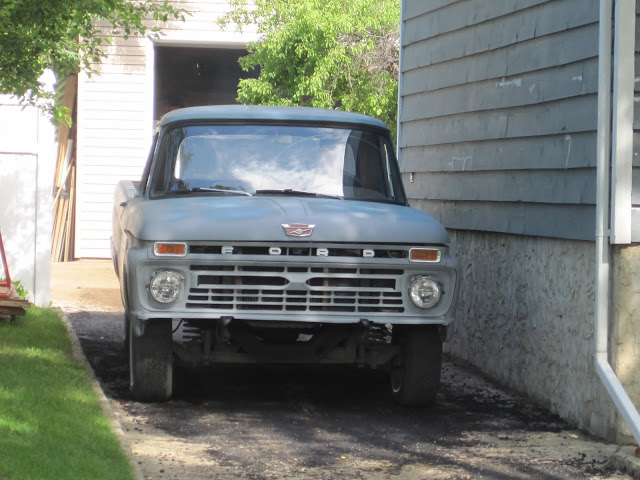
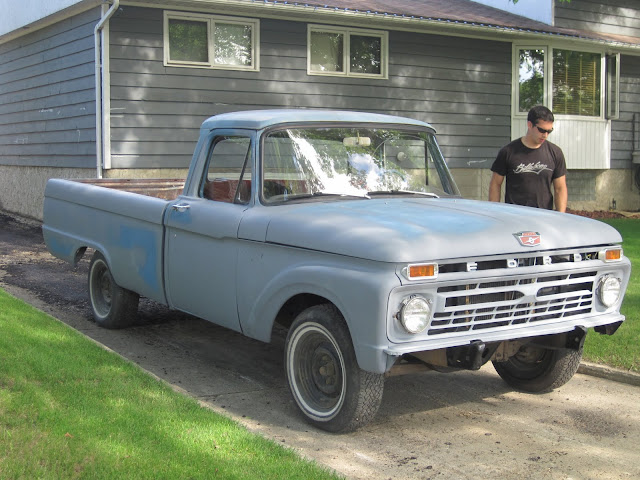
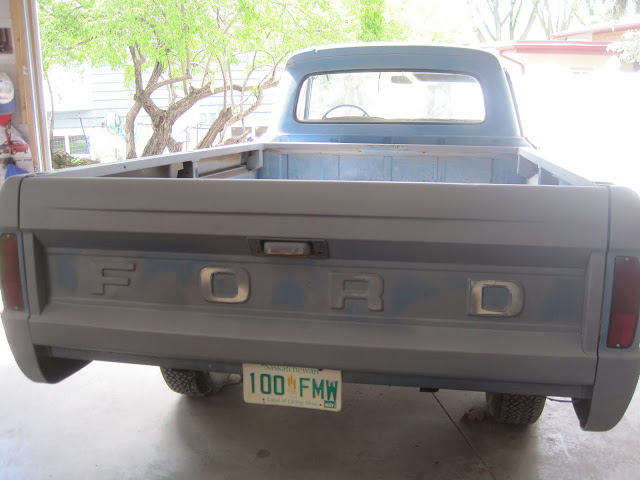
The FINAL post - Time to say Good Bye to one 1967 Ford F100!
Remember those GIANT holes in the bed?!
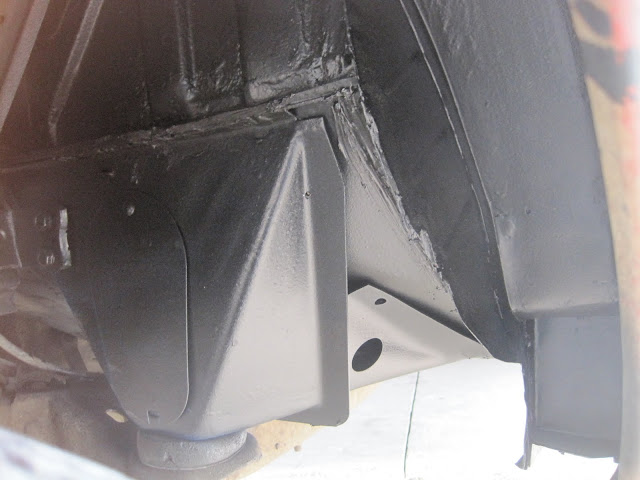
Or this area that was COMPLETELY missing?!
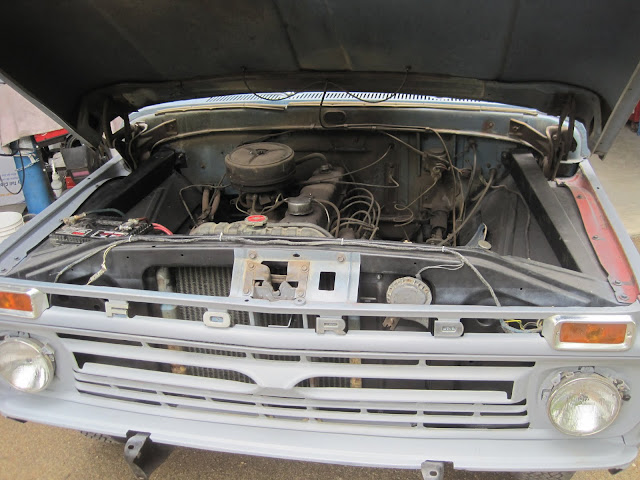
Entire Front End structure replaced:
Tailgate and lower box corners all have new metal:
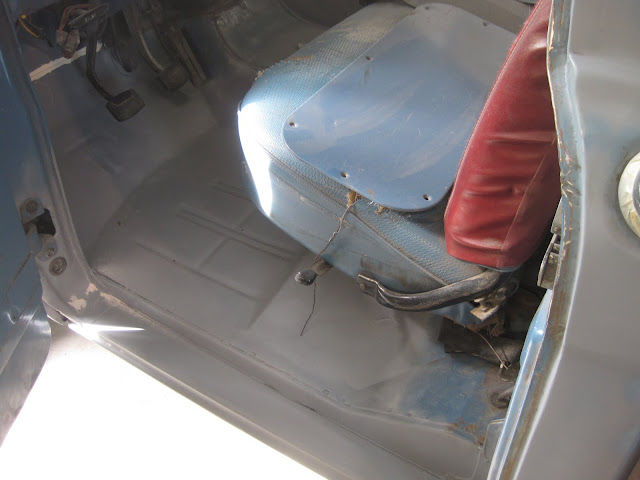
New floors, lower hinge posts and inners - both sides:
Owner is having a bed-liner put in next week, then doing the mechanicals, interior, then paint.
Thanks all for looking! My next project is a far cry from a Ford PU....")
Remember those GIANT holes in the bed?!
Or this area that was COMPLETELY missing?!
Entire Front End structure replaced:
Tailgate and lower box corners all have new metal:
New floors, lower hinge posts and inners - both sides:
Owner is having a bed-liner put in next week, then doing the mechanicals, interior, then paint.
Thanks all for looking! My next project is a far cry from a Ford PU....