my 84 bronco (pics)
#16
 05-26-2010, 06:03 AM


the chassis paint is called Chassis Saver
Paint Over Rust to Stop Rust Permanently With Chassis Saver Truck & Auto Underbody Coating
-I love the stuff, its tough as nails, can be brushed or sprayed on (I brushed mine on, It still flows out smooth) I bought a quart and have been sharing with friends and still have hardly used any.
#17
05-26-2010, 03:01 PM
#18
05-26-2010, 07:06 PM
#19
06-13-2010, 01:24 AM


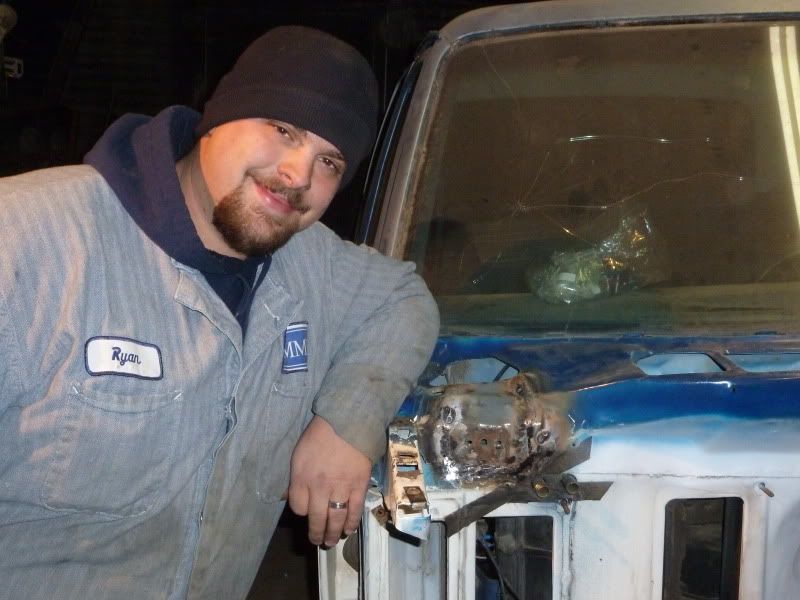
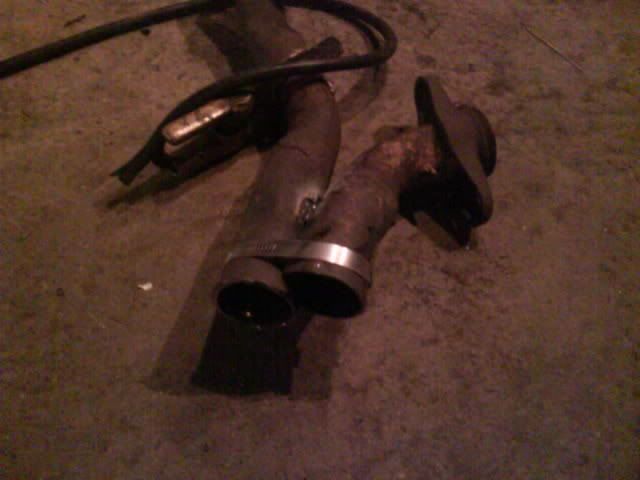
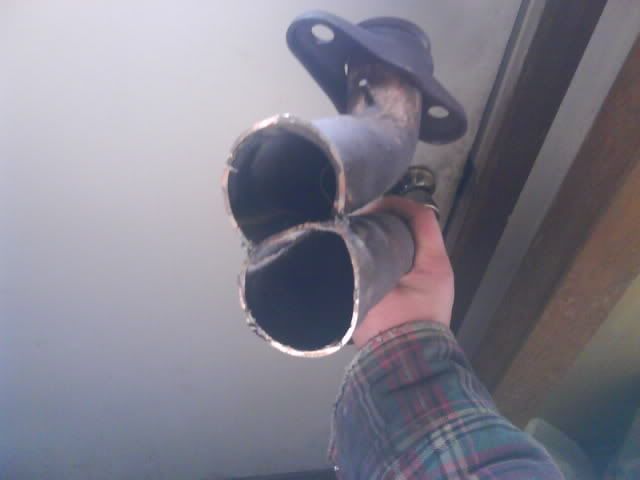
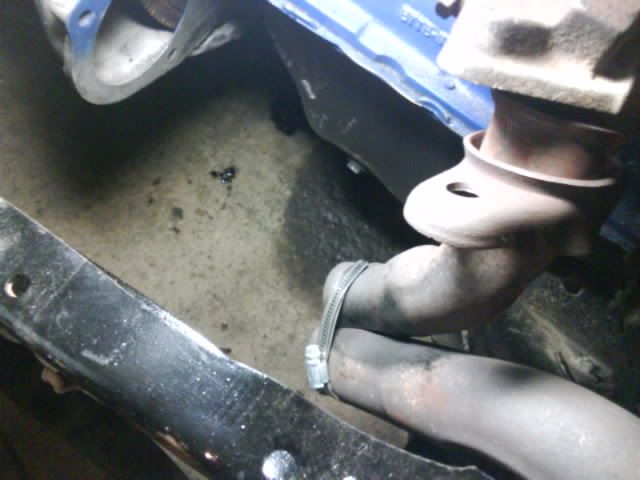
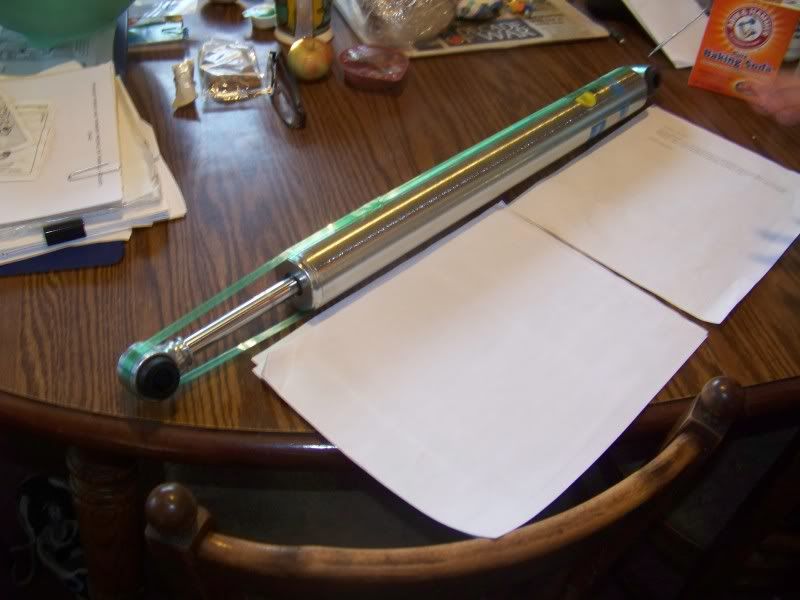
it has been a while so i dug through some photos and found some to post. the first two are from when i was making a set of white faced gauges. the second is the beginning of my modified exhaust since i don't really like the design of the walker pipe, this should give the exhaust a smoother transition.
#20
09-30-2010, 07:22 PM
well I am back home, but haven't gotten much done other than a handful of little items, but more should be on the way soon.
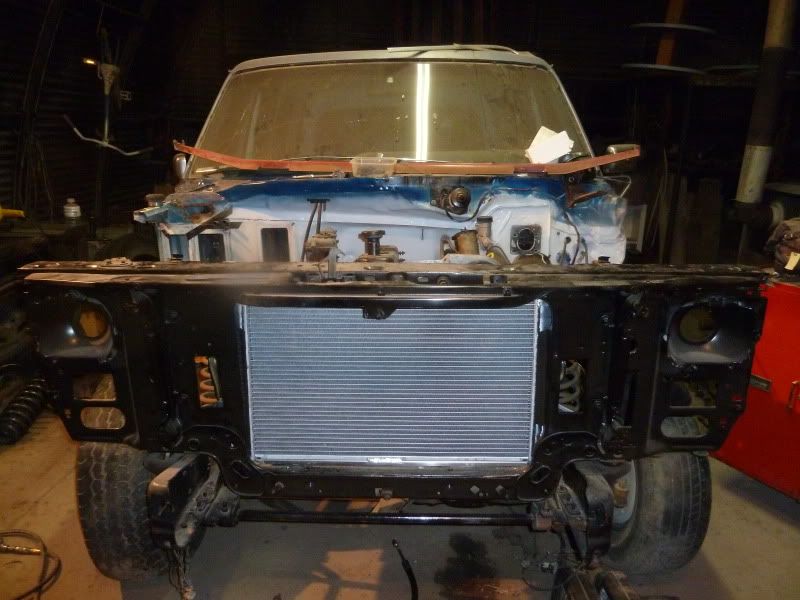
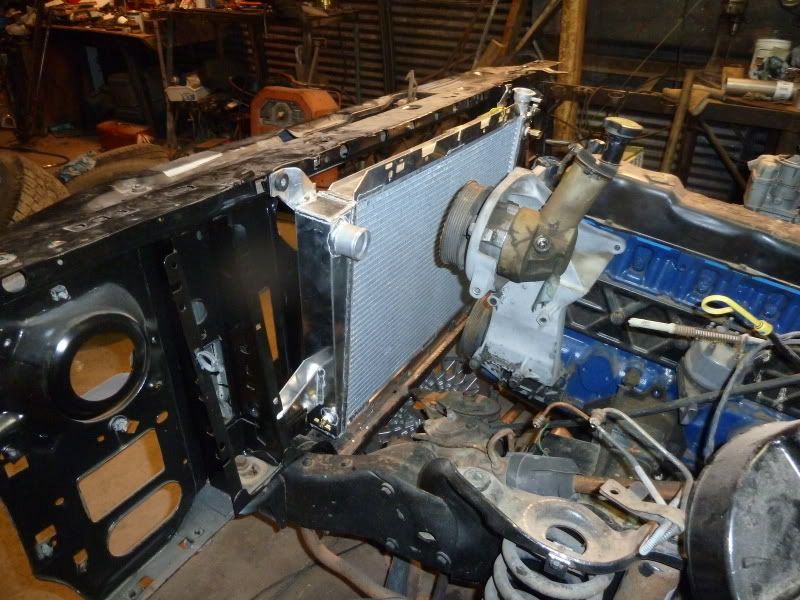
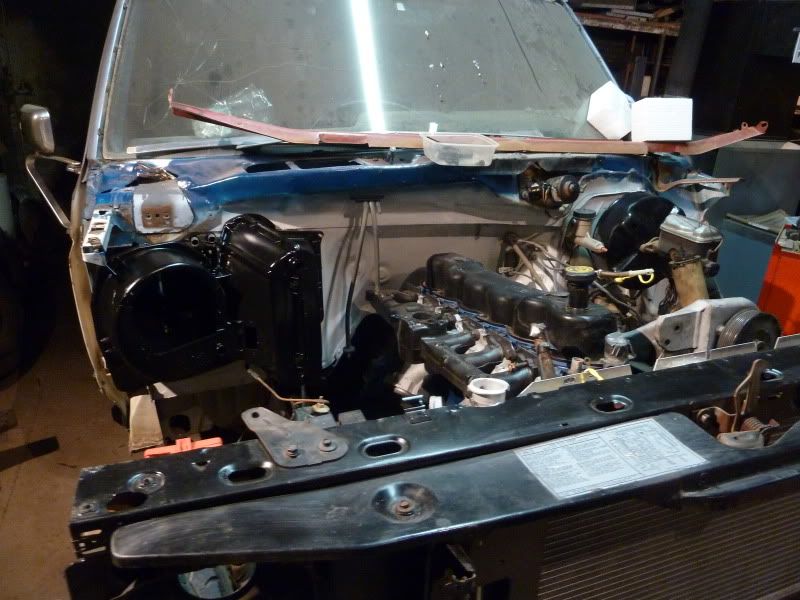
radiator support was painted with chassis saver and then sprayed down with a coat of black enamel so it doesn't fade I also painted the inside of the fenders

the next step in the custom exhaust I am building, although now I need to get a 45 for it as this pipe almost reaches the ground! I have been thinking about running 3" all the way back, but haven't made up my mind yet.

radiator support was painted with chassis saver and then sprayed down with a coat of black enamel so it doesn't fade I also painted the inside of the fenders
the next step in the custom exhaust I am building, although now I need to get a 45 for it as this pipe almost reaches the ground! I have been thinking about running 3" all the way back, but haven't made up my mind yet.
#22
09-21-2011, 12:44 AM
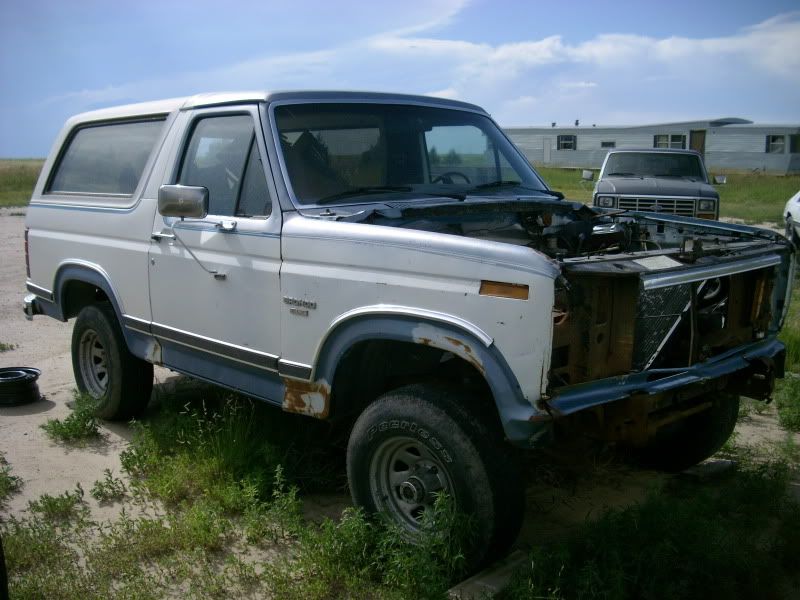
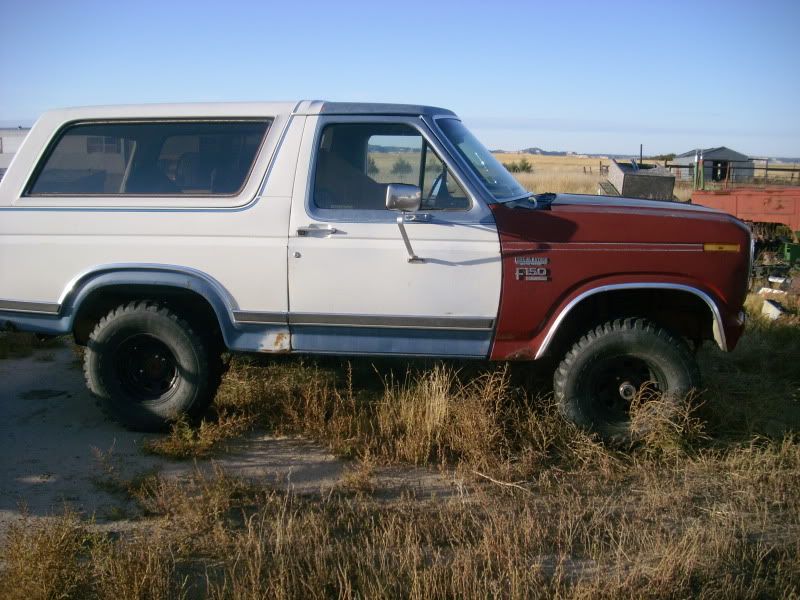
finally got a little time in the busy harvest season to post some pics that i took over the past couple of months of my bronco
i worked an entire summer for my dad when i was 16 and he bought me this bronco and gave me a rebuilt 302 for it. i eventually traded it off, but when i got the chance to get it back i jumped on it, even though it is in nowhere near the shape it once was.
just getting her home:

IMG]http://i19.photobucket.com/albums/b159/mattbox87/automotive/DSCI0004.jpg[/IMG]
front clip off:
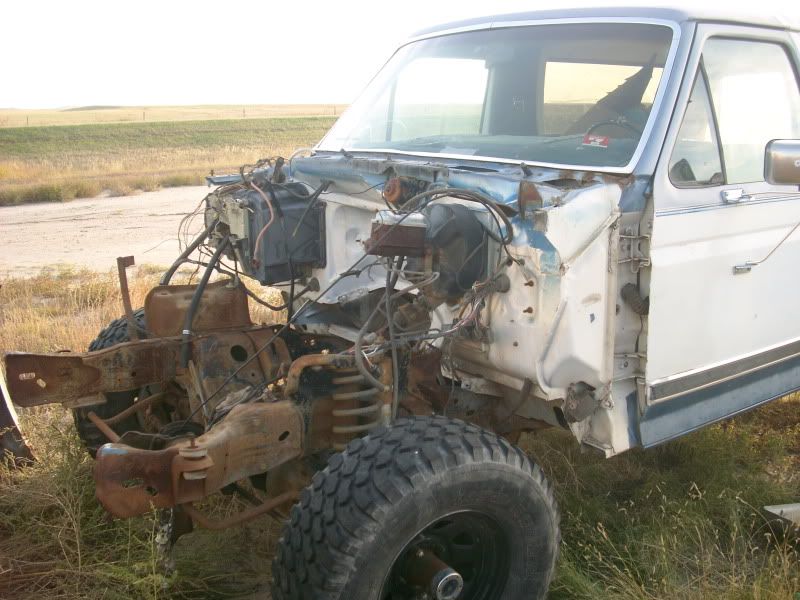
notice the piece of strap that is sticking up? it was being used to support the battery tray!
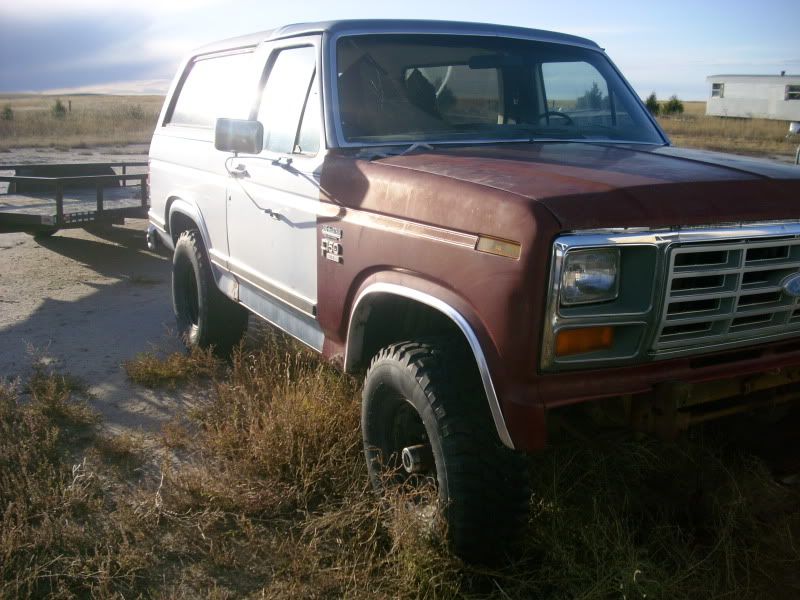
i got tired of it looking so naked so i dropped the clip off the 84 f150 that i got for it on so i could have a change in the look, temporarily:
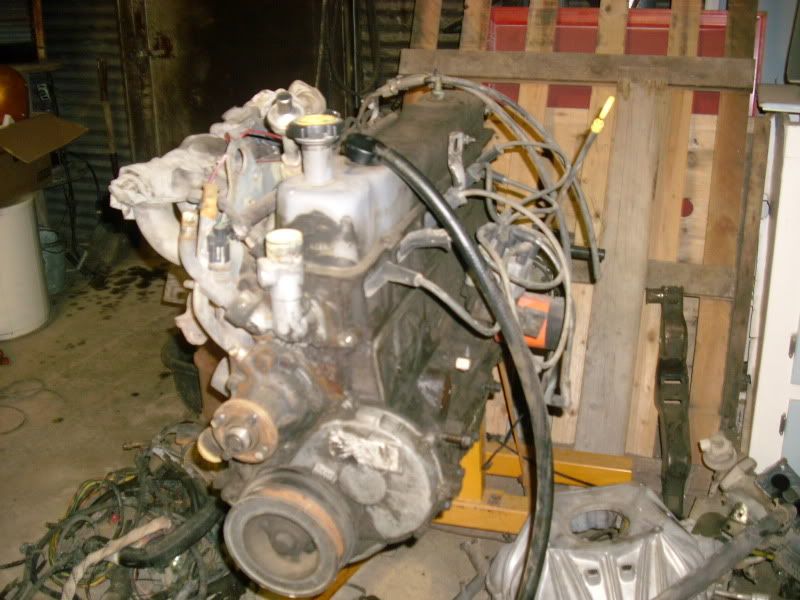
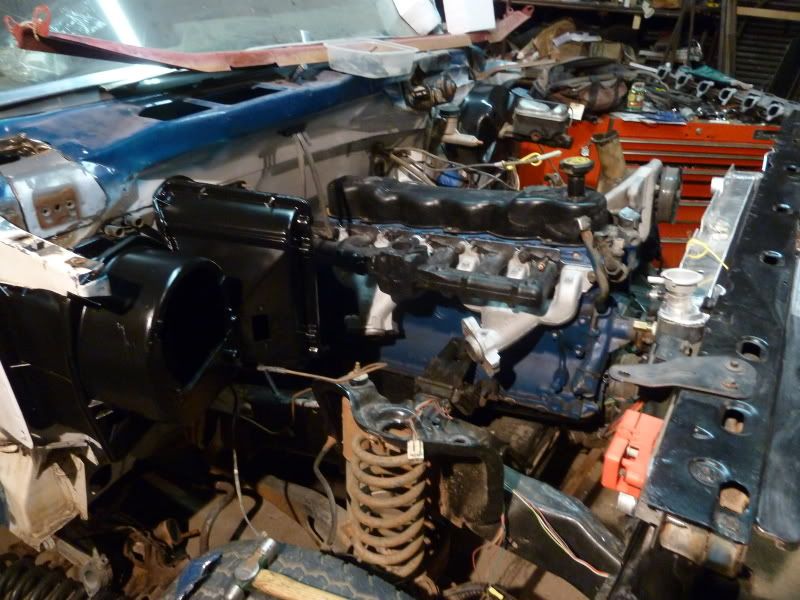
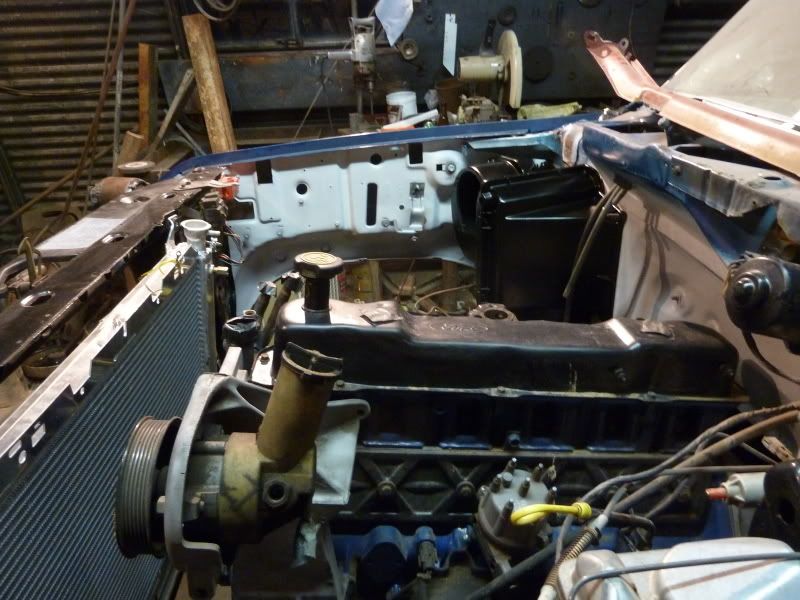
the 300-6 that im working on, sans intake and accessories:
thats all for now, as soon as i have some more free time (around the end of the month) i will post some newer, updated pics.
i worked an entire summer for my dad when i was 16 and he bought me this bronco and gave me a rebuilt 302 for it. i eventually traded it off, but when i got the chance to get it back i jumped on it, even though it is in nowhere near the shape it once was.
just getting her home:
IMG]http://i19.photobucket.com/albums/b159/mattbox87/automotive/DSCI0004.jpg[/IMG]
front clip off:
notice the piece of strap that is sticking up? it was being used to support the battery tray!
i got tired of it looking so naked so i dropped the clip off the 84 f150 that i got for it on so i could have a change in the look, temporarily:
the 300-6 that im working on, sans intake and accessories:
thats all for now, as soon as i have some more free time (around the end of the month) i will post some newer, updated pics.
#23
09-21-2011, 01:18 AM
some more old pictures to kinda help keep the thread afloat. I should be home in december!
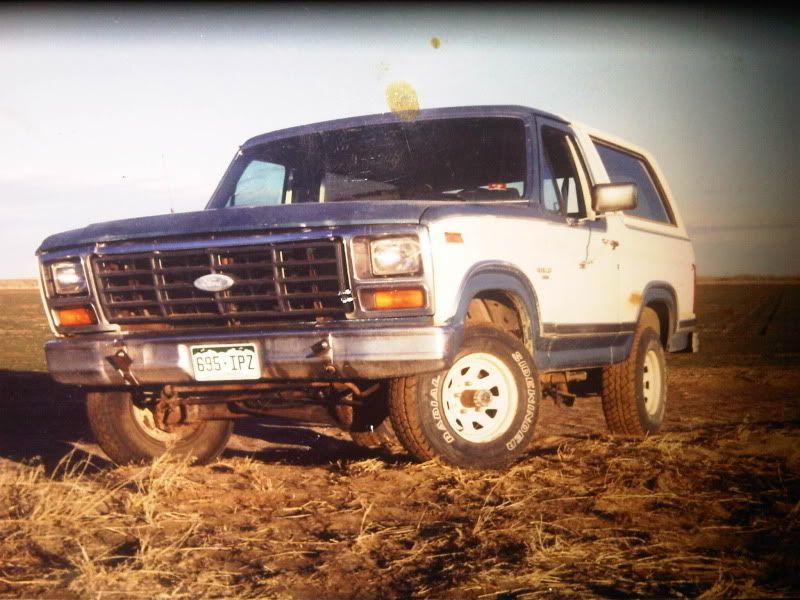
picture of a picture(note how the one side is kinda skewed) of the bronco back in about 2003 when i first bought the bronco:
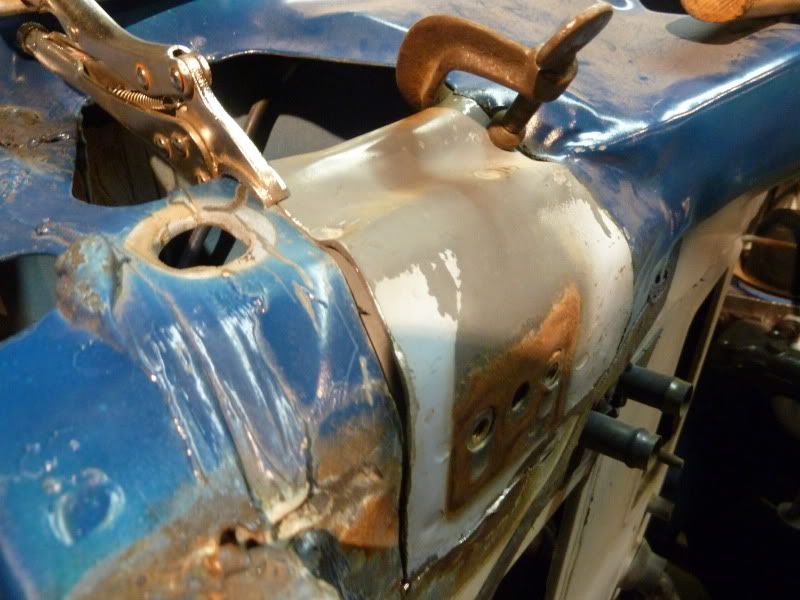
front frame rails while coating with chassis saver
working on the exhaust:
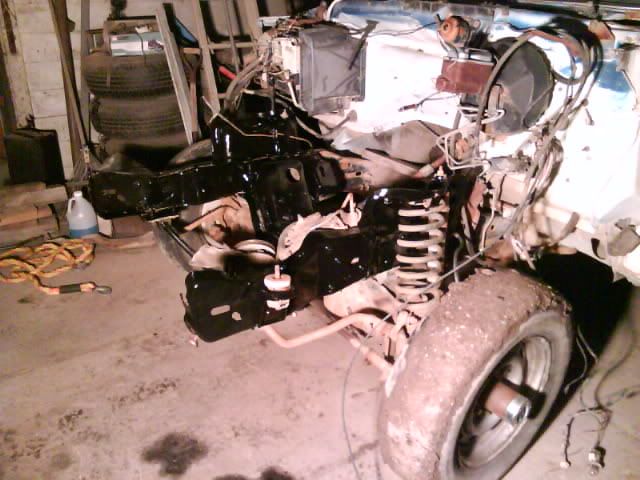
pulling the suspension out of the 86. the 4" lift went to a buddy, i'm hanging onto the front beams to do my cut and turn. don't do this at home children!

I sold the drivetrain, and scrapped the remaining rusted hull and came out with 400 bucks more than i had into it! i hate sending detroit iron to its doom, but sometimes its for the best (rusted past saving and no title in sight)
picture of a picture(note how the one side is kinda skewed) of the bronco back in about 2003 when i first bought the bronco:
front frame rails while coating with chassis saver
working on the exhaust:
pulling the suspension out of the 86. the 4" lift went to a buddy, i'm hanging onto the front beams to do my cut and turn. don't do this at home children!
I sold the drivetrain, and scrapped the remaining rusted hull and came out with 400 bucks more than i had into it! i hate sending detroit iron to its doom, but sometimes its for the best (rusted past saving and no title in sight)
#24
09-21-2011, 01:44 AM
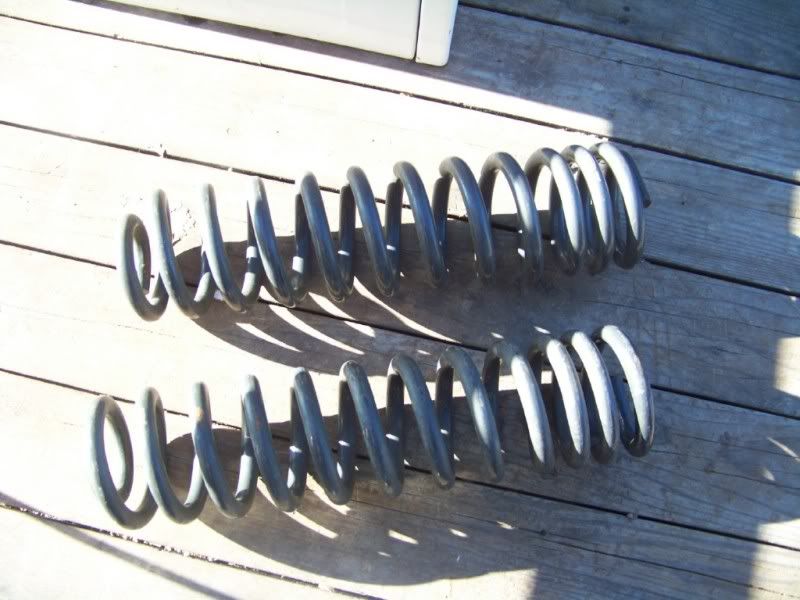
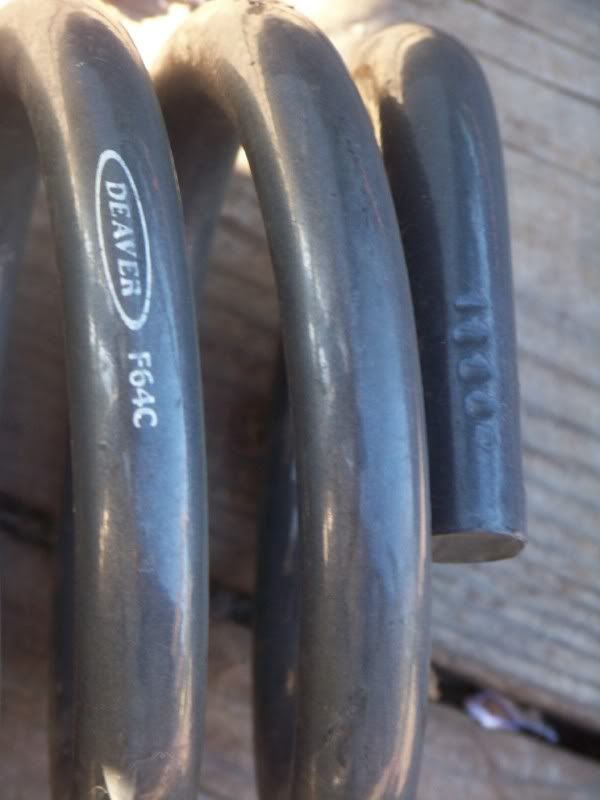
Deaver 5.5" coils i picked up used for 75 bucks. these are considered the flexiest and smoothest riding coils available.

I am thinking that i will build some coil buckets that are 2-3 inches taller than stock, then cut some spacers on a lathe (or build a jackshaft arrangement) until i get the height I want.
i'll build my own radius arms and i intend to run iniballs in bothe the radius arms and the beam pivots.
I am on the lookout for a good deal on some long 5100 bilstiens, if it comes time for them before i find a deal/discount, i'll just go ahead and buy them
I will keep the front sway bar but will most likely ditch the one on back
#25
10-14-2011, 07:57 PM
#26
12-28-2011, 10:29 PM
Finally back home! should be doing actual updates now!
for now i need to do some dusting:
here is something I tossed on this evening:
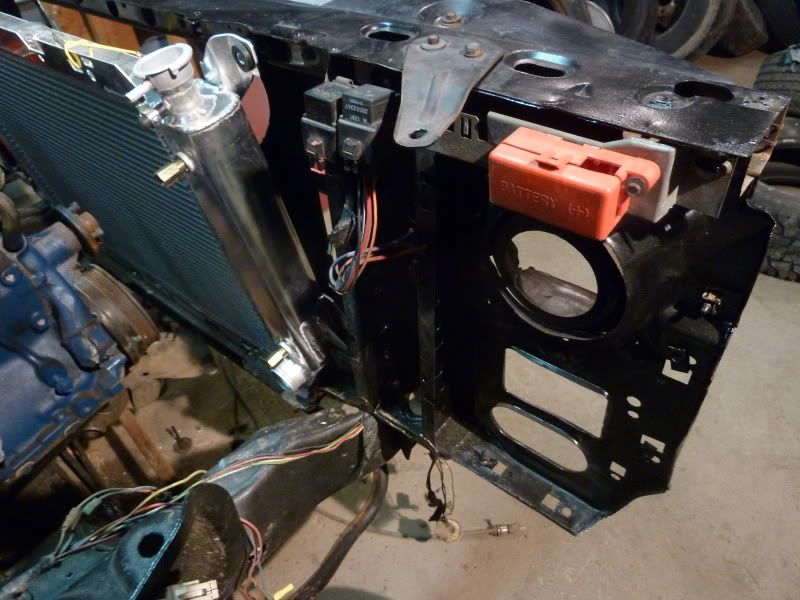
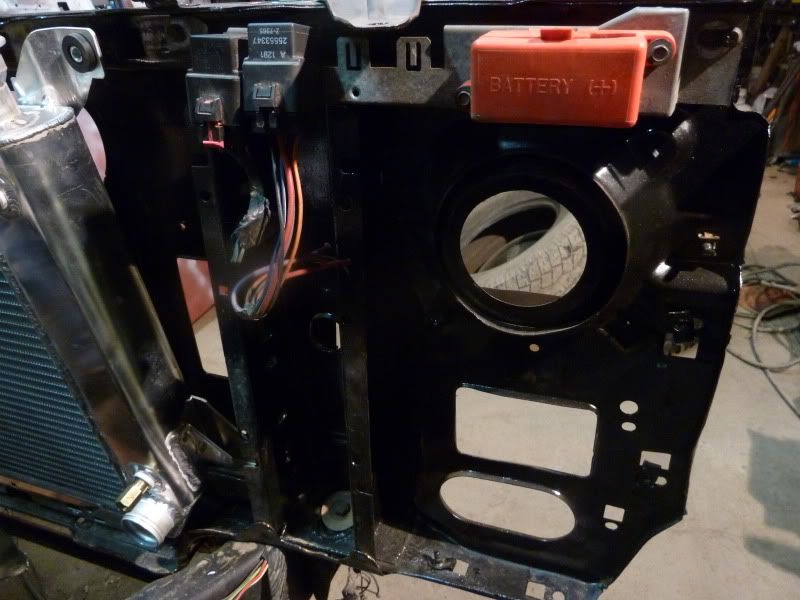
its the relay bracket off an early 90's fwd olds, has 4 spots for relays (I only have two right now) and a neat little power distribution box with its own cover.
for now i need to do some dusting:
here is something I tossed on this evening:
its the relay bracket off an early 90's fwd olds, has 4 spots for relays (I only have two right now) and a neat little power distribution box with its own cover.
#27
12-29-2011, 04:01 PM
last night i painted the heater box and made it look pretty again, kinda wish i had medium gloss instead of high gloss paint though.
and one with the fender on.
afterwards I dived into fixing the mount for the hood hinge:


doesn't exactly line up, im gonna see if the cowl will cover the variation, if not, im not sure what im gonna do with it.
I also started looking as to why whenever I place the right front fender in place I cant get it set so the the gaps look close. ended up laying on the floor with a tape measure and found out the body mounts on the passenger side are 3/8" shorter than the drivers side
looks like I'll be getting new body mounts for it. lmc has a 20 piece poly mount kit thats less than what buying the rubber individually would be. anybody have any experience with poly body mounts?
and one with the fender on.
afterwards I dived into fixing the mount for the hood hinge:
doesn't exactly line up, im gonna see if the cowl will cover the variation, if not, im not sure what im gonna do with it.
I also started looking as to why whenever I place the right front fender in place I cant get it set so the the gaps look close. ended up laying on the floor with a tape measure and found out the body mounts on the passenger side are 3/8" shorter than the drivers side
looks like I'll be getting new body mounts for it. lmc has a 20 piece poly mount kit thats less than what buying the rubber individually would be. anybody have any experience with poly body mounts?
#28
01-08-2012, 11:00 AM

#29
01-10-2012, 08:15 PM
#30
01-11-2012, 10:16 PM