


Leveling Kit Install
Thread Starter
|
Senior User
Joined: Mar 2008
Posts: 444
Likes: 1
From: Vermont
Leveling Kit Install
Hello guys, tomorrow I'm gonna go ahead and install the 1.5" AS leveling kit I bought for my truck. I've read the directions a bunch of times and have all the tools. I'm just curious if any of you have any suggestions or any pieces of advice to make the install go smoother. Anything to look out for? Thanks in advance!
Senior User
Joined: Aug 2008
Posts: 278
Likes: 1
From: Bethlehem, PA
It might not help if your doing it tomorrow, But I usually soak all the joints and bolts with KROIL a couple days before I do the job. Everything comes apart much easier and without the extra force.
Junior User
Joined: Dec 2007
Posts: 63
Likes: 0
From: Greenwald, MN
Here is a good write-up on installing a AS system I found that helped me alot!
http://www.f150online.com/forums/sus...t-install.html
Hope it helps.
http://www.f150online.com/forums/sus...t-install.html
Hope it helps.

Freshman User
Joined: Jan 2008
Posts: 28
Likes: 0
From: Butler, Pa
I did the 2.5 in the front and the 3" block in the rear....very happy with the choice....impact helped a great deal...only prob i had was with the upper ball joint. Sounds half assed but I used a parallel clamp tighten to get the upper ball to the spindle...if not the nut will never tighten. Get aligned asap when ur done!! 50 beans at my uncles shop.
Thread Starter
|
Senior User
Joined: Mar 2008
Posts: 444
Likes: 1
From: Vermont
Well got everything done today. Took about 2.5 hours to do the first side and only about 40 min to do the last side since my buddy and I knew what we were doing.
One of the hardest parts in my opinion was getting the shock to line back up so you could put the bolt through that holds it in place.
The other thing to zfisher, we used a vice grip on the upper part of the spindle so that it didn't spin and that's how we were able to tighten it to the upper ball.
Thank you all for your advice and especially that link to the tutorial. I'm getting it aligned tomorrow morning so I should be able to post pics sometime in the next day or so. Thanks again!
Last edited by pb34; Aug 18, 2009 at 04:54 PM. Reason: Typo
Trending Topics
MMNC (SS)(Ret)


Joined: Mar 2004
Posts: 11,606
Likes: 151
From: SE Georgia

FTE Stories
Ford Trucks for Ford Truck Enthusiasts

3 Best / 3 Worst Parts of Modern Ford Ownership
Brett Foote
10 Amazing Upgrades That Solve Common Ford Truck Owner Headaches
Pouria Savadkouei
Every 2026 Ford Engine Explained
Brett Foote
10 Ugly Ford Trucks That We Still Kinda Love
Joe Kucinski
10 Things Every Truck Owner NEEDS (2026 Edition)
Michael S. Palmer
Rezvani's Latest Post-Apocalyptic Monster Is a Ford F-150 Raptor Underneath
Verdad Gallardo
Top 10 Most Expensive Ford Trucks Ever Sold on Bring a Trailer
Joe Kucinski
2027 Ford Super Duty Buyer's Guide (Every Model, Engine, & Package)
Brett Foote
Top 10 Ford Truck Tragedies
Joe KucinskiThread Starter
|
Senior User
Joined: Mar 2008
Posts: 444
Likes: 1
From: Vermont
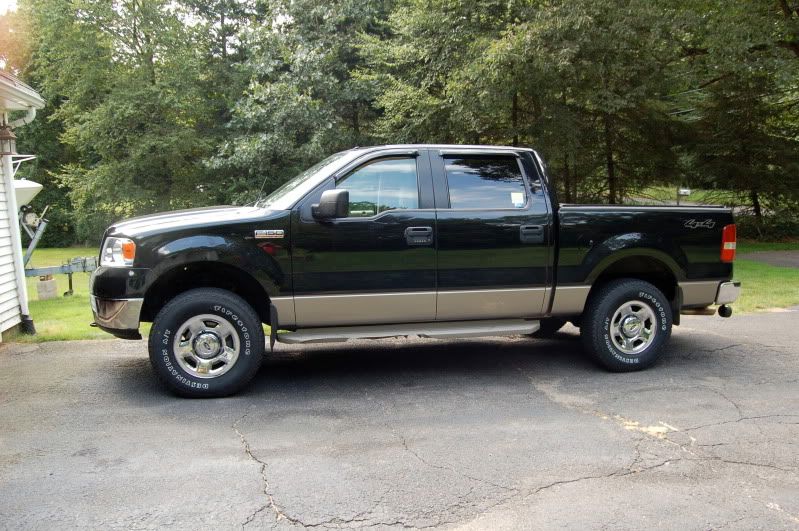
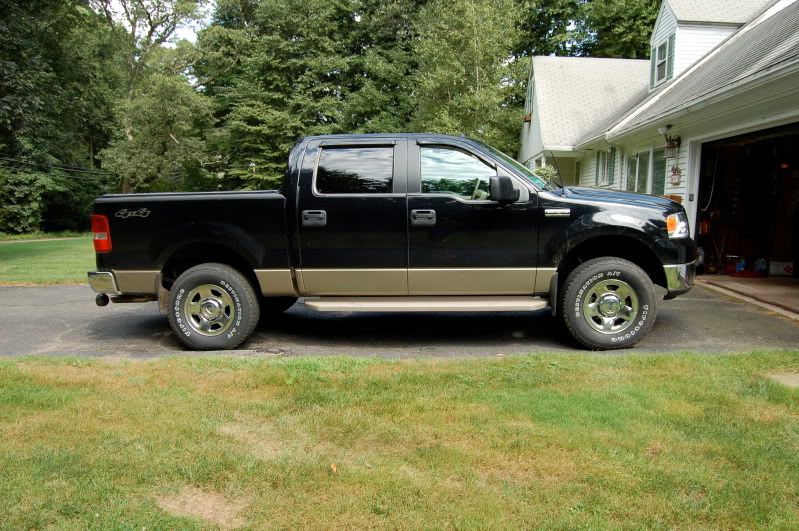
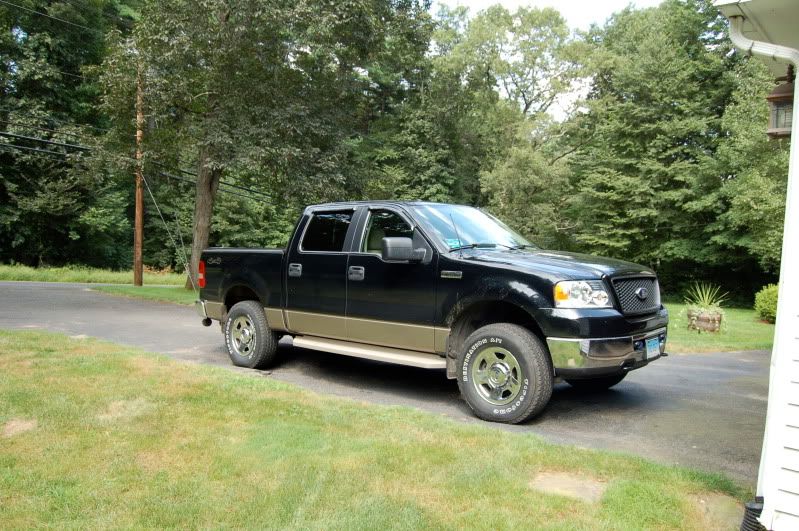
Well my tire shop aligned it for free this morning since I just bought the tires last week. Funny thing is, I get a call from them telling me I left a vice grip on one of the bolts down there, glad it didn't come flying off! Anywhere here are some pics, in two of the pics it might look like its too high in the front but my driveway is not level and the rear right tire is also in a little bit of a ditch.
Pics:
Pics:

Thread Starter
|
Senior User
Joined: Mar 2008
Posts: 444
Likes: 1
From: Vermont
Thanks!
Here's another funny story, turns out what I thought to be rubbing was actually just the tires catching on the mud guards that I installed! Oh well, it gave me an excuse to throw on a leveling kit.
Here's another funny story, turns out what I thought to be rubbing was actually just the tires catching on the mud guards that I installed! Oh well, it gave me an excuse to throw on a leveling kit.

Senior User
Joined: May 2008
Posts: 449
Likes: 0
From: Americas' hat (Canada)
Did you actually have a torque wrench to tighten your nuts down to the specified torque?
I've got a garage full of tools and didn't have a torque wrench that could go past 150ft/lb.
So, I just had the shop check the torque on all the bolts.
I've got a garage full of tools and didn't have a torque wrench that could go past 150ft/lb.
So, I just had the shop check the torque on all the bolts.

Senior User
Joined: May 2009
Posts: 137
Likes: 0
nice job.
what was that lower nut? was it 250ft/lbs? maybe it was 275. I know I just used my 250lb wrench but I can't remember If I had it maxed out or not. must have been good as I did mine about a year ago and it's till in there.
what was that lower nut? was it 250ft/lbs? maybe it was 275. I know I just used my 250lb wrench but I can't remember If I had it maxed out or not. must have been good as I did mine about a year ago and it's till in there.
Junior User
Joined: May 2009
Posts: 82
Likes: 0
From: East Machias, Maine
Little Blocks
IS the main reason for these lifts to ease rubbing of bigger tires or is it to look cool? Is there a benefit other then the rubbing? I think my truck handles like a top heavy boat compared to my old GM's. Why would I make it worse? Not trying to
  just wonder what the difference is.
Not trying to just wonder what the difference is.