Overhauling my 85 F150
#106
 09-05-2011, 06:28 PM


I thought I had some near page 1, but must have been in various other posts:
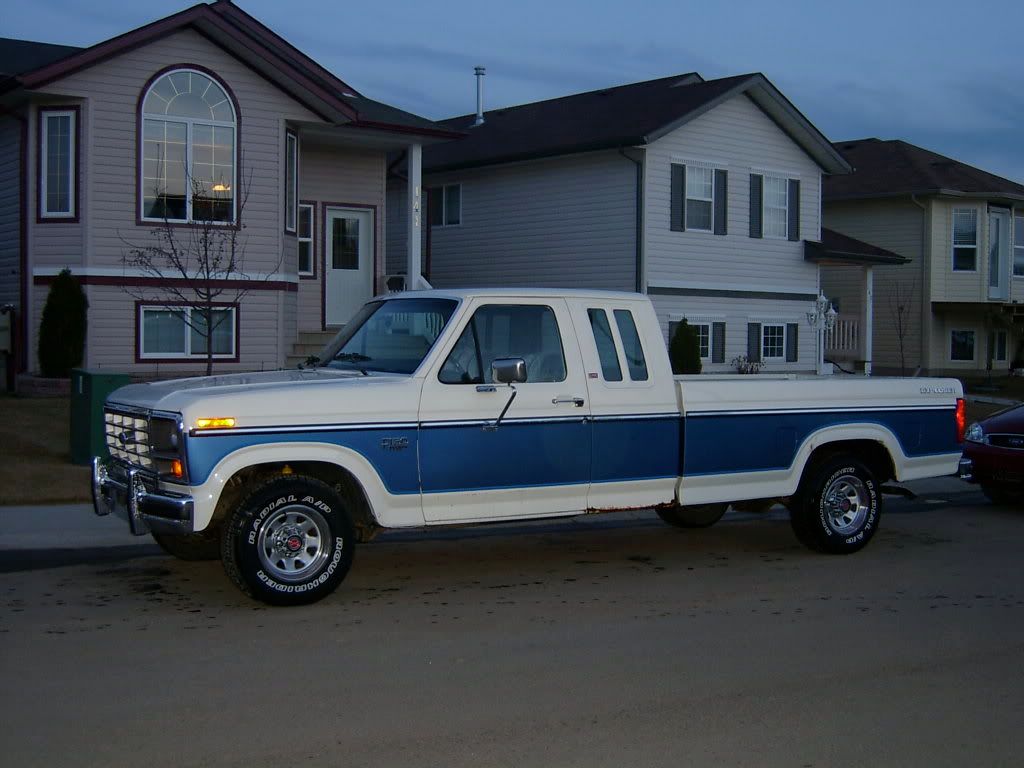
Condition when I first got it
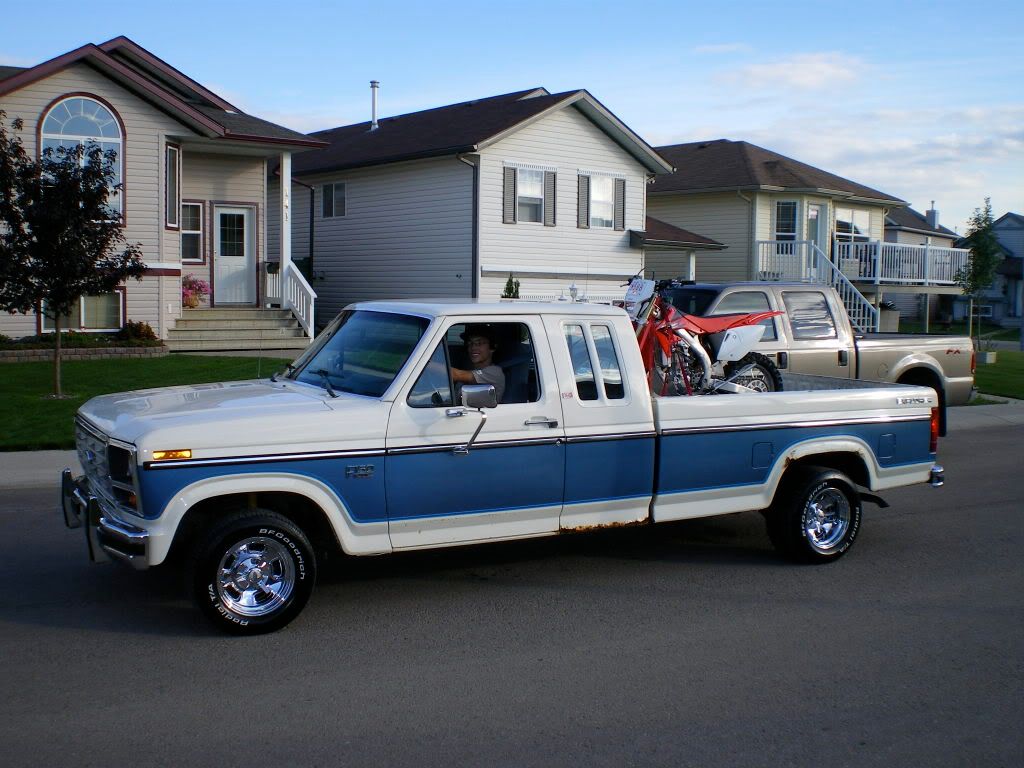
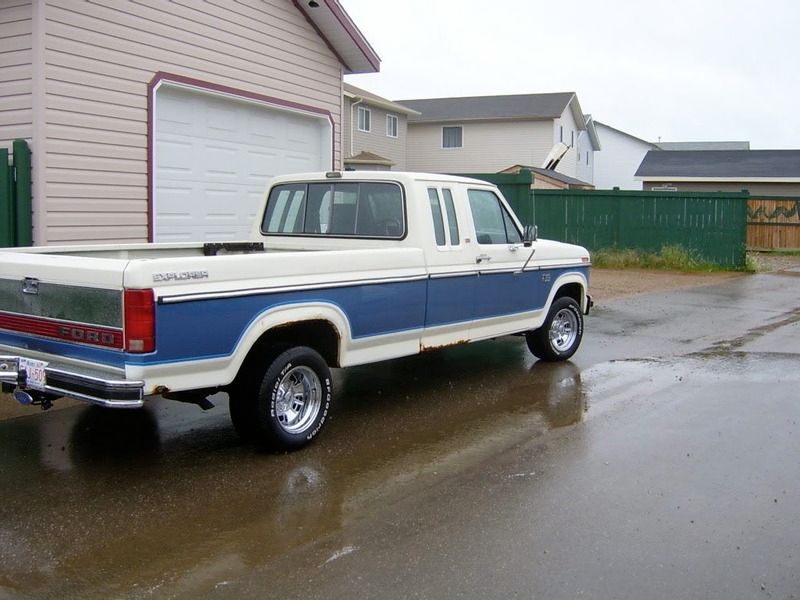
Detailed for road trip
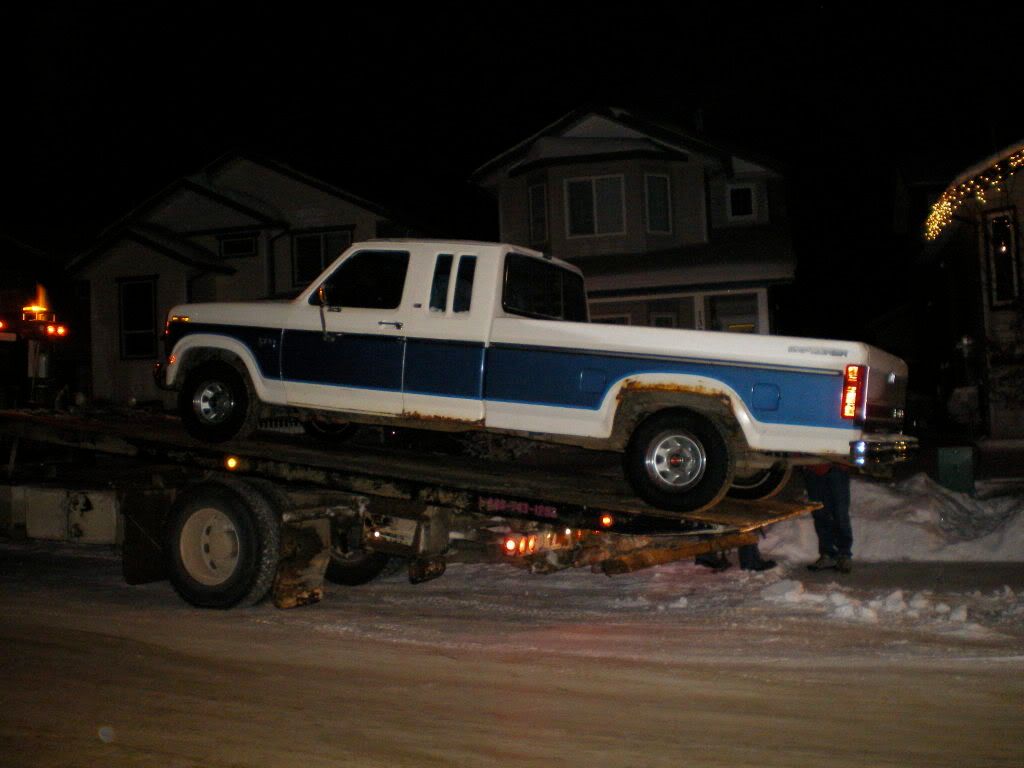
C6 was slipping for months, finally left me stranded in the winter and came home on the flatdeck. 351 was tired and I had the 460 already so I revved it up, seen 5000rpm bursts. Blew massive amounts of carbon out the tailpipes, had a deep (slightly amazing) bark to it. Brought it back down to idle for a bit, put it in gear and the SOB drove in to my garage.
Cab corners and box sides are in FAR worse current condition. That flat deck picture is the last pic before disassembly, taken almost three years ago.
Instead of trying to handle a supercab off the frame, I dropped the frame from under it.

Thanks for following this guys, it truly means something. Very few bullnose's around here,and very few locals realize the caliber of involvement in doing a project like this. They all just pay someone to do it.
Condition when I first got it
Detailed for road trip
C6 was slipping for months, finally left me stranded in the winter and came home on the flatdeck. 351 was tired and I had the 460 already so I revved it up, seen 5000rpm bursts. Blew massive amounts of carbon out the tailpipes, had a deep (slightly amazing) bark to it. Brought it back down to idle for a bit, put it in gear and the SOB drove in to my garage.
Cab corners and box sides are in FAR worse current condition. That flat deck picture is the last pic before disassembly, taken almost three years ago.
Instead of trying to handle a supercab off the frame, I dropped the frame from under it.
Thanks for following this guys, it truly means something. Very few bullnose's around here,and very few locals realize the caliber of involvement in doing a project like this. They all just pay someone to do it.
#107
09-05-2011, 06:38 PM
Elder User
Join Date: Apr 2009
Location: Reno Nevada
Posts: 627
Likes: 0
Received 0 Likes
on
0 Posts
#108
09-05-2011, 07:01 PM
Body work hasn't begun yet. Hopefully by September's end.
I have two NOS front fenders for it. Aftermarket bed side outer skins, inner rear wheel wells, and full supercab corners. The quality of these parts seem to be better than most aftermarket, hopefully I won't have any problems. I am hoping to grab a NOS tailgate, but picked up one that only needs a bit of work in case. Lower doors need a bit of TLC, but nothing major. The hood is fine, but I'm doing a steel cowl hood. A few other exterior secrets in the plans too.
I have two NOS front fenders for it. Aftermarket bed side outer skins, inner rear wheel wells, and full supercab corners. The quality of these parts seem to be better than most aftermarket, hopefully I won't have any problems. I am hoping to grab a NOS tailgate, but picked up one that only needs a bit of work in case. Lower doors need a bit of TLC, but nothing major. The hood is fine, but I'm doing a steel cowl hood. A few other exterior secrets in the plans too.
#109
09-05-2011, 07:16 PM
Elder User
Join Date: Apr 2009
Location: Reno Nevada
Posts: 627
Likes: 0
Received 0 Likes
on
0 Posts
#110
11-02-2011, 10:22 PM
Initially I grabbed the Ford angle adapter for the oil filter from my donor truck, but not the crossmember, rendering the adapter useless.
L&L's remote filter kit has everything you need at about $250, however it is only 6AN (1/2"). I wanted more oil movement so I sourced parts from Derale for a 10AN (5/8") assembly. I went with the deluxe (black powdercoat), very nice stuff. I also tried RedHorse fittings. They are a very quality product as well.
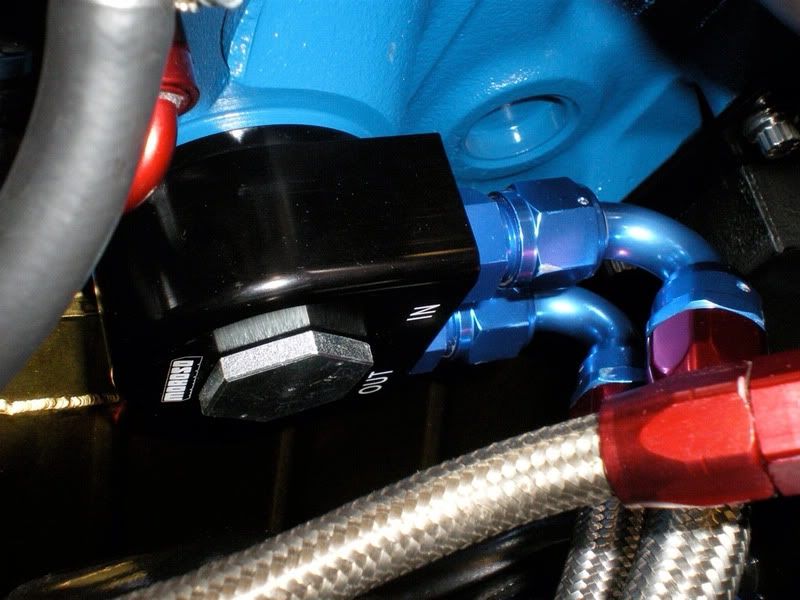
Originally I had the Derale block adapter which comes straight out the same way a filter would. The bulkiness of the 10AN fittings had clearance issues against the crossmember, so I used the Moroso slim design. It's similar to L&L's kit where it sends it 90* off the filter mount.
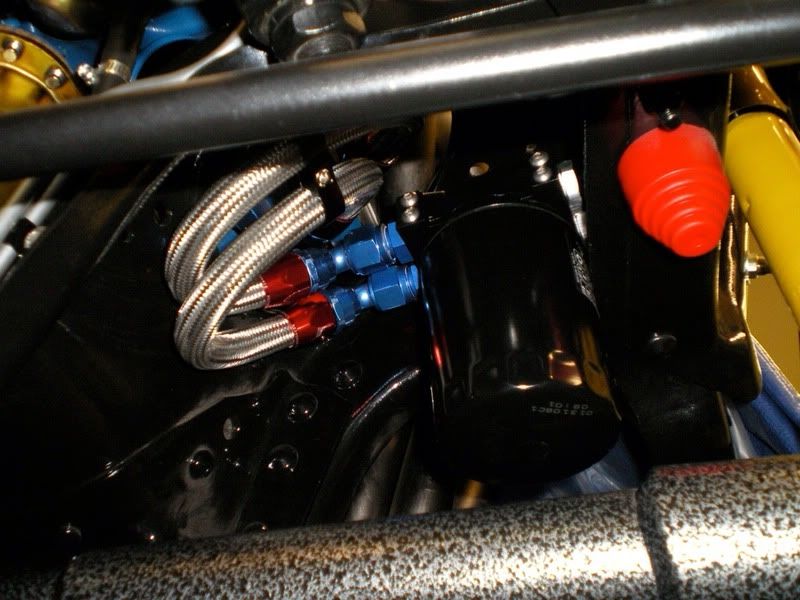
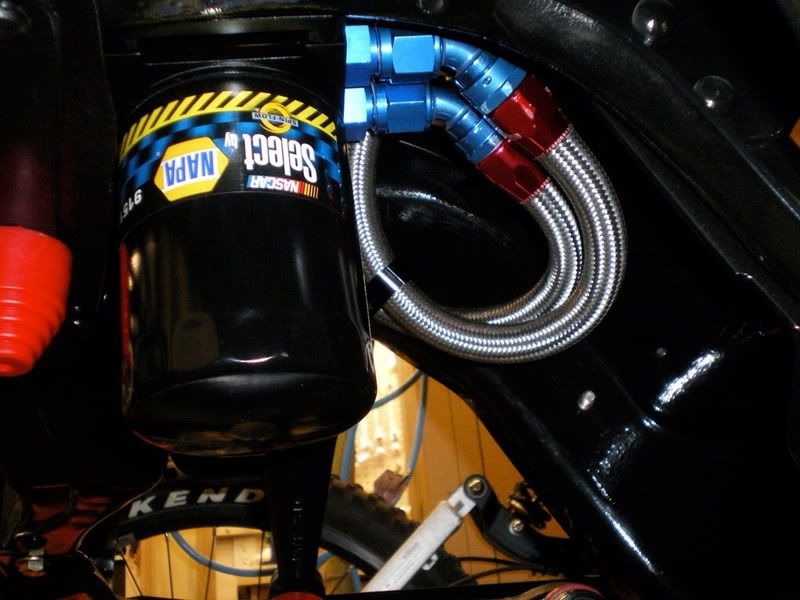
The filter mount itself is tucked in the corner under the crossmember and against the frame rail. The filter is about 1/8" away from the frame, and is far enough back to clear the 2wd i-beams. I used one of the existing holes there and drilled two others, and it let me have the supply and return hoses as short as possible. There are also 4 allen head screws on the front side of the filter mount that I may or may not build a shield and attach there for filter protection. With the front bumper mounted, the filter won't be visible from the front, it is fairly tucked up there.
My issue was that I wanted the hoses short, and with the slim design of the block adapter, the elbows off the filter mount and block adapter ended up overlapping. 8 combinations of elbows later (with my performance shop 5hrs away), I have an install I am pretty proud of. It looks sharp, I love S/S braided hose ! The downside, I have a touch more than $300 in to this ...
As a side note, Koul Tools is the best invention ever when installing hose ends on braided line. Also, I am embarrassed by some of the damage on my first few fittings. It was a learning curve dealing with those big guys. Last but not least, no fittings or hoses are touching anywhere or against anything despite what the picture looks like.
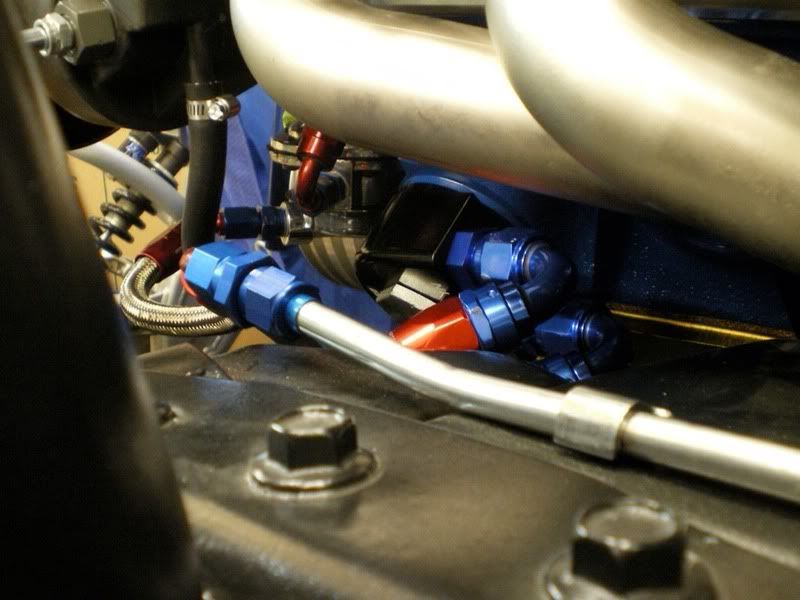
Looking front to back
Looking back to front
I drilled out all the spot welds on out box skins and outer wheel wells and had the box soda blasted inside and out - box work in progress.
L&L's remote filter kit has everything you need at about $250, however it is only 6AN (1/2"). I wanted more oil movement so I sourced parts from Derale for a 10AN (5/8") assembly. I went with the deluxe (black powdercoat), very nice stuff. I also tried RedHorse fittings. They are a very quality product as well.
Originally I had the Derale block adapter which comes straight out the same way a filter would. The bulkiness of the 10AN fittings had clearance issues against the crossmember, so I used the Moroso slim design. It's similar to L&L's kit where it sends it 90* off the filter mount.
The filter mount itself is tucked in the corner under the crossmember and against the frame rail. The filter is about 1/8" away from the frame, and is far enough back to clear the 2wd i-beams. I used one of the existing holes there and drilled two others, and it let me have the supply and return hoses as short as possible. There are also 4 allen head screws on the front side of the filter mount that I may or may not build a shield and attach there for filter protection. With the front bumper mounted, the filter won't be visible from the front, it is fairly tucked up there.
My issue was that I wanted the hoses short, and with the slim design of the block adapter, the elbows off the filter mount and block adapter ended up overlapping. 8 combinations of elbows later (with my performance shop 5hrs away), I have an install I am pretty proud of. It looks sharp, I love S/S braided hose ! The downside, I have a touch more than $300 in to this ...
As a side note, Koul Tools is the best invention ever when installing hose ends on braided line. Also, I am embarrassed by some of the damage on my first few fittings. It was a learning curve dealing with those big guys. Last but not least, no fittings or hoses are touching anywhere or against anything despite what the picture looks like.
Looking front to back
Looking back to front
I drilled out all the spot welds on out box skins and outer wheel wells and had the box soda blasted inside and out - box work in progress.
#111
11-02-2011, 10:33 PM
Posting Legend
#113
01-22-2012, 03:13 PM

#116
01-22-2012, 05:42 PM
Posting Guru
#118
01-24-2012, 06:32 PM
 If you're curious about a certain area though, ask away.
#120
01-25-2012, 04:52 PM
The front has the DJM Dream Beams with new HD coils from LMC.
The rear has new springs from 07 (deleted the overloads), which I separated to paint individually. I also found a crack in one of the leafs so I replaced that leaf in each side - they are fairly stiff again, mounted with DJM drop shackles. A pair of ladder bars are also in the works.
Poly bushings everywhere, Monroe shocks all around. Once I get the body on and the suspension settles to ride height I'm going to source sway bars. I know the Hellwig's I have won't work.