When you click on links to various merchants on this site and make a purchase, this can result in this site earning a commission. Affiliate programs and affiliations include, but are not limited to, the eBay Partner Network.
Yes. You can check it by ear. Start the engine an unplug the cold advance solenoid. The engine diesel noise should get less rattle-y. When you plug it back it, you should hear it get rattle-y-er.
How it works: the injection pump has a check valve that holds ~5 psi inside the pump housing. More than ~5psi will unseat the check-ball and allows excess fuel into the return-line plumbing back to the fuel tank. The cold idle solenoid has a plunger that pushed the check-ball off the seat and bleeds all the pump pressure to 0 psi. With out any housing pressure, the timing advance system maxes out to help the engine start when cold. The check-ball is made or glass (or maybe clear plastic), and after 30 years it shatters and disappears. This allows the housing pressure to remain at 0 psi all the time, and maxes out the timing advance.
The check-valve housing is externally replaceable and comes in different preset psi values. You need to get your pump part number and then call your international dealer for a replacement.
The check valve is where the brass fuel hose elbow threads into.
You rock. So are you saying that the front connector is cold timing advance? I had read in another thread that front is fuel shutoff, rear is timing advance. Or are you just pointing out the location of that entire module?.Either way, here's another question - is there a gasket needed for the check valve unit install? I'm sitting on a rebuilt Delphi pump that I'm trying my absolute hardest not to have to install, but I'd be happy to just swap out the check valve with this new one. Though I should really just man up and do the entire pump...
Anywho, back to it tomorrow. Thanks again.
Sorry for the confusion and the multiple typos. I used this photo to show someone the location of the fuel shut off solenoid a few months ago. I re-used it because it shows the brass elbow fitting (sorta).
Yes, the timing advance solenoid is the rear terminal, not the forward terminal.
The check valve should have a reusable gasket under it. It's been a while since I pulled one apart, but I know I didn't have to find a new gasket.
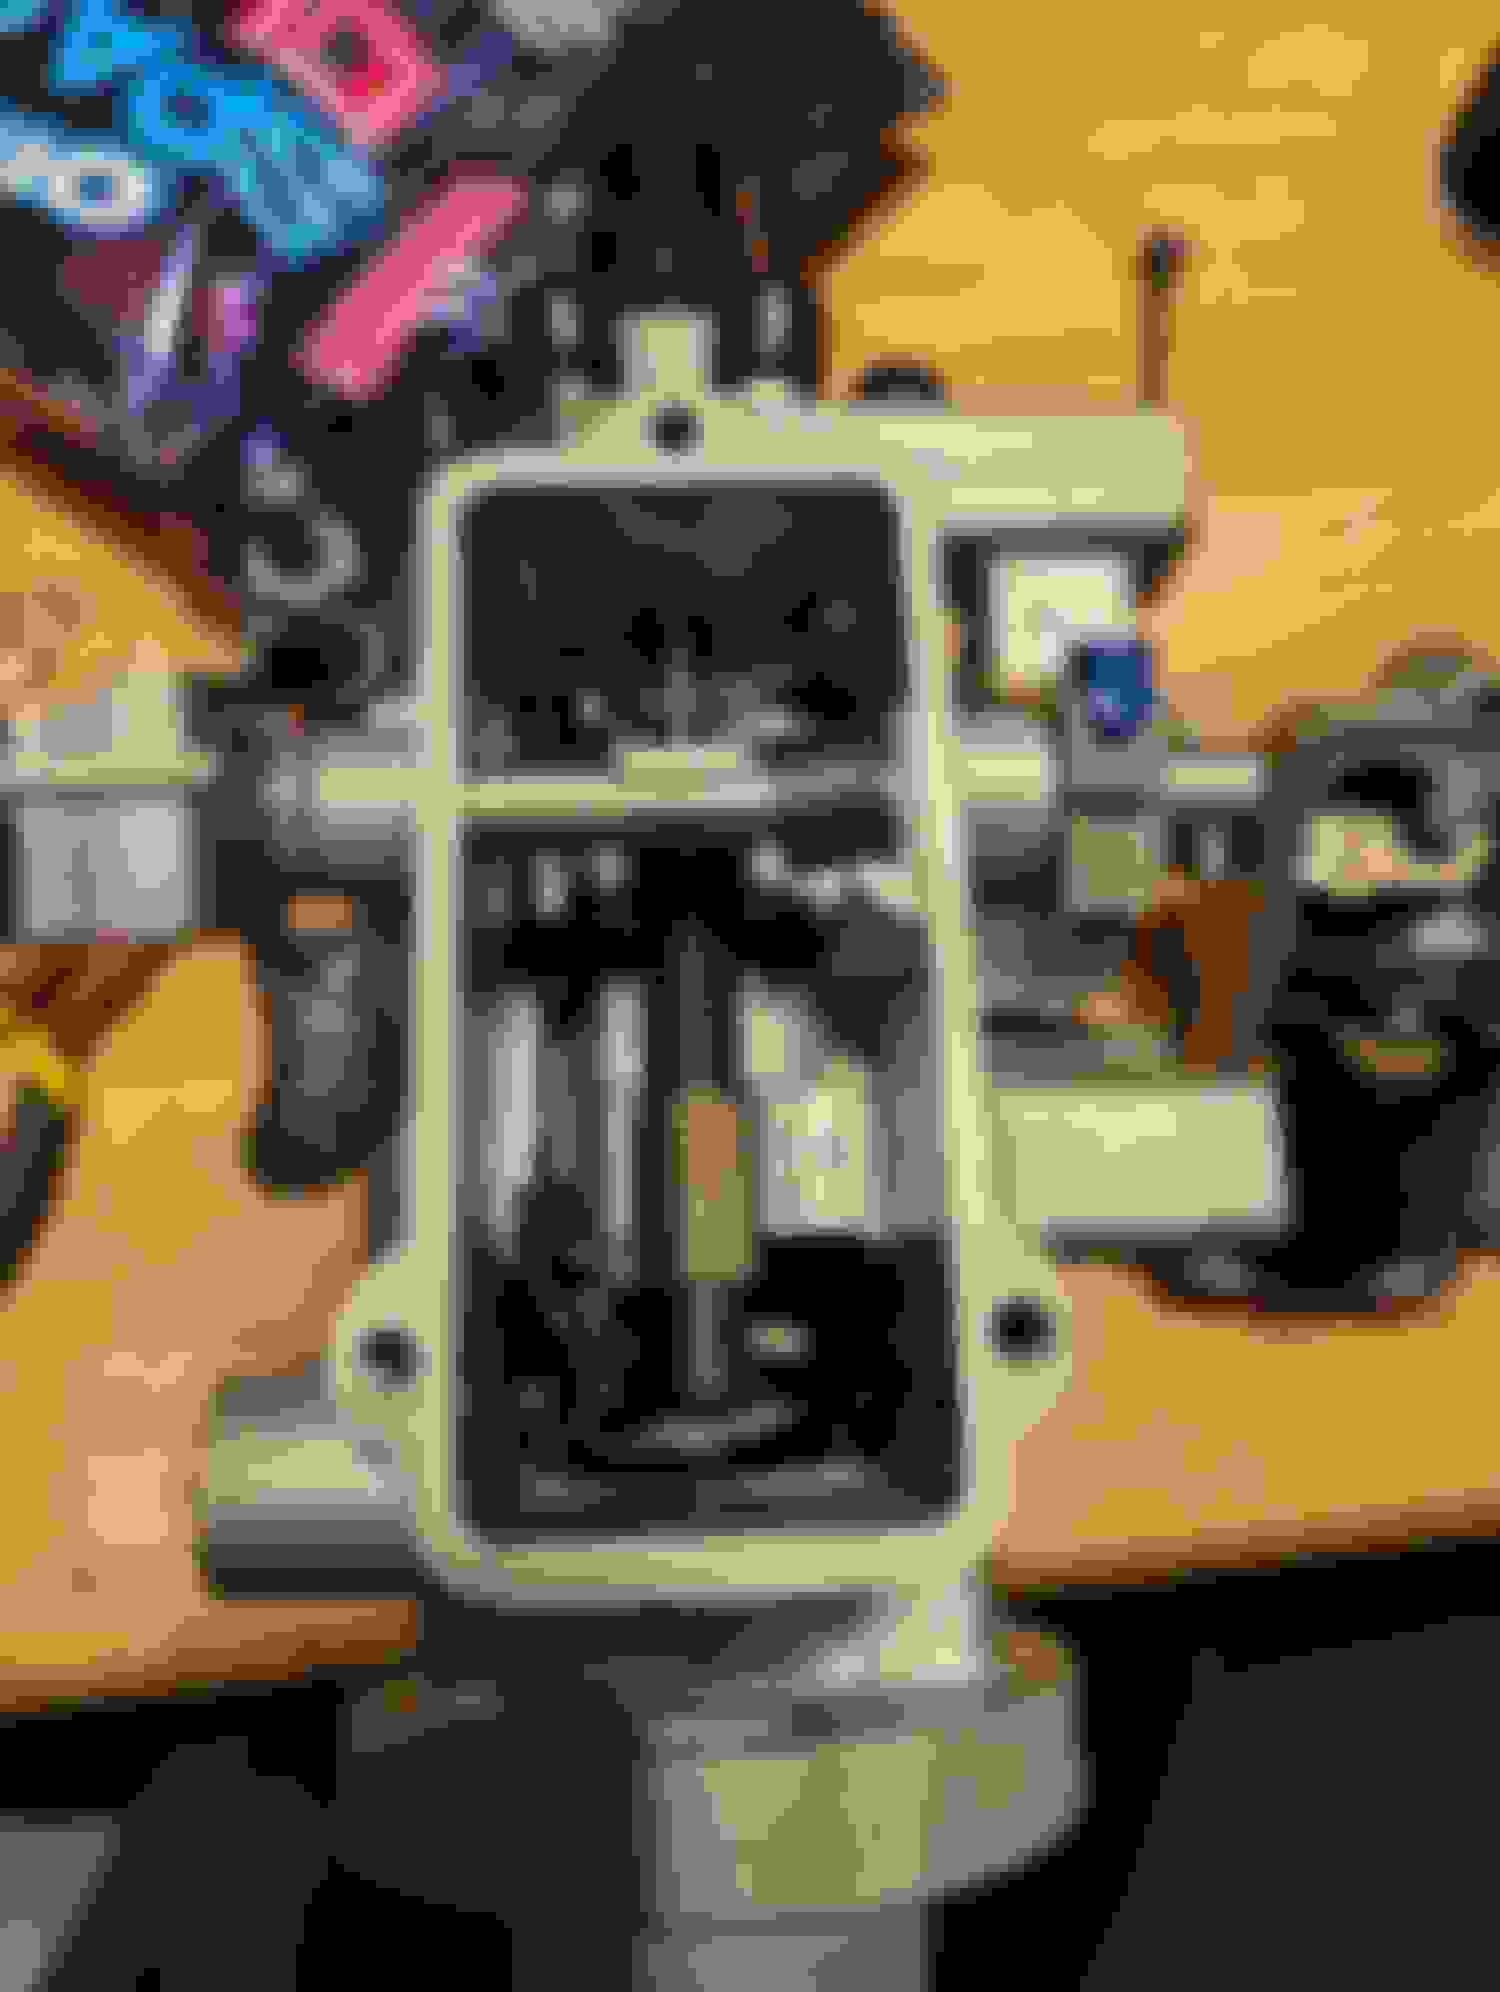
Can confirm, there is a nice reusable gasket in there. Here's a couple photos of the inside for anyone who might be curious:
The cold advance solenoid itself appears to be part number 23861, at least that's what's etched into this one.
I'm also noticing there's a bit of fluid inside the pump, assuming shipping oil to prevent rusting.
Anyway gonna try swapping the solenoid assembly after a morning nap. Third shift would be so much better if I had a garage...
Take a look at the check valve and see if the glass ball is still in it.
Take a look at the check valve and see if the glass ball is still in it.
I will when I get the old one off. I don't want to risk damaging the rebuilt one. It's just two wires, one hose, and three screws, huh... Be right back
So.
Yes, the bead was there. However I only found that out AFTER trying to take the solenoid out of its housing and in the process making it inoperable. I believe I created a short between the positively charged stud and the grounded housing.
Anyways, I went ahead and put the new/rebuilt solenoid housing on the old pump and now it won't start at all. Cranks fine but no fuel. I tested the fuel cut off solenoid, both mounted and dismounted and it only clunks when it's dismounted. That makes me think that the internals are not lining up properly for the fuel cutoff system. Unfortunately, I have a scheduled call now so I won't be able to get back to it until later.
Okay, not great news. I ended up finding out that the cutoff switch wasn't engaging so I put the old one in because it was still working strong. Install the whole housing and it fires up but won't turn off. I pulled the connector for the cutoff switch but it just keeps going. I had to throw a moving blanket over the intake just to get it to quiet down but it's still running and the smoke is becoming blacker. Any idea how to kill this thing?
Just to be clear, I didn't intend for you to remove the top of the pump housing. You were suppose to have unscrewed the black hex fitting that the brass elbow threads into.
I'm guessing you need to get the fss fork under the governor shaft. Or maybe you popped the fss fuse in the fuse box.
Just to be clear, I didn't intend for you to remove the top of the pump housing. You were suppose to have unscrewed the black hex fitting that the brass elbow threads into.
I'm guessing you need to get the fss fork under the governor shaft. Or maybe you popped the fss fuse in the fuse box.
Currently the least of my issues. Truck won't turn off. I'd like to prevent it from catching fire if at all possible.
Okay, not great news. I ended up finding out that the cutoff switch wasn't engaging so I put the old one in because it was still working strong. Install the whole housing and it fires up but won't turn off. I pulled the connector for the cutoff switch but it just keeps going. I had to throw a moving blanket over the intake just to get it to quiet down but it's still running and the smoke is becoming blacker. Any idea how to kill this thing?
PInch the black rubber return-hose coming off the top of the injection pump with a pair of needle nose pliers. It'll build up so much pressure in the pump, it'll kill the engine, harmlessly.
PInch the black rubber return-hose coming off the top of the injection pump with a pair of needle nose pliers. It'll build up so much pressure in the pump, it'll kill the engine, harmlessly.
Thank you. You have no idea how useless Google can be until you REALLY need it.
https://www.oilburners.net/brian/idi...nServicing.htm
"Remove the top cover at your own risk. If you remove it, and do not reinstall it properly, your engine could enter a runaway state upon restarting. Pay particular attention to the way the fuel shut off arm must fit in the pump body, and ensure that you can hear a good click when you apply power to the pump BEFORE you attempt to start the truck. If the pump is not assembled correctly, full throttle would be applied and disconnecting power from the pump would not stop it. Only the removal of fuel or air would." Indeed.
The only way I could get that cover seated properly was by making up some test leads and energizing the shut-off solenoid so that way it was in the correct position once installed. Truck now stops correctly. Yay!
I have to wait for it to cool down before checking the timing advance again, but before I realize it was a runaway I did unplug and replug that solenoid a couple times and it did change the rpm. Luckily my exhaust is no longer dark gray, so I don't think I did any lasting damage this time.
Oh, while I was in the process of trying to smother the engine, I "casually brushed up" against two of the glow plug wires and they fell apart. I swear if this whole fiasco has been glow plugs the entire time..
Oh there's now a small puddle of oil in the valley pan under the CDR. I'm guessing I should check that next.
There shouldn't be much of a rpm change when you disconnect the cold advance solenoid. It should just a change in the diesel clackle noise.
Then what I was hearing must have just been a side effect of the runaway. I let it cool down for a couple hours and started it back up, was planning to check that but neither the cold advance nor cold idle are working now. Might not have let it cool for long enough since the radiator and block were still a bit warm. It started up first crank though. It's never done that before. Tons of white smoke this time though, even more than usual. I drove about 10 mi and it seems to be driving exactly as it did before. I probably won't be able to look at it again until Thursday. Probably going to retrace my steps on the temperature switch, maybe wire it up to be manually activated.
 02-11-2024, 11:21 PM