When you click on links to various merchants on this site and make a purchase, this can result in this site earning a commission. Affiliate programs and affiliations include, but are not limited to, the eBay Partner Network.
Work Truck Tribute - Day 60, Suprise! (Still a lot to do)
DAY 60:
This was my ambitious day to finish this project, but I had some things slow me down. I think ordering parts was more of a time thief than I anticipated, but the return was I never stalled waiting for some thing to arrive. The few times I had to pause on an assembly for a part, with so much work underway, I never had a problem diverting to something else (although I tried to not open too much up at once). I have probably spent a weeks time ordering all these parts, checking the larger shipments in, and trying to find space to store everything.
I also spend more time organizing each day than I thought I would. With a small space I have to constantly move stuff around to the tune of about an hour a day. This adds up to about a week and a half of overhead that results in no direct work.
The other time thief was the long drives to retrieve parts like the frame, Dana 60 and such. This sinks another week because all three trips were overnights.
Not to make cheap excuses, but actual work time at clock day 60 is more like Day 40.
Do I get an extra 20 clock days to finish? Let me know.
****
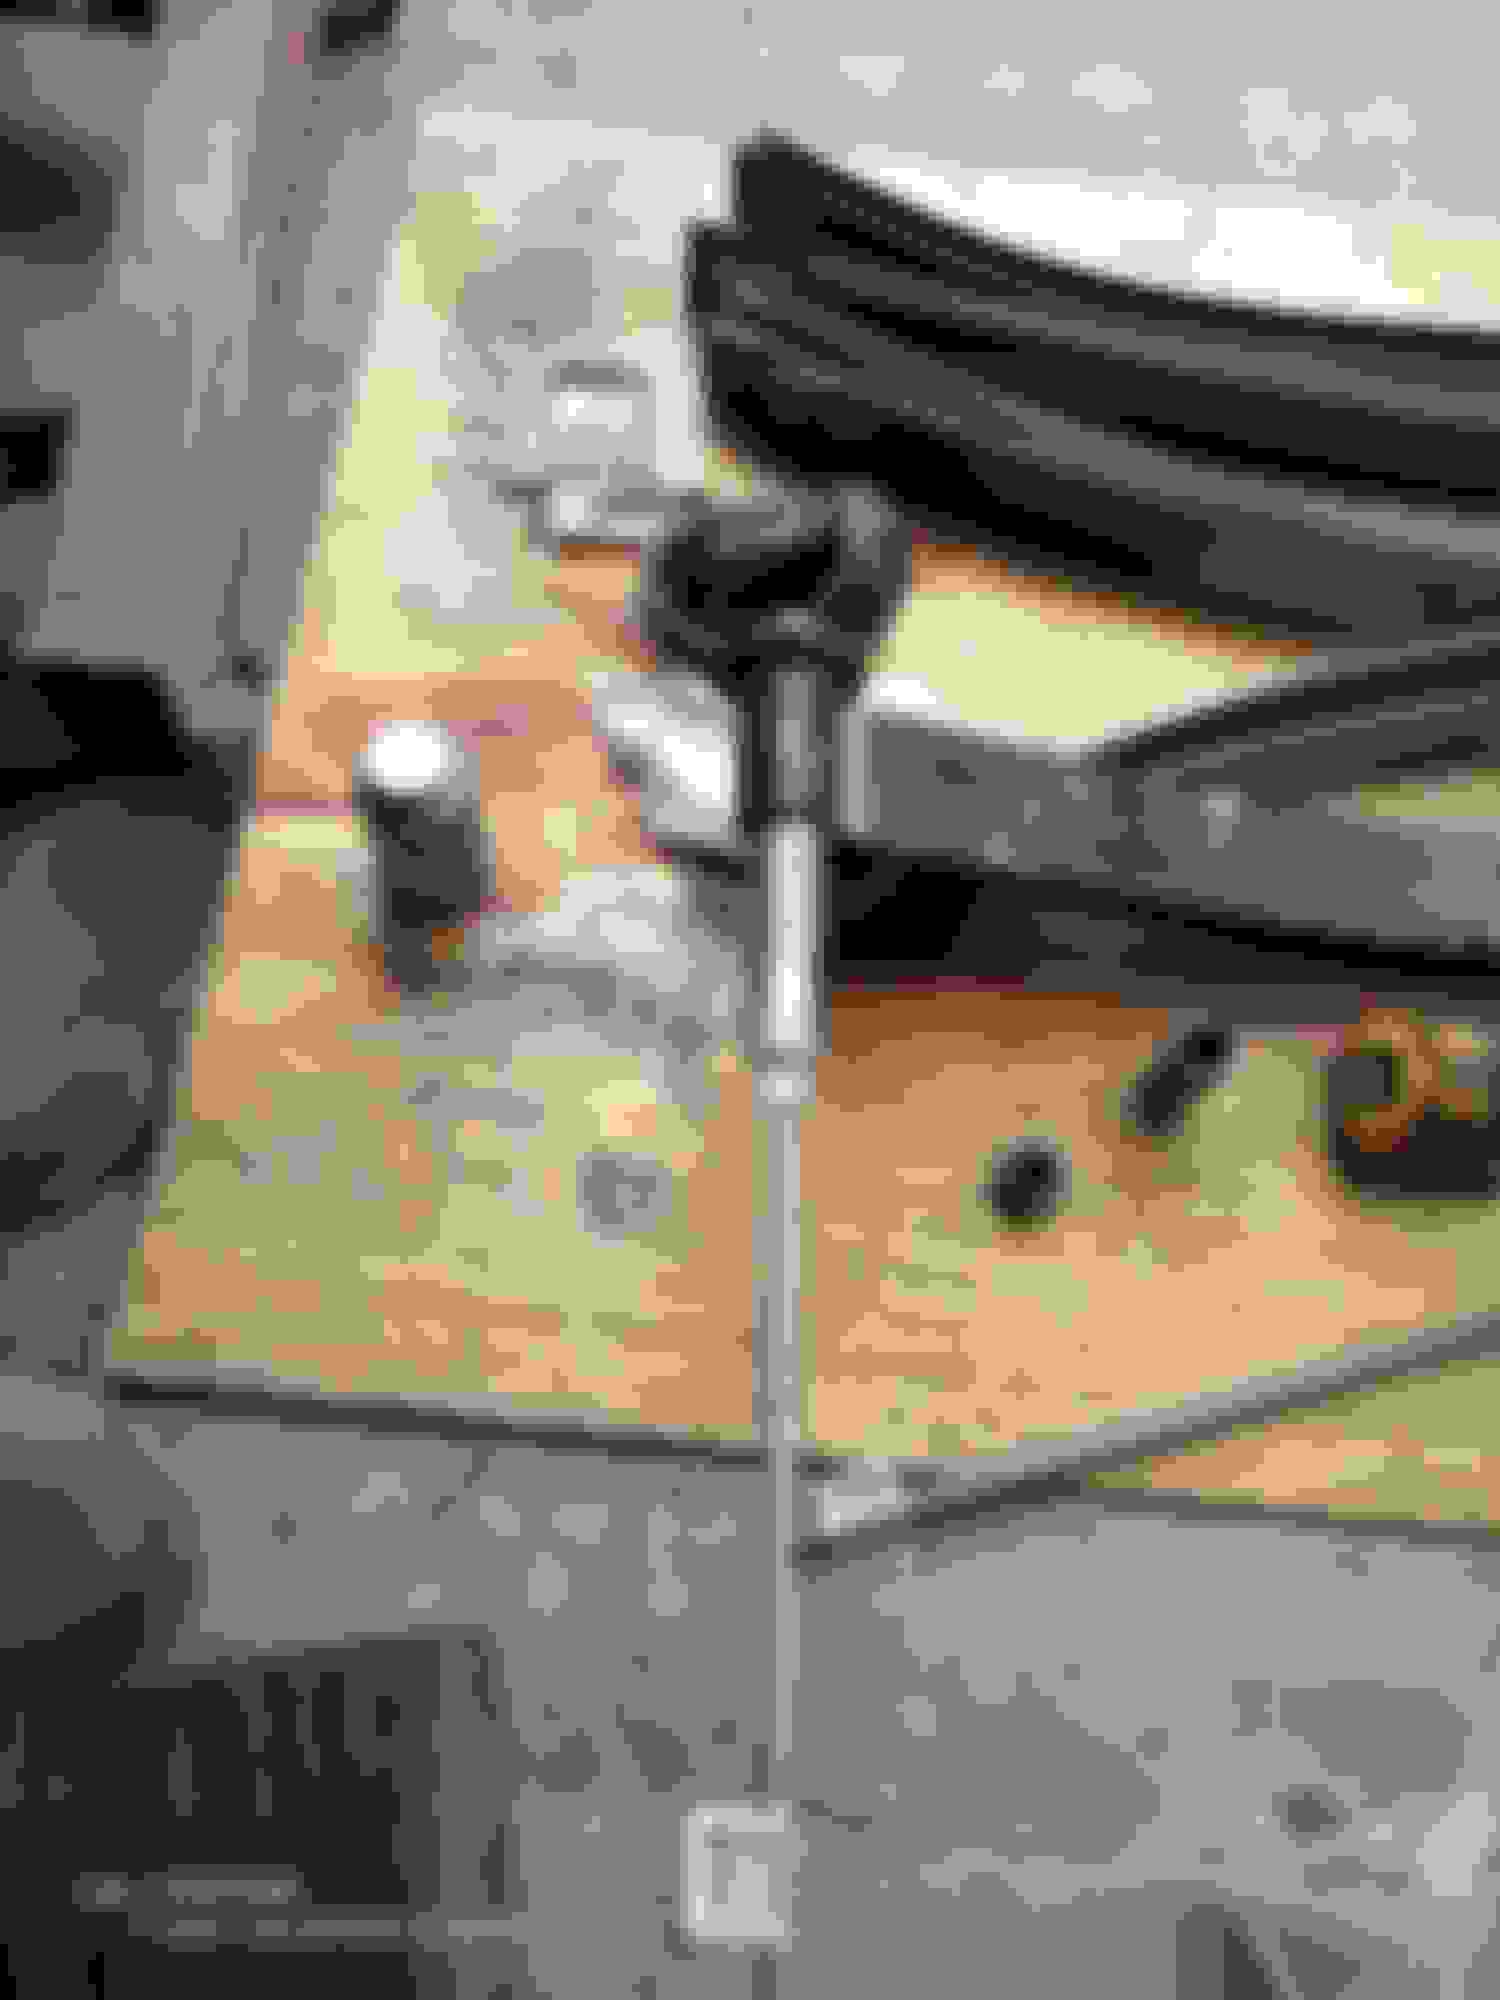
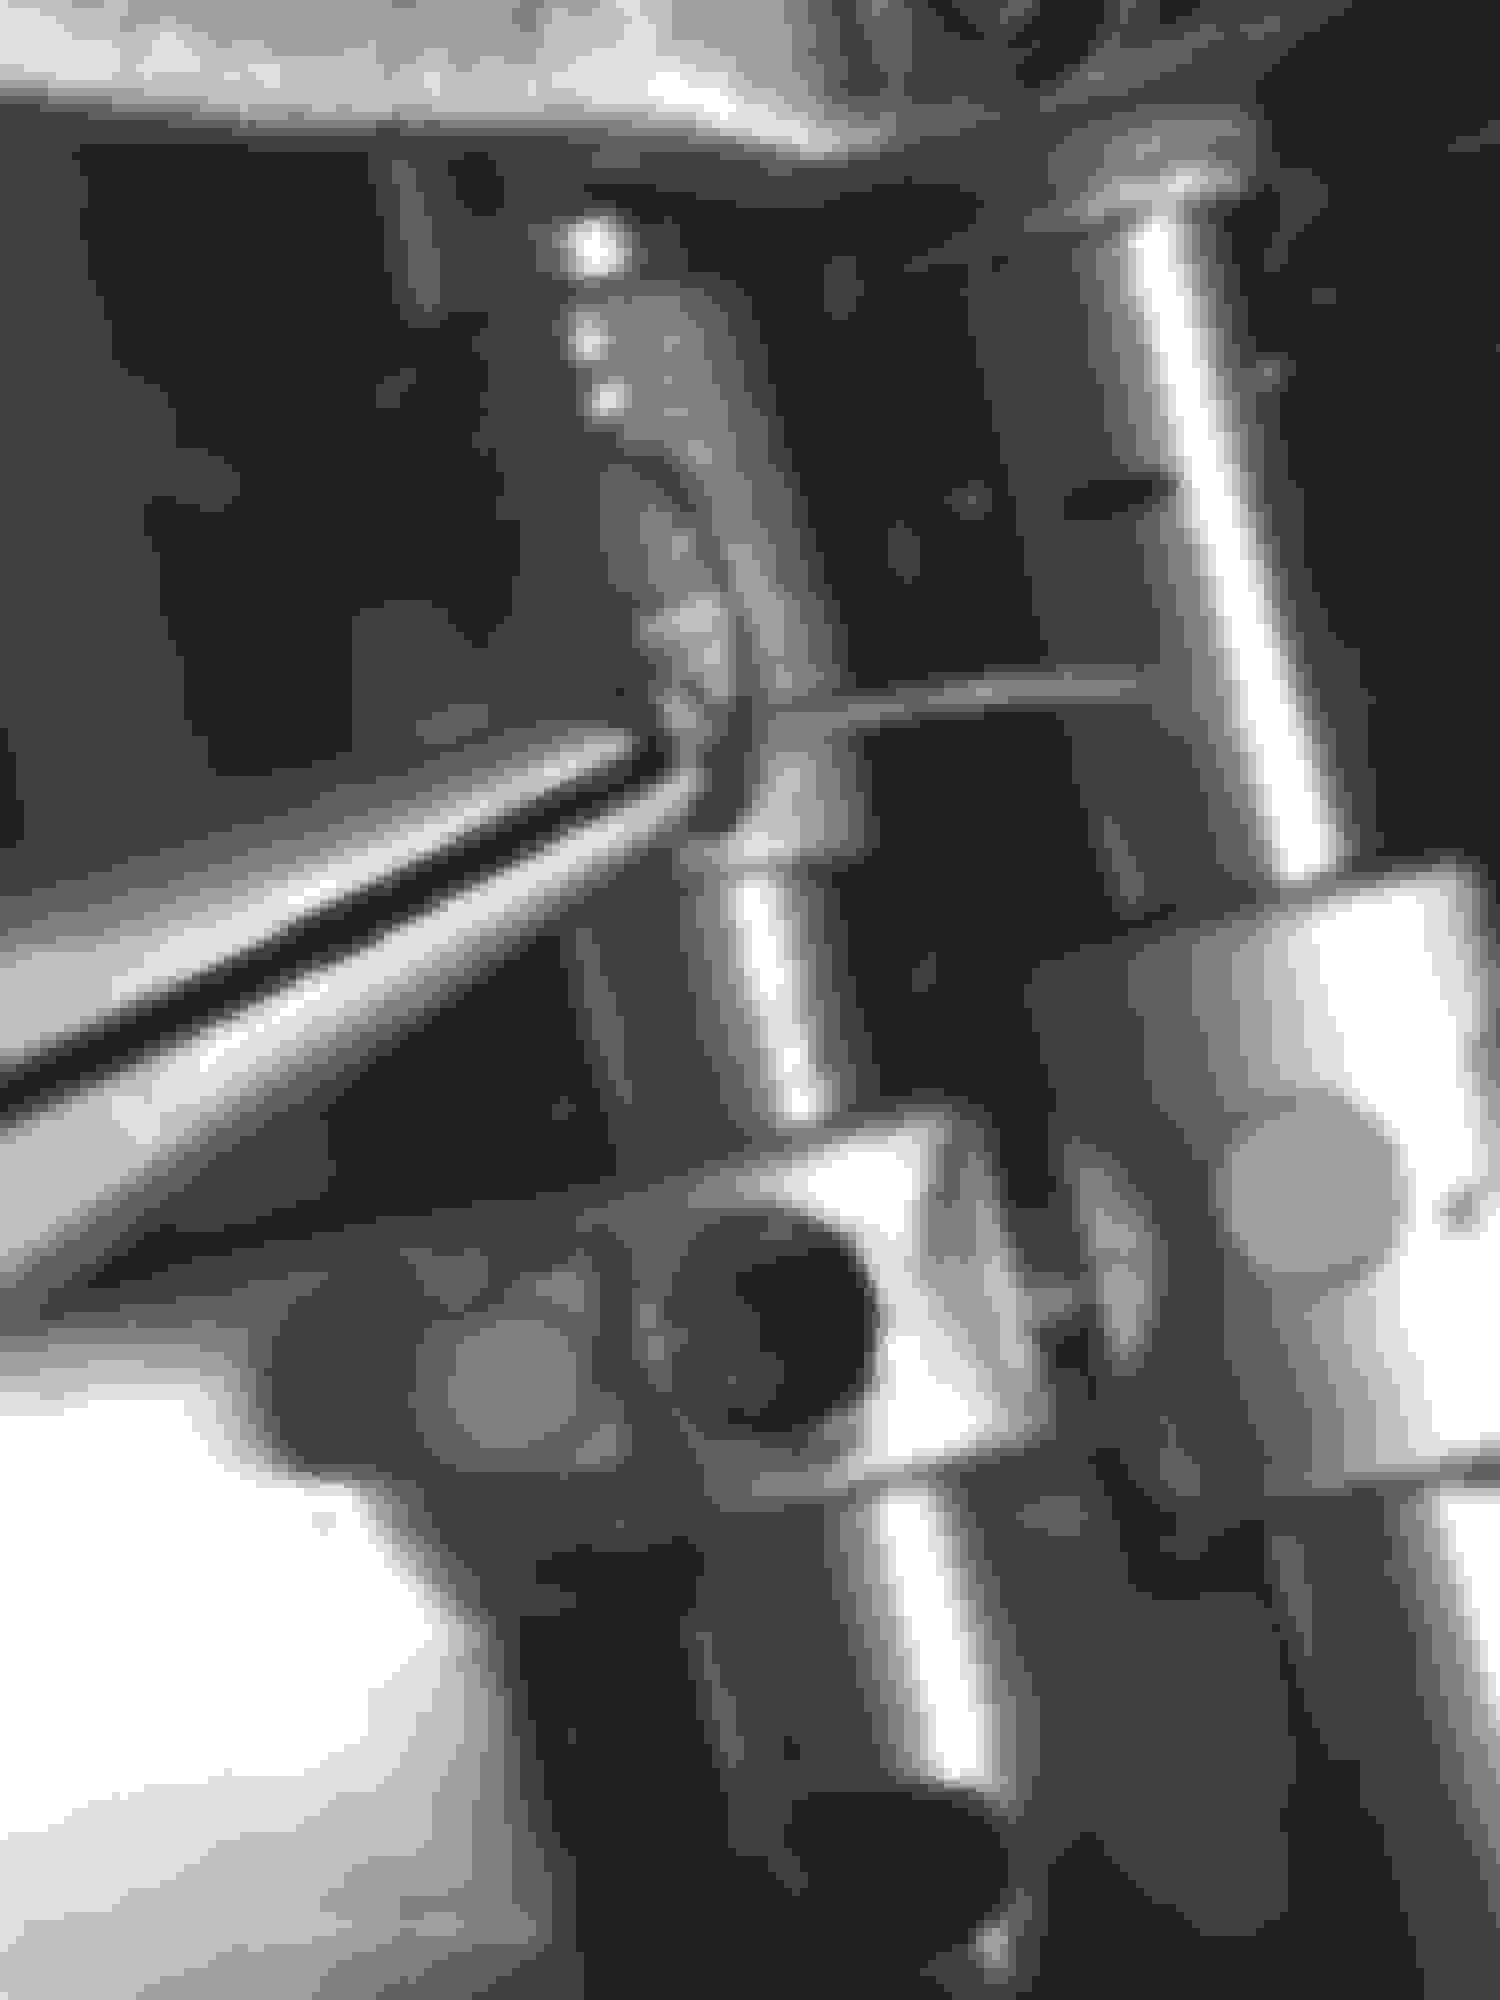
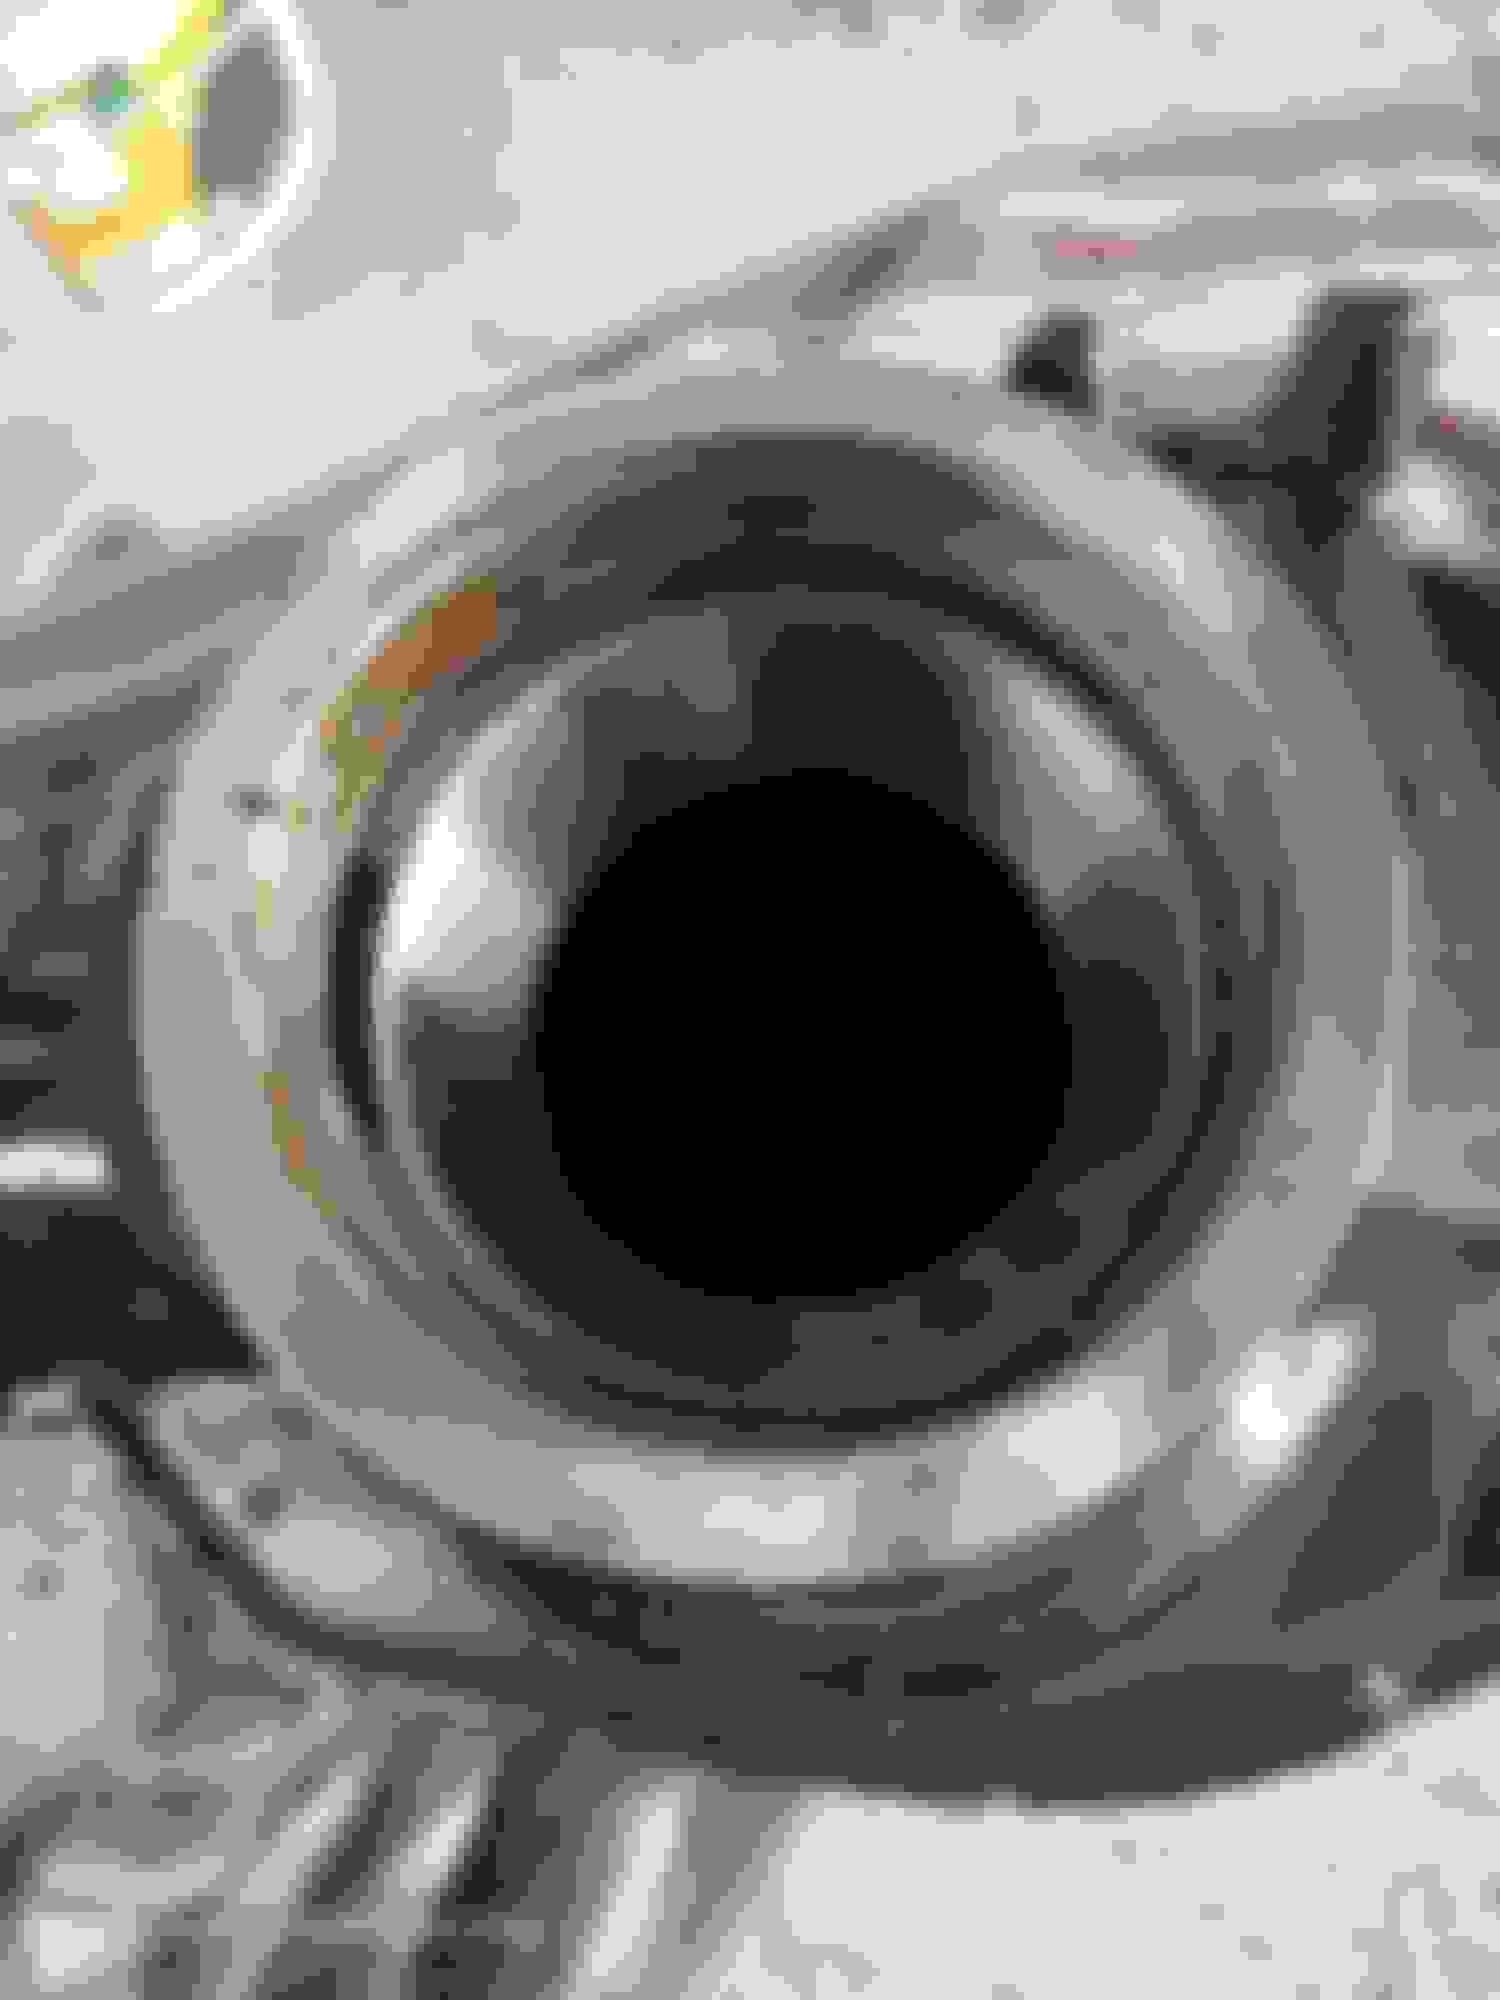
Anyways, I did some more painting today and test fit the crank I bought off eBay. So far this crank is working out. All the mains clear and she spins when torqued down.
It worked out good hanging the small parts from a low piece of conduit I had leftover.
This is graffiti paint. Just about any chemical or solvent can be spelt on it and it will not harm it.
Happy to get the paint on. Always a nervous day.
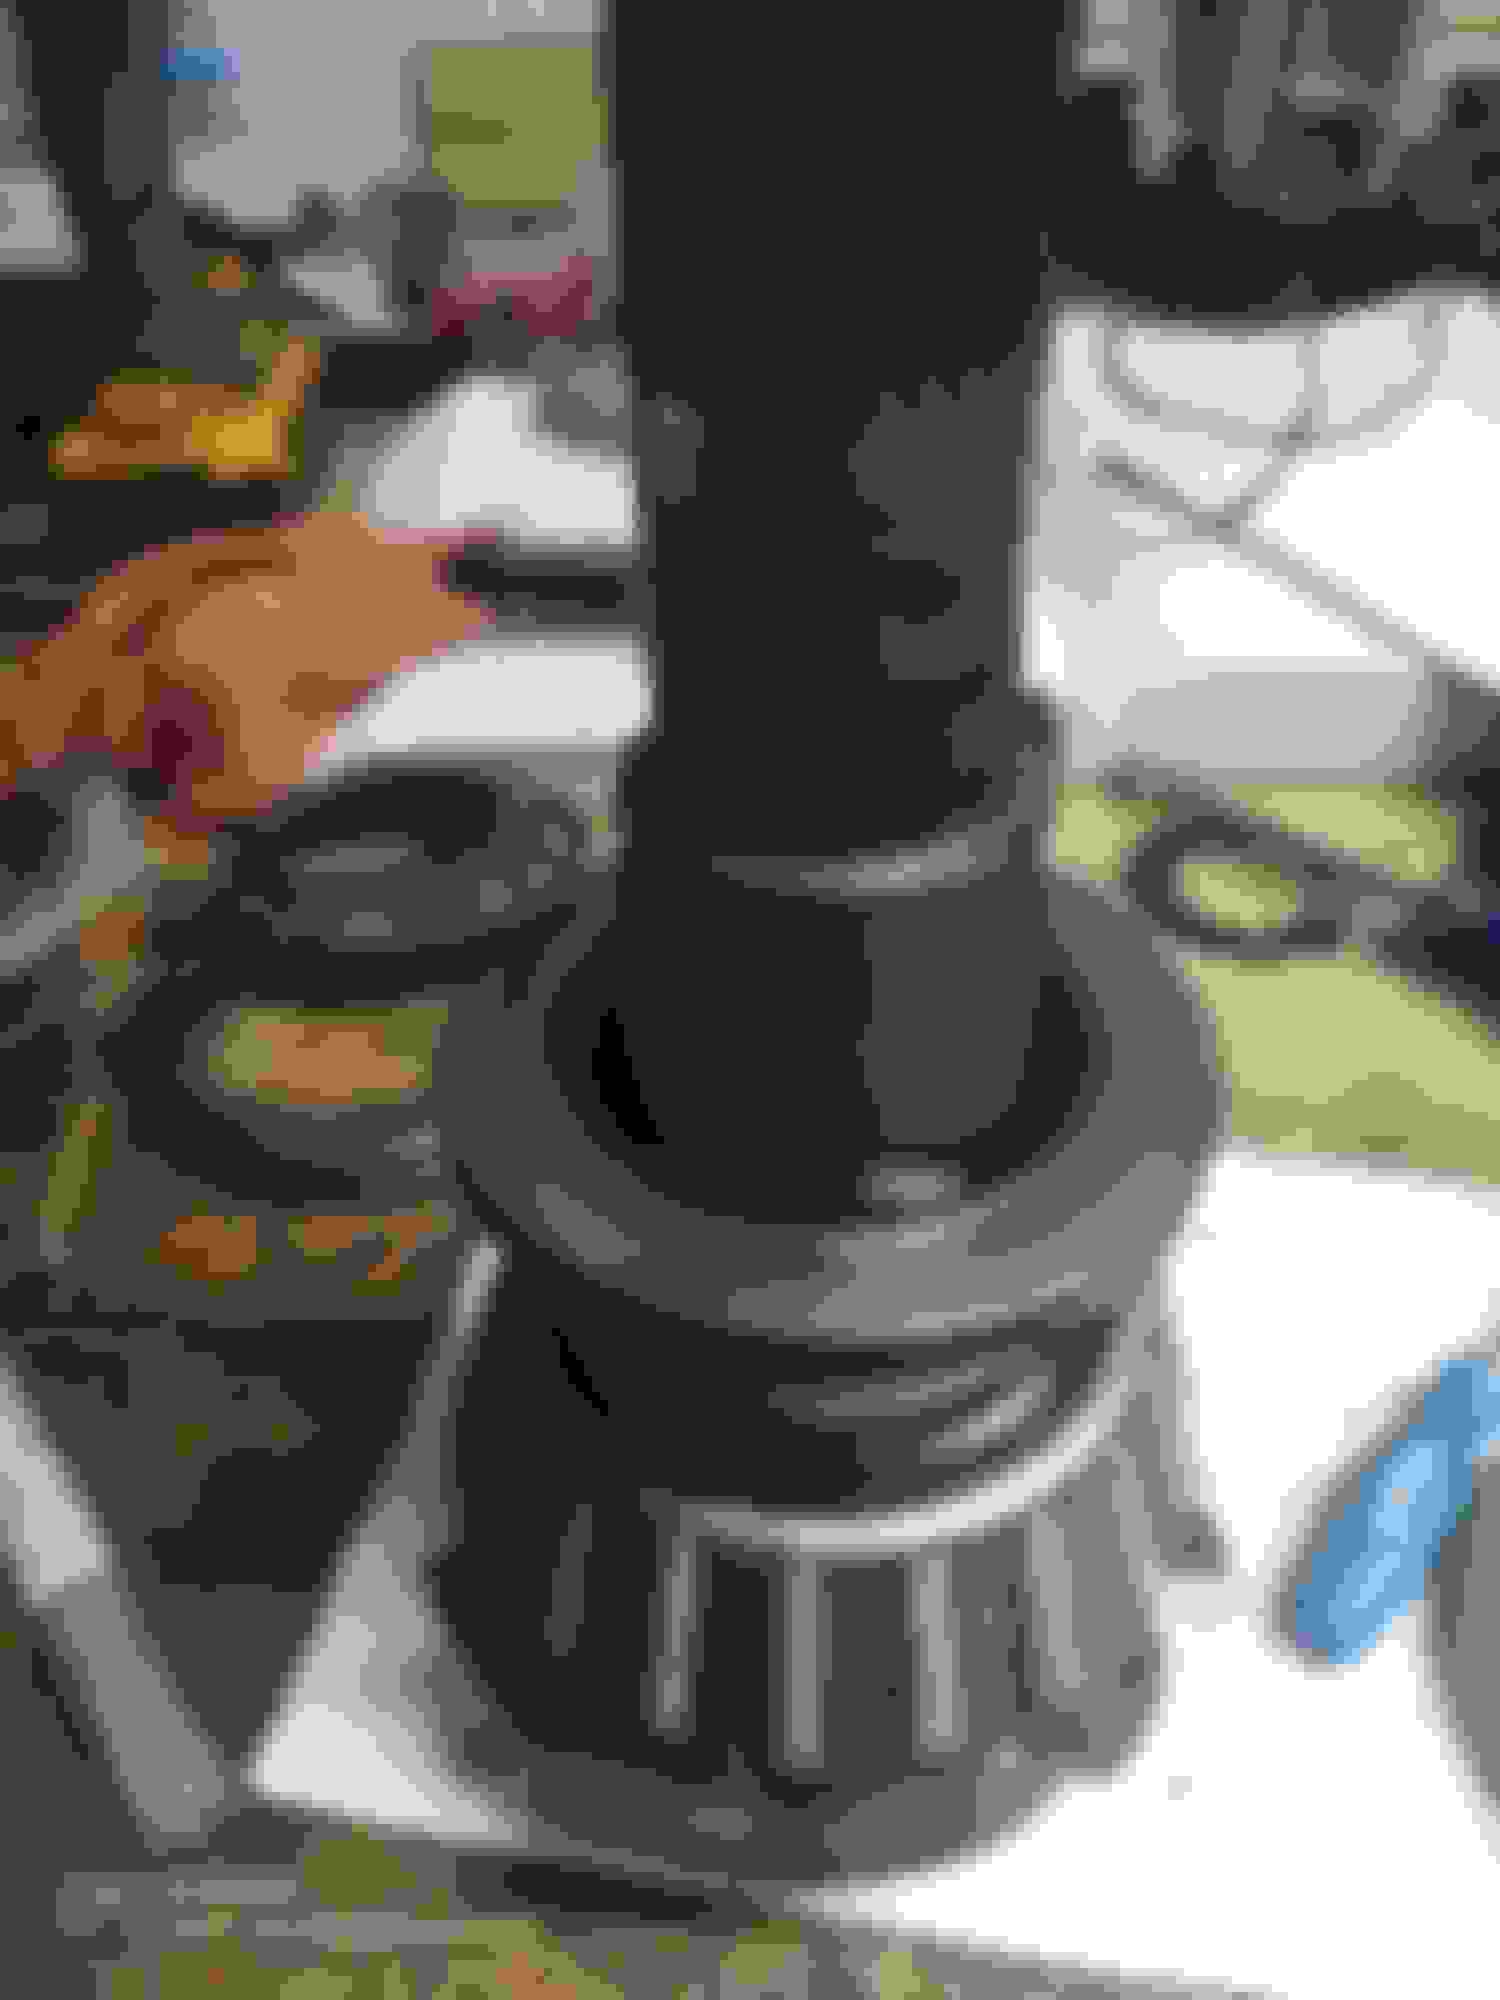
Hubs came out great!
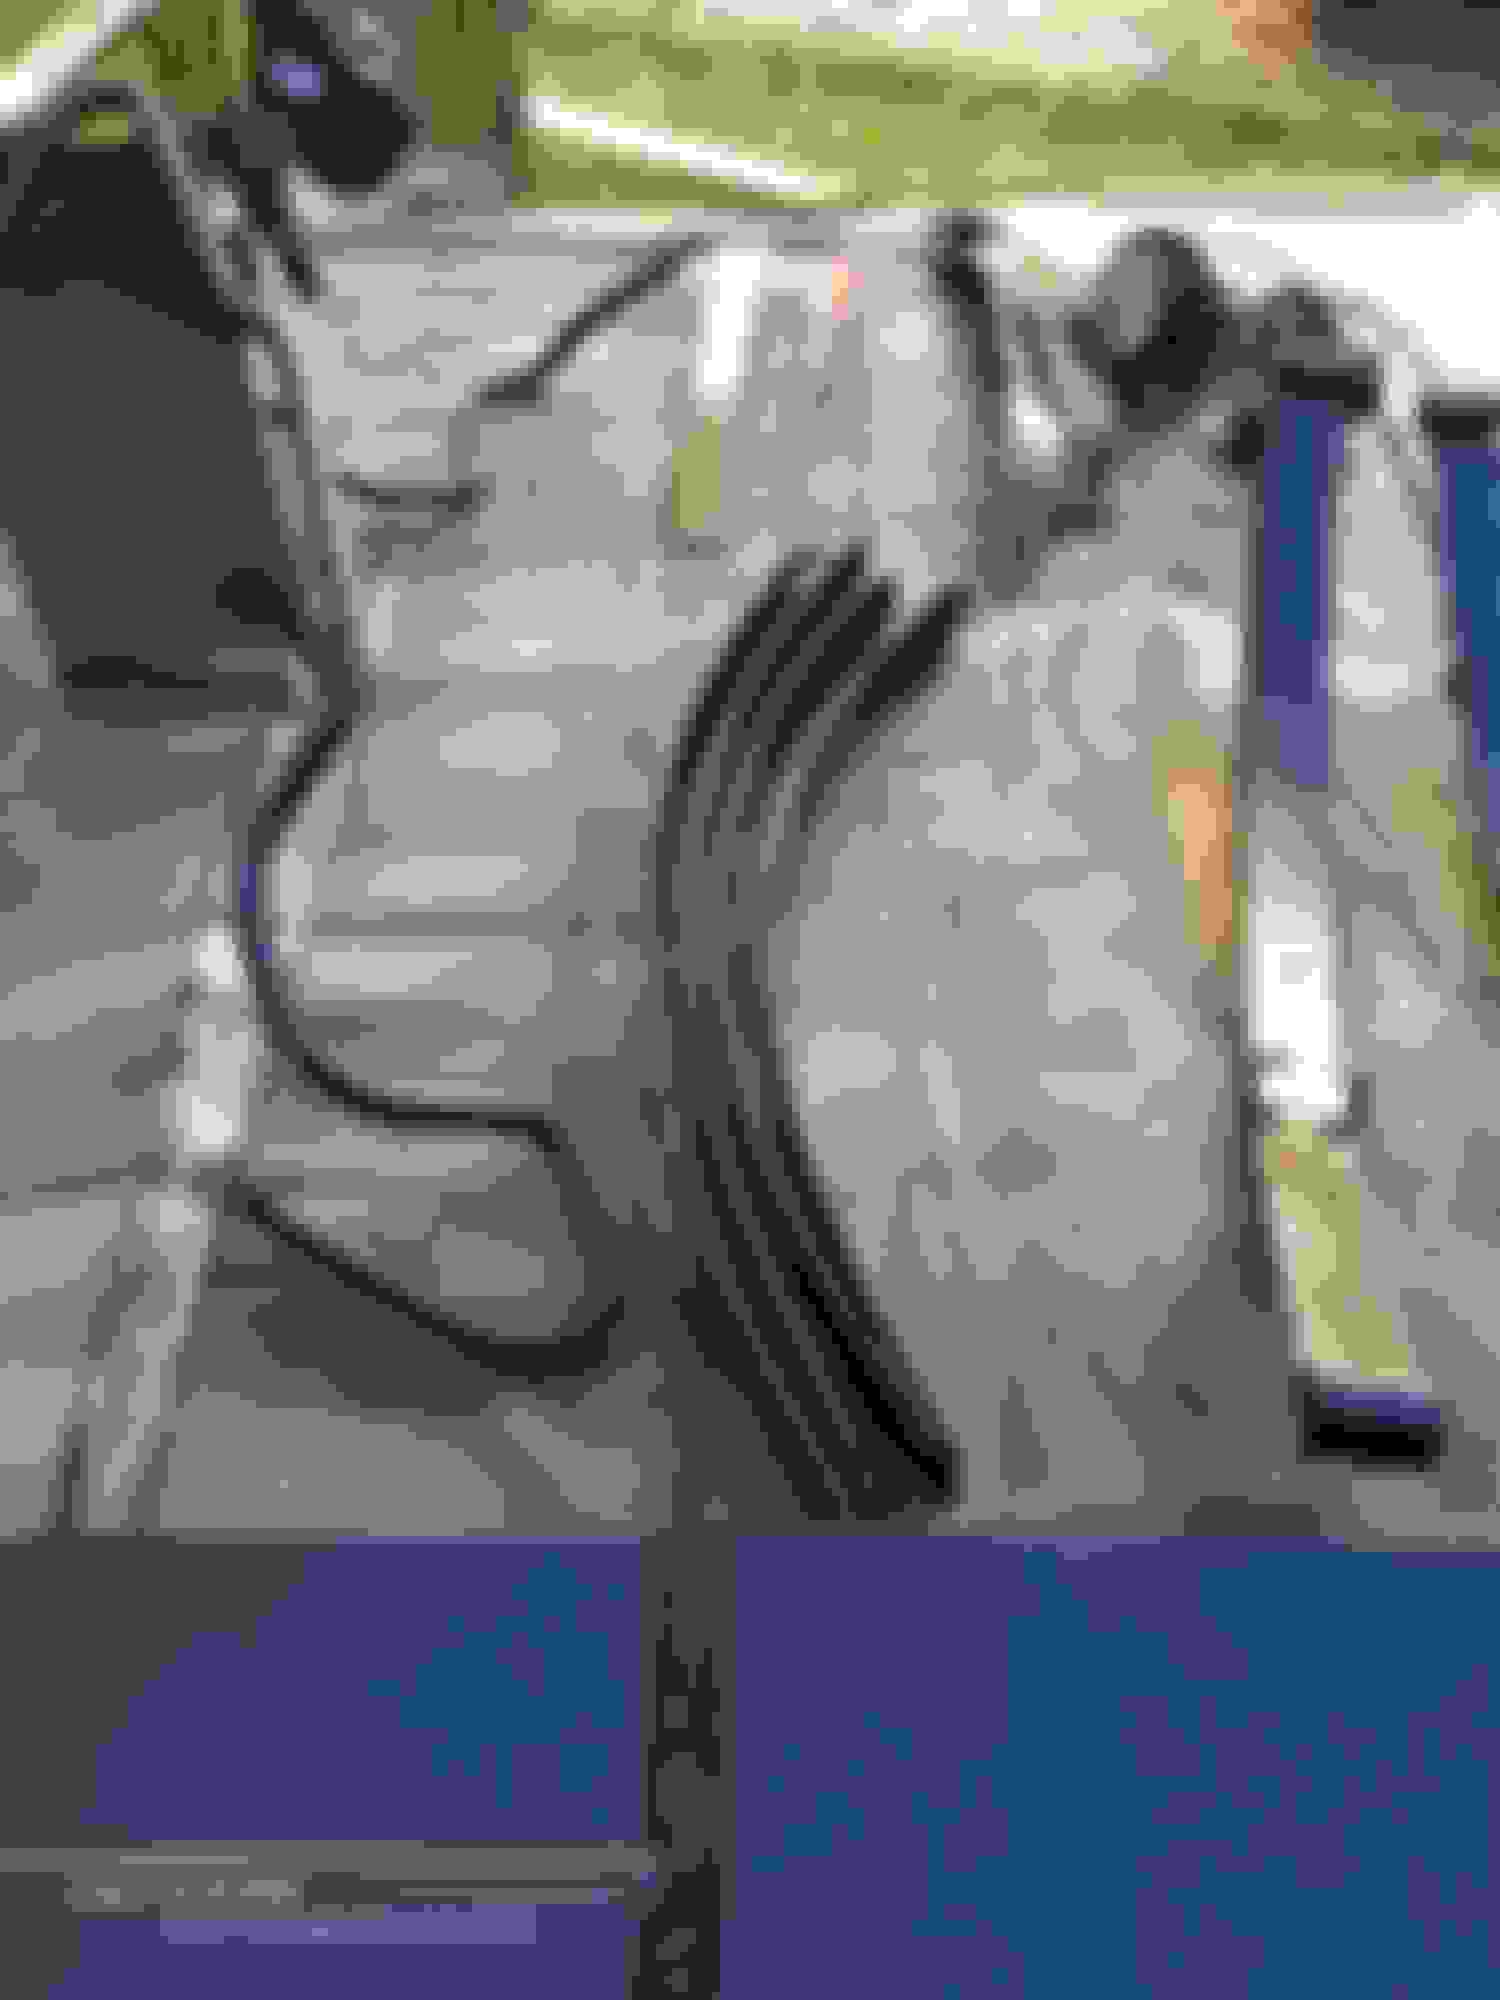
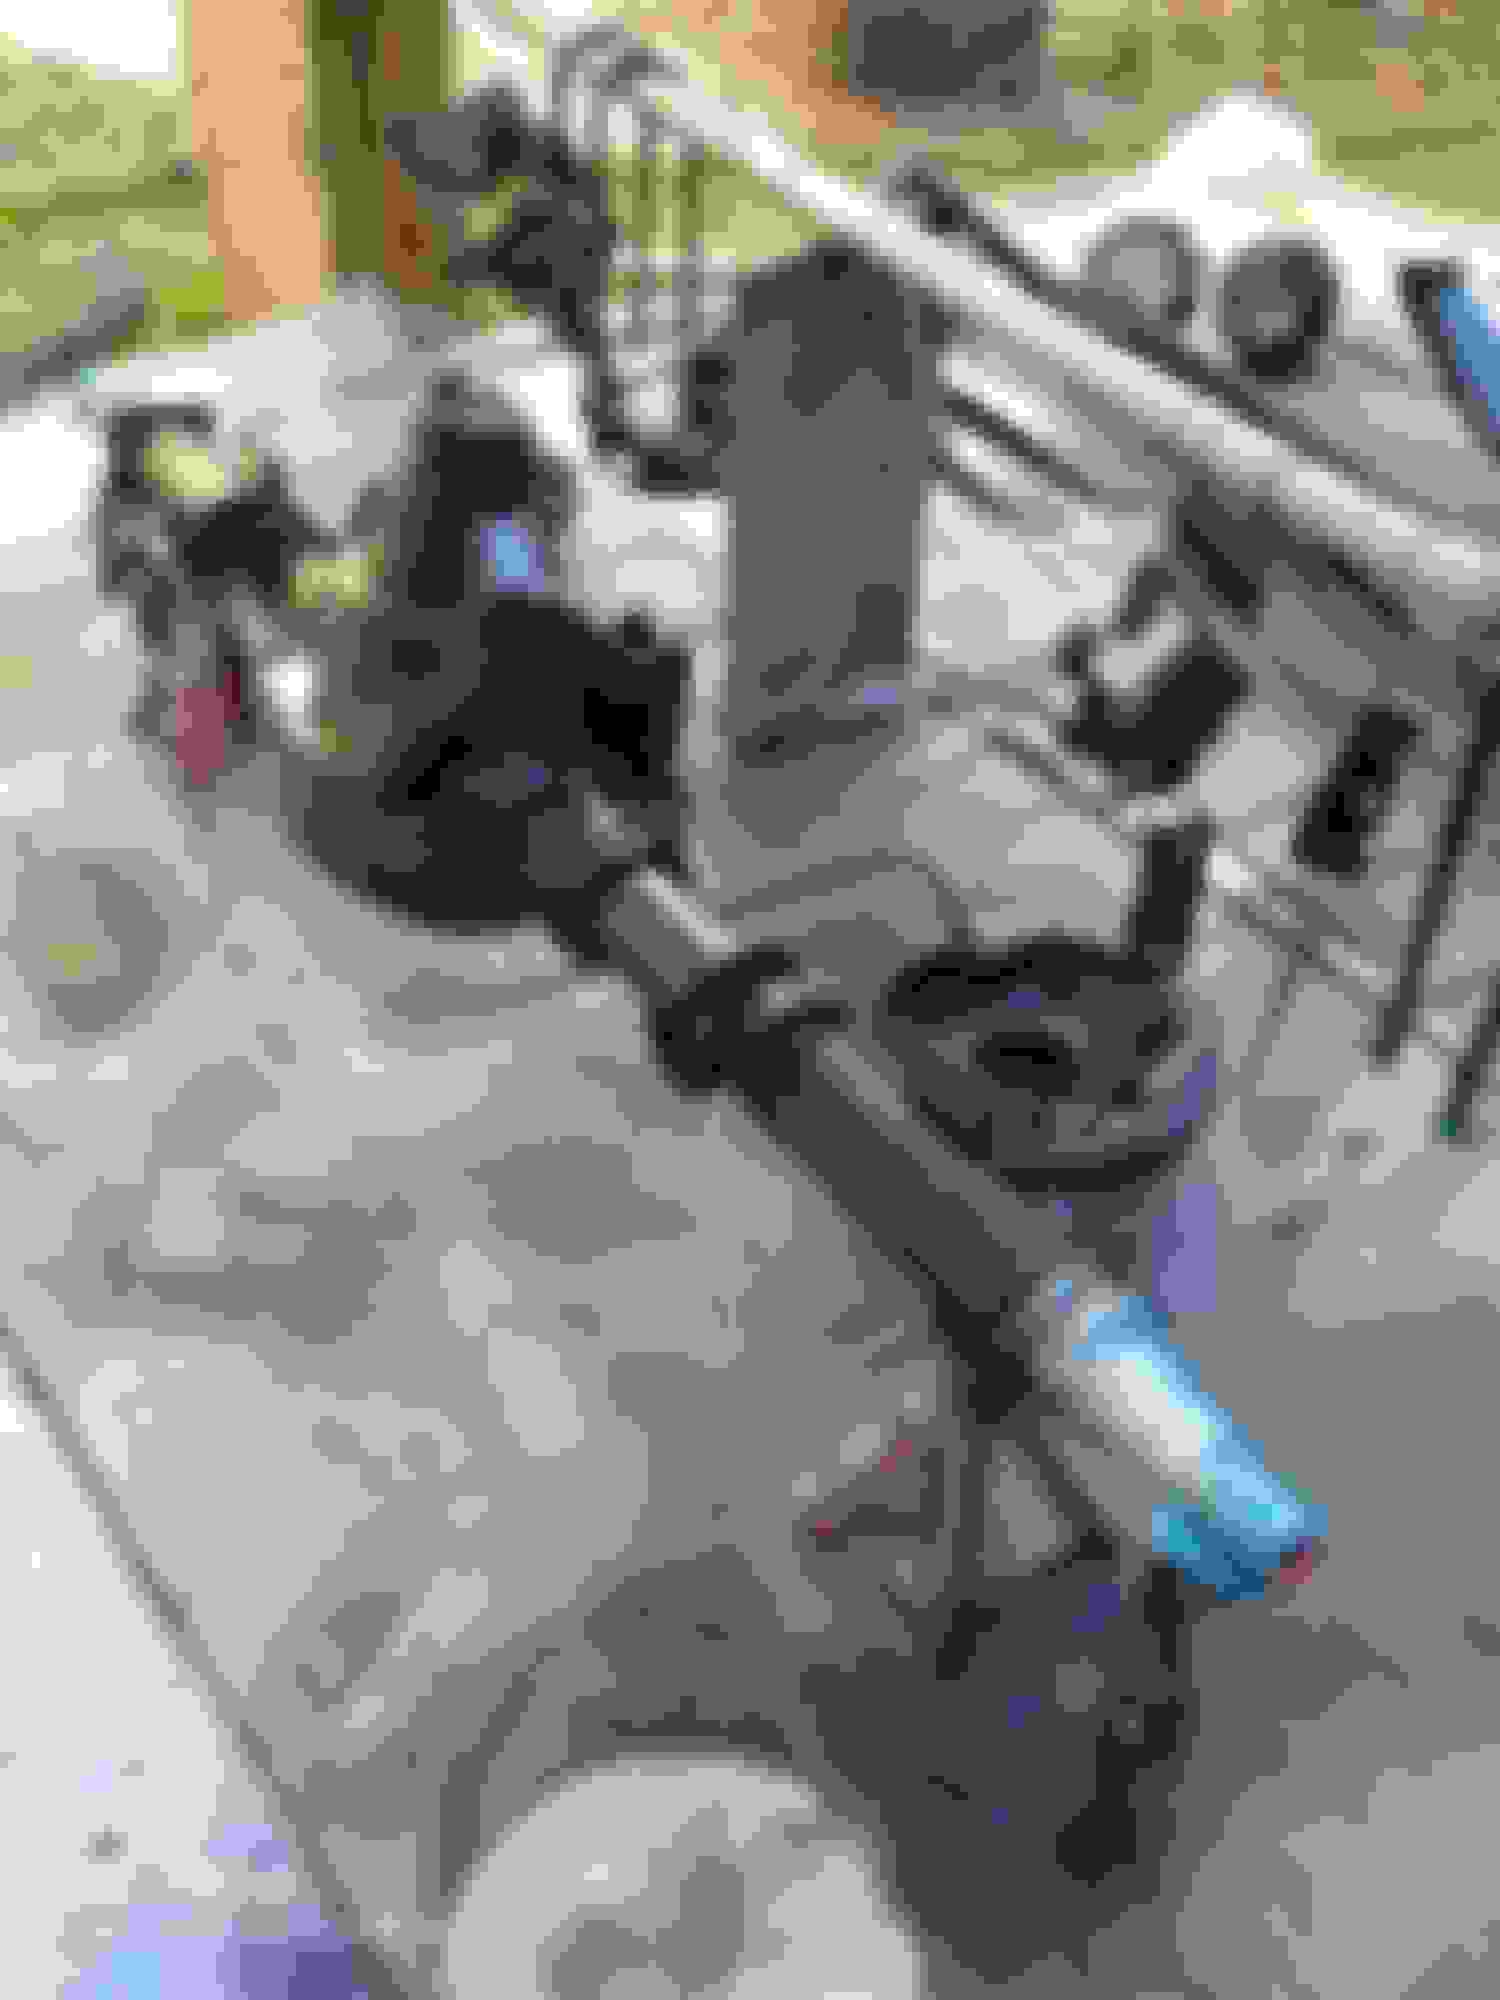
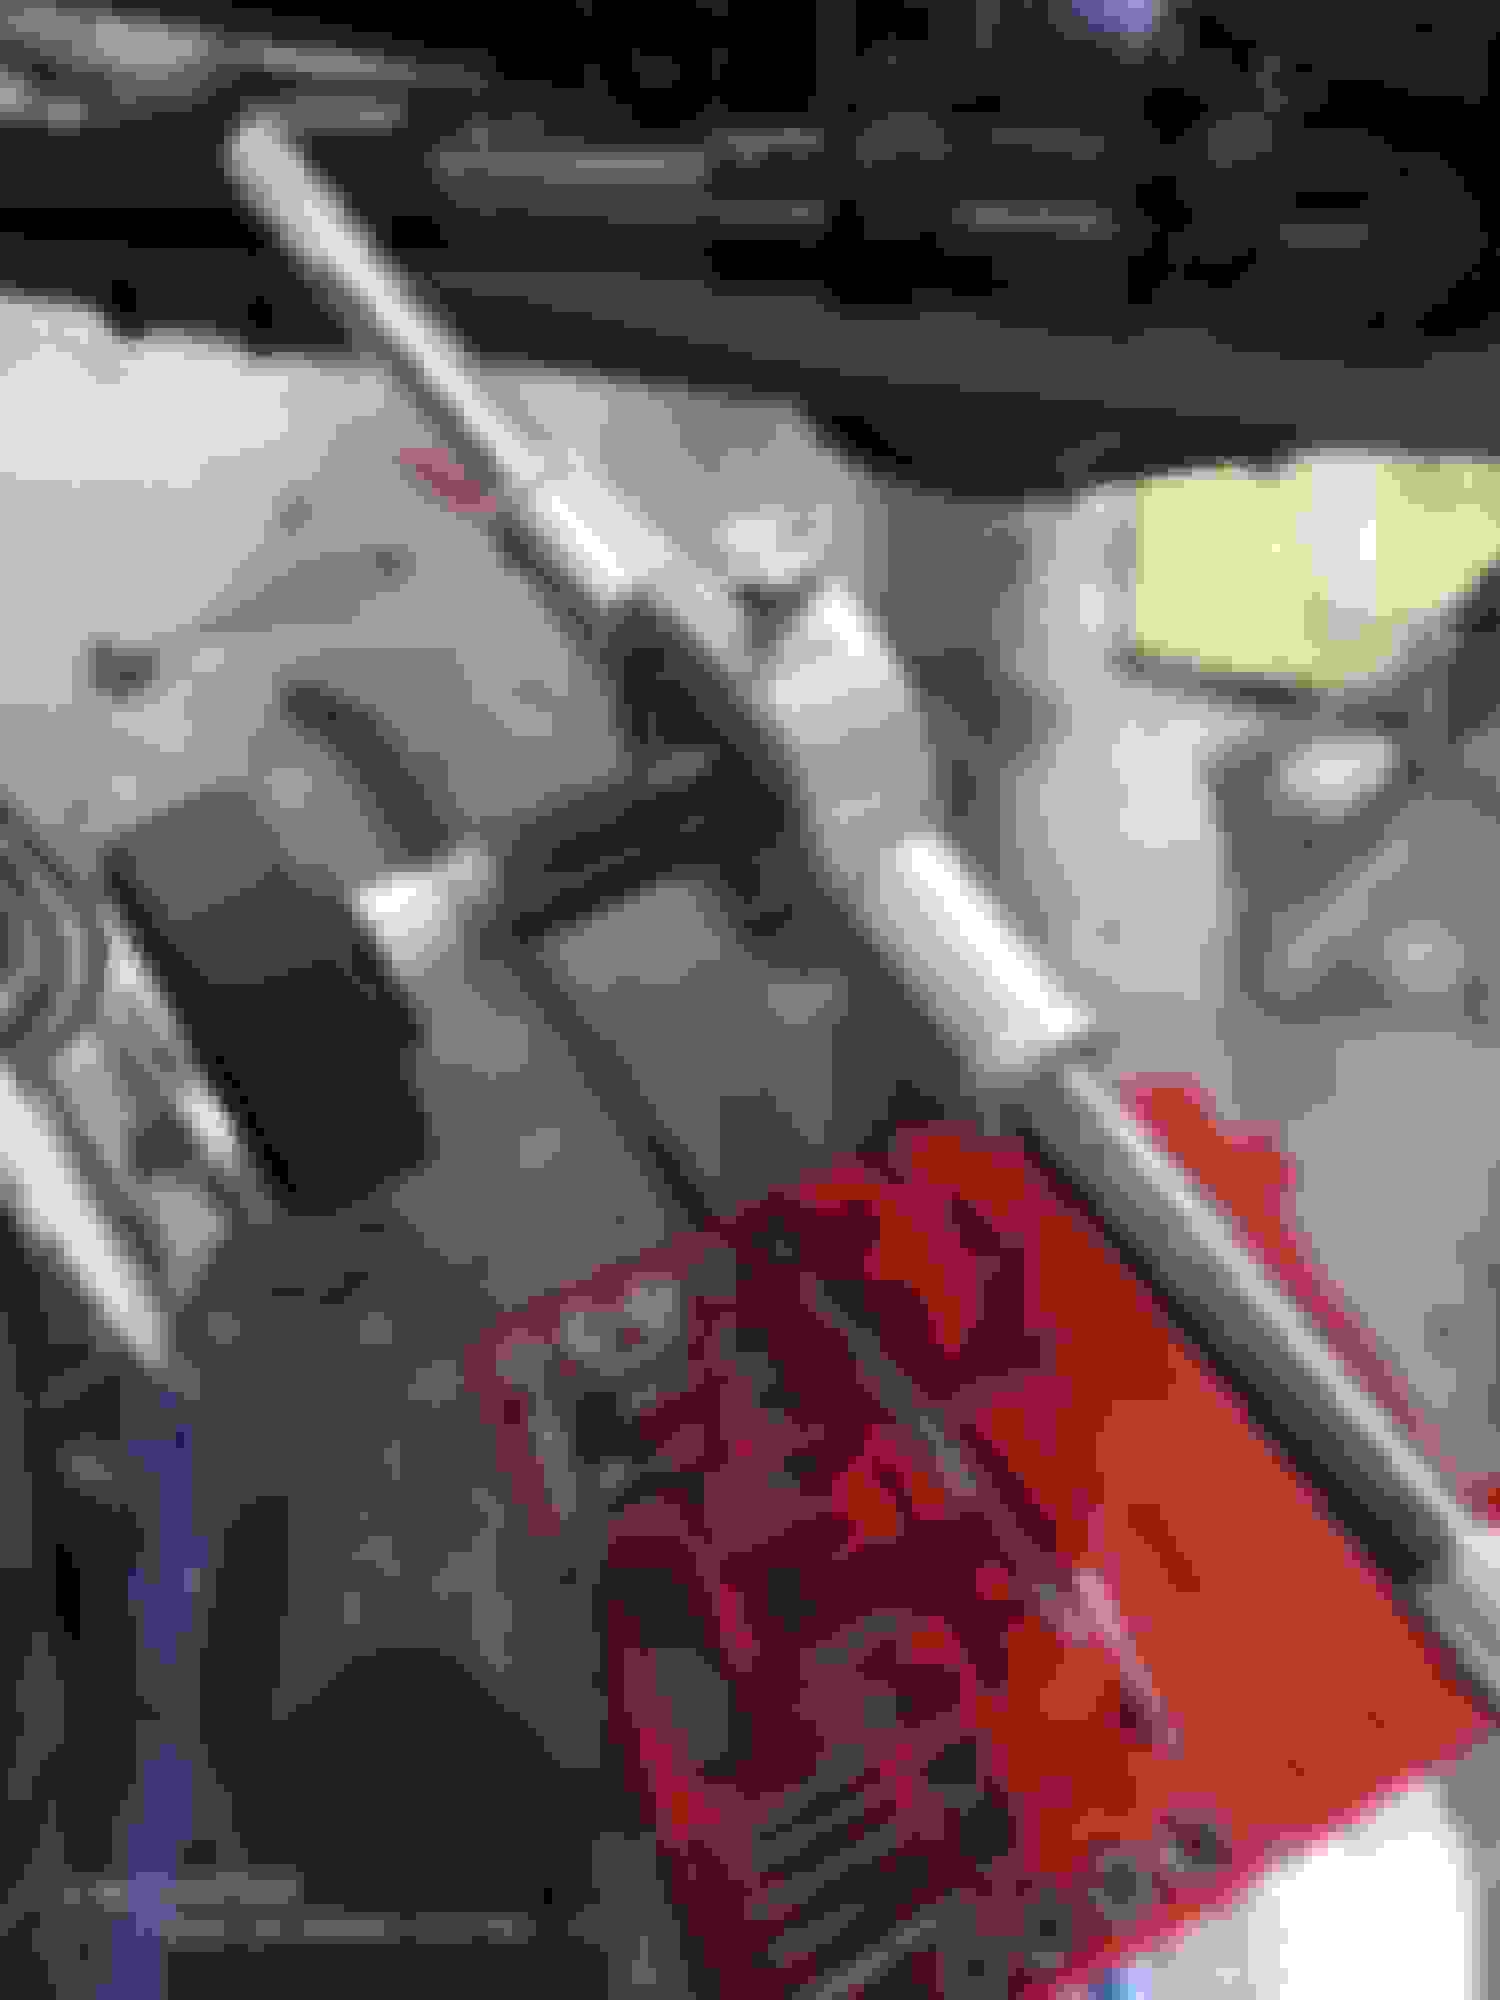
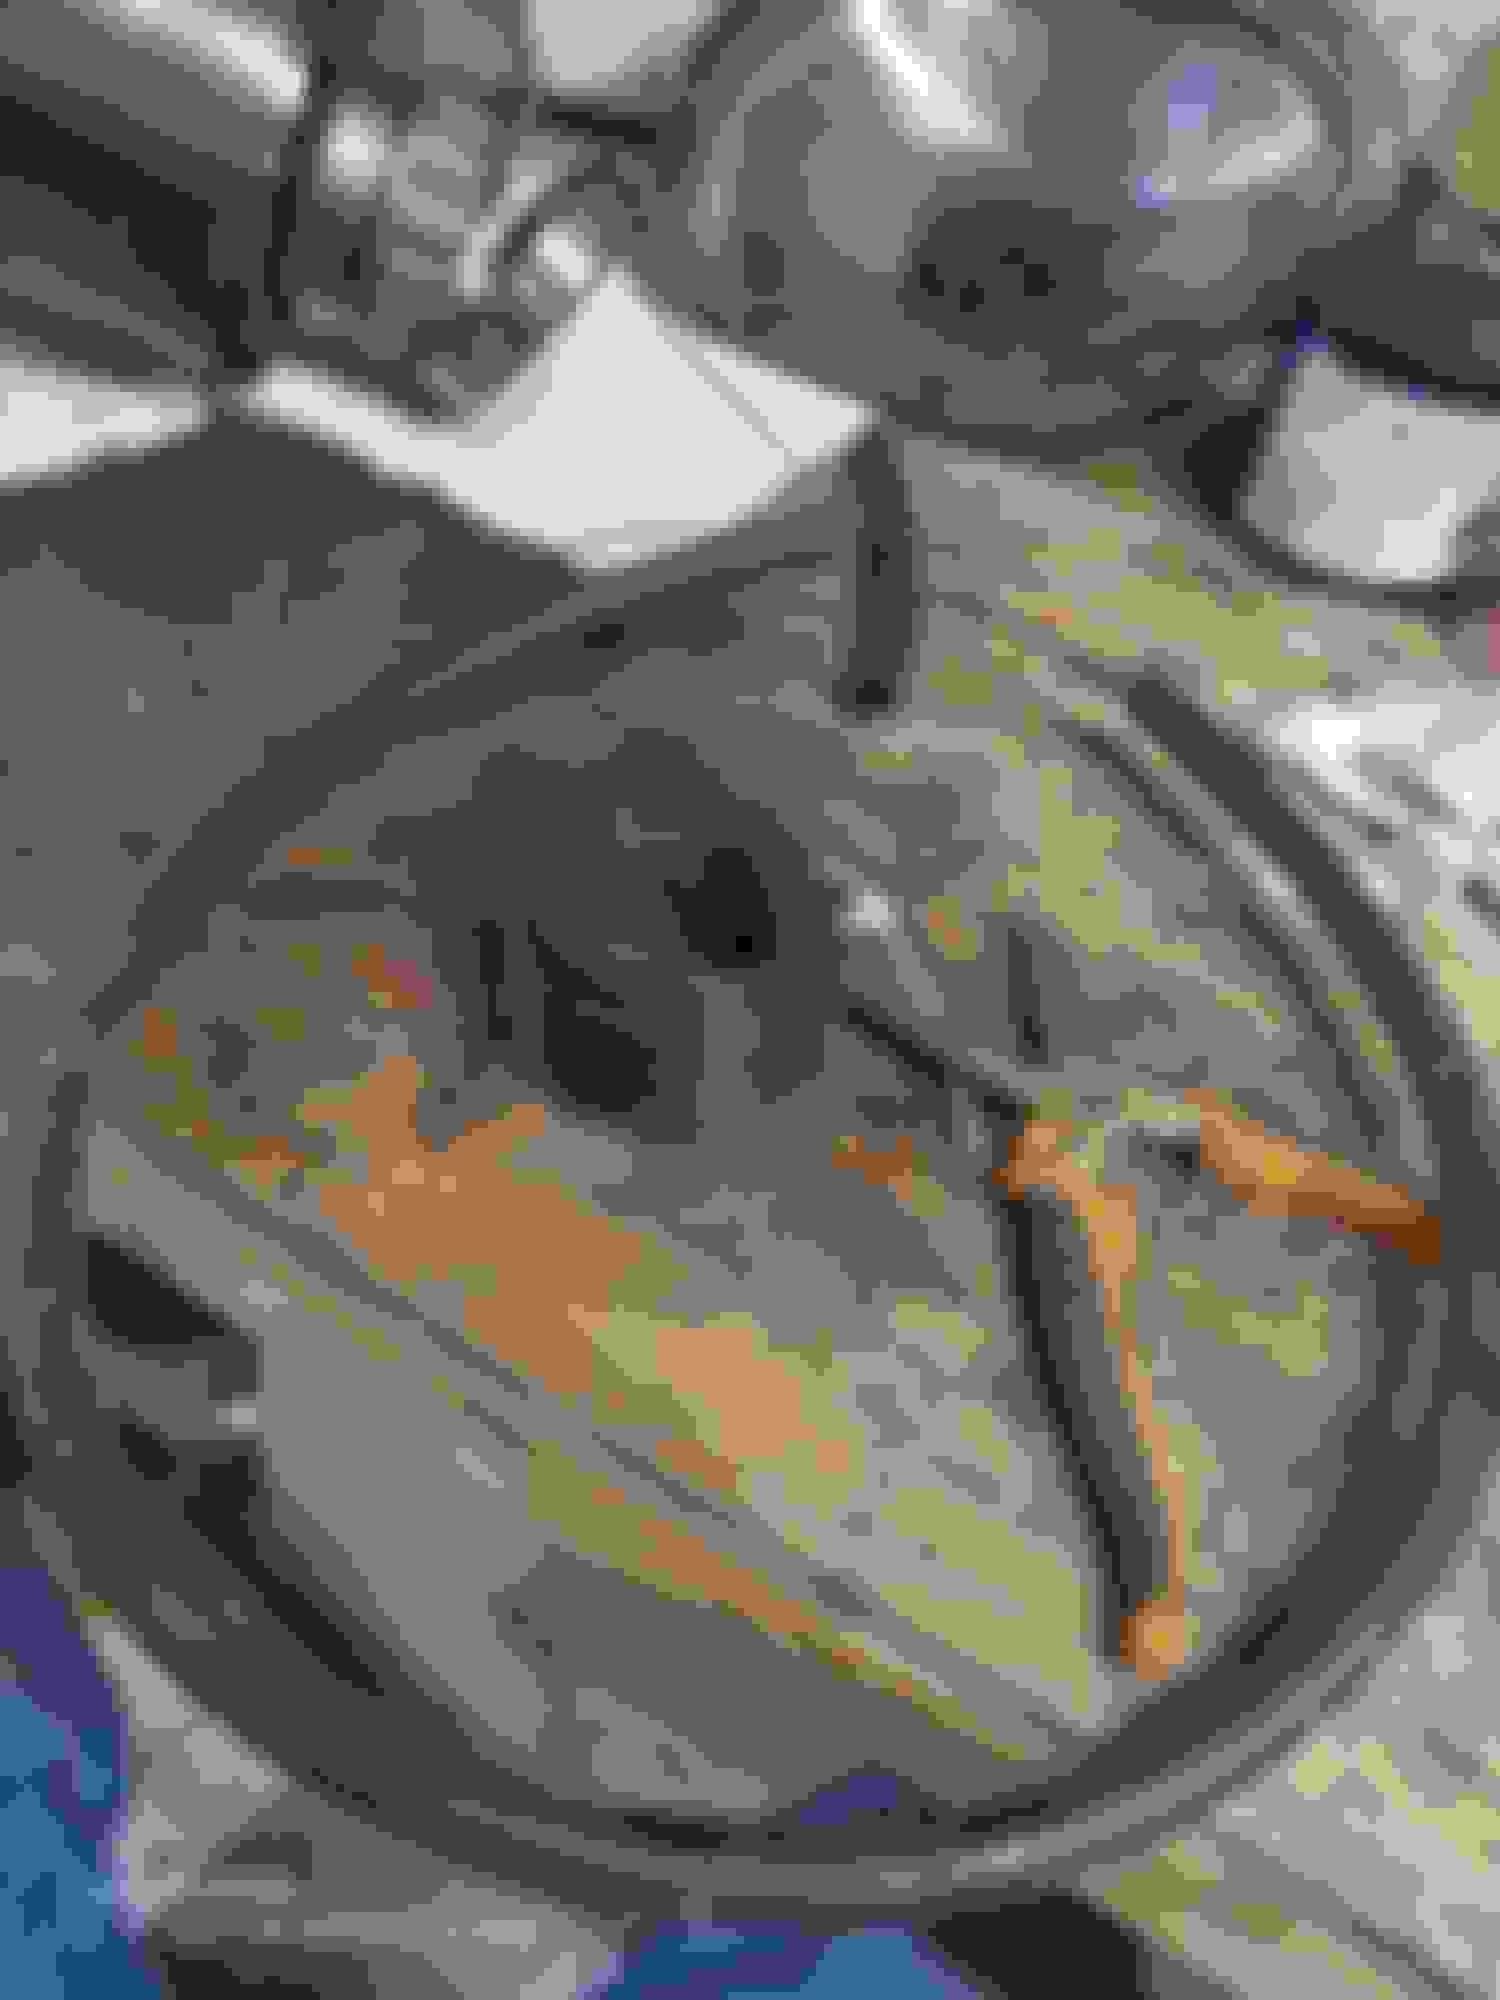
Also on this day I mounted the block, back from the machine shop, on the engine stand.You can see on the floor I have the 10.25 Sterling rear, NP435, and engine open all at the same time (Yikes!)
Finally, time to put the block back on the engine stand.
I put the neck of the stand on while the block is still on the floor.
Just slide the neck in the stand for a cheap trick.
I used a lot of these red cans. Good cleaning juice.
Bearings to be plastigaged.
Watch these tabs or you will have big problems.
They lock the bearing in to prevent them from spinning.
The hole in the saddle is for lubrication. It finds its way down to the oil pump. Make sure these are cleaned out.
This is the thrust bearing. Make sure you follow the Ford procedure for centering the two halves.
Clearances for the mains were all in spec.
I wrote down the clearance to remind myself I did it.
This is how plastigage works. fine string gets smashed in the small clearance space. The with of the smash is a good estimate of clearance.
All clearances very similar.
I cleaned off the plastic, then installed each main cap one at a time and spun the crank each time. This checks that none of the caps are causing a bind that will lead to a "spun bearing" condition.
I had some journals with a slight rust starting, so I used some 3000 grit hobby paper to clean it off.
The least favorite part of this project was the rear spring bushings. They take brute force to get them out, even after soaking them in a old bread pan full of discount break fluid to break up the rust.
What You Need to Know:
1. You need a five pound sledge hammer and a concrete floor. Support the rim of the spring eye against the solid concrete floor. Five pounds of hammer is what you need, and swing it like you mean it.
2. Plan on swinging for a couple of hours to get all four out. For me, three came out relatively easy. The final one took about an hour of pounding!
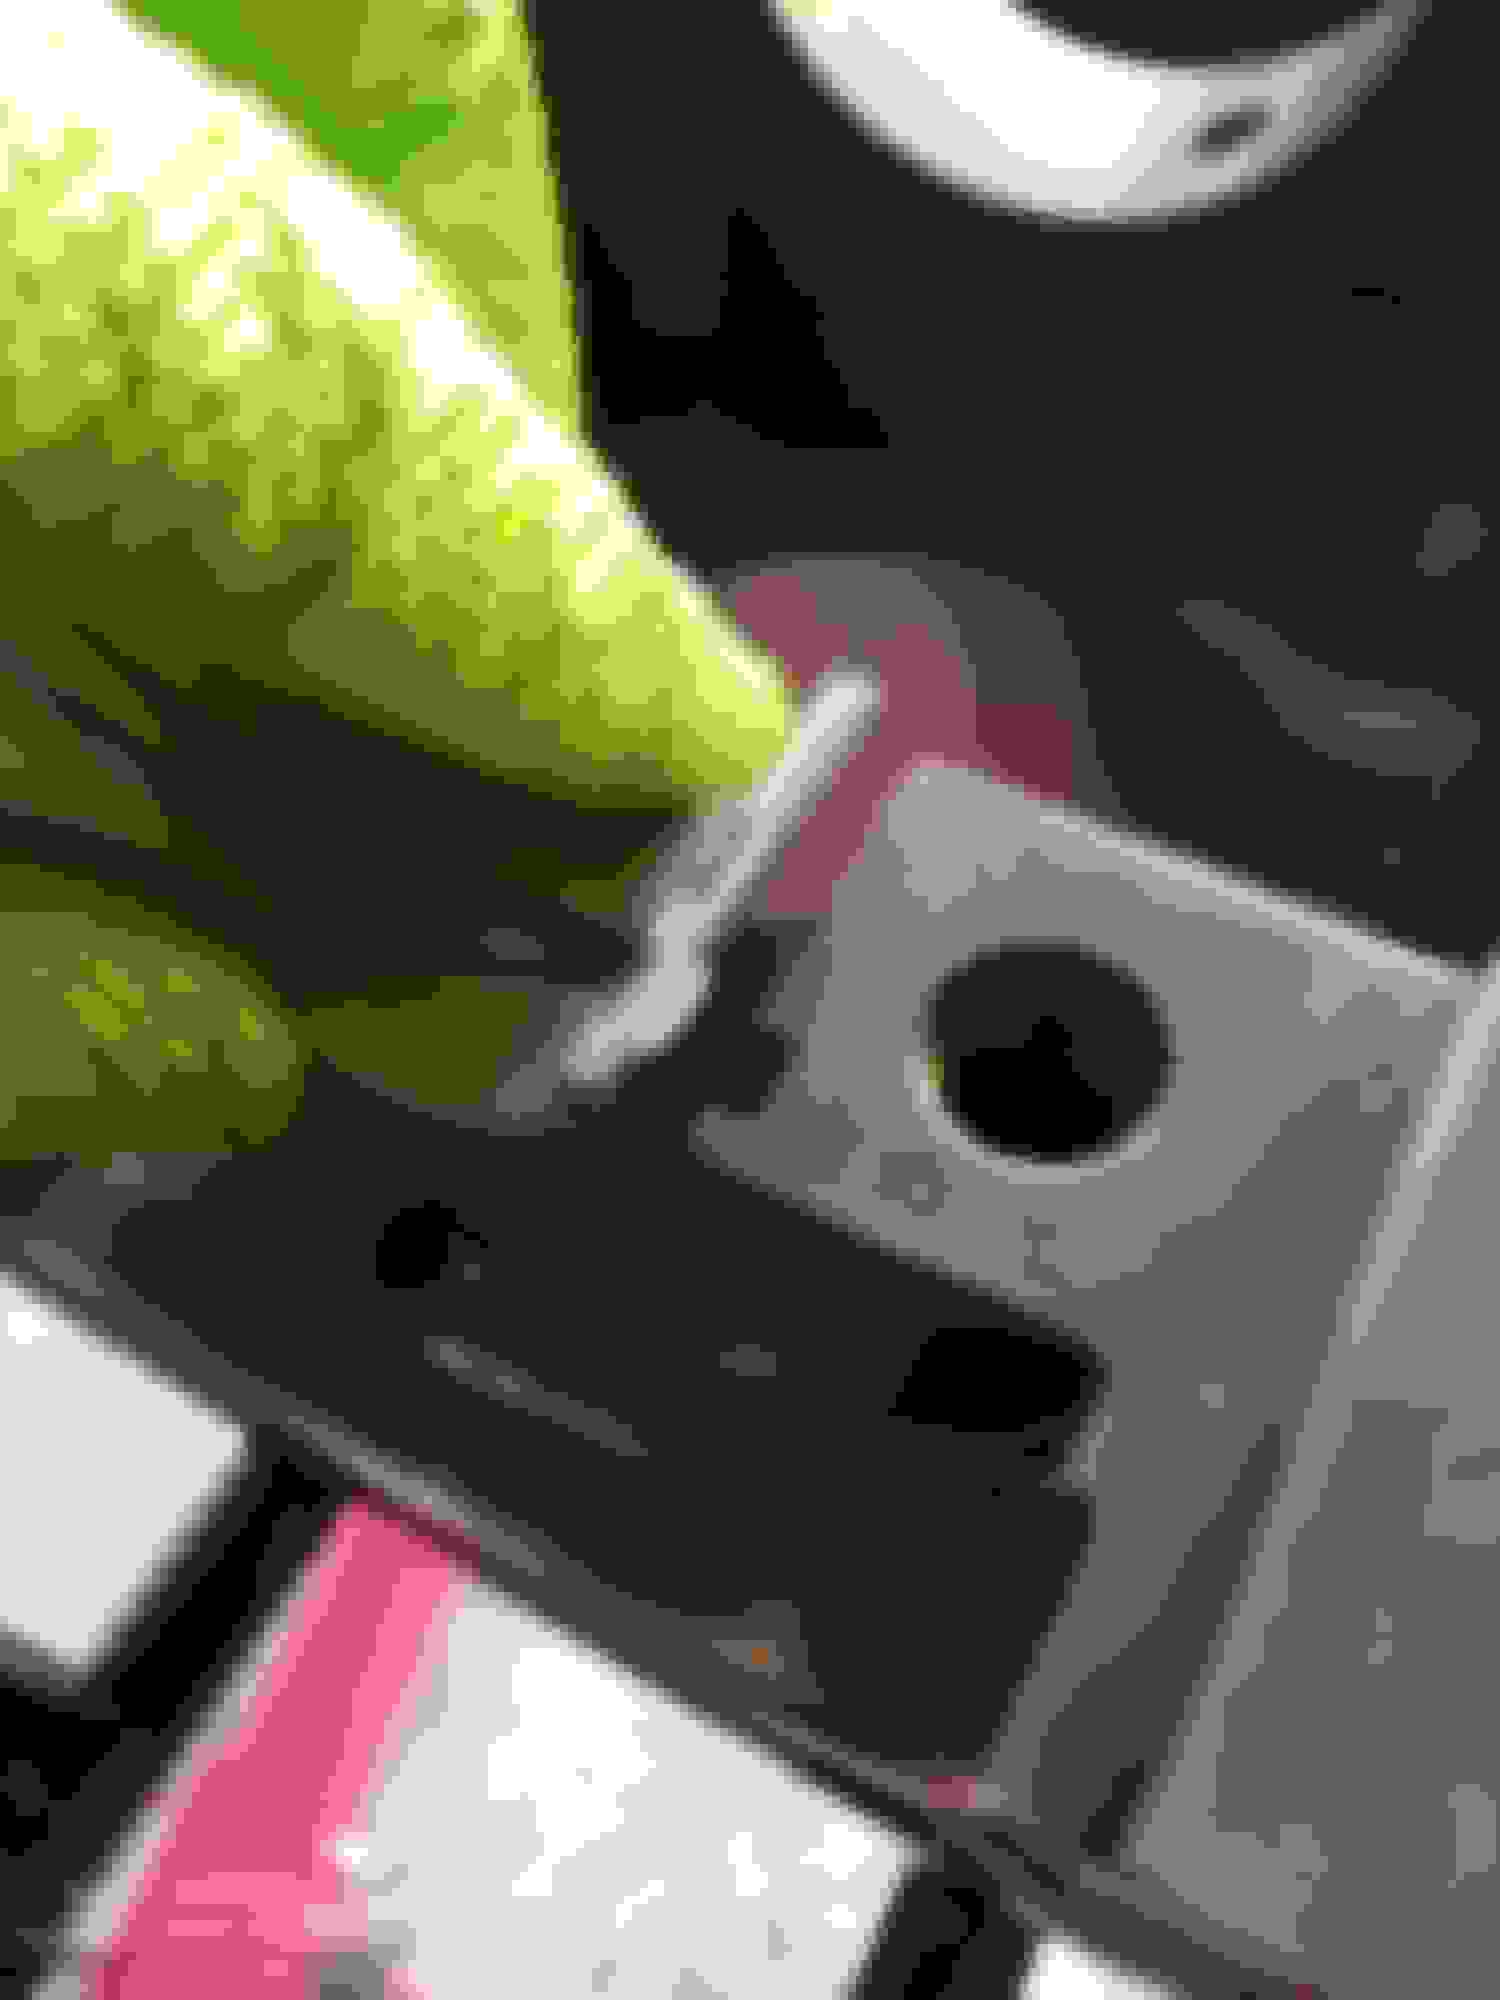
By the way, to switch in a Dana 60 front, you will need this track bar frame mount. This one is factory, but they also sell fab units from places like Sky's.
Cleaned out the rust from the spring eye before attempting the bushing install.
I used copious amounts of anti-cease, although I hope I'm not the one who ever pounds these out again.
Kind of like a paste, this aluminum compound is also oily to help the bushings slide in.
I searched the net to find a good way to install new bushings. This ever-thread, nuts and impact worked very well. Highly recommended!
You may have to do the pull in two steps, but still worth the trouble of buying the hardware. I think I spent around $20 for this improvised puller.
No sweat with one of these. Longer to set it up than pull it in.
I bought the best shackles Rock Auto offered. The others looked cheap and these were close to factory in build.
I tried oil and grease. The grease definitely helped. There is no way the grease will cause these to slip out later.
It is a bit of a puzzle. Just remember the springs get longer as the stack goes up.
They are also offset with the long side to the rear. Some of my disassembly pics went missing. After I ground the nut off the spring center pin, it came out easy (no bad rust). A little tap lines up the spring pin hole.
I used a ball joint tool to compress the springs.
The C Clamp has a built in hole at the top. If you center this, the nut will go on easy.
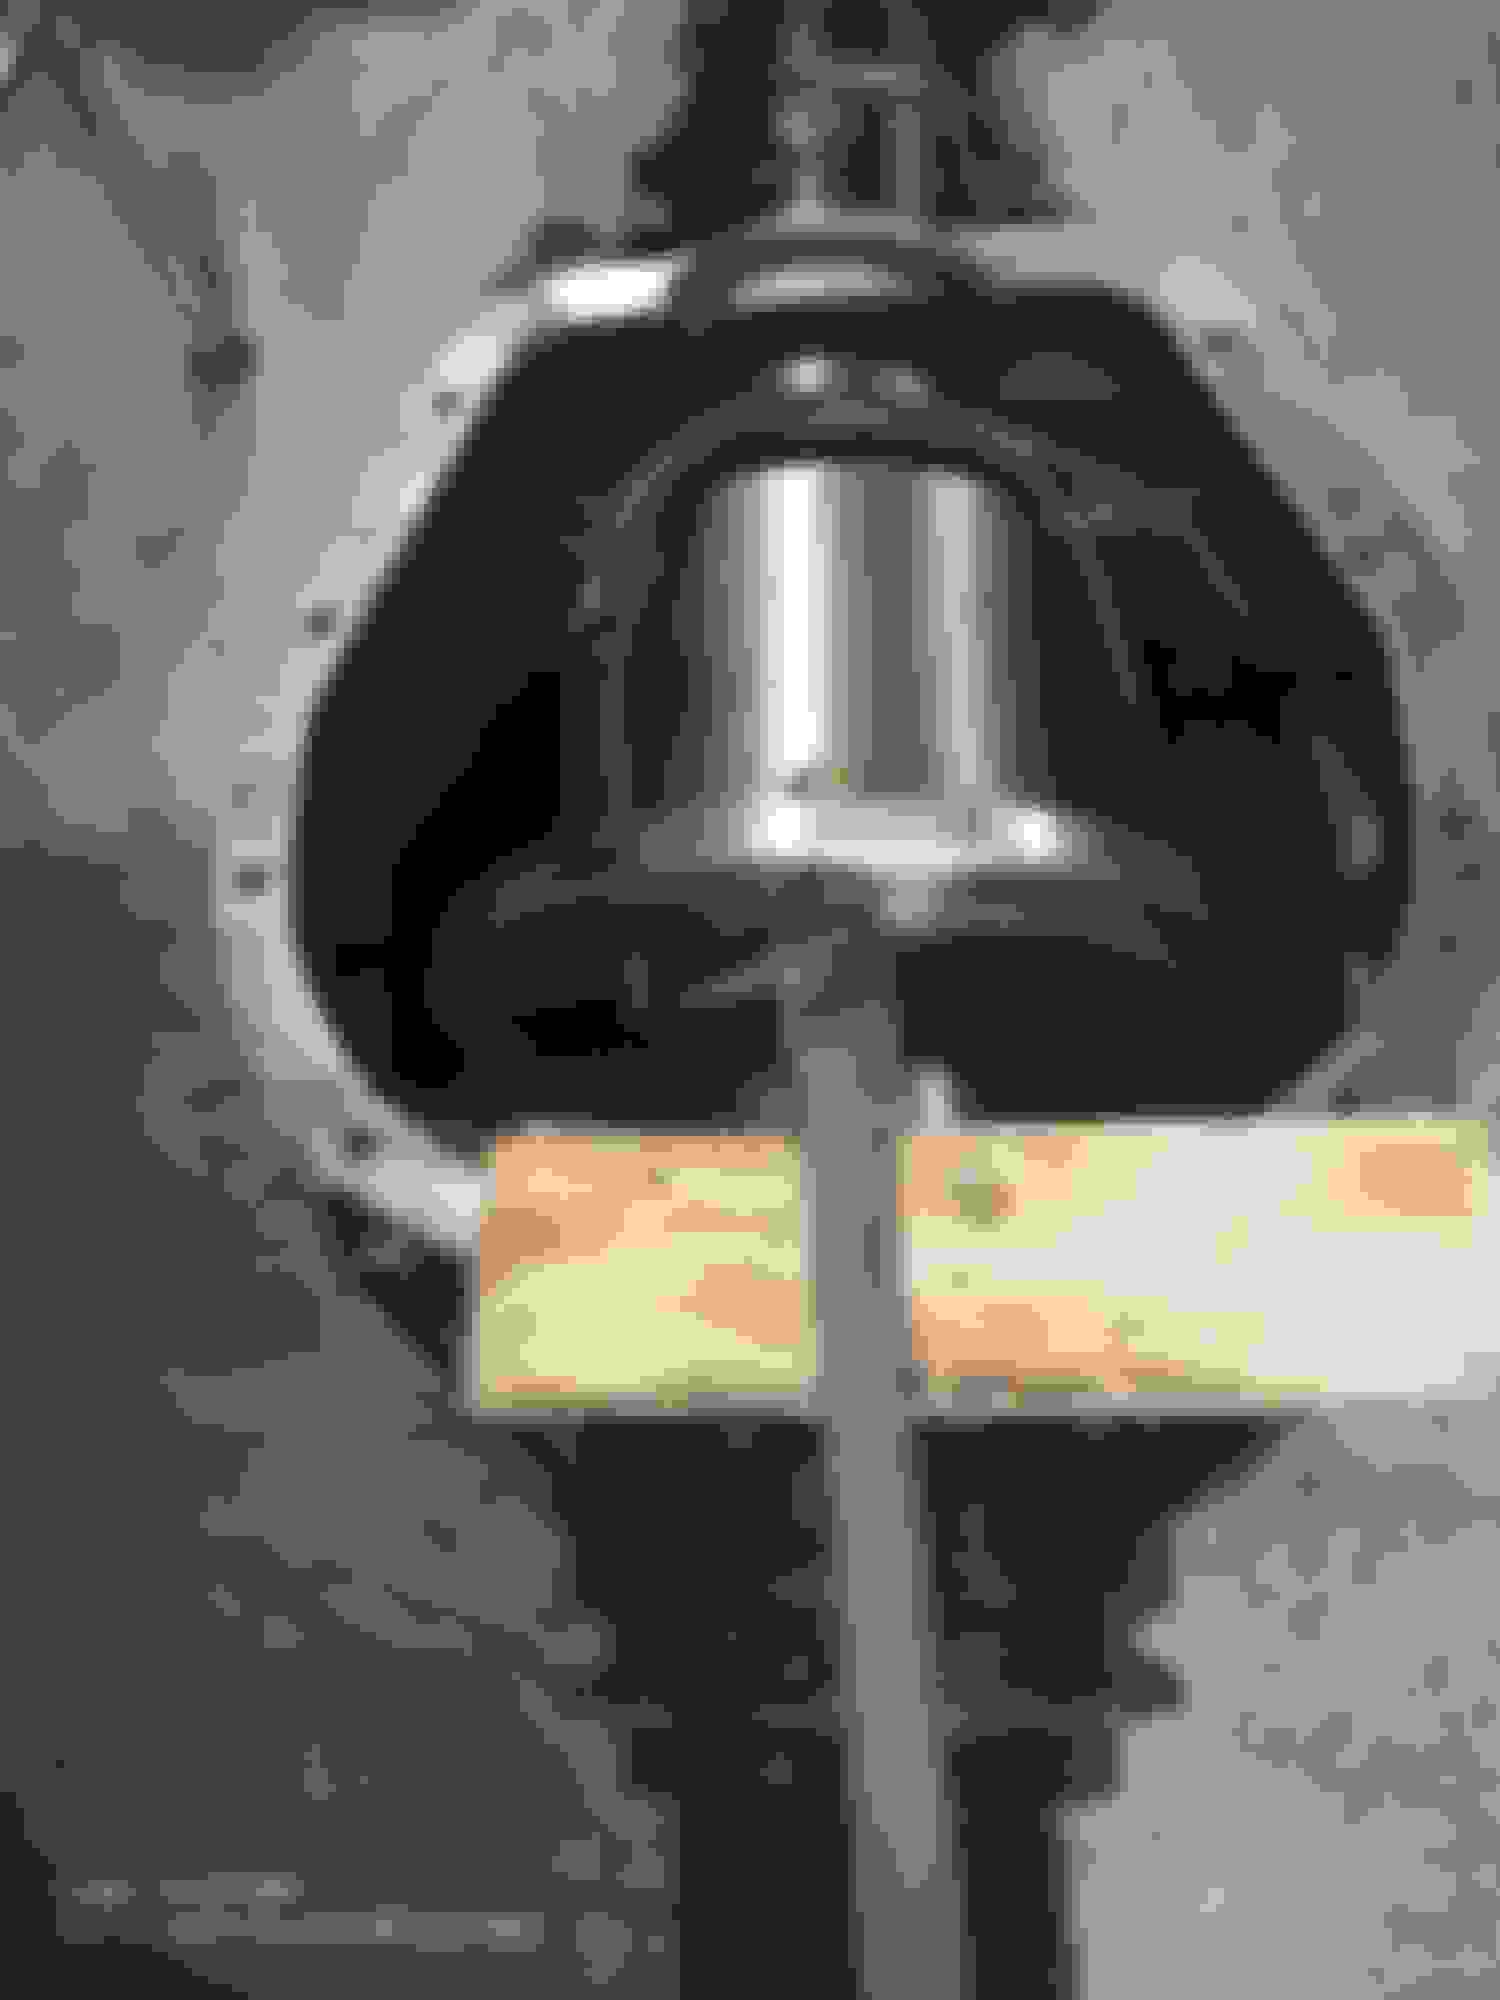
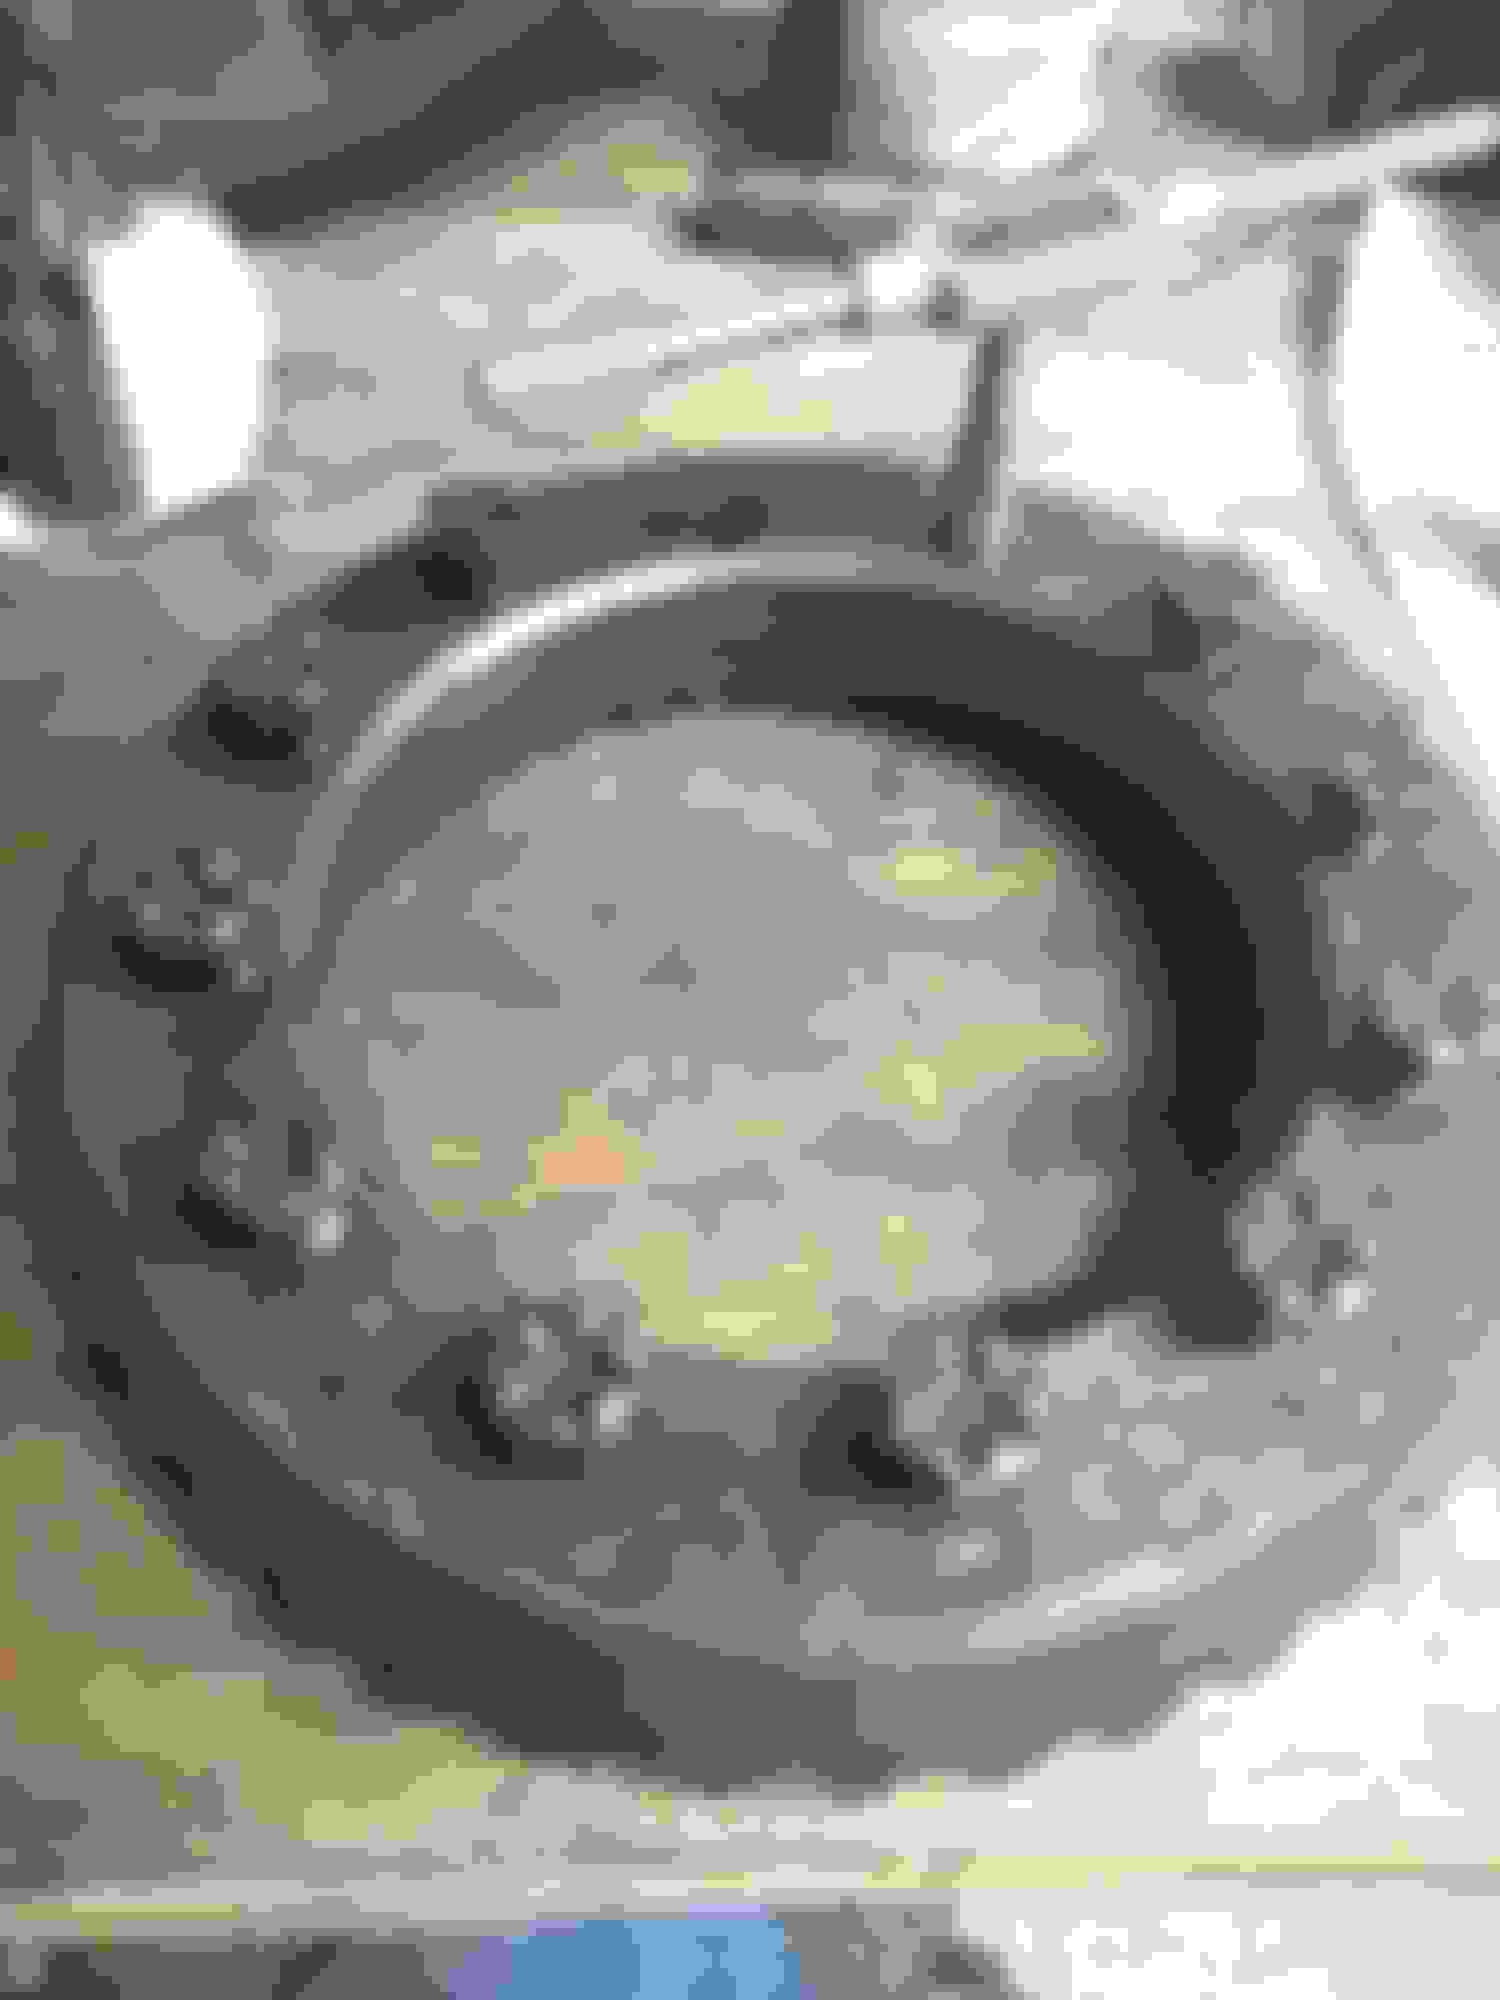
Also on this day, late in the evening (as usual), I tore apart the 10.25 carrier. The Ford Trac-Loc differential is another way of saying cheap posi-traction. This unit is based on clutch packs spring loaded behind the spider gears. These plates wear out so I added them to the mechanical refresh ( I thought).
This is my cheap knockoff of an expensive differential tool, probably made on the same assembly line that produces the expensive one.
Bearing is off. When working with "one-ton" stuff, everything is much harder to get off. The large parts all have more contacting surface areas which translates to a lot of pounding. You will learn how tough steel is.
This little bolt comes out to get to the spider gears and clutch plates.
A brass drift may be needed. Use brass when pounding on a part you will likely reuse.
The blue marks are likely from running the old truck with different size tires.
Lots of pounding on the spiders with bass to swivel the spiders out (to get to the clutch plates).
Finally.
Scuff marks from abuse.
This is the clutch plate stack and is similar to what you see in automatic transmissions.
Some of the coating material was missing. They were wavy, but maybe made that way???
Painted parts waiting for the internal overhaul of the 10.25.
Its hard to find the frame....
Rear springs are waiting on the floor for their good friend the rear axle.
I have been waiting to tighten the bolts on the Dana 60 install. However, I'm having second thoughts about the 10.25 carrier. I could not find anyplace that had the clutch plates in stock (the ones I bought were the wrong ones). Between this and the blue and scuffed parts, plus this will be very difficult to get back together, I'm thinking True-Track now.
I thought I would open the radiator box today too. This as been setting for several days now. If it is the wrong one, it needs to go back.
Nice packaging, but...
Some fins were bent. Four row factory fit radiator came from a popular low wage country with some pre-bent fins. This will help it match the patina of the truck. The patina radiator option is no additional cost.
Anti-cease and loctight. I like both of these.
Every bolt gets the treatment.
New bolts were a must for an old farm truck.
A little persuasion helped with this stubborn bolt.
U-bolt torque time.
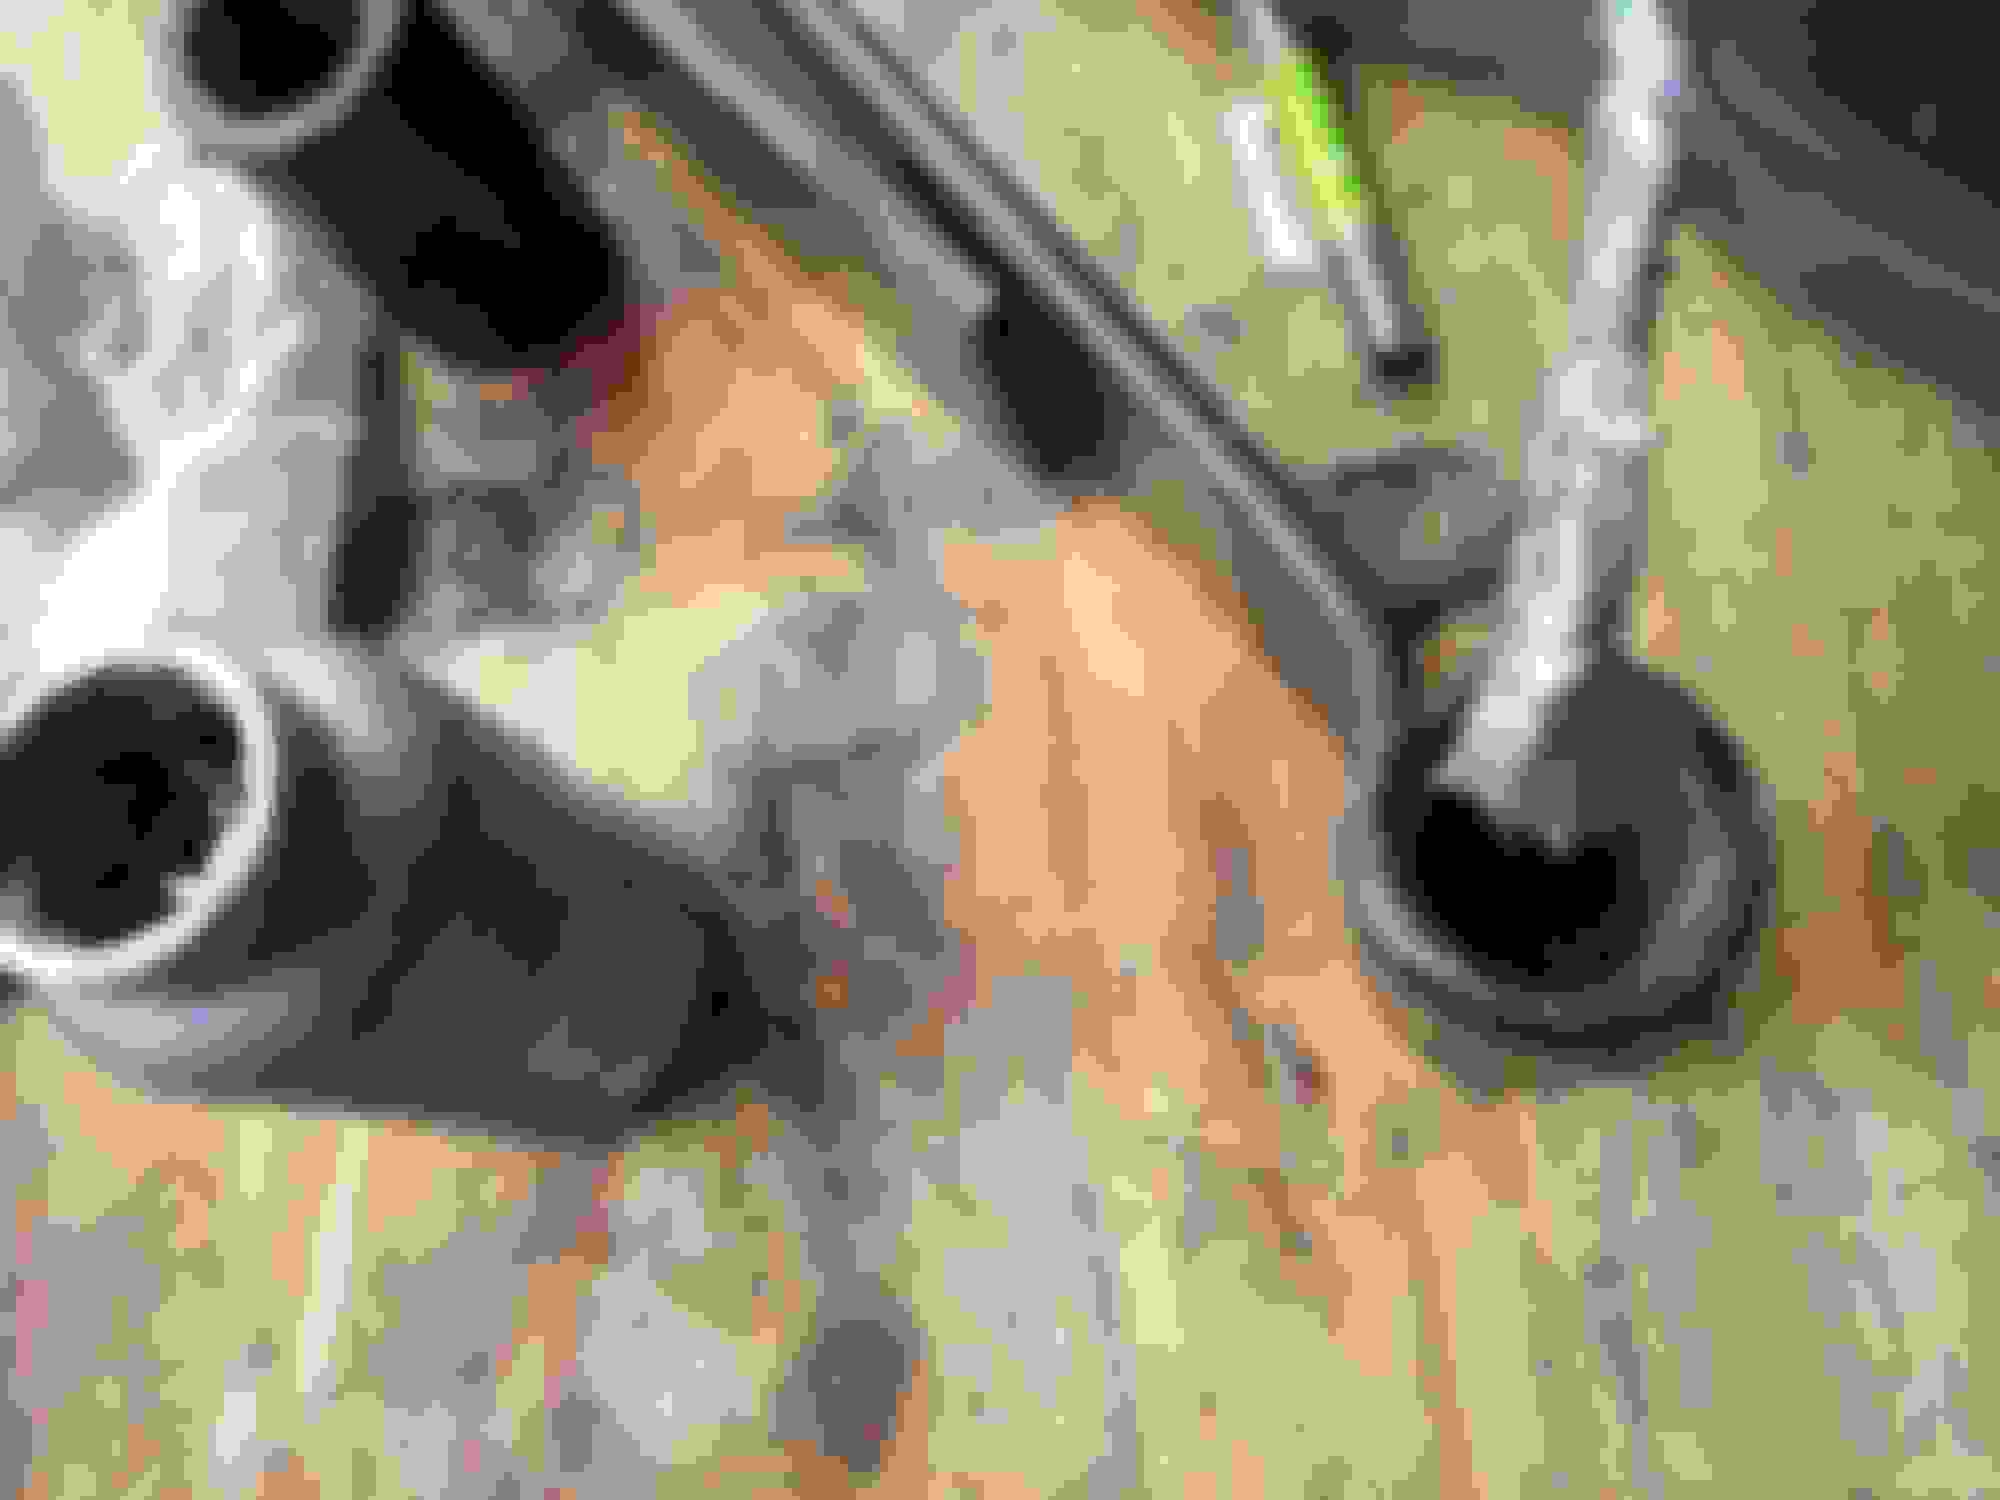
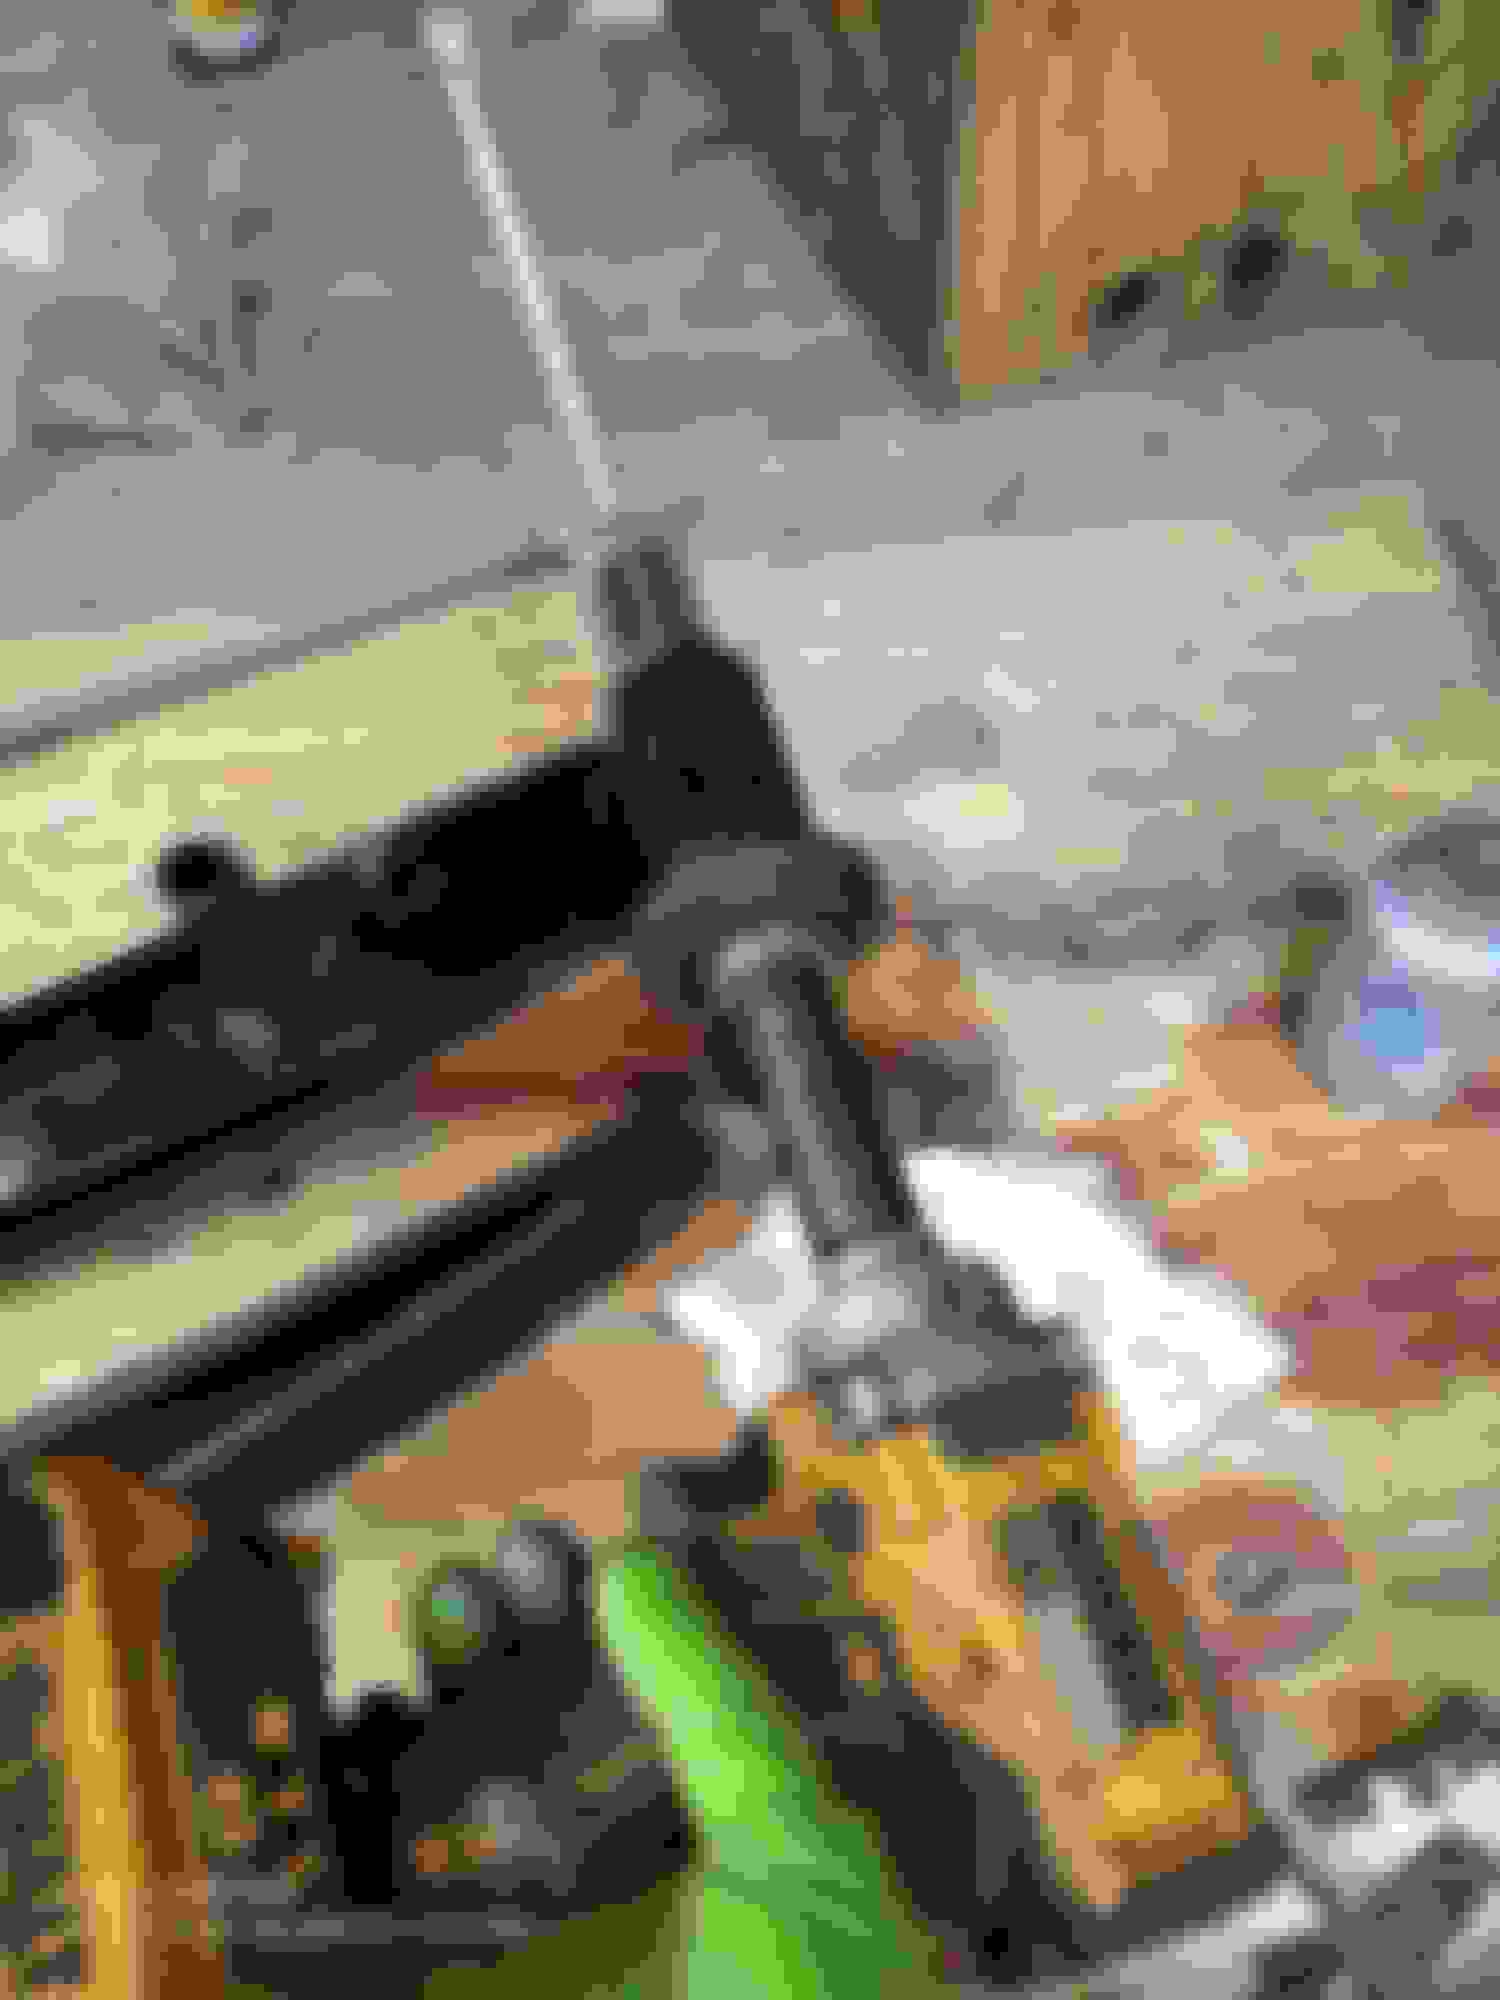
300-six mount towers are what is new in this pic.
Shock towers installed.
Track bar mount going on next.
I hope these shocks work out. If not I'll find some Ranchos.
Tie rod installed. Cotter pin hole was made higher than crown nut notches.
The track bar was from Turkey. They were generious and gave me a little extra rubber.
I didn't have the new bolts when I installed the springs. This is the track bar. It is off because the engine is not installed yet.
This is my trick for swapping them out. The drift knocks the old bolt out and holds the spring in place. I slip the new in on the back side
, but today I finally felt like it was ready to install the new spring bolts. I also put on the shocks, 300-six engine mount towers, tie rod and track bar.
I spent some time with the rear hubs today. I also installed the new steering damper, which didn't go well.
This is the tip of the front steering stabilizer getting the factory threads cleaned up with my cheap Amazon SAE dies set. The nut would not go one. This made a very simple install five ties more difficult.
All fixed! At least I didn't have to send it back and wait for the replacement.
I also cleaned up the u-bolt threads for the front stabilizer mount...
...and installed the sway-bar. Stabilizer is in background. Ooops! I had to pound hard to get the large races out of the hubs. The space inside makes the drift lean over. I don't have a puller, but this race would be a good place to use one to prevent damage/burrs.
I used a stone to smooth the nicks at first. Later I switched to the die grinder with small sphere bit.
The stone worked ok; the die grinder was better.
Our big shipment of LMC truck parts arrived. Mostly interior parts.
Most of the small rubber parts around the interior and body are found here. Everything rubber was roted on this 40 year old truck.
The mount tower for the 5.8 liter was both bolted and riveted. These were the bolts.
I grind on the rivet heads found up underneath, and then chiseled...
...job done. Remainder of the rivets shown.
This factory rivet is popped. It holds down the driver side engine cross member.
Looks cleaner without the 5.8 tower. The 300-six oil filter was likely going to interfere, so it had to come off.
I cut off a small piece of gas pipe...
... to use to support under the hole where the new studs were pressed in. This prevented the hub fro tipping while under press pressure.
However, I bent the lip in one place because I couldn't see well.
Today was spent on new territory; the steering box. Never had one apart. A little bit anxious. The Ford manual did not help any in terms of gaining confidence that I could do it. They seem to be long winded and want you to use all these special tools you don't need. However, the manuals from Ford can offer a golden nugget now and then.
What you need to know:
1. Looking back, it was easy except for the Teflon seals (which I messed up).
2. You don't need any special tools, except a sleeve to slide the Teflon rings over might help.
3. Be as clean as possible.
4. The 27 (+/-) steel ***** are not hard to deal with. Just take your time.
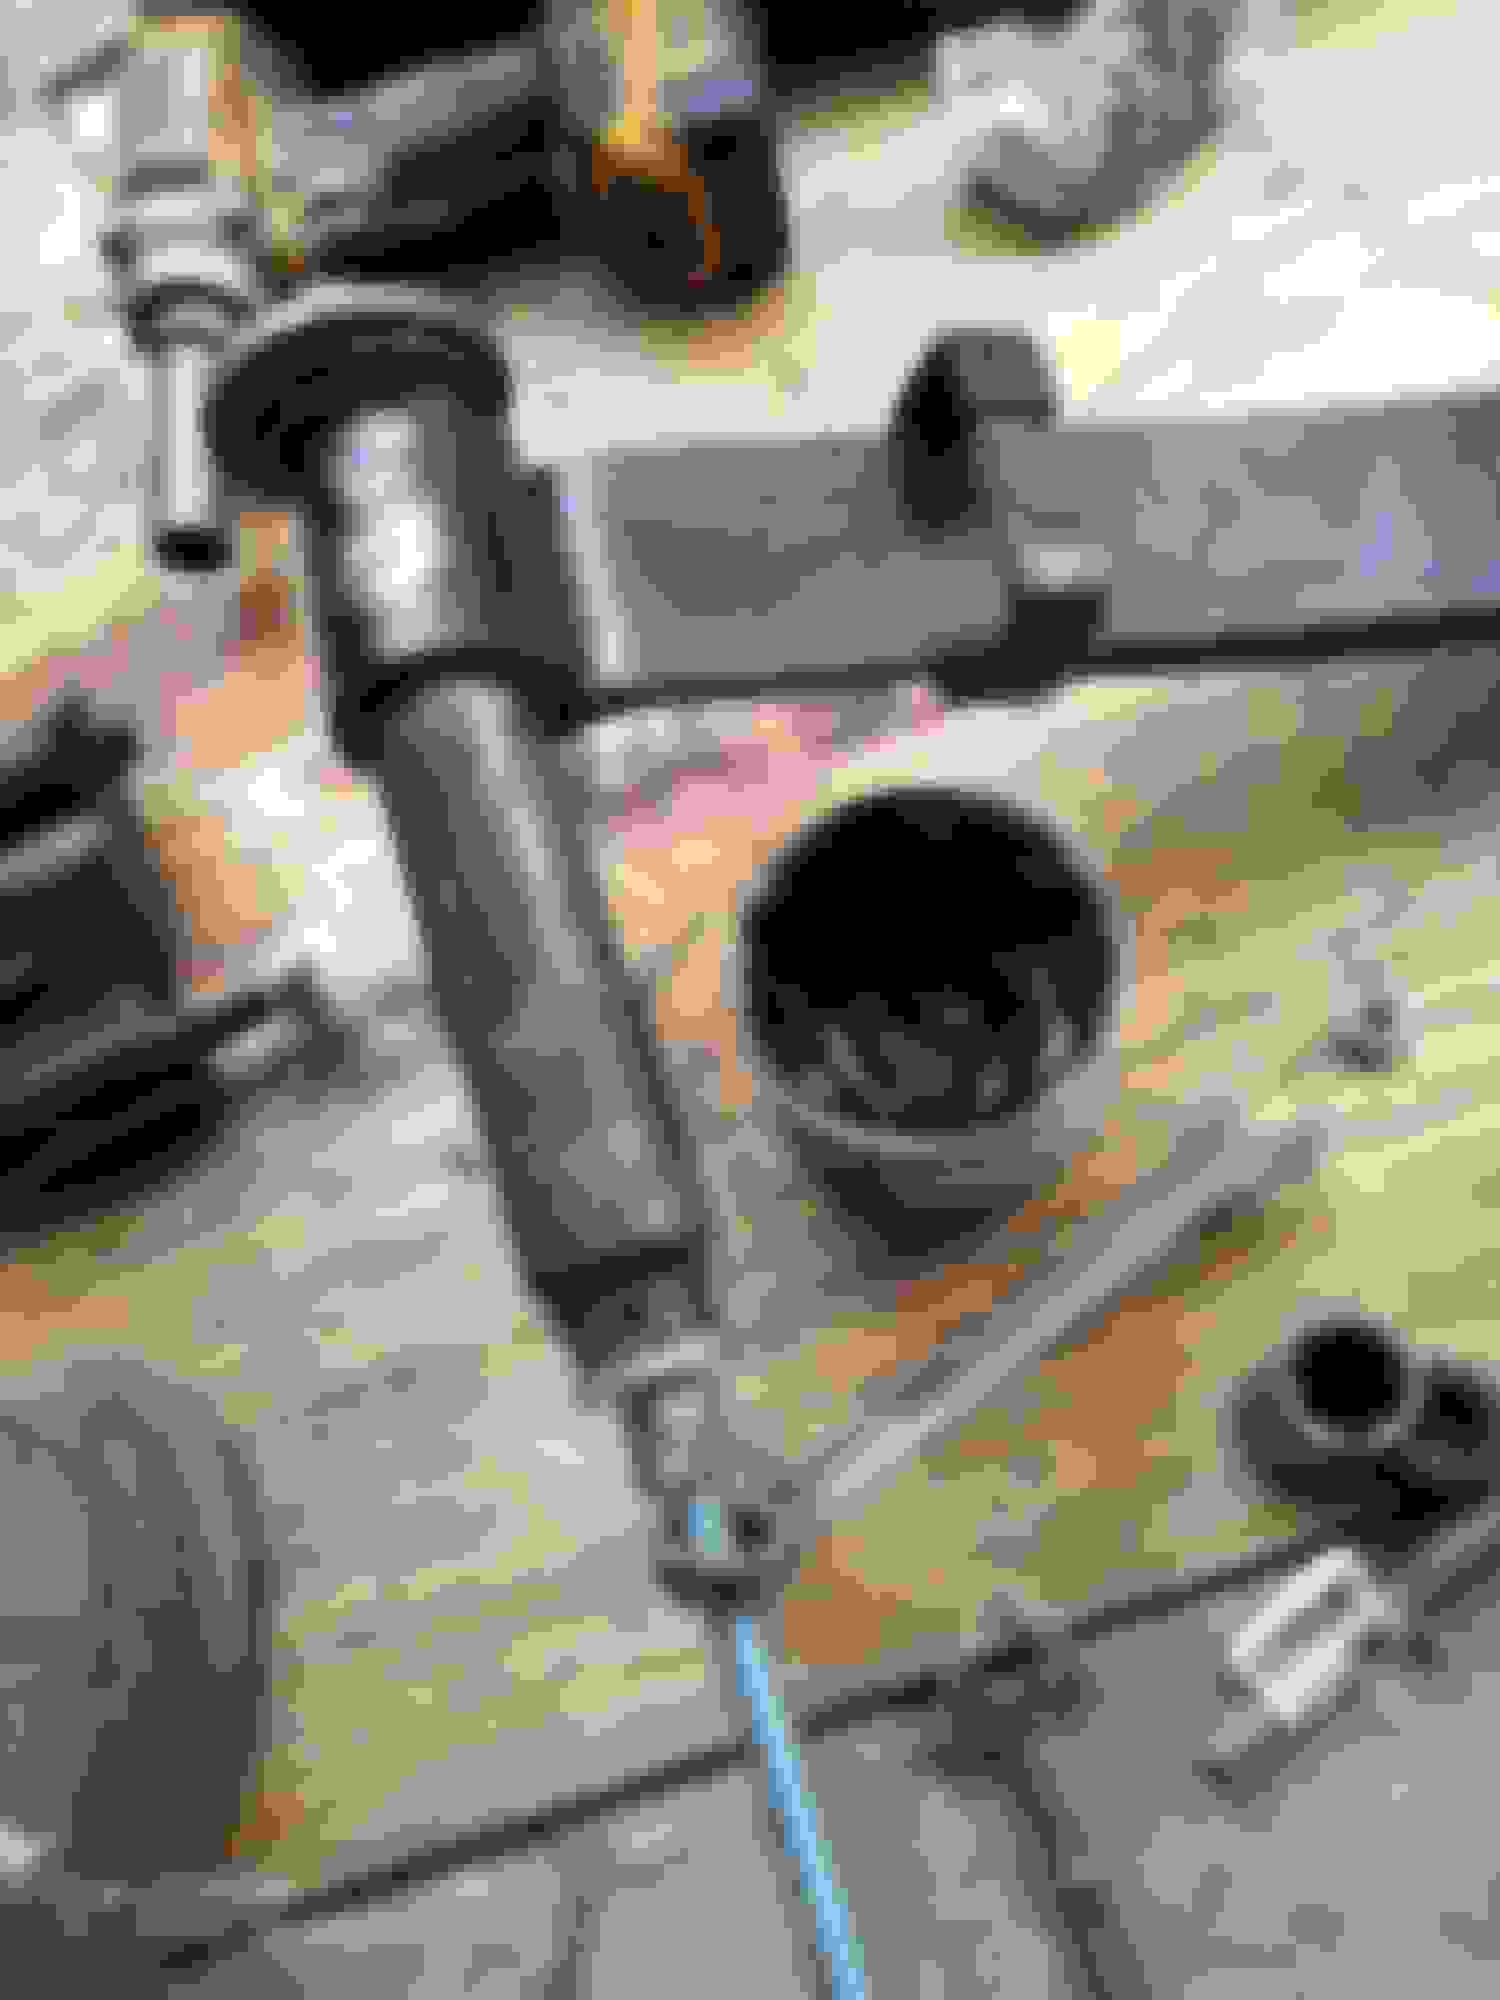
I had to mount the box to the frame to get the pitman arm off. Here a special tool from OTC helped.
I hammered and used the puller together. The puller alone may get bent. These are not easy, but some determined hammering will get the job done. I think I used a little MAP gas too!
Getting the pitman off is probably the most physical you have to get with this thing.
These two bolts get your sector shaft out - easy.
A little tapping, but not much.
...a little more tapping.
Here she is.
The sector shaft is out. A roller bearing is seen below and is for the output side.
Sector shaft up close. It has a "sector" of gear teeth.
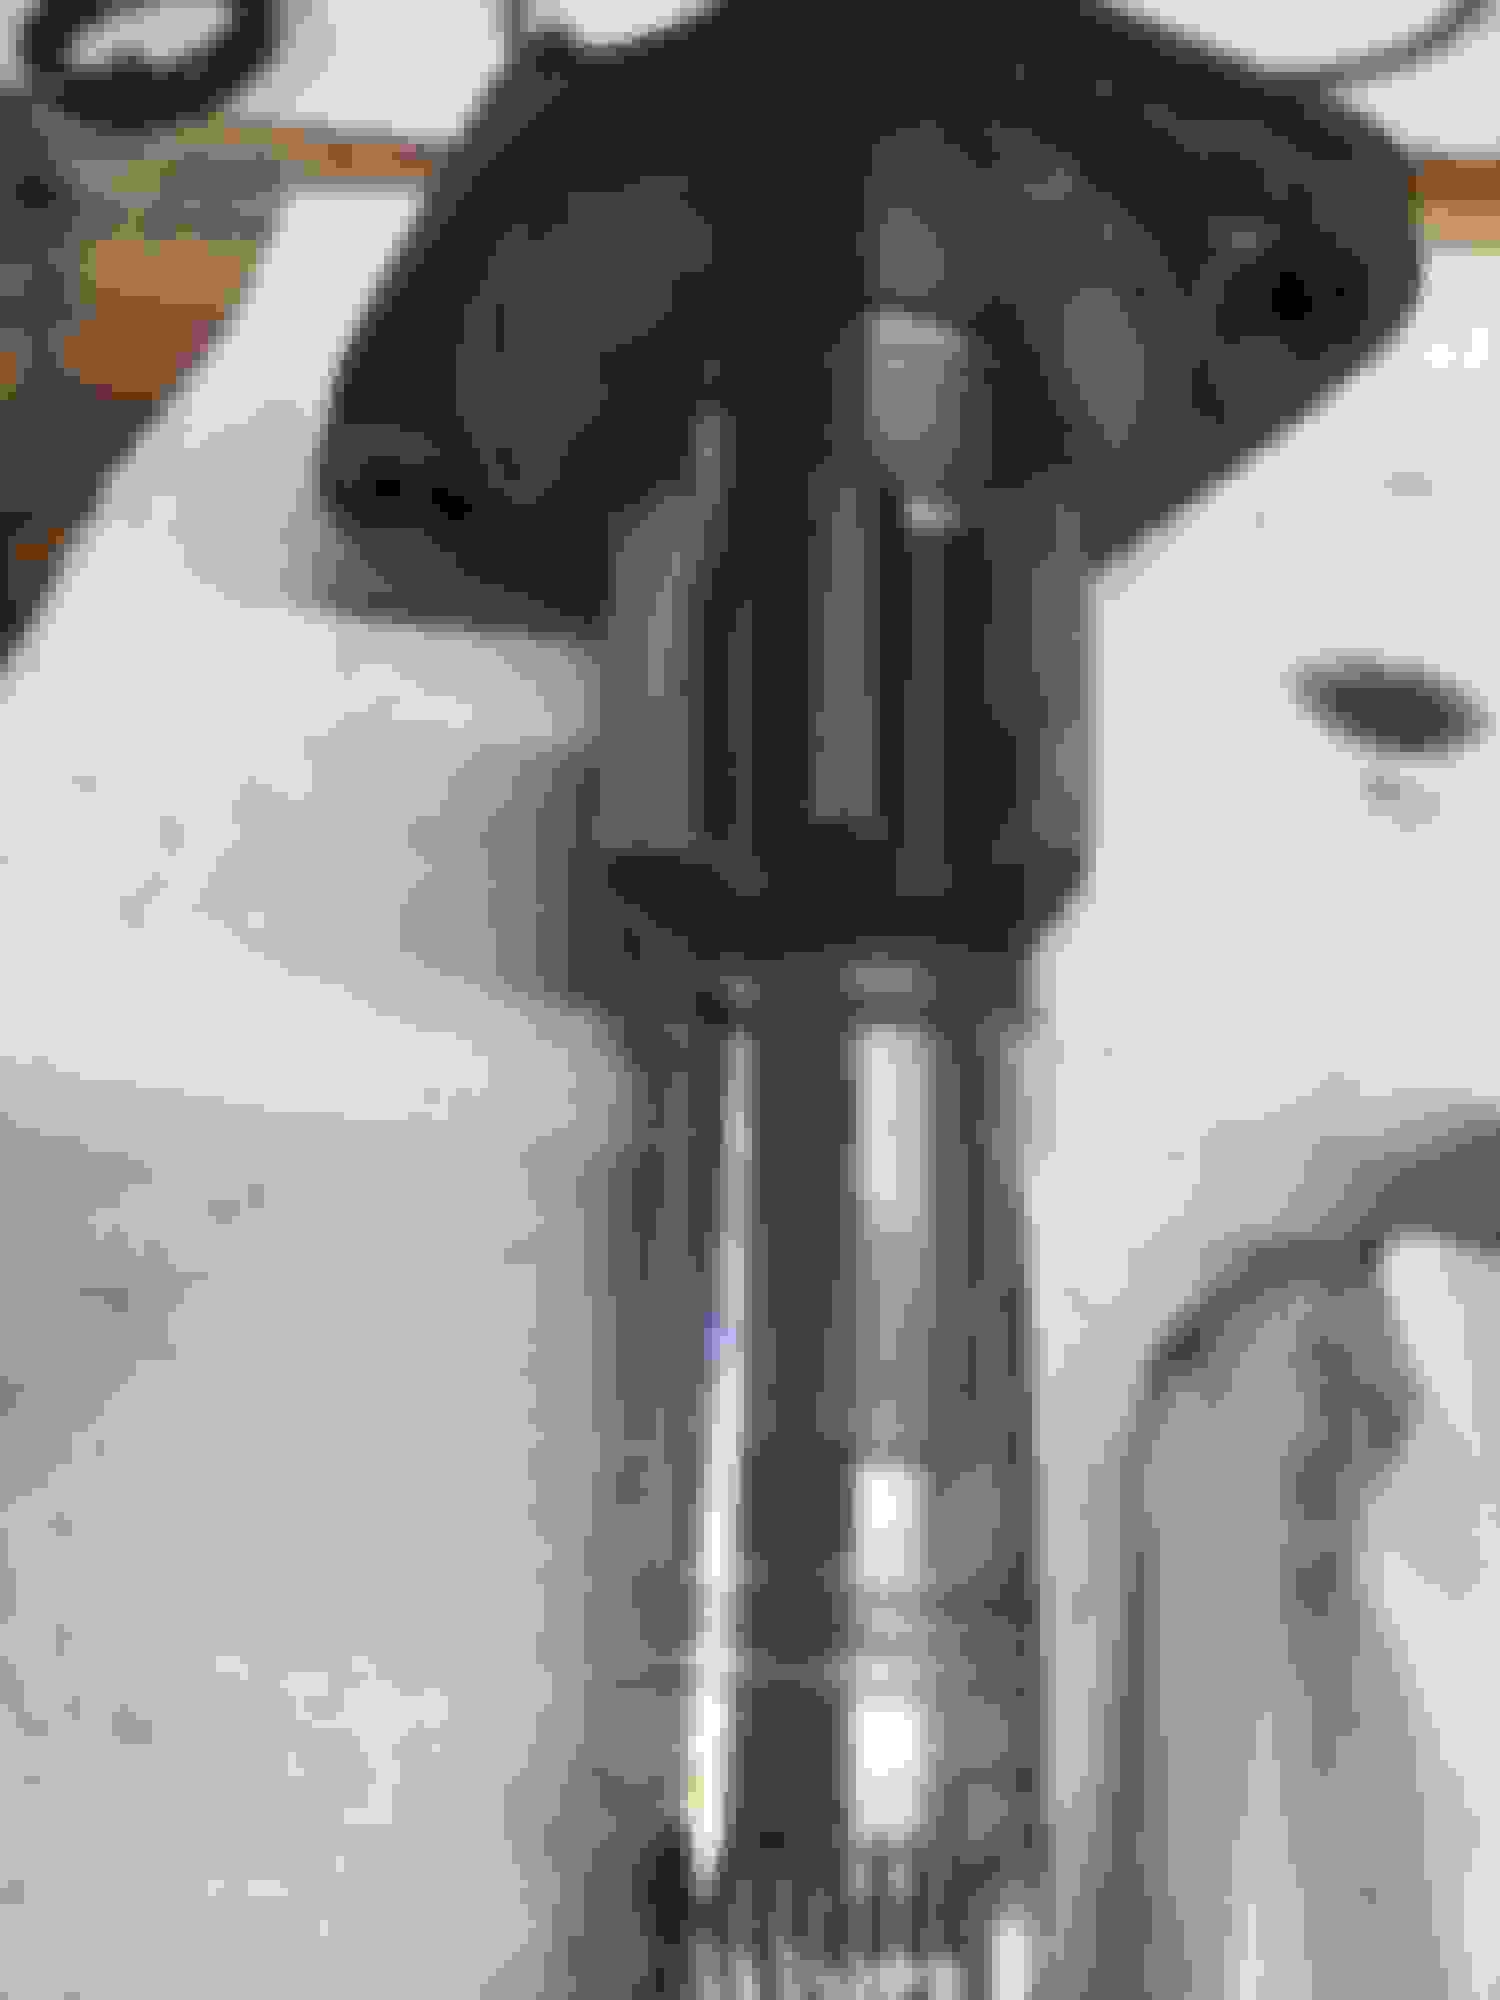
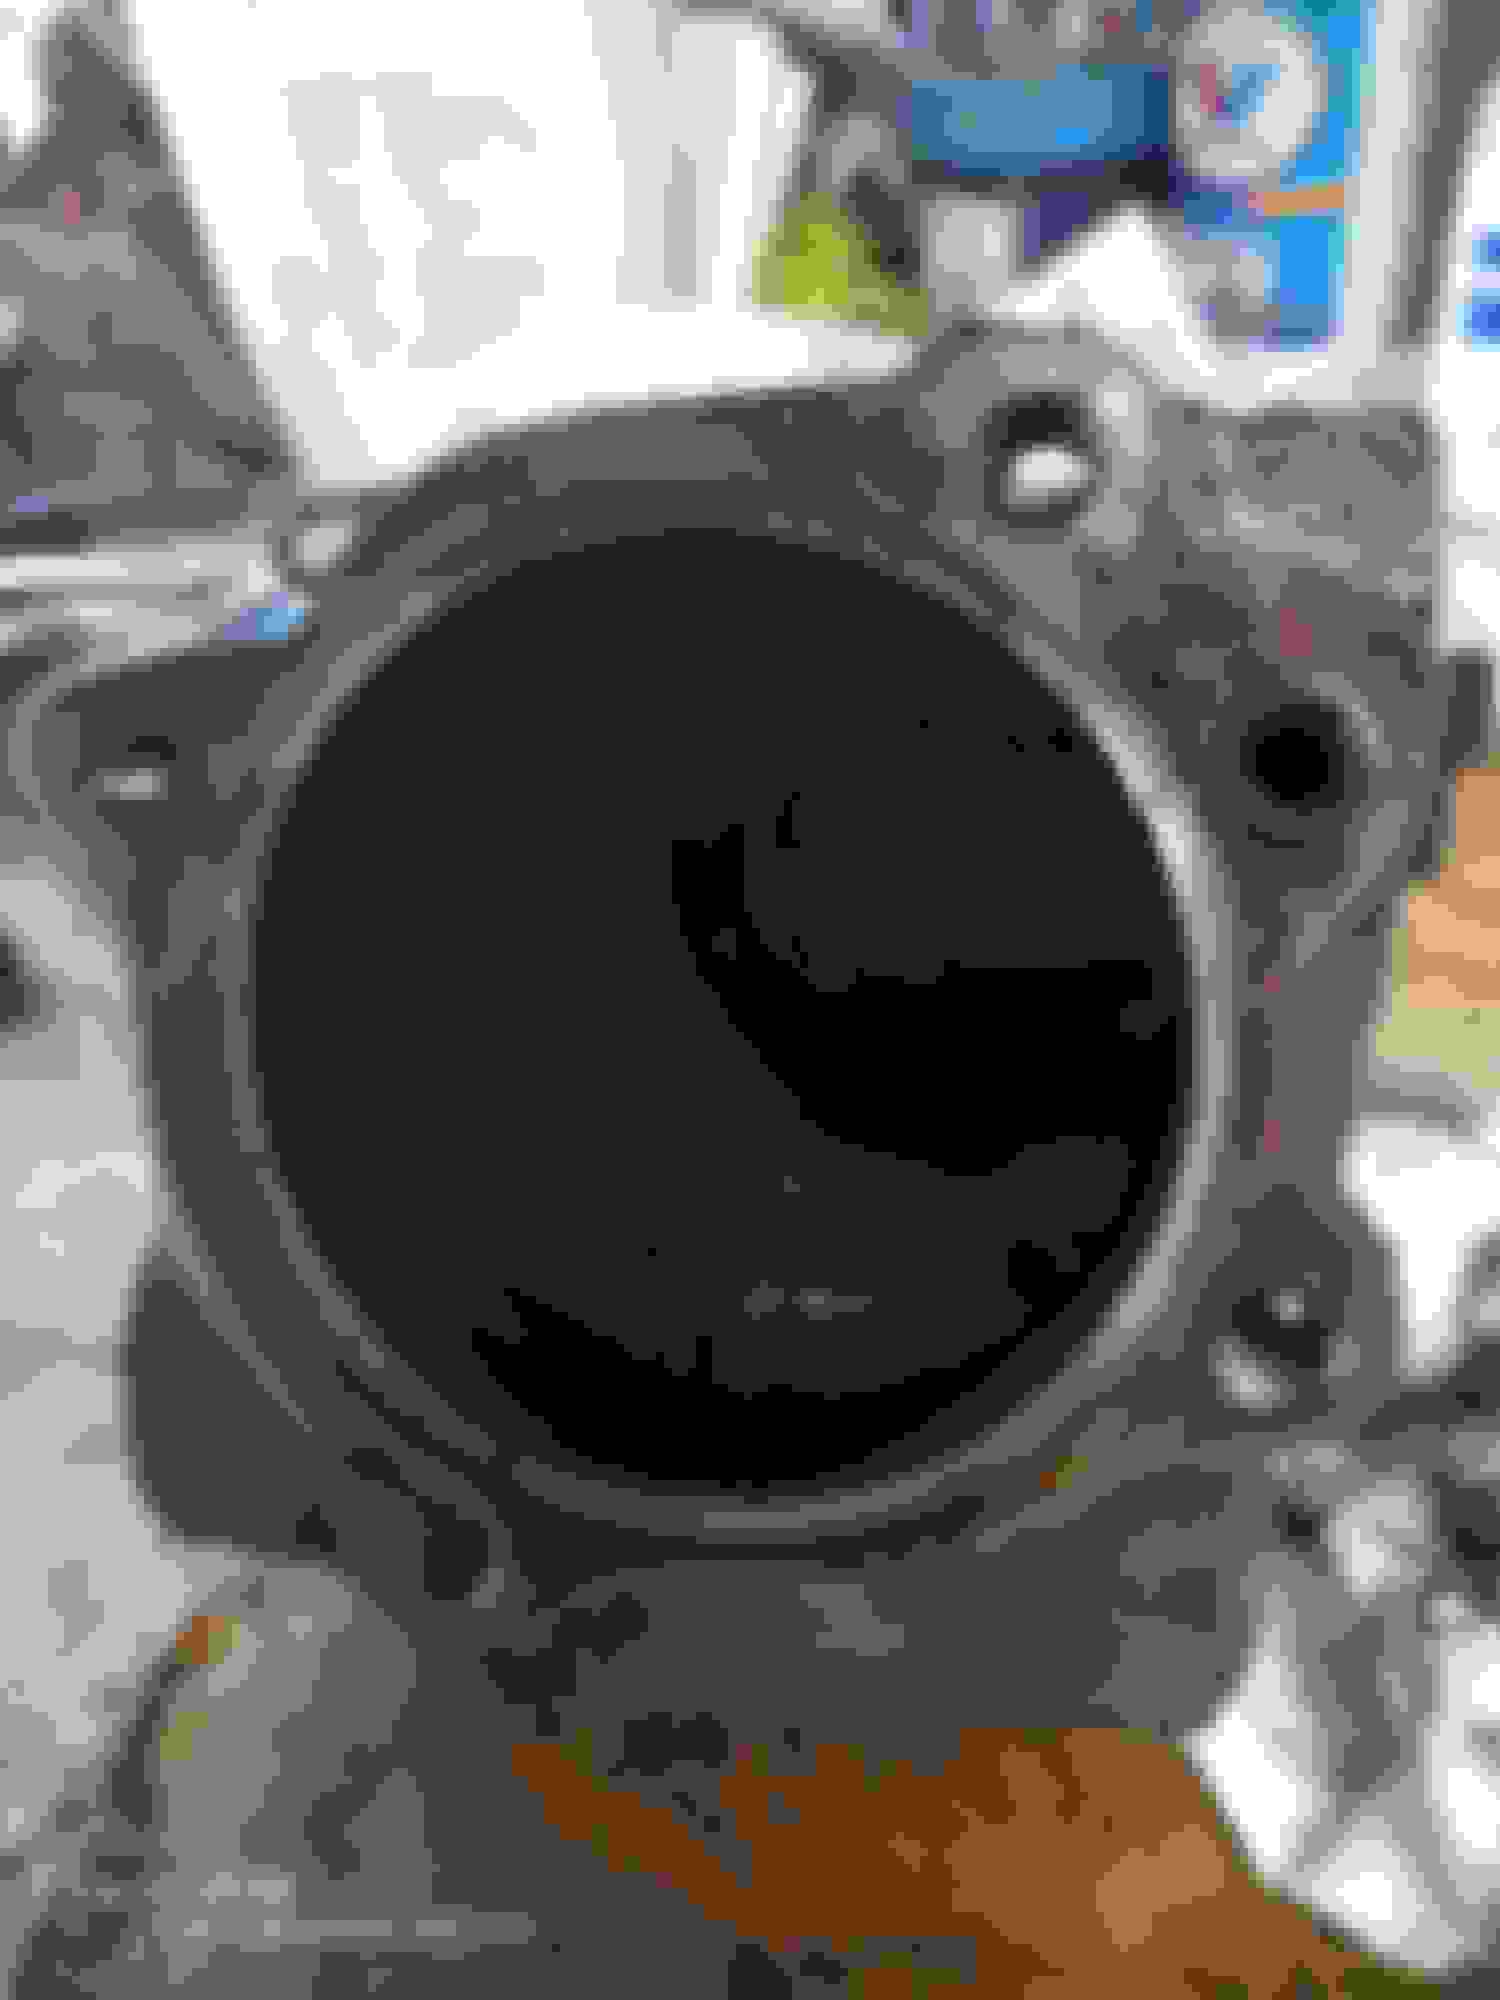
Now to get the piston out. Four bolts gets the valve body off. You heard right, there is a piston in this thing.
The bore the piston came out of. There is a litle o-ring staring at you that needs replaced. Can you see it?
Here it is!
There are two clips total to remove. Everyone has there own way to get these out, but I find small screwdrivers work well with the c-clip pliers.
They give you new ones in the kit.
The output bearing took some 5-lbs persuasion to remove.
Here is the output bearing.
This is the input-shaft where all the 27 ***** live. I still don't know how it works.
The large Teflon seal on the piston was easy. It also had a normal rubber o-ring under it.
This all the internal steering box parts. The yellow rings are the Teflon rings you here people cussing about. You can see the teeth that match the sector shaft on the piston.
So there you have it. The magic of power steering is a piston powered by hydraulics. I wound up stretching my Teflon rings too much. Luckily I had a box from another parts truck. To my surprise, someone had rebuilt that box and it had good, newer Teflon rings ready to go.
I had my biggest mistake so far working on the shift rails - tower that sits on top of the NP435. I thought the pins at the top had to be drilled out to get the shifter out. Not true; don't do this. After you get the top clip twisted off, it will pull out. I wound up buying one on eBay and had to circle back to the NP435 to finish her.
What you need to know:
1. Pay close attention to the direction of the shift forks and rails.
2. Be careful not to get the rail 180 degrees off. You will know if you do. Just pound the roll pin back out and do it over the right way.
If you have not seen the inside of a classic cast iron 4-Speed from the glory days, here it is. There are three forks that reach down to the gears to slide engagement. The rails are the smooth round shafts with notches. These notches, along with a lock out mechanism, are the brains of the transmission. They make the "H" on the **** pattern work. Now they are gone. The are a system of roll pins to get everything apart. I place the old parts down on a clean rag (top) so I can remember where they came from. The new parts from the kit are organized on the lower clean rag. No special tools needed. This is a part the stick shifted engages with to find the right forks. They give you a new clip. That's all for this thing. I epoxy on the Teflon pads. They could fall off during assembly of the top plate onto the cast iron box. Insurance. Mix the hardener and dab a little on. These aren't going anywhere. A closer look. These ***** engage with the rail notches. The kit gives you new ***** and springs which give the de tent feel of shifting. If the trans falls out of gear on its own, more than likely it is these *****, weak springs and maybe rounded notches on the rails. A vice grip trick to get the roll pins started. I used "assembly goo" to help hold the ***** in their respective sockets. The spring goes in first then the ball. It is a split second trick of pushing on the rail while letting off the ball to get the rails back in. Roll pin installed. Beat these in, they like it. I used some wire to keep the roll pin holes located. When the NP435 shifter was done, I painted the steering box and cast iron NP case at the same time. I'm a stickler for masking machined surfaces. It only takes a few minutes. Get all of them. The power take off too. Don't get any paint on the tail or input shaft. Can you say "stuck clutch" ten times real fast. Nothing like new paint... ...for a sense of accomplishment.
DAY 60 + 10:
More final assembly on the NP435 today.
I always let paint dry overnight. New gasket and stainless bolts for the NP435. Nothing like stainless to say quality. Loc Tight on every bolt. Some additional prelude and hand spinning before the top goes on for the last time. I had to knock out these plugs to get the ril out - very easy. New plugs come with the kit. Gasket sealer helps. New plugs in. I also clean out all the tapped holes. It helps get the right torque consistently. Look at the muck that comes out! This was from cleaning up an existing hole. I like to run a file across a machined surface to look for burrs or other unevenness. The tail shaft was tight and a challenge to get the torque wrench on. All done. I placed it out of the way until install day arrives.
I am always trying to move something ahead without getting too much torn apart at once. Occasionally I'm waiting for parts, so I help my son with the cab work that he is heading up. These are from various days.
I am thankful he is a very mechanically minded young man that likes mechanisms. He found enjoyment on rebuilding the doors, windows, instruments, brake and clutch peddles and steering column.
New clips help action and stop rattling.
We reused as much as possible.
This is for the door handle and is easy to get to. The tailgate was messed up. Mostly because the spot welds popped along the ends. We like the patina too much to replace this.
I had given up on rebuilding the stock Trac -Lok limited slip and opted for a True Track. It is important that the truck remain street able and user friendly with simplicity. However, I had a real time trying to get the pinion nut back on!!! I spent a good part of a day fabricating a tool to hold the pinion. If you remember, I bent a 3/8 plate tool I bought on Amazon getting the pinion nut off. I had a cheater on my old Craftsman breaker bar I got back in the 80s as a teen when the nut just stalled before bottoming. Suddenly the breaker bar broke (which was both sad and an accomplishment - never done that before!). I ordered a 3/4 drive socket for the 41 inch breaker I bought for the Dana 60 king pins. Hopefully that will do the trick!
This has been on the floor for a while. Getting it back on will be a real achievement and lift morale. The grade 8 bolts arrived for the backing plates.
Before...
...and after.
This makes quick work of cleaning gasket surfaces. Highly recommended and relatively cheap for the work you save. Force multiplier.
All clean now.
I kept a rag here to keep debris out of the axle tubes while cleaning.
I also installed the races. I like to put them in the freezer, grease them and use the installer tool to pound them in. If you do all three the efforts is noticeably reduced.
This is the large pinion race. It is larger than it appears here.
After I beat these in, and the tone changes on the hammer strike, I check the back side of the race for clearance. I got this procedure from the Ford manual.
The freezer bag in the background was from the freezer. This race is COLD!
Do all three and the install is a snap.
I worked on installing the large pinion bearing on the pinion gear during this session too. I noticed the existing bearing had lost its press fit and was concerned. However, the new bearing did press on okay.
This polished surface tells me the bearing was spinning and lost its press fit. How punished was this thing?
These marks on the old (large) pinion bearing support spinning evidence.
This made me scream. The black piece is from the differential tool set. It is about .005 inch too short for this job. Took me a few tries to figure it out.
I used the old bearing inner race to make up for the tool being too short.
Cut the cage in two places.
Pesto - perfect fit.
Always press on the inner race. The cage should spin free when pressing.
I kept getting a small gap here where the bearing would not press on. It was the .005 too short tool. Wow, this freaked me out.
After sleeping on the issue of not being able to tighten the pinion nut, I thought a mondo size pinion holding tool would help. Let's look in the scrap metal bin...
I got the drill press out to help with this pinion tool fab.
This ought to be long enough.
Quick way to de-burr. Use a larger drill bit.
I didn't quite get everything square so I used a touch of the die grinder.
Got it to fit okay.
Oops. I forgot the big hole for the pinion socket.
I don't have a mill (yet).
This took some time.
Enlarged pilot holes to touch (almost).
An hour, two hours, I don't know how long.
Bang its done.
Die grinder to the rescue.
Not bad. Maybe I don't need a mill after all.
I doubled up the angle iron near the pinion, plus the plate.
Almost ready to give her a try.
I can't believe this...
I broke my old breaker bar.
I'll get revenge with this. Pinion watch out, here I come
Checked the rod bearing clearance today. After plastigage I cleaned off the plastic and reassembled using some lube. With each piston and rod I spun the assembly to check for binding. There is always a little more drag each time a piston/rod is added, but no hard spots in the rotation to indicate binding. I didn't use the rings in this mock-up.
I also took the 4.10 ring off the old carrier. This was new territory for me, but the $50 3lbs hammer worked great. Within half a dozen taps/hits it was off. Tone ring was even easier.
I saw this trick on a YT. Take an old race split it with a grinder/cutting disk. It looses its press fit so it can be used to press on new bearings.
I'm not sure what this number is for?
I didn't think my first locker would be the True Track. The price is good at sub $1000. I got mine for $850 at East Coast Gear Supply.
Make sure there is no burrs on this surface. Your file is the most straight edge in your garage.
I smear a little grease to make the press go easier. There is no way the grease is going to counter a .001 interference fit.
Old race - new employment in its second life.
Yes these things are made in Taiwan.
I tried making a wire handle to lower the heavy carrier into the 10.25s case.
Strung three strands of wire through a piece of old hose from my hose collection.
This seemed to work okay. Better than smashed fingers.
I tried some Assembly Goo to keep the races on.
I had to put a bolt in the carrier to pry it back out. The wood is to protect the machined surface. I split the factoory spacer tring to tap it in. Ordered the correct tool from Yukon for this task.
The instructions say to check this surface for run-out. If it is over .003 you will have problems getting your pattern later.
I cleaned the ring gear threads...
...after running a tap for clean up. It got the old yellow LocTite out.
Clean, clean clean with brake clean. Leaves no residue.
Make sure your ring is also flat.
Today I also went back to check out the rod clearance on the crank I bought from a machine shop on eBay. The mains checked out. If there is a problem with the rod clearance, I need to devise a "Plan C" ASAP.
First, I was super clean with this measuring. One small grain of dirt could throw off the measurement when you are down to the .0015 to .003 level of closeness.
Apparently 300-six interest is up. Its a little harder to find parts.
Soldiers at attention ready to report for duty.
I use this clear plastic tube to help guide the rod over the journal. Prevents scratching the cylinder wall as well. Note: brass hamer not used in this process.
Turn the tubes out to work better. I did so after this.
I'm working upside down with the block, so I devised a bent piece of 8 gauge wire to hold the piston in while I put the caps on. It also helps to hole the crank in place.
First rod in. No lube for the plastigage step.
I used the torque wrench at 90 degrees from the block start point. This reduces the tendency to rotate the crank.
Satisfied that I didn't rotate the crank or smash the plastic while putting the cap on, I took the measurement. The machine shop was very consistent at about .00275 for all the rod journals.
Below is a box of blood, sweat and tears.
I have replaced all the bearing/seals except for the transfer case which I still have to do.
If you attempt this 60 Day challenge yourself, you will need all these hammers.
The instructions say to check this surface for run-out. If it is over .003 you will have problems getting your pattern later.
Are you installing a used ring gear? If so, do you still have the matching carrier and were they marked for orientation before disassembly?
What I've found is pretty much any carrier (new or used) will have some runout. This is to be expected, and is not a defect. Due to this runout, the teeth on a ring gear will wear unevenly to match. If transferring a used ring gear to another carrier, I like to compare both carriers for runout. Match up the carrier runout to the ring gear as best you can, and you'll be rewarded with a fairly even pattern. The first time I ever swapped out differential gears, I unknowingly got the ring gear out of synch with the carrier. This left me with the pattern tight on one side and loose on the other. After much headscratching and precision use of foul language, I realized what had happened. I then clocked the ring gear about half a turn relative to the carrier and the pattern was now much more consistent.
Another trick for setting the gear mesh pattern: There will always be some variation in the pattern, i.e tight in one area and loose in another. Find the middle ground and use that for checking subsequent adjustments. Back to that same first time, I wasn't aware of this normal variance. I'd adjust the gear mesh and then recheck the pattern. Unfortunately, I was checking in a different spot each time. After some adjustments, I'd see little or no change. Other times, the change was huge and much bigger than expected. This also took a while to figure out. Once I realized to check the same spot each time, things went a lot more smoothly.
The late model 4.9 blocks do not have the fuel pump boss drilled out on the side of these blocks. I have known about this and put it off for too long. Again, when it came time to do the work, it was easy. I used a gasket to trace the slot opening that allows the mechanical (yes I said mechanical) fuel pump lever to ride on its own cam lobe. With a drill and die grinder, the slot took about an hour to open up an grind smooth. Fuel pump boss as it comes from the factory on late model trucks with fuel injection and electronic fuel pumps.
First hole drilled after tracing pattern and center-punching drill hole locations.
One down and how many to go?
Progress.
Remember Charlie Brown's costume?
The finished slot is mostly above center-line. The fuel pump lever rides on top of the cam.
It was also time to remove the old clutch pilot bearing. This took some die grinder action.
I nicked the crank, but with a round die grind bit. I don't think this will cause a stress riser???


 03-30-2023, 11:13 PM