When you click on links to various merchants on this site and make a purchase, this can result in this site earning a commission. Affiliate programs and affiliations include, but are not limited to, the eBay Partner Network.
Ok, so I got the box off today. It’s not in as bad Shape as I would’ve thought. Two cross members to replace, the rest seem ok at first glance. Various other sheet metal repairs to be done.
The frame is scaling in a few areas, more or less what I expected. Some areas, where the oil doesn’t get washed off, the factory paint is still on there. The oil is about 3/16 - 1/4 inch thick in some areas.
And a lot of cleaning to get this ready to work on.
Scrounged some tubing today, built up with a few plates to get the proper height. Weld them to the box tomorrow. Then I’m held up for parts and materials. Patch panels for rear are on order, and waiting for some sheet metal to start the other various patches/repairs.
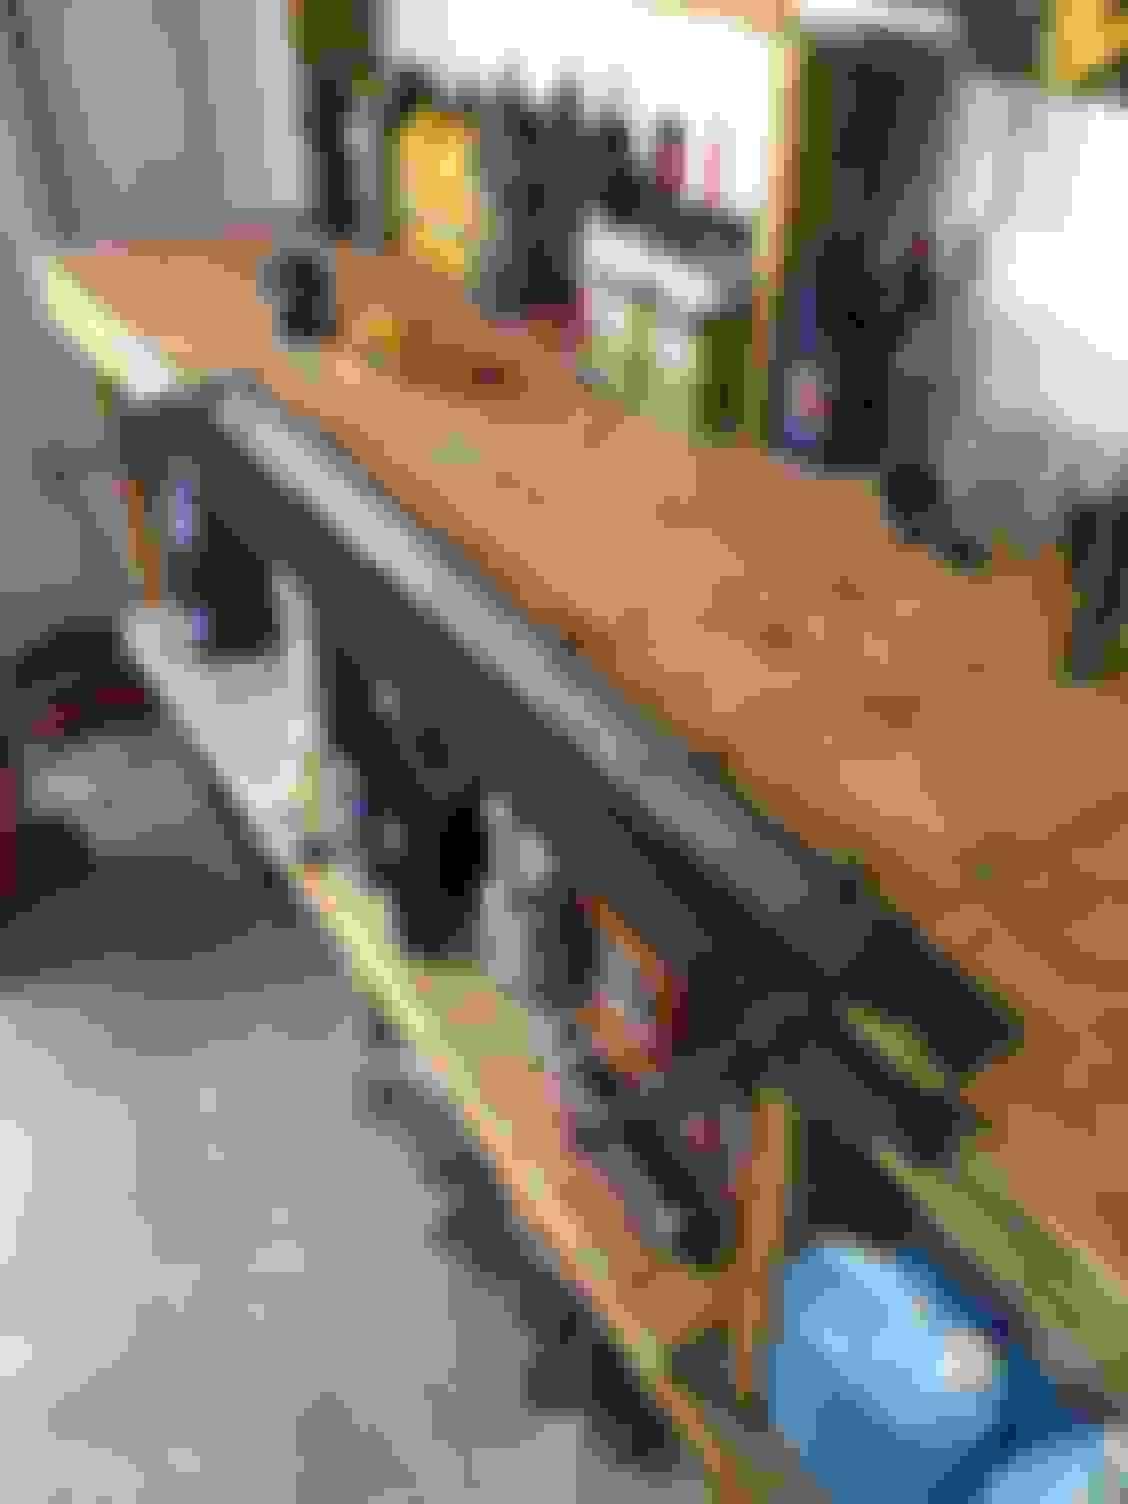
I don’t have a brake at home, and figured I’m going to need one this week, I don’t feel much like driving an hour each way to the old shop where I can use one. So I saw a couple DIY brakes on the inter webs, scrounged up some old door hinges and angle iron, and built a small one today for home. 36”. Seemed to do okay on 20 gauge cold rolled. See what it’s like with 18 and 16 this week. It’s a little wider than what I saw others doing. But, worked well enough for today. Should work well enough for light gauge stuff.
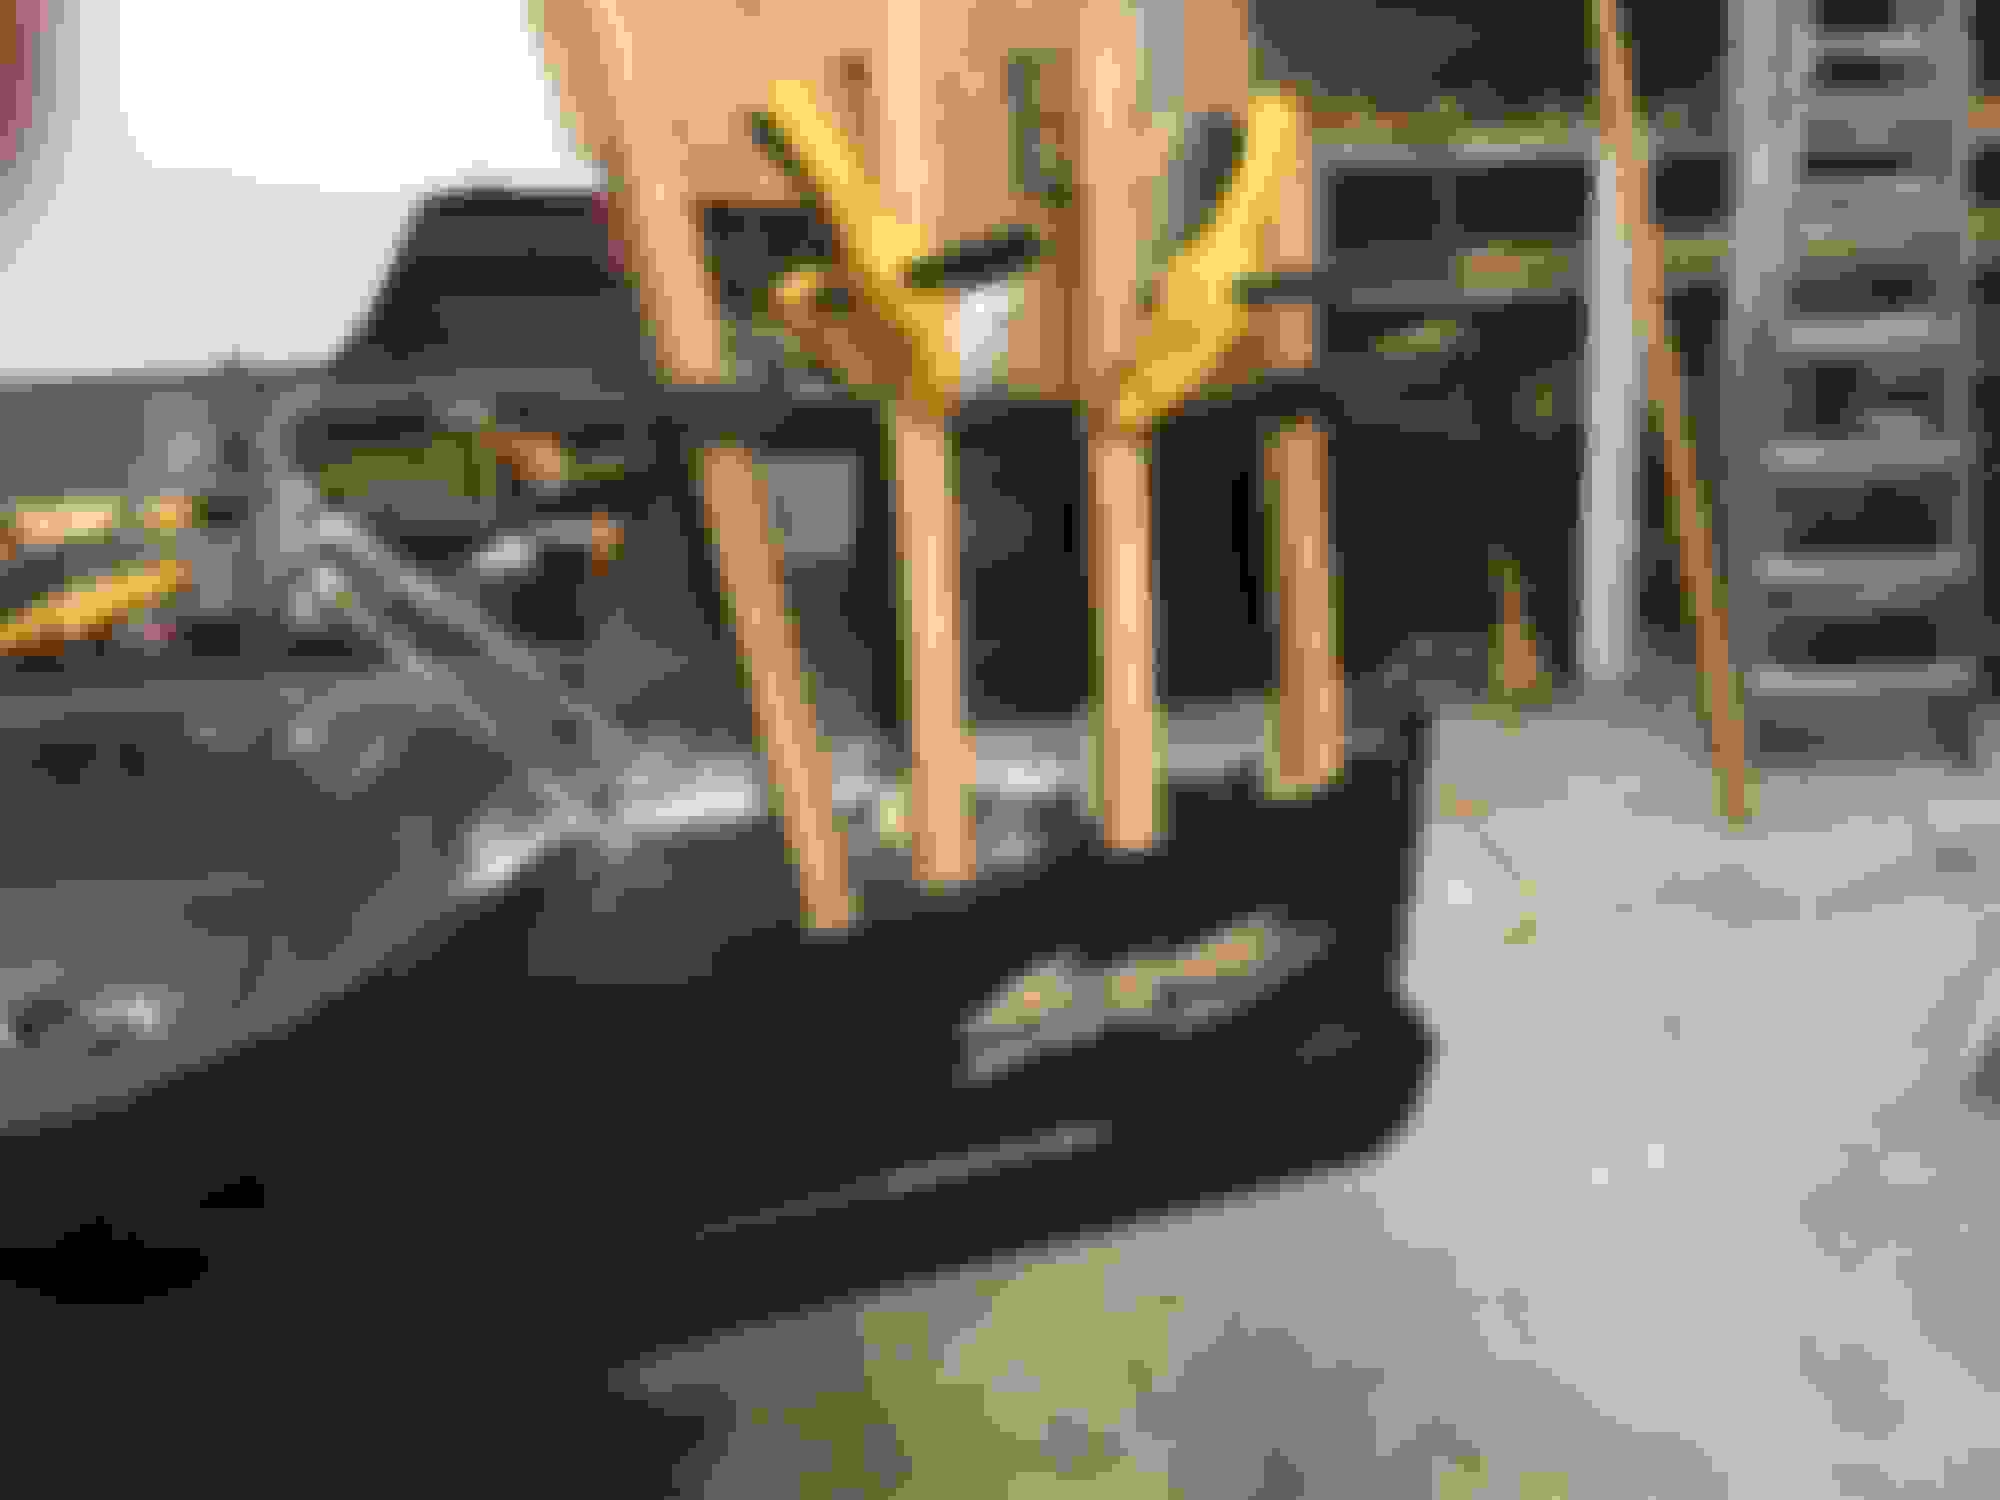
I did get the cross members welded on the other day. Hopefully the rest of my parts and supplies show up tomorrow so I can finish up sheet metal on the box. I did cheat and use tubing with pads built up for the height. I couldn’t find any online for this year of truck... the one I did find were a complete set, and expensive, and not for this year... These will work. Probably out last the truck. Fun times welding 3/16 tube to a rusty old ground down thinner box floor.
I’ll rebuild the rear panel and corner sections when I get the patch panels. And the rest when my sheet metal shows up this week.
The weather has finally turned into spring here. Hopefully I can start getting around the property soon and get the plow parked in the barn etc. Then I can going on the rest of the truck.
Well, been a long week. I got one patch installed! That’s it. Been waiting on materials and parts, and my welder packed it in.
Ive never had a foot pedal quit before. The potentiometer / variable resistor died. It was really tough to use last week, hard to control the heat, up down, all over the place time to time... I know excuses excuses.... I thought it was me! I was cursing my self. Long story short, the variable resistor finally just completely quit, I had off and full on. Anywhere in between was arcing. Looked like a yellow arcing spark plug. Anyway, replaced with a new pedal. Back in business. New one is really nice, smooth, great resistance, and real nice control. And this ground down, thin, rust pitted old steel is challenging my welding skills enough as it is!
I picked up the repair / patch panels for the rear lower panels, get to work on those tomorrow. And rebuild the rear corners.
I was going to patch the box where it was cut out for the fuel pump. But after thinking about it, I think I’ll just leave this one be, square up the cuts, and put a plate over it. I have several 3/16 and 1/8 plate I can make a nice cover. I’m going to re use the original Ford box liner. It’s still in pretty good shape.
This box has a lot more rust starting than I thought before I cleaned it all off. I probably should have bought another box! But anyway, here we are, well do what we can to save it. I’d like to keep it original.
I’ll clean it up best I can, and hopefully rust converter will help it out, and the bottom and inside the box I’ll go the rustoleum route. Exterior around the wheel wells and bottom etc, I’ll use por15. It’ll be a good experiment!
I think spring has finally arrived here! Beauty of day today. Had the shop doors open most of the day, sun is shining.
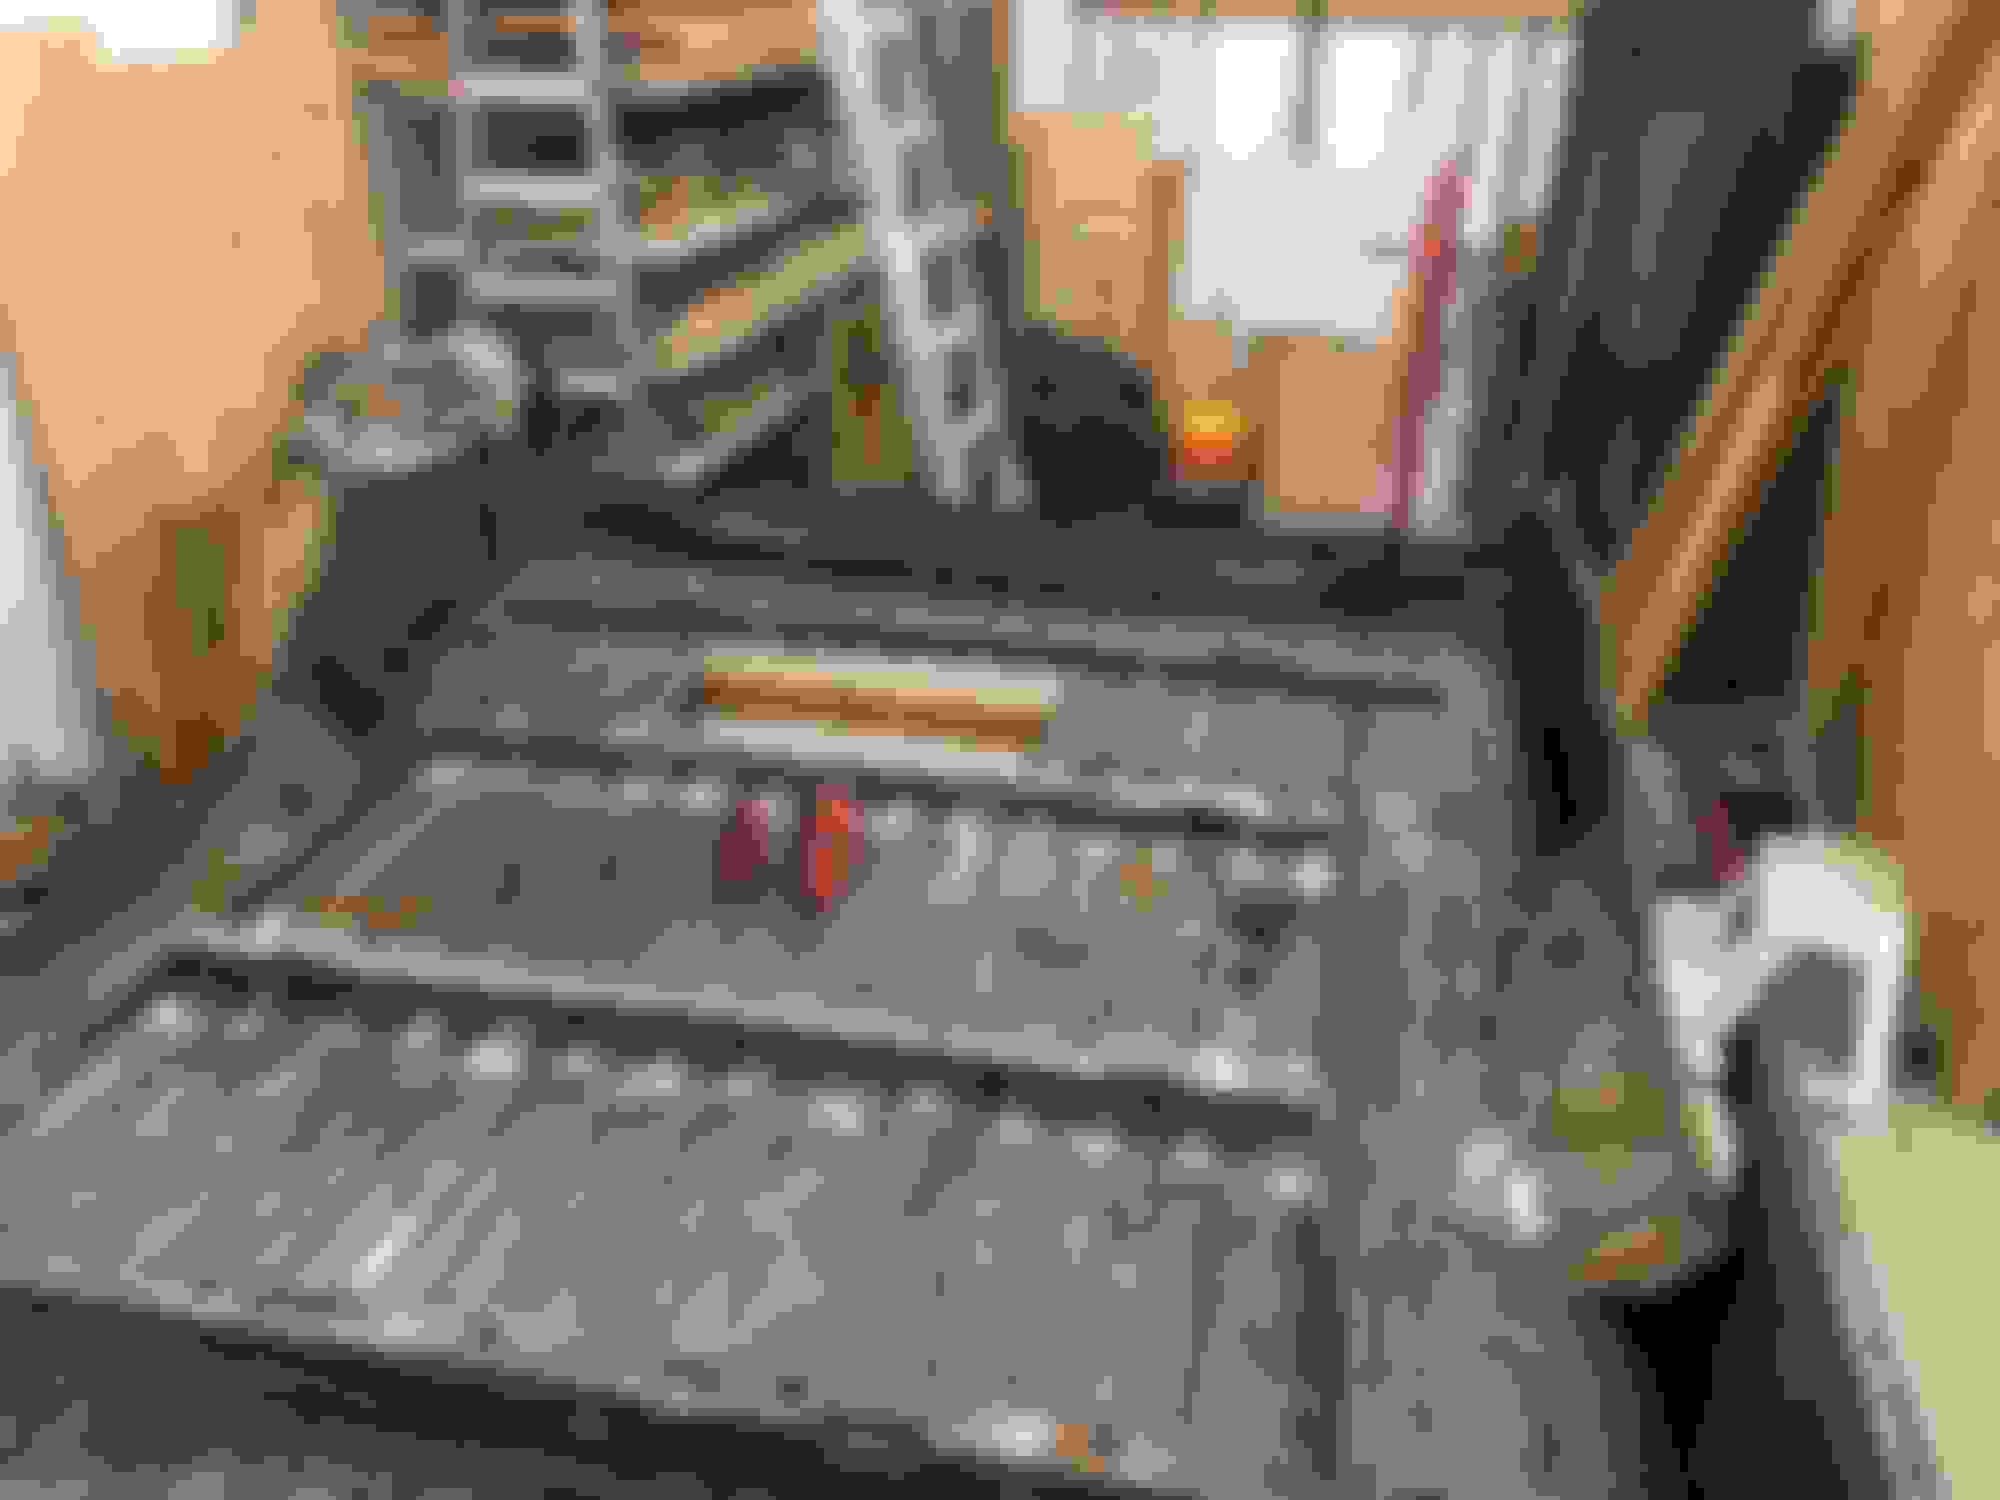
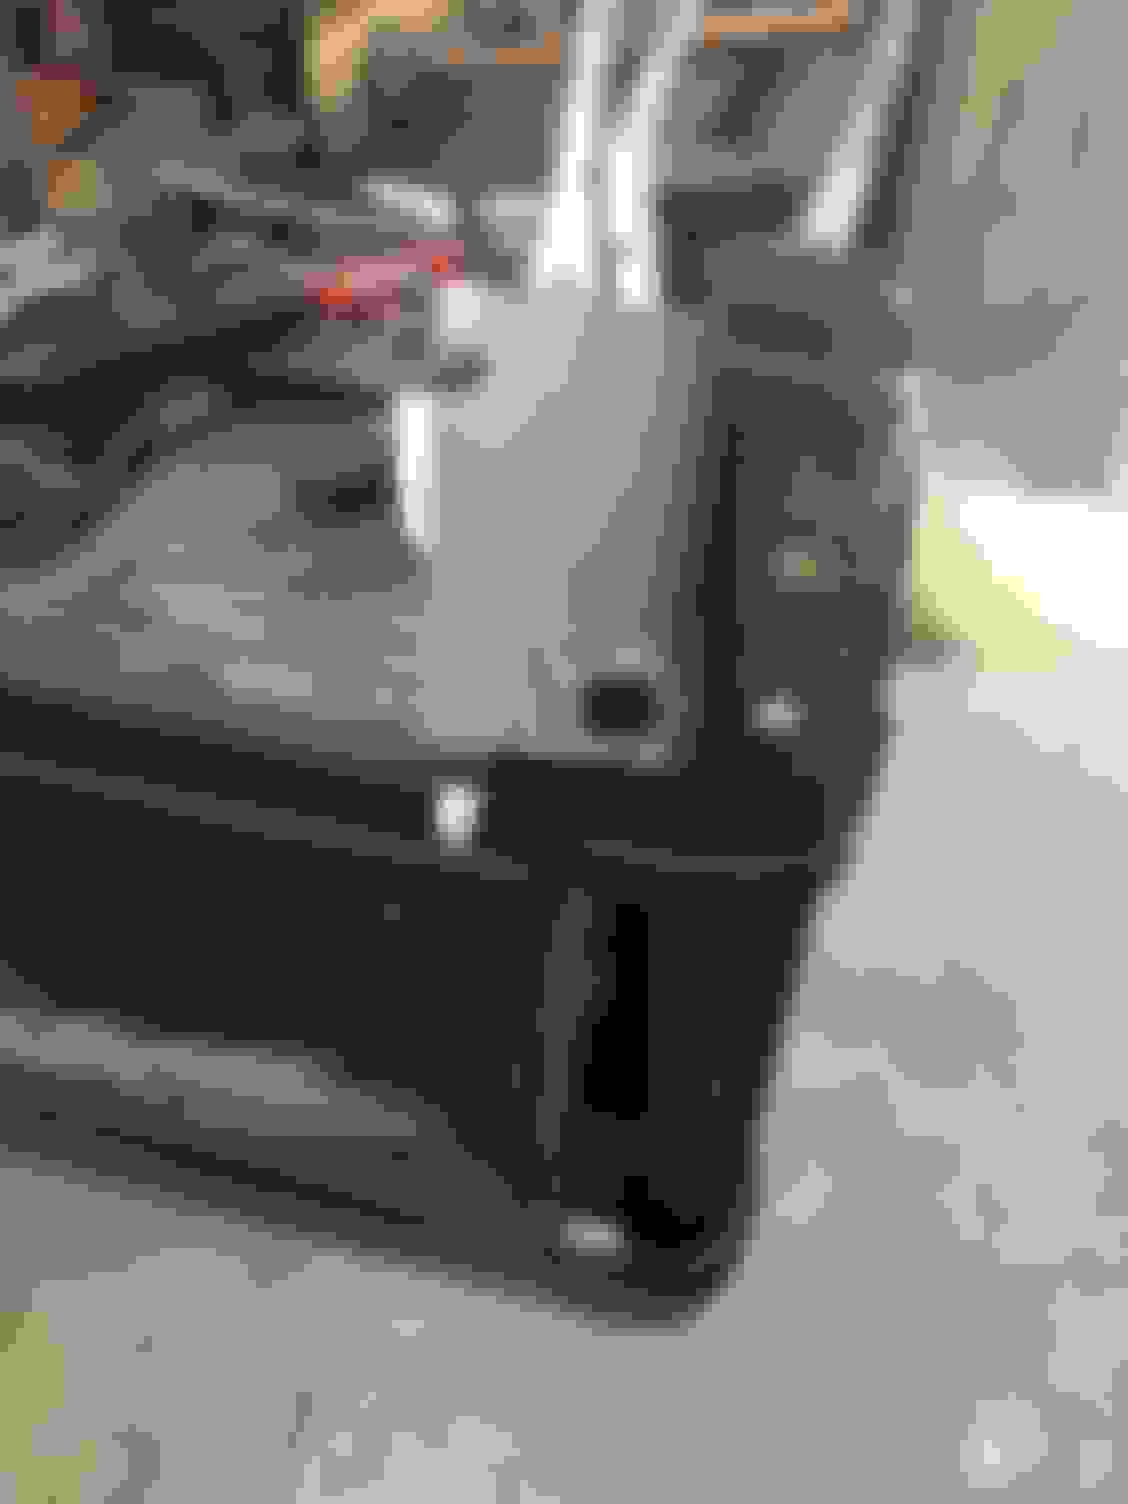
I got one rear corner removed, and new structure fab’d up and clamped in place. That little break came in very handy today. Only thing about it, the radius is what it is. No adjustment.
Well, thought I’d throw a few photos up for today’s progress. Not a lot of visual progress, but got the rear corner section boxed back in and the panel roughed in ready for tomorrow.
I got one panel installed today. That’s about it. Another nice day here, cool, but sunny. Nice to be working in the sun again.
So I decided to weld the corners and bond the straight section. You’ll love my home made clamps. Which seem to be working ok, the screws just weren’t clamping well enough.
Turned out ok. Welds aren’t as clean as I would like them to be, but solid. Now onto the next corner... I’m not looking forward to cleaning the bottom of this thing to paint it. But hopefully by the end of the week it’ll be cleaned, the other corner done and everything drying up for the weekend. next, rust converter, prime and paint the bottom side.

 04-15-2020, 01:49 PM