When you click on links to various merchants on this site and make a purchase, this can result in this site earning a commission. Affiliate programs and affiliations include, but are not limited to, the eBay Partner Network.
Bought 38’ Forest River Sierra fifth wheel a couple of years ago and the decals were in bad shape already. I used that to bargain with and got 2k off the already negotiated price so ended up getting a pretty good deal on it. These were when we first got it 2 years ago. Most of what you see is the adhesive residue left after the decal got baked off in the South Carolina sun.
So with a Harbor Freight $7 heat gun, $40 variable speed polisher, some 3M adhesive remover, a gallon of pro-strength Goof-Off, and 1/2 dozen plastic putty knives I went to work on her a few weeks ago.
The heat gun takes a little practice but I learned that if the heat is just right that the adhesive will come off with the remaining vinyl. Timing is everything when doing this. To early and the adhesive stays on the camper, to late and the vinyl tears. After all the vinyl was off then I use the Goof-Off in a spray bottle and started misting the remaining adhesive. Don’t get this on any aluminum as it will remove the paint from it. Once the Goof-Off had about 30 sec to a minute to work I used the plastic putty knives to scrape the adhesive off the fiberglass. Then I used a rag soaked in Goof Off to get all remaining adhesive. I used the 3M adhesive remover to remove the adhesive from the painted aluminum because the Goof Off was to harsh on the painted surfaces.
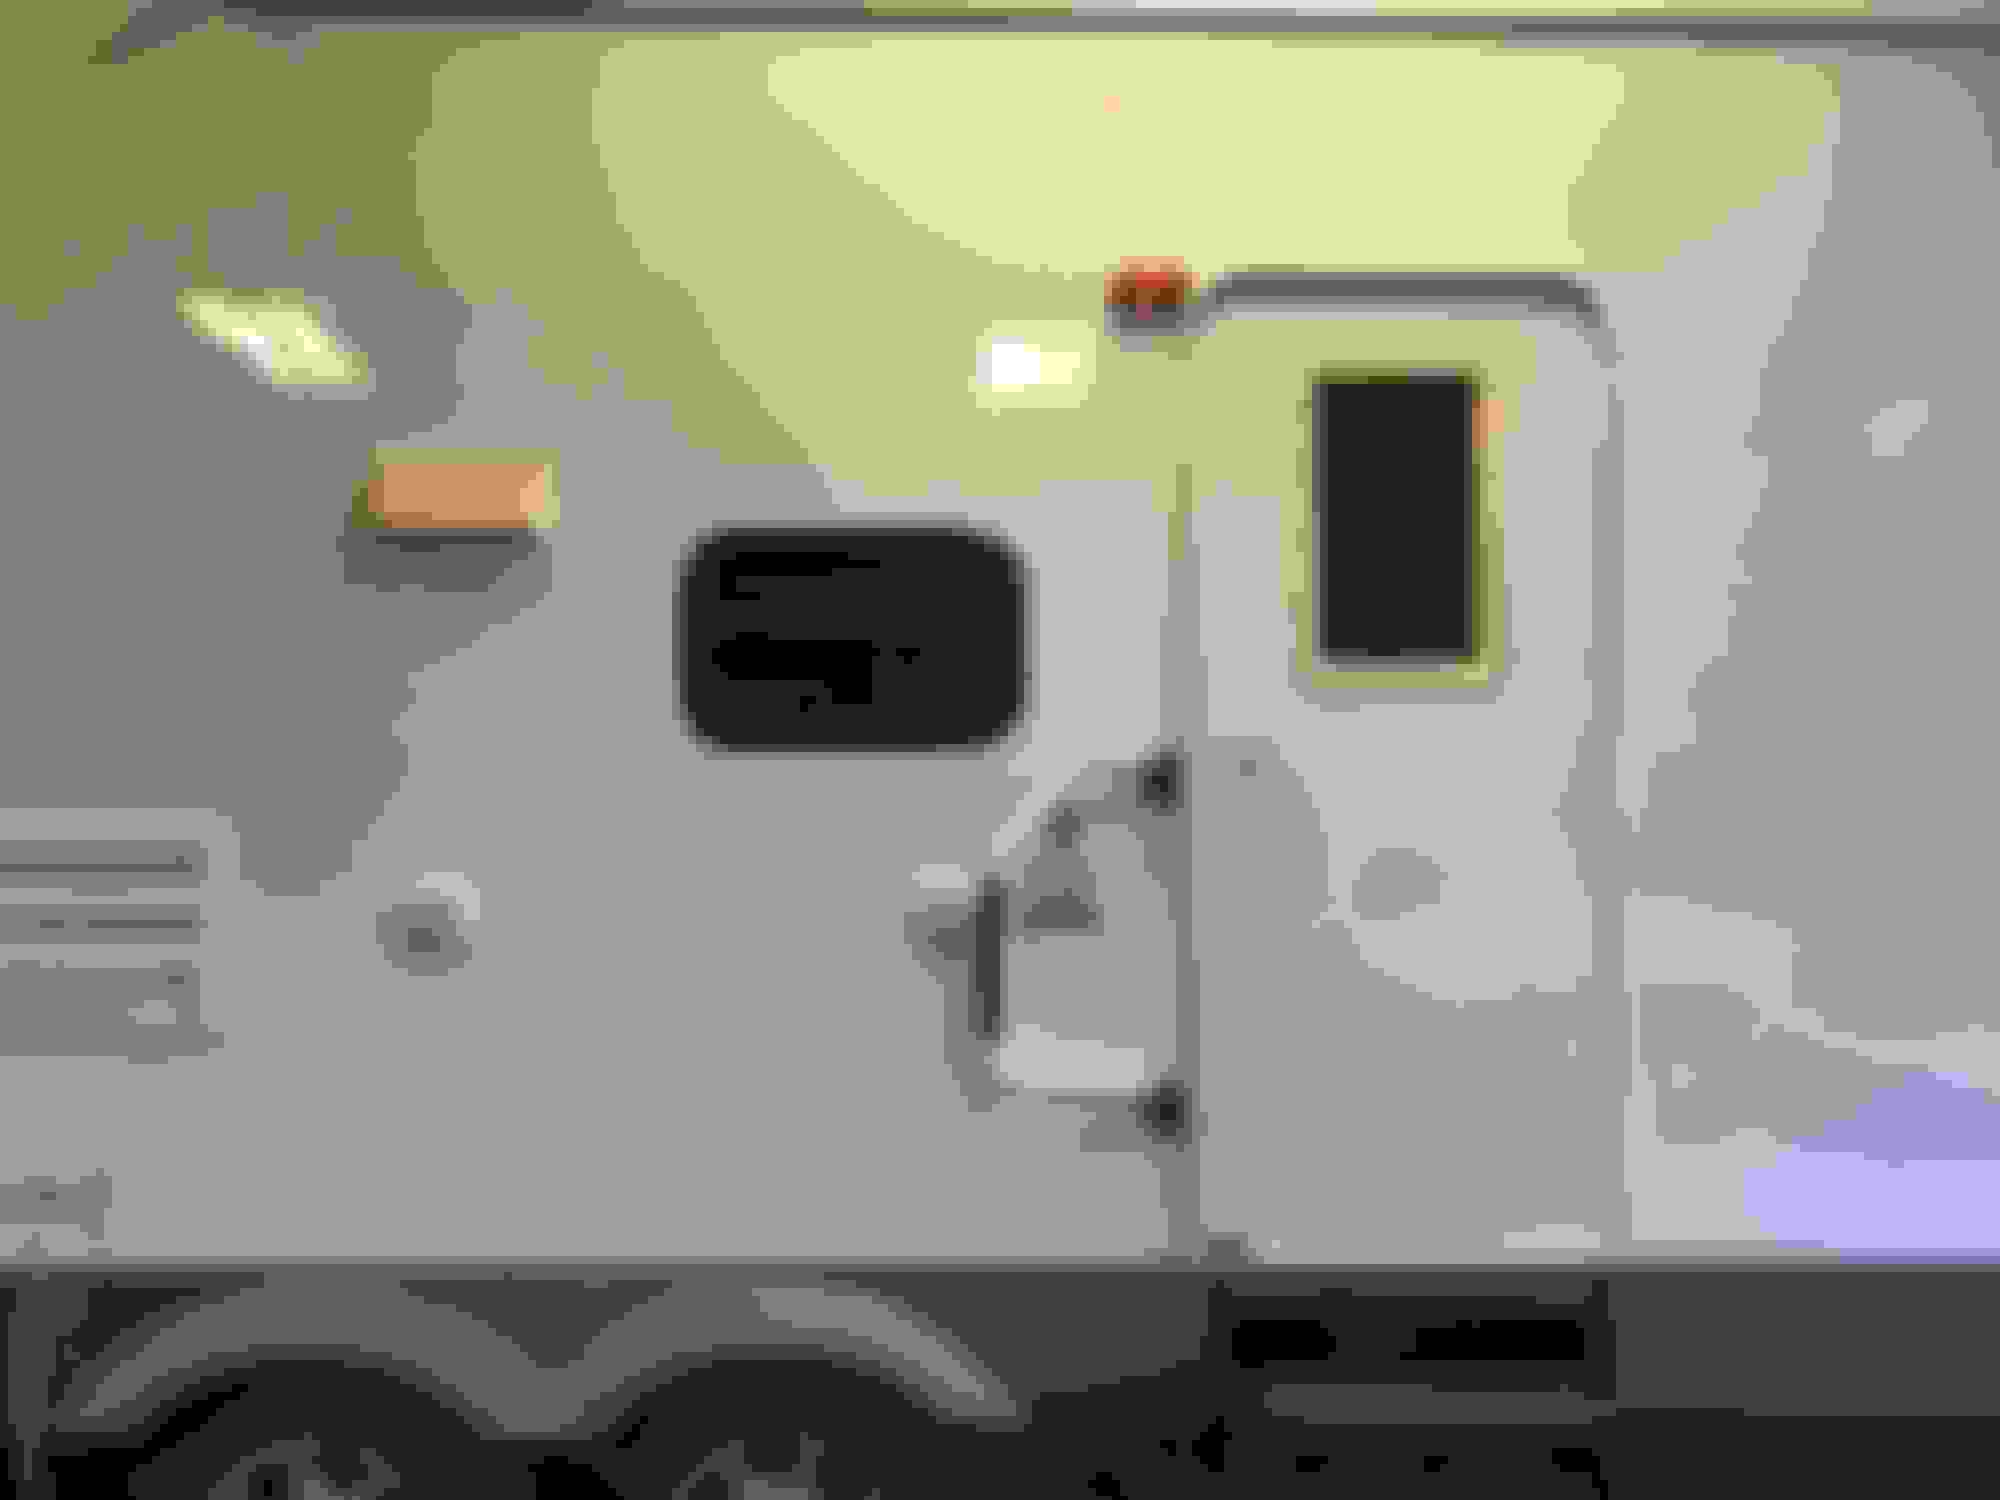
This was after the vinyl and adhesive was removed. You can see where the decals were and also how bad the fiberglass was oxidized.
I talked to the owner of a local marina and told him what I was trying to do and that I wanted to polish the fiberglass and get rid of the oxidation but not leave any wax on it because I was going to put new decals on it. He had done the same thing to a 40’ toyhauler previously and suggested the Macguire’s # 67 fiberglass polish.
More to come. I’m going swimming with my girls now. We are on vacation in St. Augustine.
Looking good! Thanks for the explanation of how you removed the old decals. I would like to do that to mine. 13 years in the sun have caused the decals to look pretty bad.
So the marina owner talked to me about 30-45 min about the best way to do this and even gave me a sample of the Maguire’s #67 to try out. Super nice guy and very knowledgeable about polishing fiberglass.
Basically I used the polisher with a foam cutting pad and applied a little polish to the pad and a little to the fiberglass with a regular foam applicator like the ones in the top of a turtle wax can. Keep a spray bottle of water with you at all times and when the polish starts drying out spray some water on the fiberglass. I started at about 1500 RPM and after 2-3 passes over an area I would bump up the speed to about 2000 then after a couple of passes with that speed bump it up to 2500 misting water each time it started drying out. After the polish with the foam cutting pads I switched out to the wool pad and run the polisher up to 3500 RPM. Keep the pad flat and don’t lean on one side to much because you can burn the fiberglass at this speed. Very little pressure is needed with the wool pad as it almost sucks itself to the surface. This was when I first started. You can see where the old decals were at the top. The old decals were hard to distinguish where they were when I finished polishing. Driver side.
Wow! That is looking really good, my fiver's decals are in pretty bad shape also. What are you going to do for replacement decals? I have been looking on Amazon and Ebay and there seems to be several vendors selling replacement (not OEM style) decals that don't look too bad, most are selling for $250-$300.
You can polish and rub it all you want but when it's out in the sun the shadows from the old decals will be there. I removed all my decals and painted new ones on the same shape but different colors a few years ago. Where some of my lettering was that I didn't repaint the shadows are still there.
As far as choosing the decals went, we explored several different avenues. We first thought about the $300 packages from Amazon or eBay. But after looking at the sizes of the decals we decided that they would not cover the old decal shadows. The biggest decal that starts at the front of our camper is 170 inches long and 34 inches wide. The decals in the package deals were much smaller and most of the time only about 8 inches wide.
I also talked to a local graphic shop about the eBay and amazon packages and he said the material would be 3 times that amount if they were outdoor rated, UV resistant vinyl that he uses.
I did have the local shop quote me a price for re-creating all the graphics that were on the camper and it came to $2070. OUCH!!!
So back to the computer we went and we found a company in Canada called RV decals direct.com and they had reproduced the exact decals for our camper and with a sale that they had going we ended up getting them for $1249. They were high quality vinyl decals with the UV resistant treatment on them and they could get them to me in about a week and a half. So we decided on going with the original decals and they turned out really good. This was before I got started. Looks like a FEMA trailer right? This is the drivers side after decals went on. Front curved cap was a little tricky but with patience it can be done with no wrinkles. Passenger side on the way down to the beach. In our campsite and enjoying it.
Thanks Dave.
We just got home about 1 hour ago from St. Augustine. Got a really late start due to all of us sleeping late and it cost us. We got into some serious spring break traffic on 75N out of Florida and it ended up taking us 10.5 hours on a normally 7.5-8 hour trip. Everything went well though so thankful for that.
As far as applying the decals to the fiberglass went. I wiped the area down with denatured alcohol on a lint free rag for several minutes to insure there was nothing there that would cause issues later. Then I did the positioning of the decals with masking tape. RVpuller stated that the shadows could be seen in the sun but I was having a heck of a time figuring out where to put the new decals. Luckily I had taken some pictures before removing the remains of them or I may have never figured it out. I will say though the decals were very close to the same size but some were off by an inch or two in places and these places can be faintly seen at night when the reflection of a light crosses by the old shadow. I really think the Maguire’s polished it slicker than it came from the factory.
I did the hinge method when applying the decals and I figured out it is better to use your hand to lay the vinyl down with rather than the applicator that they send. Once the vinyl is layed down I used the applicator to insure it was pressed down everywhere before removing the backing paper.
One thing I am going to have to look into is a UV protectant for the entire camper. I don’t want to do this again. I have heard good things about the Aerospace 303 protectant. Does anyone know of something better?
We used a pencil and marked every couple of inches where the old decals were before we used masking tape so we could paint the new graphics on. That should also work when installing new decals.
We used a pencil and marked every couple of inches where the old decals were before we used masking tape so we could paint the new graphics on. That should also work when installing new decals.
Denny
Did you polish the fiberglass before painting the new graphics on? I really couldn’t see where the old ones were except ever so faintly. The factory had put the SIERRA sticker on the front cap un-level and I stepped back to look at each one before pulling the backing off of the adhesive side and that is when I noticed it was not level. I was able to do this from being able to see the top of the old lettering...just barely. After I broke out a tape measure I realized that one side was 1-1/2” lower than the other. I leveled the new one.
I gues only time will tell if the old shawows show back up enough to tell.
I was able to mark the ends of each decal with a pencil if I looked long enough at just the right angle but more times than not I could not find the shadow. If I could see where to mark where the old ones were I would have done more but some of them were either guesses or just where I thought they looked the best.
I polished the whole trailer with 3M compound after painting, I used wax after that for protection. I still haven't found a wax I like and thinking about using Poly Glow next.
I polished the whole trailer with 3M compound after painting, I used wax after that for protection. I still haven't found a wax I like and thinking about using Poly Glow next.
Denny
i haven’t heard about Poly Glow. I’ll have to check it out. I keep the camper under a shed except when I am camping but I know it doesn’t take long for the sun to start fading the decals. What’s your opinion on the AeroSpace 303? A lot of people on the RV forums swear by it for protecting the vinyl.
 04-05-2019, 10:00 AM