1948 - 1956 F1, F100 & Larger F-Series Trucks Discuss the Fat Fendered and Classic Ford Trucks

Meanwhile Another Build Thread

Thread Tools
 
Search this Thread
 
  #46  
Old 06-12-2019, 08:24 AM
bjmayberry2's Avatar
bjmayberry2
bjmayberry2 is offline
Lead Driver
Thread Starter
Join Date: Dec 2012
Location: Wentzville, MO
Posts: 8,323
Received 544 Likes on 350 Posts
Get in that shop Joe.
Art says he’s gaining on his Mustang II install.
I’ve still got a L-O-N-G way to go before “Ole Rusty” will be ready for Ozark Mountain Run but I’m trying.
 
  #47  
Old 06-19-2019, 09:54 AM
bjmayberry2's Avatar
bjmayberry2
bjmayberry2 is offline
Lead Driver
Thread Starter
Join Date: Dec 2012
Location: Wentzville, MO
Posts: 8,323
Received 544 Likes on 350 Posts
Mock up complete so out comes the Power Steering and Power Train for a good frame& trans cleaning and POR 15 for the front part of the Frame.


  #48  
Old 06-24-2019, 05:47 PM
bjmayberry2's Avatar
bjmayberry2
bjmayberry2 is offline
Lead Driver
Thread Starter
Join Date: Dec 2012
Location: Wentzville, MO
Posts: 8,323
Received 544 Likes on 350 Posts
Another day of cleaning and painting.

Tranny Painted!

Front of Frame with 2 Coats of POR15 and Top Coat

Upper Radiator Valance with 2 coats of POR15 and top coat.

Transmission mount 2 Coats of POR15

Had to try these hub caps on my RED wheels!
 
  #49  
Old 06-24-2019, 06:29 PM
56panelford's Avatar
56panelford
56panelford is offline
FTE Legend
Join Date: Oct 2005
Location: northwestern Ontario
Posts: 263,022
Received 4,135 Likes on 2,657 Posts
I like the caps BJ, everything else looks great too..
 
  #50  
Old 06-24-2019, 07:05 PM
bigwin56f100's Avatar
bigwin56f100
bigwin56f100 is offline
Lead Driver
Join Date: Jul 2003
Location: AKRON ohio
Posts: 8,213
Received 843 Likes on 478 Posts
Are those my caps?
 
  #51  
Old 06-24-2019, 07:06 PM
56panelford's Avatar
56panelford
56panelford is offline
FTE Legend
Join Date: Oct 2005
Location: northwestern Ontario
Posts: 263,022
Received 4,135 Likes on 2,657 Posts
Not if he bought them from you Kevin....lol
 
  #52  
Old 06-24-2019, 07:38 PM
bigwin56f100's Avatar
bigwin56f100
bigwin56f100 is offline
Lead Driver
Join Date: Jul 2003
Location: AKRON ohio
Posts: 8,213
Received 843 Likes on 478 Posts
Traded, we traded stuff. I had a set of 4 that were new but I recall them looking better than that
 
  #53  
Old 06-24-2019, 07:39 PM
56panelford's Avatar
56panelford
56panelford is offline
FTE Legend
Join Date: Oct 2005
Location: northwestern Ontario
Posts: 263,022
Received 4,135 Likes on 2,657 Posts
Do you have a web page Kevin..?
 
  #54  
Old 06-24-2019, 07:40 PM
bigwin56f100's Avatar
bigwin56f100
bigwin56f100 is offline
Lead Driver
Join Date: Jul 2003
Location: AKRON ohio
Posts: 8,213
Received 843 Likes on 478 Posts
Come on I'm not that serious........ yet lol
 
  #55  
Old 06-24-2019, 07:44 PM
56panelford's Avatar
56panelford
56panelford is offline
FTE Legend
Join Date: Oct 2005
Location: northwestern Ontario
Posts: 263,022
Received 4,135 Likes on 2,657 Posts
You sell on Ebay don't you..? Just wondering if you had stuff listed there or someplace for curious shoppers..
 
  #56  
Old 06-24-2019, 08:44 PM
bjmayberry2's Avatar
bjmayberry2
bjmayberry2 is offline
Lead Driver
Thread Starter
Join Date: Dec 2012
Location: Wentzville, MO
Posts: 8,323
Received 544 Likes on 350 Posts
No Kevin I was looking for 1 more (for my spare on the bed side) to go with the four we swapped for and ran across a guy with an old set. Little did I know they would be just the ticket for the ole patina 53 Panel.
 
  #57  
Old 07-04-2019, 10:10 AM
bjmayberry2's Avatar
bjmayberry2
bjmayberry2 is offline
Lead Driver
Thread Starter
Join Date: Dec 2012
Location: Wentzville, MO
Posts: 8,323
Received 544 Likes on 350 Posts
Getting ready to start wiring ole Rusty. Picked up a EZ 21 circuit harness, I know it’s overkill but never know when I might want POWER EVERYTHING!
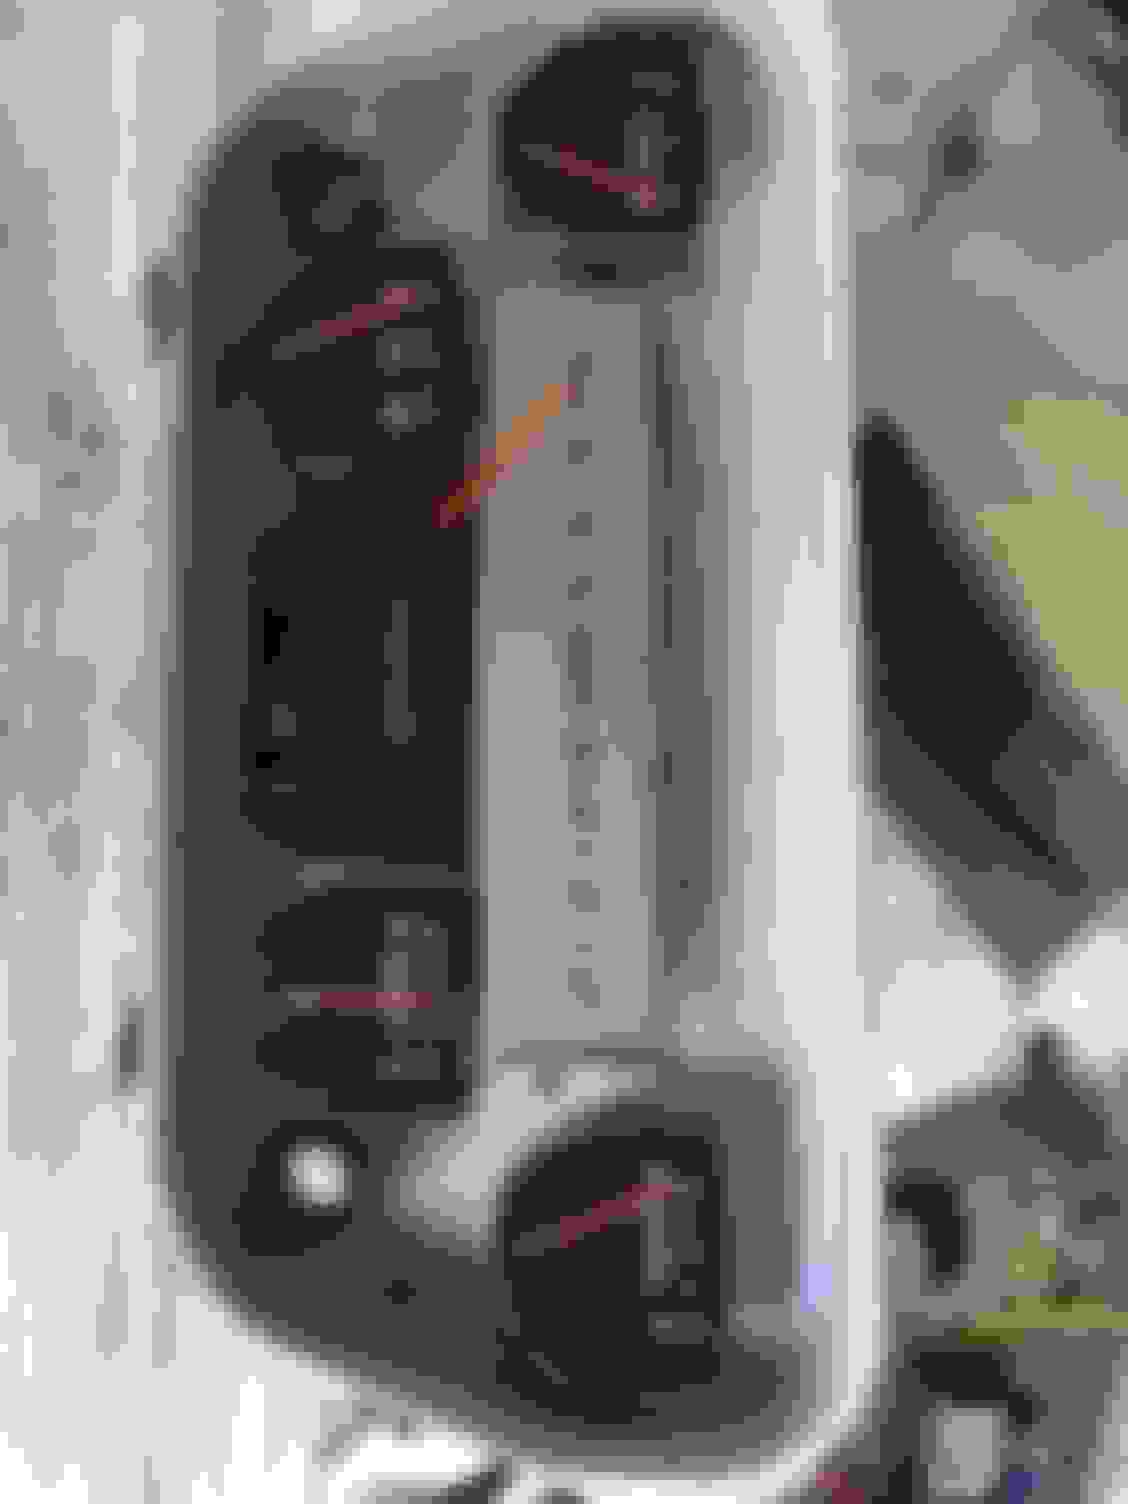
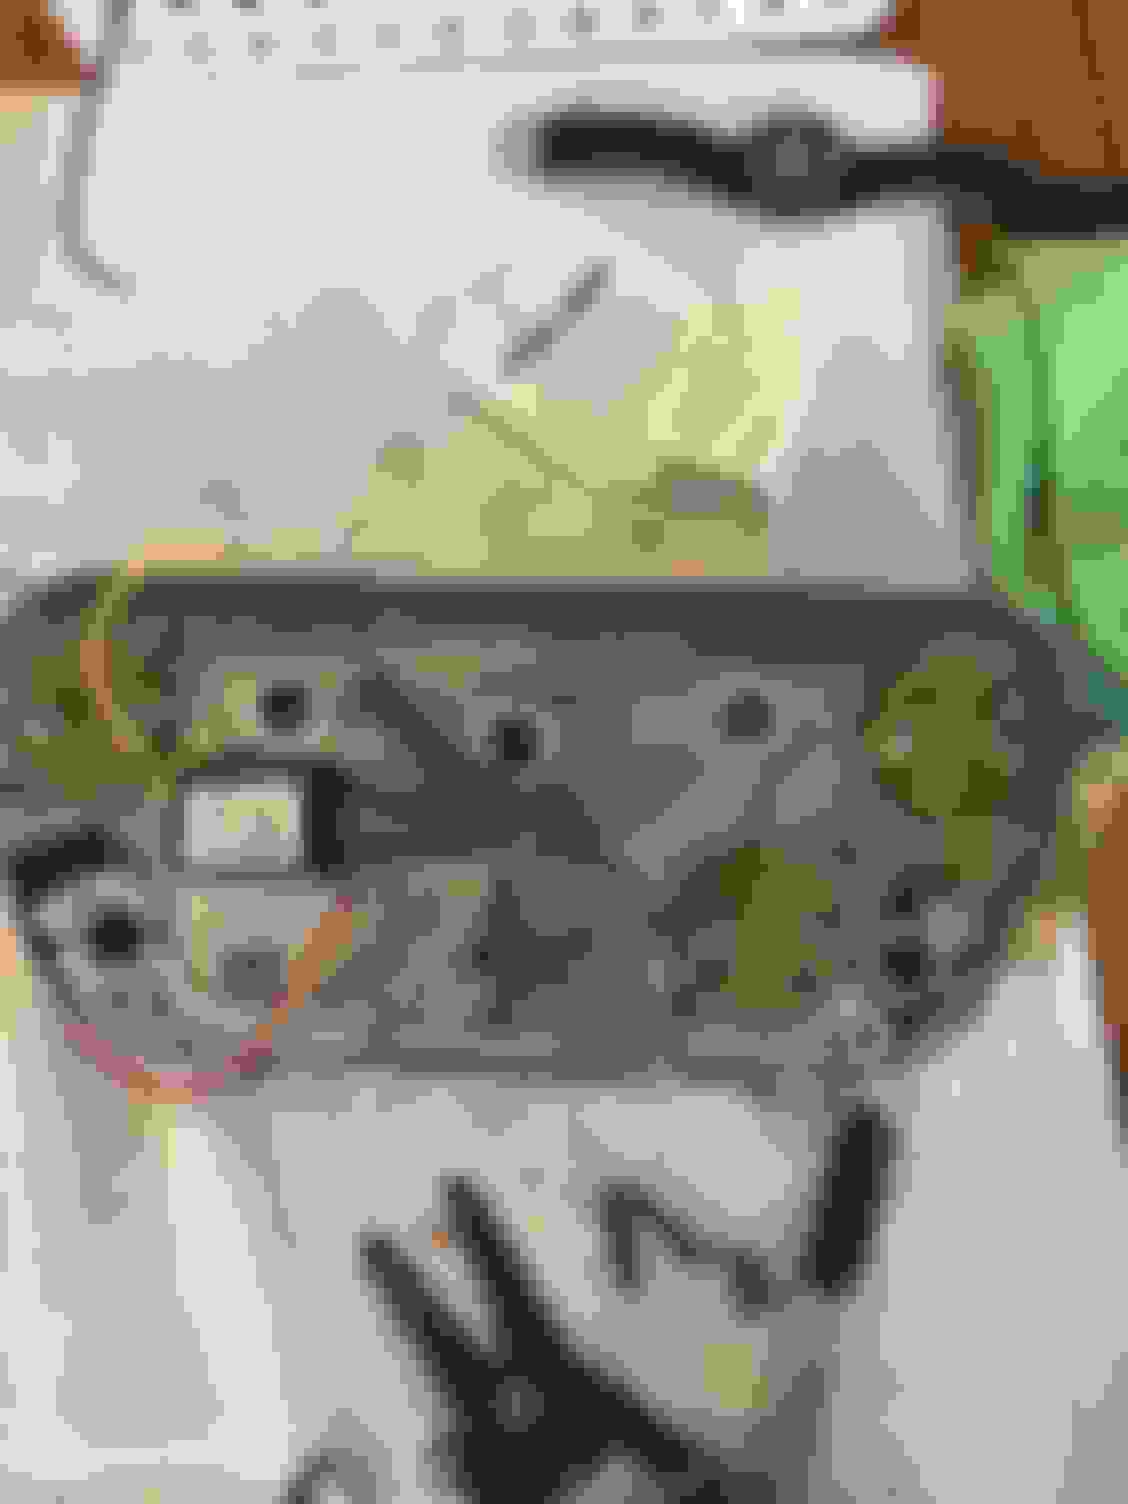
Got the gauge cluster apart and cleaned. Went to Hobby Lobby (craft store) and got paint and a brush to redo the gauge needles.


Also attached a 12v to 6v reducer to use the original gauges. Red is 12v, Yellow is 6v. + & - Markings are how the gauges were originally wired for 6v positive ground. Checked the gauges with a 6v battery and all gauges seem to be good (not sure how to check Amp meter).

Now to figure out how to wire the Amp meter.
 
  #58  
Old 07-07-2019, 06:25 PM
bjmayberry2's Avatar
bjmayberry2
bjmayberry2 is offline
Lead Driver
Thread Starter
Join Date: Dec 2012
Location: Wentzville, MO
Posts: 8,323
Received 544 Likes on 350 Posts
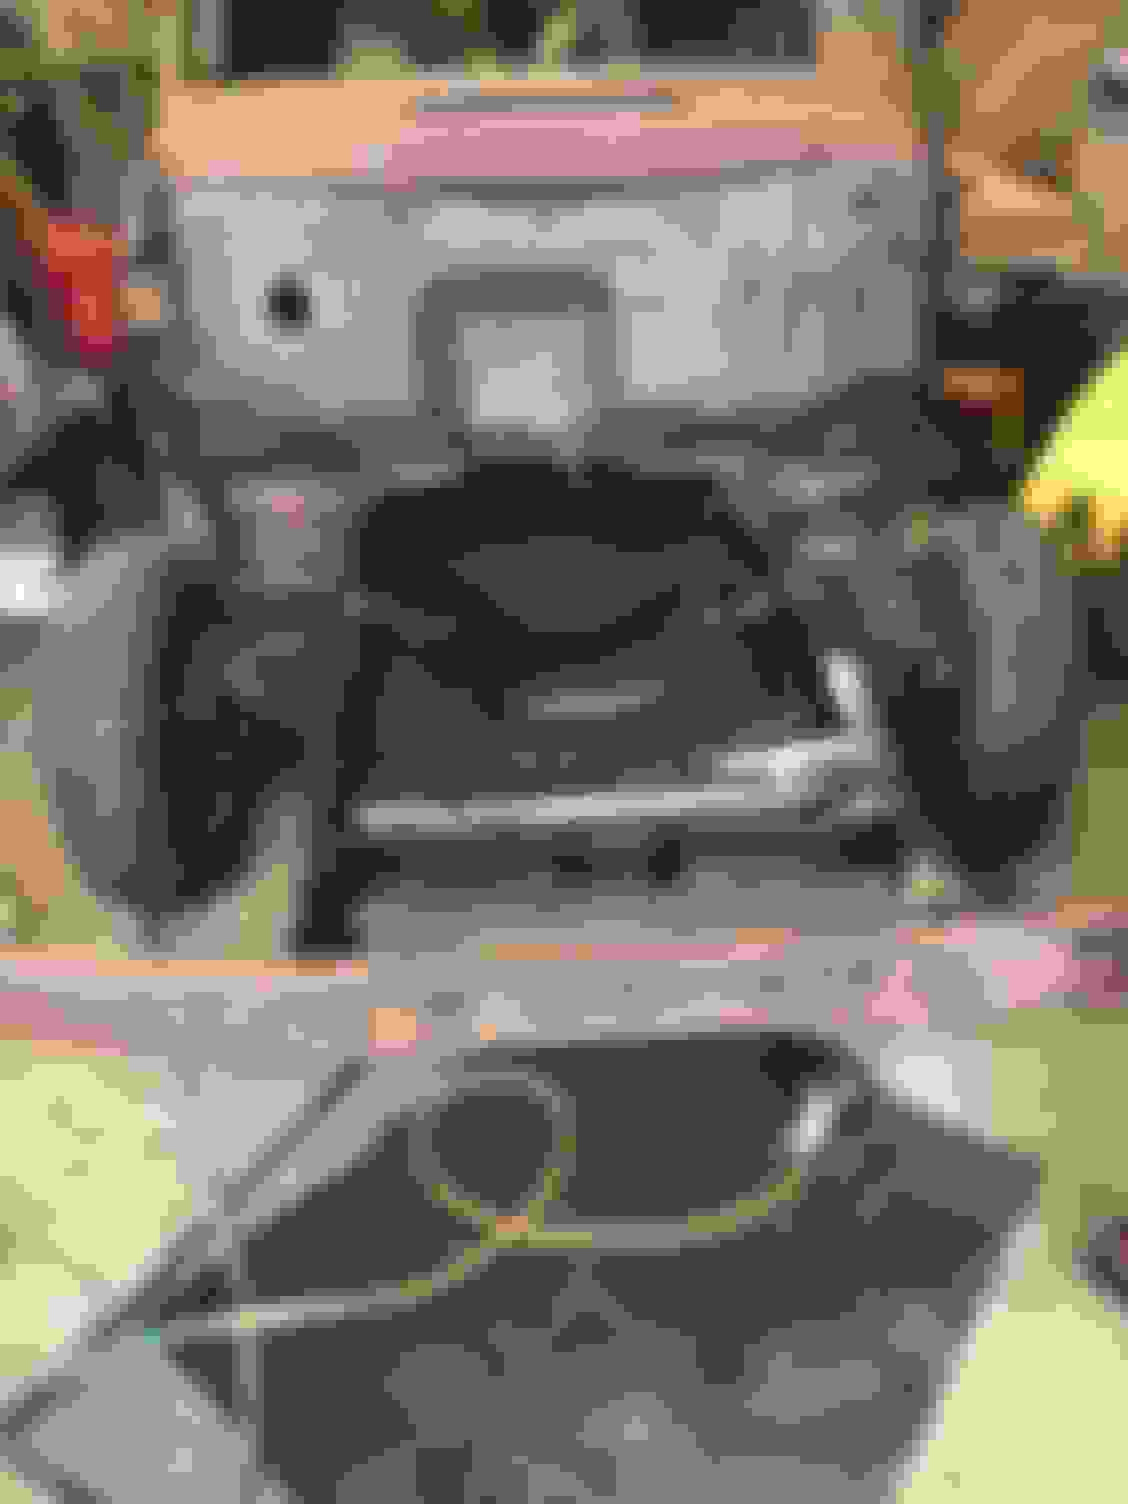
Trying to find enough help to remove the Panel’s body.

Need to repair both cab frame mounts, install all new shackles in the back and probably install a 9”. I’ll also wire brush and POR 15 it as well.
it will also make it easier installing power brakes, new shorty fuel tank and running all the lines (fuel, brake and electrical.
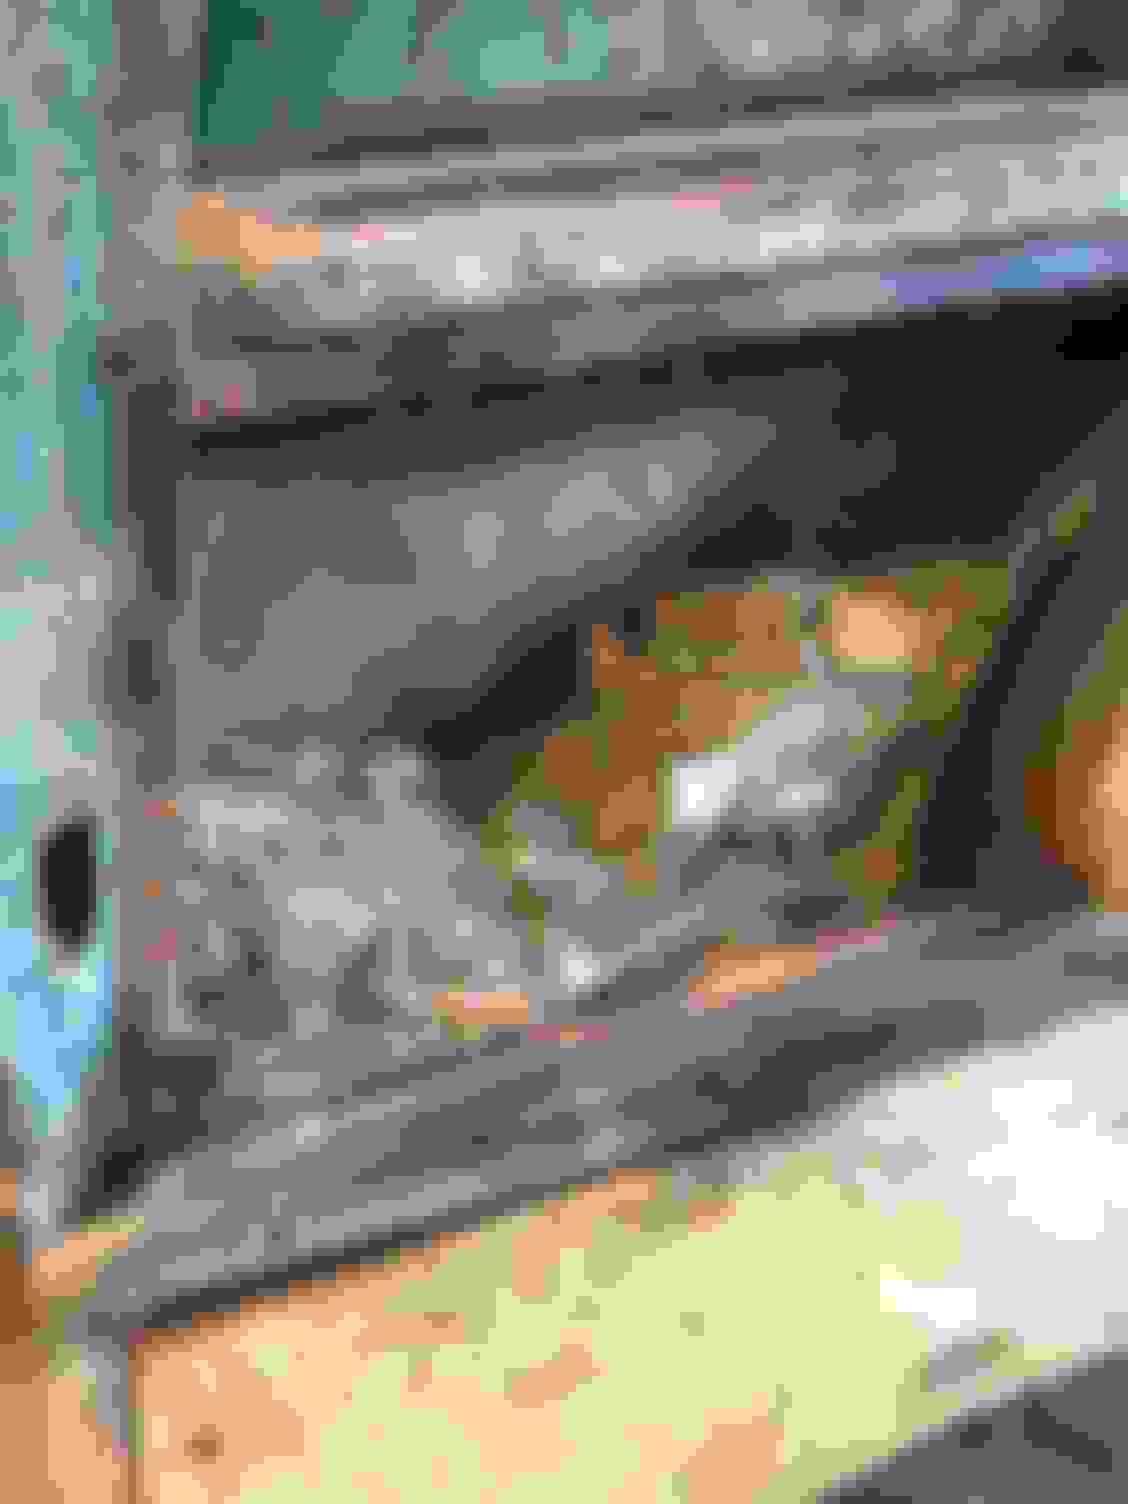
I got some kinda dirty, Again, cleaning out the Panel bed and trying to remove the rub strips, front, rear and side edges. Those Phillips head screws are a pain when they break the cages nuts on the bottom loose. Sorry no pictures of the inside of the Panel. Got to tired and forgot.
Since I’m going Patina on this one (no bodyshop issues now), I Wire brushed the firewall in preparation for POR 15, primer and some satin black to match the inner fenders & radiator support. Will clean up the inside of the air deflectors and give them the same treatment. Installed the front bumper after the POR 15 cured on the front of the chassis. Also reinstalled the motor mount for the 351C as well.
 
  #59  
Old 07-22-2019, 05:01 PM
bjmayberry2's Avatar
bjmayberry2
bjmayberry2 is offline
Lead Driver
Thread Starter
Join Date: Dec 2012
Location: Wentzville, MO
Posts: 8,323
Received 544 Likes on 350 Posts
Still fighting the mounting bolts single handed. None will unbolt, although I’m not sure what you’re supposed to use in the bolts square drive holes. Guess I’m gonna have to use a hot wrench.
Also still removing the side straps that hold the plywood bed on the sides. Not sure if it’s rust, crud or a combination of the two but rust buster doesn’t phase it and most are twisting off.
I did manage to remove the two rear panels inside the bed. Look at the accumulation of dirt and mouse houses. I filled a 5 gallon bucket and then started vacuuming. Haven’t looked in the vacuum to see how full it is.

Passenger side

Drivers side
 
  #60  
Old 07-23-2019, 06:20 PM
bjmayberry2's Avatar
bjmayberry2
bjmayberry2 is offline
Lead Driver
Thread Starter
Join Date: Dec 2012
Location: Wentzville, MO
Posts: 8,323
Received 544 Likes on 350 Posts
Any one have ideas about removing these screws?


Quick Reply: Meanwhile Another Build Thread


All times are GMT -5. The time now is 03:01 PM.