
C6 to a ZF5--All the small stuff.
#31
 09-06-2018, 09:11 AM


U-joints are supposed to be able to take on ANY angle by design, but we all know that's false... I can think of a dozen times I've tried using a u-joint for a socket for a hard-to-reach spot under the truck and it binds up really badly when subjected to too steep of an angle.
Just some thoughts I had... not sure if they're worth much.
#32
09-08-2018, 01:00 PM
Spoken too soon - it's still summer. If it were winter, you'd have 10 posts for every 1 of yours. Just gotta give us some time my friend!
Check what kind of u-joints were installed in both of the rear sections of the drive-shaft. Maybe there's some correlation between the type of u-joint installed and the maximum angle it can take?
U-joints are supposed to be able to take on ANY angle by design, but we all know that's false... I can think of a dozen times I've tried using a u-joint for a socket for a hard-to-reach spot under the truck and it binds up really badly when subjected to too steep of an angle.
Just some thoughts I had... not sure if they're worth much.
I'm kinda stuck with going back into my trans. I found that, as I mentioned earlier?, that I have a tiny bit of vertical play in the pilot shaft. A buddy just had his zf rebuilt, and has zero play in the p.shaft. Since I am unable to determine what amount of play is accepted, I've decided to replace the two bearings and one race, and a seal, that hold the shaft. In the diagram below, they are #37 and #39.
Judging by this thread how-to https://www.oilburners.net/threads/z...rebuild.62490/, I think I'll be able to r&r both bearings with the gear shafts standing vertically in the rear section of the housing. I'll cut the bearing cages first, then use a gear puller to remove them. A good heating in the oven should make the new bearings drop right back on the shaft.
Attachment 284694
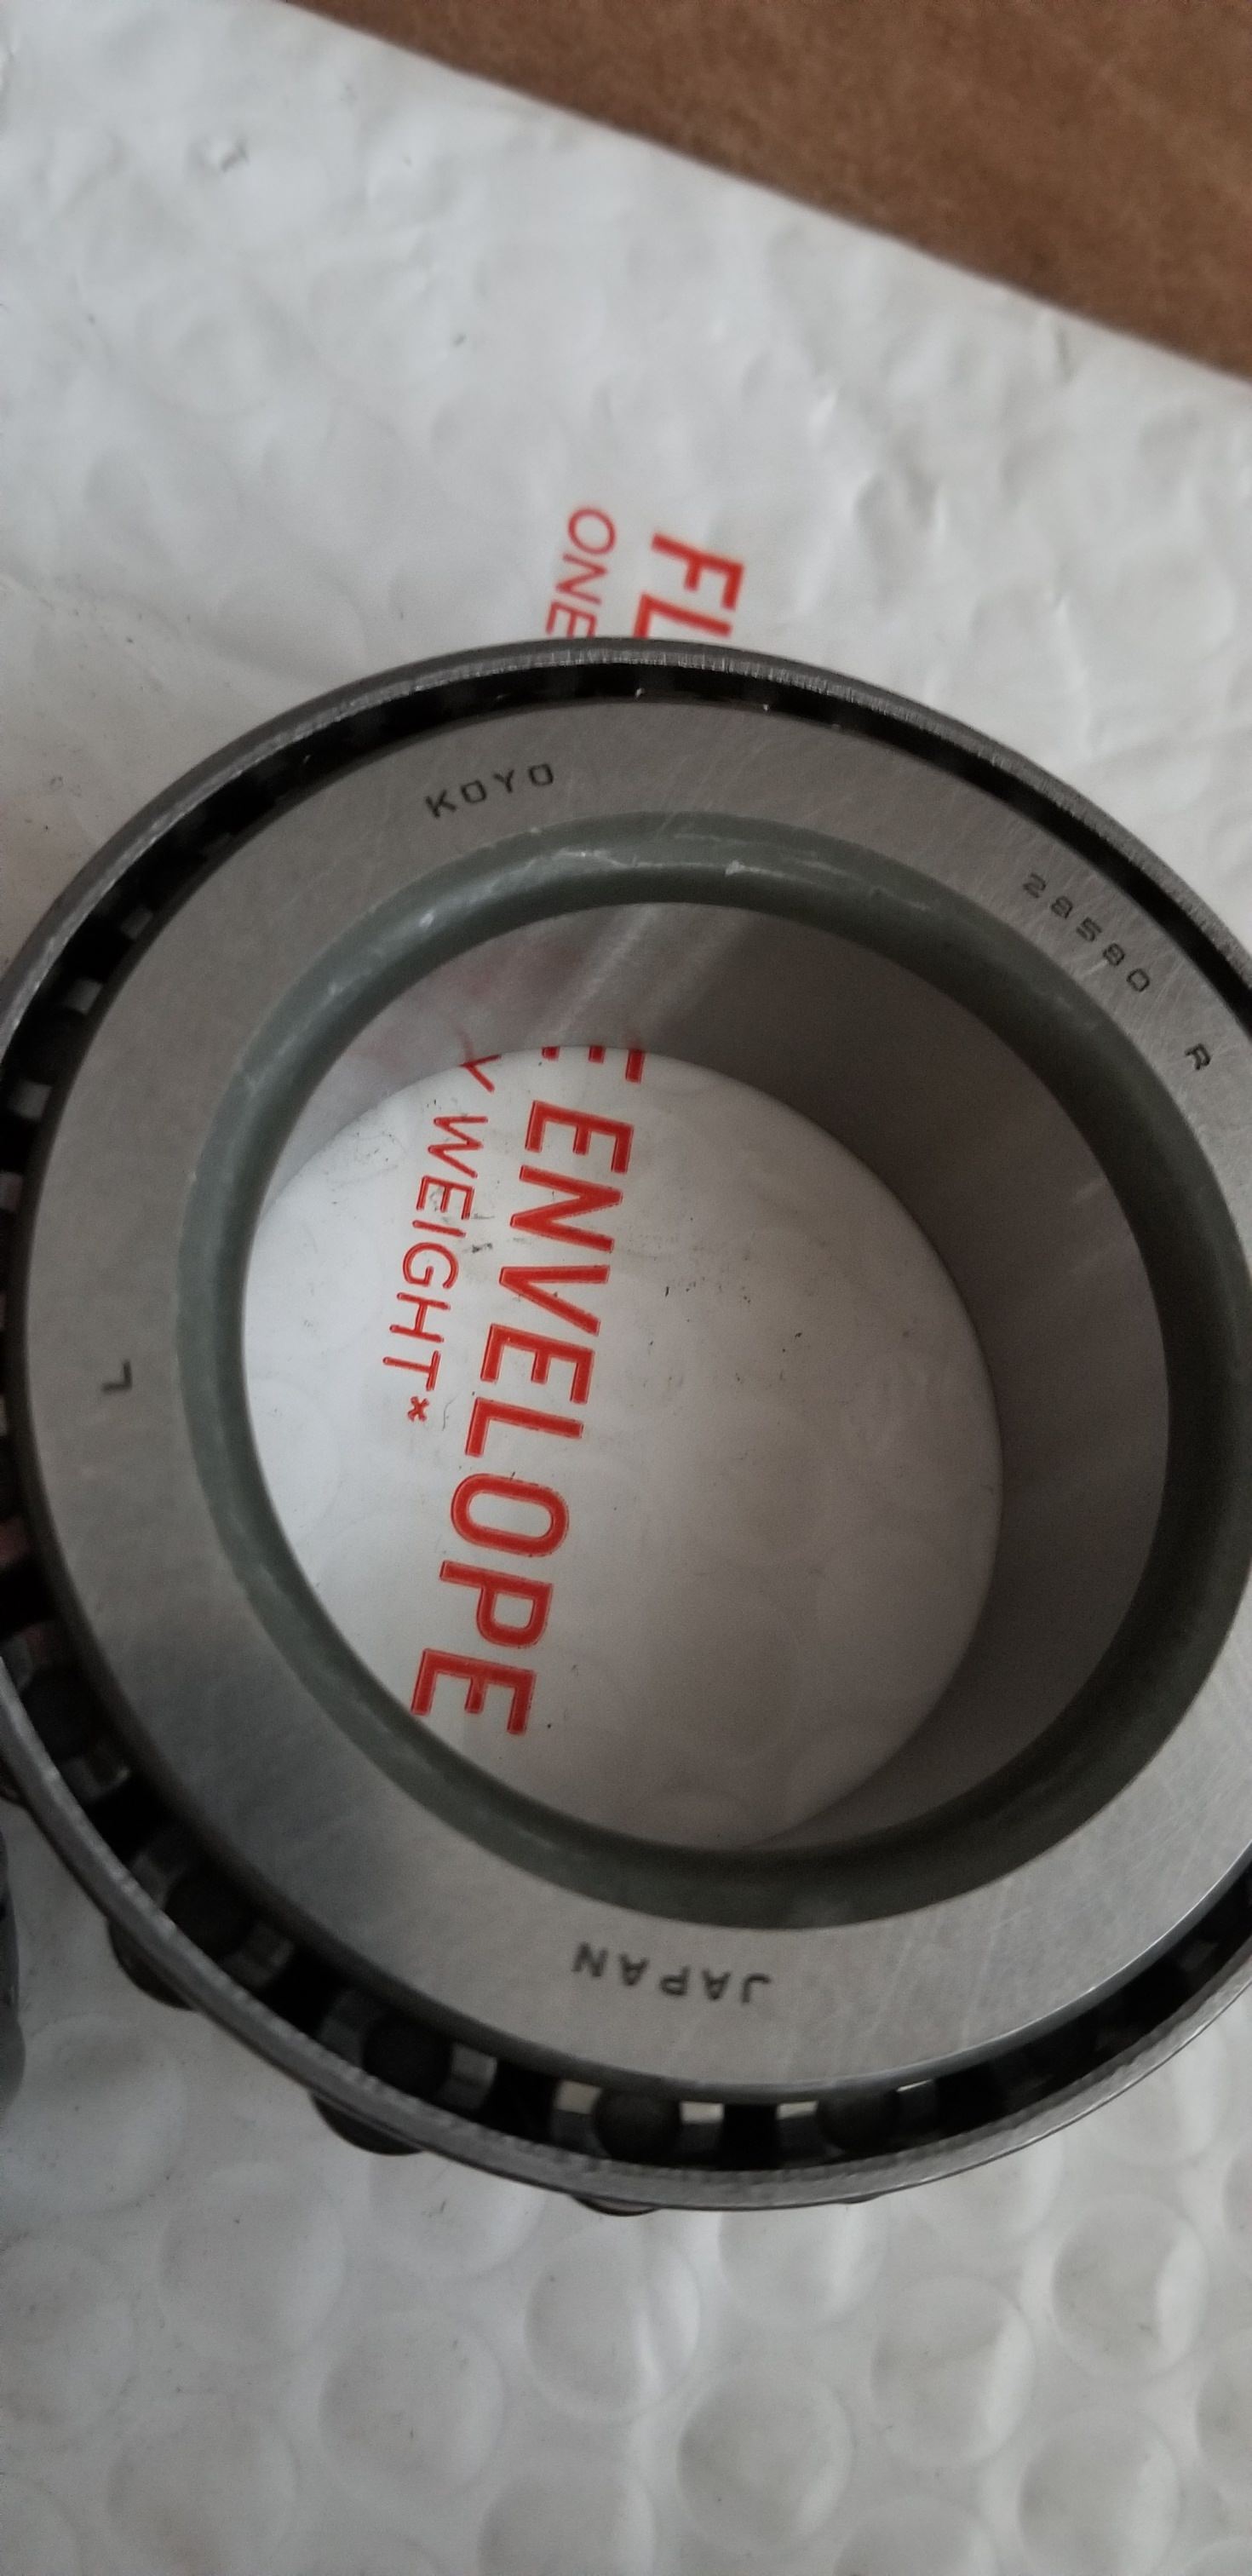
*A huge problem that I have found with the ZF is parts. Rebuild kits are everywhere, but 99% of them have cheap Chinese bearings. Word on the forums is that the Chinese bearings last about a year. OUCH. General Truck Parts in Chicago is the only supplier with original, oem, Made By ZF kits. I see names like Midwest Trans kicked around on the forums. But when I called Mid West, I found their kits came with Chinese bearings. Rockauto sells kits with Koyo (Japanese) and Timken (USA) bearings. Both of those are supposed to be high quality bearings, but Rockauto has a reputation for delivering parts different from what is seen and ordered on the site. I have learned that if the seller doesn't say where their parts are made right up front, it is Chinese parts they're selling. And, they get angry when I ask where the bearings were made, because the game is up. I bought Koyo bearings from https://www.transmissionpartsdistributors.com/ . If the bearings aren't stamped Koyo, I'm sending them back.
Now I have to find a puller with arms long enough to handle the p.shaft bearing.
#33
09-10-2018, 09:32 AM
That oil burner link is going to be a fantastic reference for rebuilding ANY ZF-5.
The level of detail is fantastic - combine that rebuild link with this "how to swap" thread and you've got yourself one powerful combo for potential ZF-5 owners.
Looking forward to seeing what you find with the bearings - Timken or bust I say... but I know nothing about other brands so I really shouldn't comment as I'm really biased hahaha.
#34
09-10-2018, 11:46 AM
That oil burner link is going to be a fantastic reference for rebuilding ANY ZF-5.
The level of detail is fantastic - combine that rebuild link with this "how to swap" thread and you've got yourself one powerful combo for potential ZF-5 owners.
Looking forward to seeing what you find with the bearings - Timken or bust I say... but I know nothing about other brands so I really shouldn't comment as I'm really biased hahaha.
The level of detail is fantastic - combine that rebuild link with this "how to swap" thread and you've got yourself one powerful combo for potential ZF-5 owners.
Looking forward to seeing what you find with the bearings - Timken or bust I say... but I know nothing about other brands so I really shouldn't comment as I'm really biased hahaha.
Of the aftermarket bearings, the upper tier is Timken and Koyo. Koyo is high quality Japanese. They are one of the largest bearing manufacturers in the world. I read somewhere that they had actually purchased one of the Timken plants back east. So for bearings as Timken or Koyo on it, I'm good to go. It is the anonymous bearings that scare me, the ones that don't have any name on them whatsoever, and of course the ones that say made in China. Word on the streets, or at least in the forums, LOL, is that the Chinese bearings last about a year.
I think what separates this thread from most of the others, is that this rebuild, or install thread concerns 2 Wheel Dr., Small block configuration ZF transmissions.The ZF S542, to be specific, which are the earlier model ZF.
#35
09-12-2018, 02:44 PM
My new pilot shaft bearings may have gotten eaten by the hurricane. When I check the tracking #, I get a notice saying that P.O.'s in the path have closed. What happened to 'in rain or sleet or snow?'
Funny note about hurricanes. A macho body builder asked why everyone fled hurricanes. He said he'd just hold onto a tree and wait it out. Then the host of the news story came on and said: "It is not the 200 mph winds that kill people. It is the flying 200 lb bath tubs flying in the wind that does it." Or, flying zf bearings, ha ha. Dang it.
Funny note about hurricanes. A macho body builder asked why everyone fled hurricanes. He said he'd just hold onto a tree and wait it out. Then the host of the news story came on and said: "It is not the 200 mph winds that kill people. It is the flying 200 lb bath tubs flying in the wind that does it." Or, flying zf bearings, ha ha. Dang it.
#36
09-15-2018, 12:38 AM
My bearings and race arrived today. I was happy to see that they were indeed Koyo bearings.
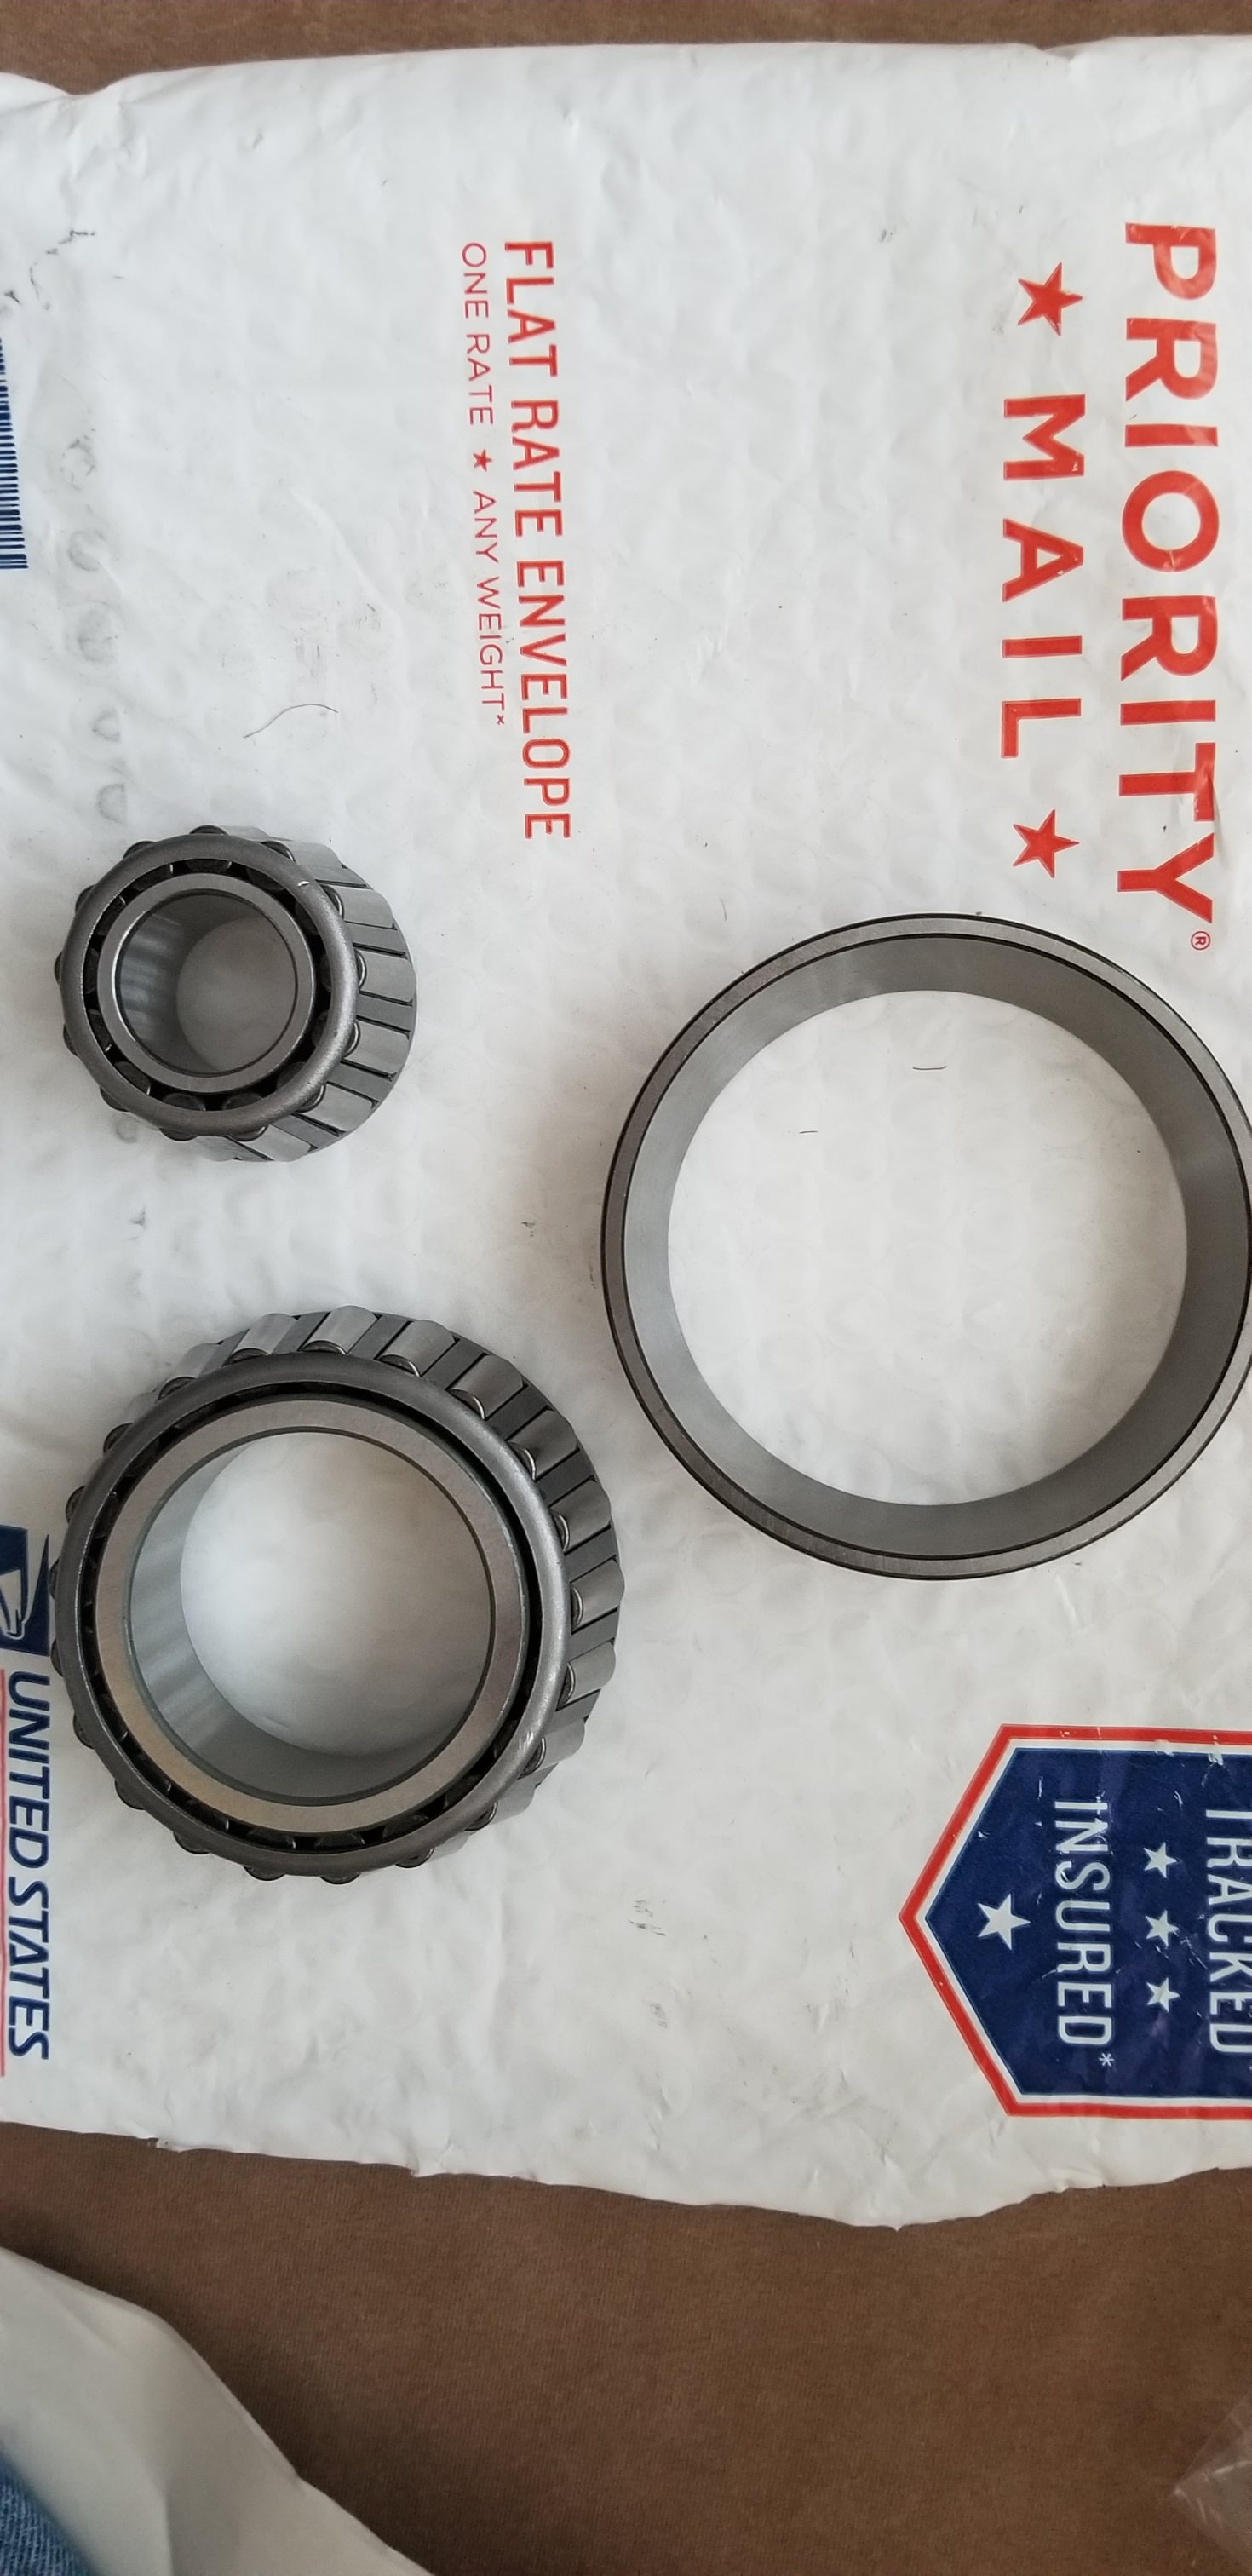
I paid about $55 with postage, from Transmission parts distributors dot com. I have been told by a pro rebuilder that all zf5 used trans will have a slight play in the pilot shaft, but I think that I will go ahead and replace them anyways, since it is a minimally invasive r&r. I'll check the preload after the swap too.
I also bought this set of pullers from Harbor Freight for $47something to make the swap possible.
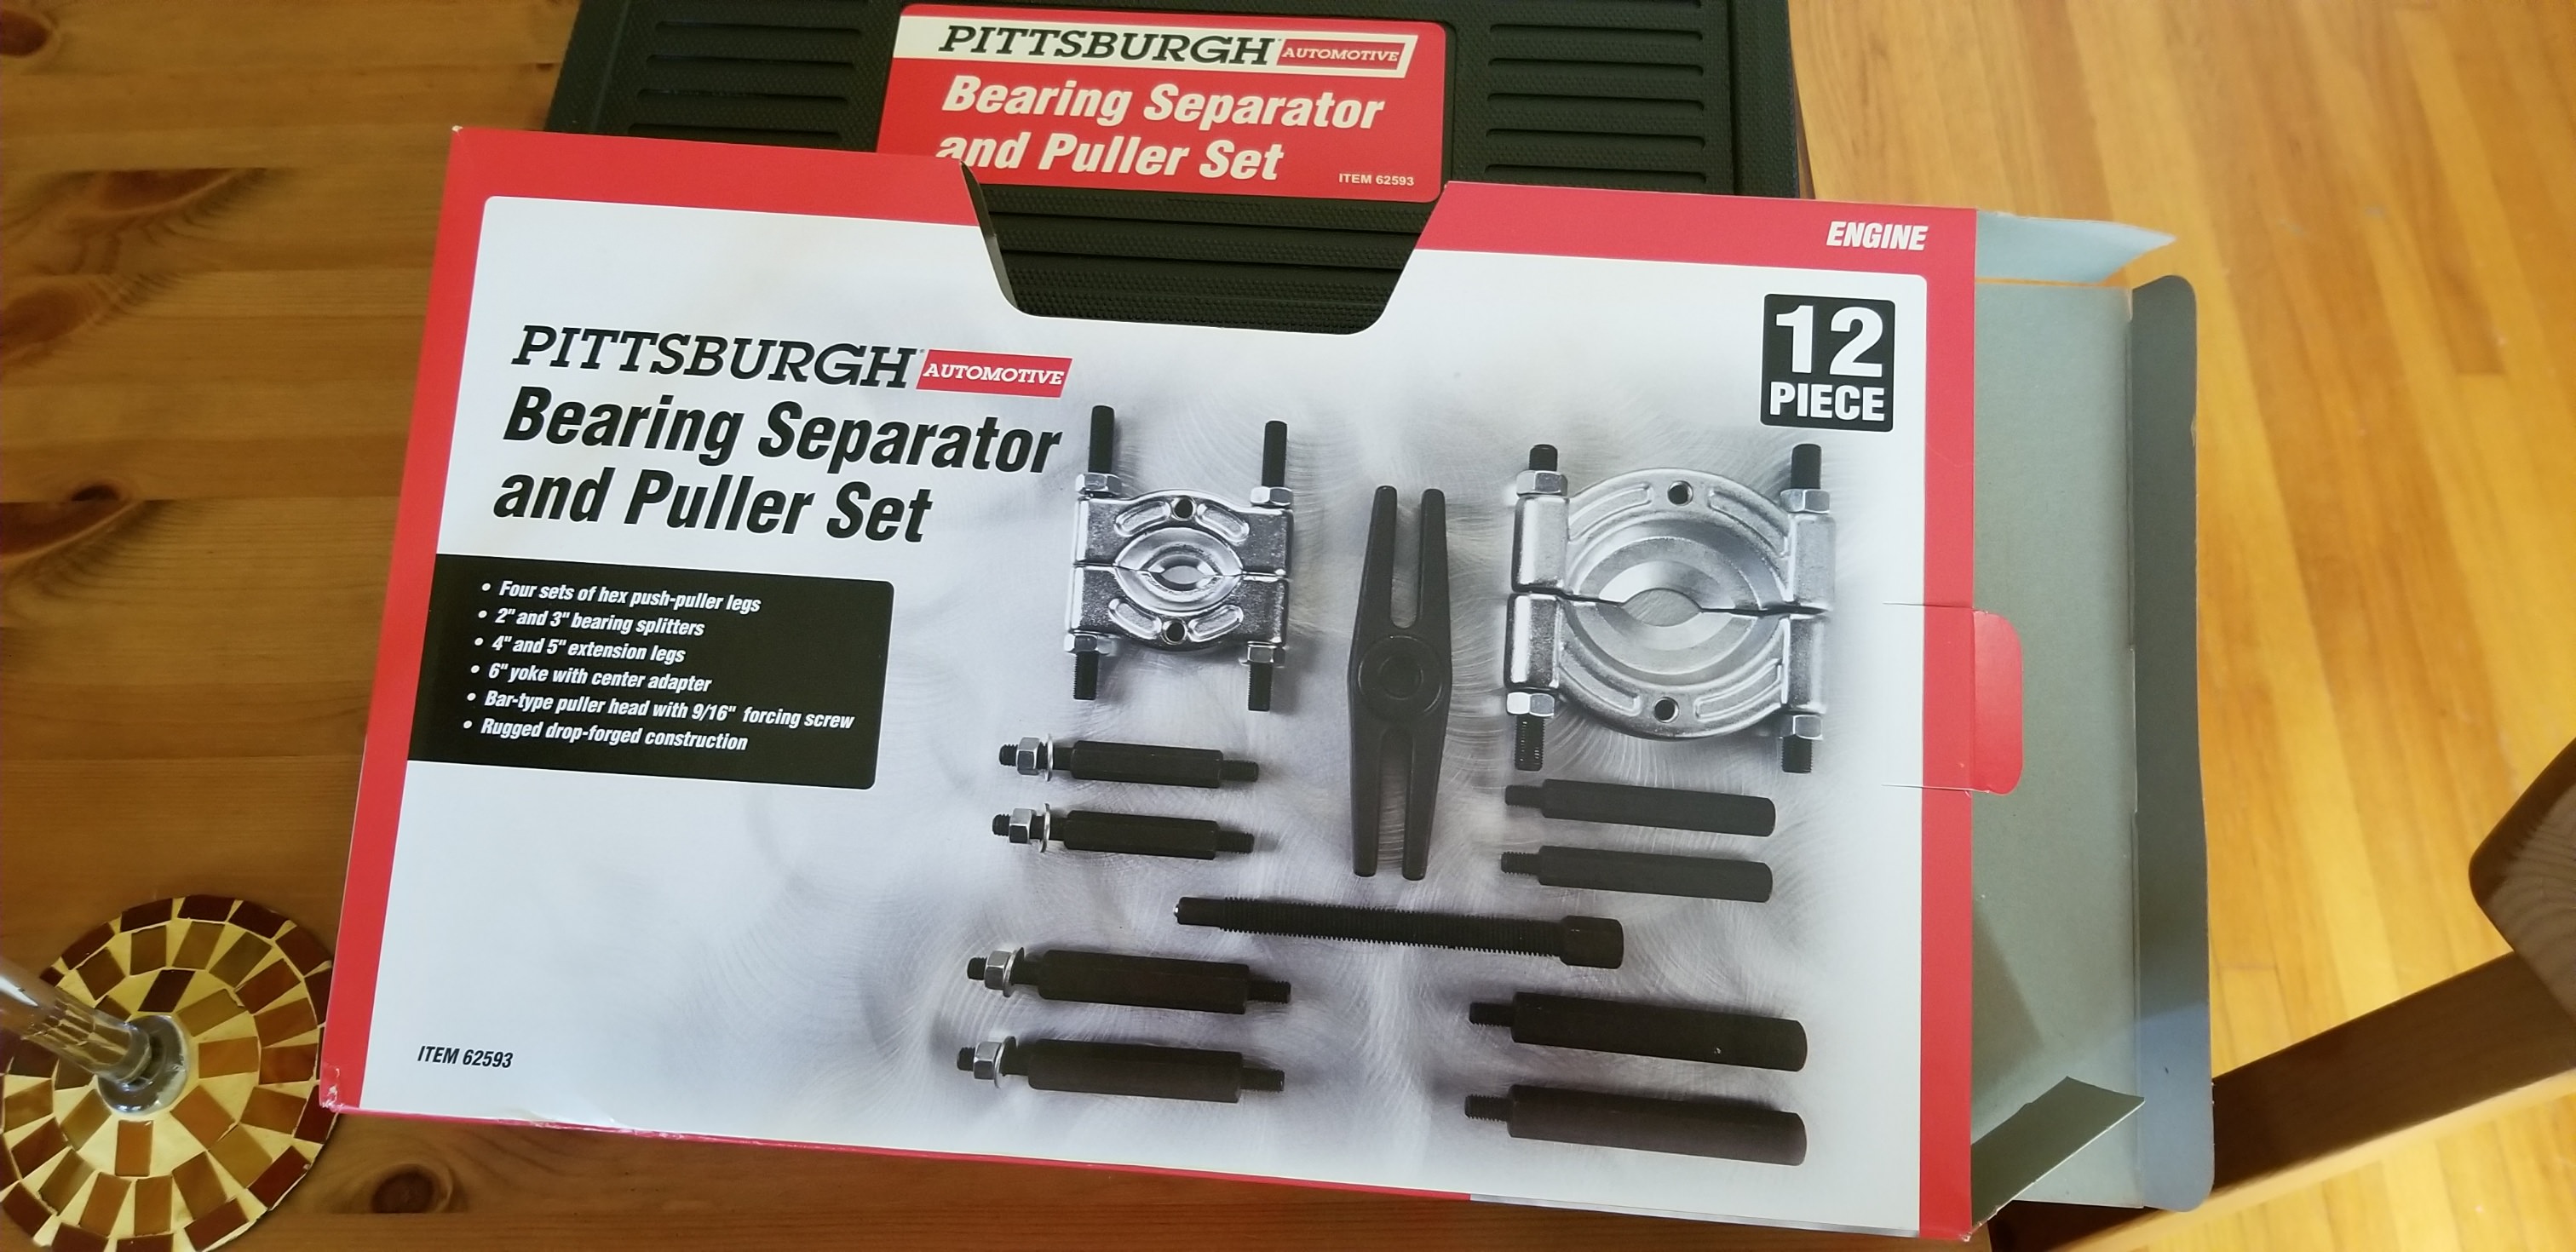
I may as well do it while its out and sitting, to avoid probs in the future. The pilot shaft is very long, and this puller will allow me to make the puller arms longer or shorter, to fit or reach the bearing. The bearings that I will be pulling and replacing are #37 and #39 in the diagram in one of my earlier posts. If you go back to the first few posts, I posted a link to a pictorial how-to on another forum. There you can see first hand the bearings I'll be pulling and replacing.
I paid about $55 with postage, from Transmission parts distributors dot com. I have been told by a pro rebuilder that all zf5 used trans will have a slight play in the pilot shaft, but I think that I will go ahead and replace them anyways, since it is a minimally invasive r&r. I'll check the preload after the swap too.
I also bought this set of pullers from Harbor Freight for $47something to make the swap possible.
I may as well do it while its out and sitting, to avoid probs in the future. The pilot shaft is very long, and this puller will allow me to make the puller arms longer or shorter, to fit or reach the bearing. The bearings that I will be pulling and replacing are #37 and #39 in the diagram in one of my earlier posts. If you go back to the first few posts, I posted a link to a pictorial how-to on another forum. There you can see first hand the bearings I'll be pulling and replacing.
#38
09-17-2018, 10:35 AM
Yeah, I think I will. It should go quickly. I hope to do it while the shafts are standing vertically in/on the rear section of the case housing. I also have to recheck the preload clearance. The book says between .00079 and .00434 on the main shaft freeplay. Talk about splitting hairs. Geez Louise. I remember being a teenager in a pinch and setting the points gap with a match book cover. I guess this is not like that, ha ha. Now I have to round up a dial indicator.
#39
09-17-2018, 10:41 AM
Yeah, I think I will. It should go quickly. I hope to do it while the shafts are standing vertically in/on the rear section of the case housing. I also have to recheck the preload clearance. The book says between .00079 and .00434 on the main shaft freeplay. Talk about splitting hairs. Geez Louise. I remember being a teenager in a pinch and setting the points gap with a match book cover. I guess this is not like that, ha ha. Now I have to round up a dial indicator.
 .
.You never know if the pull of the moon is throwing you off by 0.00100" LOL
#40
09-17-2018, 10:49 AM
#41
09-17-2018, 11:16 AM
Yes, the pull of the moon, ha ha. Or, the temperature of the room, right? When you get that percise, the temperature is going to be a huge factor. Anyway, I found this: https://www.harborfreight.com/1-In-T...tor-63521.html I'll probably never use it again (or one more time to measure the Quench of the engine I'm putting together), so I don't feel bad buying it. However, it only measures to .001. So, since the greatest or most play I can have to be within tolerences, is .00434, then I guess it has to be .004, .003, .002, .001. Anything tighter than that and it will be out of my realm of measurability. And I'm guess that the cost of dial indicators goes up, depending on how finely they measure?
+/- indicators and calibration certificates inside the box are a big factor for me when buying something that measures. The higher the degree of accuracy, the more the cost (IMO).
#42
09-17-2018, 11:26 AM
I don't how they measure really matters in the end, regardless of what you buy. It's how accurately it measures that matters.
+/- indicators and calibration certificates inside the box are a big factor for me when buying something that measures. The higher the degree of accuracy, the more the cost (IMO).
+/- indicators and calibration certificates inside the box are a big factor for me when buying something that measures. The higher the degree of accuracy, the more the cost (IMO).
#43
09-18-2018, 12:30 AM

#44
09-18-2018, 09:39 AM
Thanks for the information. Most of my hand tools were bought from sears in the eighties. Now they are made in China. Also, Sears no longer owns the Craftsman brand. It was sold to Stanley for a mega sum. But, I think the Craftsman stuff is good. I believe what you were trying to say is that I should shop on amazon for a dial indicator. Thanks.
#45
09-19-2018, 12:37 AM