When you click on links to various merchants on this site and make a purchase, this can result in this site earning a commission. Affiliate programs and affiliations include, but are not limited to, the eBay Partner Network.
I copied this over from my Excursion build thread. I feel divided allegiance. When I first joined FTE I was probably 95% on the Excursion forum. Now I’m about 50/50 between the Ex and 7.3 forums. As this is probably the only original thing I’ve done on my Ex I thought you non-Ex 7.3’ers might like it too.
Next on my list of things to do was backup lights. I ordered a pair of Rigid Ignite backup lights. Since these are going into my factory chrome bumper I decided the black Rigid faceplate just wouldn’t do. I decided to make them from polished stainless. I’ve got more time in the pair than I care to admit. Unfortunately it will be a while before I can do the actual install. Work schedule is kicking my butt.
Rigid Ignite backup lights.
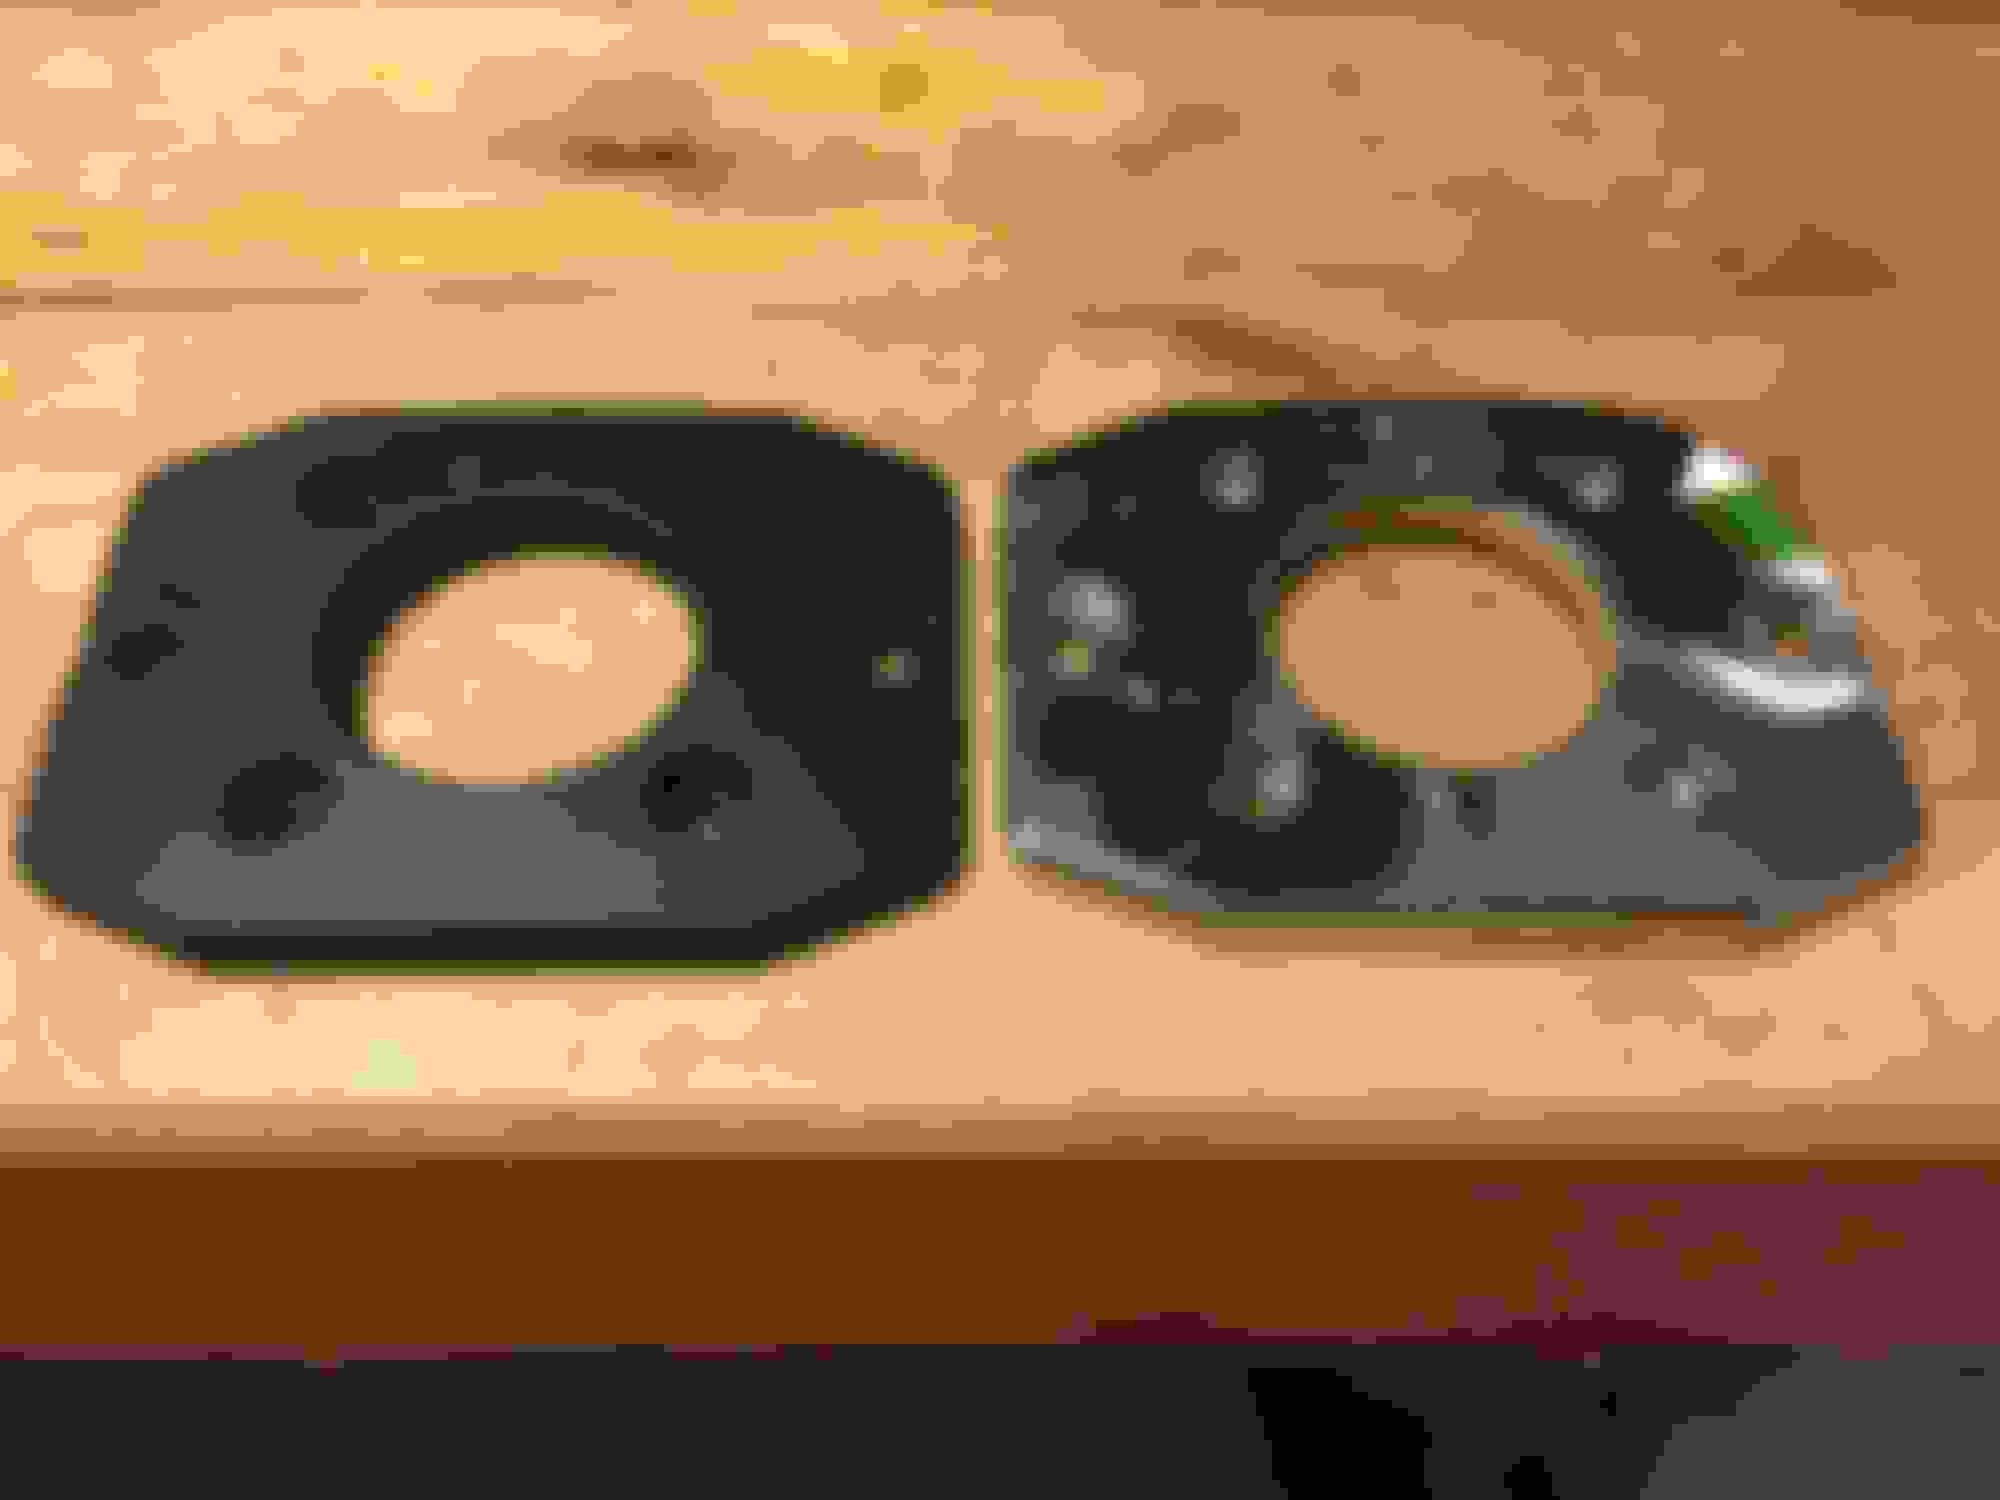
Solid chunk of 303 stainless.
Got the backside machined.
Front side machined. In retrospect, this really is a lathe part as the face is spherically convex. Took forever on the mill but would have been a minute or two on the lathe. Hand polishing was also a pain. It would be much closer to done off the lathe.
Faceplate comparison.
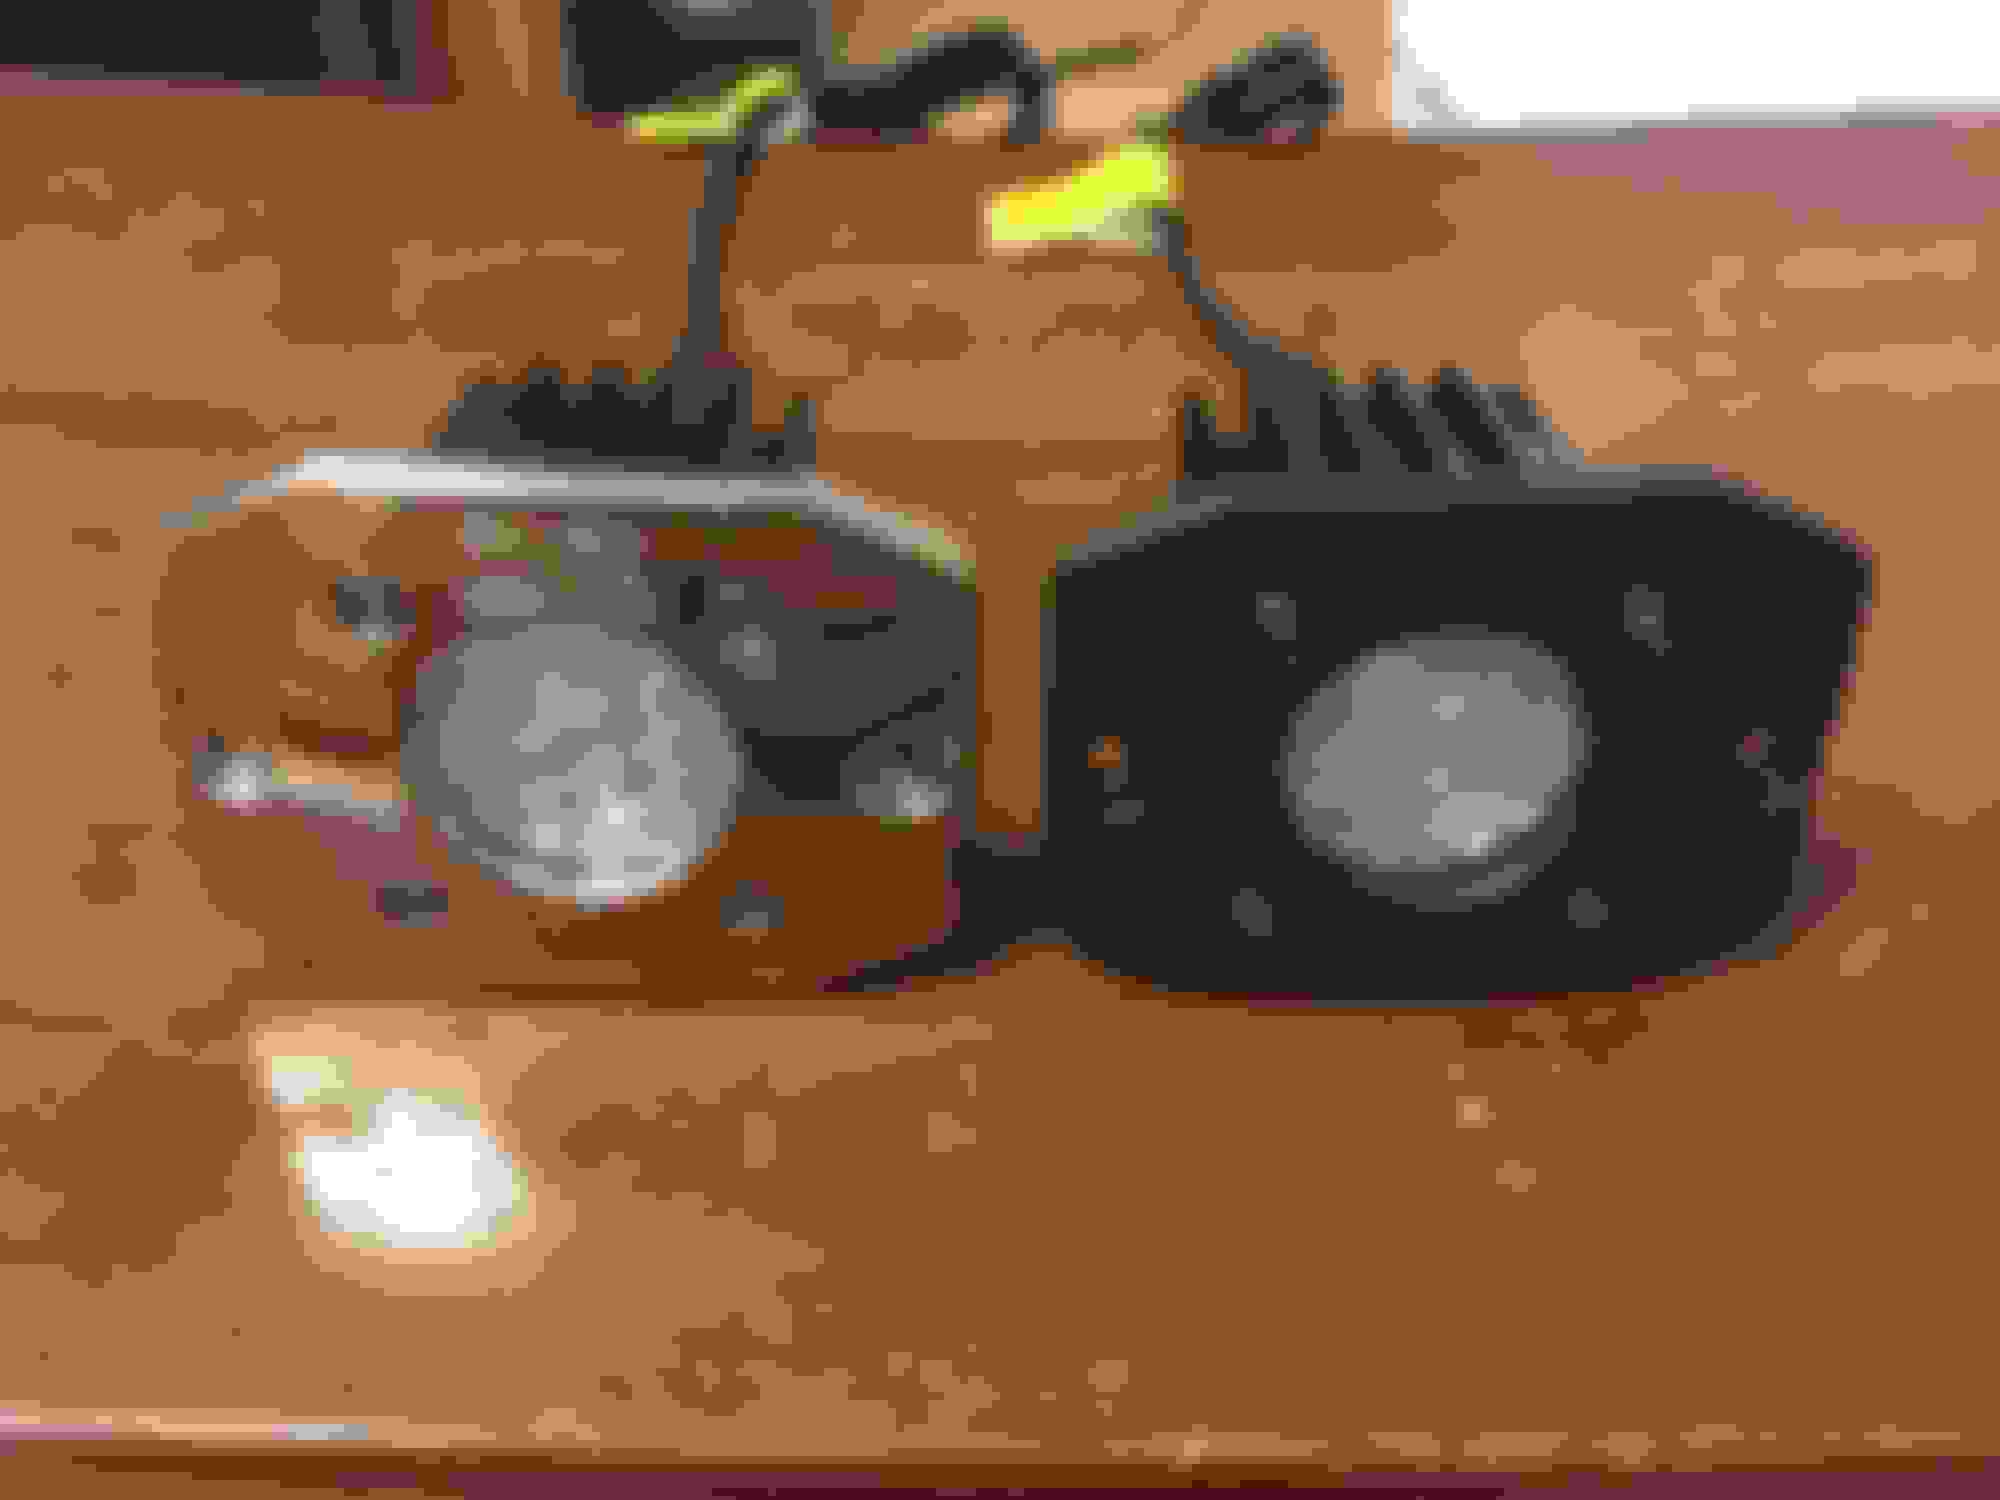
One of the lights assembled with the new faceplate.
Finally finished my backup light install. I think they blend in well with the chrome bumper!
Running the wire from the lights to the engine compartment was a hot mess. Remember the 4 gallons of oil I lost from my HPOP leak? Yep, most of it is still on the bottom of the Ex. Arms were black up to my elbows.
With a little internet research, it wasn’t too bad connecting my Carling-style switch to the relay to power the lights. Didn’t even blow any fuses this time!
When I finished it was a very sweaty 92F out. I’ll have to wait for darkness to see how much better these are over the stock backup lights.
If I had put any forethought into it I would have mounted them further outboard on the bumper. Access to the back side to install the washers and nuts was a “challenge”.
Factory backup lights.
Rigid Ignite backup lights. As best an auto adjusting phone can capture it...
Some guy I work with claims to be friends with the owner of Rigid and told me to ask him when I ordered lights from them because he may be able to hook me up. Regardless, I was thinking of doing this same thing. I can't even tell my backup lights are on in my truck, and I had a camper shell on it when I first bought it. So I need something like 3x brighter than stock or more. I tried putting the LED lights from o Reilly's in and it made no difference, just made the lights look cleaner.
Looks slick, Army👍..but why run the wire that way? Within the 7pin connector, the "white" wire IS a reverse wire..😁(believe its the white wire)
I wanted the ability to independently turn on my backup lights. There are a few situations (like setting up the RV in the dark) when having the lights on and not being in reverse, or even having the engine running, would be beneficial. When I did my F650 dash I added both fog light and backup light switches.
How did you copy the Rigid bezel pattern? (3D scanning?)
Why did you copy the (perimeter) pattern? (other than the lamp fixture screw holes and center bore)
The how I copied was pretty simple...lots of measurements! I drew it up in my CAD program (computer aided design). The outside profile and hole locations were pretty straight forward. The curvature of the face was pure cad. I measured the thickness of the plate at the edges and at the middle and drew a circle that connected the points. I then revolved that circle into a sphere. With my CAM program (computer aided machining) I took care of translating my design into machine instructions.
I thought about making an original bezel, but I knew the holes I made in the bumper would not be exact and the size of the bezel would cover up any minor booboo’s. I made the holes in the bumper with a hole saw and dremel sanding drums. Nothing exact about that. I also thought the original design didn’t look half bad...just not the right color.
I emailed some pictures to Rigid. It was pretty obvious the reply I got was boiler plate “glad you like our lights”. Whomever is responsible for answering generic inquiries probably didn’t even open the pictures.
I wanted the ability to independently turn on my backup lights. There are a few situations (like setting up the RV in the dark) when having the lights on and not being in reverse, or even having the engine running, would be beneficial. When I did my F650 dash I added both fog light and backup light switches.
makes sense...i did the same but mounted in tailgate. The 12v on when reverse is applied, wire is tapped to my backup camera. Tailgate lights are relayed switched for when hooking th up or whatever
Nice to have CNC mill in the garage!
I agree that starting out on a lathe would have expedited the process and reduced the amount of work polishing the face.
They look real nice in the SS and will stay that way for many years to come. Good job!
I was thinking of replacing my backup light bulbs with LEDs, has anyone tried that?
I was thinking of replacing my backup light bulbs with LEDs, has anyone tried that?
I looked into that but read mixed results. That’s why I went with separate backup lights.
I backed out of the driveway this morning at 0500. Between these lights and my 08 mirrors, backing is now not much different than backing my Honda. There is no comparison to pre-modifications.
I was thinking of replacing my backup light bulbs with LEDs, has anyone tried that?
I did. I went with the $20-$20 LED ones from the auto parts store (O'Reilly, Autozone, Pep Boys, etc.). They are brighter but I couldn't see as much as I did with the standard bulb so it was a trade-off.
I haven't tried any conversions or "high end" replacements but for me (the casual purchaser) it was either see (standard filament bulb) or be seen (LED replacement bulb). YMMV.
This Hennessey Takes the Expedition Tremor's Off-Roading Capability to the Next Level
Slideshow: The VelociRaptor Expedition gains a lift, upgraded suspension, Brembo brakes, and trail-ready equipment while retaining the stock 440-horsepower EcoBoost V6.
Rezvani's Latest Post-Apocalyptic Monster Is a Ford F-150 Raptor Underneath
Slideshow: Called the Fortress, the 850-horsepower pickup combines Raptor underpinnings with military-inspired features, survival equipment, and a starting price of $285,000.