When you click on links to various merchants on this site and make a purchase, this can result in this site earning a commission. Affiliate programs and affiliations include, but are not limited to, the eBay Partner Network.
After a long drawn research, I decided to get a Joying head unit (HU) to replace the factory unit. I was looking for the following in the unit
- Android based, so that I can install apps and use the HU as a single command center
- Bluetooth for phone and music streaming
- GPS / Google maps for directions
- Video playback
- Backup camera integration
- Overall cost under $350
The Joying JY-UL135N2 fit the bill nicely and I got it from
In addition, I also got a 25' RCA cable for hardwiring the camera input to the HU.
Here's what came in the box. It includes
- the HU
- 2 sets of wiring harnesses
- trim ring
- external microphone
- external GPS antenna
- Wiring diagram
- User Manual
- mounting screws
I procured the appropriate Metra harness for the EX from
The license plate camera was an easy install. The holes line up nicely and there are just 3 wires to connect.
1. Positive (red) goes to a reverse line switched source. I tapped directly into the reverse light wire. I believe it is the black-pink wire.
2. Black is grounded
3. Yellow RCA feeds video to the HU.
This video shows how to test the unit out of the box. In addition, there is a key step mentioned in the vide to connect the ACC wire from the ISO harness to the constant +12V line. Without this, I found that my HU would not stay on for more than 30 seconds after a successful boot up.
This is how I had wired the harness together. Note that when I took this pic, the ACC wire was incorrectly attached.
Next step was to trim the cubby hole in the dash to fit the double DIN radio unit. Since there will be a lot of plastic dust, I decided to get the dash piece off the truck for the trimming/ sanding. This quite an easy task and there are quite a few writes ups and videos out there. I used a dremel with a sanding attachment. I would have liked to use the cutting wheels for a much straighter trim, but the angles were not helping to keep the cutting line straight.
Here is the top lip trimmed.
and, the lower lip trimmed
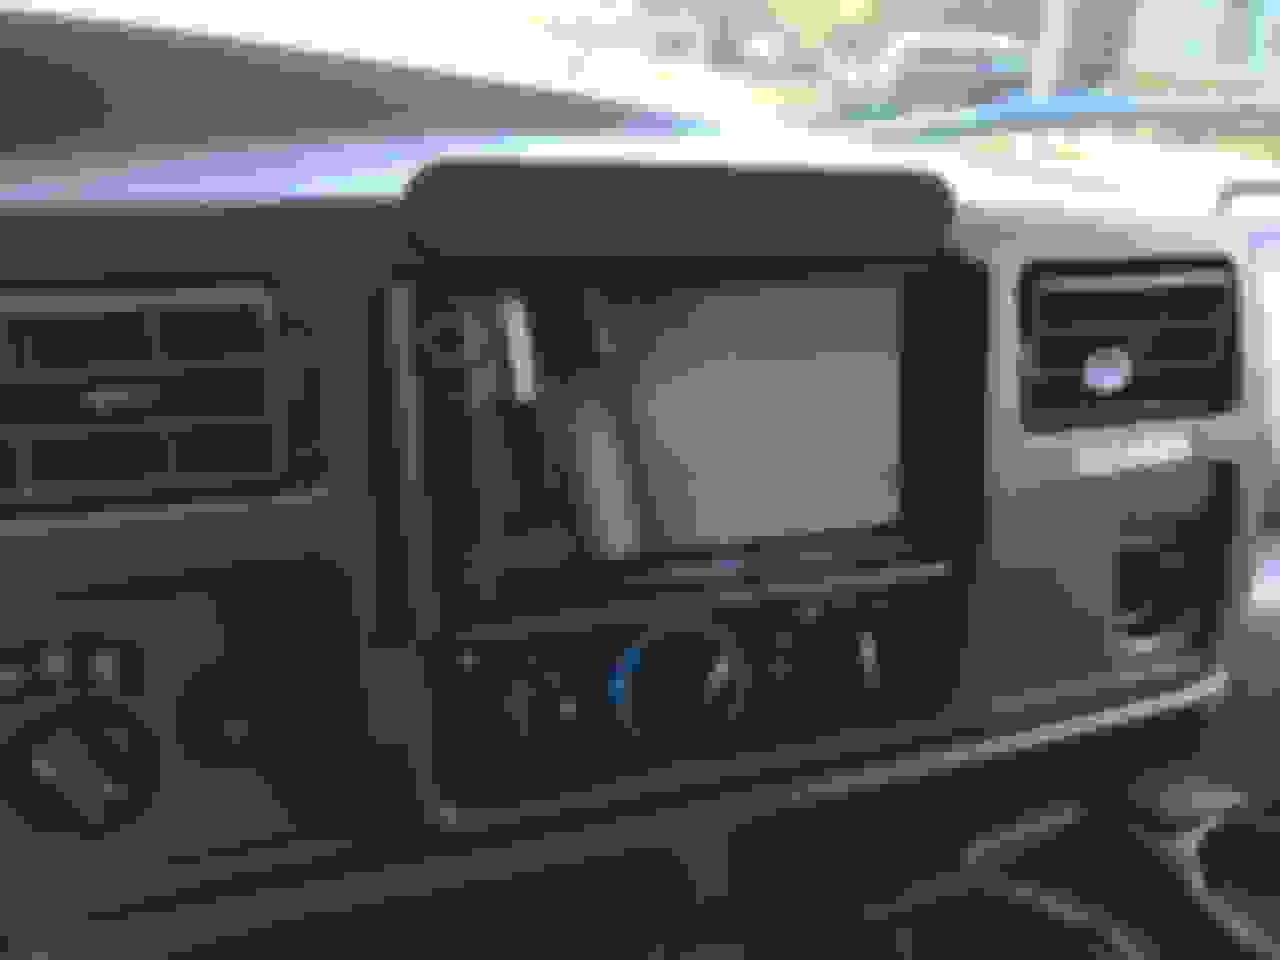
It took a little more fine finishing to be able to get the HU into that cubby, but then, the next issue came up. After the dash is installed back on the EX, there are 2x7mm bolts that intrude with the HU. For now, I have removed them in the hopes that the others will that dash together.
Next step, I connected the harness and went through a mockup run of the unit.
- BlueTooth was an easy setup. My iPhone paired up and was clearly streaming music. Sound quality, using the factory speakers, is much much better than the stock radio unit.
- Since the 2000 EX did not come with premium sound and amp from the factory, the wiring was easy.
- Both wiring kits (Joying and Metra) did not come with appropriate wiring for the rear controls and 6CD changer in the center console. For now, I;ve decided to forego those options.
- Rear camera did not work. The video feed was good, but I needed a trigger for the reverse. FTE to the rescue and per Armylifer's writeup, I tapped into the black-pink wire going to the rearview mirror up in the overhead console. And voila, the reverse camera feed to the HU was perfectly working.
- Hooked up the HU to the iPhone hotspot to test out Google maps. All is good.
Next step was to finish hiding all the wiring.
- The wires from the license plater camera are hidden below the black plastic trim lip at the bottom of the barn doors in the back.
- RCA Video feed wire from rear camera is went up the passenger side rear end pillar and then along the edge of the roof and comes down the passenger side A-pillar to underneath the dash.
- external mic was installed along the roof in front of the driver.
Unleasdh,
You can also set the option in the carmedia options panel to remove the backup camera backing grid guides so you dont have two sets shown on the camera screen while backing up.
Unleasdh,
You can also set the option in the carmedia options panel to remove the backup camera backing grid guides so you dont have two sets shown on the camera screen while backing up.

 10-17-2017, 10:04 PM