When you click on links to various merchants on this site and make a purchase, this can result in this site earning a commission. Affiliate programs and affiliations include, but are not limited to, the eBay Partner Network.
Well I ran cost for getting all the materials I needed to make engine mounts and man it was cheaper to buy a set and weld them myself. Should be here this week.
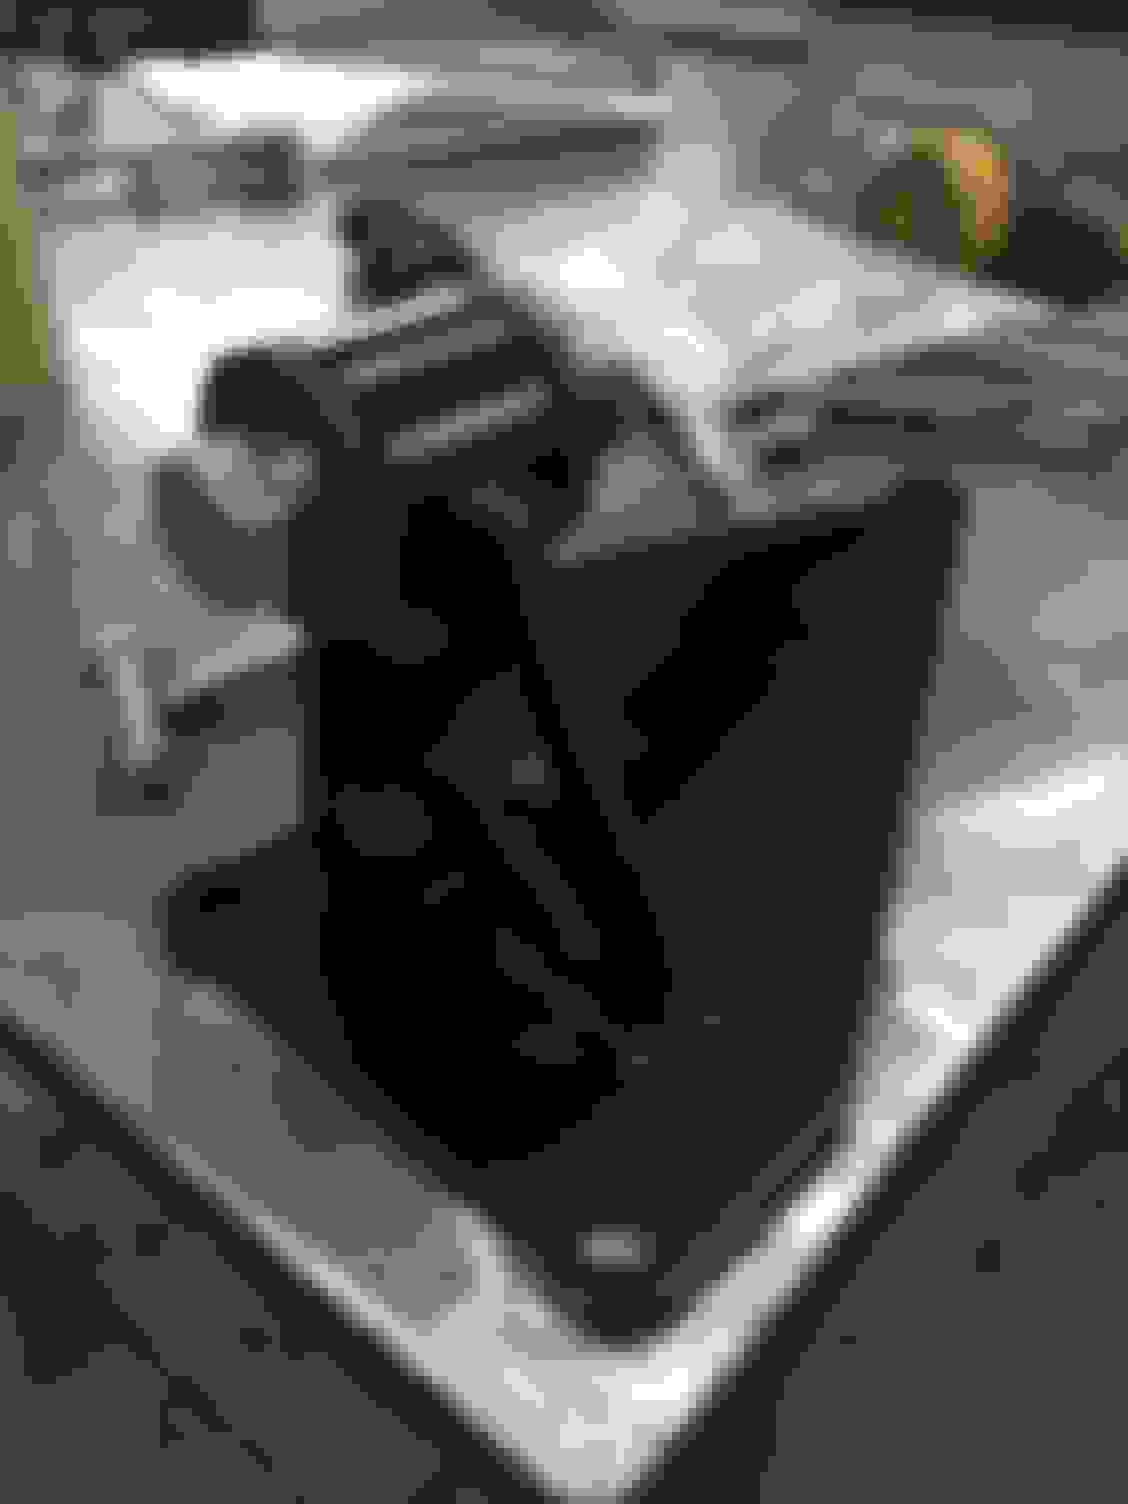
Anyway, I've been working on my transmission mount.
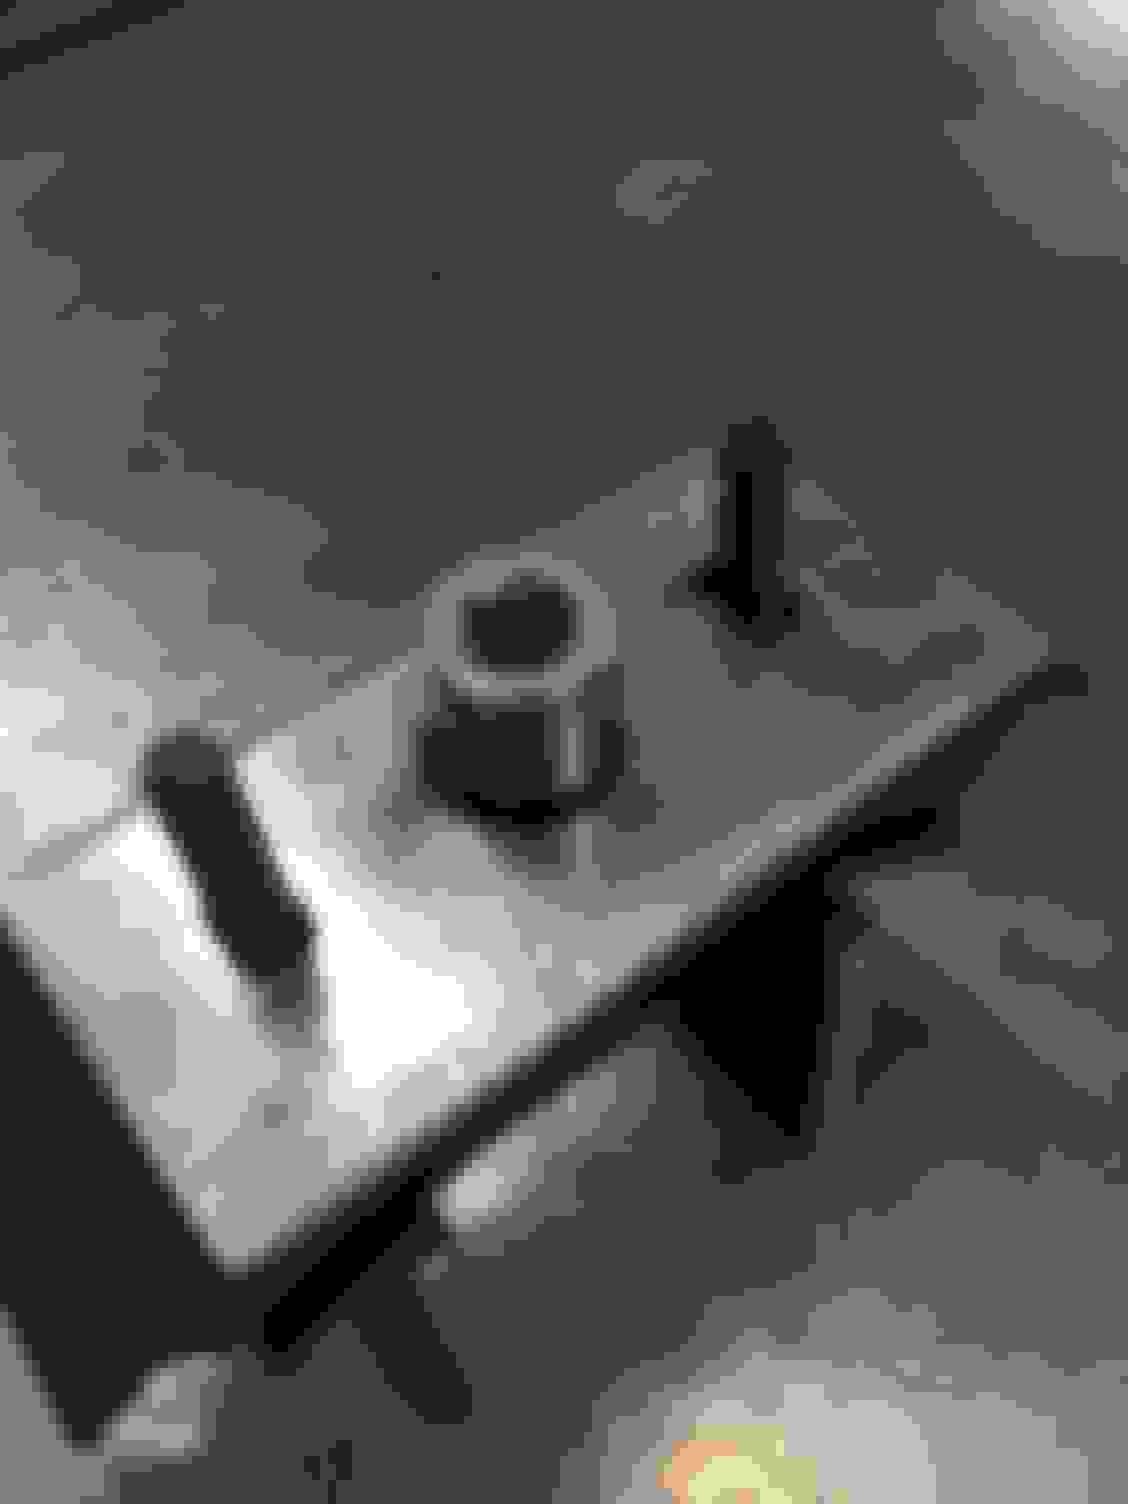
I machined this plate for the rubber mount to sit on. Gave it a little room to fit and made sure I had enough clearance for a 17mm socket to fit for the bolt that fits the mount to the transmission.
Welded up the plate to the square tubing and added in some extra support gussets.
I also welded in a gusset for to the tube to give it a little more strength for all the stress it will have.
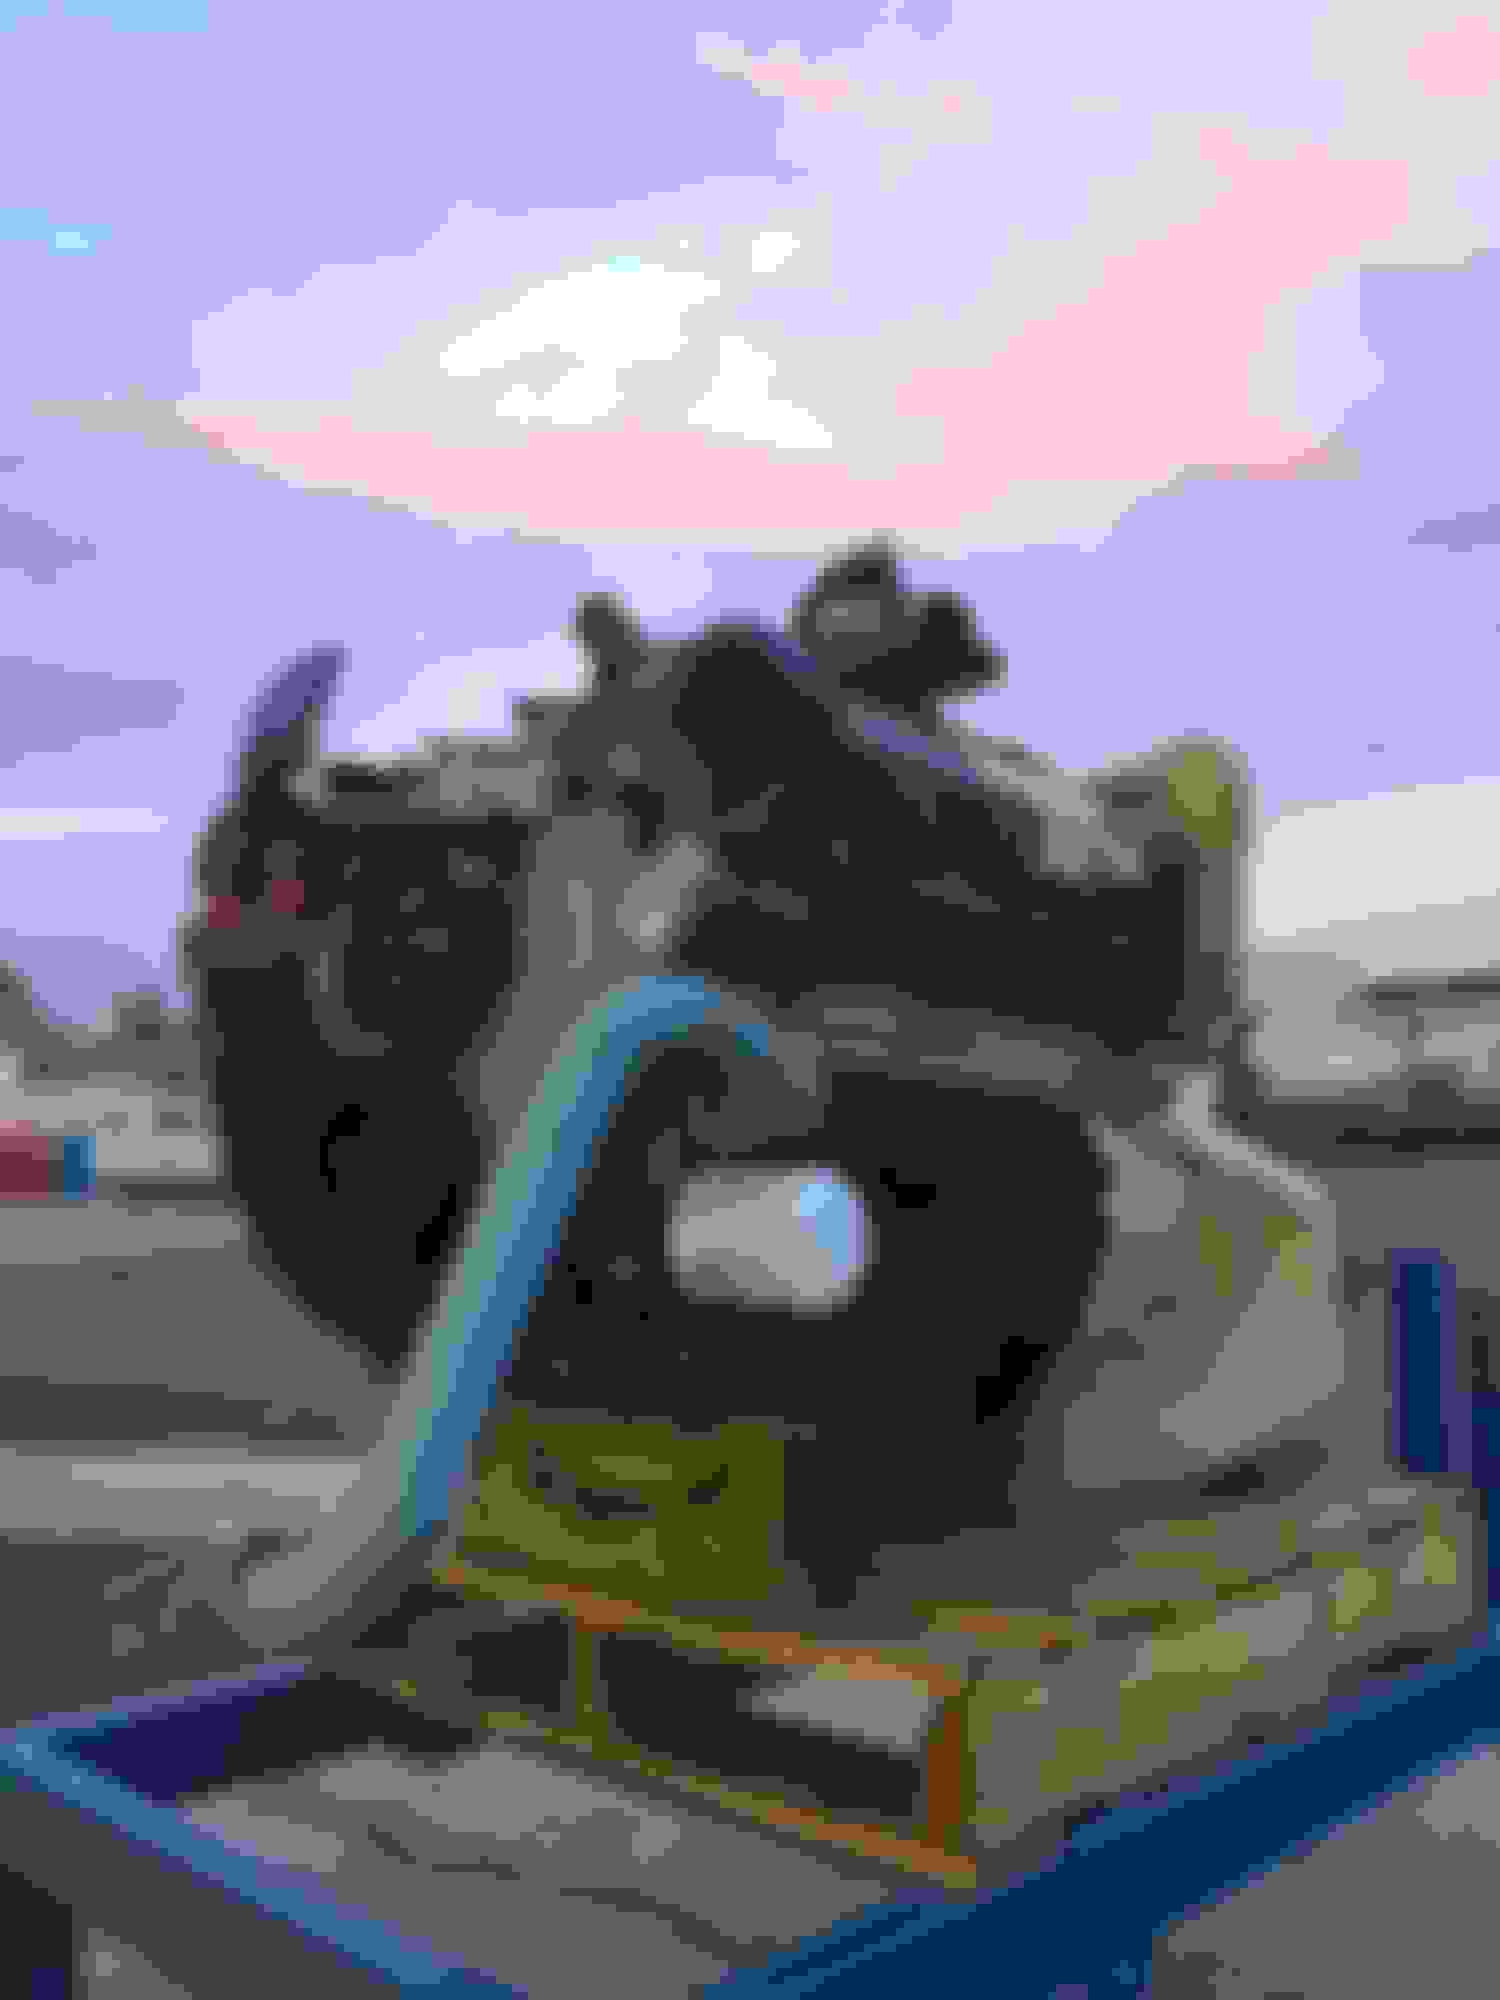
I also began a little painting on the cast part of the block. I had a little bit of rust and dirt there, so I cleaned it up and shot it with a little paint to clean it up just a bit. Still need to work on the aluminum and transmission as well.
Hopefully finding some time to inspect the old engine, pull it out and list it for sale soon.
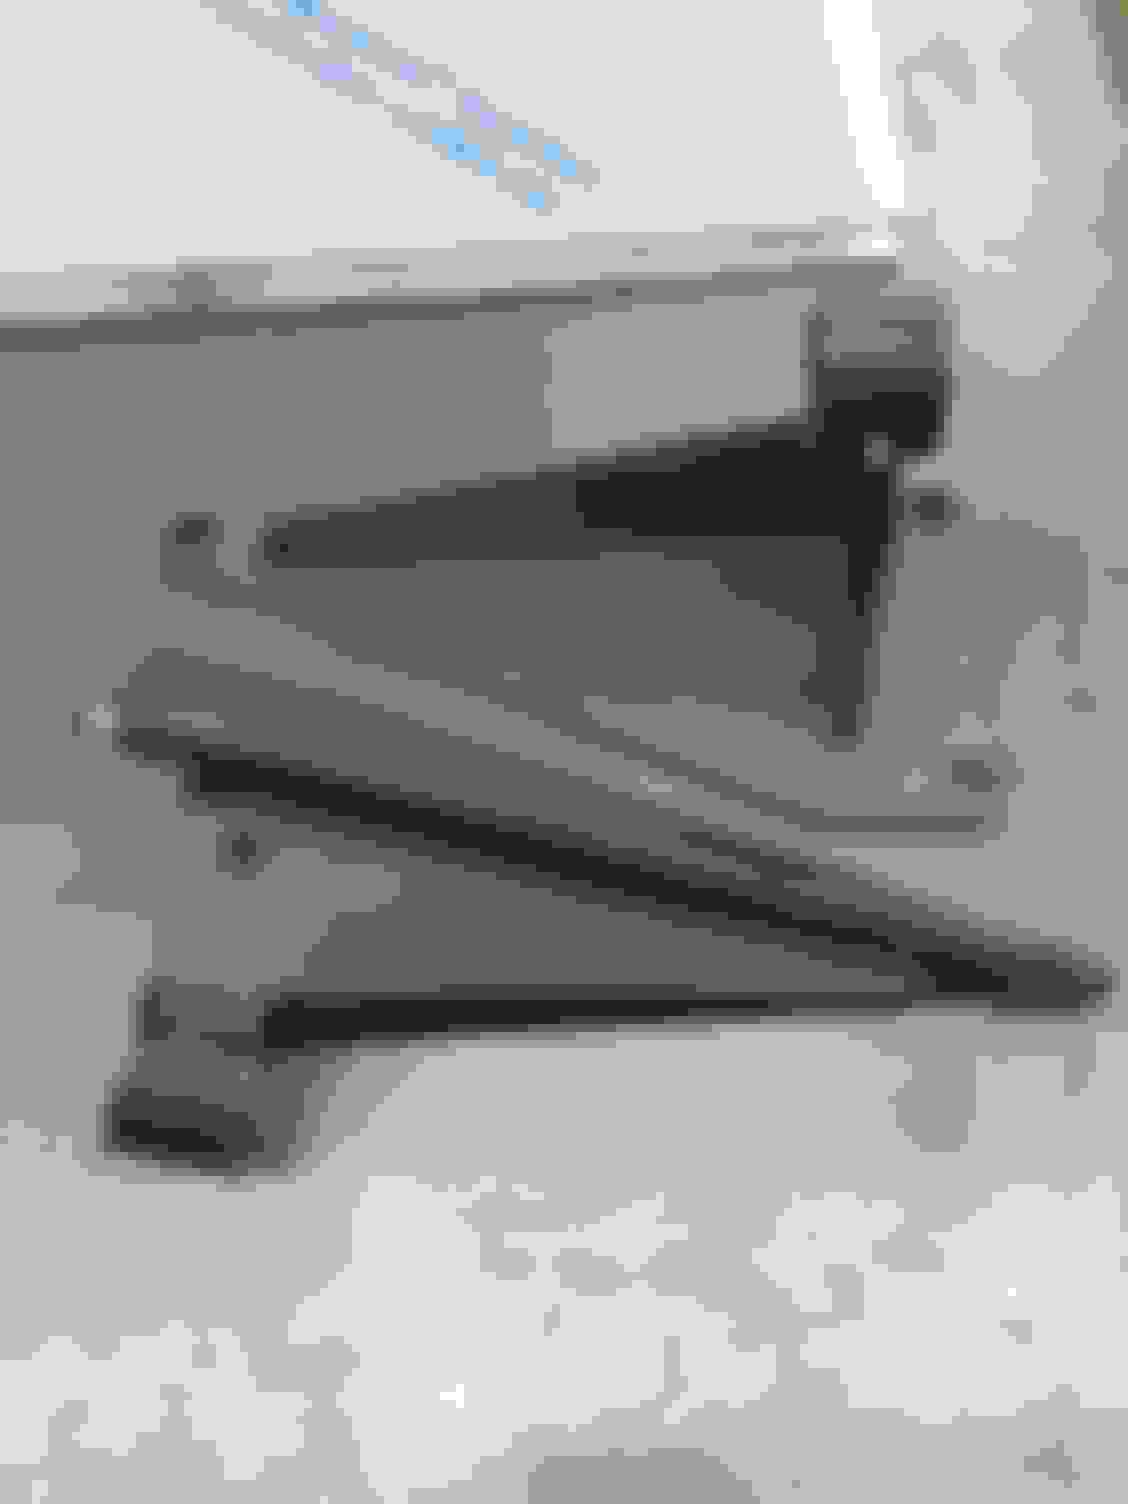
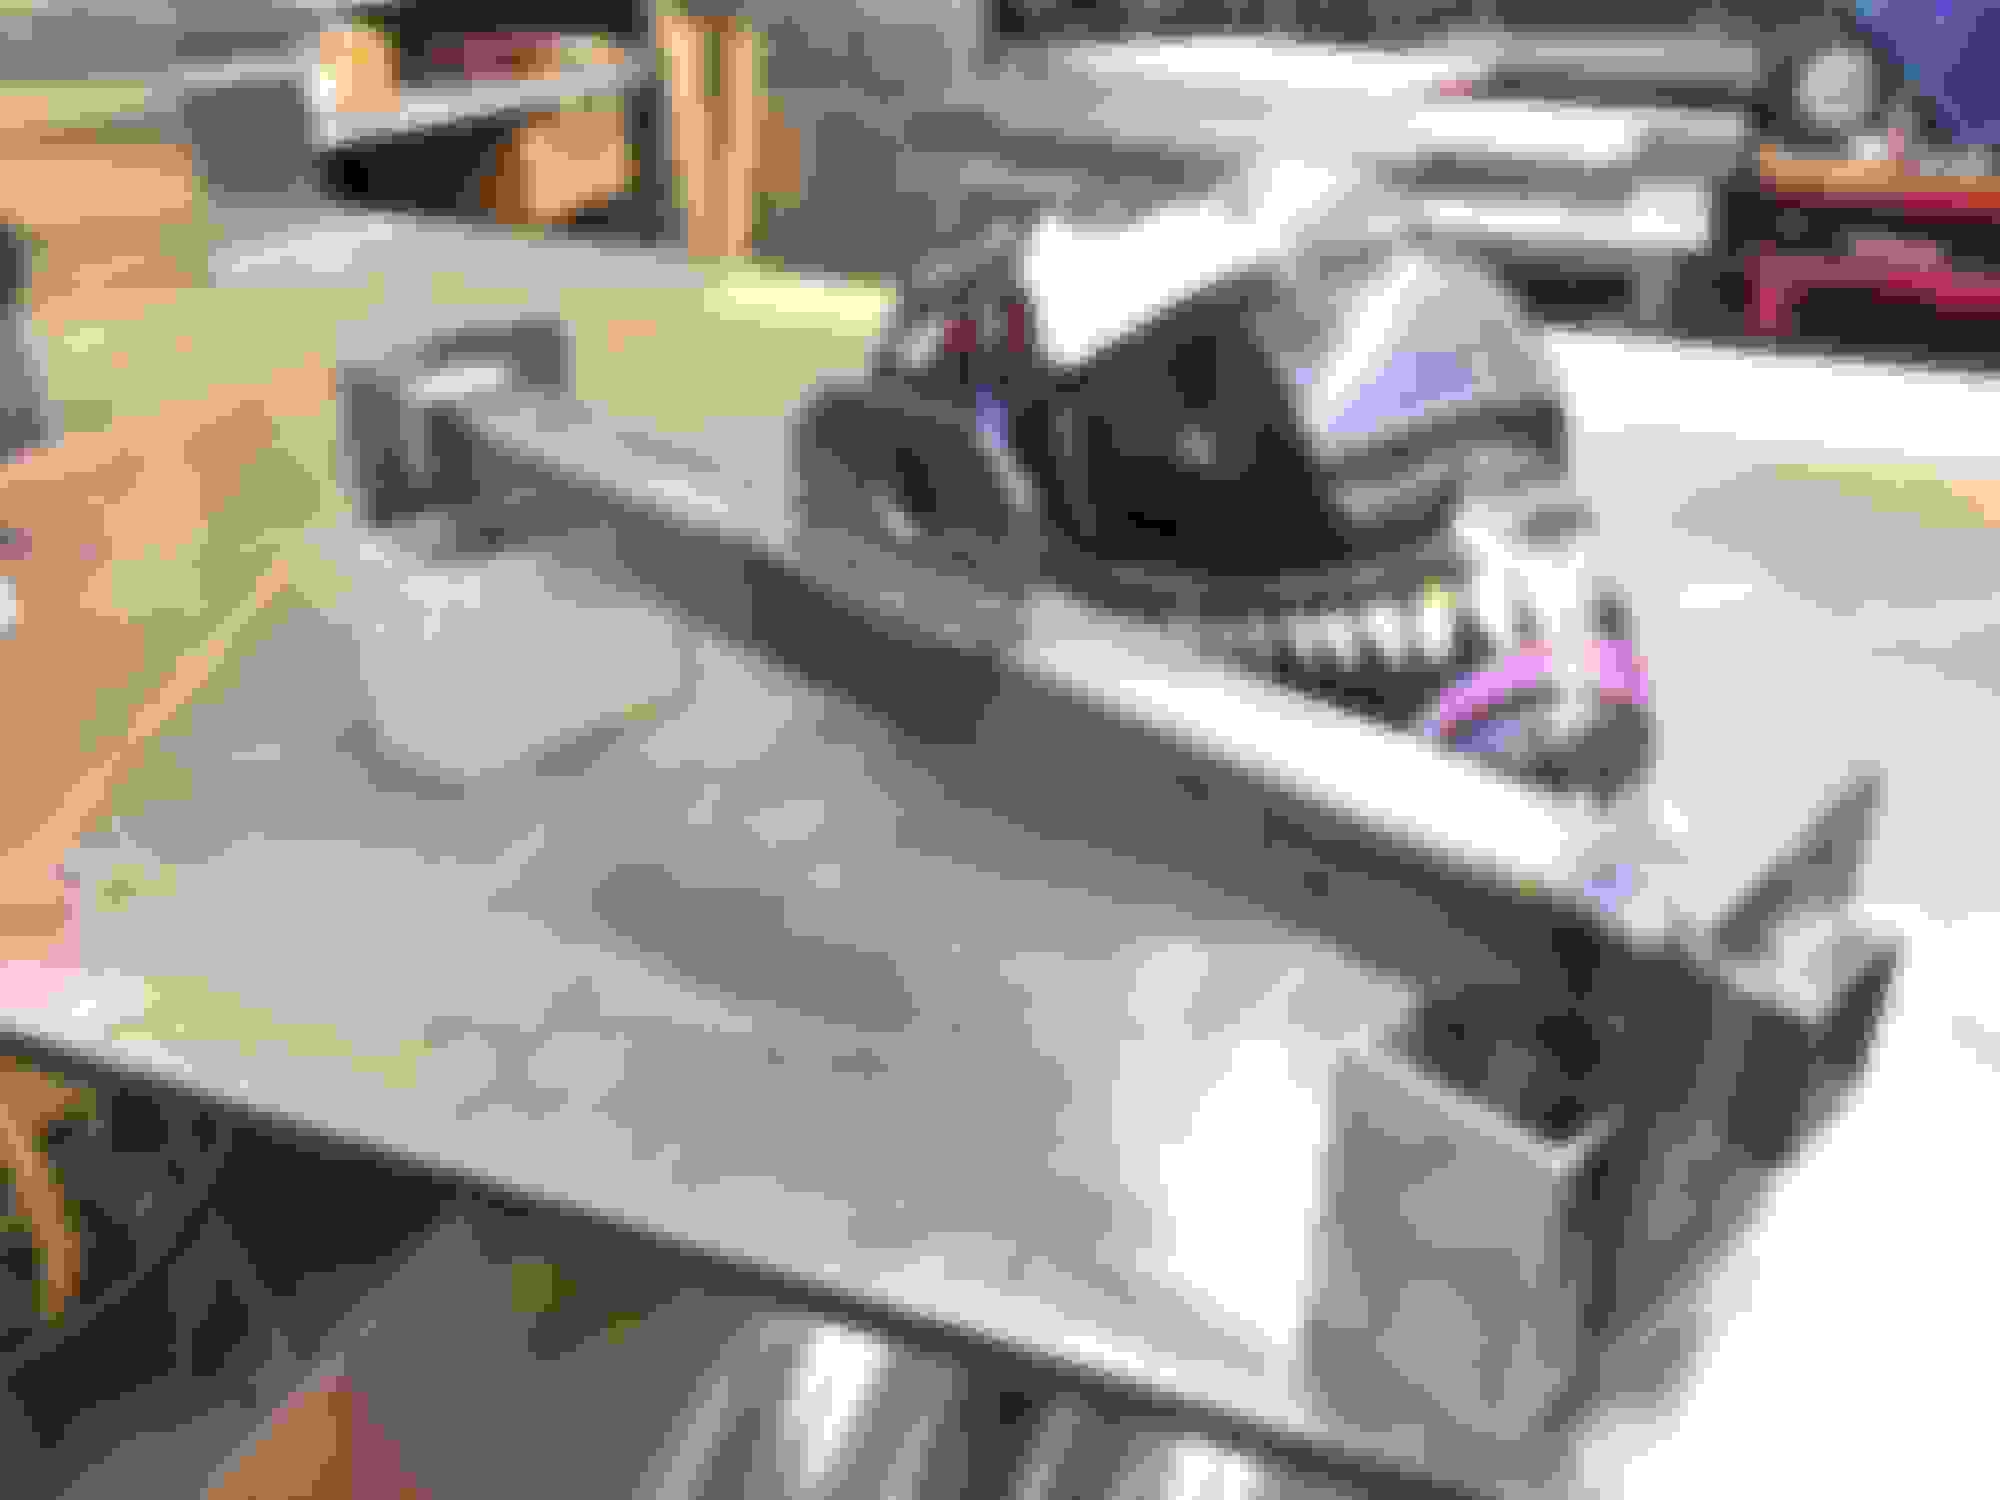
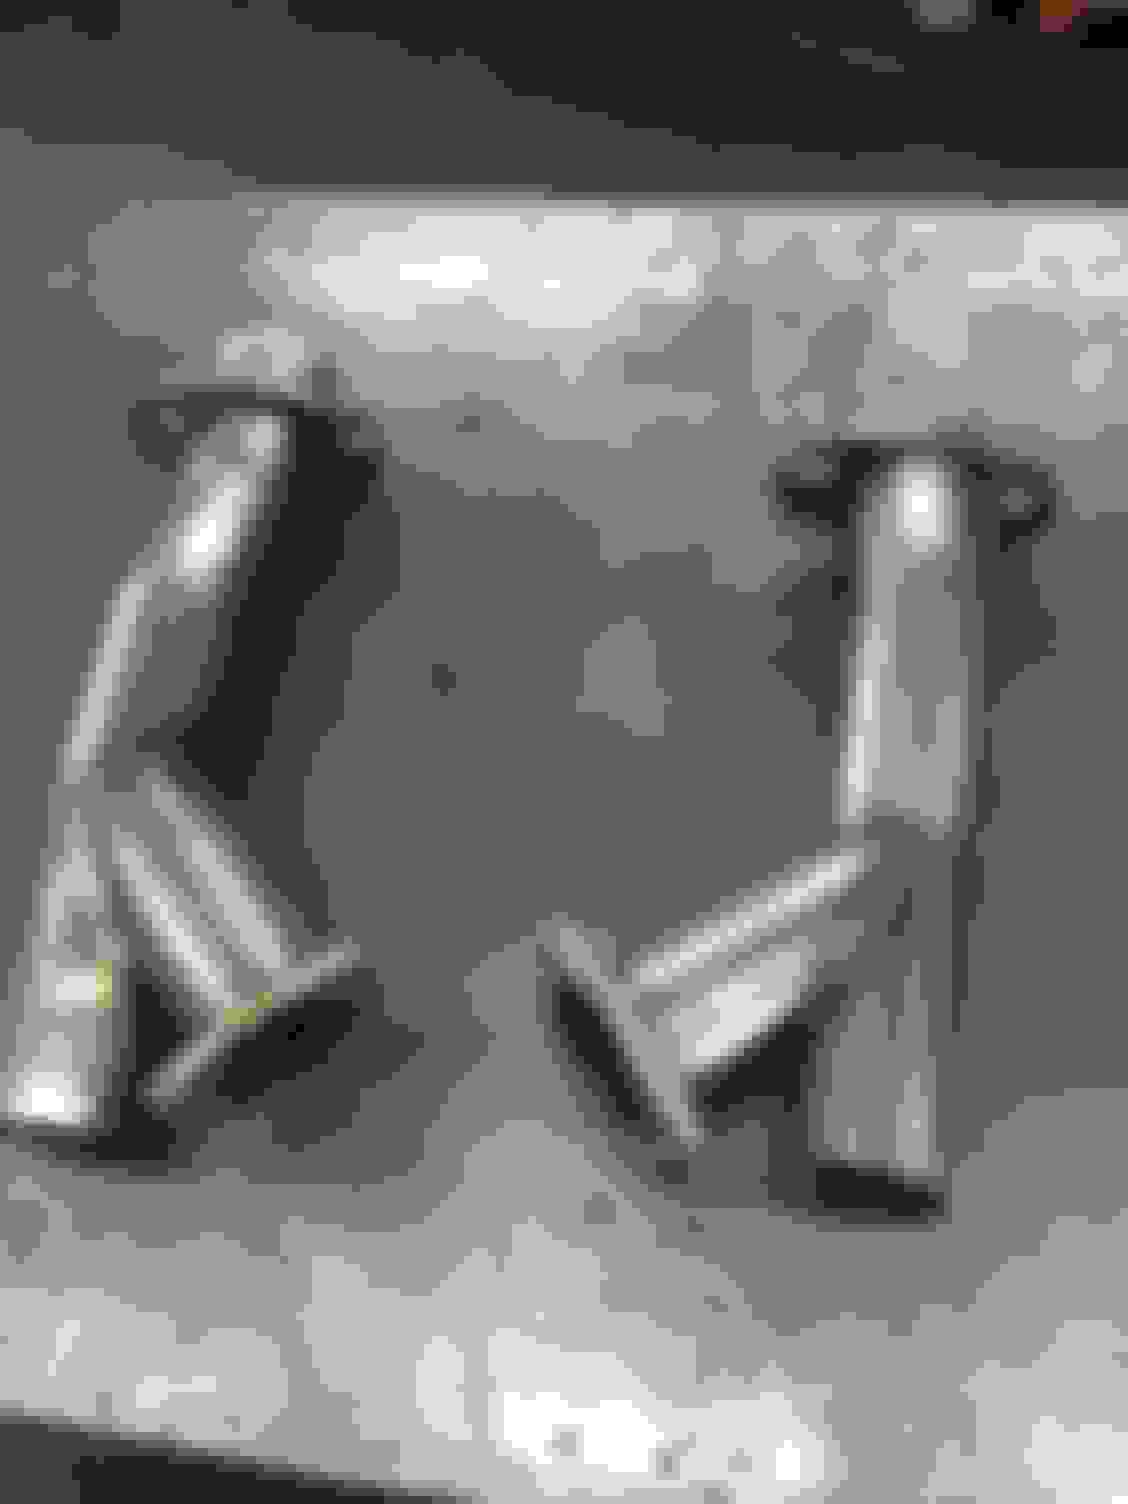
Got the engine mounts in from welder series. I'm surprised on how cheap they are able to cut and ship out these parts. Anyway, I'm really happy with their build quality so I got to work on them.
My original plan was to wait until the headers are in before I fully weld them up. So I just tacked them in the mean time. I chased the holes in the block with a tap just to clean out some dirt that was in there. Mounted them up on the block.
I drove 60 or so miles to meet a guy from CL to get some shorty headers. I left work an hour early just to beat all the traffic going out of my area on a friday. Just as an assurance I brought along my stock manifold to match up the bolt pattern.
Sure enough they didn't line up. I guess the later generation 4.6l for mustangs (3V most likely) use a different bolt pattern, but also seemed to me like a larger port as well.
So disappointingly I didn't get my exhaust this past weekend, but I was happy I didn't end up buying the wrong part either
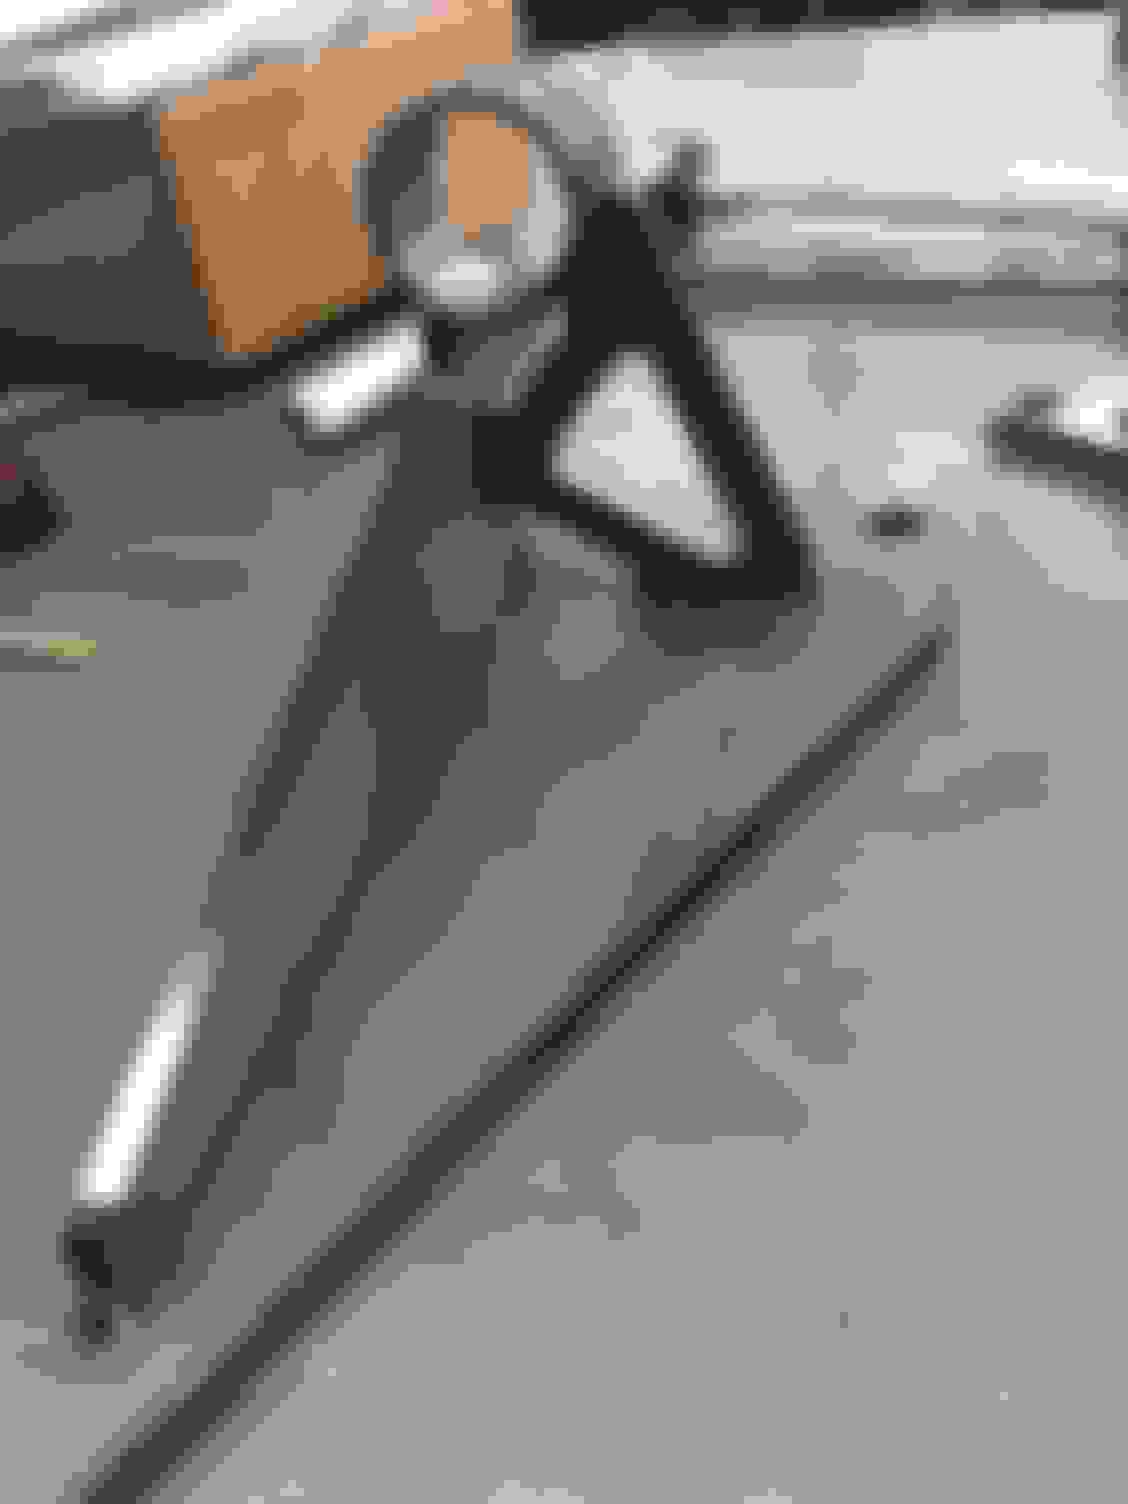
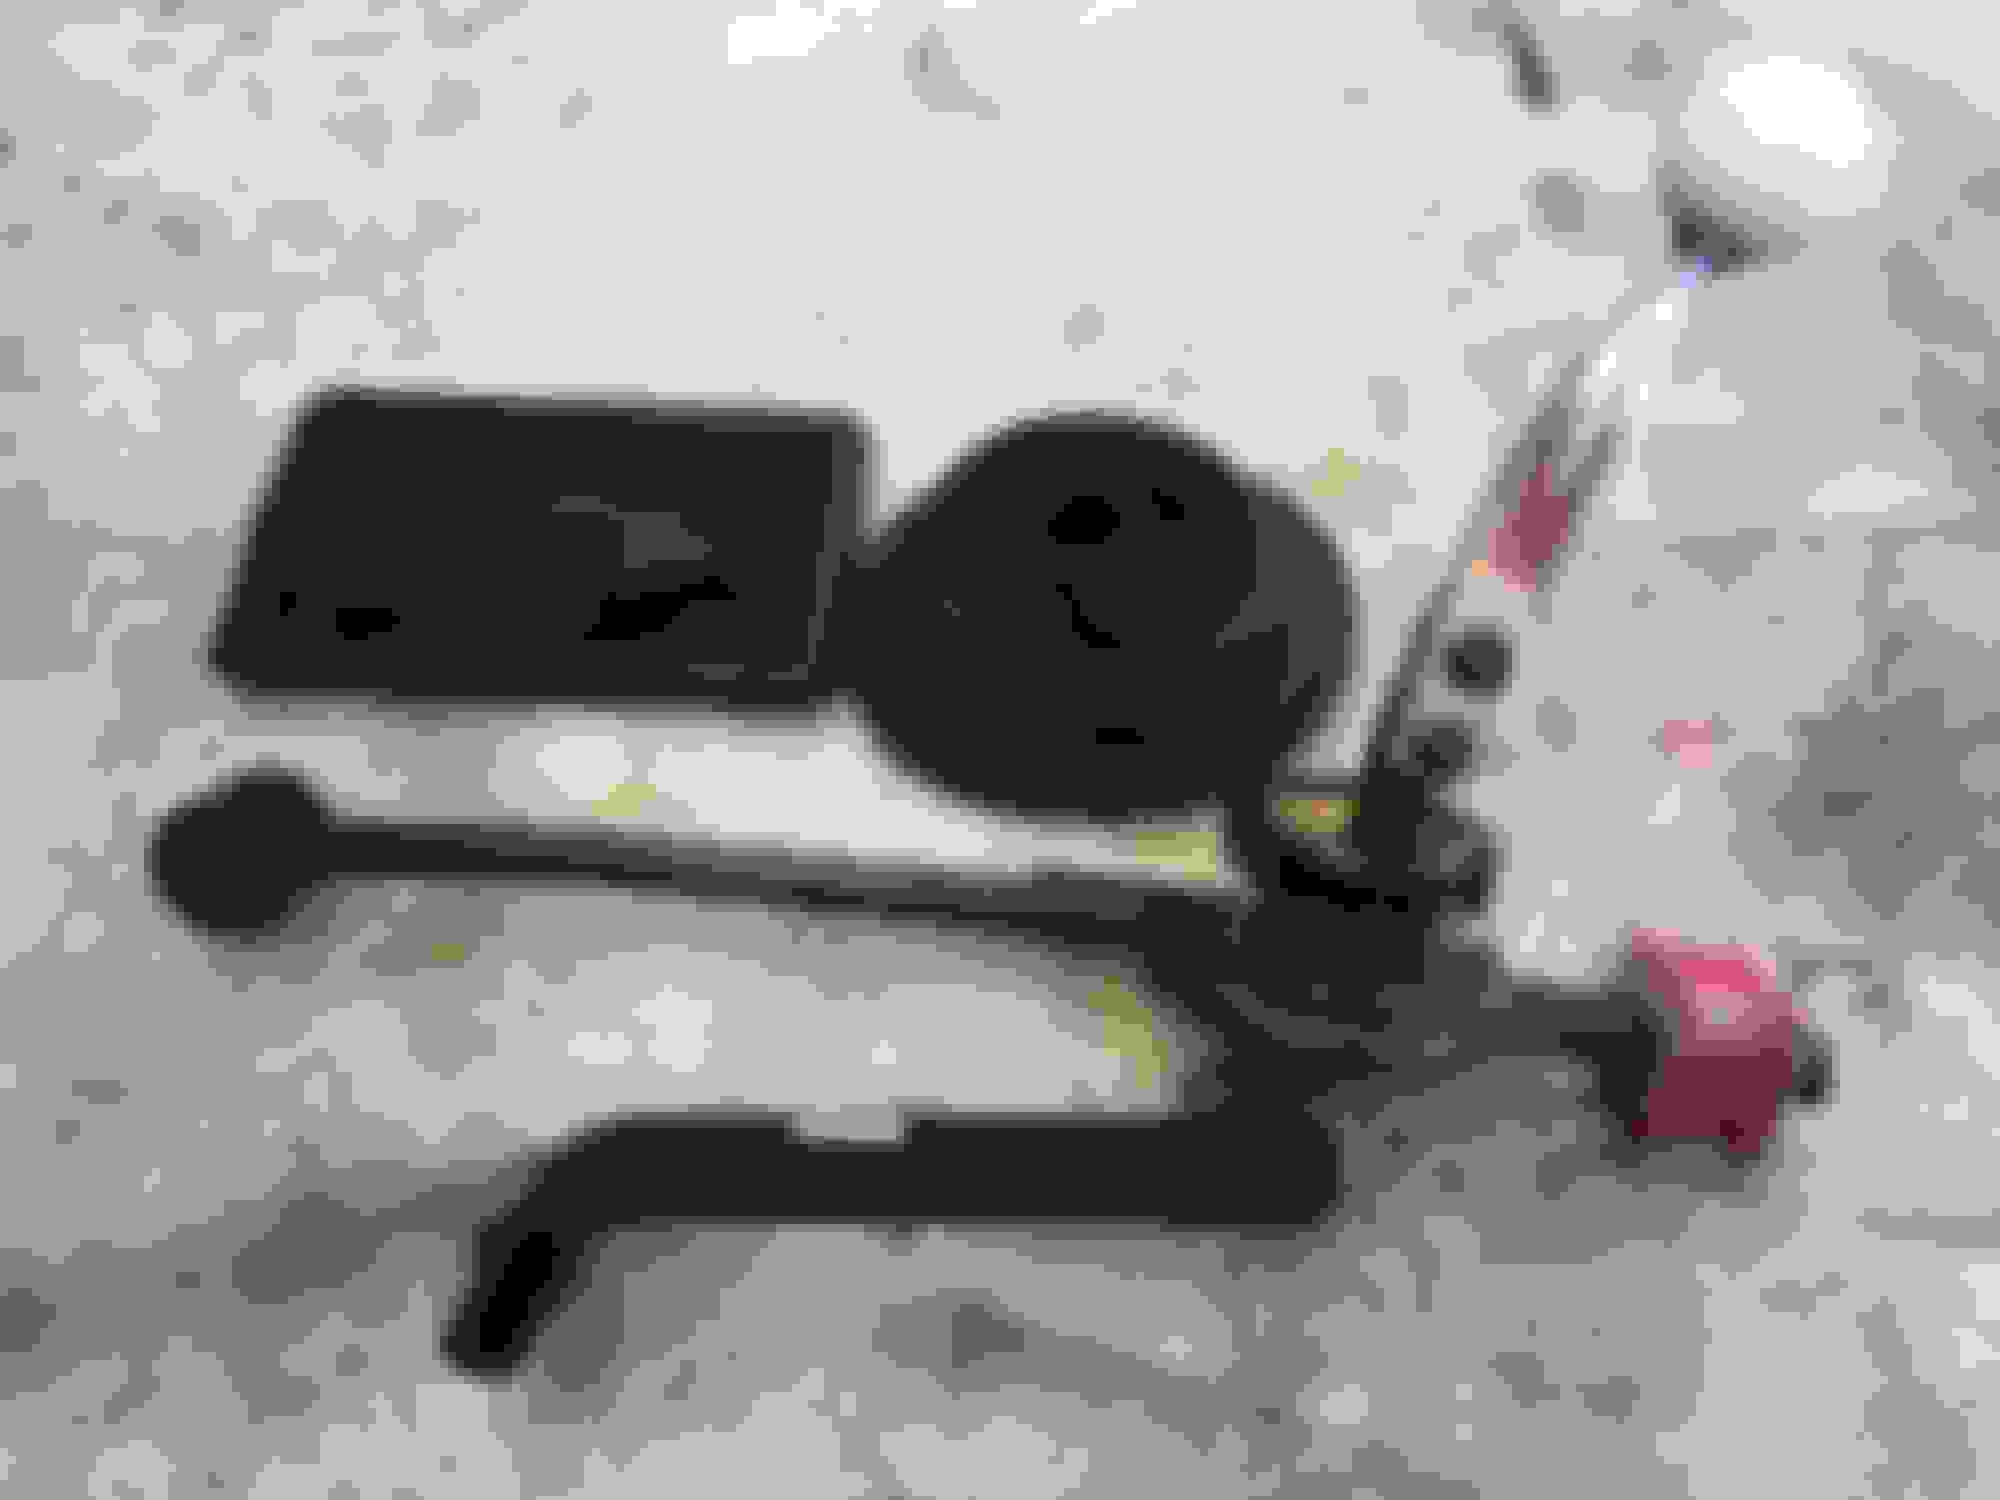
Not to waste a weekend, I got back to work and welded up the mounts. I played a little with the amps on the welder and ended up finding a sweet setting. Unfortunately I forgot to take pictures of the mounts before paint.
If your curious how the welds look, feel free to zoom in. They came out pretty good.
i was in a crunch for time, so I whipped some some really quick and really dirty mounts for the engine stand out of 1/8 steel. I have every intention of doing these over for my own sanity let alone the other guys in the shop.
I was in such of a rush for time to get to an event a friend invited me out to. Before the mounts, I spend a couple hours scrubbing the front of the aluminum case with a wire brush and some simple green. I managed to get a lot of the dirt off and really cleaned it up. I took off all the pulleys and sprayed some paint on them as well.
I'll get some more paint on the oil pan this week and finish properly mounting the engine block on the stand.
I'm still on the market for headers and hopefully find an affordable pair. Depending how that search goes, I may get my clutch and flywheel in order so I won't end up taking my engine/trans out again after installation.
Well I left off last time with a little bit of cleaning engine and such.
Been a little busy with finishing up another semester at school, so I've been taking advantage of the long(ish) break that I have.
I started off by first mounting the engine to new mounts, just so they wouldn't bother me.
I was wondering what I really needed to continue with the swap, and needed an engine hoist. I've always borrowed for a few months at a time, but that wasn't sustainable. Searched CL and found an old one for 50 bucks.
A couple hours of sanding and painting later and I've got a good looking cherry picker.
I needed a mount that could hold the engine in four spots, to keep it balanced. I don't want to deal with having the engine uneven while trying to mount it.
So to remedy this, I bought a couple engine straps from Jegs and built a bracket that will be attached to the hoist in one spot, and use the straps to hold up the block and tranny.
I built it from tubular steel and punched a couple brackets to hold the straps on the end. For the middle section, I machined the hole out and squared up the edges on the mill as well. After that, I slotted the tube through both sides to fit the center mount. Welded it up, and painted it grey to match the hoist.
I picked up some BBK shorties for myself for christmas. I'm so glad I have the engine on a stand. There is no way I would want to crawl around and tighten those bolts on my back or laying over a fender.
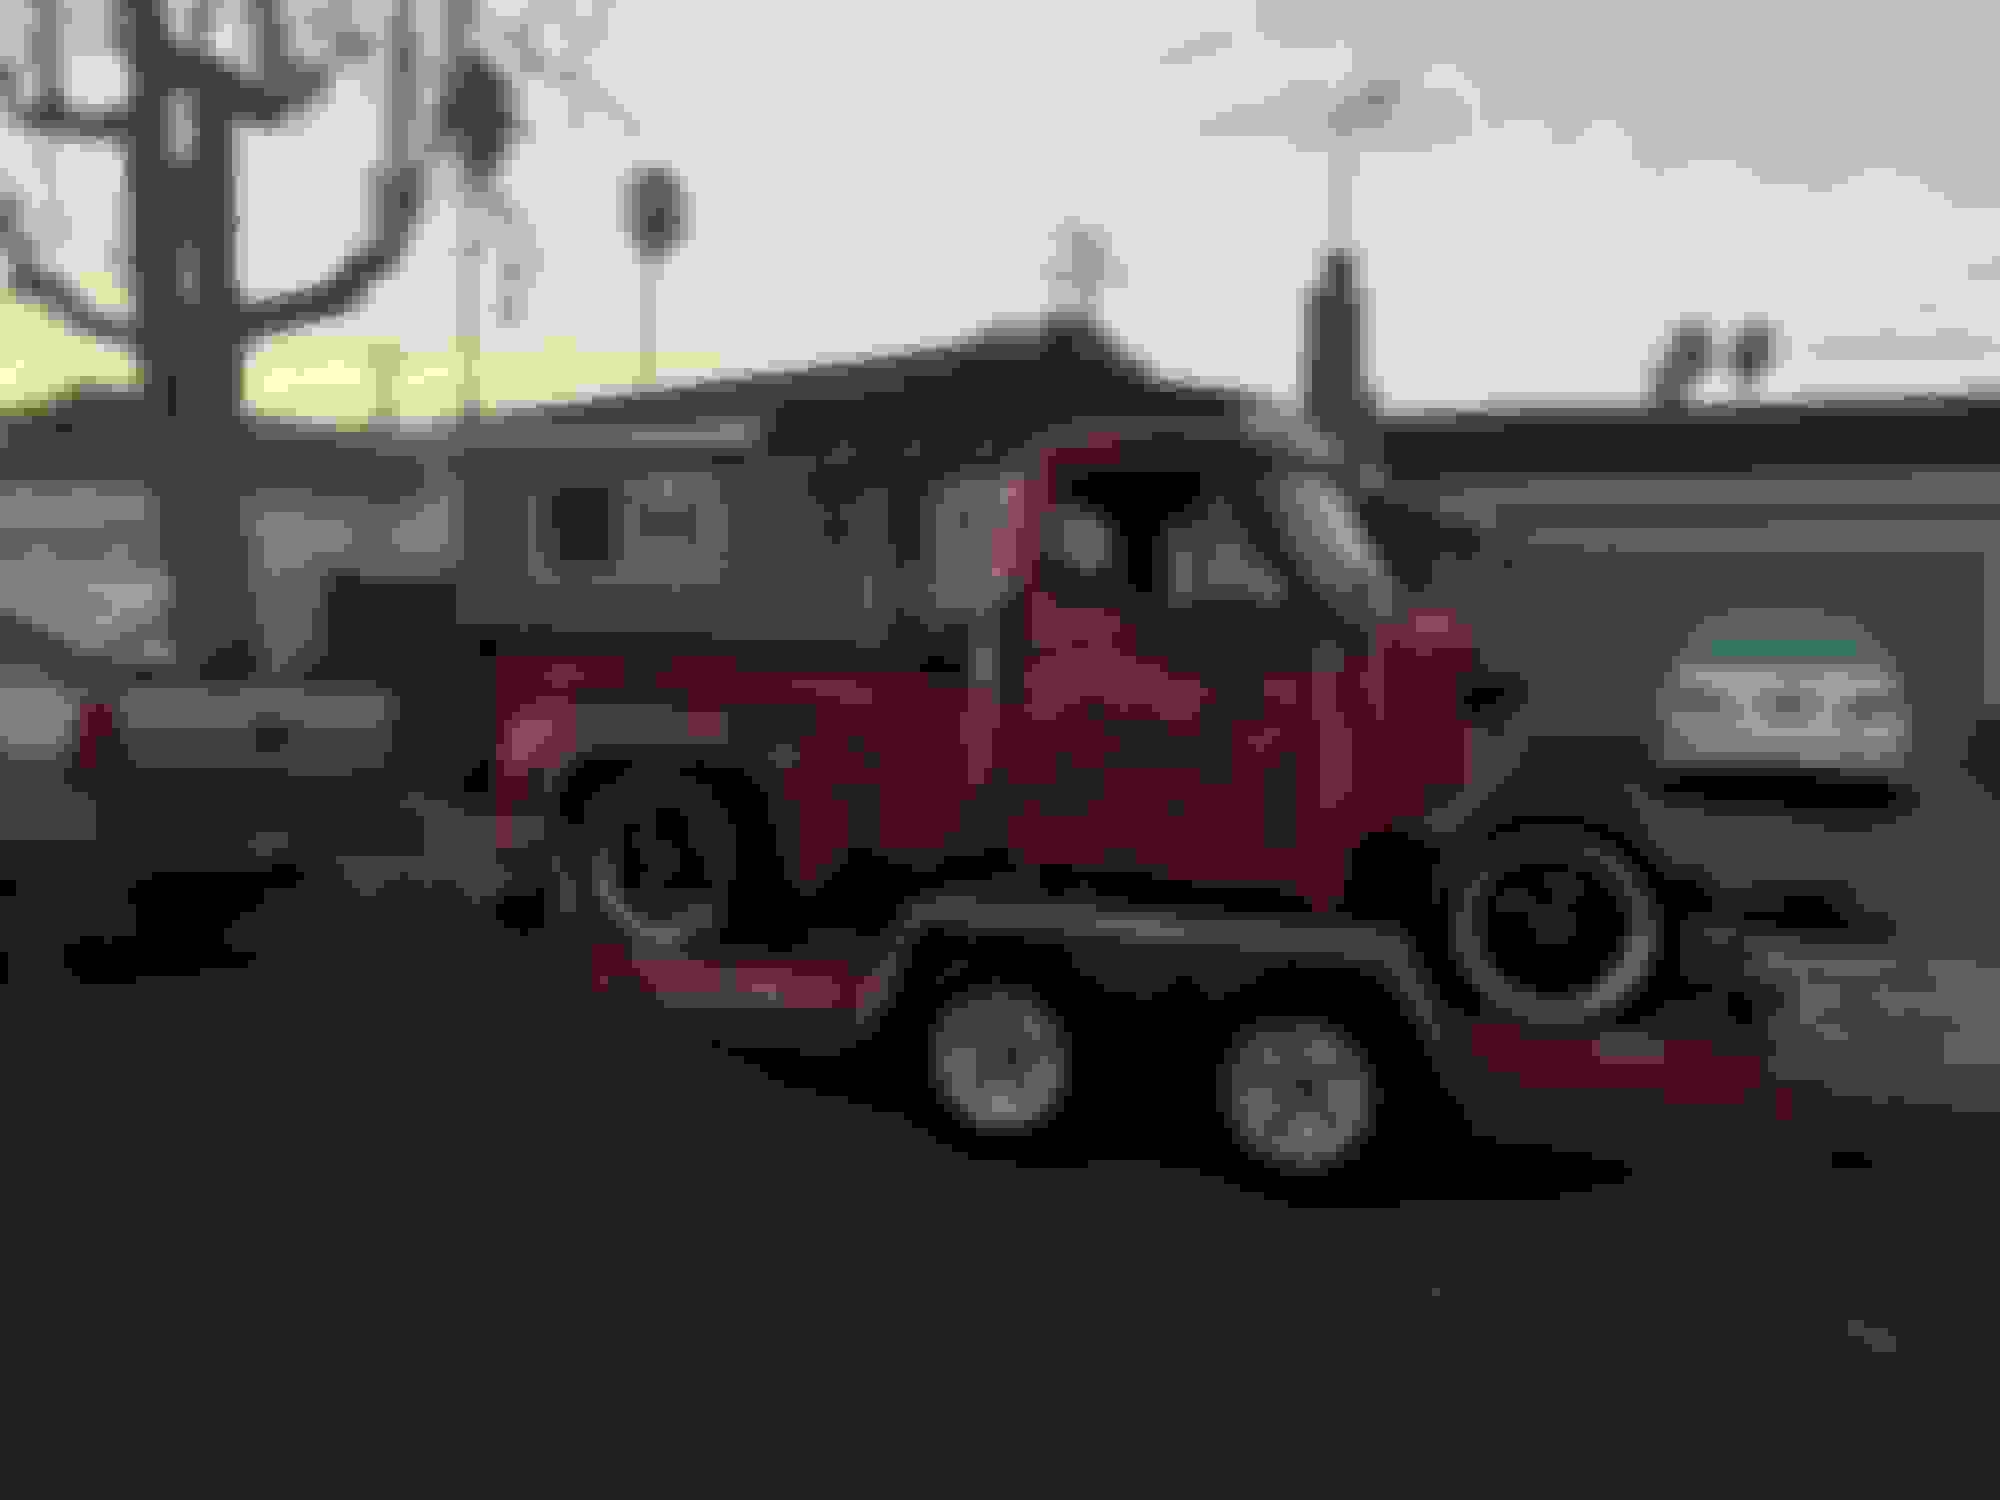
I got the front end and old drivetrain out. I also removed the exhaust and driveshaft, gas tank. Next I'll cut out the old mounts and prep the frame to get the new drivetrain in.
I also picked up a hurst short throw shifter with the MISSING LINK! More like a shifter link thats just really hard to find. Seems like all the mustang guys break them pretty regularly.
I'll see how the next couple weeks go at work to pick up a new clutch and flywheel.
Either way, I'm shooting for installing my engine/trans in two weeks!
I was so busy these past couple weeks with the holidays and work I didn't have much time to spend on the truck. I visited my brother, who lives south of Houston and spent a couple days out there.
So I last left you with engine/trans out of the truck.
I was able to sell those off to a couple of guys on craigslist this past couple weeks. I still have a couple things to list, so hopefully I'll be able to make a little more money towards my wiring harness.
While in Texas, my shifter came in, I just mocked it up on the trans. I realized I need another part to make it work as well. Shouldn't be hard to make, so i think I'll just do that.
Anyway, I towed my truck down to the shop last saturday. I woke up nice and early and slowly made my way the 14 miles to work.
I started out by first cutting out the old transmission mounts and engine mounts. I ground those all down and used a tape to roughly get an idea of where the motor and transmission would sit, and prepped those surfaces.
If you peep back a couple of posts, you can see the engine hoist bracket I made up. It helped tremendously with the engine install. It picks up the engine and trans using four bolts. It kept the engine perfectly level side to side and at a decent angle front to back.
Install went in great for the mounts and crossmember. I cut up the mounts to the correct length, tacked them in, and welded them up once everything was square and level.
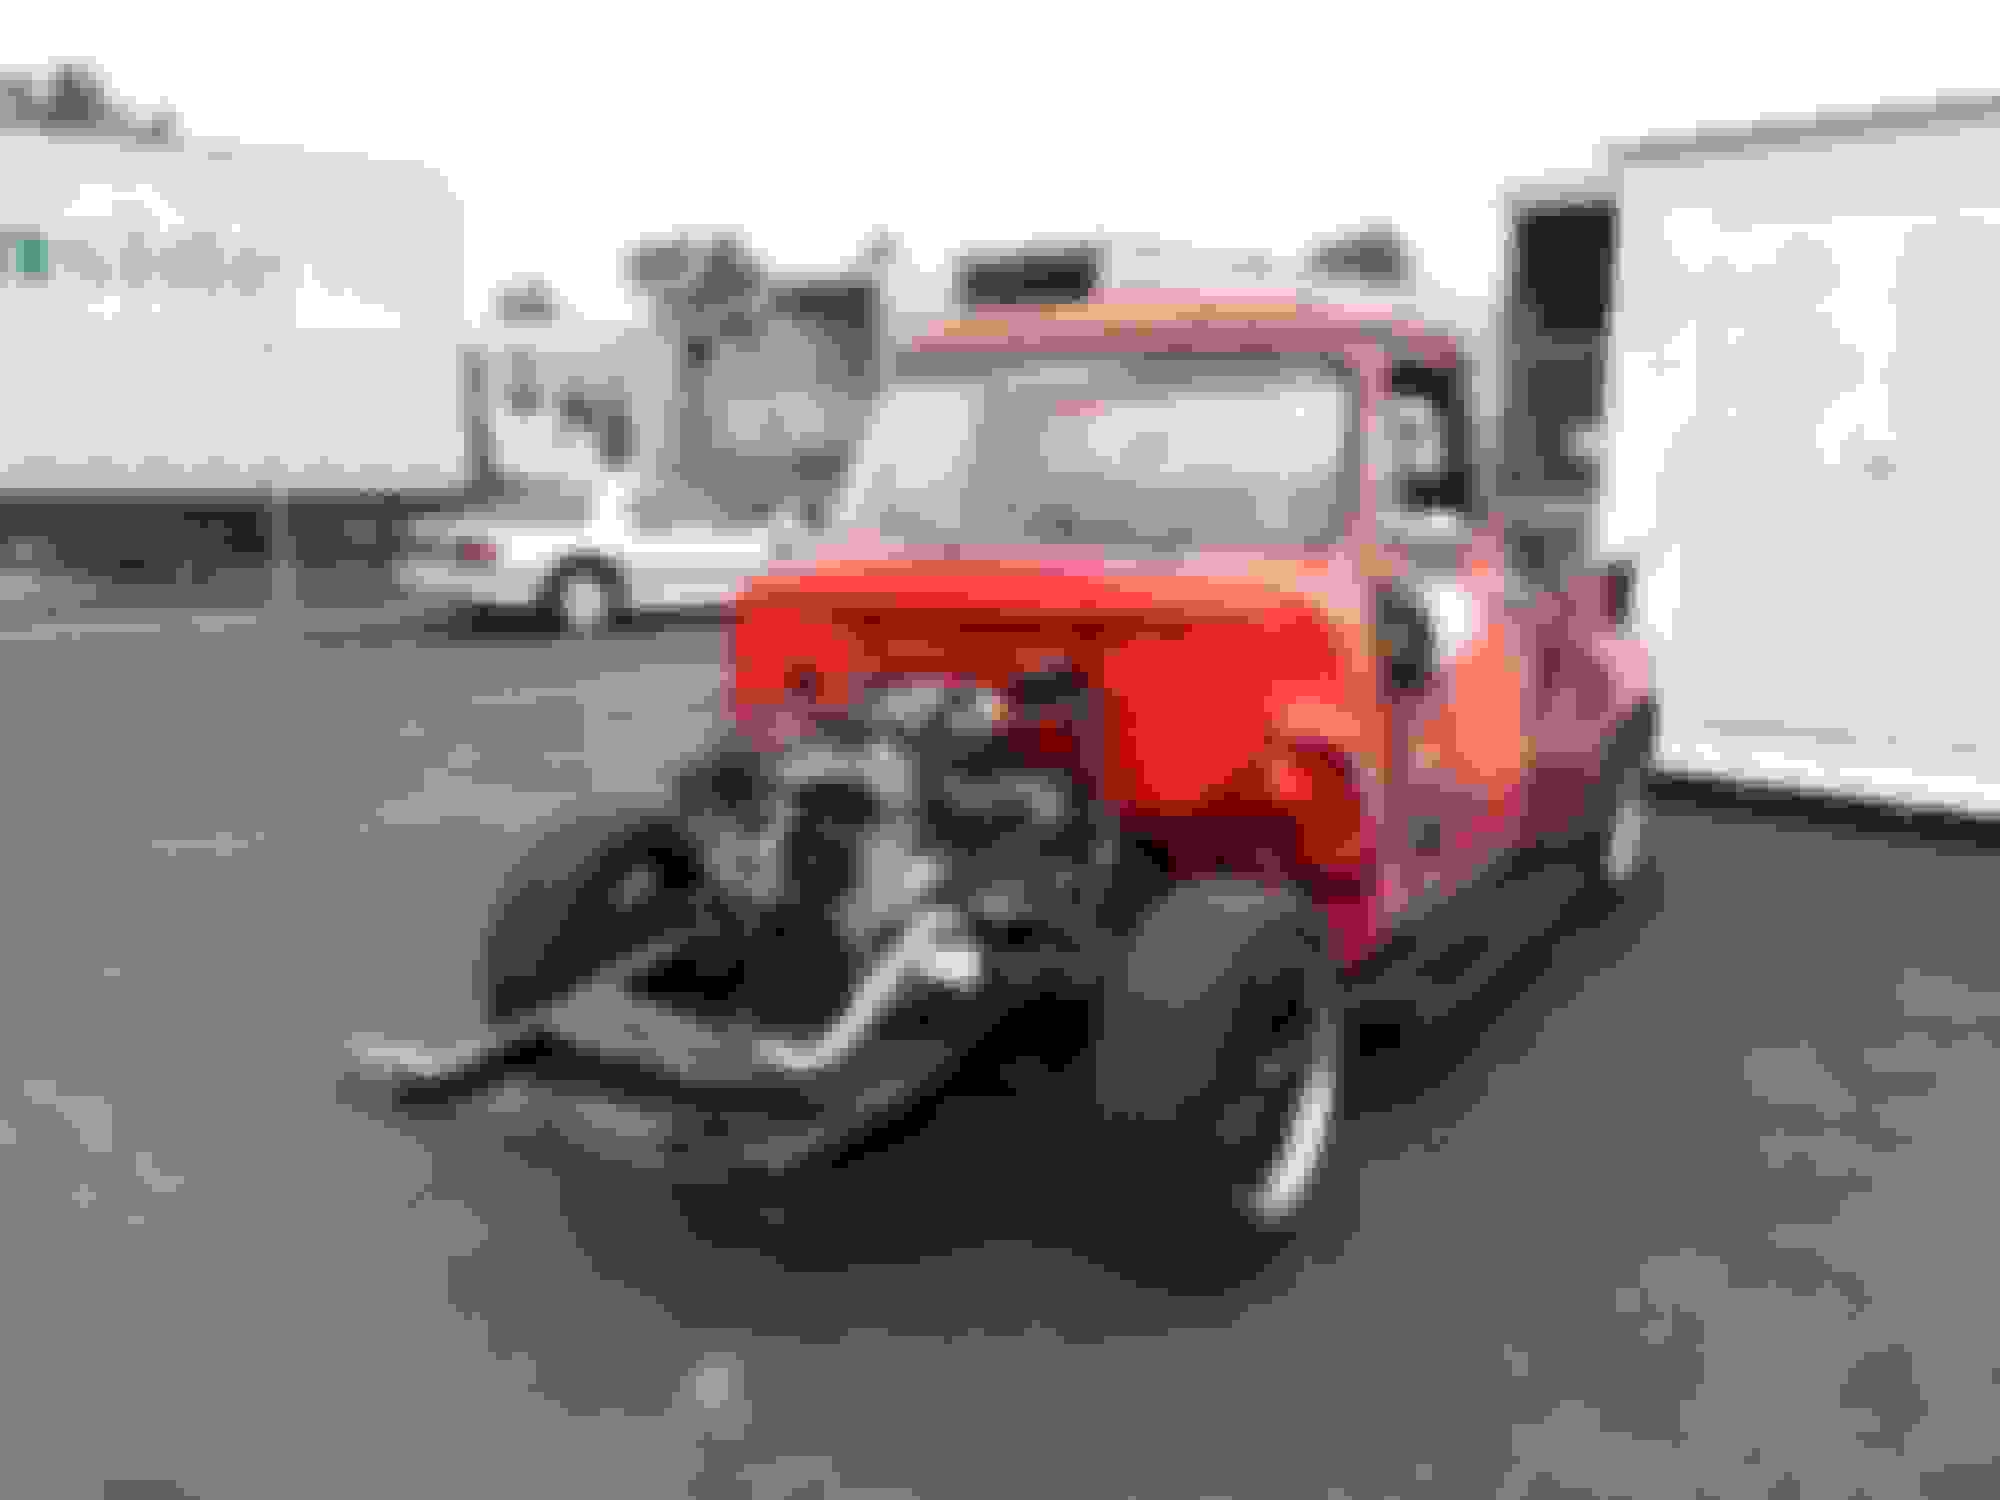
This engine is a lot wider than the 302 I had in there before, but it fits in there nicely. I have a lot of clearance to the firewall and the radiator. The bell housing of the transmission is clear of the underside of the cab.
I will have to cut a little of the floor out for good measure for the tail of the transmission, but that will be no problem as I was planning on doing just that for the shifter.
I got the clutch and flywheel in. I picked up a 11" flywheel and clutch from ram, and a pin and bolt set from ford.
Unfortunately, I forgot to get the flywheel bolts so that sets me back a couple of days. The bolts for the automatic are much too short for the clutch flywheel.
I called a few places, no one had them in stock. So back to summit racing to spend more money.
Anyway, engine and trans are out of the truck and separated again. I'll get the clutch and flywheel back in, trans mounted back up and installed for the final time.
I've been researching and part hunting a little more. Not saying it will all be smooth sailing, but I feel as if a lot of the hard fabrication is done.
So I've had a few weekends to make some progress between classes and a few busy weeks/weekends at work.
So here's an update.
I was able to get in the flywheel and clutch in. I went with a Ram 11" flywheel and 11" clutch from them as well.
Bought a ford racing pin and bolt kit to install that. It went in pretty easily, and bolted that back into the transmission.
I bought a new 75mm cable throttle body from trick flow and bolted that in. In order for it to clear, I to bolt the plenum 180 degrees on the intake. Don't have pictures of it though.
I cleaned up the engine plastics and valve covers a little. Just a little bit of TLC. I bought a new valve cover to replace the broken one. So that needs a little bit of cleaning up as well.
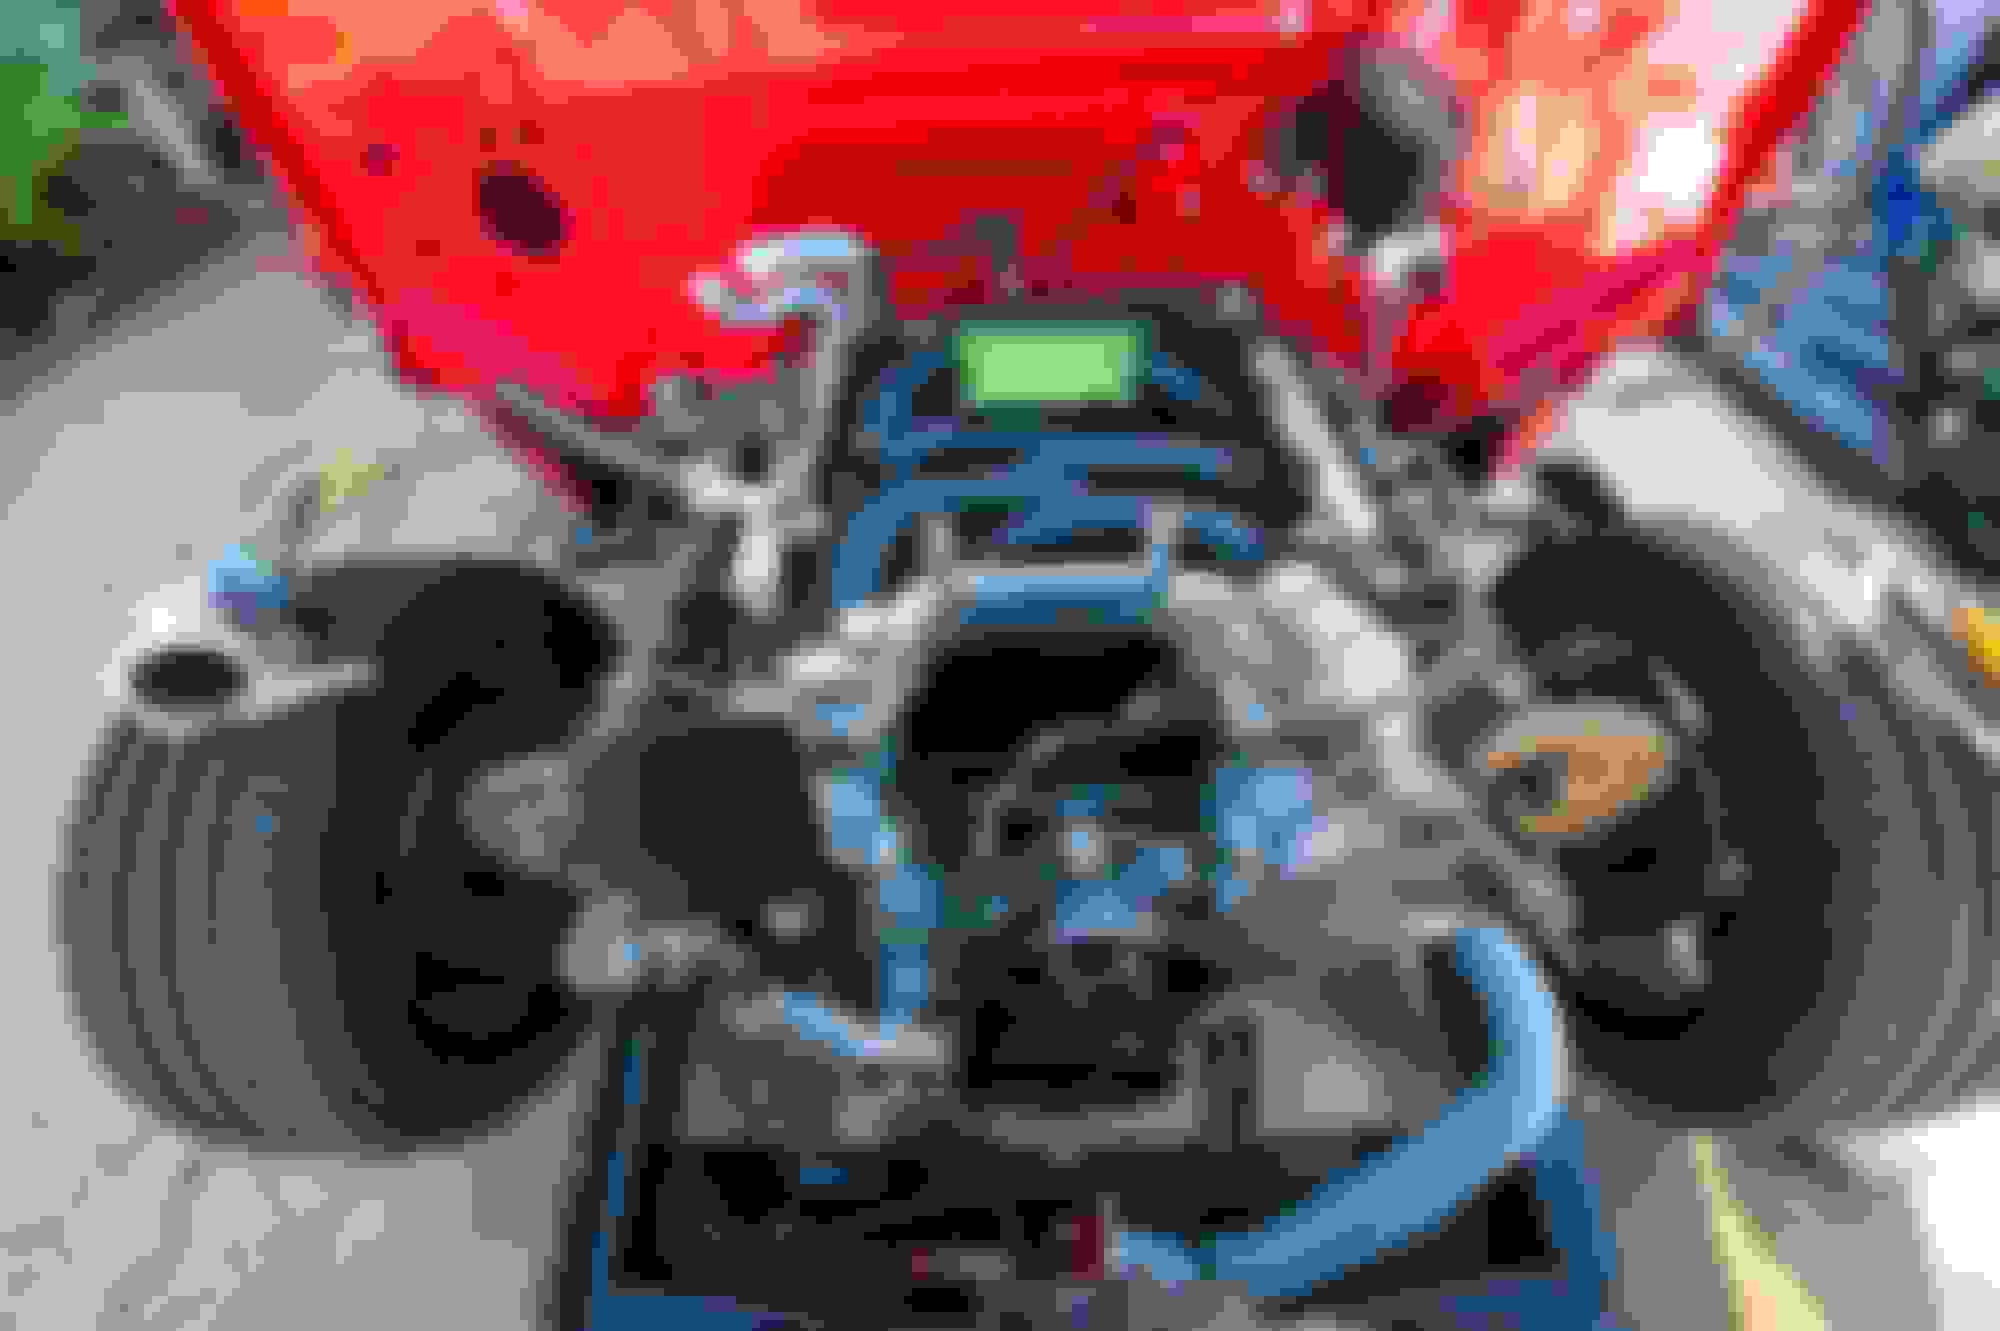
I worked on installing my clutch pedal and cylinder. I went with another wilwood set up. I had previously built a pedal box a few years ago to use a wilwood pedal and master cylinder. I knew at some point I would add in a clutch and manual transmission, so I drew up the bolt pattern for the brake set up, copied it over to the other side of the pedal box and left some clearance for the steering column. I punched it, dimpled it, bent it up, then welded it together.
arance
I built a little aluminum spacer to clear the stamping in the firewall. The rear of the plastic was hitting the sheet metal, so I just decided to push it out a little bit. I'll end up getting that part black anodized (at some point )
This install went very easy. I drilled three holes through the firewall and bolted the pedal and reservoir in. I still have some bolts to tighten and some crush tubes to bolt in, but its in and I'm really happy with the look.
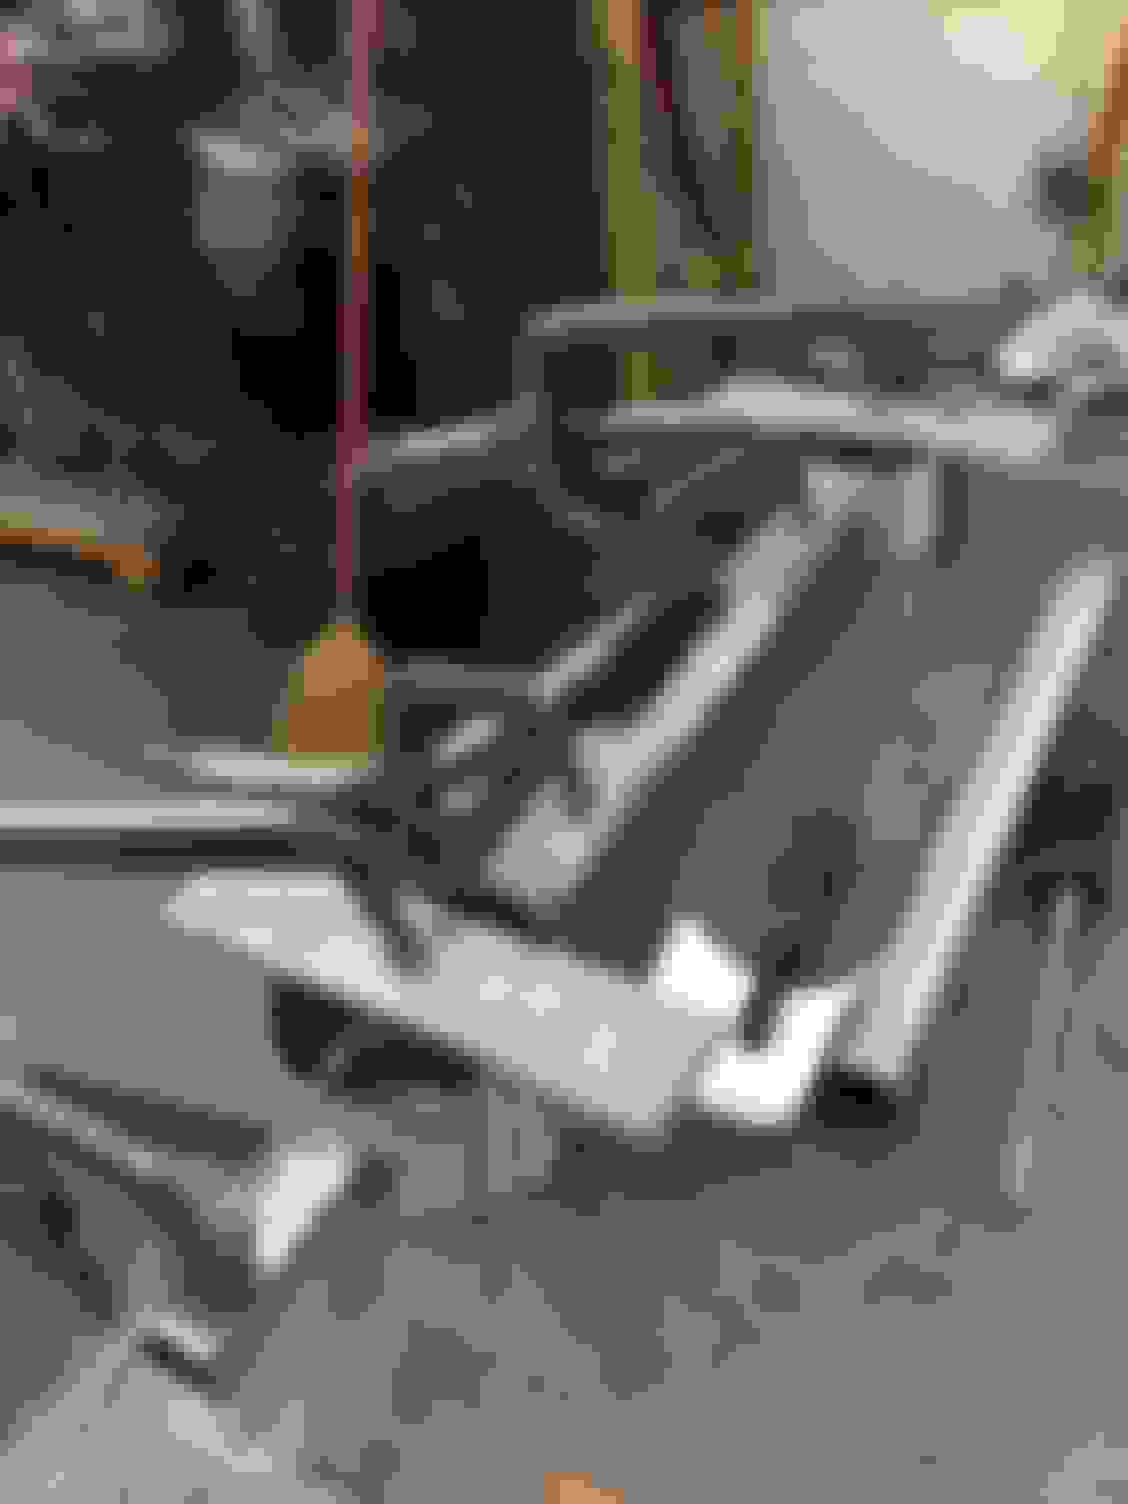
I started adding in some exhaust pieces as well. I have the headers held in using a few bolts. I also ordered a crossover x pipe for a 99-04 mustang to fit the BBK headers that I have. It bolted right up.
went in great, except the down pipes line up perfectly with the trans crossmember. Perfect. So I debated for a few minutes if I wanted to cut the pipes or redo the trans mount.
I decided to pull the trans mount out and modify that instead of the pipes. I want to avoid the process of modifying exhaust that fits and lines up. Plus I have a better idea for the crossmember now.
Crossover pipe looks great. I'm going to order the mid pipes next, mount those up and make some hangers. I want to avoid fabricating the exhaust as much as possible. I don't want to tack weld the stainless together with a mig welder using a steel filler, only to transport it to work and tig weld it properly. Last time it was a real hassle.
I have a few more parts to bolt in
- new gas pedal and throttle cable.
I have a couple things to fabricate in the near future.
- new trans crossmember
- EGR block off plate
- air intake piping
- fan shroud
the list goes on, and I'll need to start making a laundry list of parts to buy and make.
I've been a little busy with school and other hobbies recently, but I've had some time to focus on my truck for a little bit.
Heres a little update on the progress Ive been making.
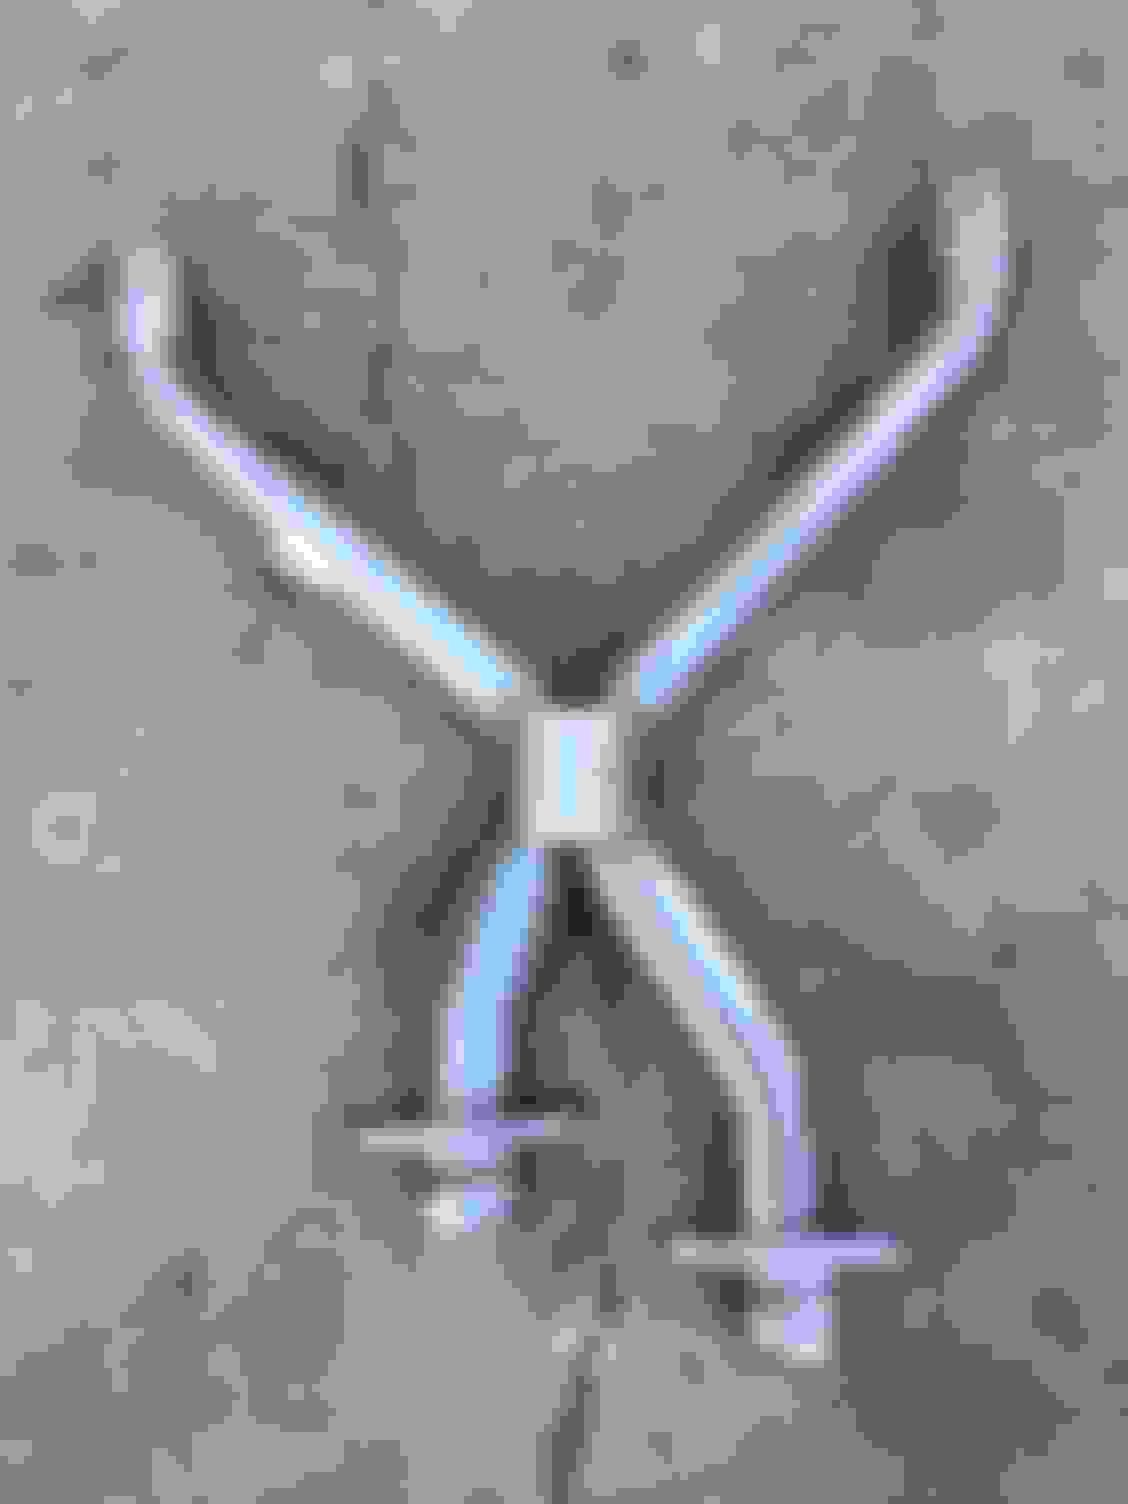
First transmission crossmember and fitting that up with the exhaust.
I made this little jig to line up the tubes in the middle of the pass throughs, as well as make sure the length I had was perfect.
Here is the jig all clamped up and ready to be welded. I notched each tube so they would fit flush against the center cutout tube.
I had to modify and do a lot more machining, but as you can see, the crossmember fits in well, and lines up the exhaust pipe almost perfectly with the cutout. Driver side wasn't tightened yet, so I know it hangs low
It took a while, but I got the transmission crossmember all figured out. I ended up making some pass thoughts, a drop out center section, that bolts to the frame.
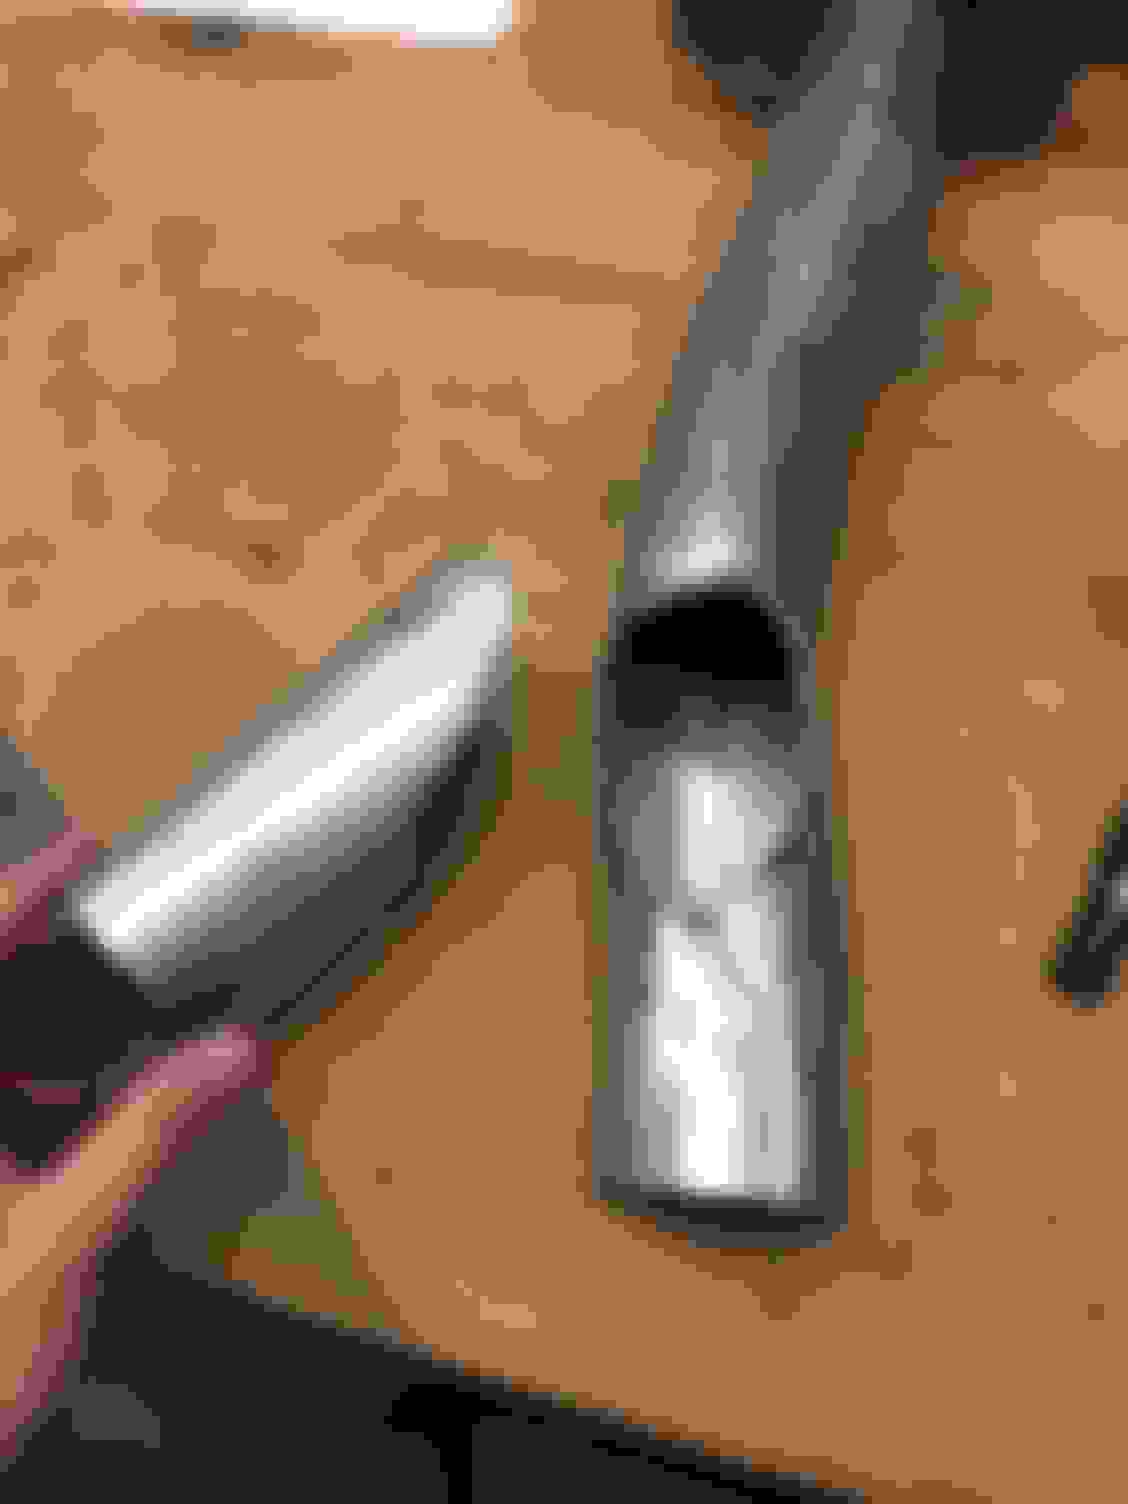
Next I worked on extending the downpipes a little bit just to make sure the x pipe had a little more room before the bends.
I got this all installed, and continued along with the exhaust cutout pipes. I used the mid pipes from a mustang kit, same kit as the one I've been using.
I notched some straight stainless tubing, traced the profile onto the mid pipe and went to work with a cutoff wheel and some sanding discs.
right and left side, I still have to figure out orientation, but they should point toward the running boards.
I removed the wiring harness I had in before as well as the seat. I'll be working on some more exhaust, but I want to mount my fuel tank before I finish up the exhaust, so I'll be giving holley a call for that one soon enough.
I'm going to try to work on some of the engine bay next, accessories, clutch lines, steering. The list goes on.
 11-26-2017, 06:32 PM