When you click on links to various merchants on this site and make a purchase, this can result in this site earning a commission. Affiliate programs and affiliations include, but are not limited to, the eBay Partner Network.
Dave, all of your photos are now gone with a message to update photobucket?
At least that's what I'm seeing...
yep, got an email this morning that unless I pay a monthly fee they are no longer allowing 3rd party hosting...so years of photos will not longer show up in any forum posts. Any photo I have posted will no longer show up even though the photos are still on photobucket.
I may have to move everything to facebook, not sure what to do now.
anyone know of a free photo hosting site that allows 3rd party hosting? I may be able to upload my photos to this site directly but I dont know if I can redo the literally hundreds of photos that I already have posted.
I will make a new post about it so it should get more responses.
Moved all my photos over to imgur, so here is a test..I will continue to use the upload function here but wanted to test picture hosting anyway..looks like it works but the pics are HUGE.
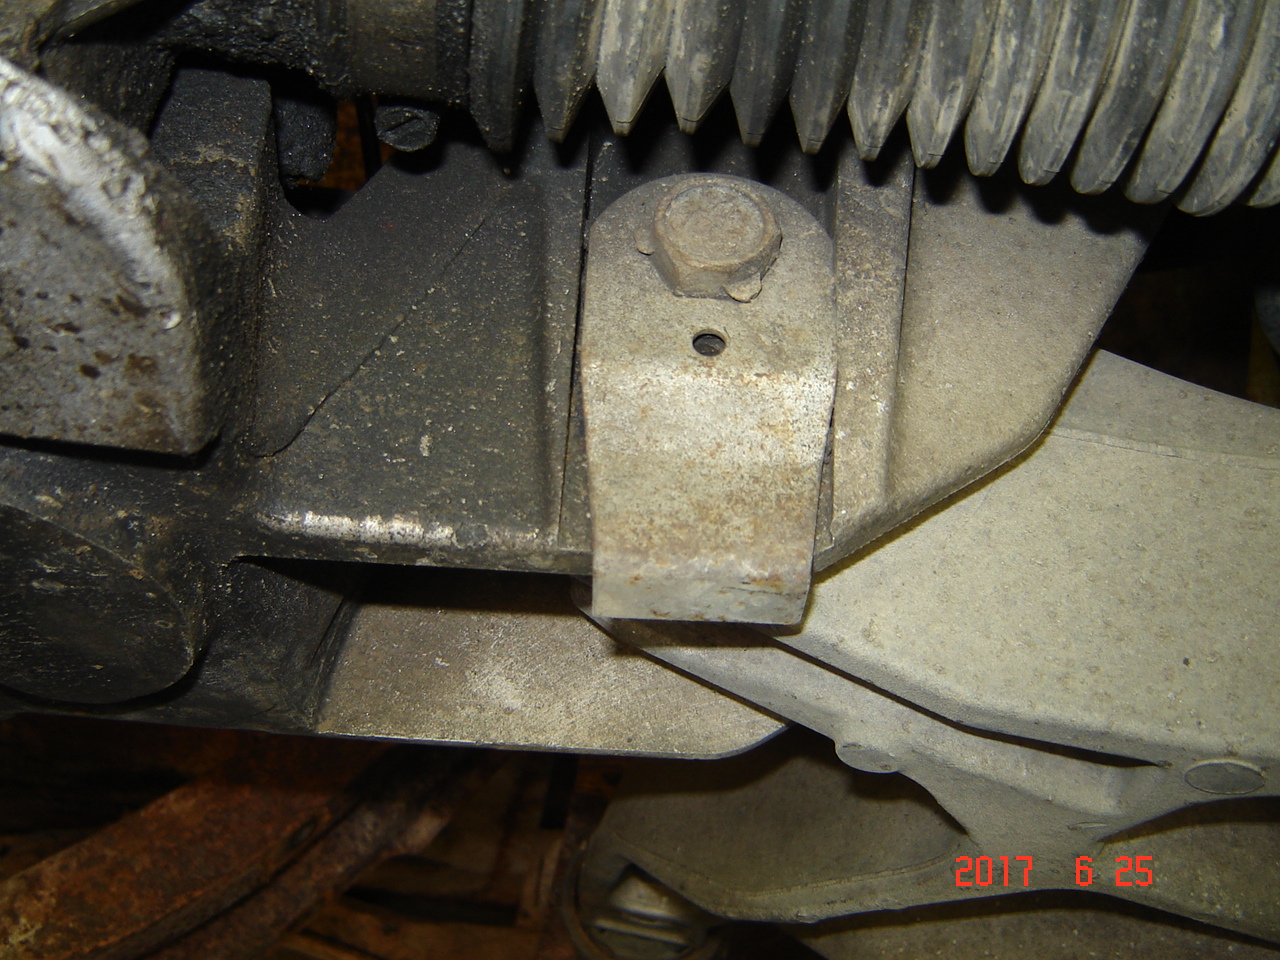
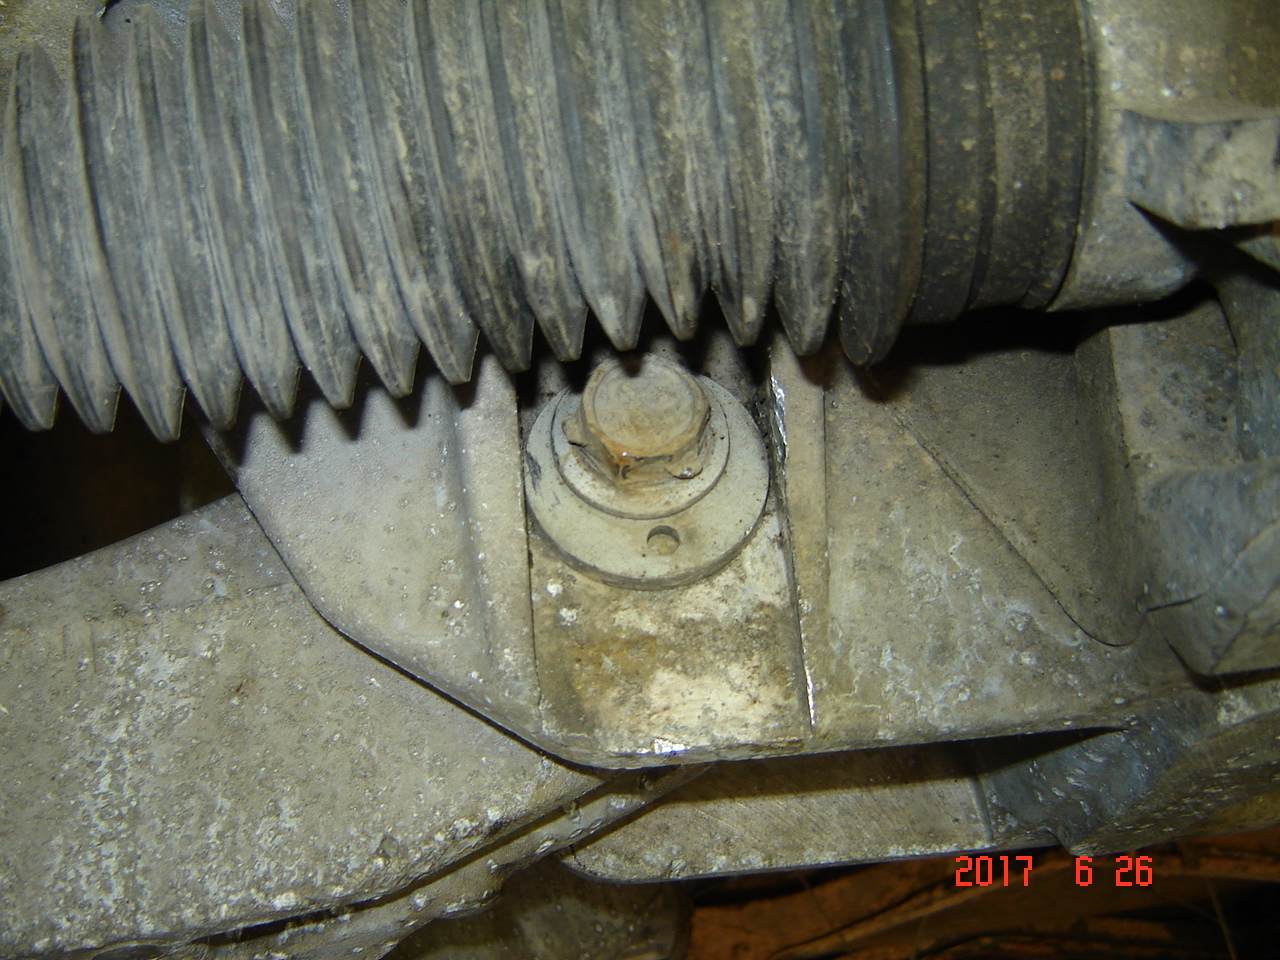
One bit of info for those doing the CV install, it seems the alignment specs from the factory have negative camber, and the preferred value is 0 degrees to prevent wear on the inside edges of the tires. In order to adjust the camber in the future you have to be able to turn the camber adjustment bolts (lower control arm mounting bolts), but from Ford they are locked out with a spot welded flag.
Get a hammer and a sharp tool to break them off, then you can adjust these in the future. Did mine now so they will be ready when the time comes.
Banged out the steering column, adapted the stock IH column so that it will work with the crown vic IFS. Same method can be used with any old column that has to be cut off the steering box.
Before I get into that the next item is the most important to actually being able to build a cheap reliable car or truck, and that is a donor vehicle!
This is the donor for this truck build, a 1995 camaro Z28 convertible. 125K miles, LT1 automatic, posi rear, 4 wheel disc brakes, and lots more. Car was not running and had been sitting after a light front end hit. I was told the fuel pump was NG.
This was a big gamble since the car didnt run, but I bought it with the thought that the engine and trans were junk, so I bought it right at $400. I had to drive 4 hours each way to get it, so in the end it cost $500 with gas and tolls.
This brings the cash out to $2680+$500 = $3180.
Got the car home, and since I deal with these cars a lot I had a spare fuel pump on the shelf. Threw it in and it fired up immediately and ran great. Trans and rear tested good, so I lucked out. Too bad I cant use the gas tank, they are an oddball and do not lend themselves to swaps.
Plans are to use the engine, transmission, wiring, PCM, radiator, electric fans, rear axle (got lucky and measurements say yes it is perfect), and more.
Even better after taking what I wanted I sold a bunch of parts from the car to the tune of $675, so the car actually made money! So now the budget is down to $3180 - $675 = $2505! And there are still some leftovers to sell.
I use a donor vehicle with every build, it really helps keep the cash out of pocket low.
Steering column work..this is the stock IH column that was cut off at the steering box, same deal as my F1 trucks and many other older cars.
Since the steering rack is at a sharp angle to the column I need the column to be as short as possible, so I cut it after the "3 on the tree" linkage. I plan on using one of those arms to shift the automatic trans.
So the column was marked with tape, I cut the shell and steering shaft on the right side of the tape mark.
For a lower bearing I have a bunch of lawn tractor 3/4" axle bearings, they work fine and are cheap, but I had this one as well. It is a timken ER12 and I picked it up off ebay for $20 shipped.
I slid the steering shaft out of the column tube to work on it. The steering shaft is a hollow tube and I needed to change the end to 3/4" DD. The PS rack from the camaro donor car had a small section of DD shaft which would work perfect.
These are put together like factory Ujoint caps, injected with plastic. A little heat makes the plastic worms come out and then the unit can come apart.
Cleaned up the short 3/4" DD shaft and ground down one end to fit inside the hollow steering shaft.
Tapped into place and the end "V" grooved for more welding surface area.
Next issue, the steering column outer tube was too big for the bearing. So it was slit in multiple places and I used a hose clamp to compress it down to size so the bearing was a tight fit.
The slits were welded up and the 3/4" DD was welded to the steering shaft.
I had measured how far the stub went into the steering shaft and drilled a 1/4" hole in line with the first small factory hole that was in the stub. I then installed a 1/4" steel pin and welded the ends closed, just for safety.
All parts installed, and the set screws tightened for the bearing collar. The shaft was then removed again and small dimples drilled into the steering shaft where the set screws had left marks. This was the set screws bite into the shaft instead of just sitting on the surface. Assembled again and set screws put in with blue loctite.
Ebay 3/4 DD steering joint, I buy these for $30 shipped and they work great.
So total cost $50, budget now at $2505 + $50 = $2555
Thanks but I should have measured first, because even after making the column as short as possible it is too long to work. So I either chop it again and lose the column shift or try a different steering column. To be determined soon.
LOL just home after a normal 12 hour work day, then played a softball game, and just had dinner. I would go out in the garage but I have to get up at 5 and another 12 hour day, even I have to sleep
Well sometimes it is better to be lucky than good. I moved the ujoint on the end of the steering column up as far as I could and the column looks like it will work. Even better I was going through the truck parts and forgot I had kept the stock CV steering shaft, and it actually has a 3/4" DD section on it. Well close to 3/4" I actually had to file it a little to fit the 3/4" joint but it worked slick.
Believe it or not it was the perfect length to connect the column to the rack. It is actually adjustable because of the funky "Z" type joint on the rack end similar to the stock jag. I didnt plan on using it but it will work fine and it is already paid for. I will not call it good until I confirm it clears the exhaust, but it looks promising.
This is the engine and trans getting installed from the 95 camaro convertible, cost $0
Engine mounts made from scrap steel and the trans crossmember is a $10 swap meet part. I grab these F body / X body crossmembers cheap at swap meets, they fit truck frames with no mods, it is like they were made for them.
Engine was offset 1/4" to the passenger side for a little more steering to exhaust clearance, but it all fit great even with some $30 shorty swap meet headers. Picture makes it look like the header is tight but there is lots of room.
I considered the CV front end under my IH but it seemed like it would have been too wide. I stuck a dakota chassis under it and wish that was a bit wider. I made up some custom backspaced wheels so they aren't buried under the fenders, but it was a lot of work*
*Ok, I've only done 1 so far. I did start the second today at least.


 06-30-2017, 10:59 AM